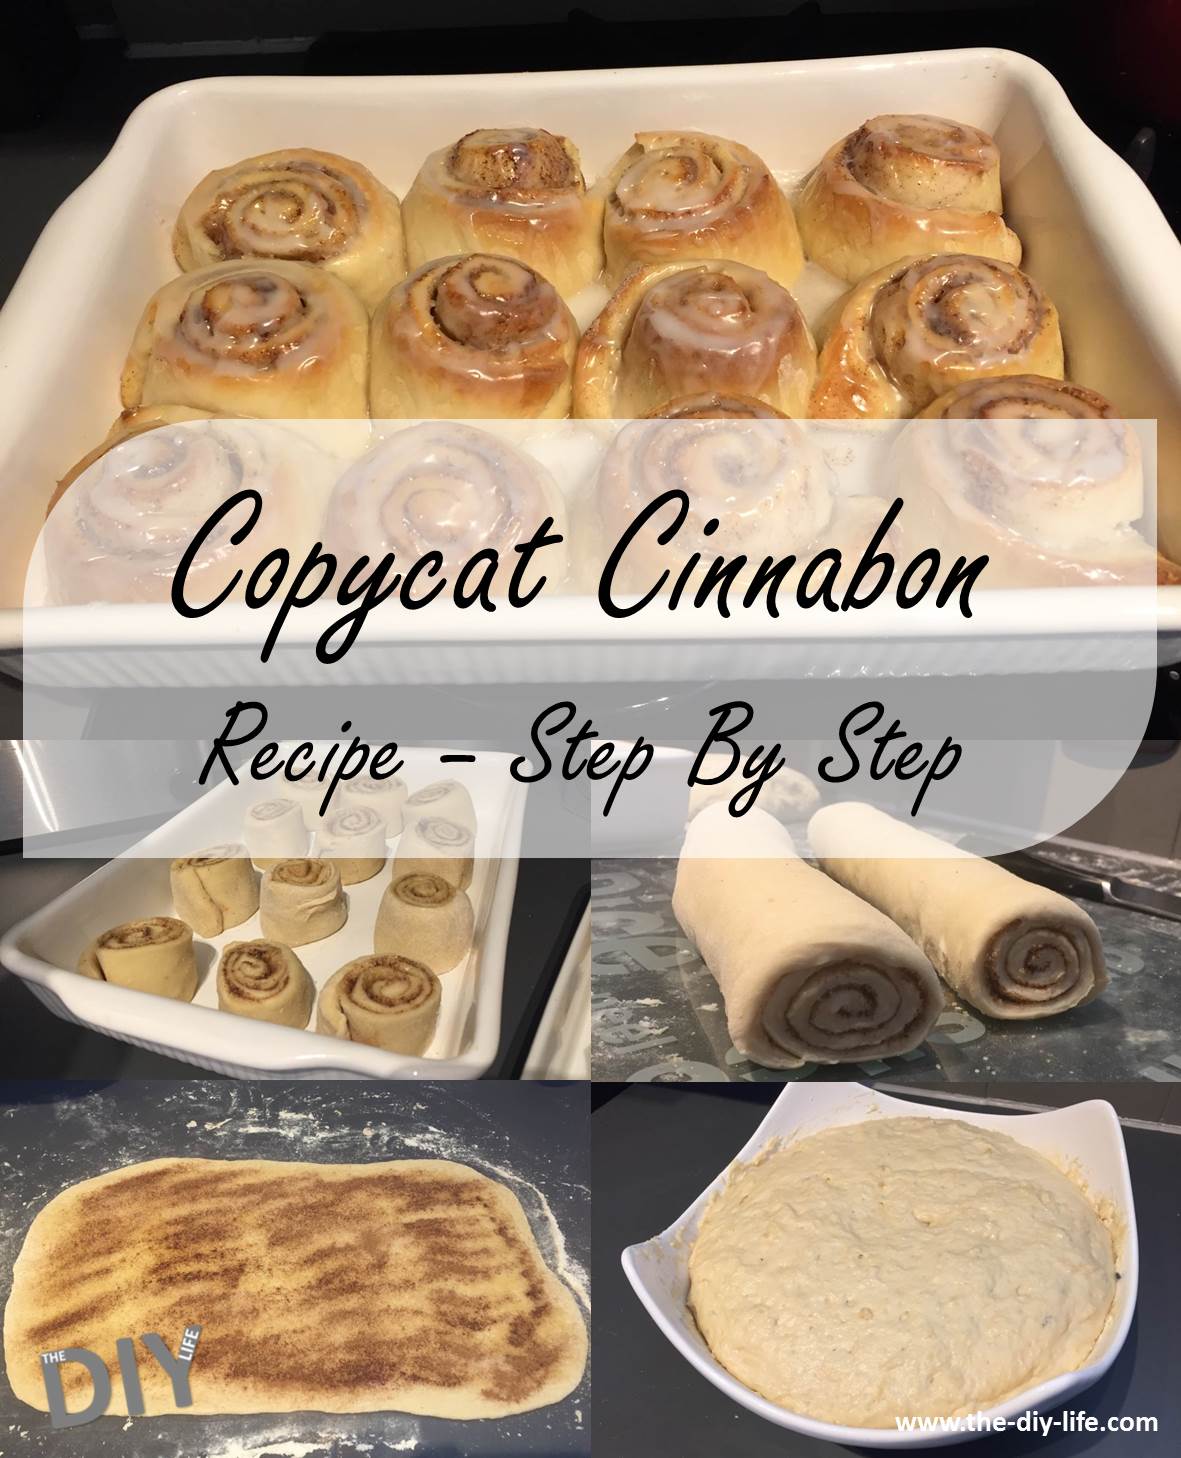
There’s no denying that when you walk past a Cinnabon in the mall, its really difficult not to fork out the $5 and buy one, they smell amazingly delicious. Well don’t stress, here’s a copycat recipe for Cinnabon rolls which is about as close as you can get to the real thing.
This recipe costs a whole lot less than buying them in the store although they do take a while to make, just under two and a half hours with the two rising times, so you’re not busy the whole time.
The recipe makes about 12 large Cinnabon rolls or 18 or so smaller Cinnabon rolls and you just have to adjust your rolling and cutting to get the different sizes. We prefer the smaller ones as the perfect accompaniment for an afternoon cup of coffee.
Prep Time 2hrs | Bake Time 15-20Mins | Preheat Oven To 200°C (390°F)
Ingredients For 12 Cinnabon Rolls
- 475ml (16oz) Milk
- 1/2 Cup Butter
- 1/2 Cup Sugar
- 1 7g (1/4oz) Packet of Yeast
- 4 Cups + 1/2 Cup of Flour
- Ground Cinnamon
- 1/2 Tsp Baking Powder
- 1/2 Tsp of Baking Soda
- 1/2 Tbsp Salt
- 1/2 Cup Melted Butter
- 1 Cup Brown Sugar
- 1 Cup of Icing Sugar
How To Make The Cinnabon Rolls
To start off, heat the milk up in a saucepan, adding the sugar (1/2 Cup) and butter (1/2 Cup) when it gets warm. Bring the milk almost to the boil and make sure that all of the sugar is dissolved. Remove the mixture from the heat and allow it to cool until it is warm.
Add the yeast to the warm milk. It is important that the milk is not too hot and hasn’t got too cold. The milk mixture should be warm to the touch but not hot. allow the yeast to activate for five minutes and then pour the yeast mixture into a large bowl.
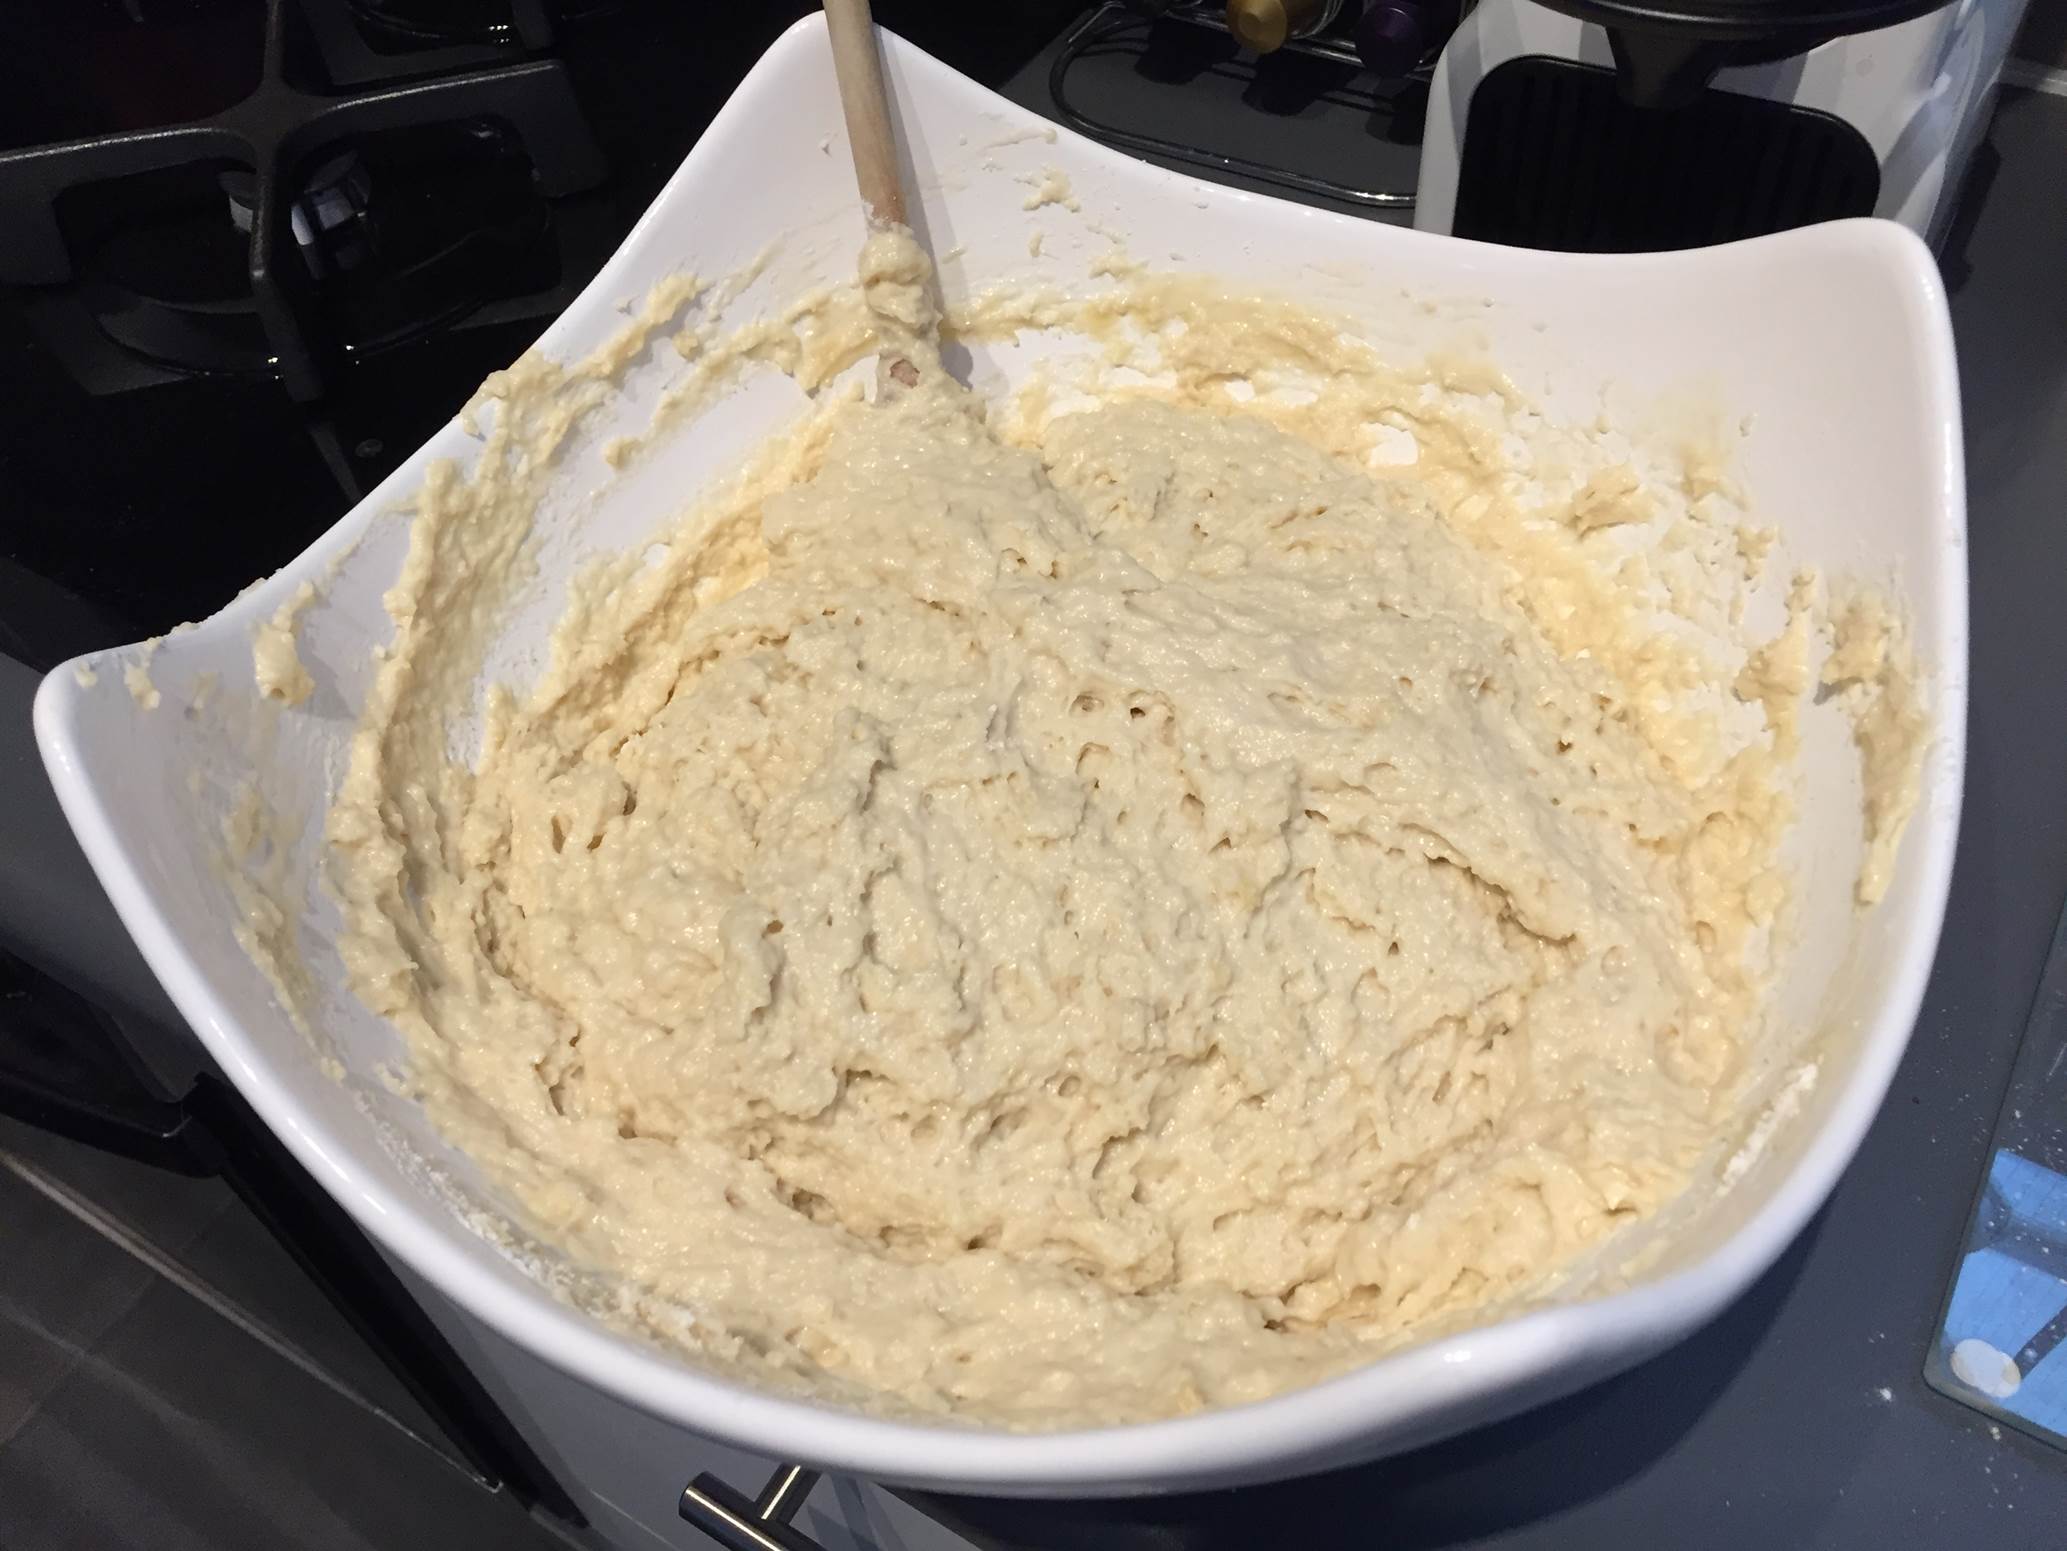
Sift in the flour (4 Cups), baking powder, baking soda and salt. Mix the ingredients together until a thick and sticky dough is formed. Place a wet tea towel over the bowl and allow the mixture to rise for an hour.
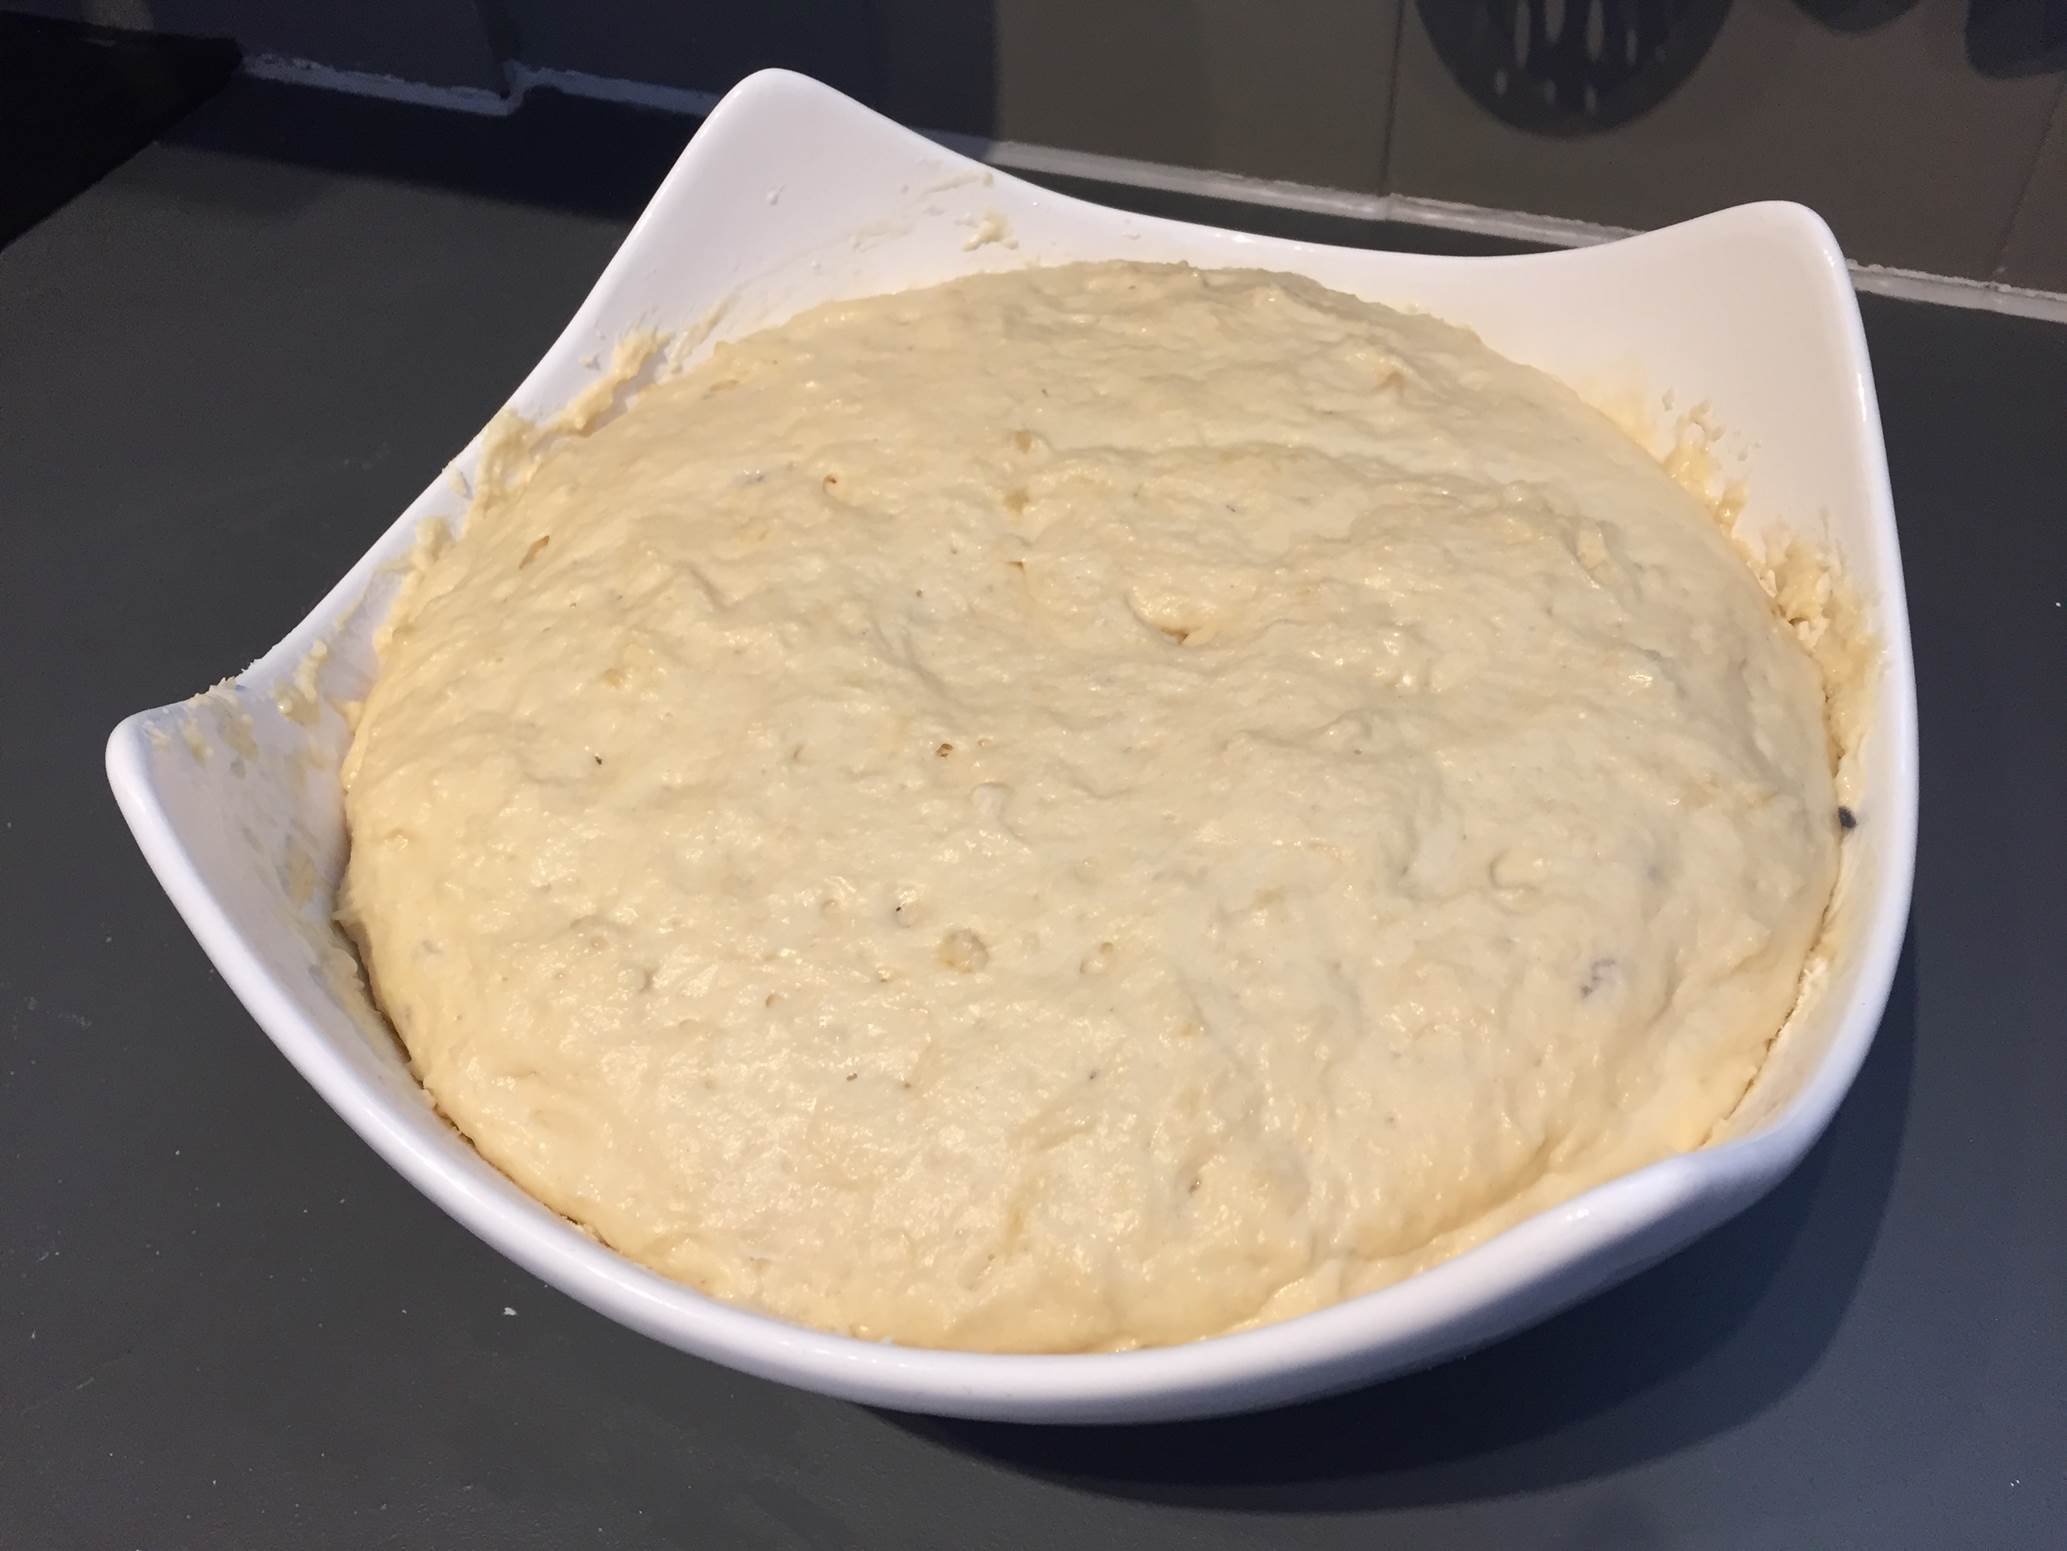
Once the dough has risen, tip the mixture out onto a floured counter top and add the last cup of flour a little at a time, kneading the dough in-between until a thick and non sticky dough is formed. It should be stretchy and elastic, a bit like pizza dough.
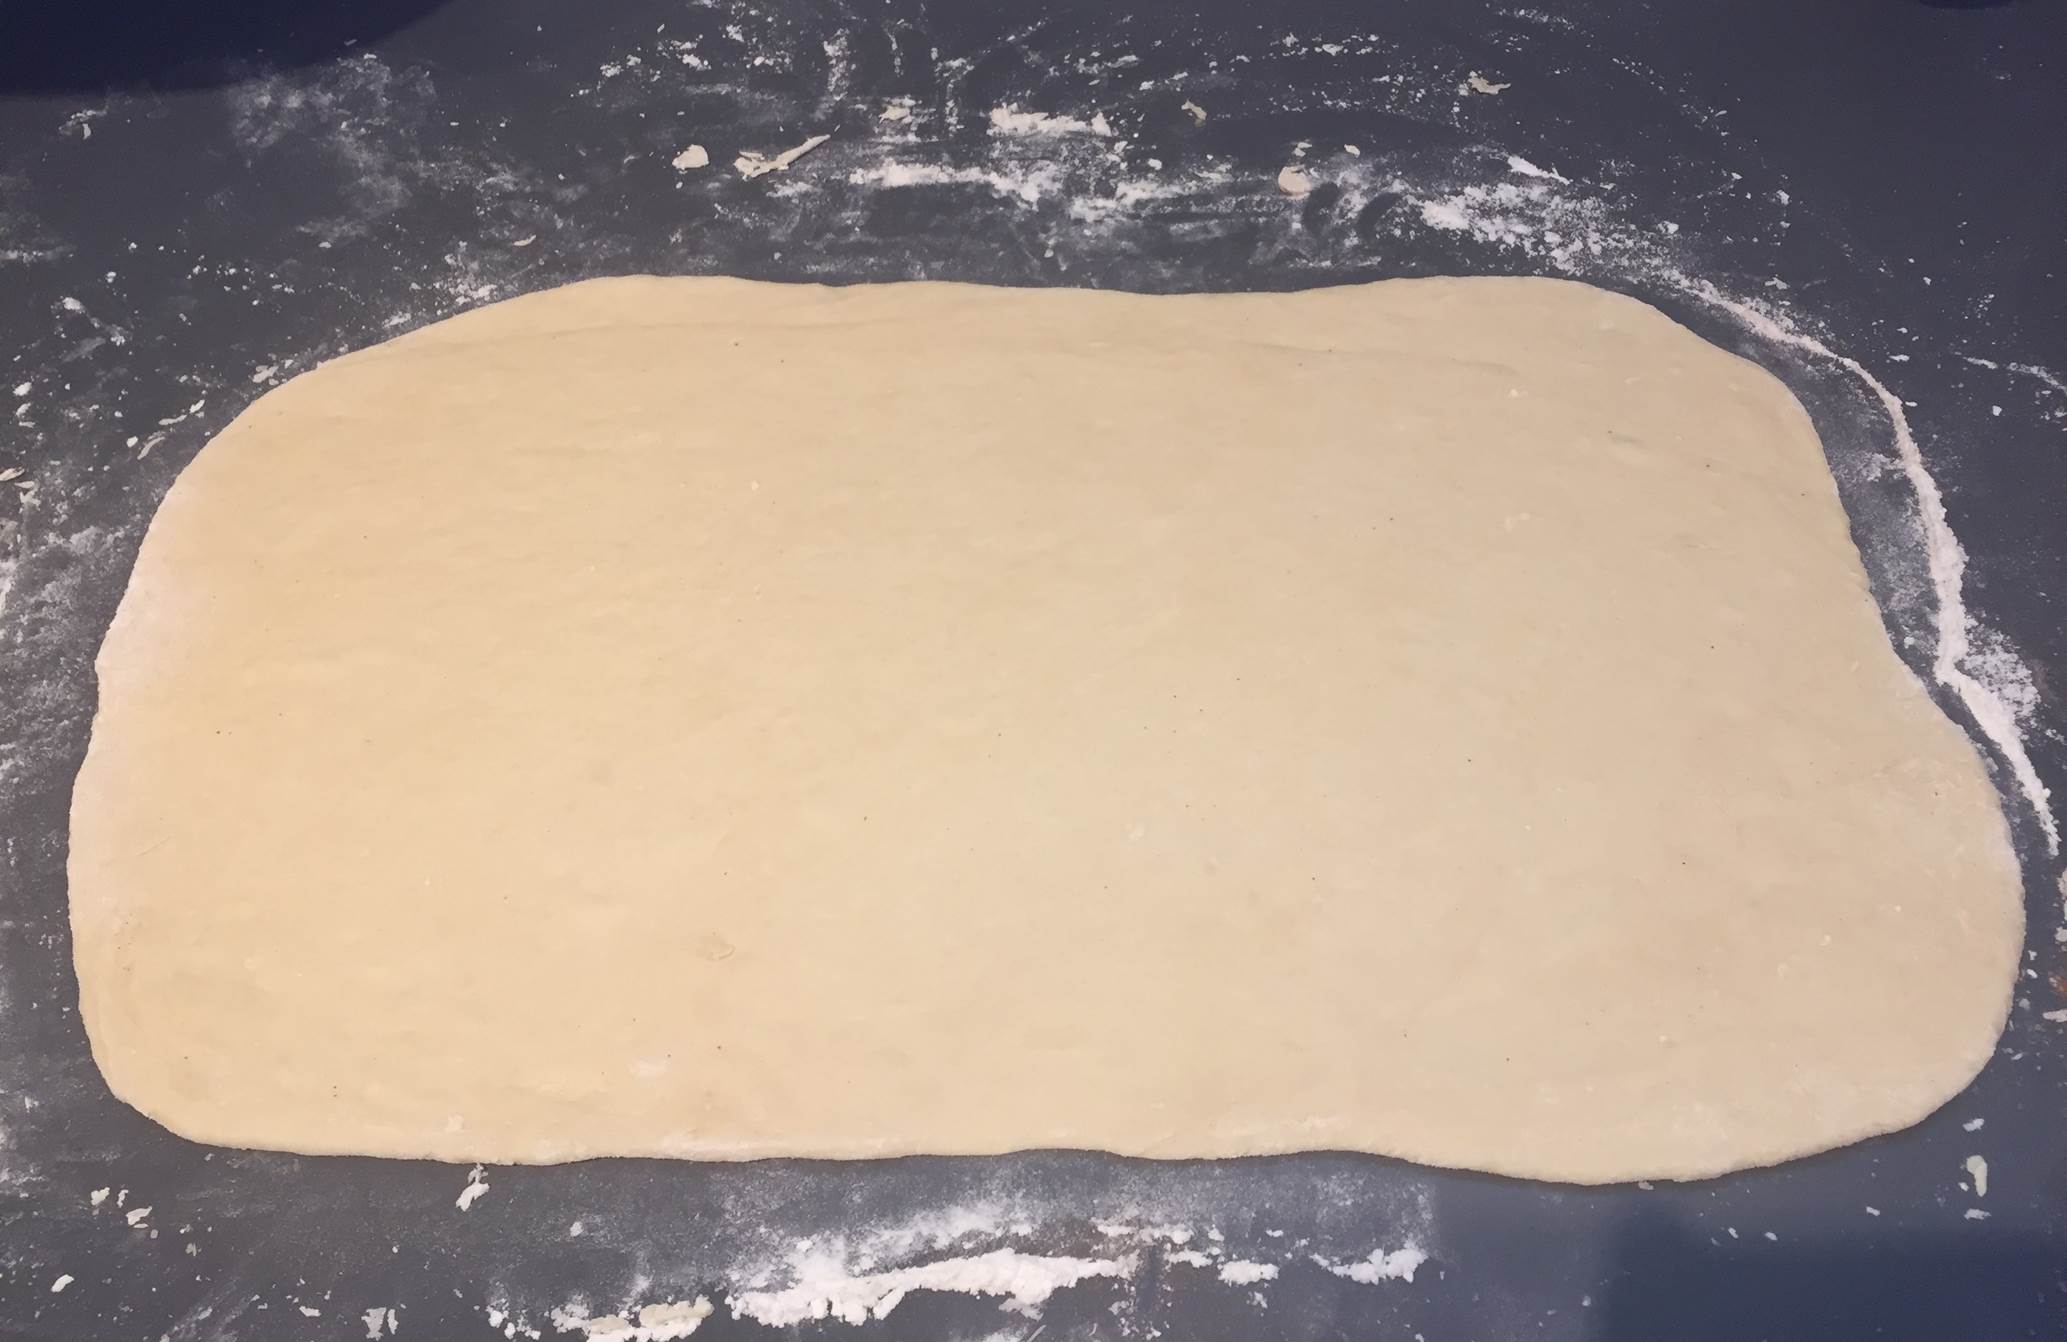
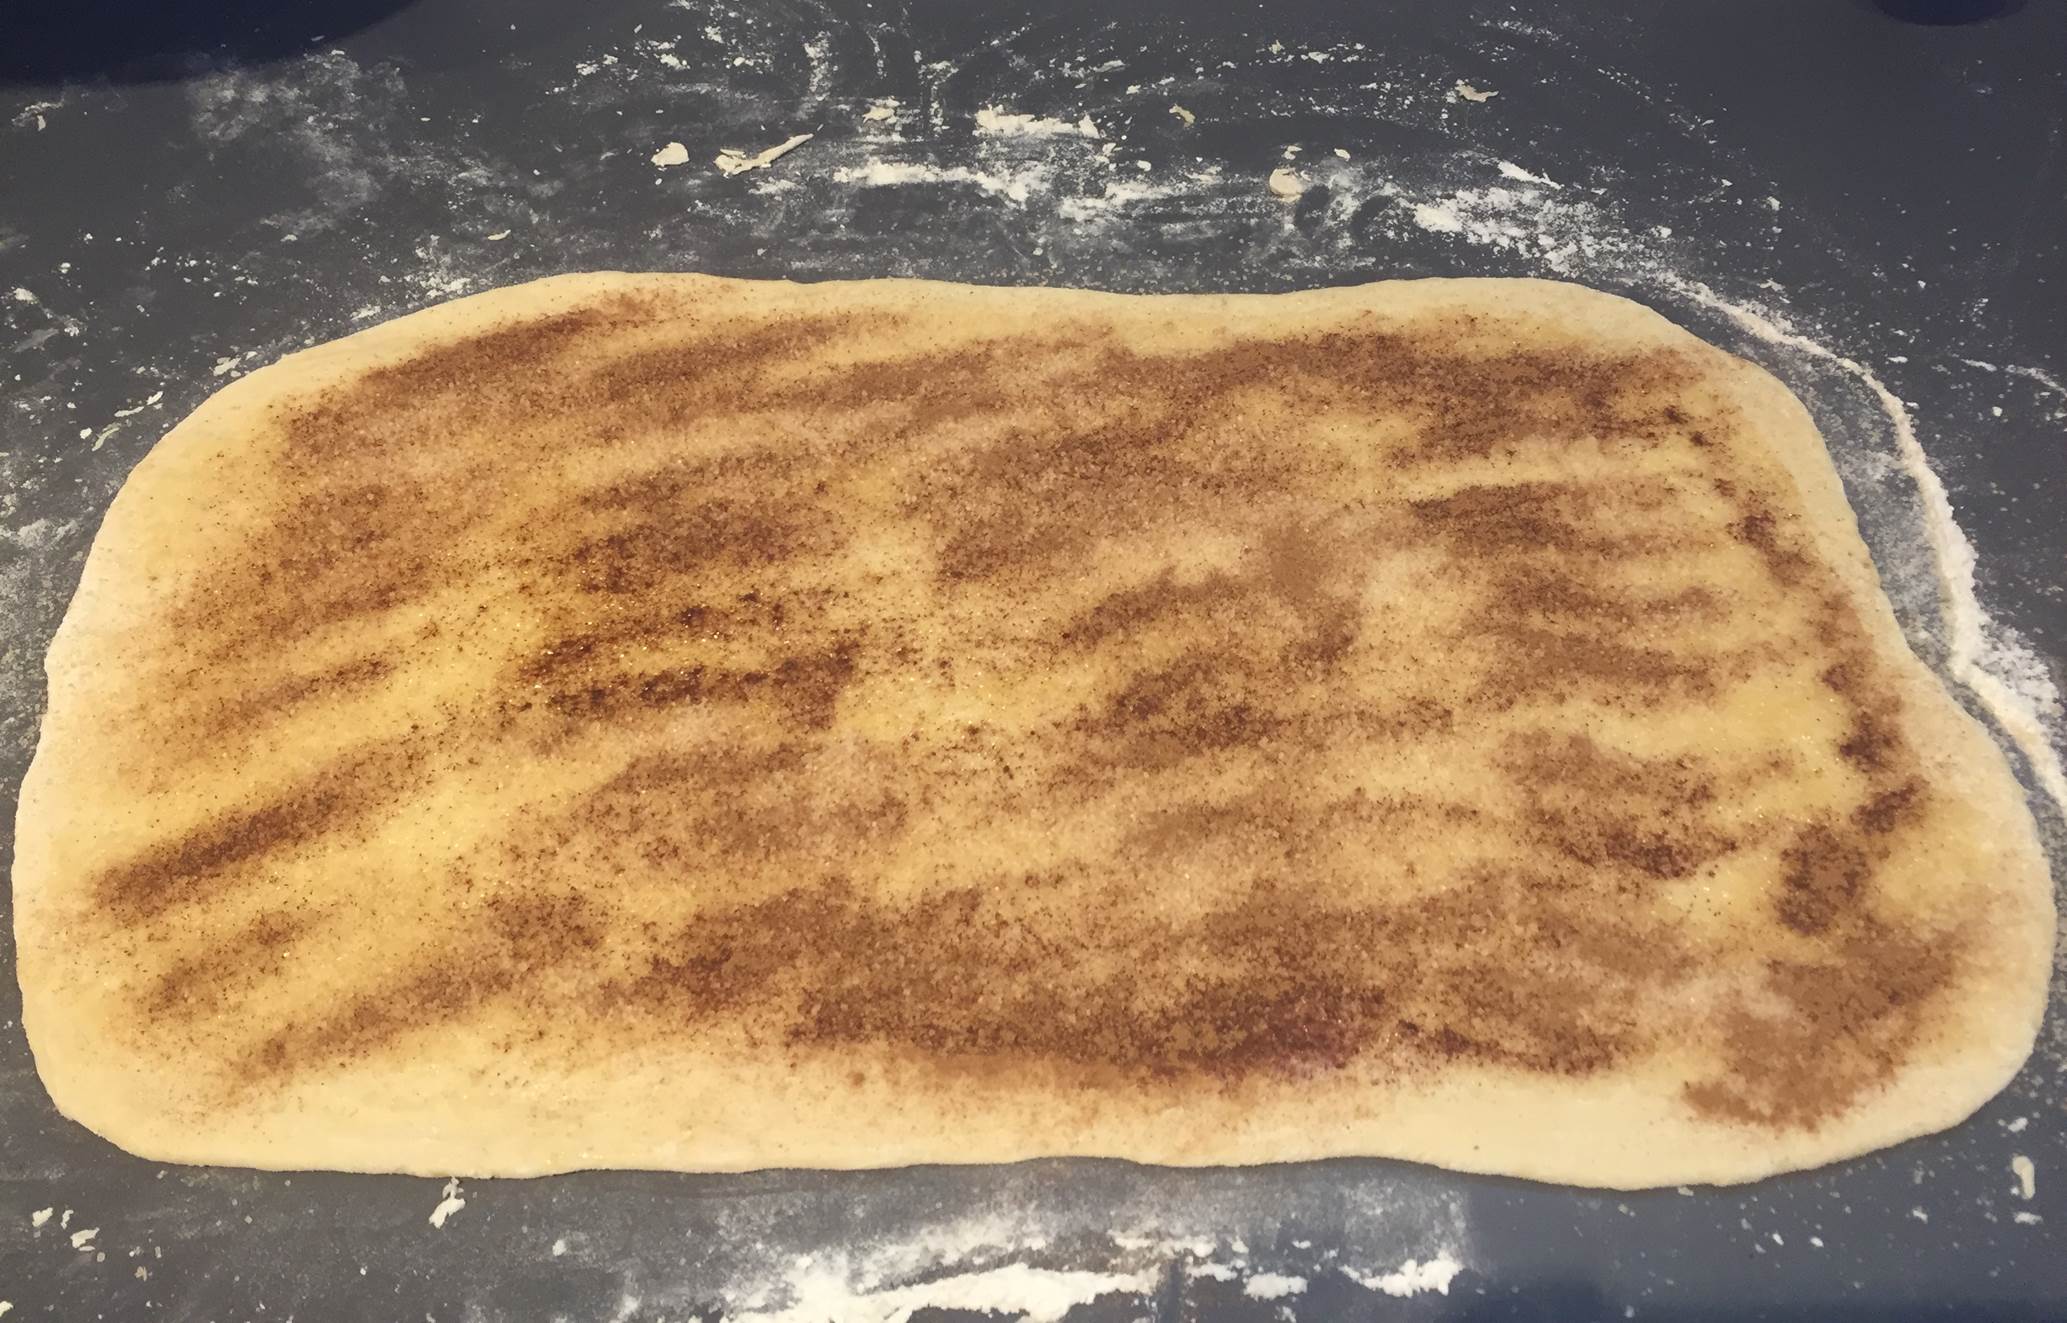
Take half the dough and roll it out into a large rectangle about 1cm (1/2″) thick. Roll a longer length for smaller buns and a more square piece of dough for larger buns. Now use a brush and brush a layer of melted butter onto the rolled out dough. Next sprinkle a thin layer of brown sugar and then a thin layer of cinnamon onto the dough.
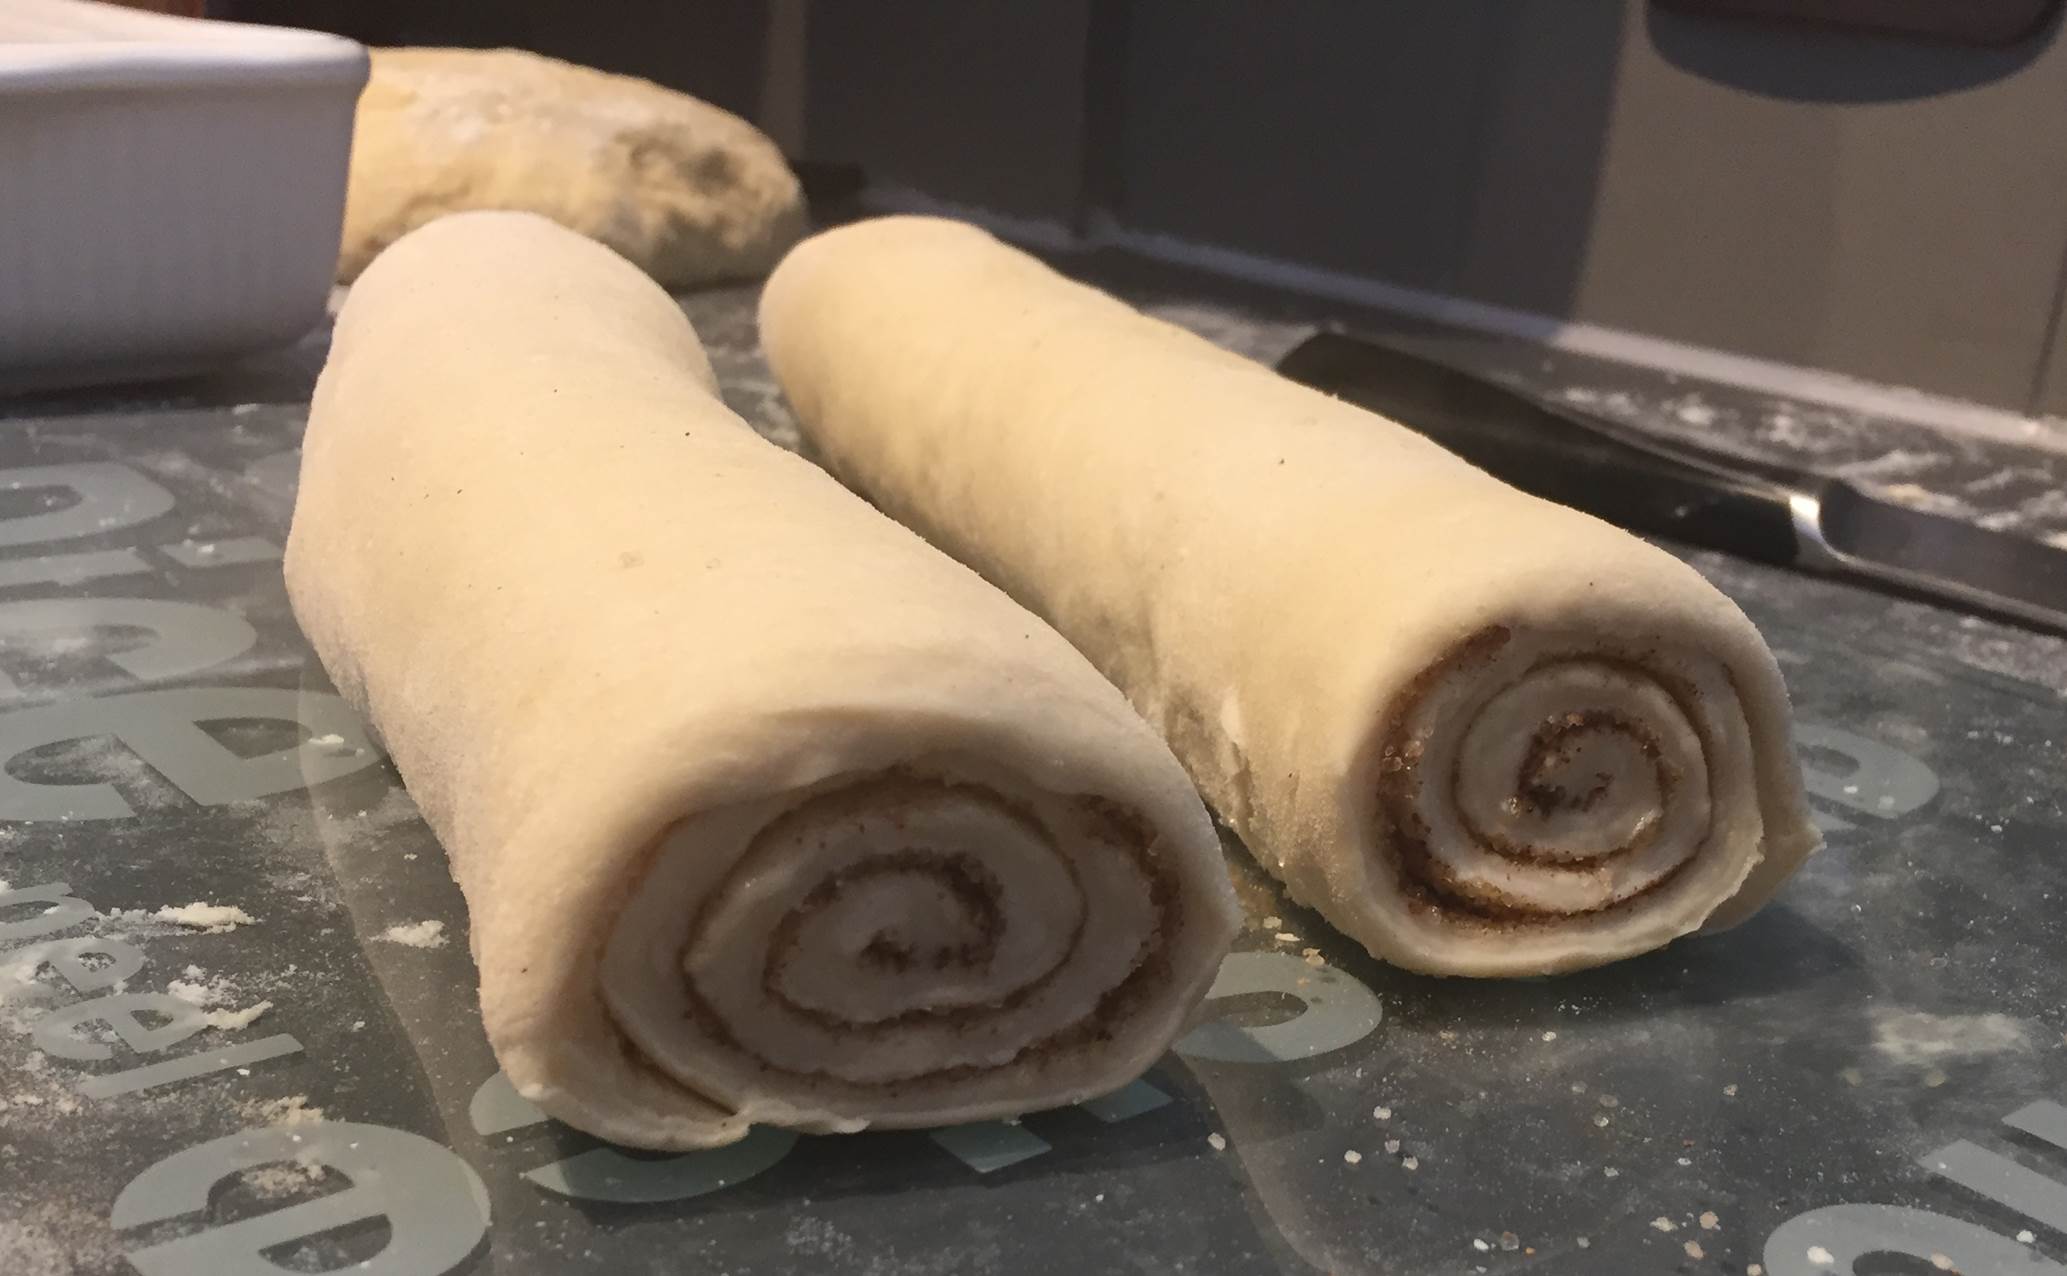
Roll the dough up along the length into a tight roll. Cut the roll up into individual buns around 4cm (1 1/2″) long for smaller buns and 5cm (2″) long for larger buns.
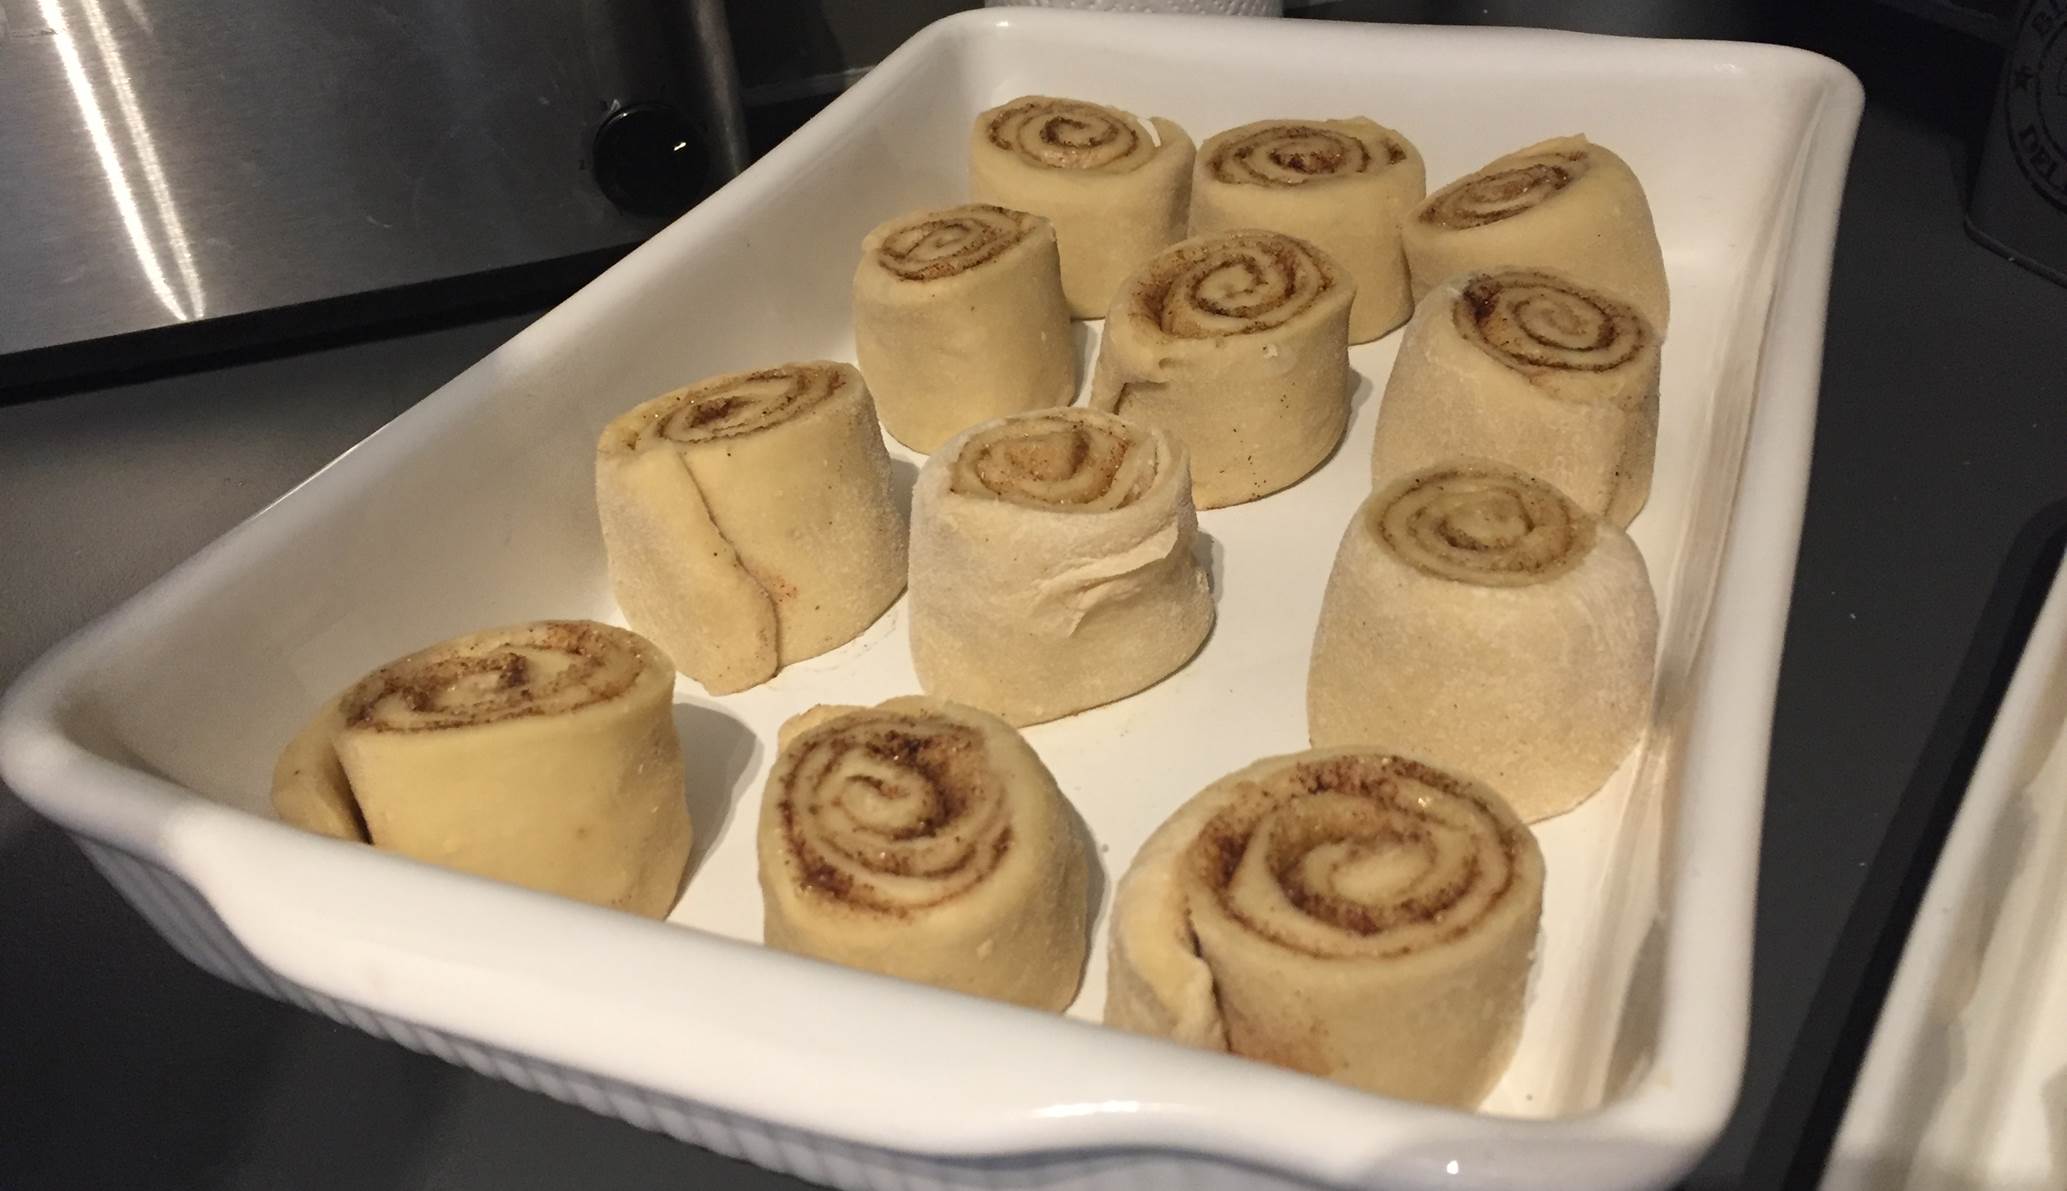
Place the buns into a baking dish face up. Once you have rolled out and cut both halves of the dough, allow the buns to rise for about 20 minutes.
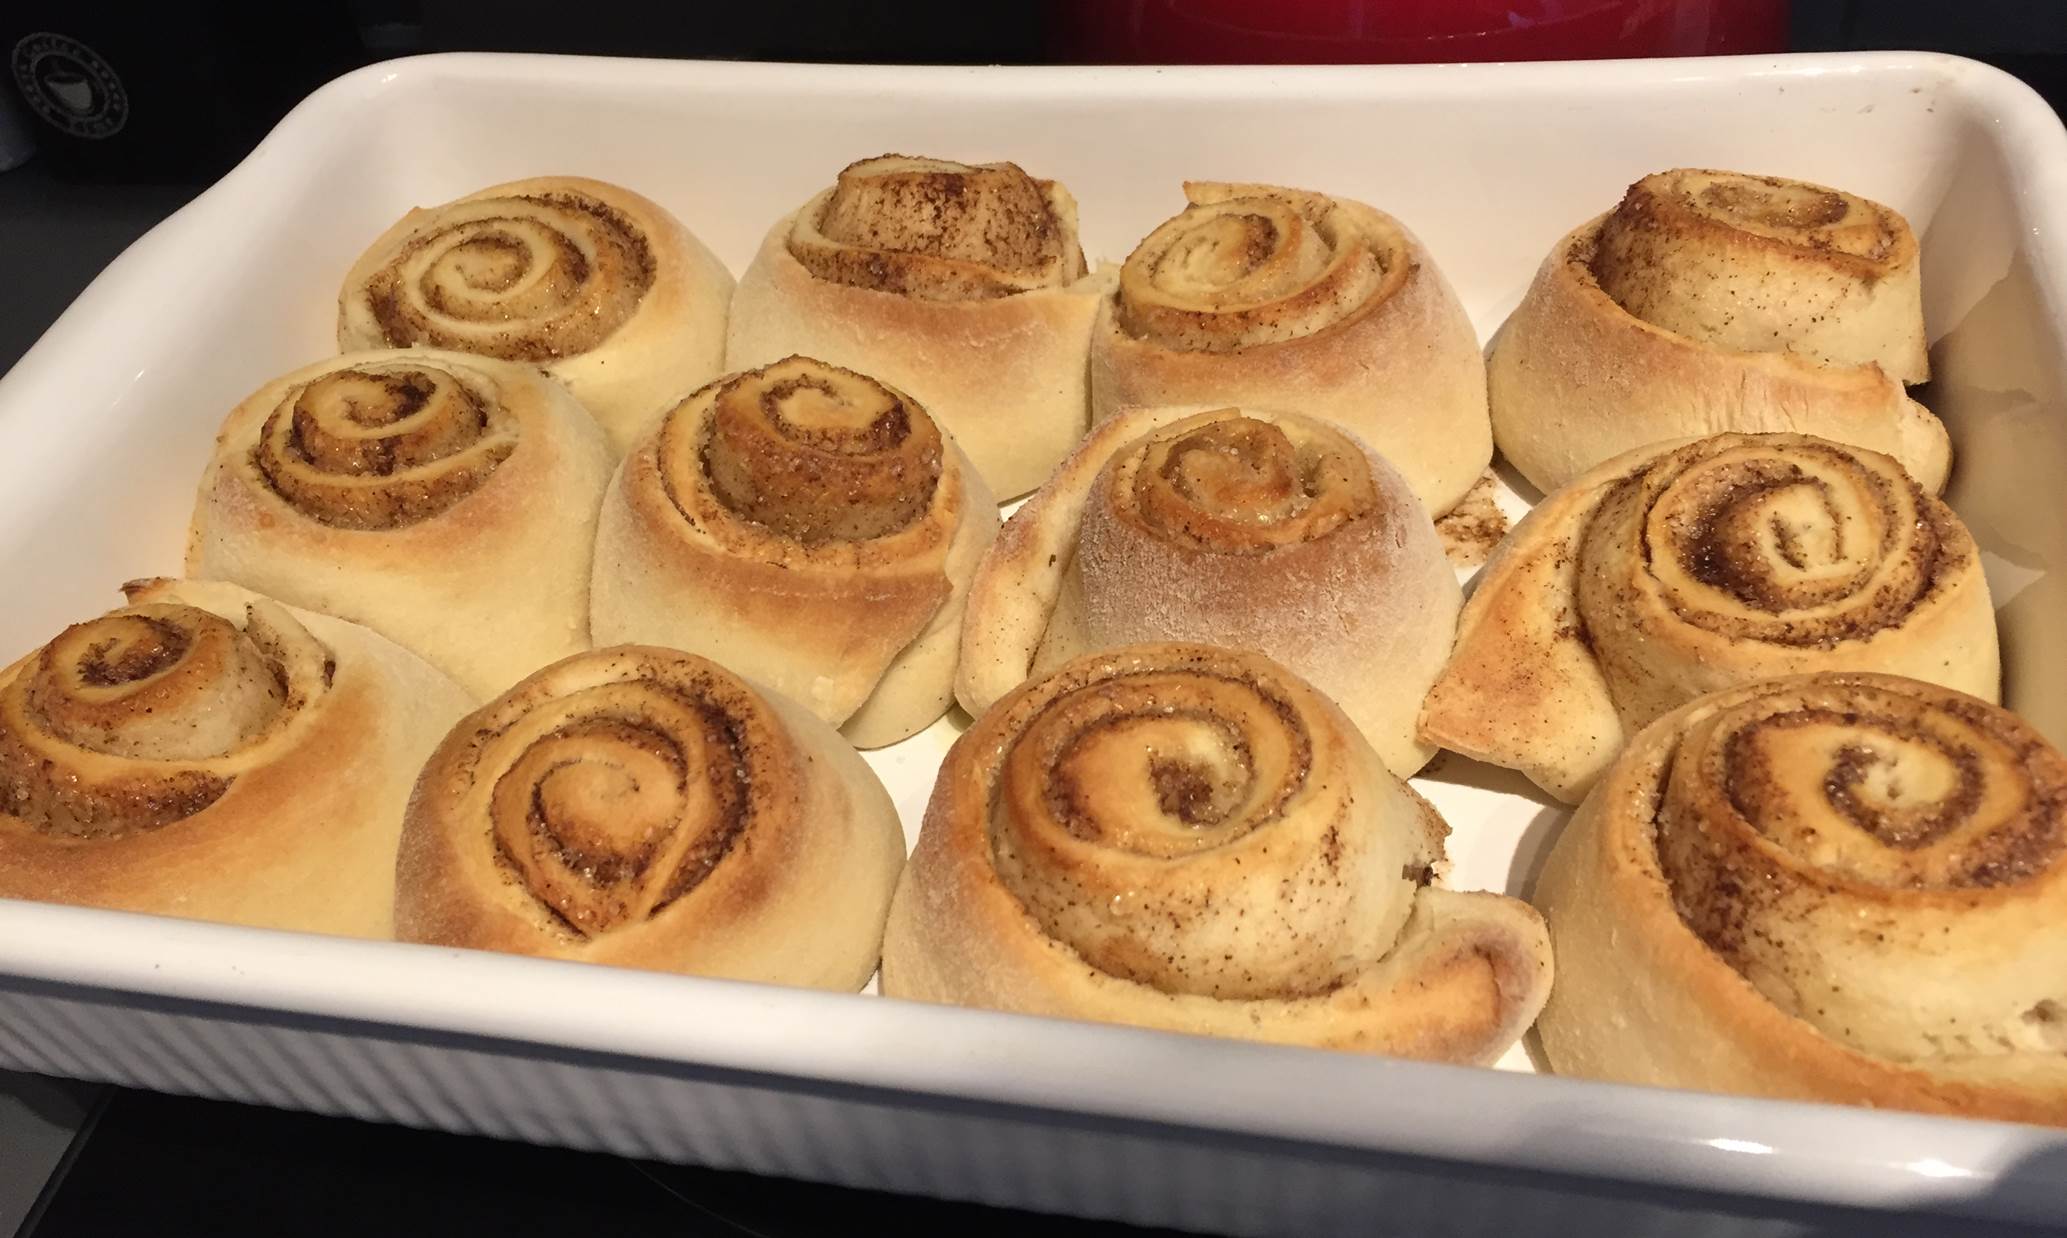
Bake at 200°C (390°F) for 15 to 20 minutes until they have turned a light brown colour on the outside. The smaller buns will cook for closer to 15 minutes while the larger ones closer to 20 minutes depending on your oven.
A few minutes before the Cinnabon rolls come out of the oven, mix up the icing sugar. Don’t add butter, a plain and runny icing sugar is best. When the buns come out of the oven, pour the icing sugar over them giving each one a generous amount on the top.

Allow them to cool for about 5 minutes and your Cinnabon rolls will be ready to serve, they are the best hot out of the pan. They keep for two to three days in a sealed container, don’t refrigerate them as the dough will go hard.
If you enjoyed this Cinnabon recipe for coffee time, try out our tasty oatmeal crunchies or easy pumpkin pie as well.
Have you tried this recipe? Let us know in the comments section below, we would love to hear from you and see your pictures.
Share This Recipe: