With vinyl records making a comeback, people are looking for ways to get their dusty collection clean and ready to use again. To ensure the best sound and least amount of wear on your records, it is essential that they are kept clean.
We’re got two methods here, one to give your records a full deep clean and another which is great for removing thin layers of dust and reducing the background noise.
Remember, the best cleaning in the world just removes all the dust and dirt. Some records will have scratches and groove wear. No amount of cleaning will fix this. So after cleaning, some record may sound “perfect” and others maybe not so much.
Giving Your Vinyl Records A Deep Clean
What You’ll Need
- A Basin of some kind – Buy Here
- Dish soap (any kind will work) – Buy Here
- A record cleaning brush/pad (Discwasher style) – Buy Here
- A few washcloths – Buy Here
- A source of warm water
- Towels to dry off the records
Cleaning The Vinyl Records
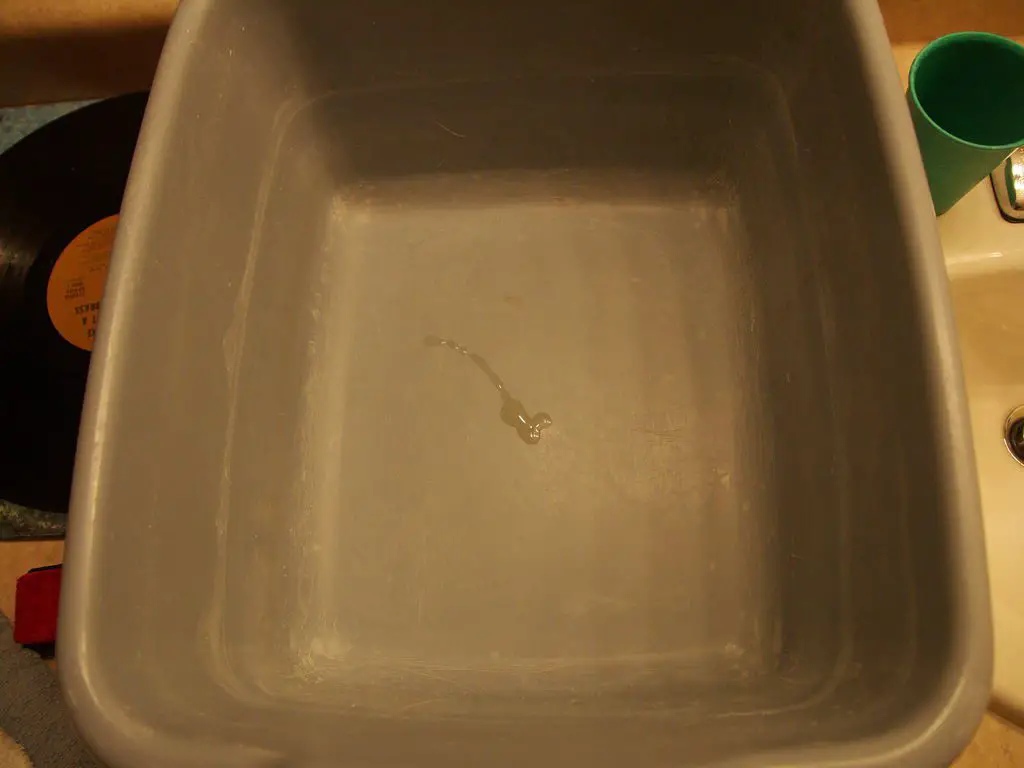
Put an extremely small about of soap in the basin, and then fill it with about 3-4″ of warm water. Stir up the soap by swirling it around with your hand while filling up the basin. Now place the basin on a counter top or other comfortable surface where cleaning your records.
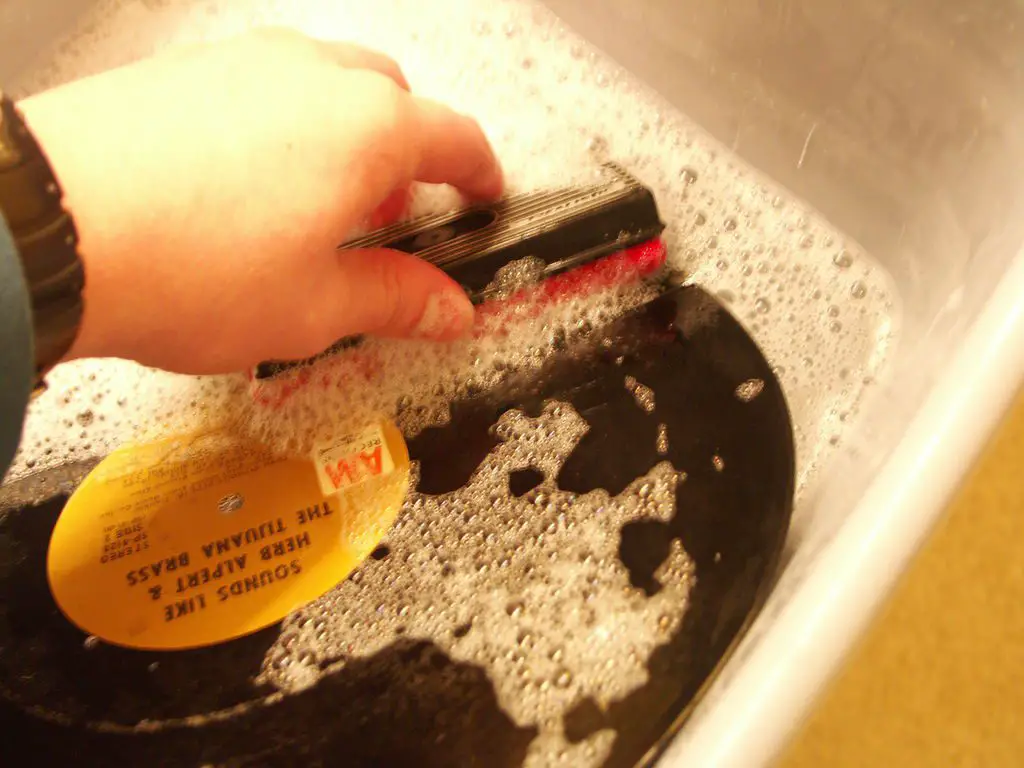
Put a record in the basin, and turn it around by moving the edge with the palms of your hands (as to not touch the grooves).
Once the whole surface of the record is wet, grab the record brush and get it wet. With one hand, hold the record (with your palm) and with the other, move the brush in a circular motion about 10 times. Try to do 5 counter-clockwise and 5 clockwise turns. If you’ve got heavy grime, you might want to do more.. After one side is clean, flip it over and repeat.
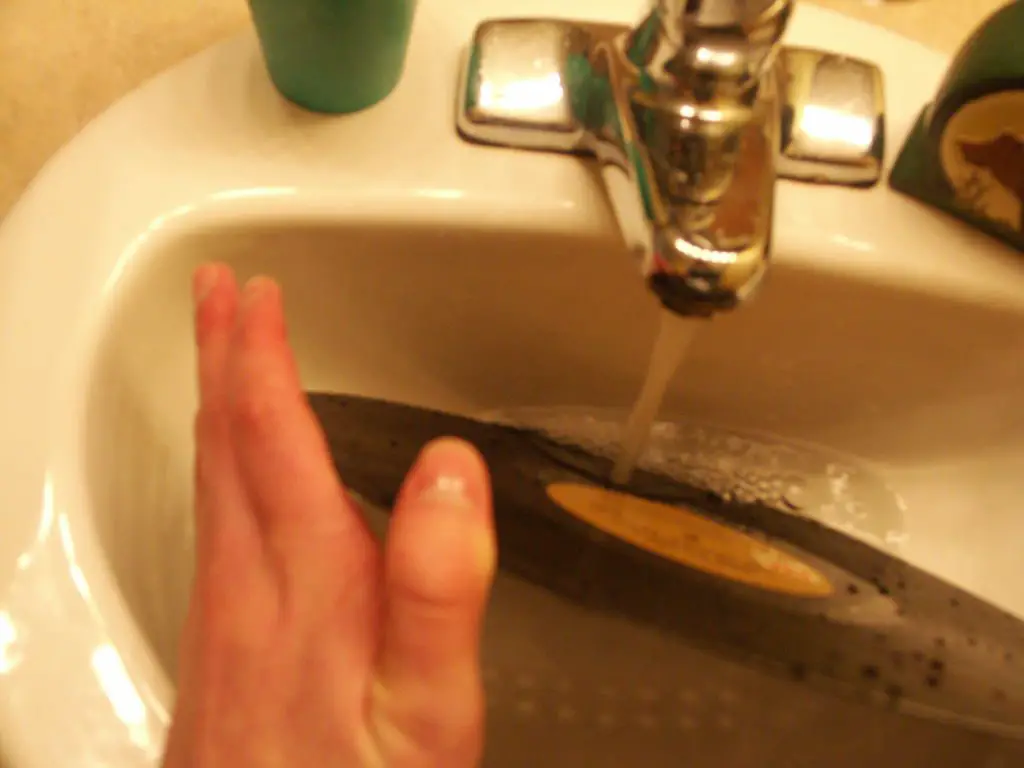
After you’ve gotten the record clean, put it in a sink and run some cold water over it, and turn the record with the palms of your hand. After one side is clean, flip it over and do the other. Once it’s clean, turn off the tap and let the water run off.
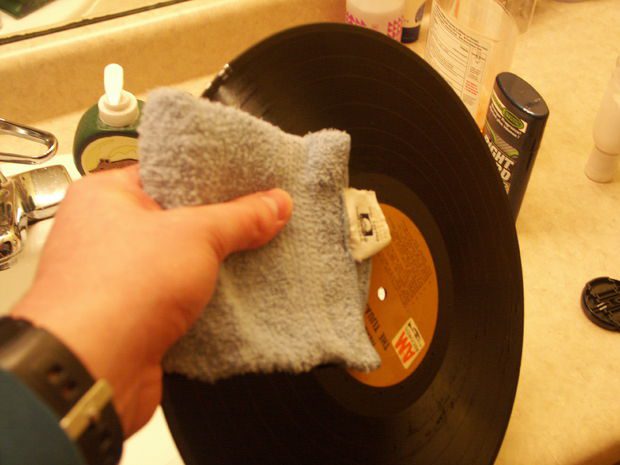
Now that most of the water has run off, put a wash cloth in your hand, and grab the record with it. Now put another washcloth in the other hand, and grab the record. With one had, hold the record, and with the other, dry it off. Once it’s dry, flip it over and do the other side (which should be most dry by now). Once the record surface is dry, put the washcloths on the labels and press against them with your hand. This should get the labels dry. After the record is mostly dry, set it on top of it’s cardboard sleeve, then place it somewhere and let it dry for several hours.
Giving Your Vinyl Records A Quick Clean And Reducing Background Noise
This is the second method we have used to clean vinyl records and it works well for lighter dust and dirt, the WD40 also lubricates the tracks, reduces friction, wear and background noise.
What You Need
How To Clean The Records
Squirt four small amounts equally spaced on the on the center of the tracks and clean in a circular motion with a soft microfiber cloth. You will notice the cloth will collect dirt so change to a new part of the cloth every few turns. Keep polishing until all trace of liquid has disappeared and the record is shiny black, the record will feel very slippery.
If the record is in reasonable condition background noises will be reduced. On the first play more dirt will pop out of the grooves after which it will stay clean for while with less static. This trick even reduces record wear as the WD40 reduces friction between the stylus and the record track.
Share This Guide
This post is based on Cleaning Vinyl Records by mattdp and has been modified and used under the Creative Commons license CC-BY-NC-SA.
Using WD-40 for records is very risky as it can damage the stylus, or so I have read.