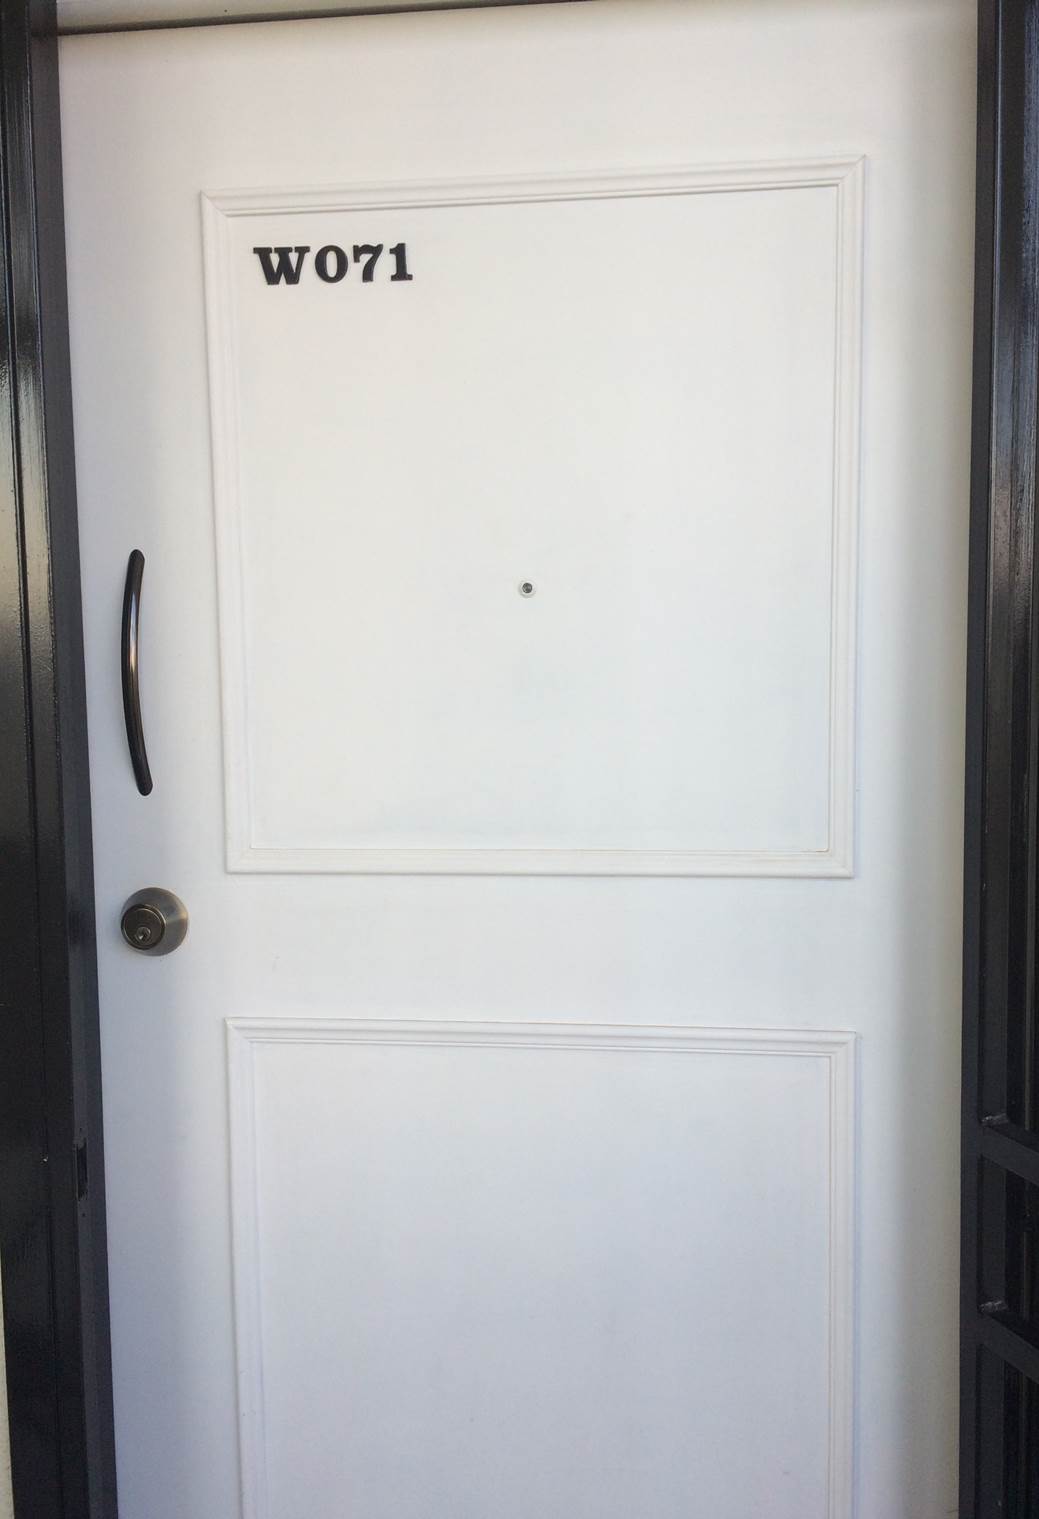
Update your flat panel door with trim and a coat of paint to make it look like an expensive moulded panel door. A plain flat panel door is not exactly an attractive feature in any room. A coat of paint usually helps bring the door back to life but it still tends to blend in with the walls and furniture. A moulded panel door in a contrasting colour really stands out and becomes a feature as a front door or in a living space.
This is a relatively easy project to do and wont take more than about three hours excluding time for the paint and glue to dry. Buy a little extra trim as well to allow for cutting mistakes.
What You Need For A Faux Panel Door Update
- Pine Trim Moulding – About 6m (20ft) Per Side
- Nail/Staple Gun or Wood Glue
- Enamel Paint 500ml (16 fl oz)
- Sand Paper – 120 and 240 grit
- Builders Acrylic or Wood Putty
How To Update Your Door
First mark on the door where you need the trim to go. Mark the outside edge of the trim as this is the length of trim you will need to cut before cutting the edges to 45 degrees. Be sure to get equal spacing around all of the outside edges. Use a square to ensure that the lines are truly perpendicular where they should be.
Next cut your trim. I would suggest buying pine trim if you intend to paint over it. Pine is a lot cheaper than oak and also much easier to work with. Only buy oak trim if you wish to clear varnish it to match the door’s wood. Cut the trim to the length of the marked outline. You then need to cut the inside edge of the trim to 45 degrees such that a perfect 90 degree corner is formed when two perpendicular pieces are placed together. A regular miter box makes this step a lot easier and start with the longest lengths, that way if you make an incorrect cut you can re-use the piece for one of the shorter lengths.
Now you need to attach the trim. A nail or staple gun works easier with pine trim. Use the thinnest nail which will fully penetrate the trim and the door panel. You want the head of the nail to be flush or slightly below the surface of the trim. If any nail heads protrude, give them a few taps with a small hammer until they are flush. Alternately you can use a strong wood glue to attach the trim but this is messy and requires patience while the glue dries.
Use wood putty or builders acrylic to fill in any gaps between the moulding or sunken nail heads. Let it dry and then sand it smooth so that the trim flows continuously around all of the corners. If you have used wood glue to attach the trim then its a good idea to leave it to dry overnight before painting.
The door can finally be painted. Paint the trim first and then the surrounding panel. It will usually require two or three coats if you are going from a dark wood to white or a light paint colour. Be patient and allow the paint adequate time to dry between coats to get the best finish. The paint may highlight any high or rough spots in your work, allow the paint to dry in these areas and then re-sand them before painting again to get the best finish.
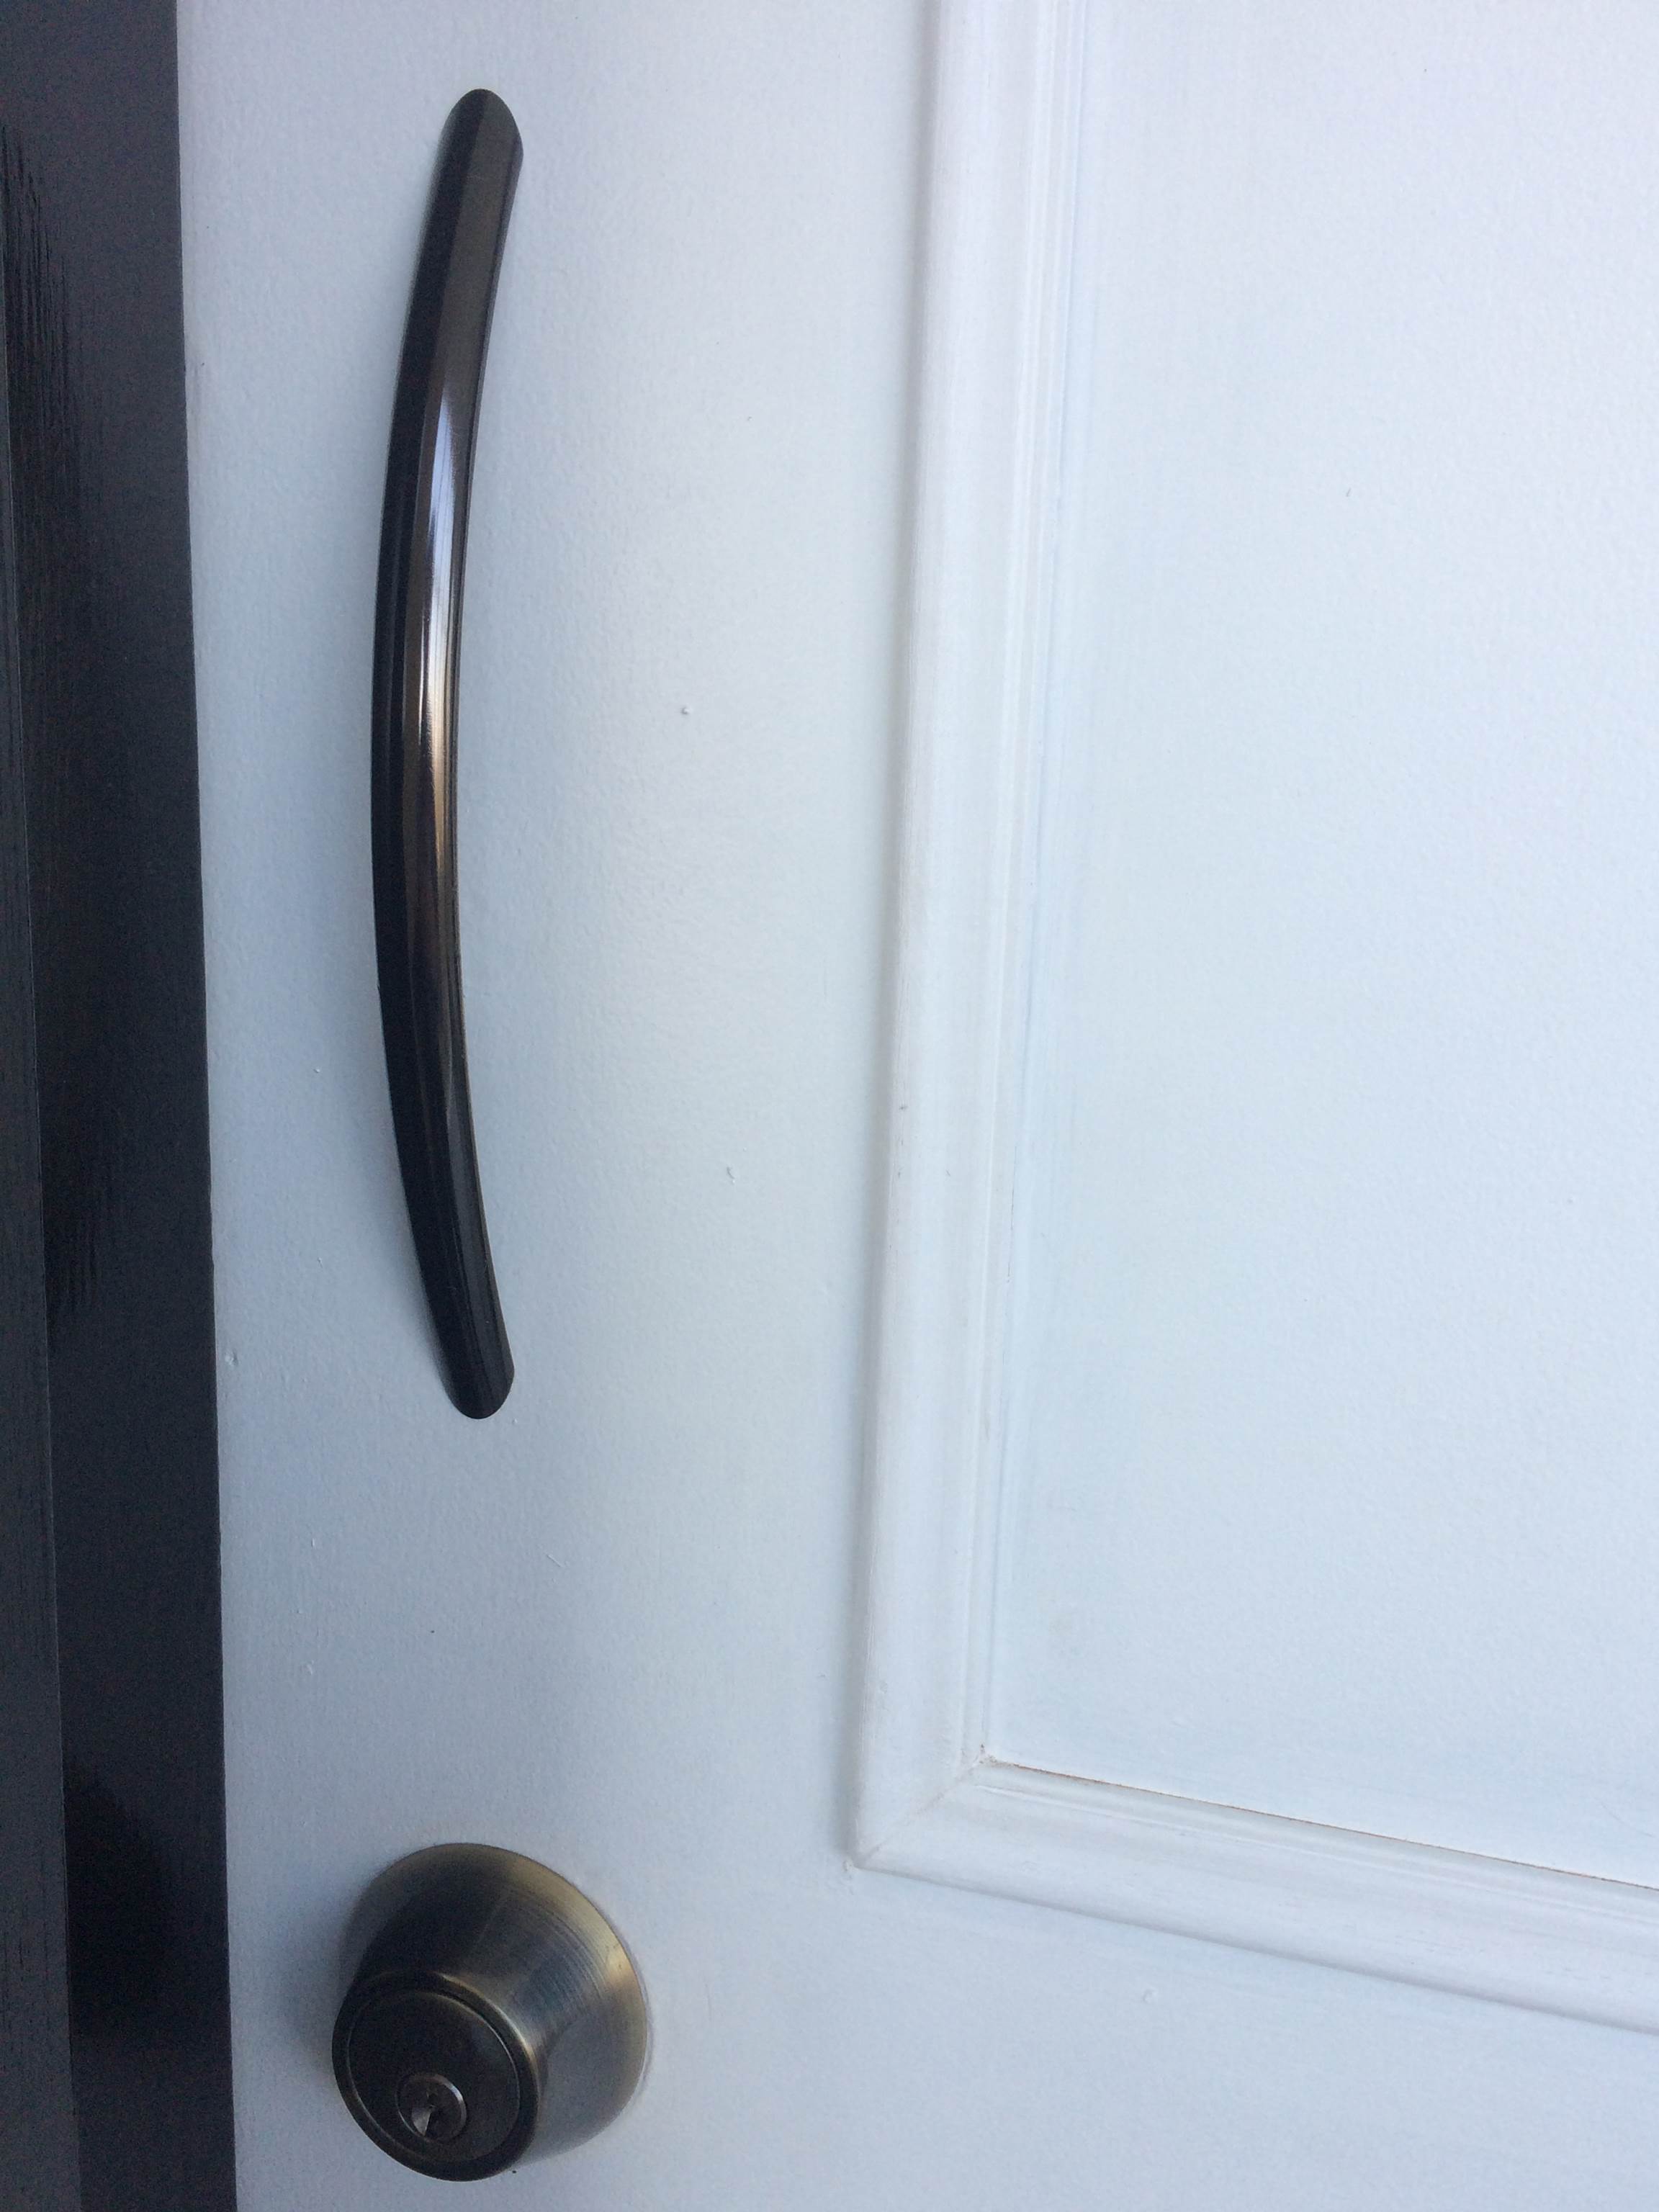
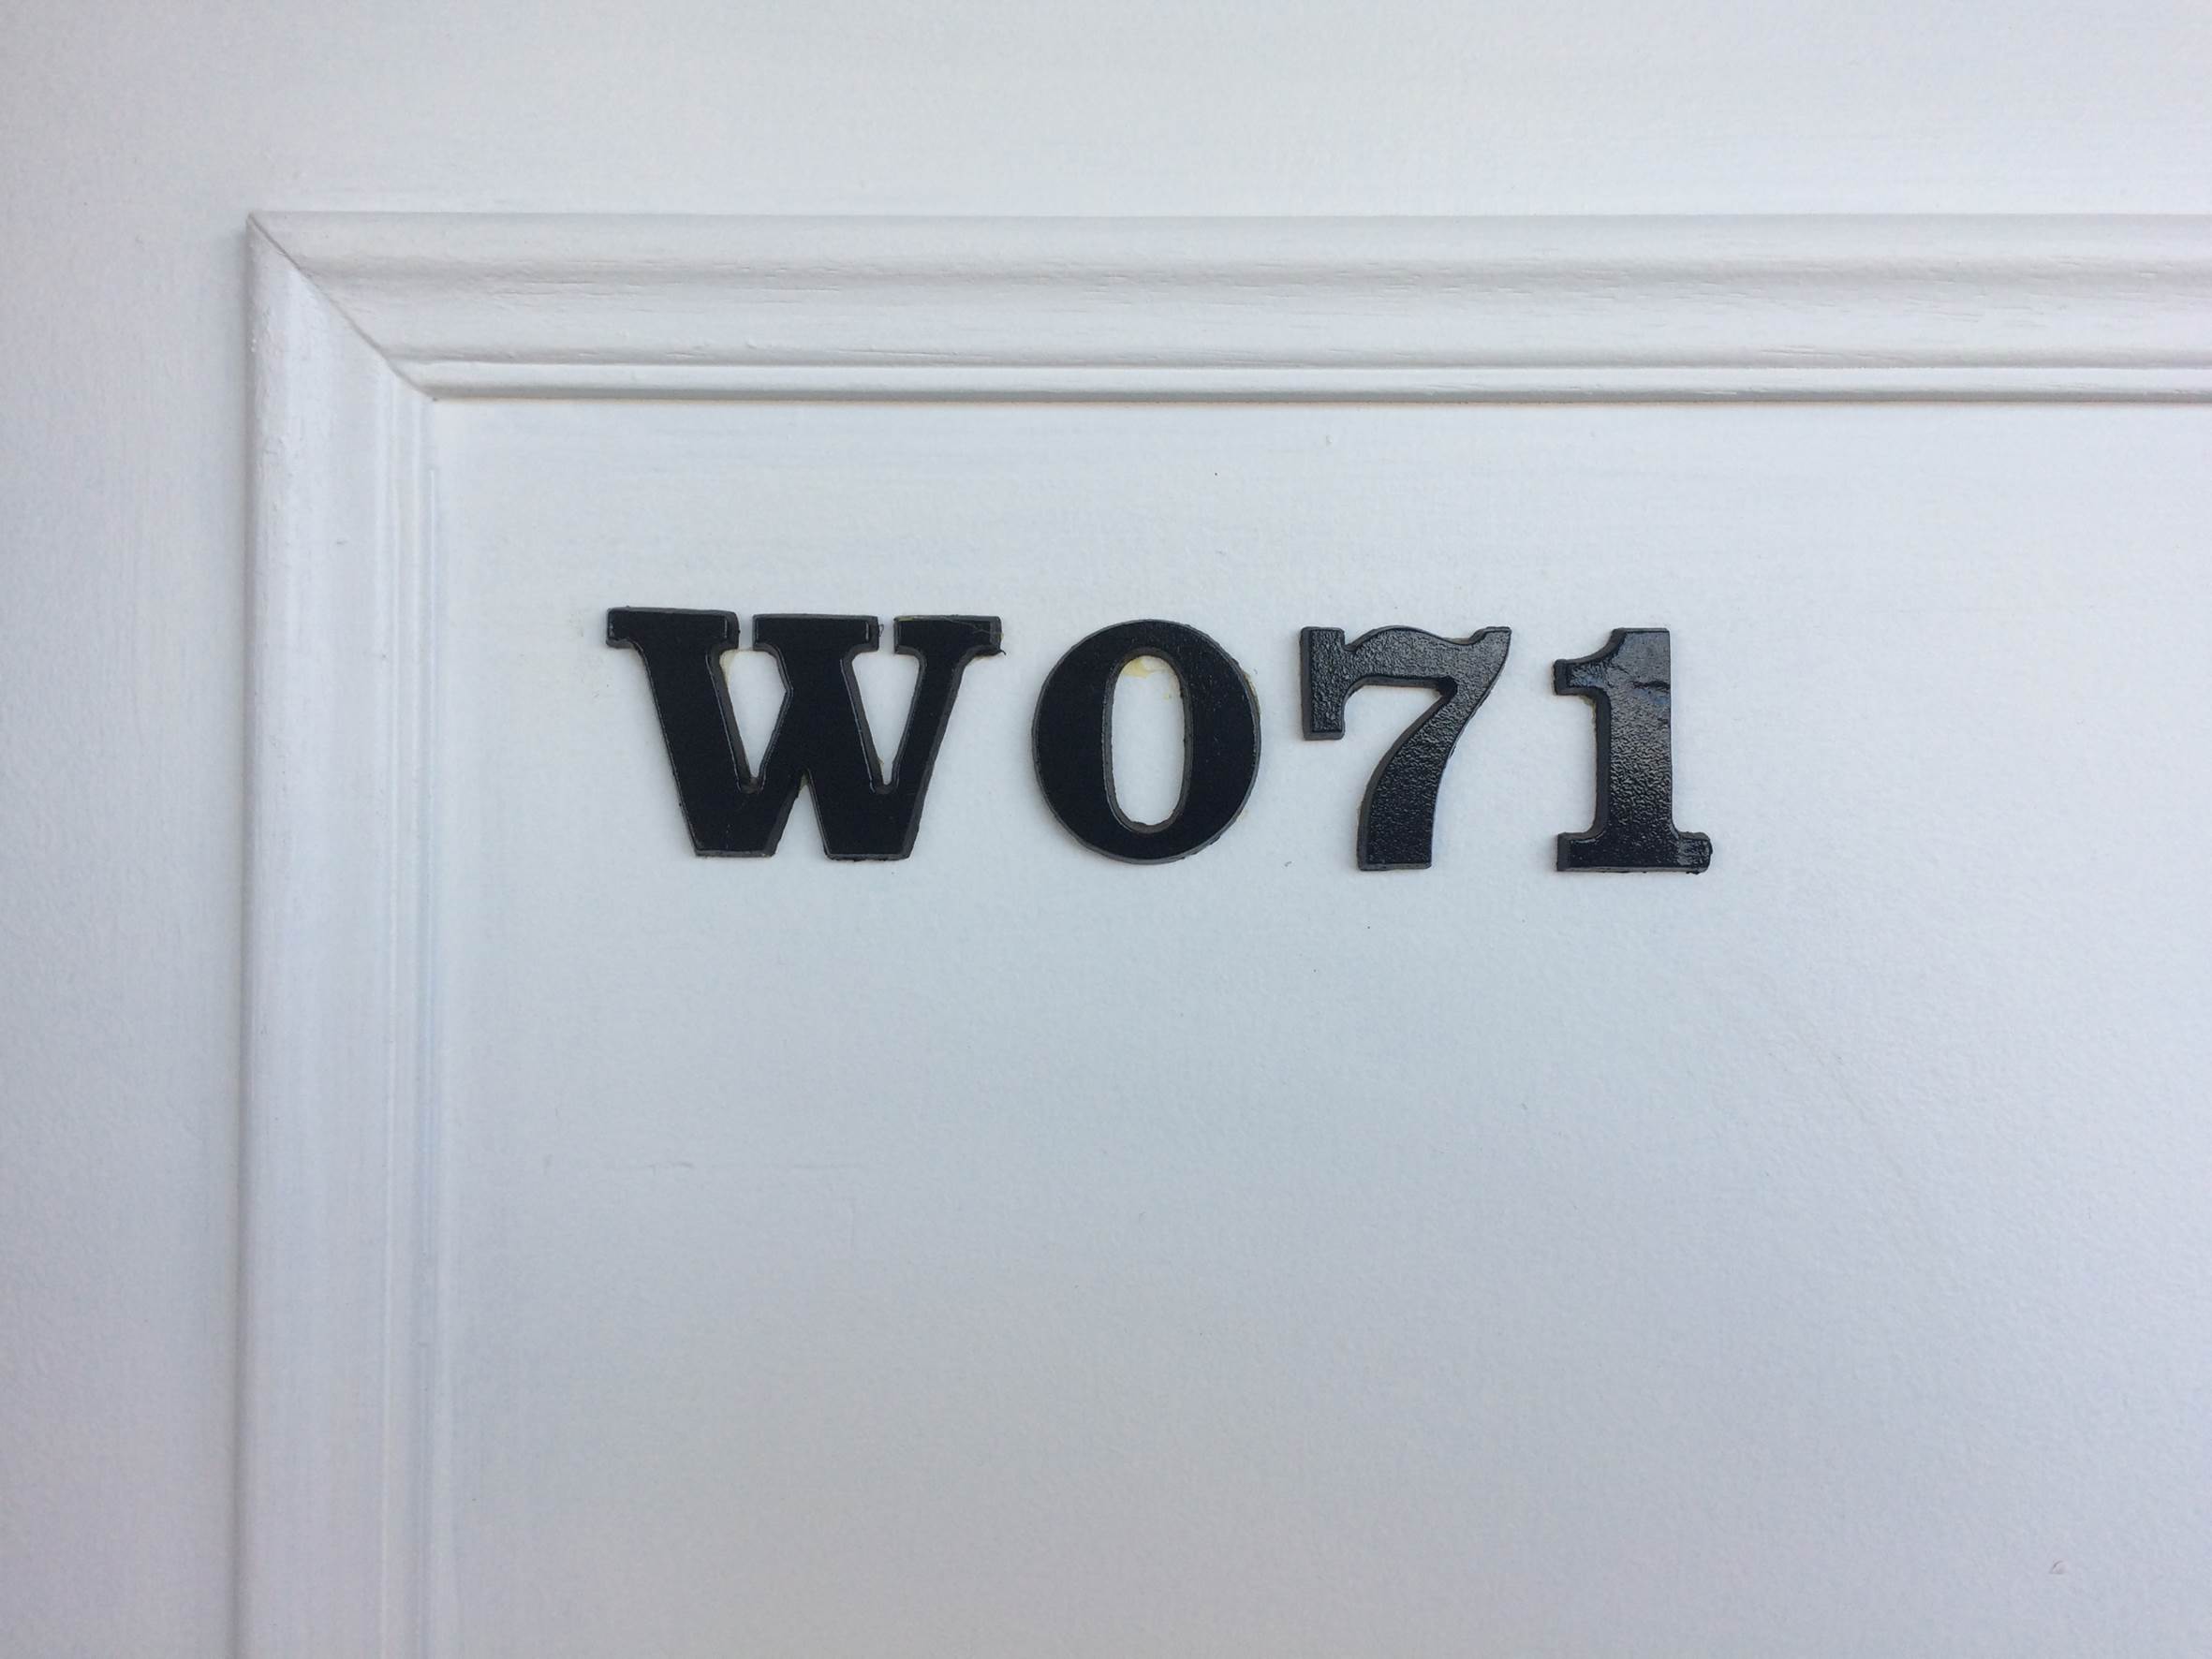
Black numbers or text on a white door (or visa versa) look more elegant and provide a nice contrast. Plastic or metal numbers can easily be spray painted to a new colour. New door handles and locks also go a long way to making your door look more modern and elegant.
Do you have an old steel door which is not holding its paintwork? Here’s a guide to give a steel door a fresh start.
If you enjoyed this project, have a look at these 8 DIY projects to seriously add value to your home.
Have you given your door an update? Let us know in the comments section below, we would love to include your pictures.