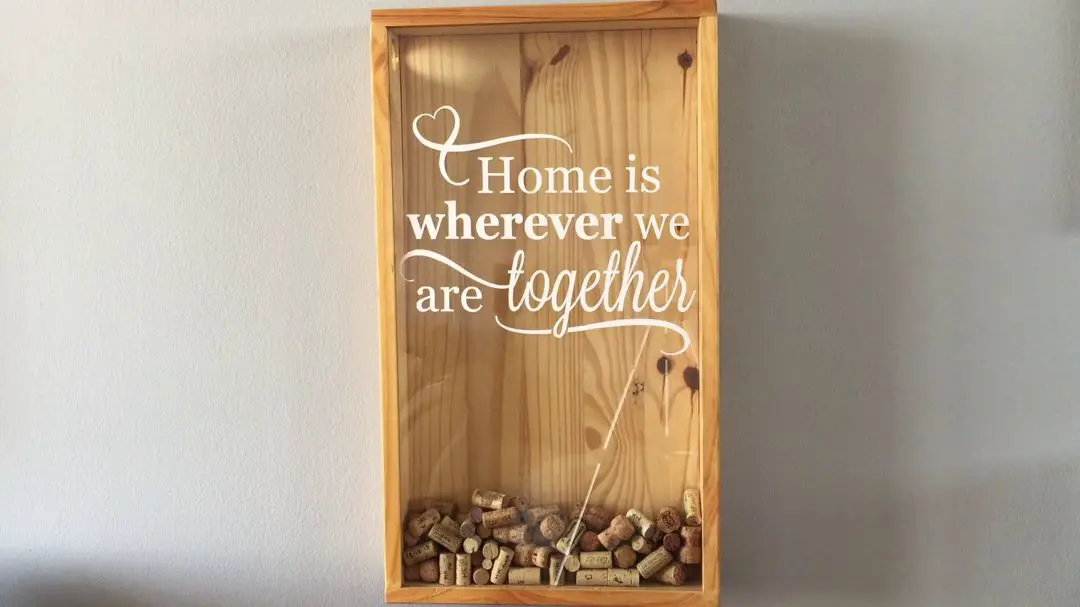
Follow this step by step guide to make your own wine cork shadow box. It is a really easy beginners wood work project and it makes a beautiful gift. The complete shadow box takes a day or two to make, although most of the time is taken up waiting for glue or varnish to dry.
The sizes given below are as per the finished product in the pictures but you can easily adapt the sizes to suite what you have available at your local hardware store, lying around your house or to suite the size of the box you’d like to make.
Read the full step by step text instructions below or watch this instructional video on how to make your own wine cork box. Purchase links for the tools and equipment used have been included in the “what you need” list to help you out.
What You’ll Need To Make Your Wine Cork Shadow Box
Materials
- 600 x 400 x 20mm Timber Sheet
- 120 x 20 x 2400mm Timber Plank
- 405 x 605 x 3mm Glass Cut To Size
- 350 x 350mm Vinyl Text Sticker
- Wood Glue – Buy Here
- Picture Hanger & Screws – Buy Here
- Optional – Clear Wood Varnish – Buy Here
- Optional – 120 Grit Sandpaper – Buy Here
Tools
- Miter Box & Saw – Buy Here
- Dremel Rotary Tool – Buy Here
- Dremel Slot Cutting Bit – Buy Here
- Optional – Dremel Router Table – Buy Here
- Optional – 2 x 600mm Clamps – Buy Here
- 40mm Hole Saw – Buy Here
- Electric/Battery Drill – Buy Here
- Screw Driver / Drill Attachment – Buy Here
How To Make Your Wine Cork Shadow Box
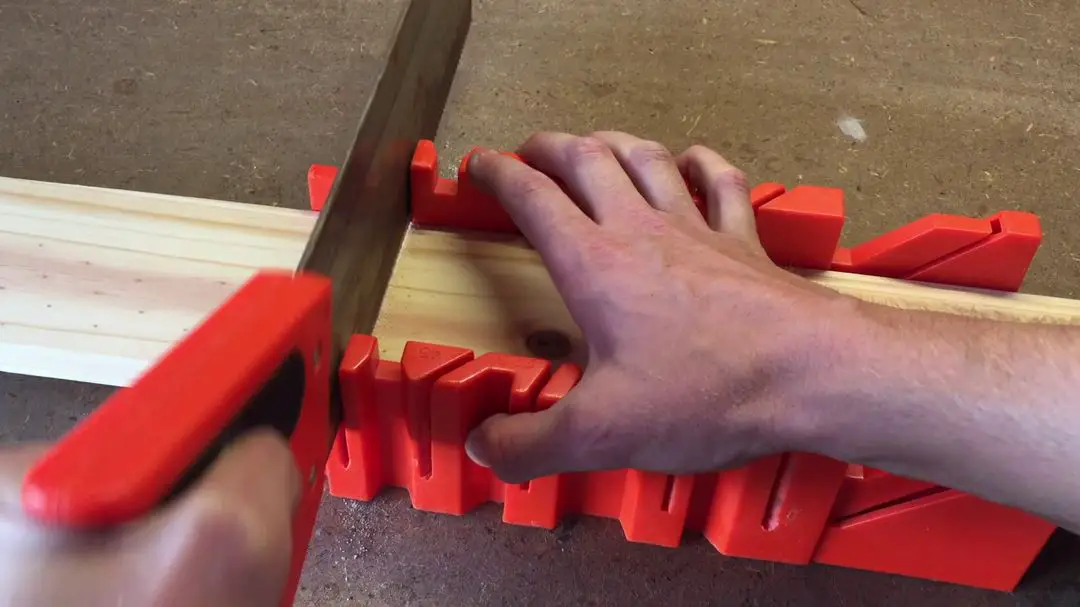
Start off by measuring out a 600mm length of your timber and cutting it off with your miter box.
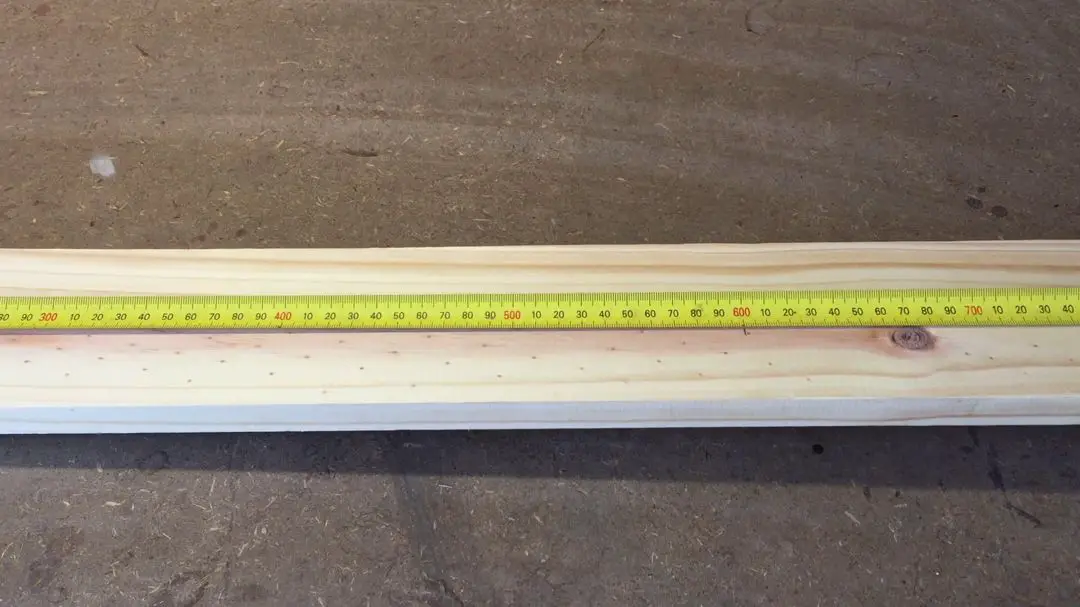
Cut a second one to make the two vertical edges of your box.
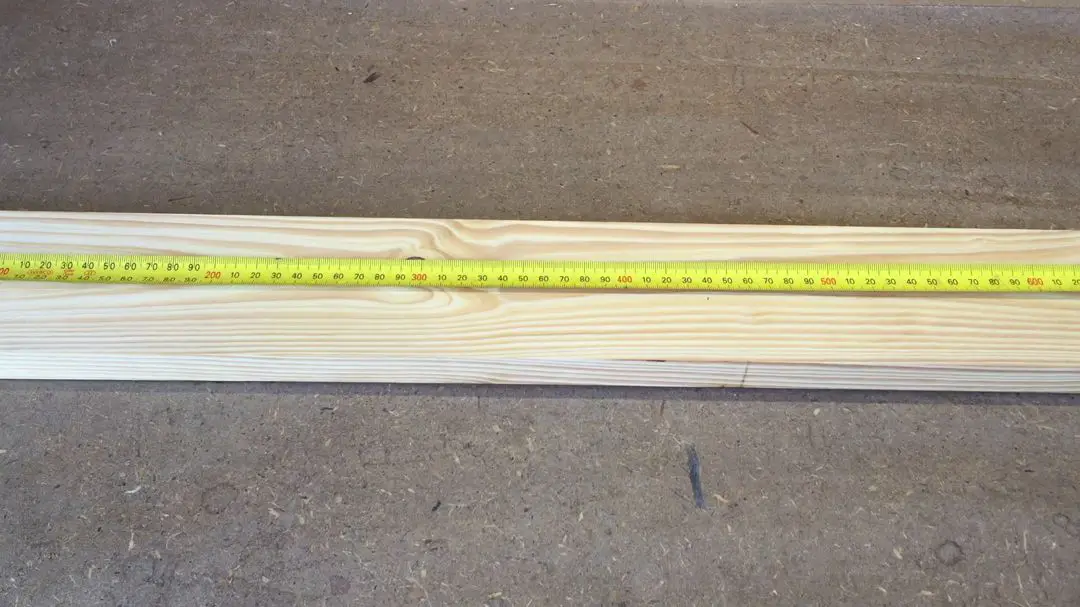
Next measure and cut two 440mm lengths of timber. These need to be cut longer than 400mm as they will overlap the vertical sides once your box is assembled.
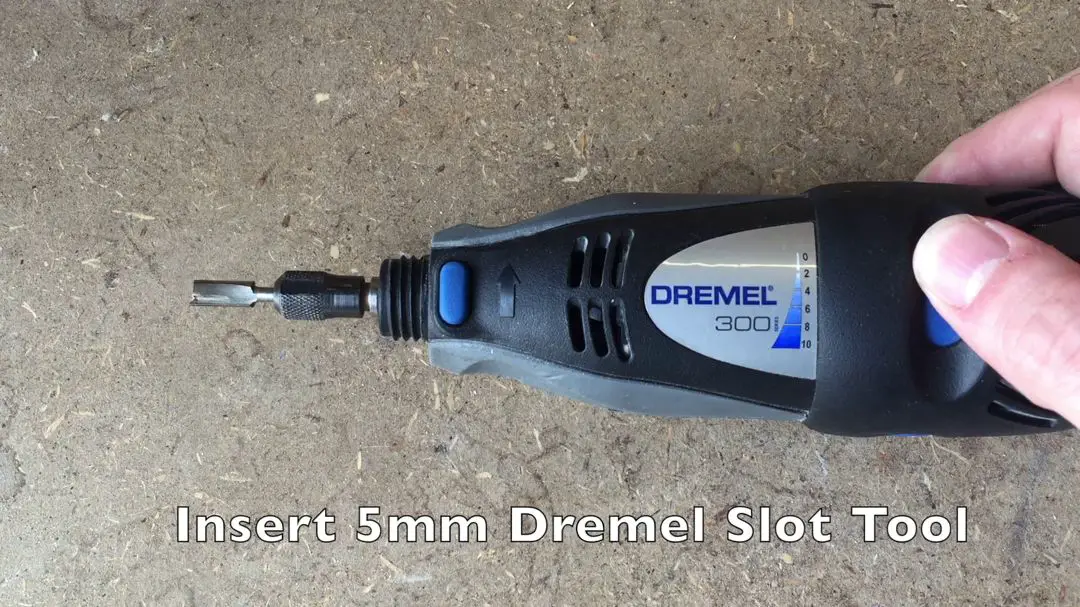
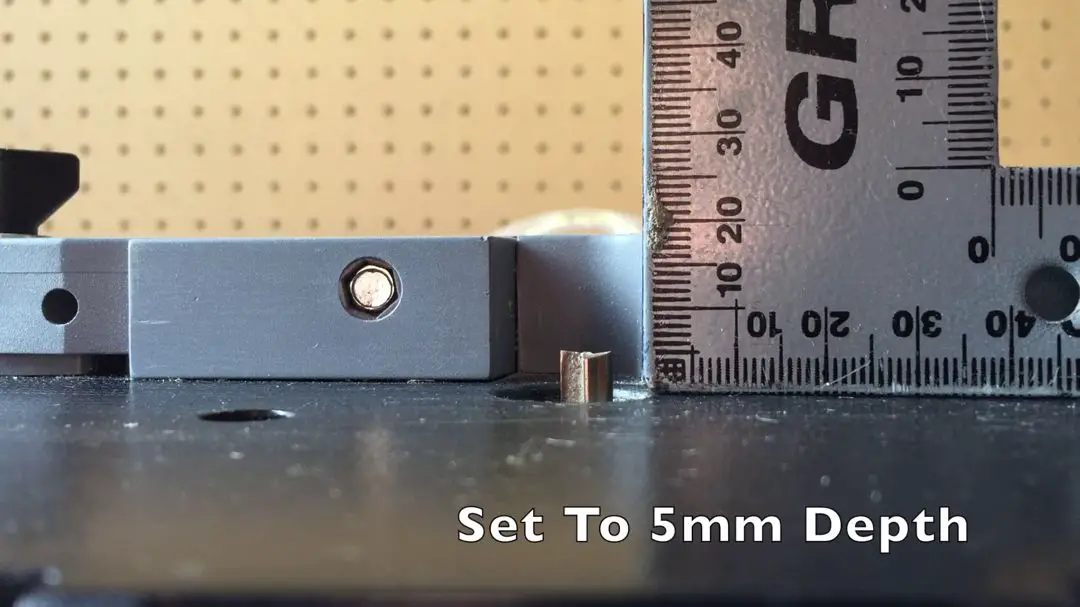
Once you have your lengths cut, you need to use your Dremel rotary tool and 5mm slot attachment to cut a slot in each of the sides of your shadow box to hold the glass.
The Dremel router table helps keep your Dremel in place at a consistent depth and assists in cutting straight lines. Position your Dremel to cut around 5mm from the front face of each plank and around 5mm deep.
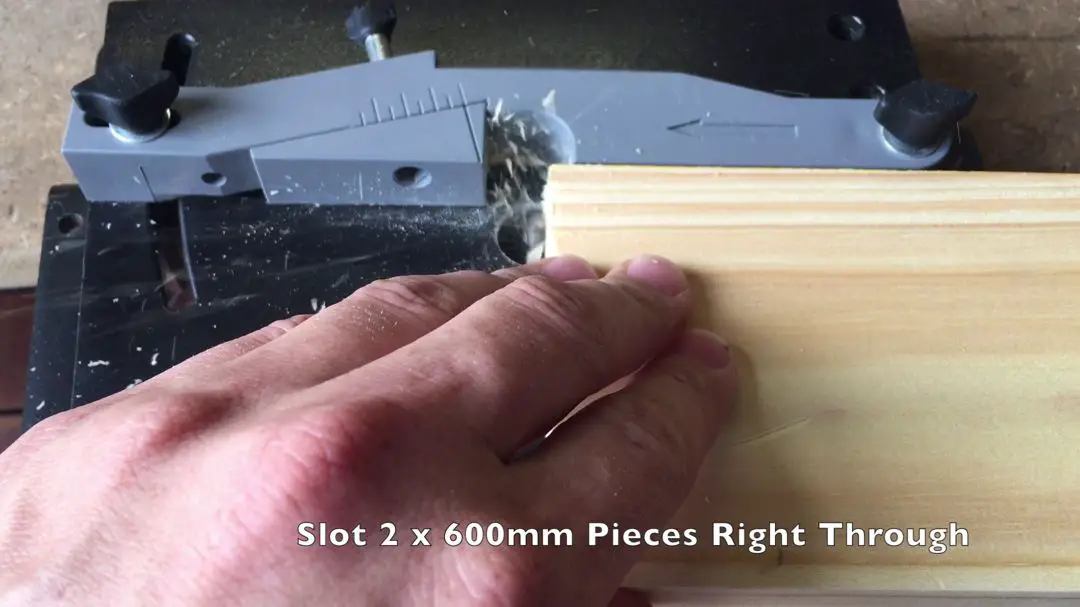
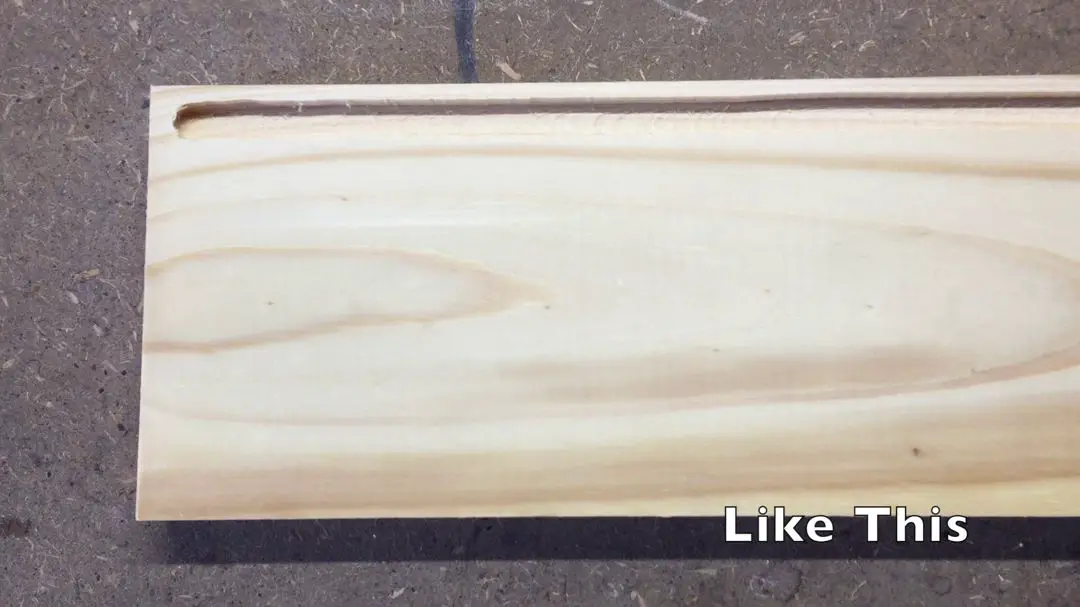
Cut the slot the full length of the 600mm planks.
Cut the slot in the 440mm planks leaving around 5-10mm of clearance on each end. These ends will overlap the slots you’ve cut into the 600mm planks once assembled.
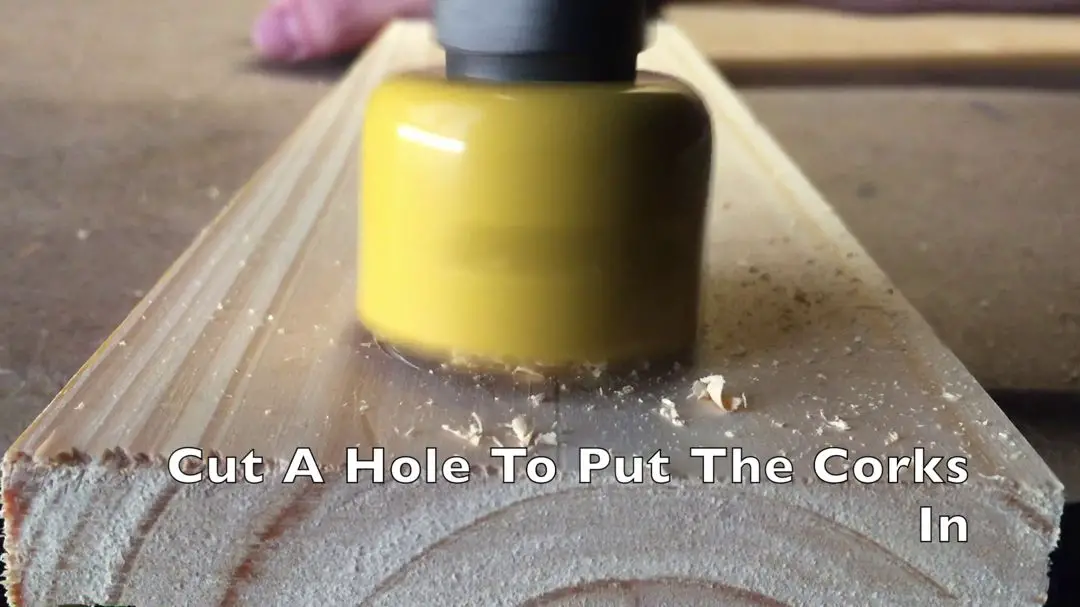
Measure out the center (45mm) of the left side plank and measure 30mm down from the top.
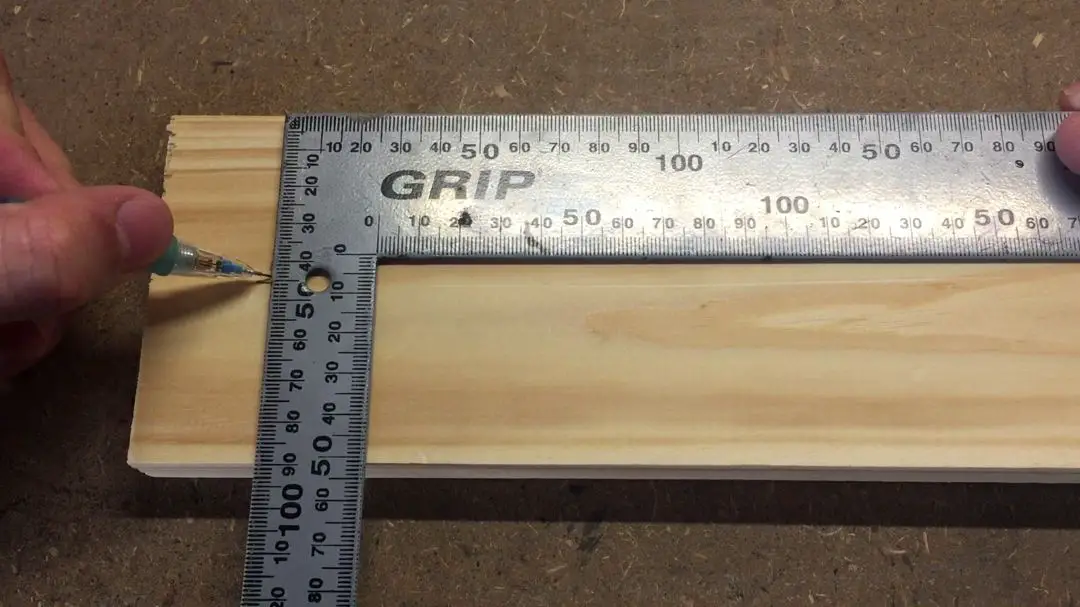
Use your drill and hole saw to drill out a 40mm hole in the side.
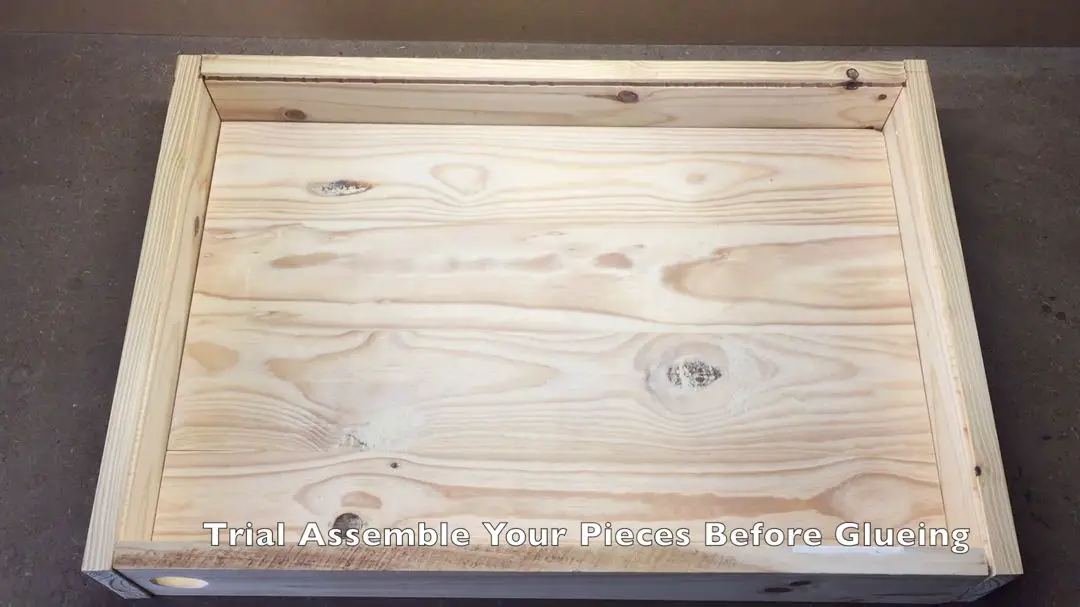
Now that you’ve finished cutting and preparing all of your wood, trial fit the pieces to make sure that all the edges and slots line up.
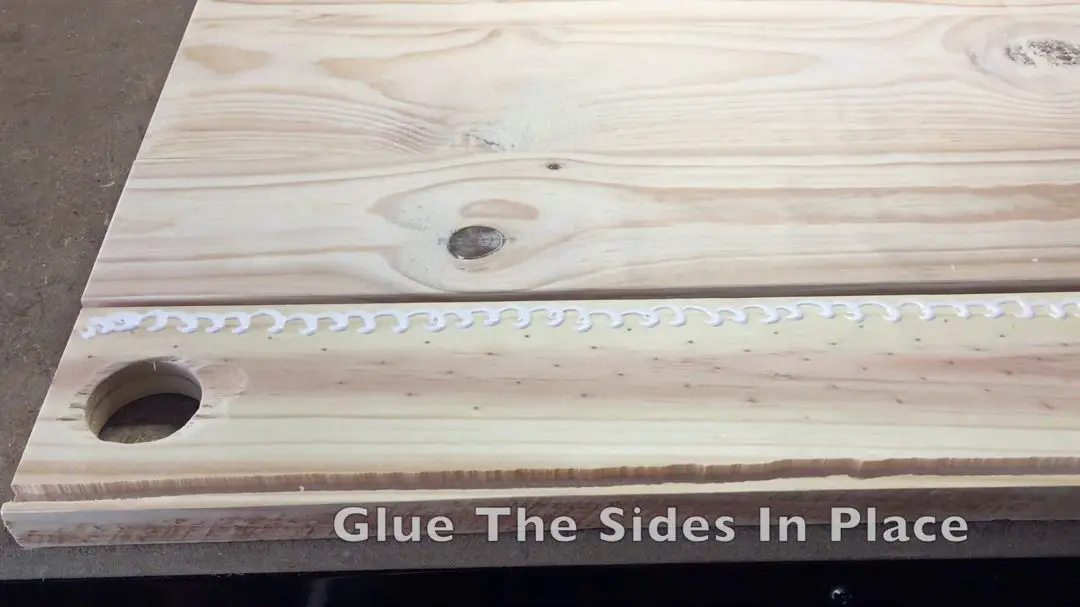
Glue the two 600mm sides onto the 600mm sides of your timber sheet. Make sure the edges are flush with the bottom of the sheet and lined up with the ends of the sheet. The slot should be at the top on the inside of the box.
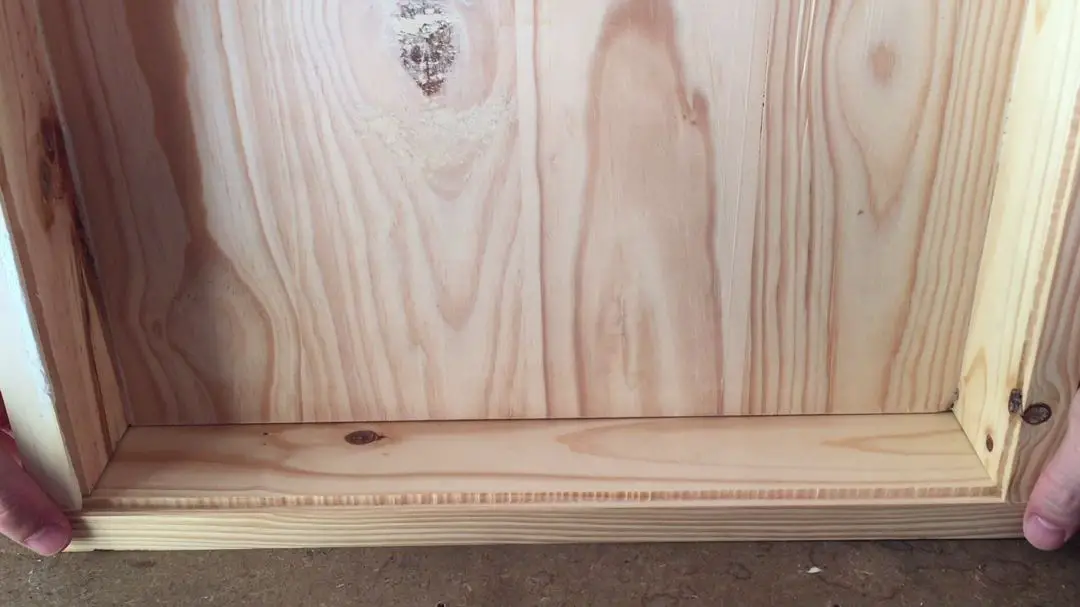
If you have clamps, clamp the edges in place until the glue has dried. Now glue the bottom 440mm bottom side into place. Line it up with the edges of the 600mm sides and ensure that the slot it lined up all the way around. Do not glue the top side into place!
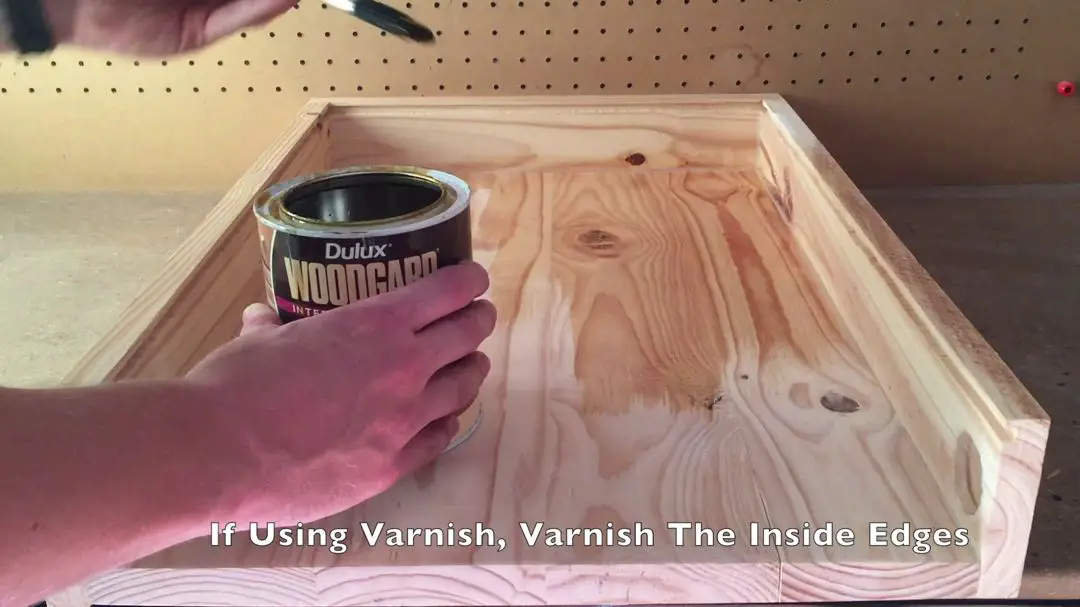
If you are going to varnish or colour stain your wine cork shadow box, you’ll need to varnish/stain the inside of the box now. Varnish the inside of the back sheet, the inside of the three side panels and finally the inside edge of the loose top piece. You won’t be able to get to these areas once the glass is in place.
Once the varnish/stain has dried completely, slide the glass into place in the slots. Be gentle and don’t force it if it gets stuck as it may break. You may need to clean up some areas in the slots to get the glass to fit perfectly. Remember to clean the inside of the glass with window cleaner or rubbing alcohol before inserting it as you won’t be able to clean it later.
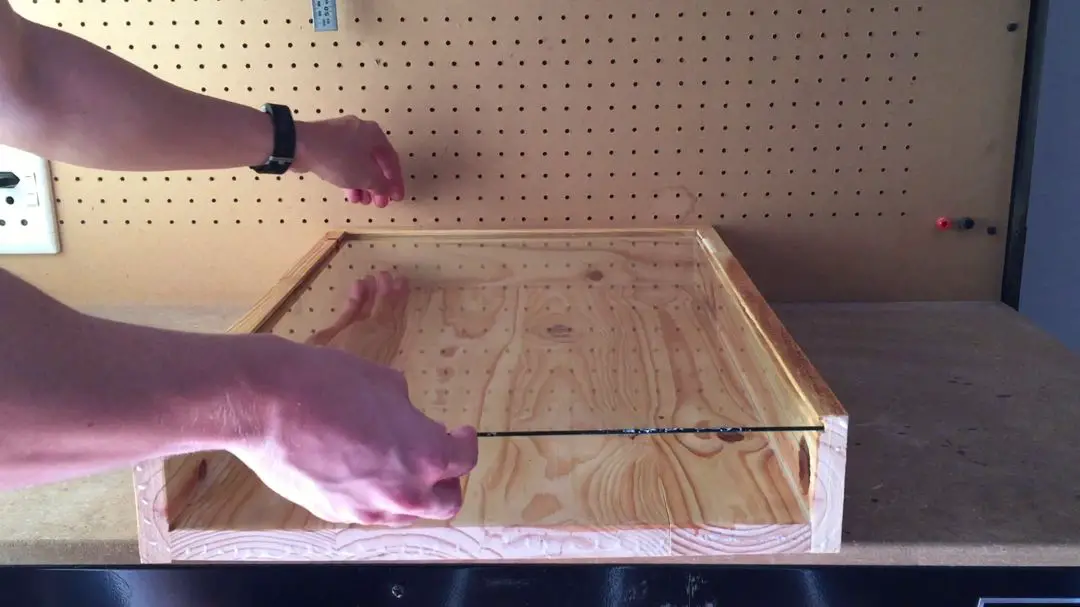
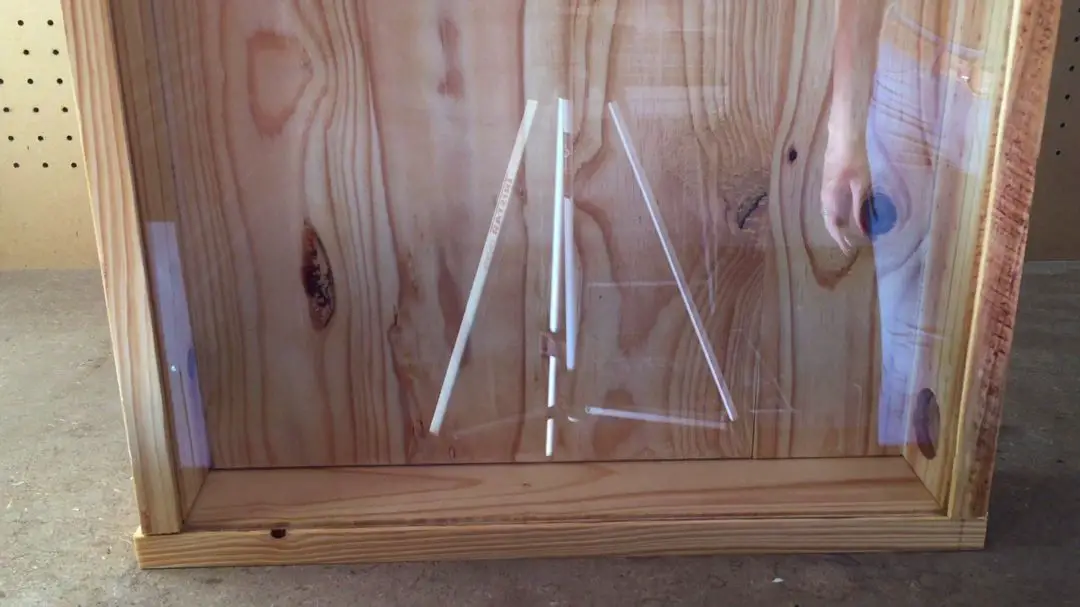
With the glass in place, you can glue the top side on. Line it up and make sure that the slot lines up with and covers the top edge of the glass.
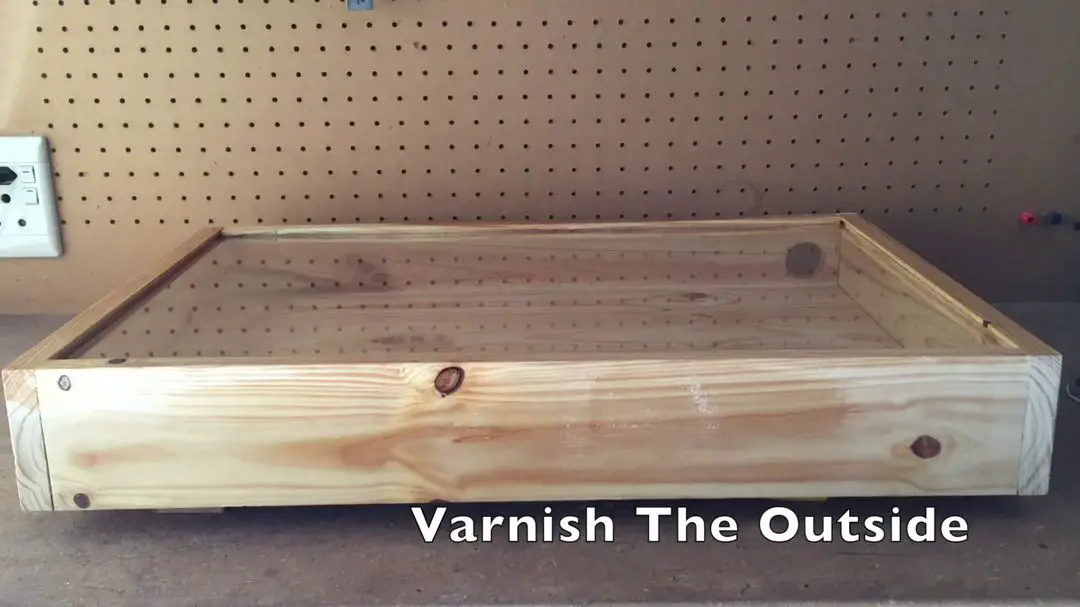
Allow the top side’s glue to dry, then varnish/stain the outside and the back of the box.
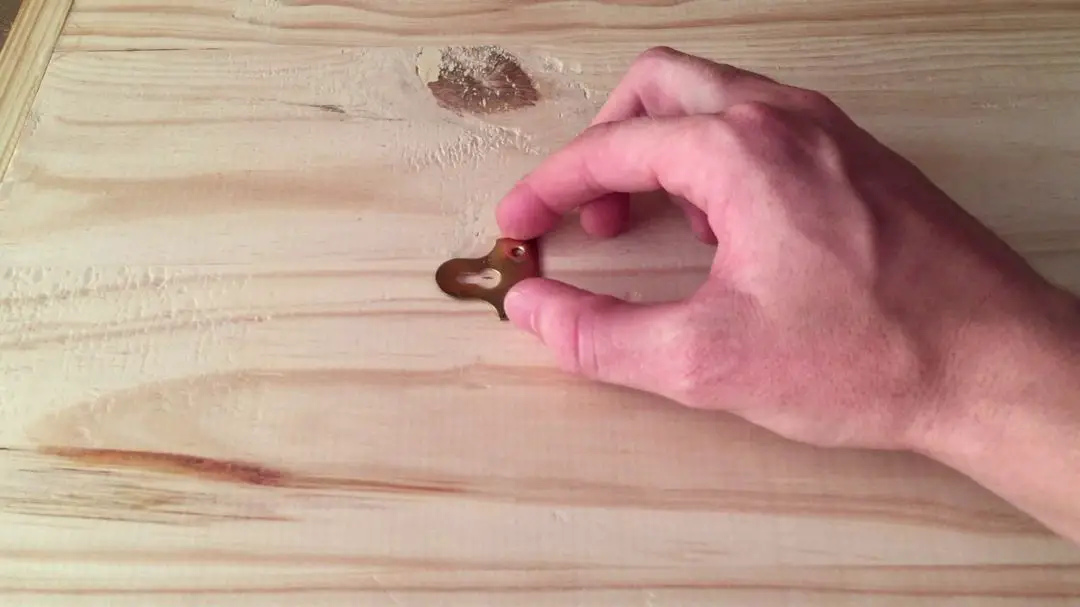
When the varnish/stain is dry, turn the box over. Mark the centre for the picture hanging hook and then screw it into place, it should be positioned roughly two thirds of the way up the back of the box.
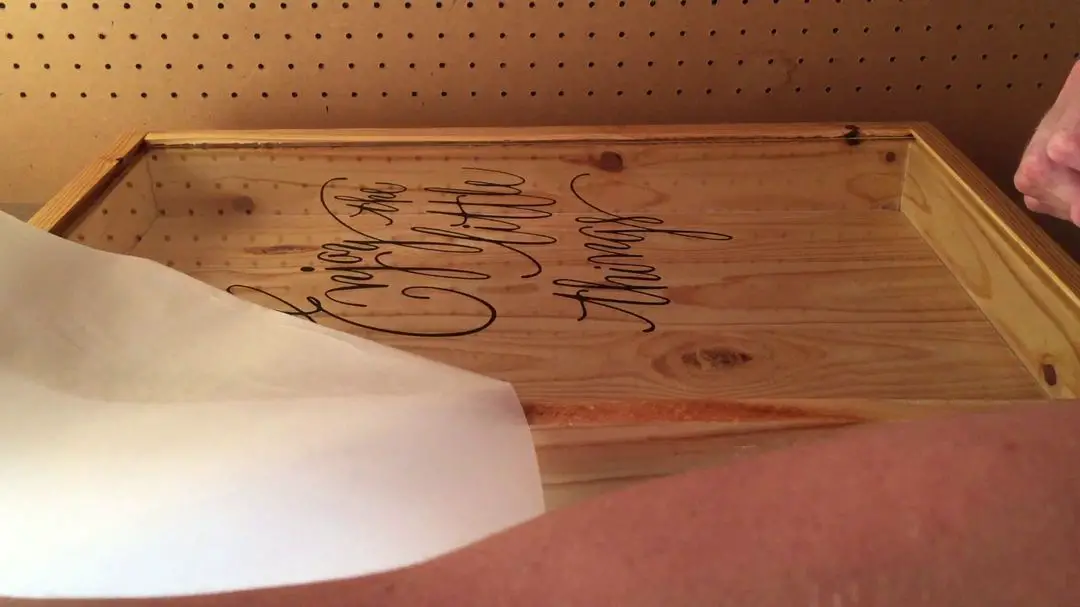
Finally, turn the box back over and apply the vinyl stickers. It’s a good idea to clean the glass with window cleaner before applying the sticker. It is easier to get someone to help you with the sticker so that it doesn’t wrinkle or fold over itself. Apply the sticker on one side and work your way over to the other side to avoid wrinkles and bubbles.
You wine cork shadow box is now ready to be hung up. Put a screw into the wall and hang the box up on it. Read up how to install a screw in a masonry wall here.
We like to write the date and the initials of those who joined us for the special occasion onto the cork before popping it into the box.
Have you made your own cork shadow box? Let us know in the comments section below.