A flat tyre on your car is one of the inconveniences of driving, fortunately it is a quick and relatively easy problem to fix. A puncture smaller than 7mm (1/4”) can be repaired with a plug, gashes or wide punctures should be repaired by a tyre dealer or the tyre may have to be replaced.
Tools Required For This Repair:
- Car Jack
- Wheel Spanner
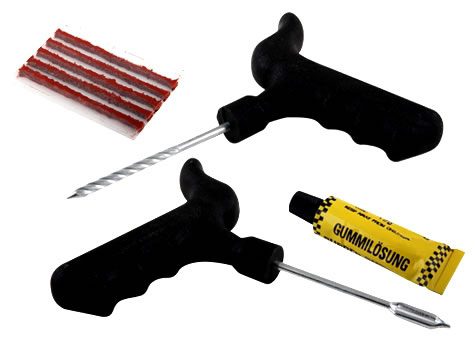
- Tyre Puncture Repair Kit
- Soapy Water – Optional if the leak can’t be found
Firstly loosen the wheel nuts before you jack up the vehicle. You do this before jacking up the vehicle so that the vehicle’s weight prevents the wheel from turning when you turn the spanner. Do not remove any of the nuts at this stage, just loosen them about a quarter of a turn.
Once the nuts have been loosened, you will need to jack up the vehicle. This should be done on a hard and level surface with the hand or parking brake applied and the vehicle in gear or in park (in the case of an automatic). As an additional safety measure, stop blocks can be used on the non lifted wheels to ensure that the car remains stationary during jacking. Most vehicles have jacking pads underneath the vehicle on the door side of each wheel arch right near where the wheel arch begins. Check the vehicle’s service manual for details on the jacking points if you are not sure.
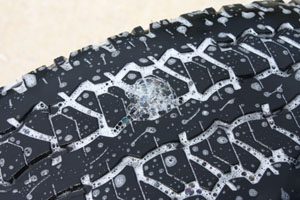
Loosen and remove the nuts. Once the nuts are removed, pull the wheel off of the wheel hub. You now need to find the puncture. Re-inflate the tyre using an air compressor or pump, a bicycle pump will also work as a last resort. If there is a fast leak, you will be able to hear the escaping air making a hissing sound. If the leak is a slow leak and is not immediately obvious, mix up a solution of dish soap and warm water. Carefully go around the perimeter of the tyre and apply the soapy water, the hole will cause bubbles to form in the soapy water on top of the puncture.
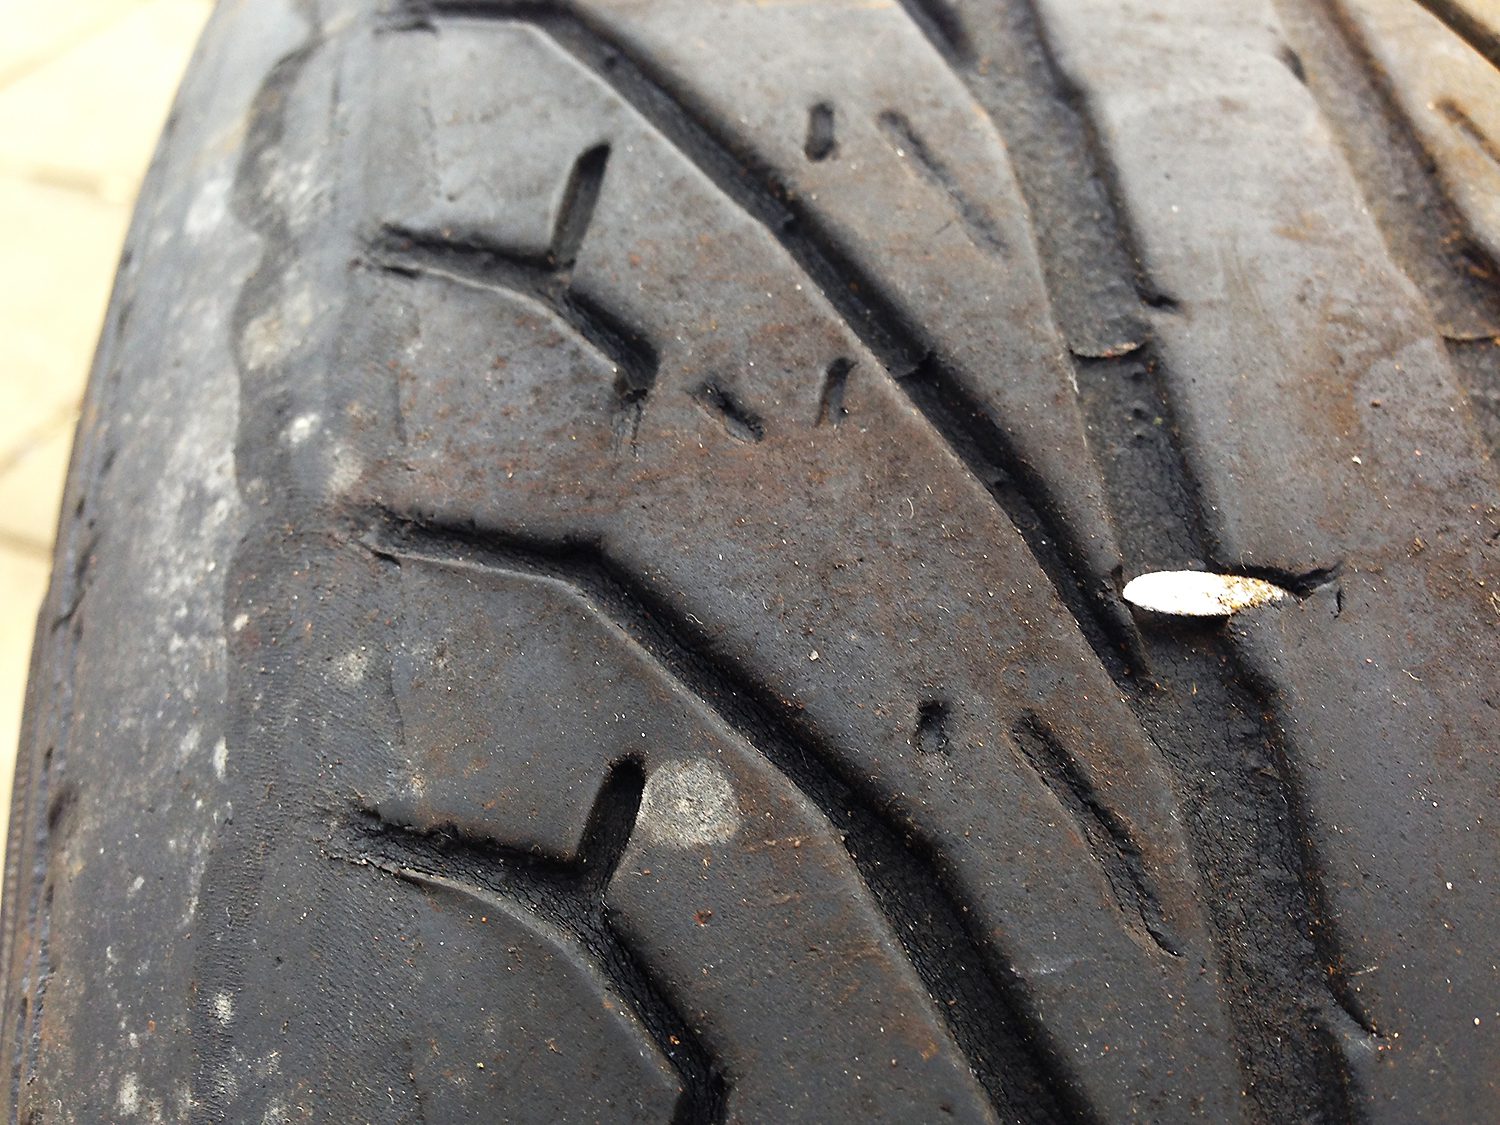
If there is a nail, screw or other protruding object in the tyre, remove it using a pliers.
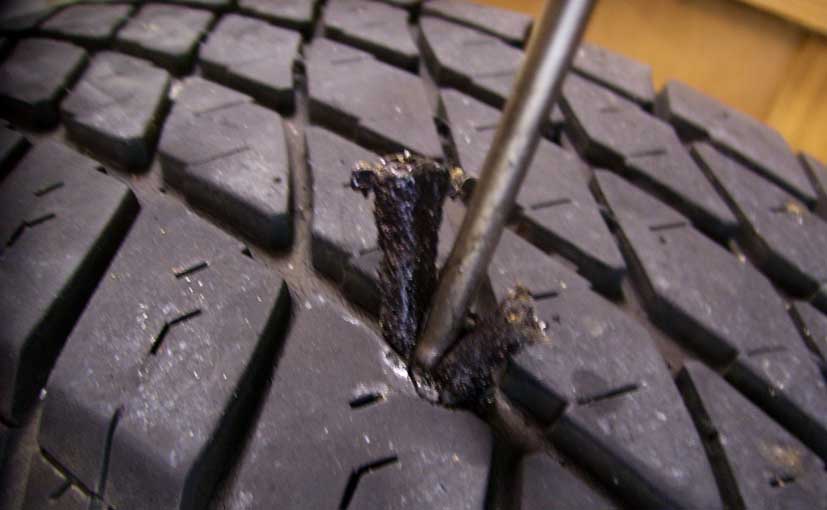
Clean and open up the hole with the rasp tool included in the tyre kit. This is done by repeatedly inserting and removing the tool in a filing manner.
Thread a plug into the insertion tool. This can be tricky as the plug is usually very sticky. Squeeze one end flat and then force it through the eye on the insertion tool. If your puncture repair kit came with glue or rubber cement then apply this to the plug now, it will assist with lubricating the plug as it is inserted and will extend the life of the repair. Use the insertion tool to force the plug into the tyre, there should be about 10cm (1/2”) of the plug protruding from the tyre.
Inflate the tyre to the recommended pressure and retest the repaired area with soapy water. There should be no formation of soap bubbles around the repair. If the repair is leaking then either try adding some more rubber cement or remove the plug and start again.
Position the wheel back on the wheel hub with the studs or holes aligned with the holes on the rim. Thread the nuts back onto the hub and tighten them with your fingers. Lower the vehicle back onto the ground and then tighten the nuts to the torque specified in the service manual.
The tyre repair should last around 30 000km (18 000 miles) before the tyre will need to be replaced.
Thanks for sharing your views
Nice one but i don’t understand