These awesome hexagon shelves can be customised to suite your storage needs and all of the connectors are 3D printed! This project is a really cool way to get some functional use out of your 3D printer.All you’ll need to complete this project is some 1″ x 8″ (25mm x 200mm) pine lumber, some 0.5″ (10mm) screws and your 3D printer.
If you enjoy projects which make use of 3D printed components, have a look at these Amazing Homemade 3D Printed Nautilus Speakers.
This project by TonyH0612 is shared under the Creative Commons license – CC 2.5 BY NC SA.
What You Need To Make Your Own 3D Printed Hexagon Shelves
- 1″ x 8″ (25mm x 200mm) Pine Lumber – You Can Use Wider If You’d Like To
- 0.5″ (10mm) Wood Screws
- 3D Printer With ABS or PLA Filament
How To Make Your Own 3D Printed Hexagon Shelves
To start off, you’ll need to plan your layout in order to figure out how much lumber you need and how many of each of the two types of 3D printed connectors you need.
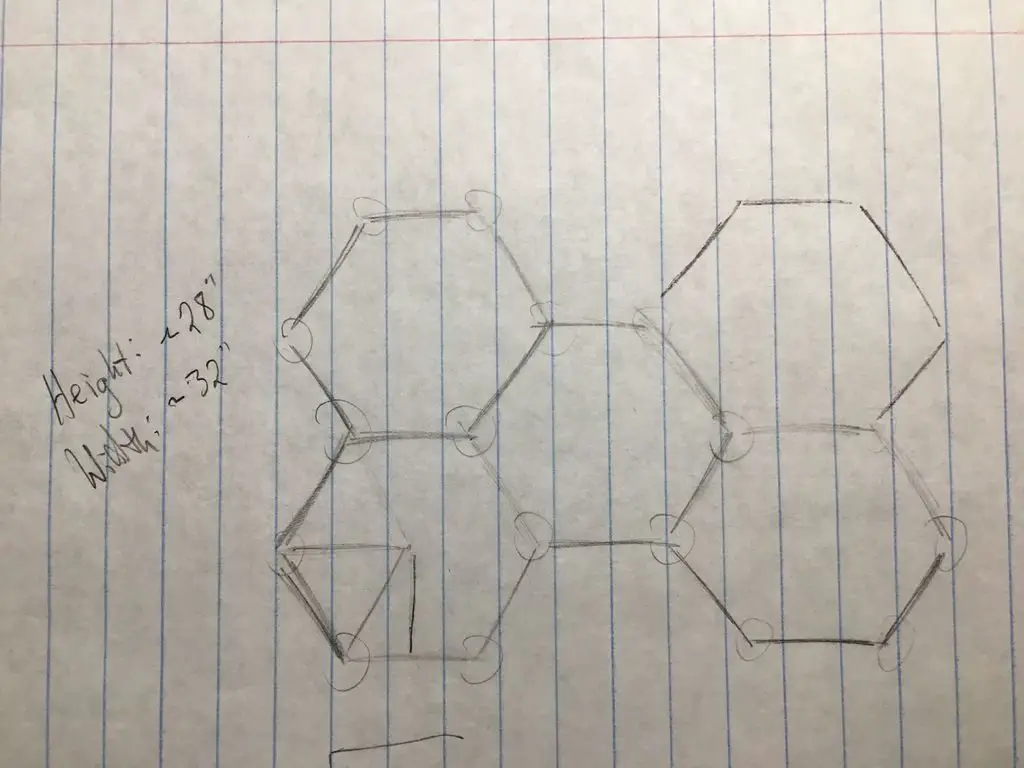
Each joint in your shelving system will either be a two connection or three connection joint and you’ll need one at the front and one at the back of each joint. Your board length can also be as long as you’d like it to be (to make bigger hexagons) but keep in mind that all of the boards need to be cut to the same length in order to form perfect hexagons.
For the design shown in the sketch, you’ll need:
- 24 Boards
- 24 Double Connectors
- 16 Triple Connectors
- 96 Screws
Cut Your Boards To Length
Depending on what type of lumber you are using, you’ll need to either use a handheld or powered mitre saw to cut your boards to the same length.
The boards in this design are all cut to 7.5″ (185mm) lengths, meaning you’ll require a total length of 180″ (4440mm).
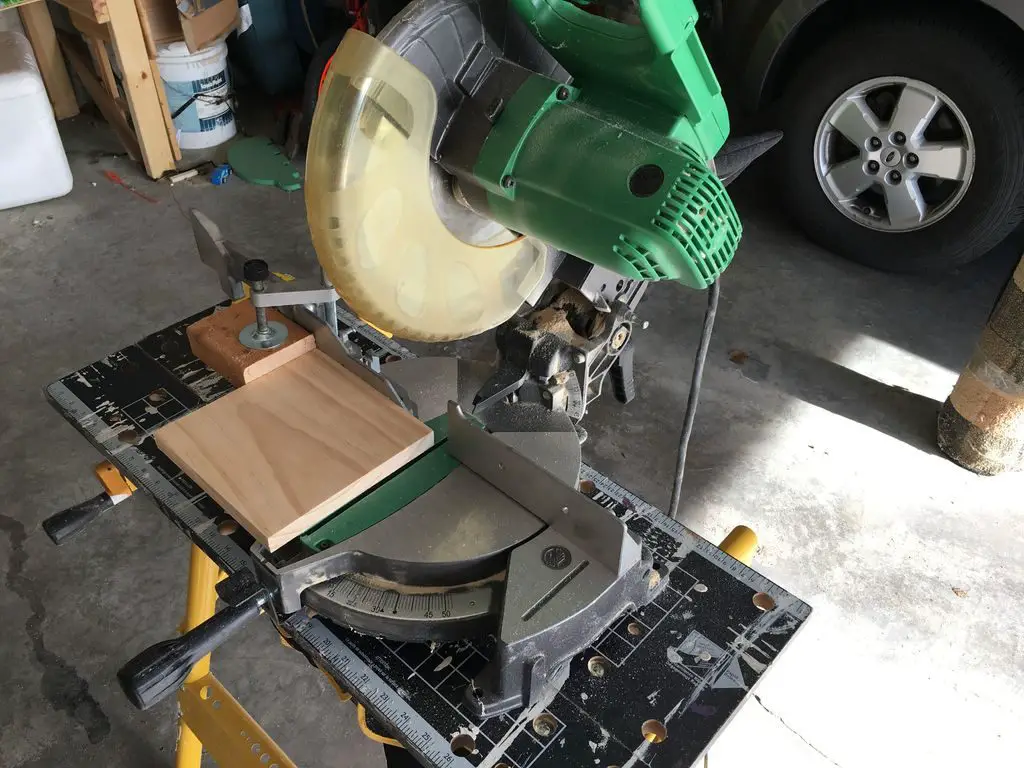
You need to pay special attention to getting consistent lengths when you’re cutting your wood. It doesn’t matter if your boards come out fractionally longer or shorter than your planned length as long as they’re all consistent. This is best achieved using a stop block on a powder mitre saw. You can also achieve good results with a handheld saw but make sure that your measurements are accurate and draw a pencil line on the wood where you intent to cut it.
After you’ve cut all of your boards, use a piece of 220 grit sandpaper to go over the edges and clean them up. You could also choose to paint, varnish or stain the boards for a different finish. Make sure that the paint or varnish is properly dry before moving on to the final assembly stage.
3D Print Your Shelf Connectors
Once you’re done cutting your boards, you can start with printing out your connector pieces. If you’ve got a 3D printer with a large print bed, you could set up to print a number of connectors at once and then start printing your connectors while you cut your boards to length.
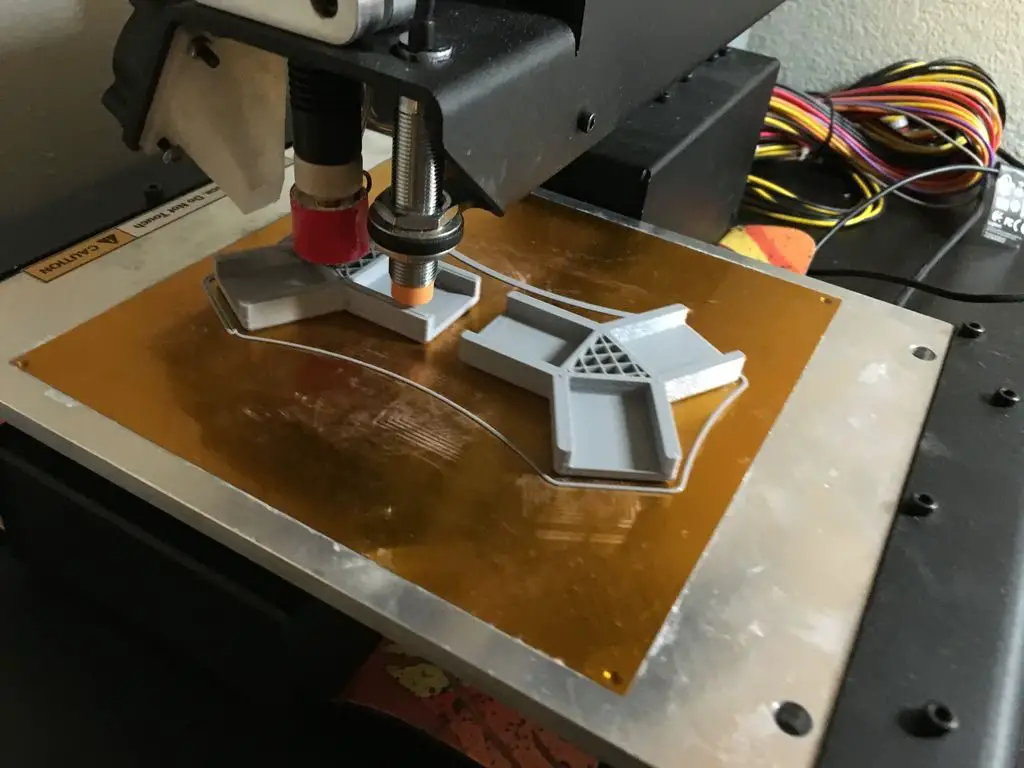
Download the 3D print models here.

Depending on your 3D printer setup and model size, you may need to adjust the settings but a good starting point is to use 3 layer walls and 20% infill. This should be thick enough to get the edges to be printed solidly and the body of the connector to have the 20% infill.
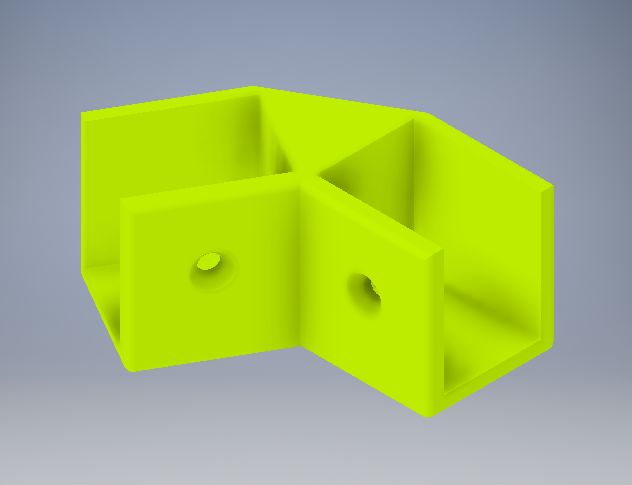
Final Assembly Of The Hexagon Shelves
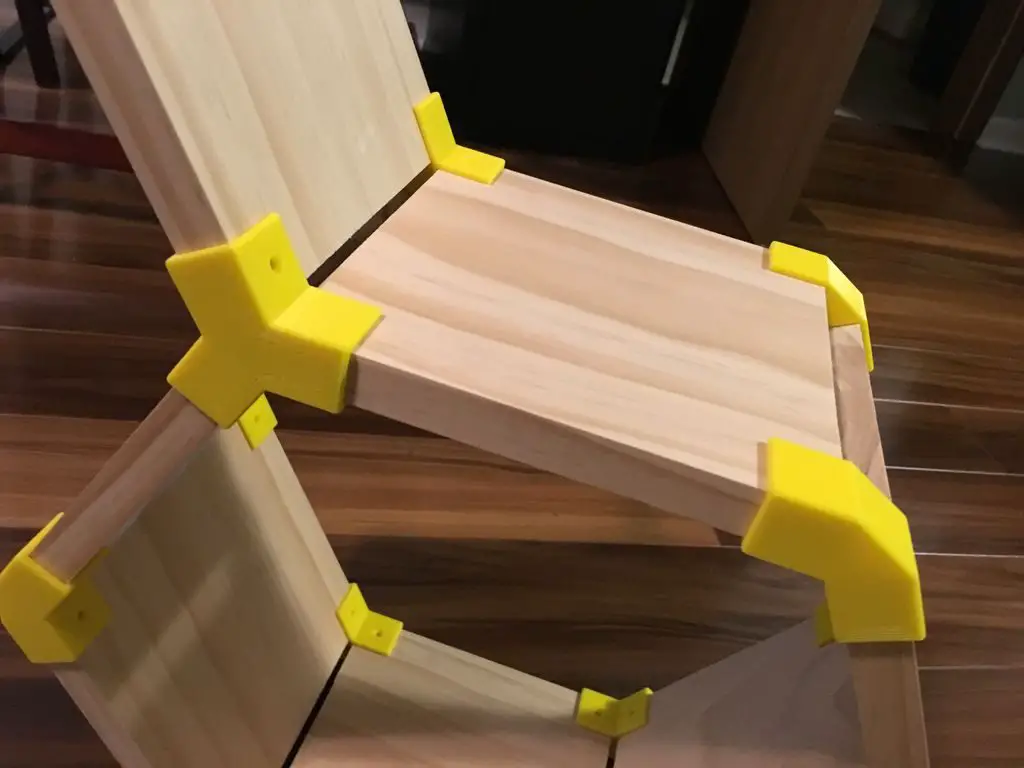
Once you’re finished printing your connectors, you can start with the rough assembly. The connectors should fit over your board with a bit of an interference fit so that the joint is sturdy.
Put all of the connectors onto one side of your shelve system and then flip it over and put the connectors onto the back side. Push the connectors right up against the edge of the wood so that there are no gaps in your finished product.
If a connector feels too tight, try sanding the wood a little, don’t force the connector as it may crack.
Once all of your connections are in place, you can put the wood screws in to secure each connector. You may need to drill a small pilot hole in the wood to avoid cracking the ends. Also be careful not to over-tighten the screws as you may crack the 3D printed connectors.
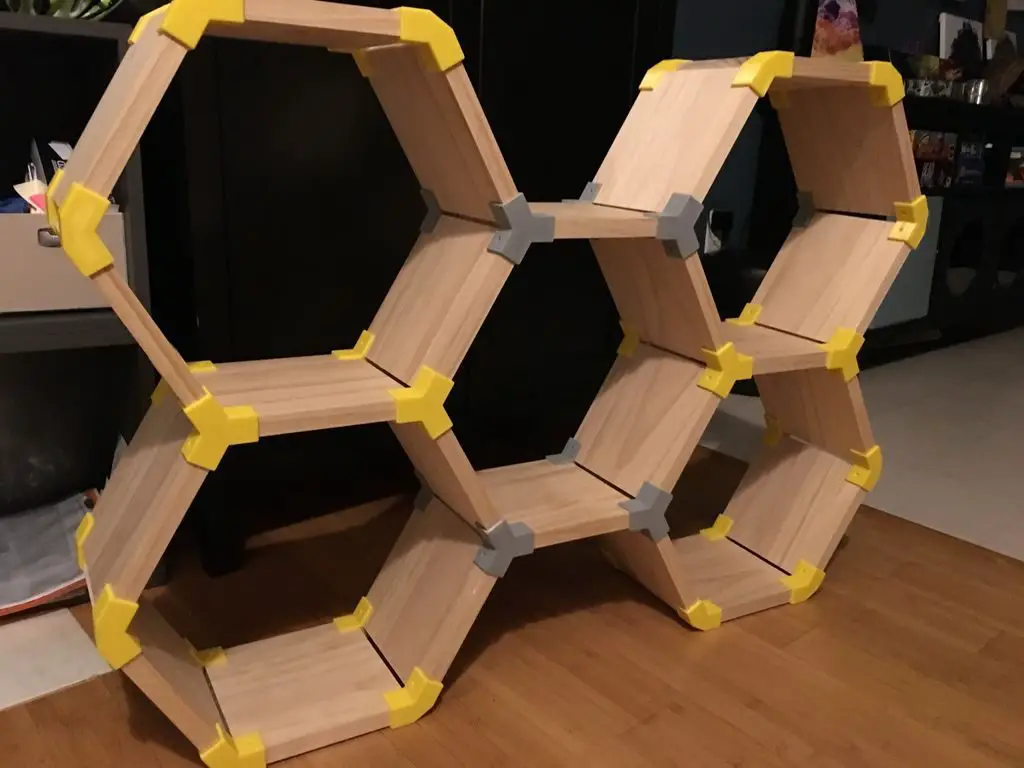
Once you’re finished screwing the connectors together your hexagon shelves are complete! Good luck with your build and let us know how your project goes in the comments section below.