With springtime in full swing and summer just around the corner, it is the perfect time to start thinking about giving your home a fresh exterior paint job. A well done paint job is able to completely transform the appearance of your home, it’s like getting a brand new home quickly and without breaking the bank. Painting your home, especially painting the exterior of your home, protects the walls and building materials, adds personality and character, making it way more pleasant to look at. Paint is also one of the most important mechanisms for defense against harsh weather conditions, pesky insects, and so on.
Above all, it is a crucial aspect of home maintenance that every homeowner should consider sooner rather than later. Of course, one may consult with professionals and get the job done, but this article is for the people who would rather do things by themselves. If you do choose to do things yourself, make sure to bring yourself up to speed on the correct painting procedures and any local regulations which may be applicable in your area! Let’s read on and get to business.
1. Get Into Preparation
Before you start painting your home, make sure you do proper preparation work. The preparation work may take a bit longer but it will ensure that your paint job looks professional and lasts long.
Start off by carefully washing the exterior of your home, remembering to clean all of the areas which you’re going to be painting. One of the best ways to do this is by getting your hands on an affordable pressure-washer. This option is quite affordable and will save you a lot of time and effort instead of doing everything by hand. Don’t use any detergent, just use straight up water without any additives. If there are any visible patches of mould, then use a strong mould cleaning product which will be able to remove it without any problems. After you have finished, let your home dry for a day or two before proceeding with the next steps. Water may soak into the wood or between trim so it is important to give it time to evaporate completely before carrying on.
Once your home is properly dry, grab a good scraper and scrape away any old paint. This step will ensure that the new paint adheres to a solid surface and doesn’t flake off in a few month’s time. Finally, get your hands on a quality oil-based primer and apply it to any bare or exposed areas.
2. Gather The Tools And Materials
Next, pull out everything you will need for the actual painting job. A large bucket and paint stirrer are essential for big jobs like these, you should always stir the paint thoroughly before applying it to the walls. You’ll also need a large brush, preferably an angled sash paintbrush if you are dealing with painting trim. A smaller brush is also necessary as it will give you more control, and keep the edges and finer areas looking clean and perfect. Next, you’ll need to get out of your regular clothes and wear something that you do not mind ruining.
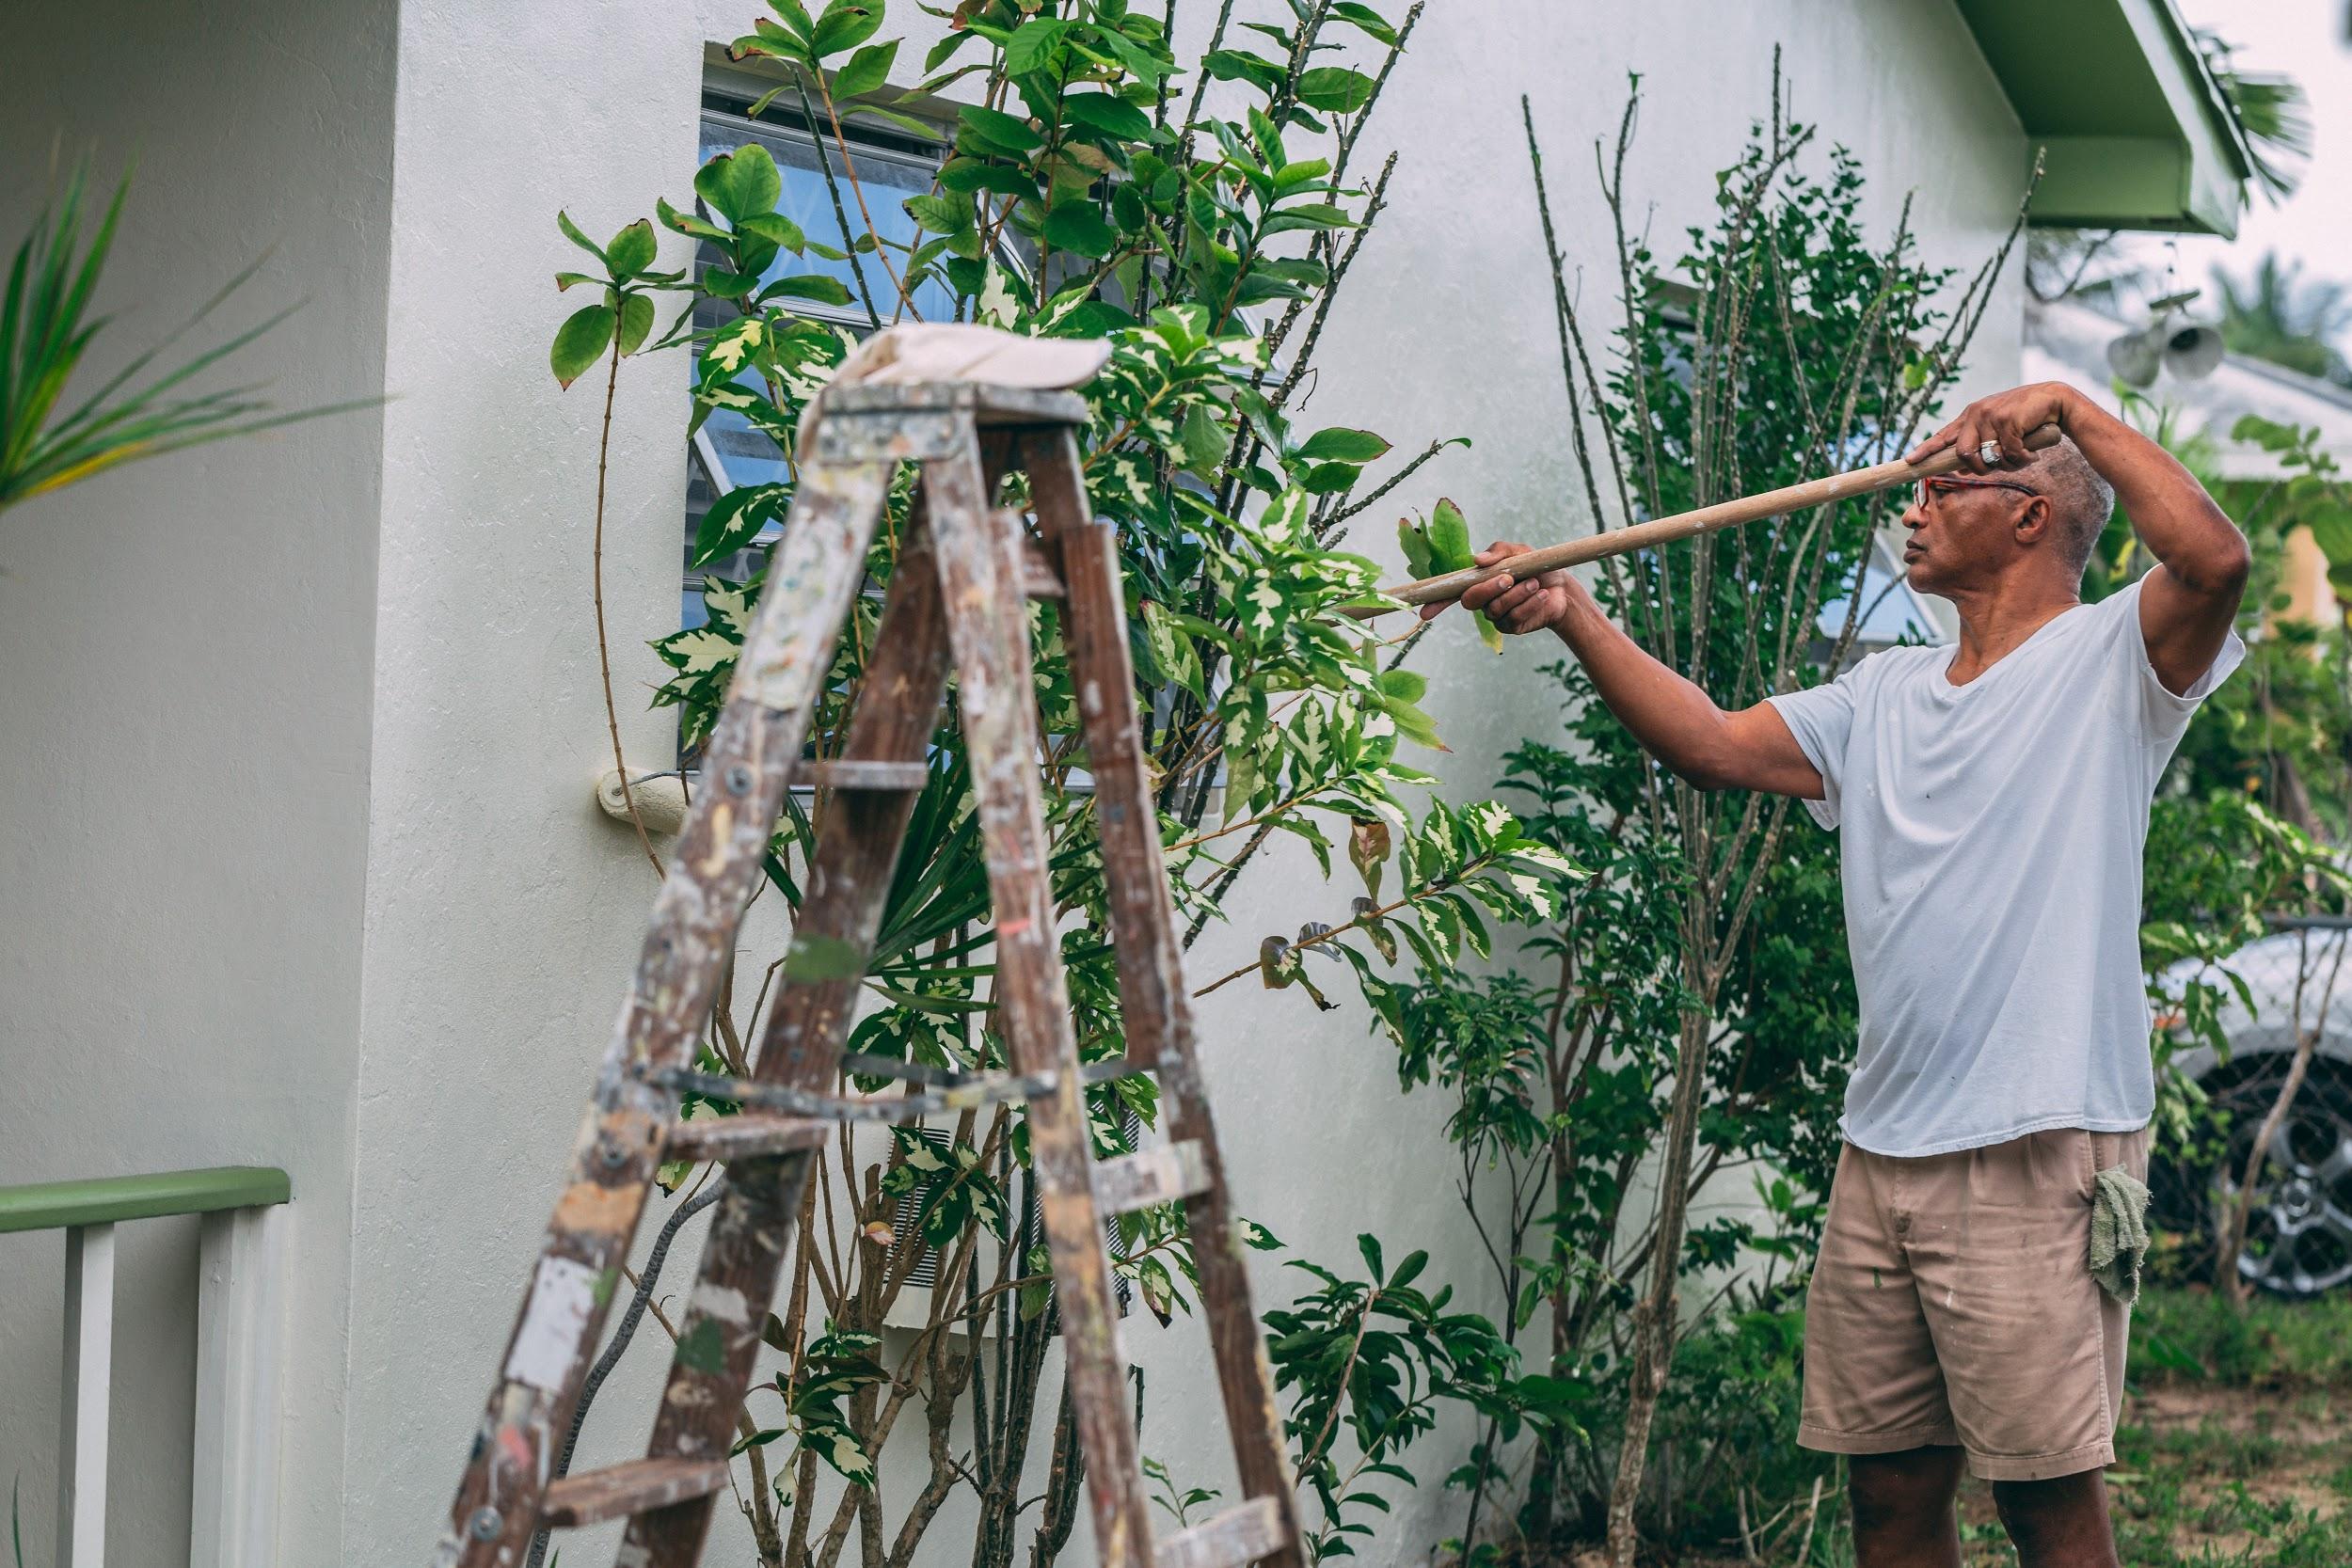
One last thing to keep in mind is the fact that there are a lot of places that are hard to reach with a regular ladder. So before you start painting be sure to have a safe way to reach even most difficult places. A lot of people get hurt trying to paint the difficult to reach places. To ensure that risks are minimized, it is recommended to consult with companies like Universal Mobile Tower Hire. This way, you will not have to worry about any accidents occurring, and the overall job will be completed quicker.

3. Get A Caulking Gun
Another must have is a caulking gun, which will help seal up any cracks around the windows and the doors, helping you to properly insulate your home. Skipping this important step before painting the exterior of your home puts your home at risk of water leaking into the interior and mould developing. Do not assume that if you have caulked your home a while ago, it will be okay to skip this step before painting. Experts recommend going over your caulking with another coat every time you repaint to make sure that everything is sealed and primed.
4. Start Painting
After you have gathered everything and chosen your color palettes, it is time to move on to the actual job itself. The most frustrating part of the whole process is definitely painting the exterior trim, it is a slow process and can be quite time-consuming without showing results, especially for new homeowners.
It is important to push through the frustration and to have patience with the tiny details. Believe it or not; it will pay off in the end! A helpful tip to speed up the process is to start working from the top and head to the bottom. Think of gables, eaves, gutters and porches. After you have finished with these, make sure to scrape off any paint drips! Also, remember that doors are much easier to paint if the knobs and fittings are removed. Even better is to remove the door from its frame and have it painted one side at a time. Finally, get to the walls and make sure not to leave any primed surface unpainted!
Painting your home can seem like a huge job, but it is certainly not a difficult one. Make sure to take some time to do it well, and you will end up with a beautiful paint job which will last for years.
Have you tried painting your home yourself? Let us know your experiences, tips and tricks in the comments section below. We’d love to hear your thoughts.