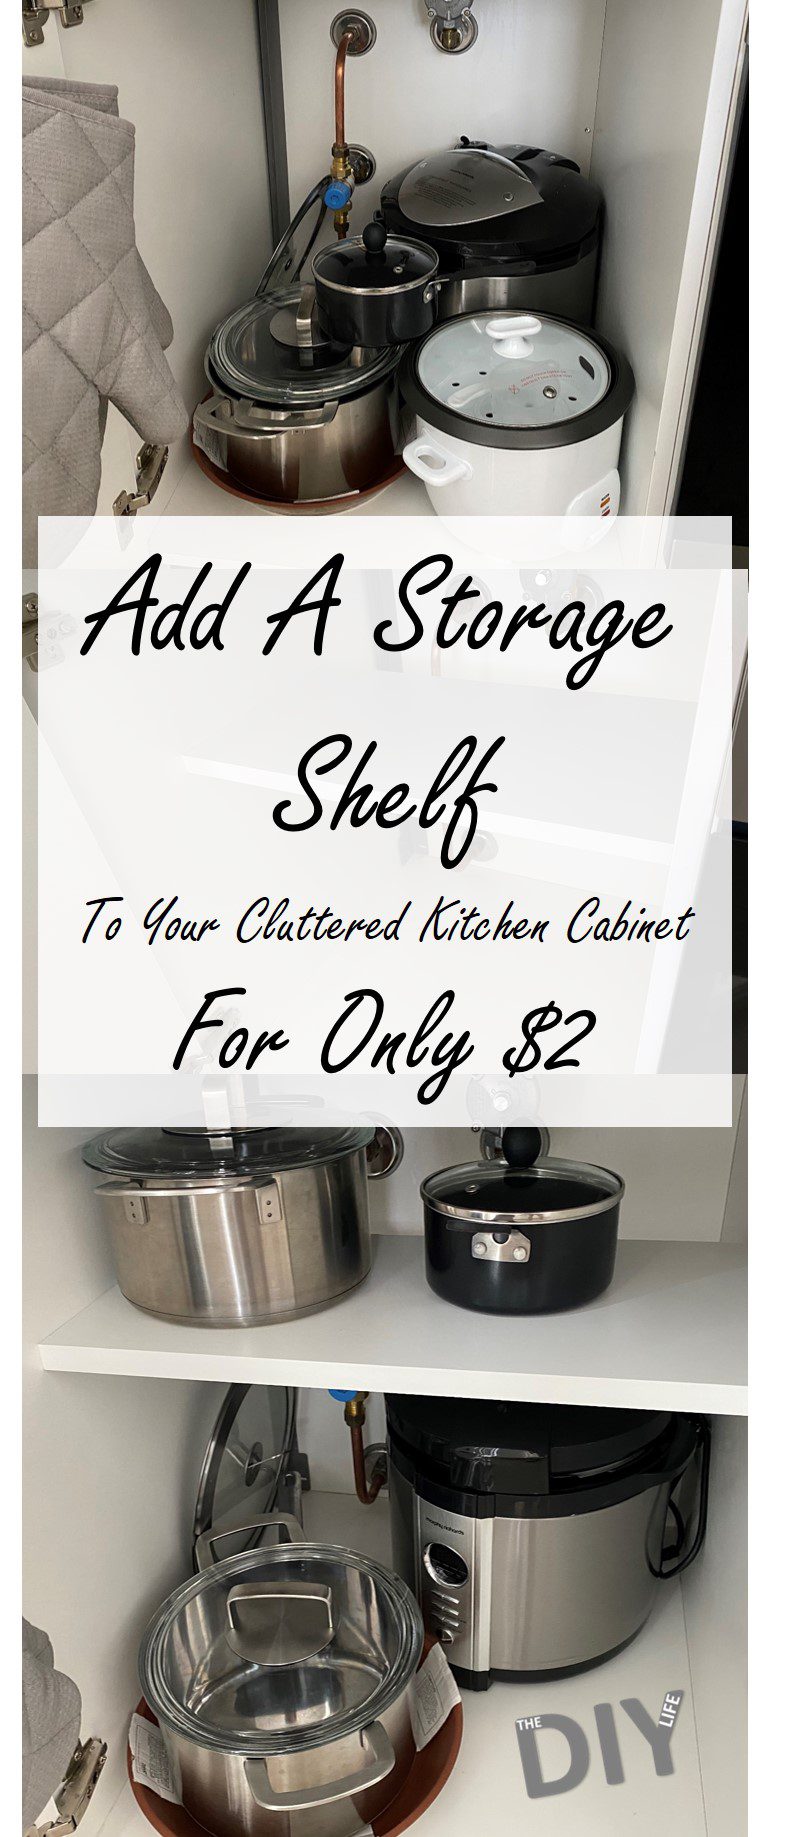
You’ll probably never feel like you have enough storage space in your kitchen but there are ways you can maximise the space available to you. One of these ways it to add extra shelving to your existing cabinets to make use of any wasted space above the items you usually pack into them. We’ve found an easy and really cheap way to add an extra storage shelf to your cluttered kitchen cabinet for less than $2 and it looks like it was always supposed to be a part of the cabinet, not like an afterthought.
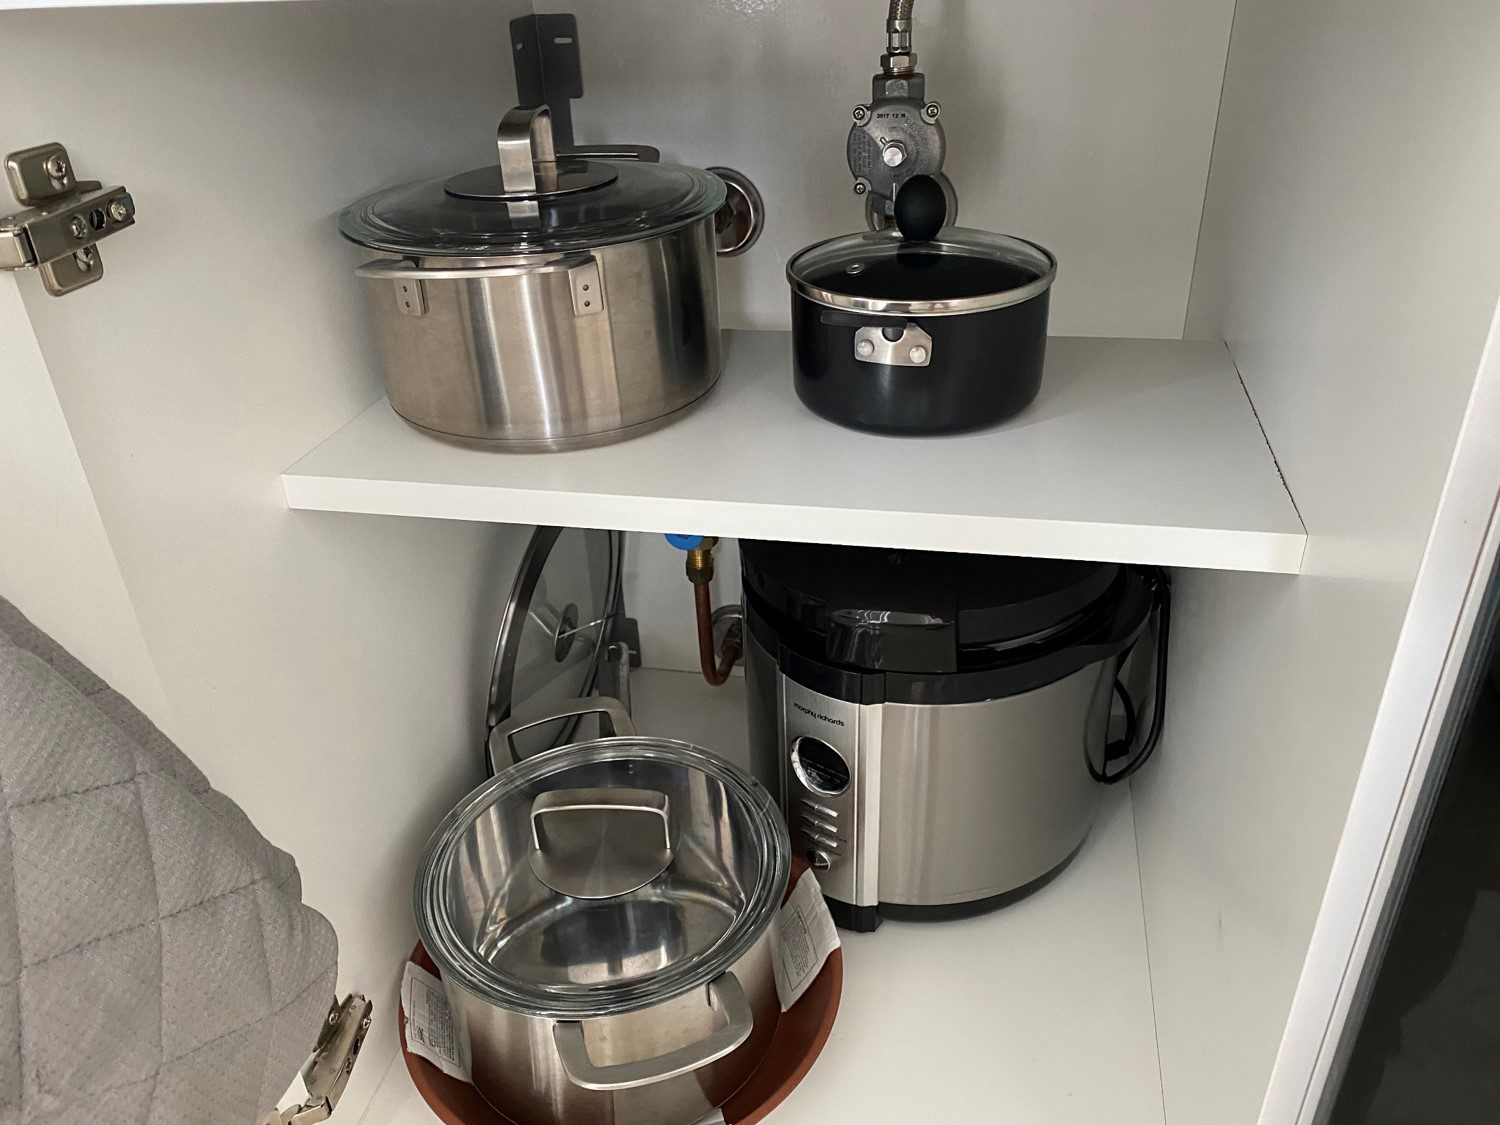
Have a look around your kitchen for any cabinets which have a lot of wasted headroom, like this one we use for storing pots and pans etc..

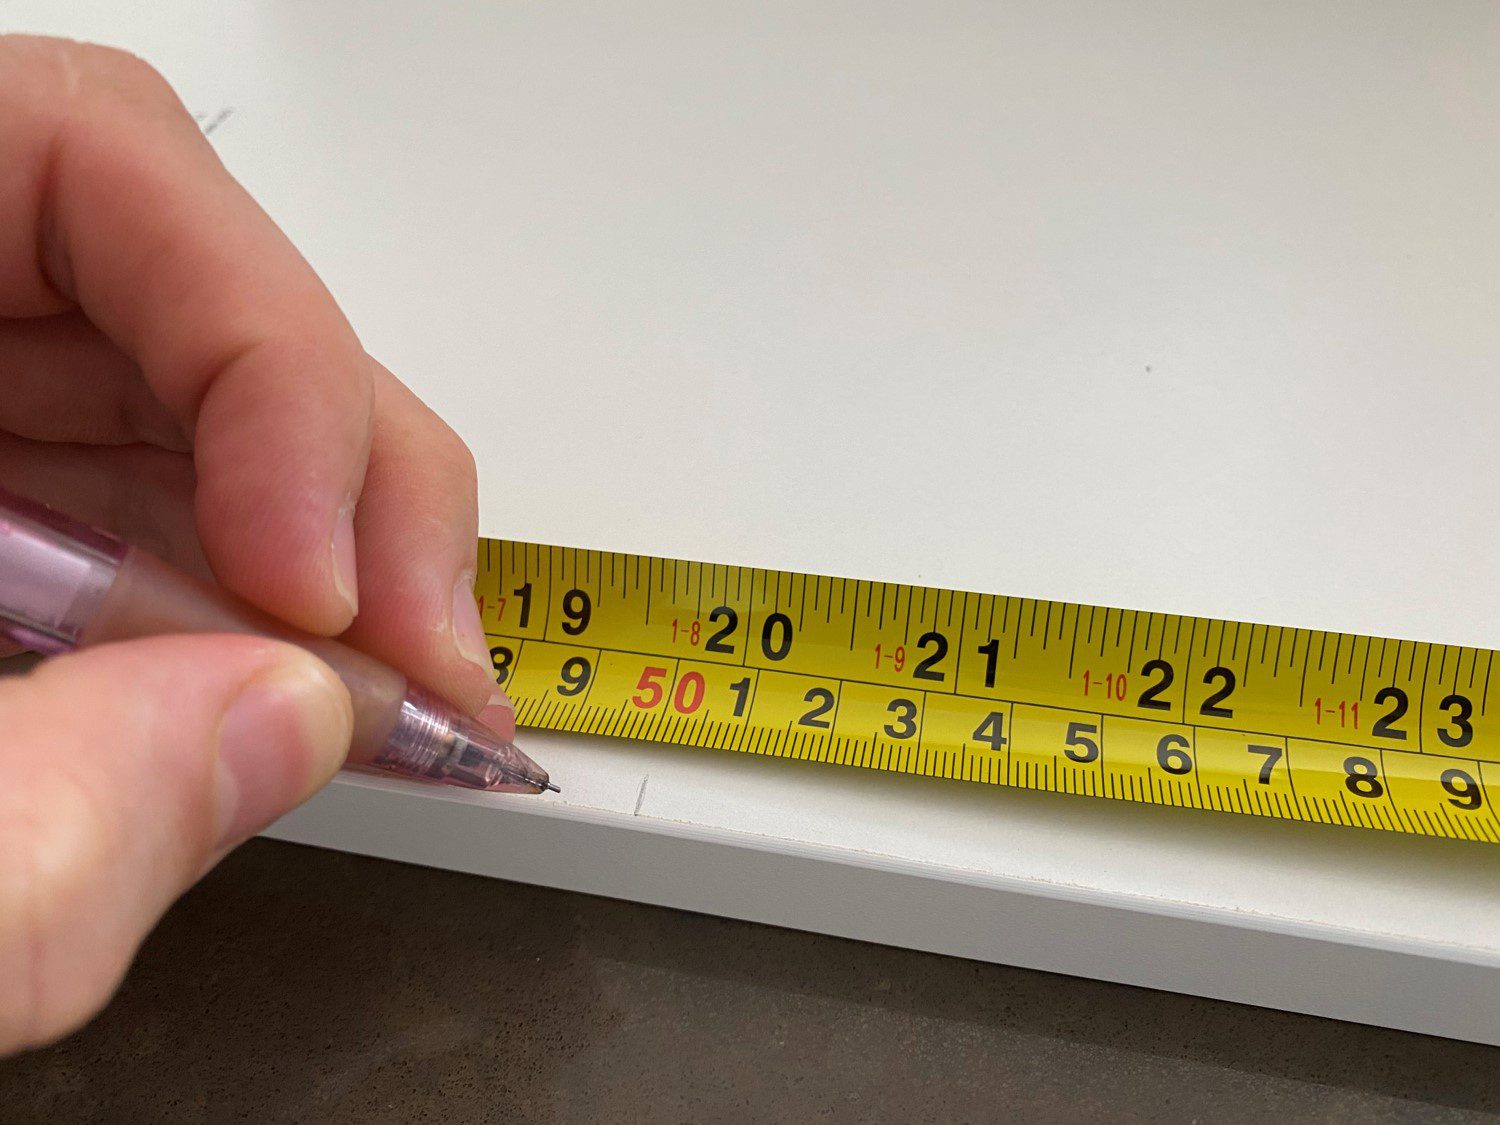
Take a measurement of the width and depth of the cabinet before you go out shopping for a new storage shelf. This way you’ll have an idea of what length and width shelf to look for.
Now finding a new shelf is where our handy tip comes in. If you head down to your local hardware store and get a shelf cut to size, you’ll probably pay around $15-$30 (depending on the type and size of shelf) for the shelf and the mounting hooks/pegs. Rather than doing this, have a look if your local hardware, kitchen or furniture store (IKEA is where we went) has a returns, clearance or damaged goods section. Most larger stores have some form of clearance section to get rid of their unwanted goods for a fraction of the usual retail price.
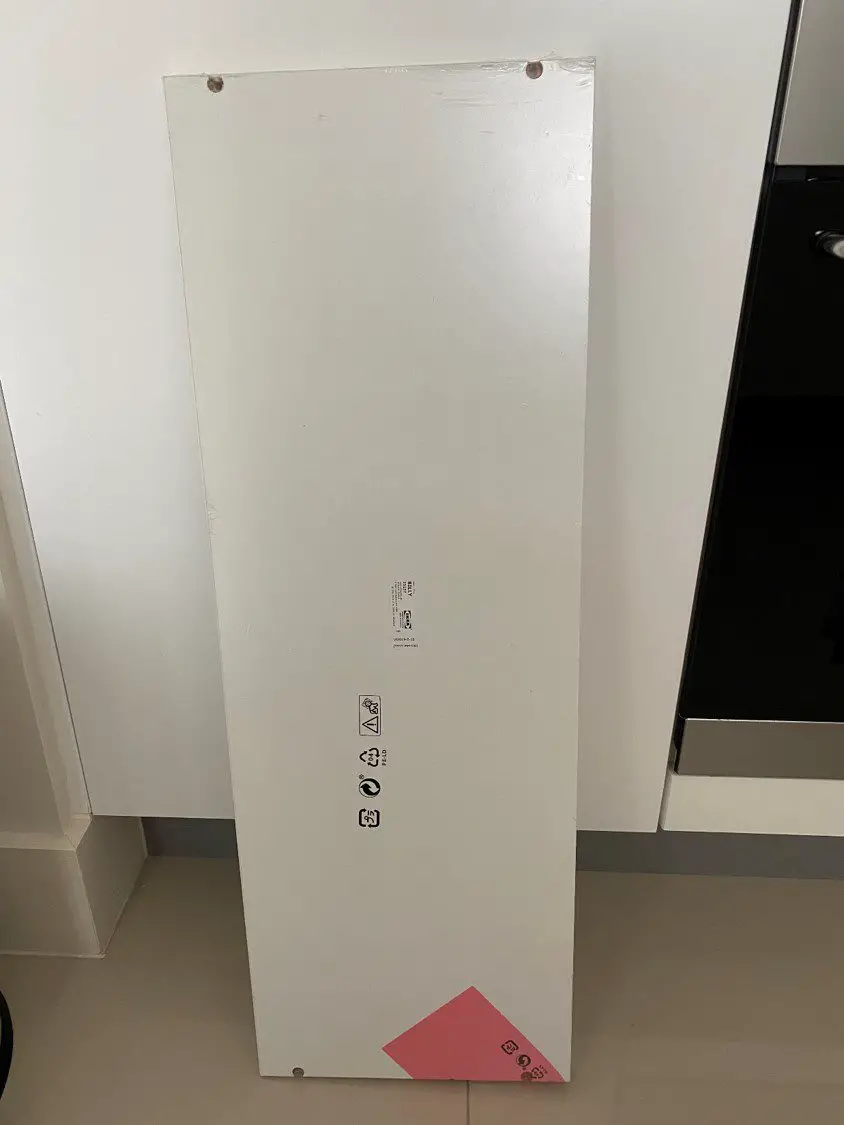
We managed to find the below white shelf for just $2, and it was amongst another 20-30 shelves of various sizes and colours. This shelf had been returned from a delivery and had it’s packaging damaged, there was literally nothing wrong with the shelf and it was marked down from $12 to $2 and it includes the four shelf supports/pegs.

When looking for a bargain shelf, don’t worry about the length. As long as the width is roughly correct, although it must be smaller than your depth, you’ll be able to trim it to size without any hassle. Also keep in mind that the depth doesn’t need to be the full depth of your cabinet. Our cabinet had gas pipes in the back, so we could only install the shelf in the middle area of the cabinet, with a gap behind it.
You could also put a smaller auxiliary storage shelf along the back for spices, tins, bottles etc.. Just try to find one which suites the depth of your cabinet and what you’d like to store on it and is a bit longer than the length of your cabinet. You could also try find one which is more than double the length and make two shelves from it.
Once you’re home, unpack your shelve and mark off the length of the inside of your cabinet. You’ll probably want to cut it around 1mm (1/20″) shorter for some clearance so that it’s not tight.
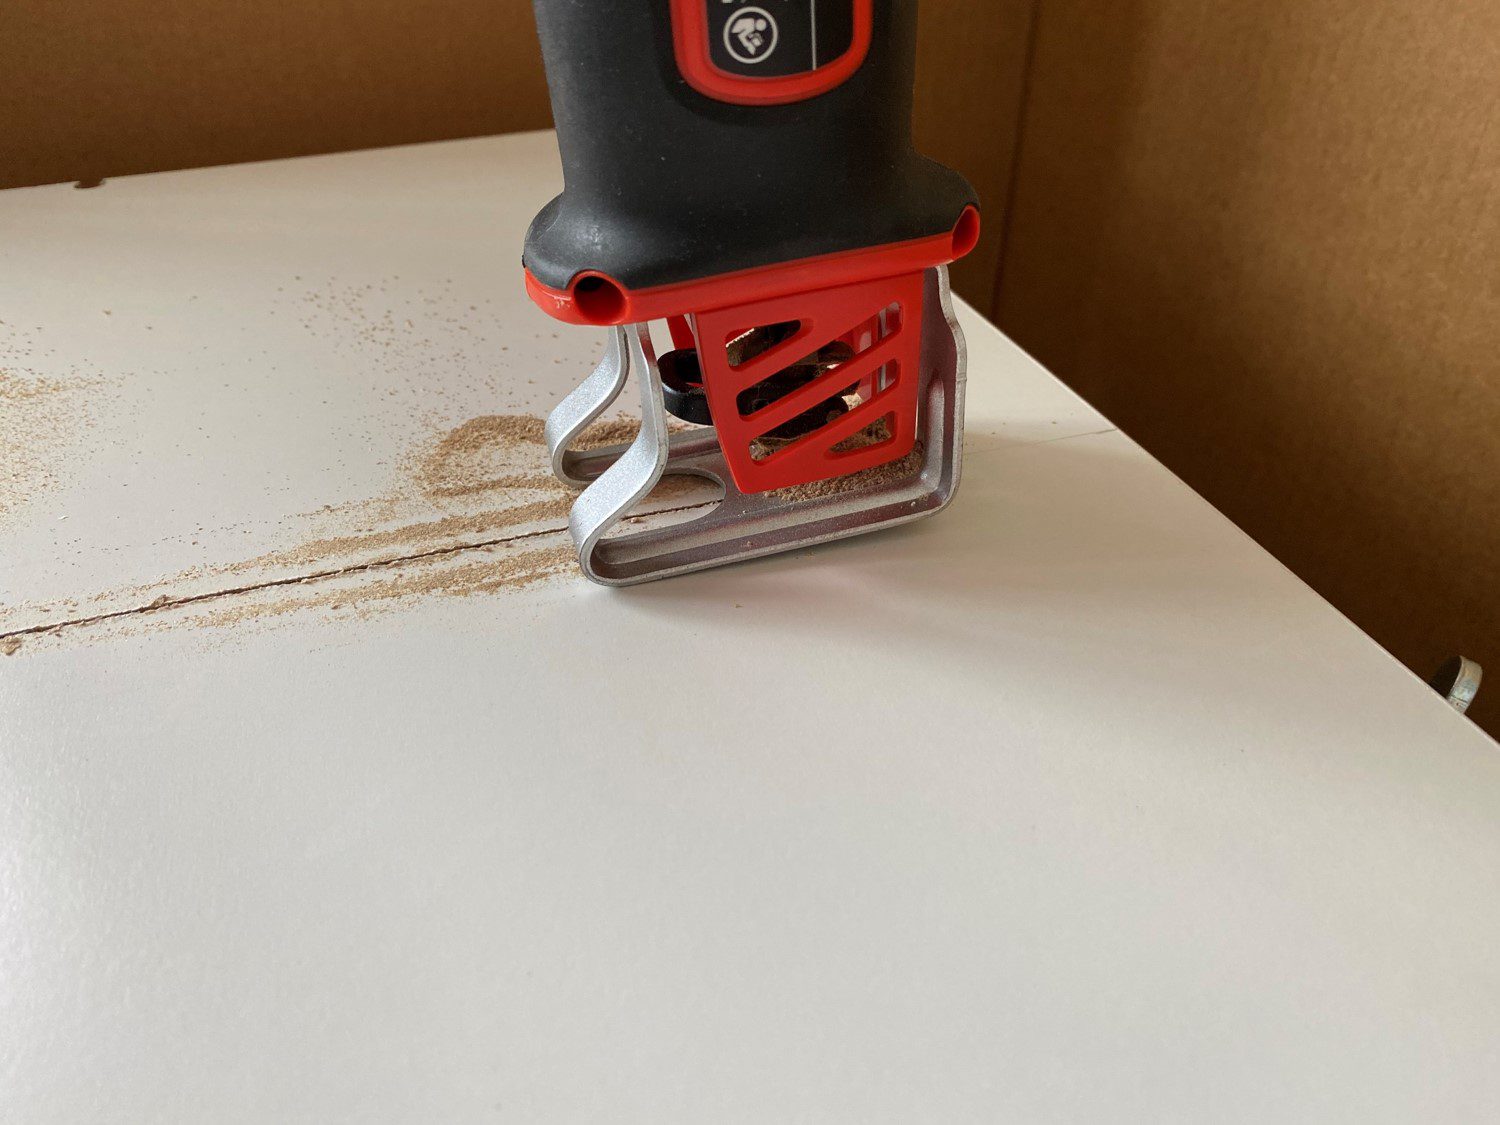
Use a circular saw (for the best cut quality) or a jig saw (more people seem to have one of these), band saw or hand saw to cut the shelf to the correct size.
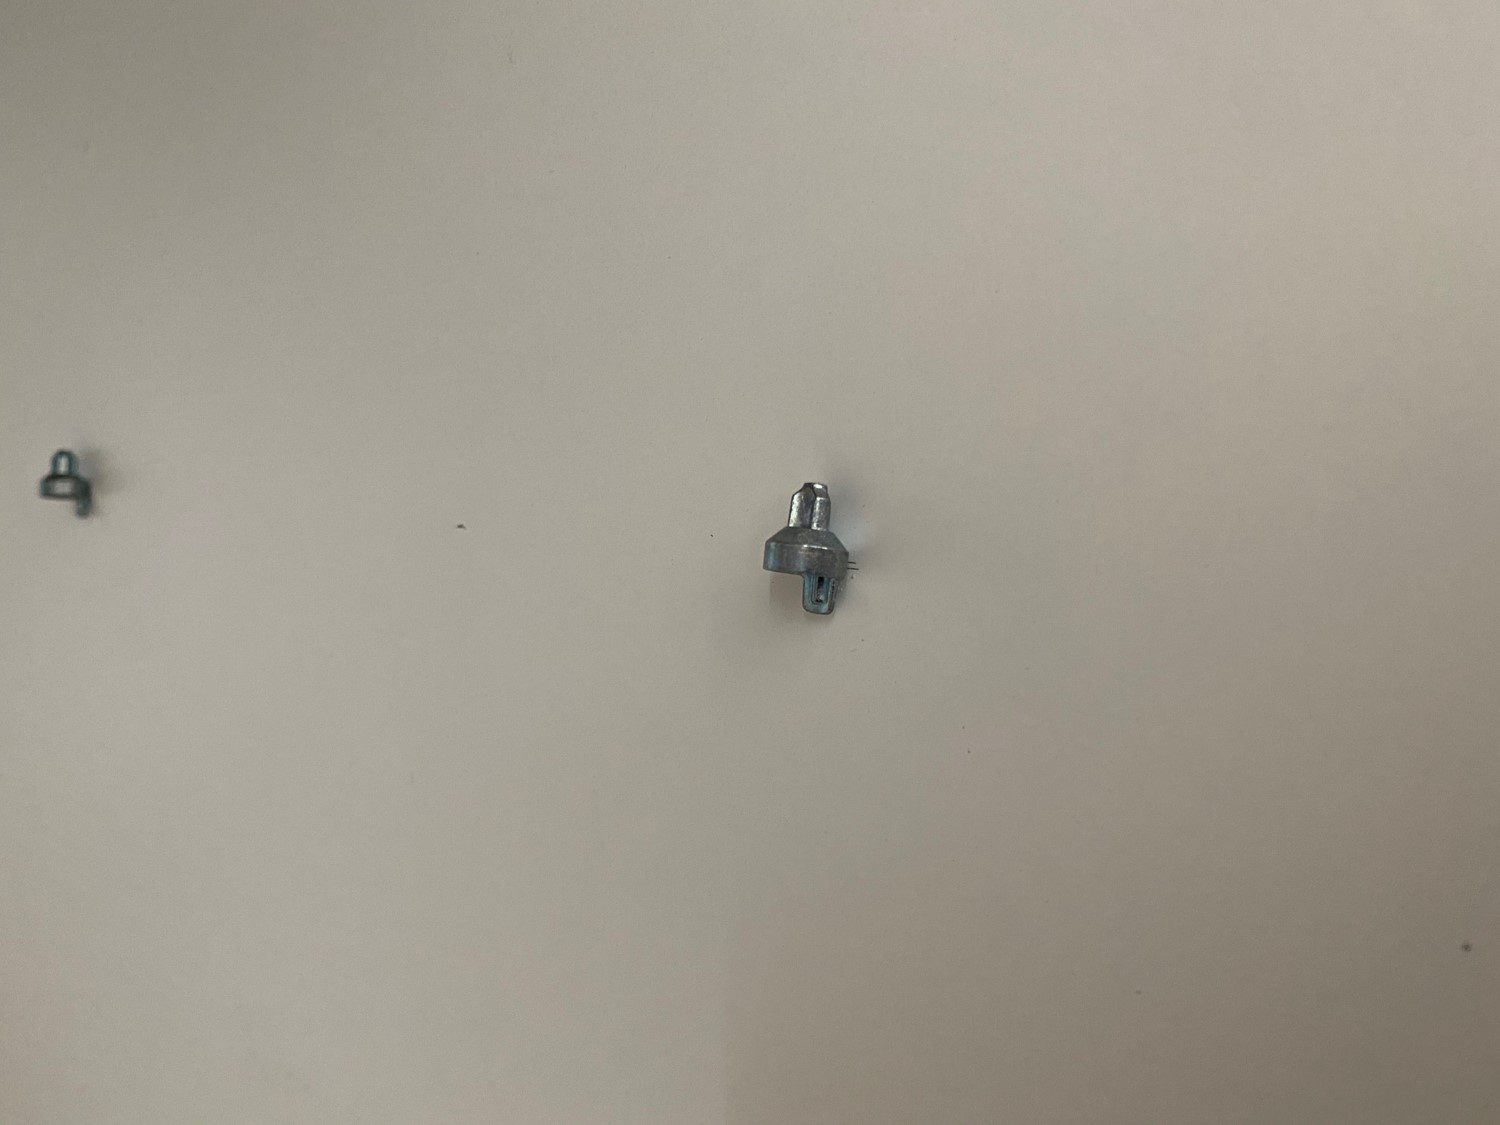
There are typically two different types of supports, one which is simply pressed into or screwed into the walls of the cabinet, like these:
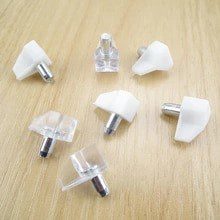
And then another, which is what we had, which fit into the actual shelf like these:
If you’re going to be using these then you’ll need to match the cutouts on the side you’ve trimmed.
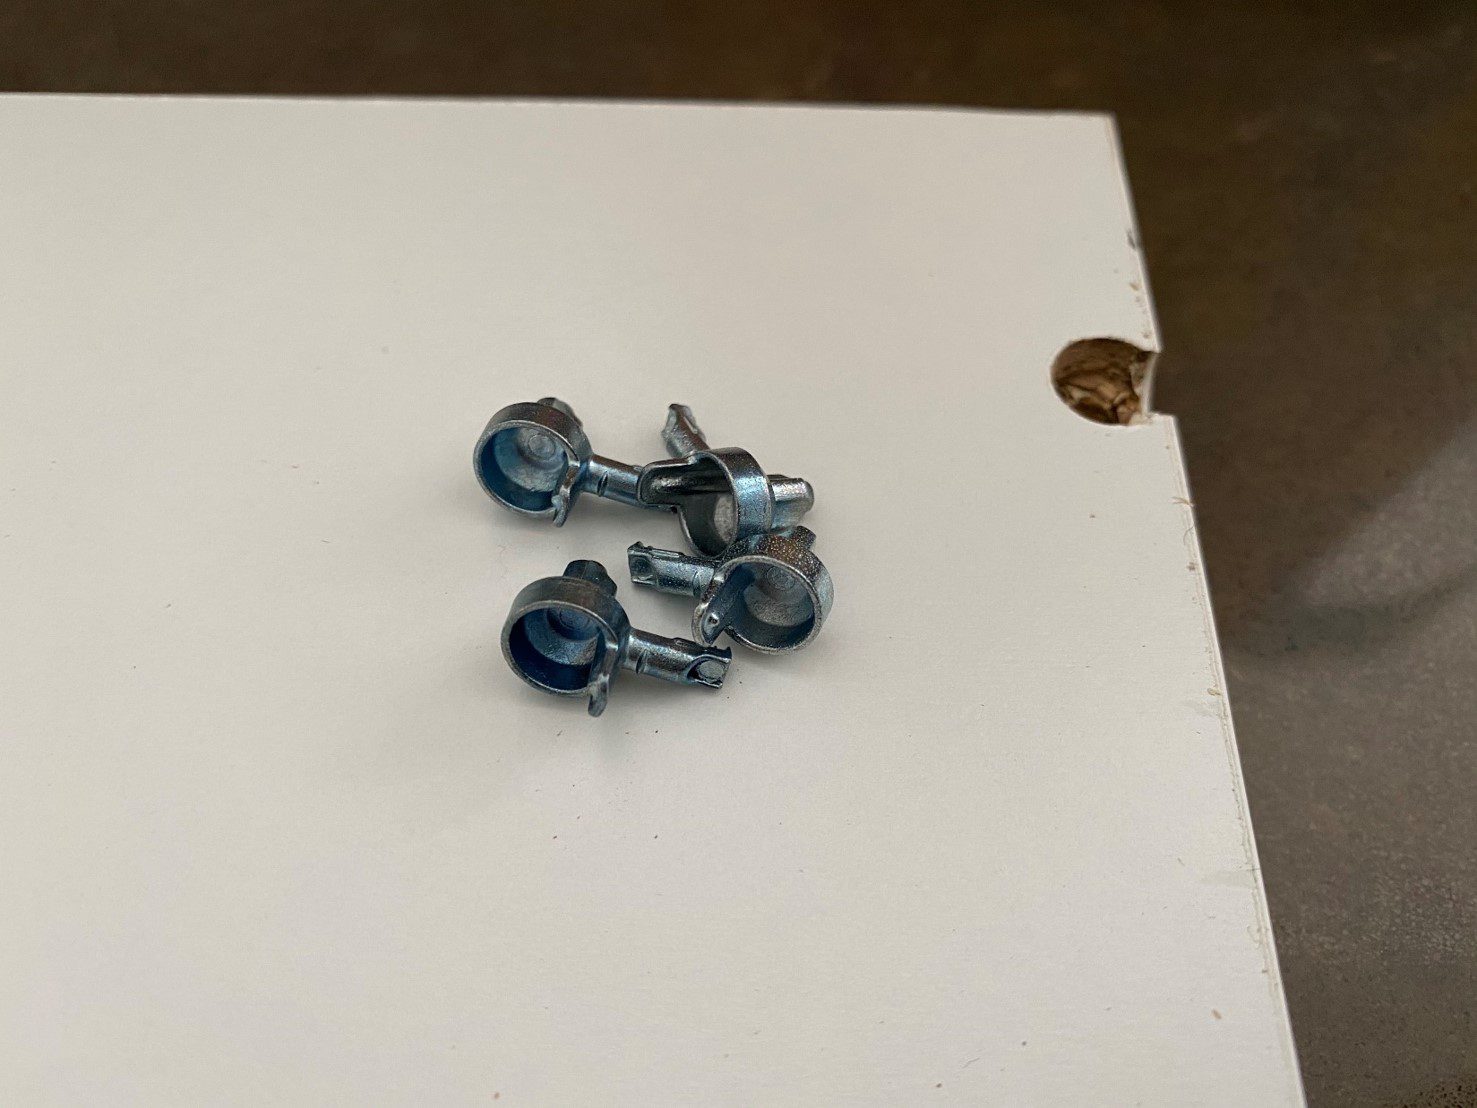
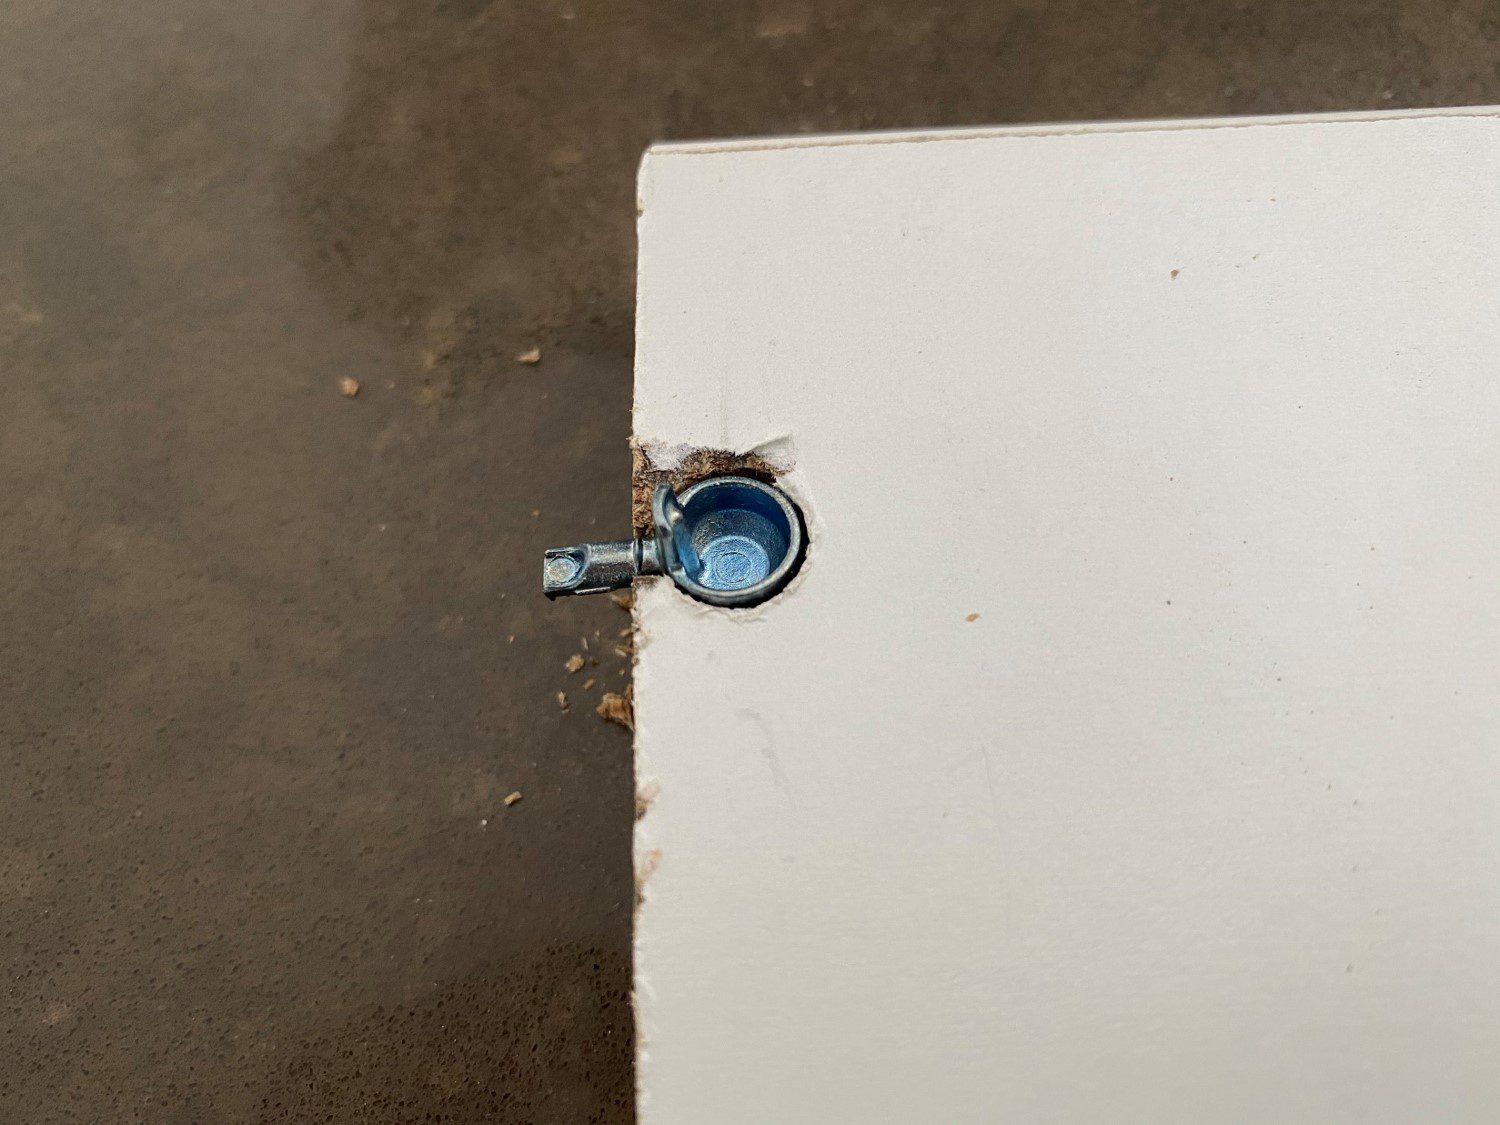
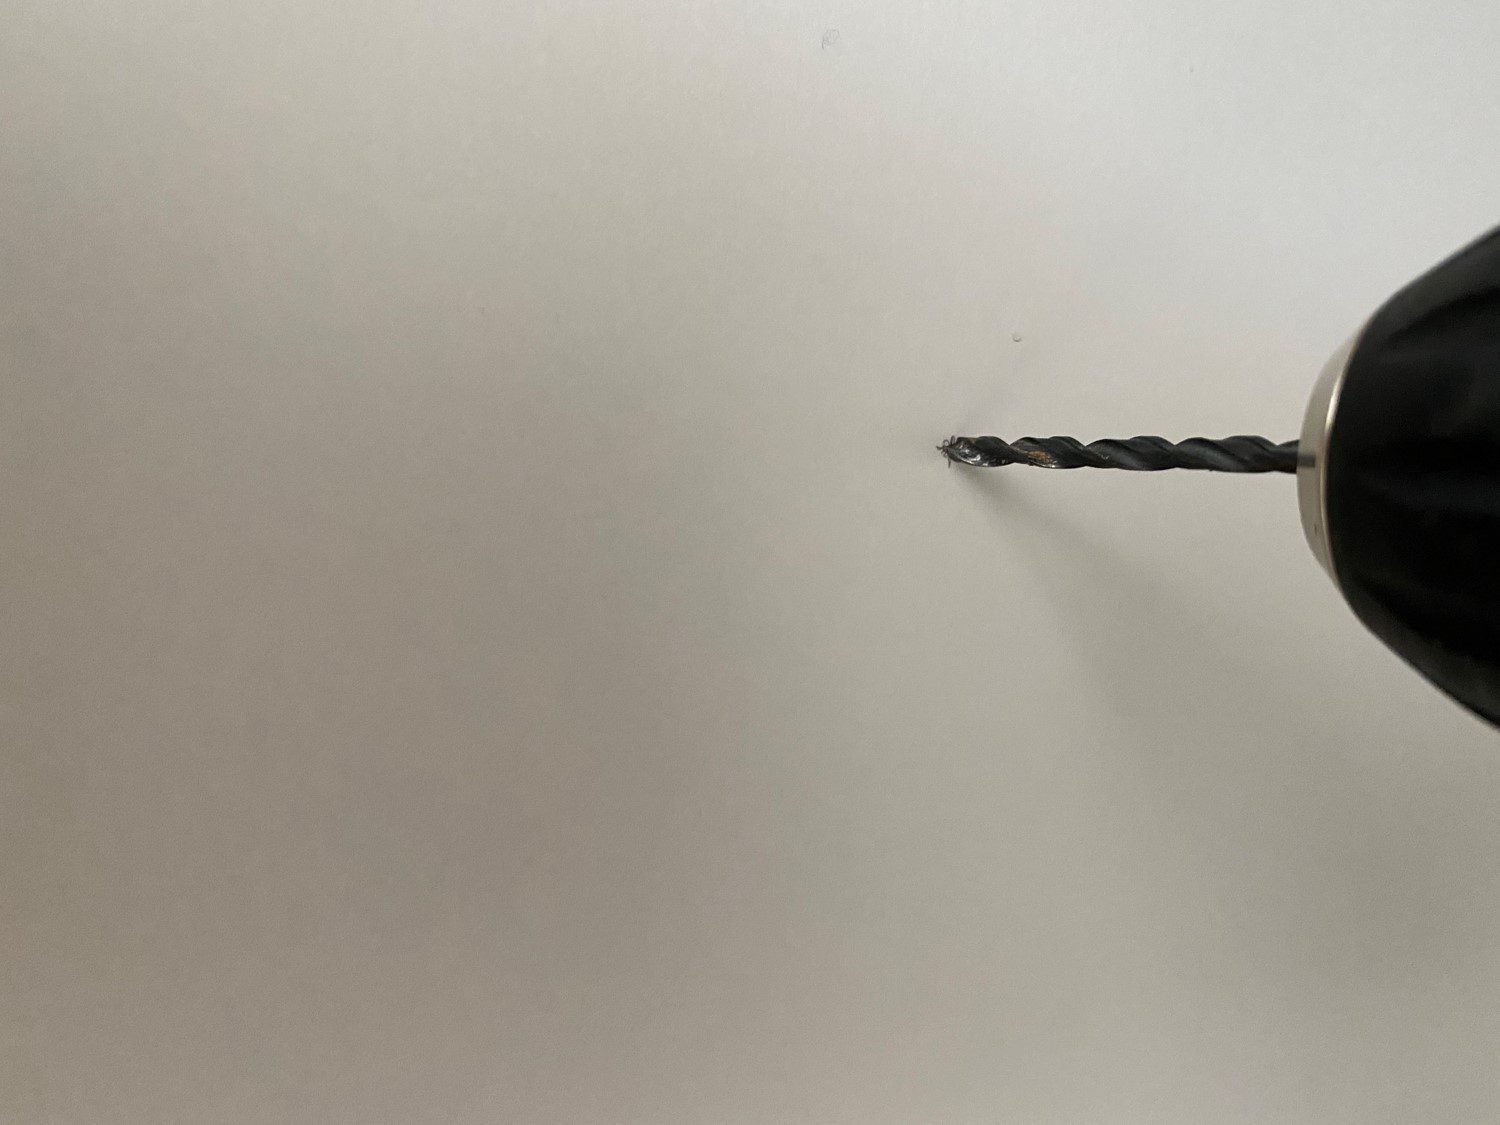
Ours required two different sized holes to be drilled, followed by a cross drilling. It doesn’t need to be perfect, its on the bottom side of the shelf and can easily be covered up afterwards with a small white sticker or piece of tape if you need to hide it. These cutouts are typically machine produced and are difficult to neatly replicate with hand tools, but you should be able to create something which works.
Next you’ll need to drill the holes into the sides of the cabinets for the supports. Measure the height from the top or bottom of the cabinet to each of these holes to ensure that they’re all the same height so that your shelf is level. Then measure the distance from the front of the cabinet to the front support hole and then the distance between the front and back support holes, checking them against the cutouts drilled into the shelf. This is less important if you’re using the first type of support but will still produce a neater result if done properly.
Check all of your measurements again before drilling the holes. Make sure that the height is consistent on each side and that the support spacing is correct.
Drill your four support holes.
Push or screw the supports into the holes.
Lastly, install your shelf and press it onto the supports to secure it.
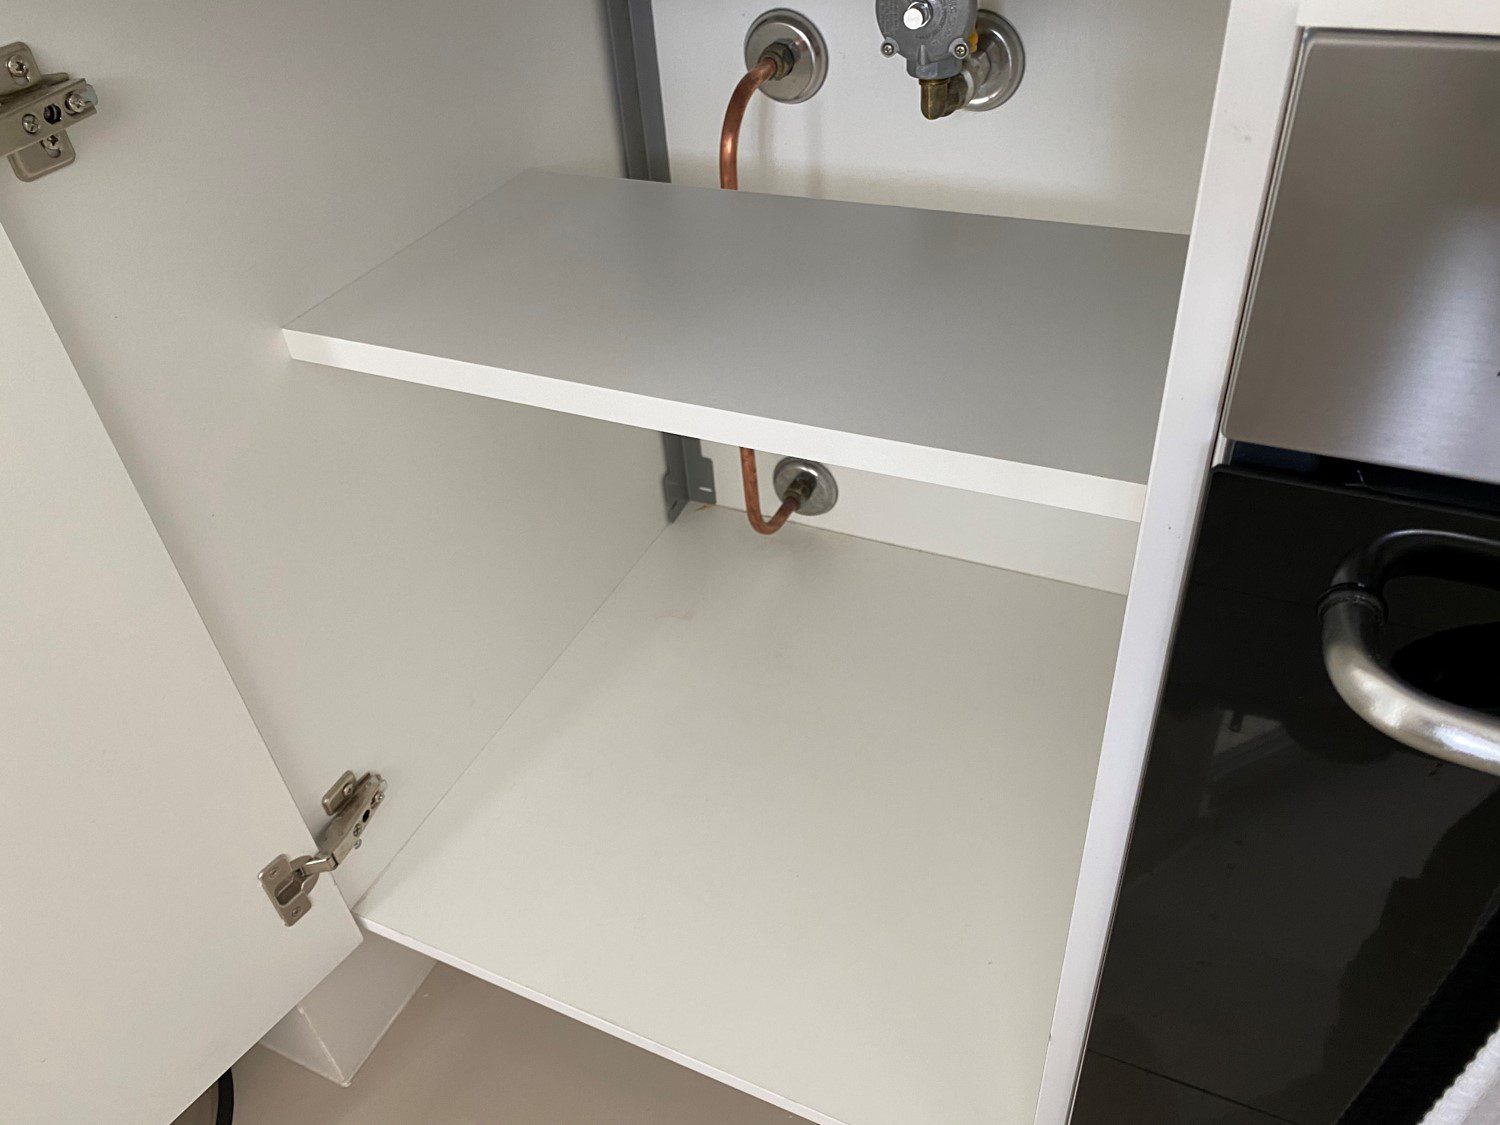
You can now repack your new kitchen cabinet storage shelf and re-organise your cluttered cabinet. Keep in mind that the best way to reduce clutter is to get rid of any appliances, food or items which you no longer need or use.
You can also get your cabinets looking great again by properly adjusting the hinges on your cabinet doors so that they’re straight and are able to open and close freely without bumping into the surrounding doors.
Have you added your own storage shelf to your kitchen cabinets? Let us know in the comments section below. We’d love to hear your tips and tricks.
Share This Guide