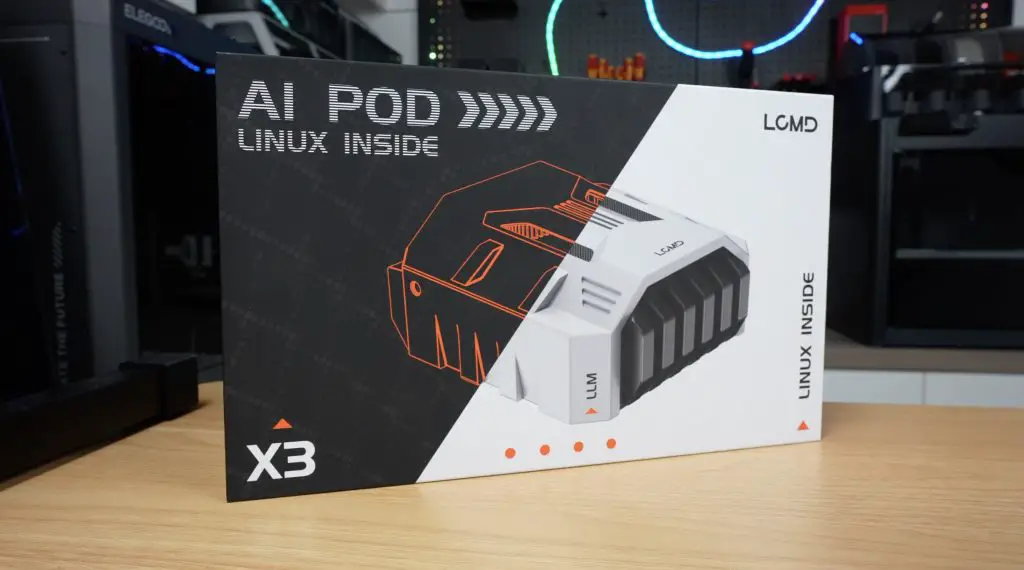
If you’re into homelabs or setting up your own personal cloud server, I’ve got something really interesting to share with you today. This is the new LCMD Microserver, and its optional add-on, the AI Pod, a compact computing module designed to supercharge the system’s performance for AI-related tasks.
Together, these two devices form a powerful, accessible homelab solution. They’re designed to help even less experienced users set up an advanced personal server quickly and easily.
With the pair, you can do things like:
- Run Docker containers
- Host media servers
- Set up your own Git server
- Build an AI-searchable photo and video library
- Backup your data
Let’s dive in, unbox them, and see how they perform.
Here’s my video review of the LCMD Microserver and AI Pod, read on for the written review;
Where To Buy The LCMD Microserver & AI Pod
The LCMD Microserver and AI Pod are planned to be crowd funded through Kickstarter, with their campiagn starting soon. Check out the LCMD Prelaunch Page in the meantime.
Tools & Equipment Used
Video Capture Card AVerMedia GC513 – Buy Here
Some of the above parts are affiliate links. By purchasing products through the above links, you’ll be supporting my projects, at no additional cost to you.
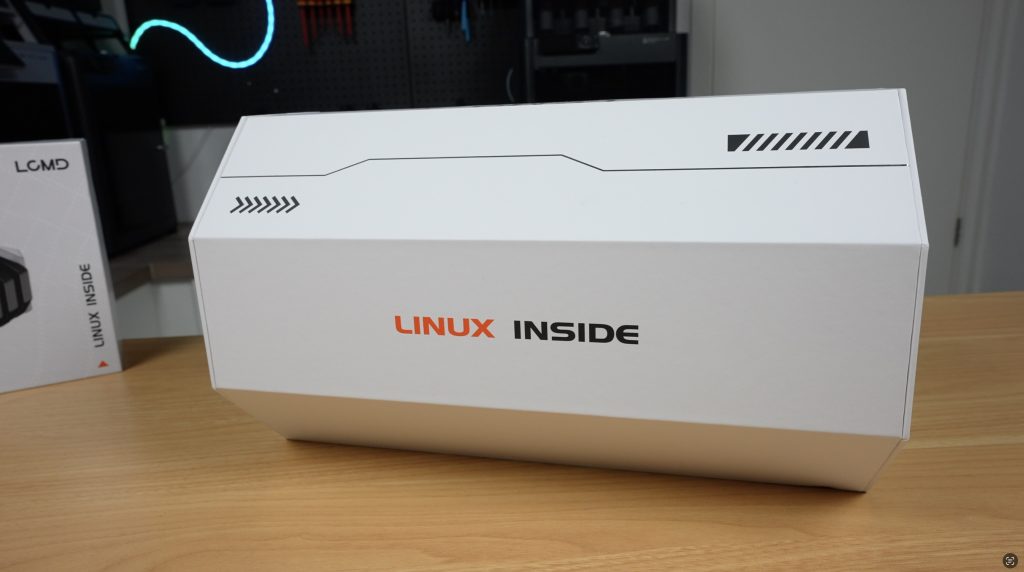
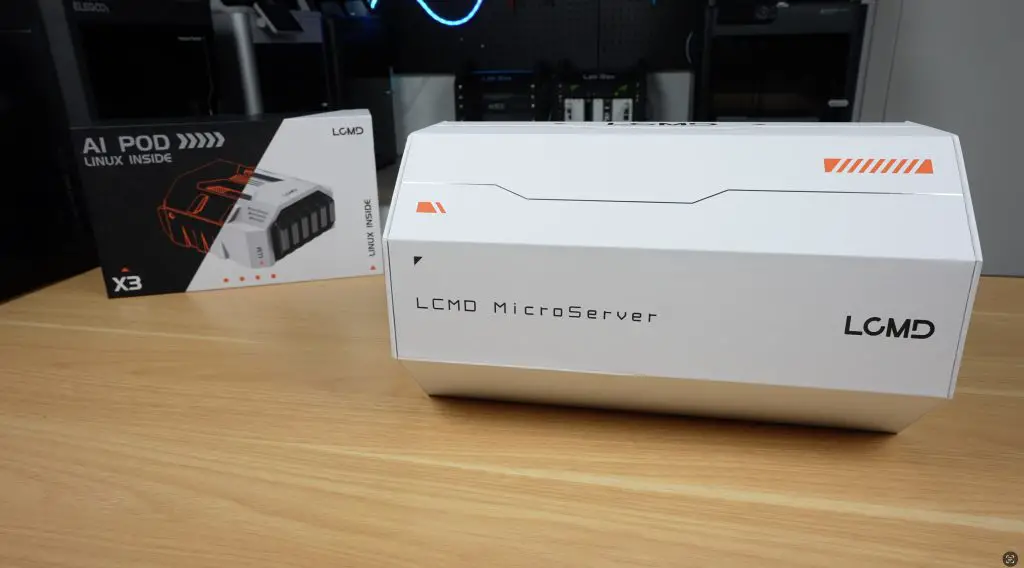
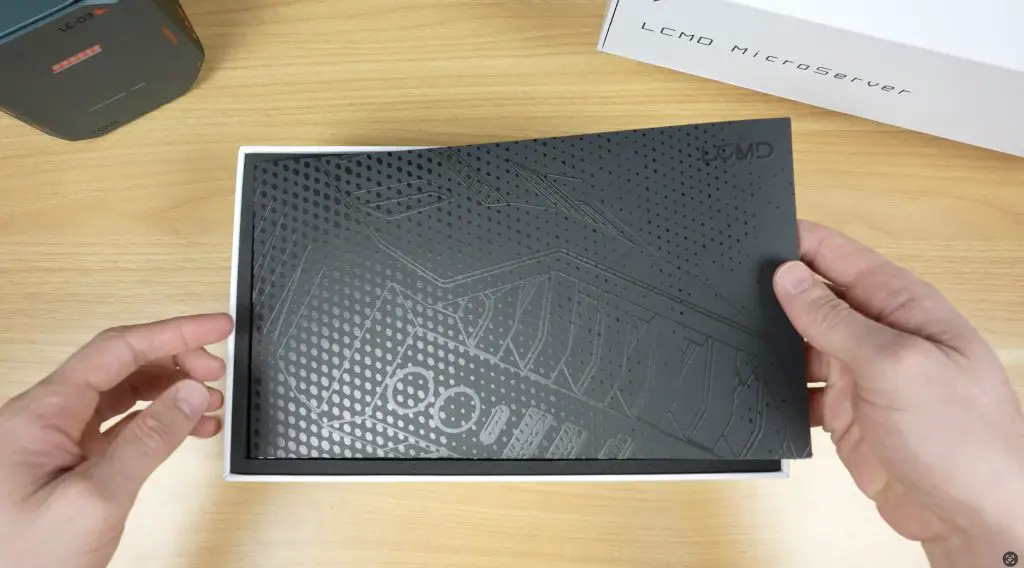
Unboxing the LCMD Microserver
Right from the start, LCMD’s packaging makes a strong impression. This is one of the coolest product packages and unboxing experiences I’ve seen.
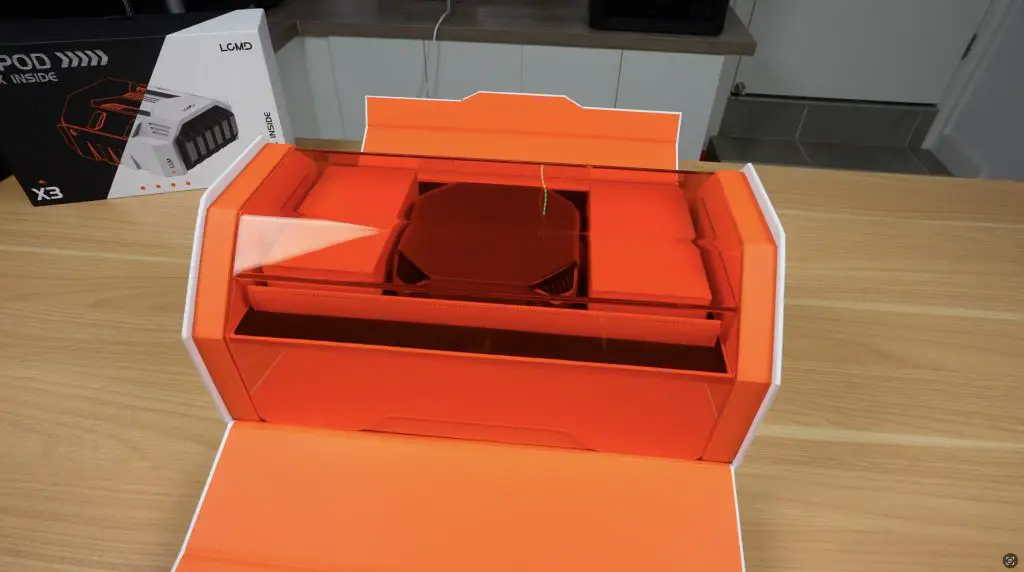
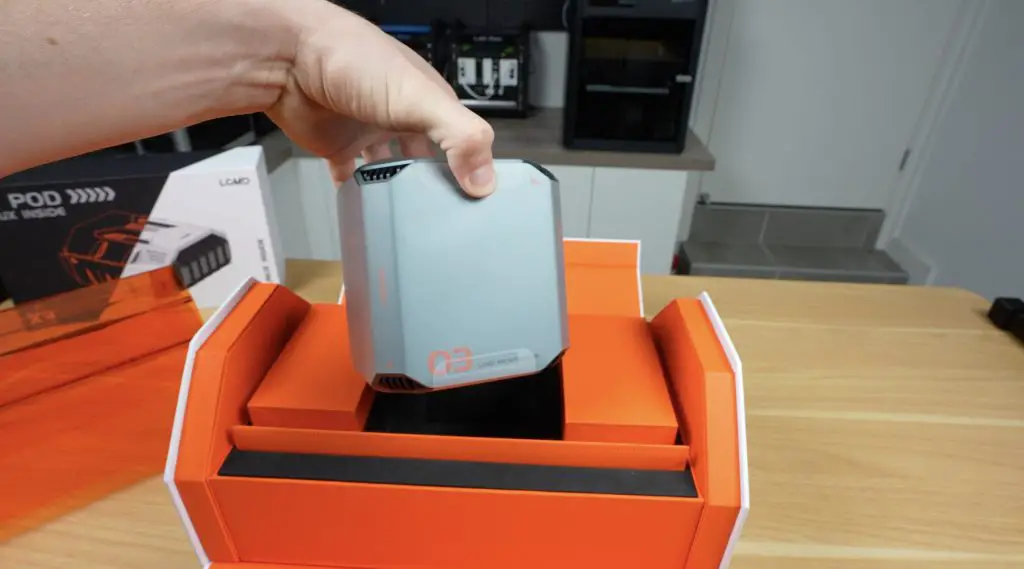
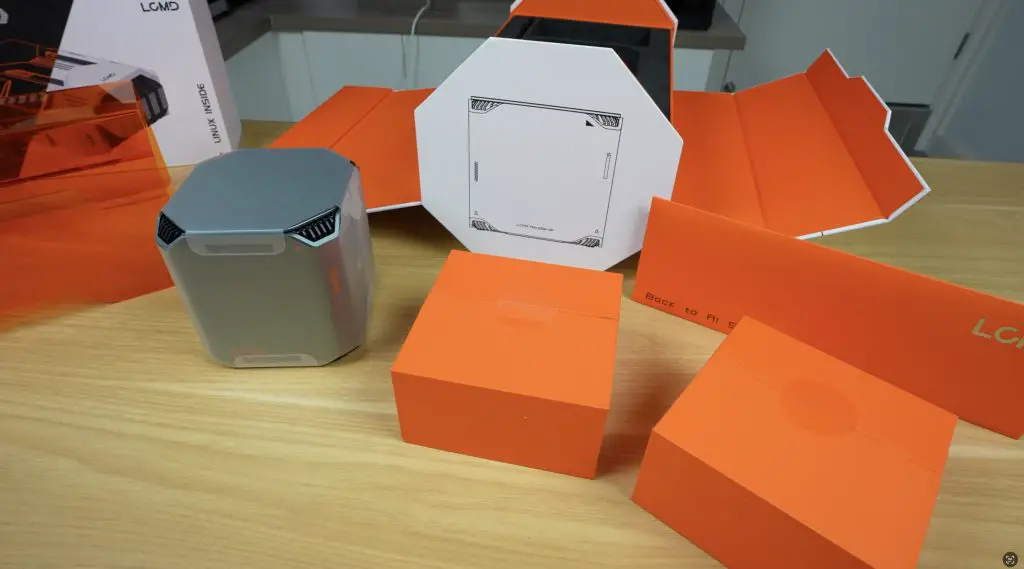
Opening the magnetic flaps reveals an orange acrylic cover, with the LCMD Microserver sitting underneath. Alongside it are two accessory boxes, plus a front sleeve that likely holds documentation. Everything is neatly protected in high-density foam.
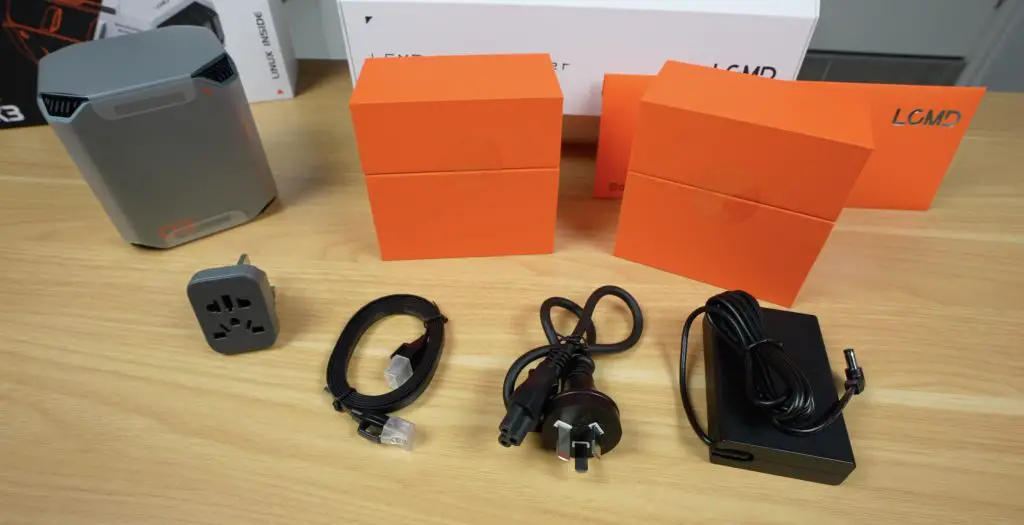
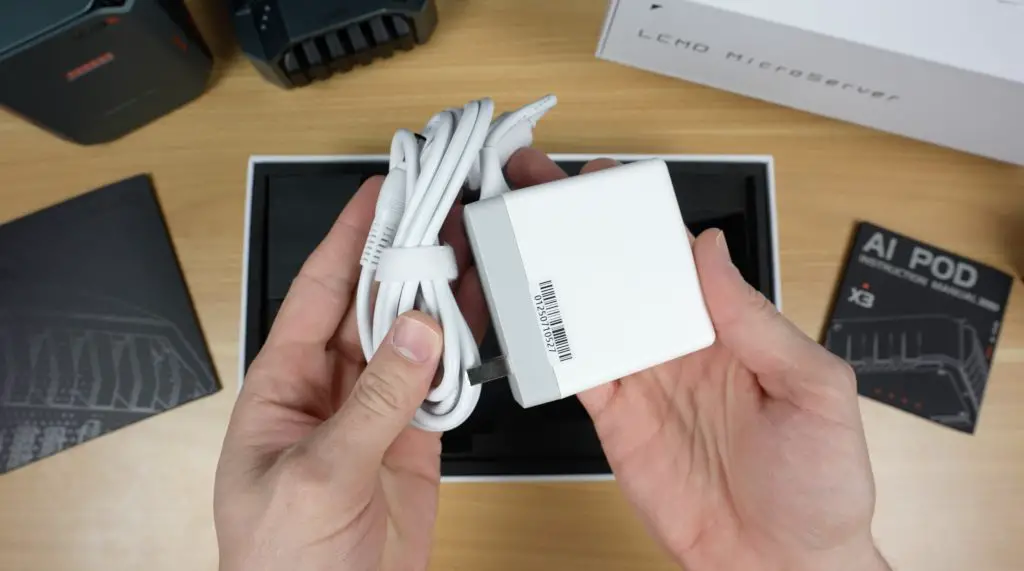
Inside the accessory boxes:
- Box 1: Ethernet cable and international adaptor for the power supply
- Box 2: 19V 120W power supply (barrel jack connector) and mains lead
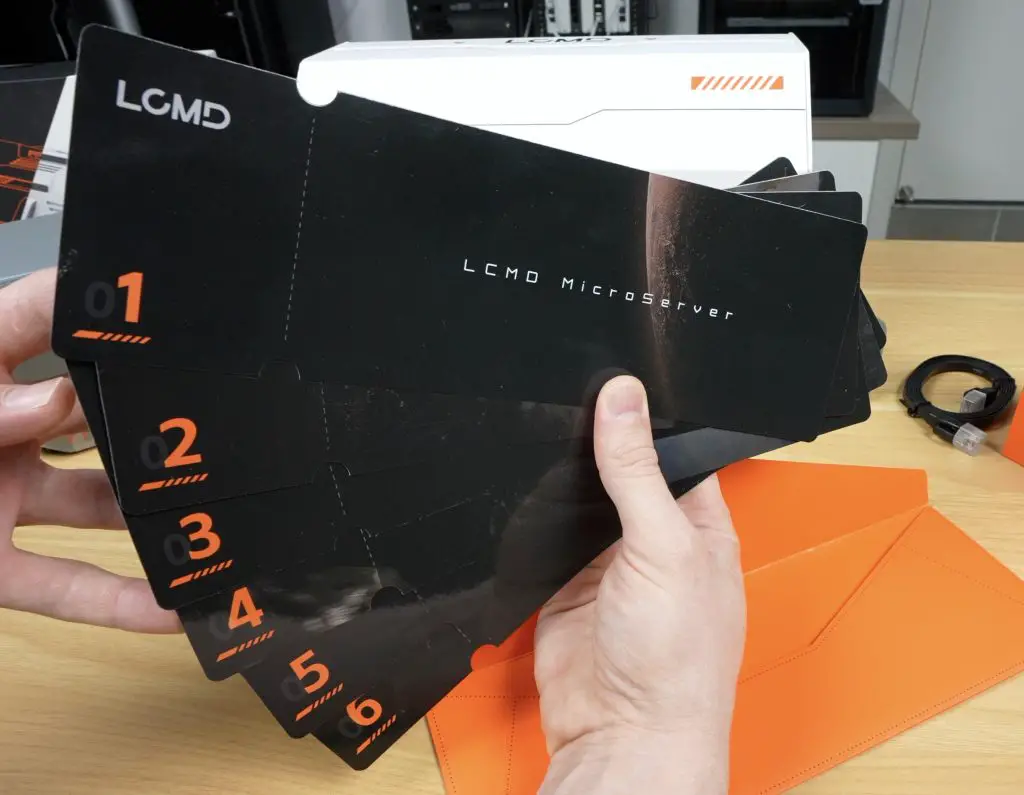
The sleeve contains a set of sequenced instruction cards, a unique and intuitive QuickStart guide.
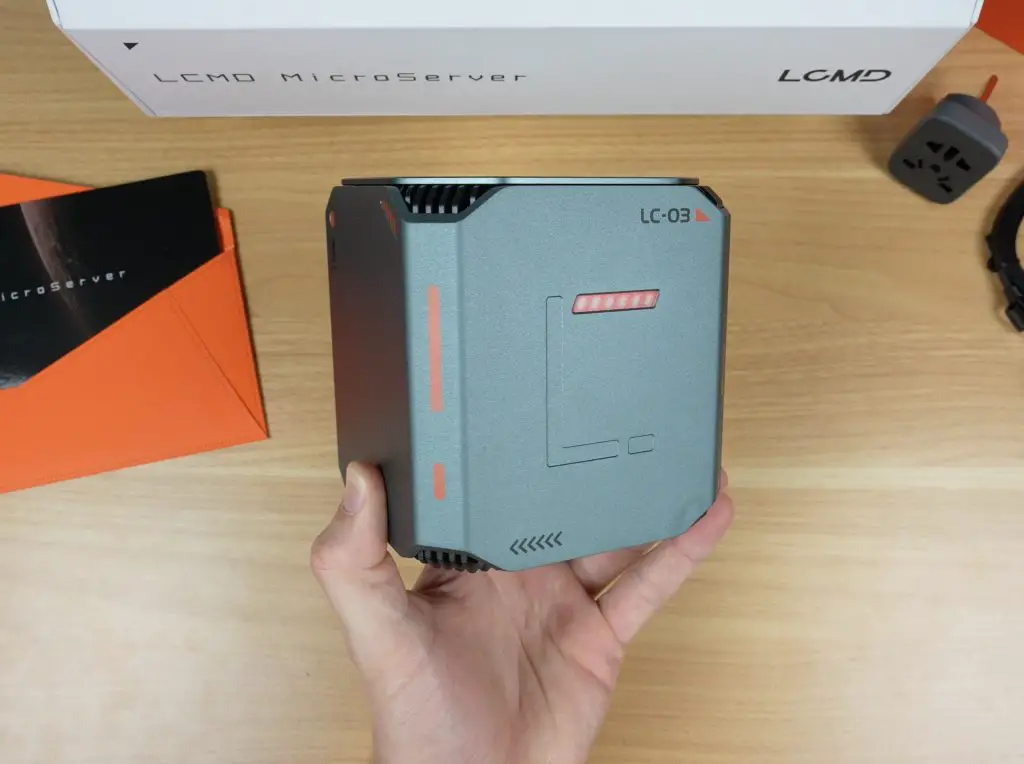
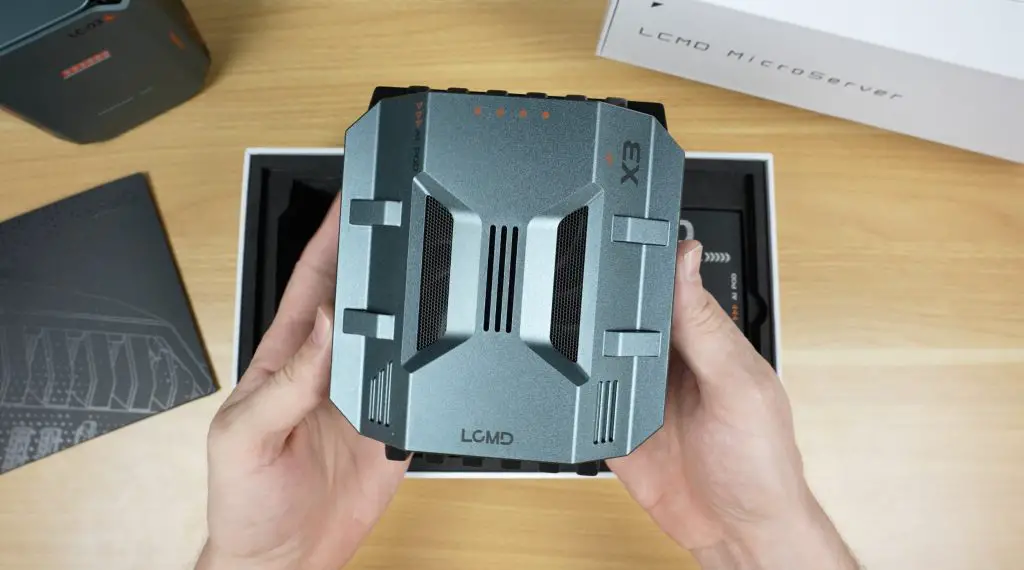
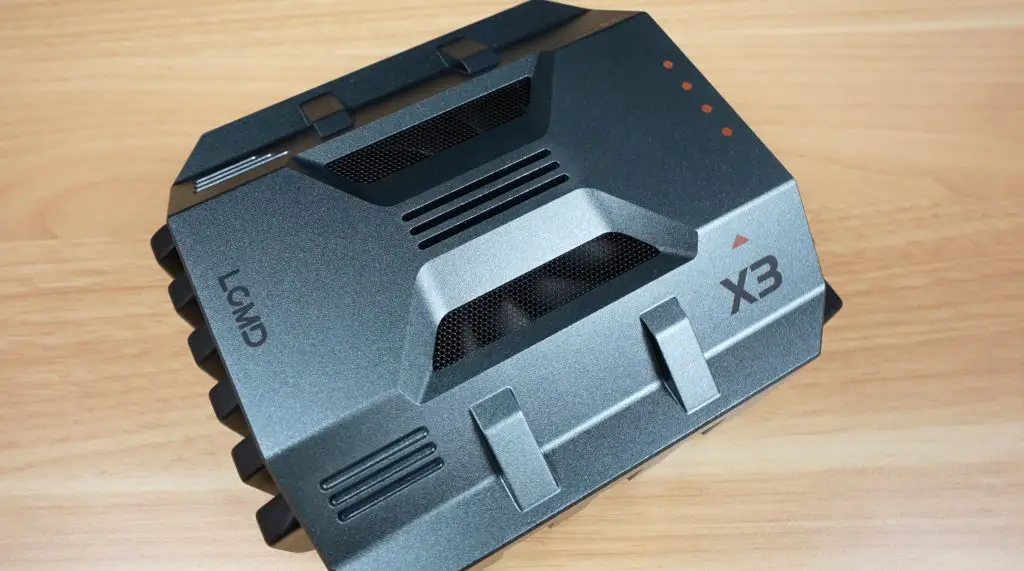
First Look – LCMD Microserver
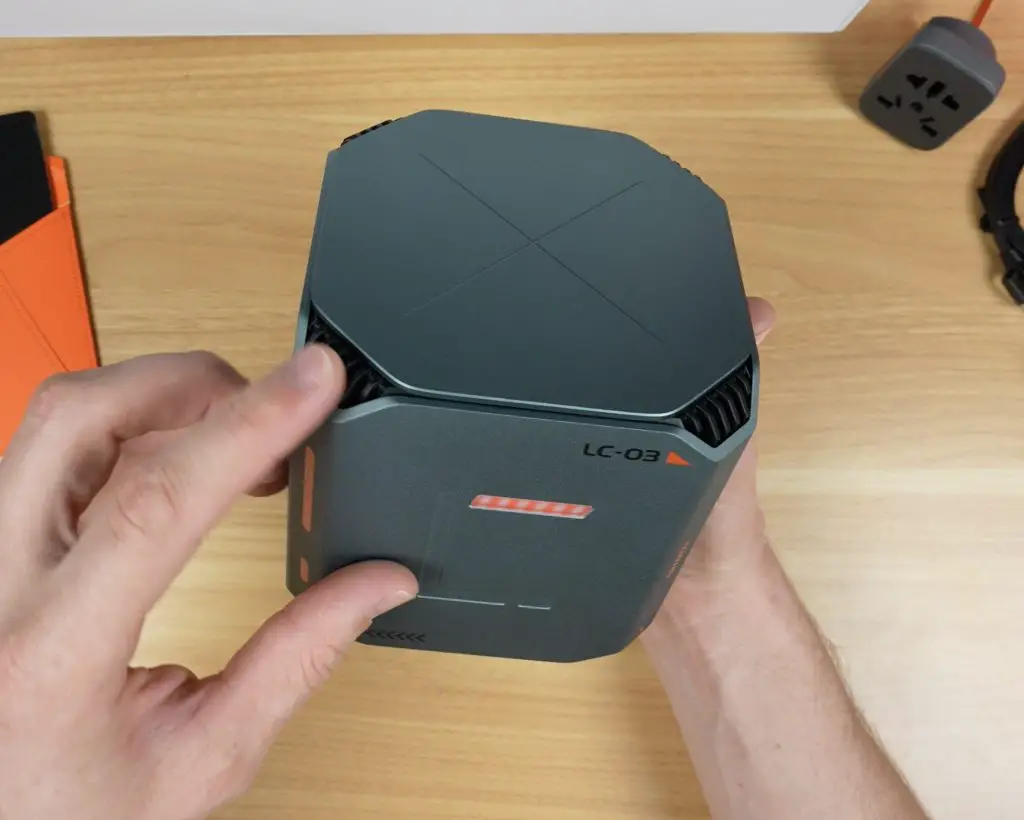
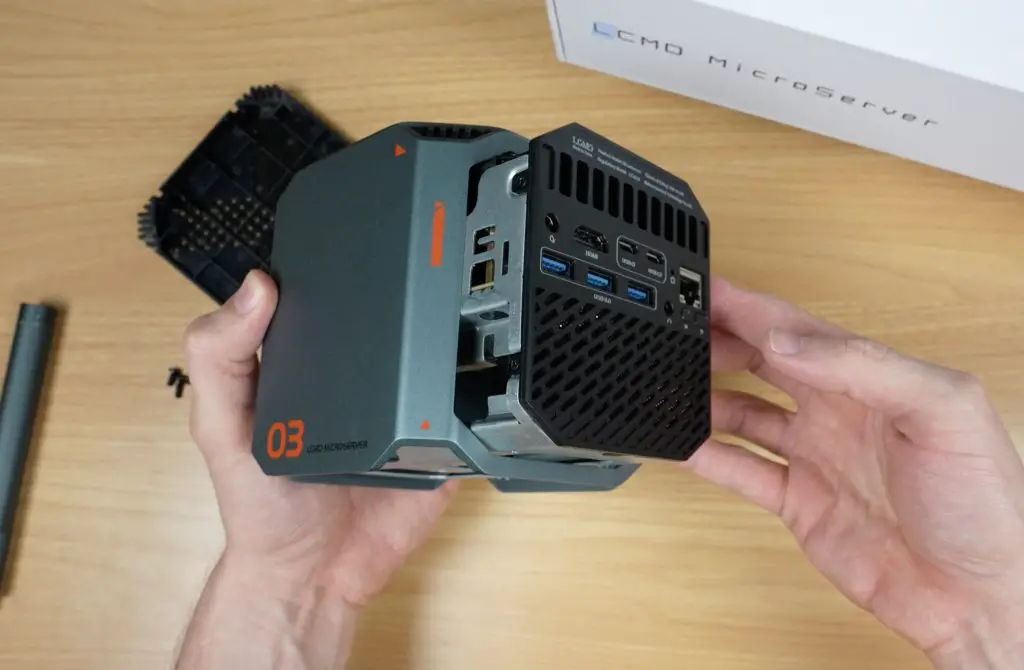
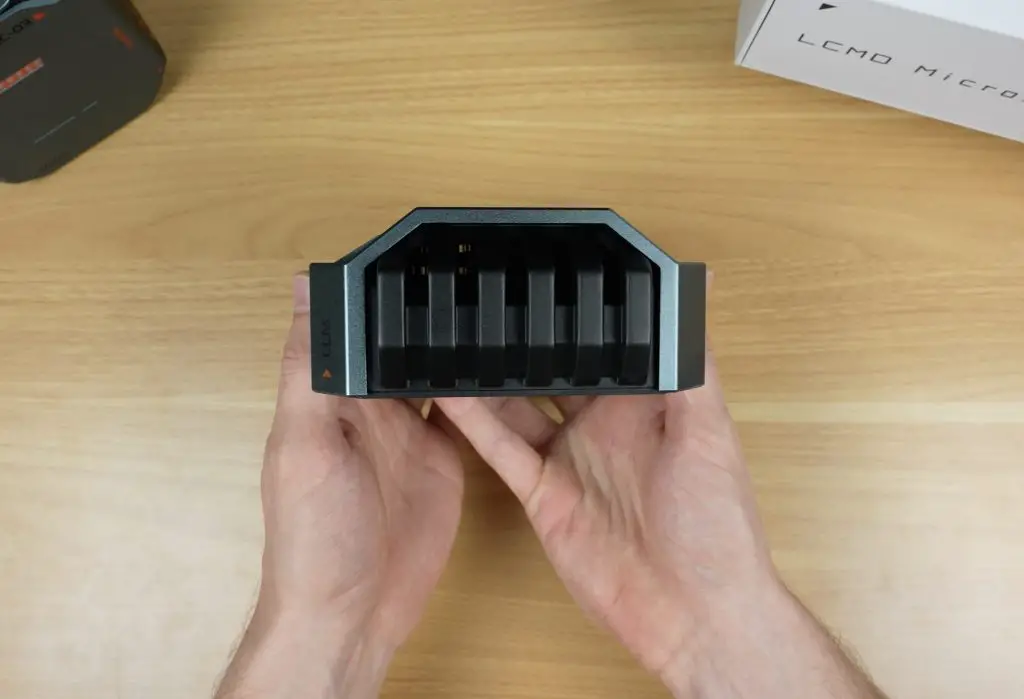
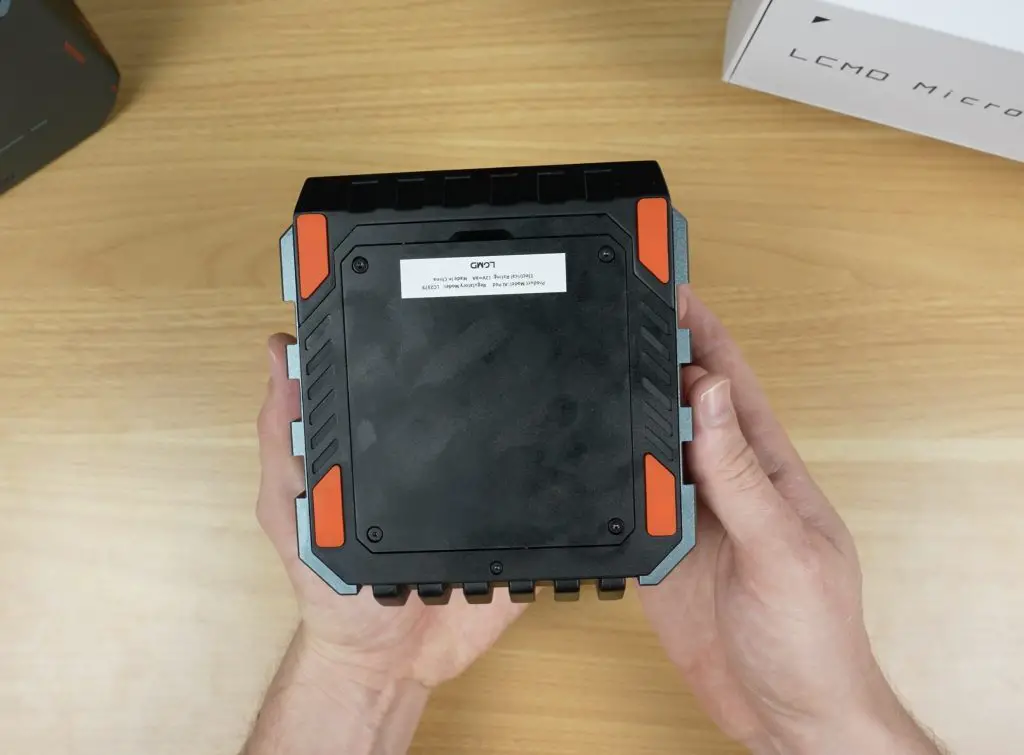
The front and sides are clean with no ports or buttons. On the top we’ve got some ventilation holes on each of the corners. On the bottom we’ve got a large ventilation grill with some orange rubber feet.

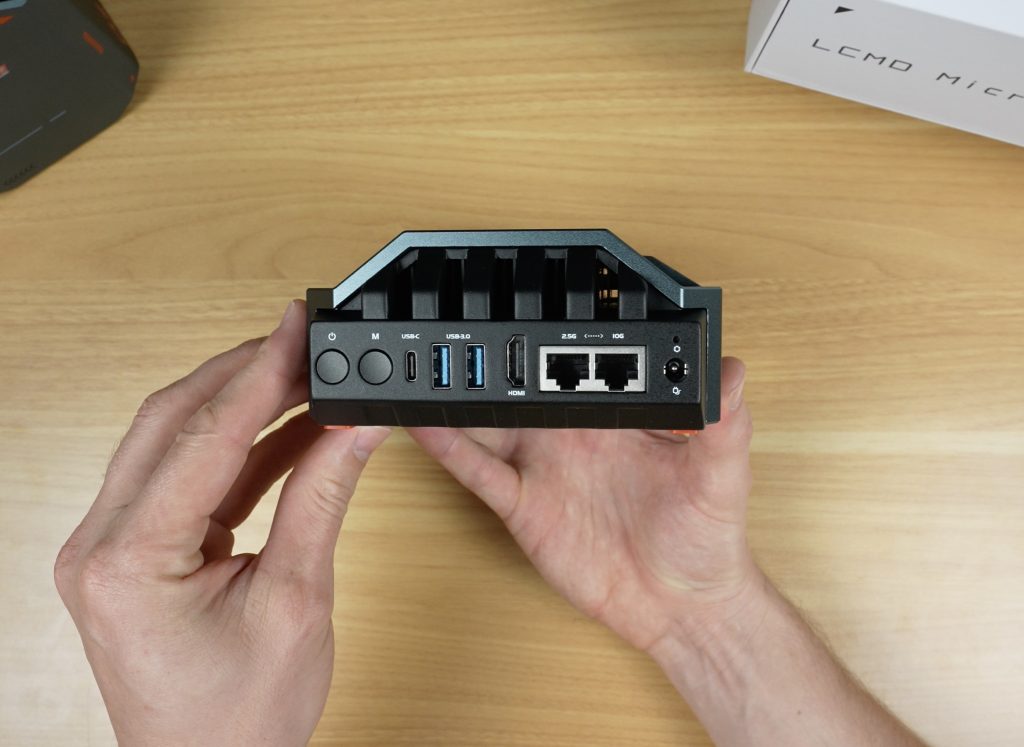
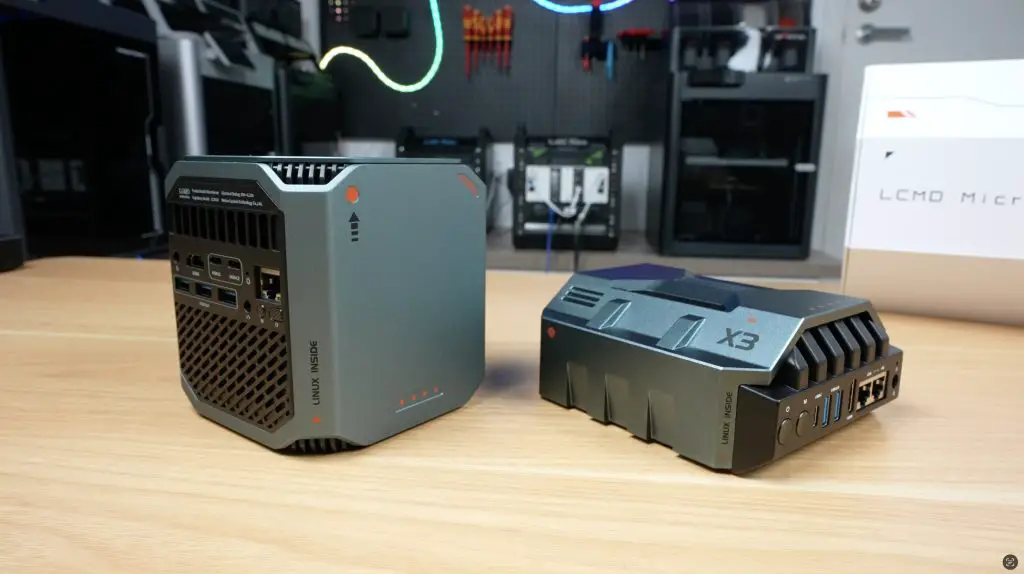
- On the back we have all the ports, which are clearly labelled:
- Power input
- HDMI 2.1 port
- Two USB 3.2 Type-C ports
- Three USB 3.0 ports
- Audio jack
- 2.5G Ethernet port
- Mode and power buttons
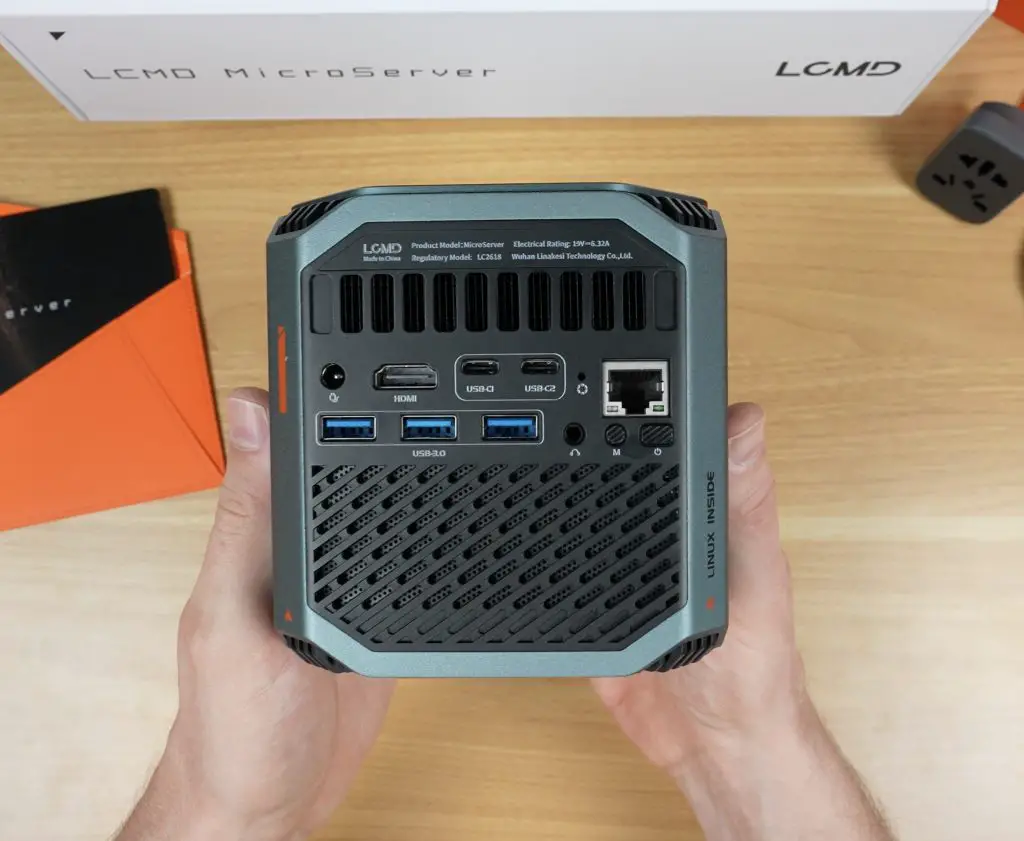
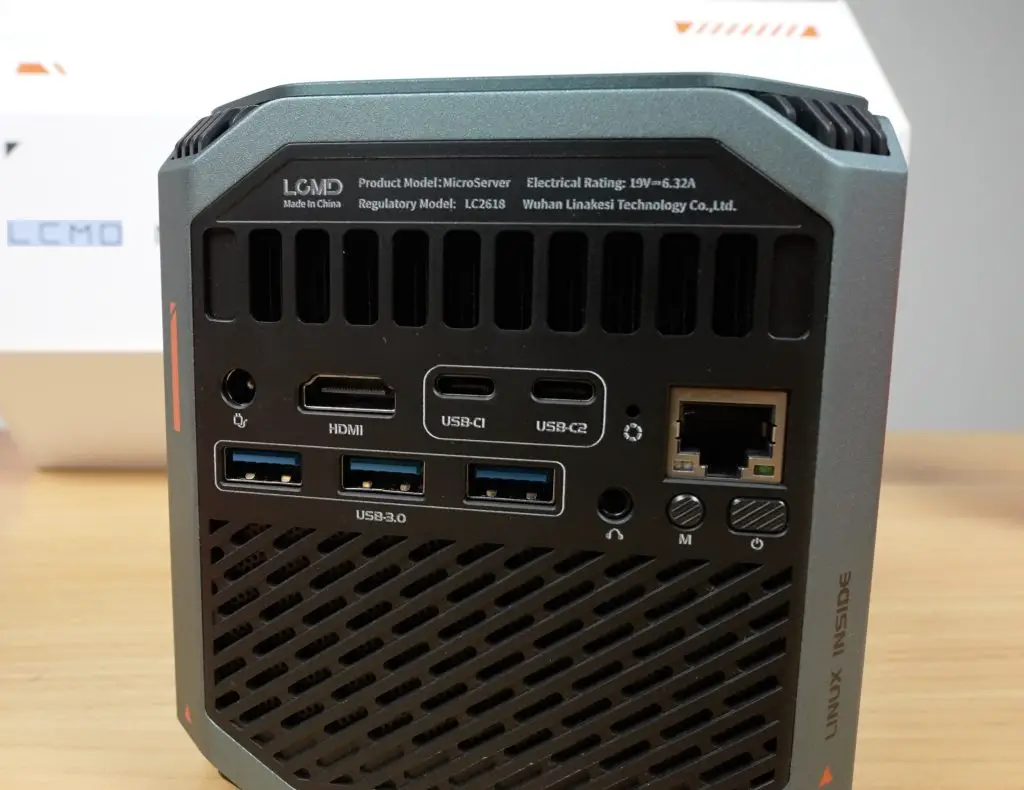
Above the ports are vents for the CPU heatsink; below is an open grill likely for the drive bays. Speaking of drive bays, internally, the Microserver can house two 2.5″ drives and two M.2 NVMe drives.
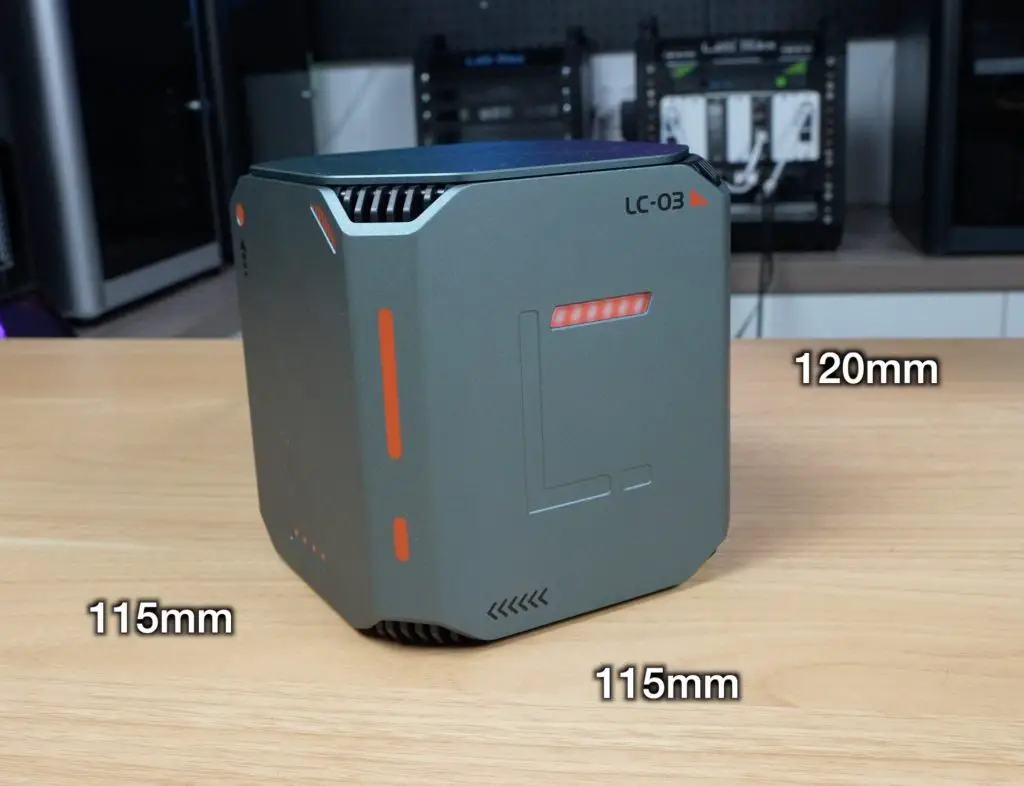
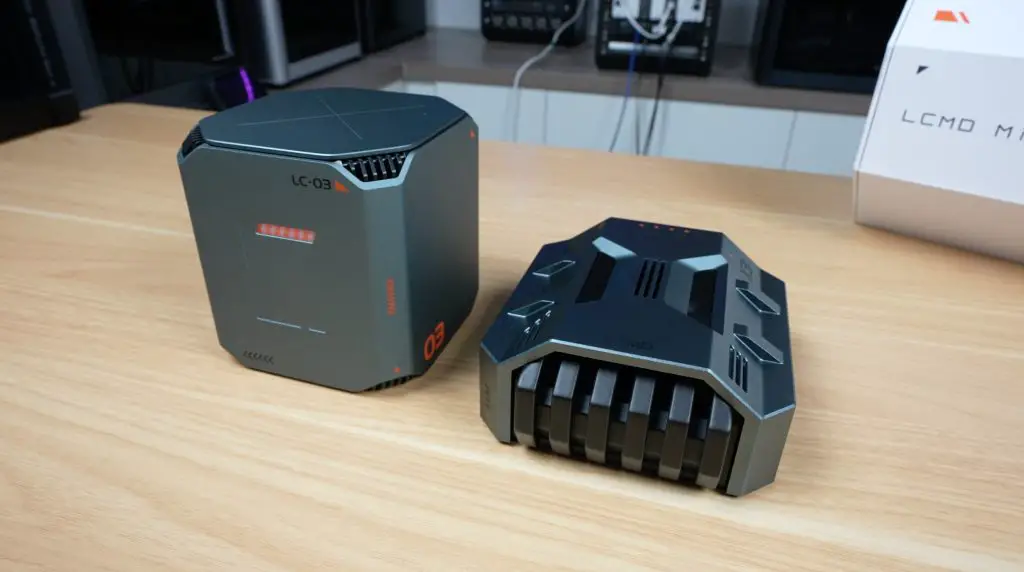
The build quality is excellent, it’s got grey aluminium panels, solid construction, and an orange-and-white futuristic style. It’s also compact at 115mm × 115mm × 120mm.
Hardware Specs
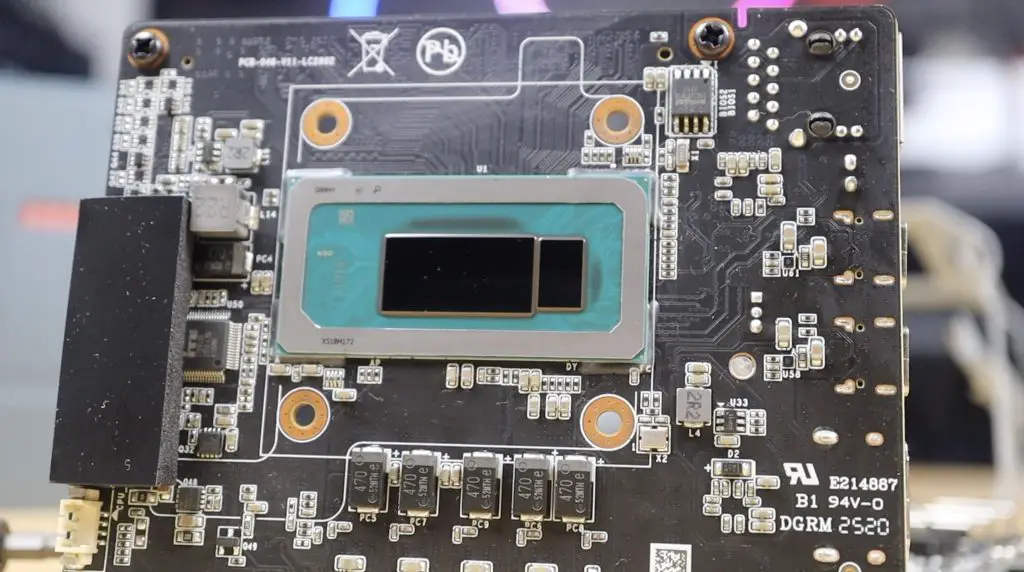
Inside, the Microserver runs on an Intel Core i5-13500H. This is a 12-core CPU (4 performance cores up to 4.7GHz, 8 efficiency cores up to 3.5GHz) with Intel Iris Xe graphics (80 execution units at 1.45GHz).
It will be available in three variants:
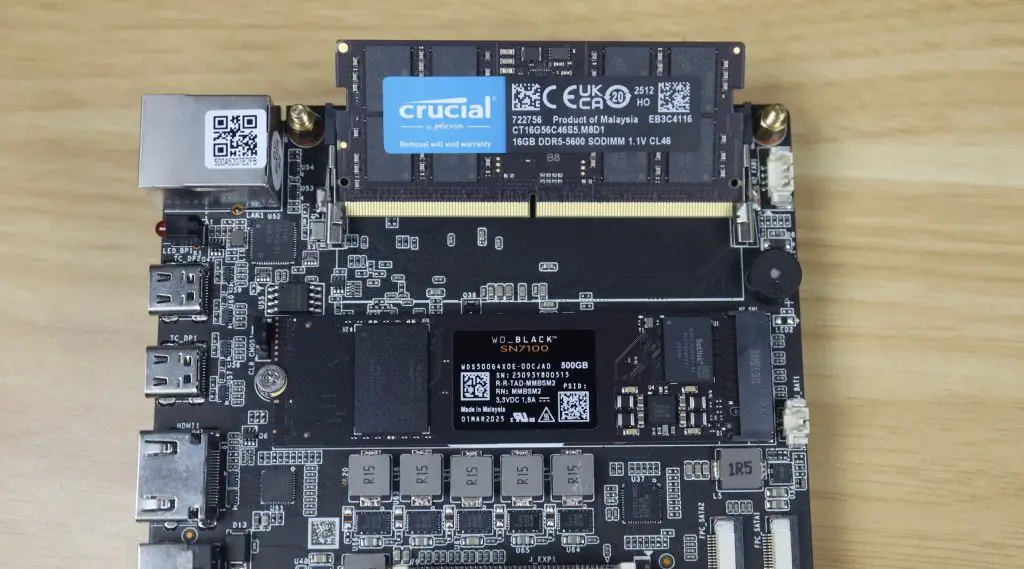
- Base Model: 16GB DDR5 RAM (5200MHz) + 2TB SSD (this review unit)
- Mid Model: 32GB DDR5 RAM (5200MHz) + 4TB SSD
- Top Model: 64GB DDR5 RAM (5200MHz) + 4TB SSD
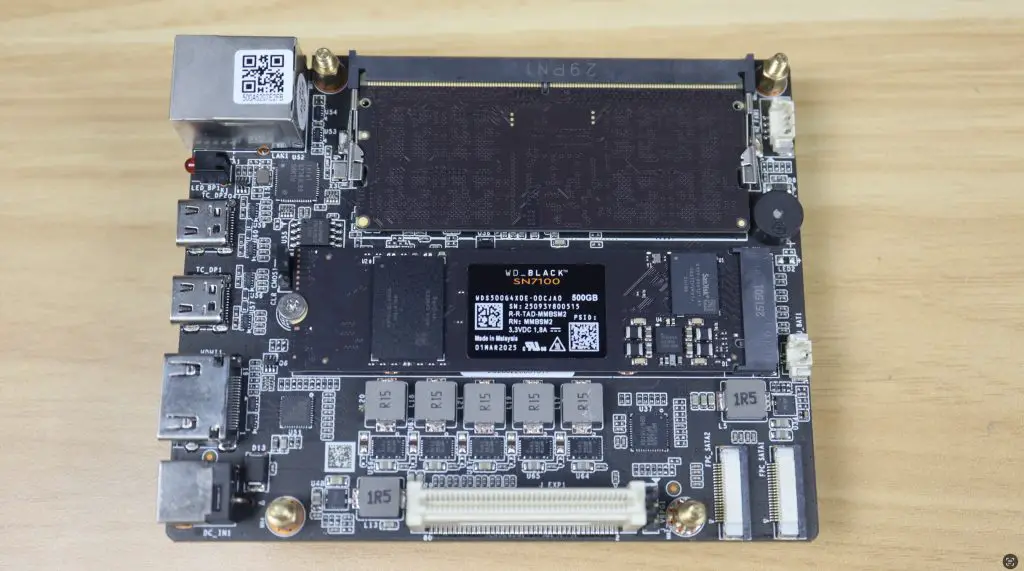
Storage expansion is very generous:
- 500GB OS drive preinstalled
- Four additional M.2 2280 slots – up to 64TB (with 16TB drives)
- Two SATA 3.0 bays – up to 8TB each
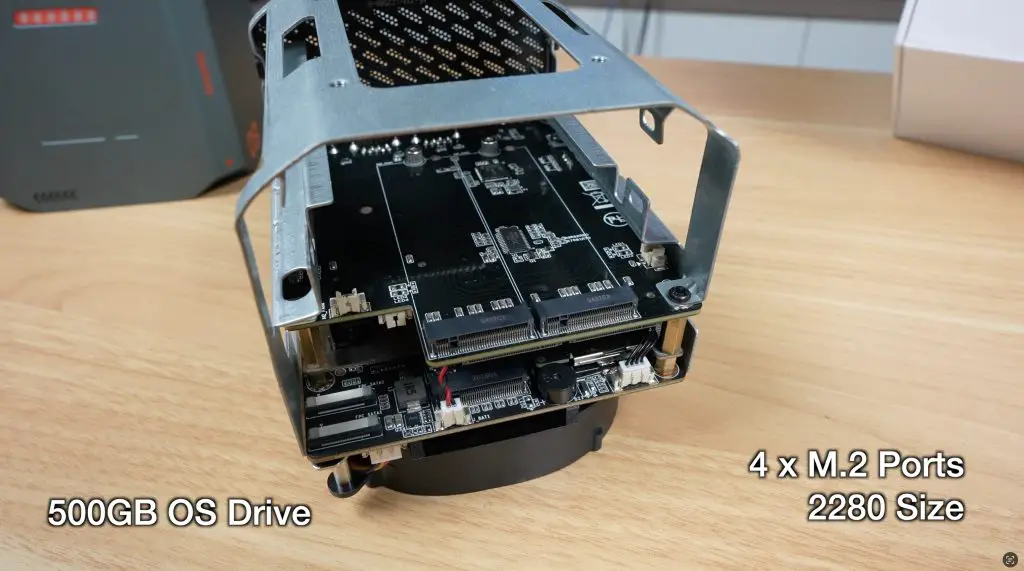
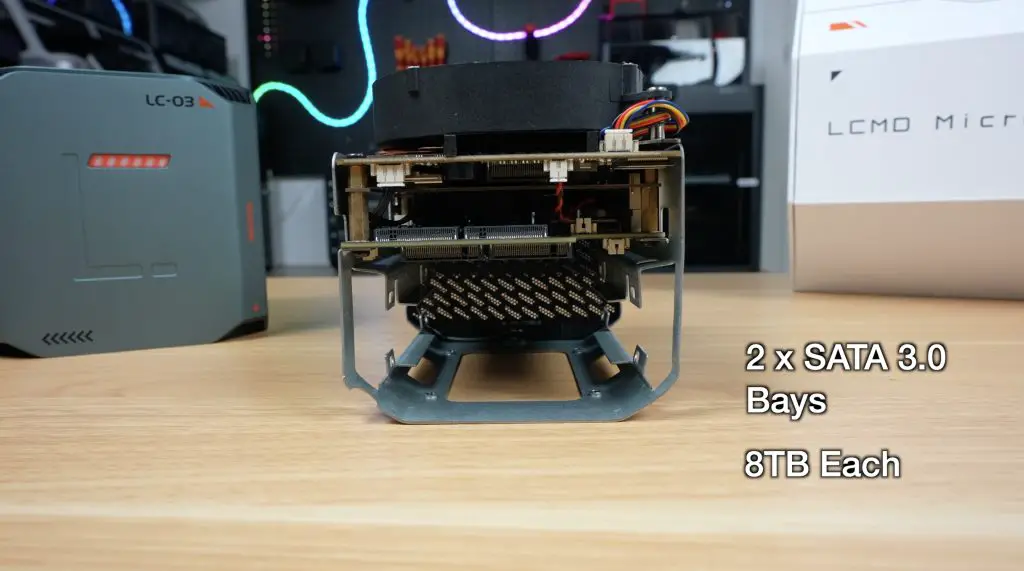
Realistically you could install about 20TB without spending a fortune. It also has WiFi 6E via an Intel AX210 chip.
The enclosure slides out the back after removing two sets of four screws from the bottom, giving access to the internals for upgrades. My only complaint with this process is that the bottom uses Torx screws, while the retaining bracket uses Philips head screws. It would be nice if they were consistent.
Software and Setup
Booting the Microserver was where I was most impressed. Many products have great hardware but fall short in software, but that’s not the case here.

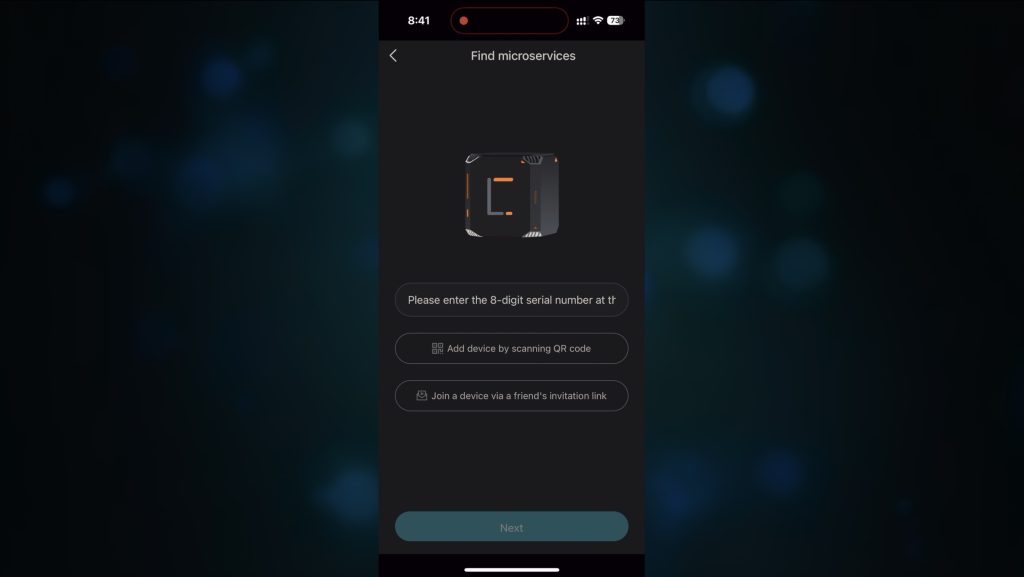
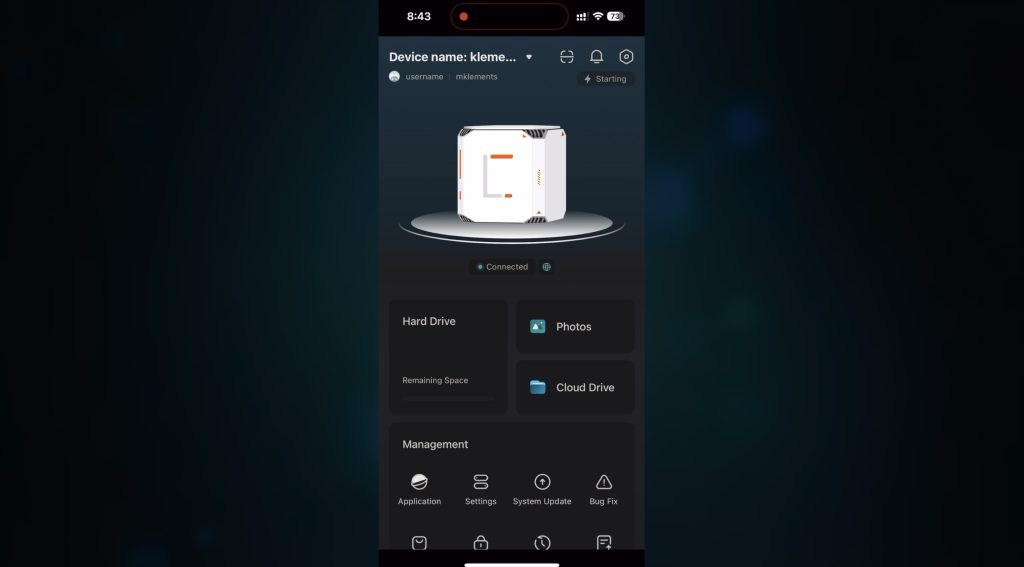
After plugging it in, you install LCMD’s mobile app. The Microserver runs LCOS (which is Debian-based). Setup takes under 5 minutes, and the system automatically configures encrypted remote access (NAT traversal, like Tailscale), so no port forwarding or network tweaking is needed.
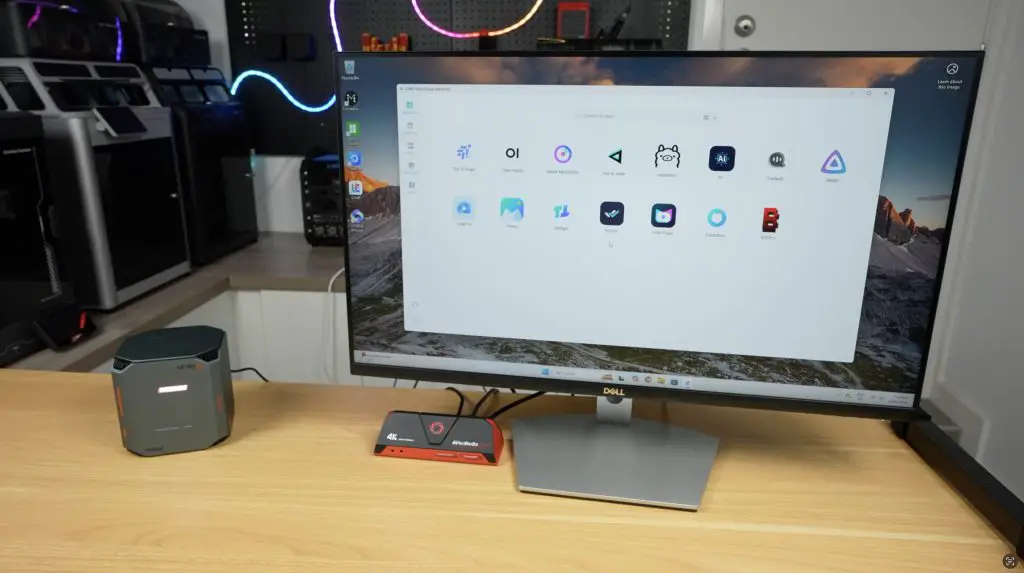
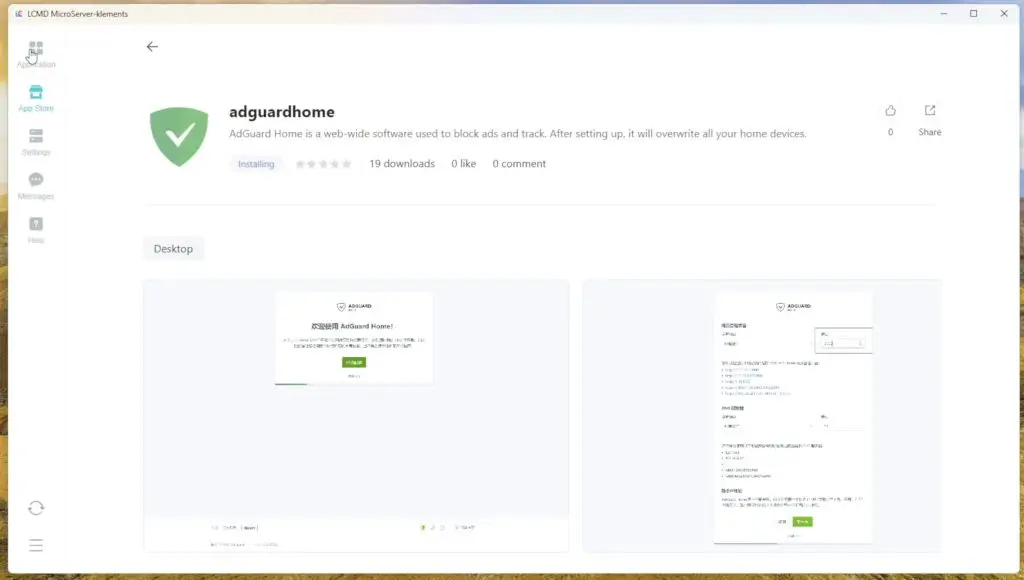
There’s also a desktop app for PC and Mac, which lets you:
- Manage storage pools and permissions
- Install over 1,000 available pre-configured apps (including Jellyfin, Nextcloud, Git servers)
- Adjust settings
- View and manage media

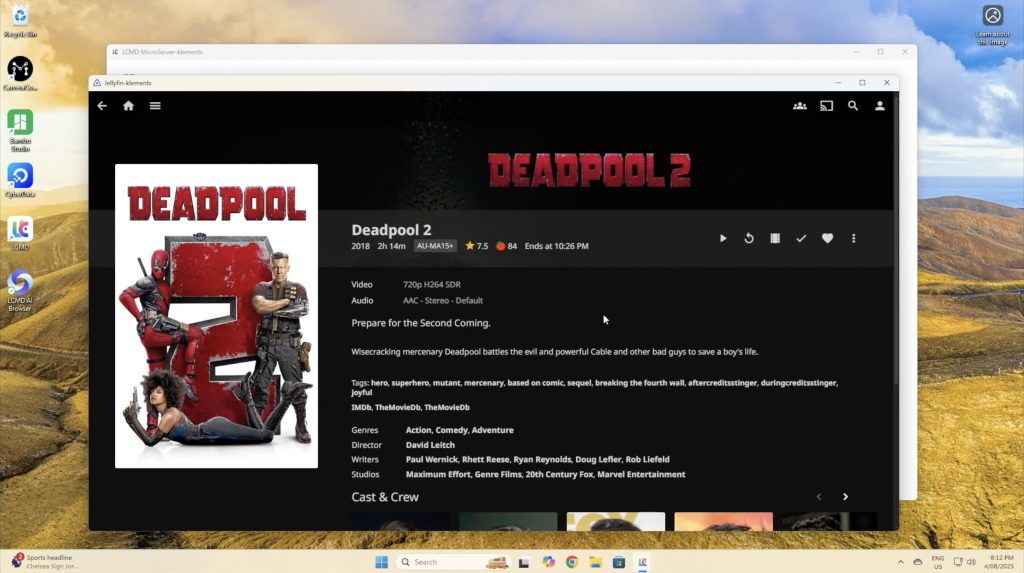
My first test was with Jellyfin, and this installed instantly without advanced setup.
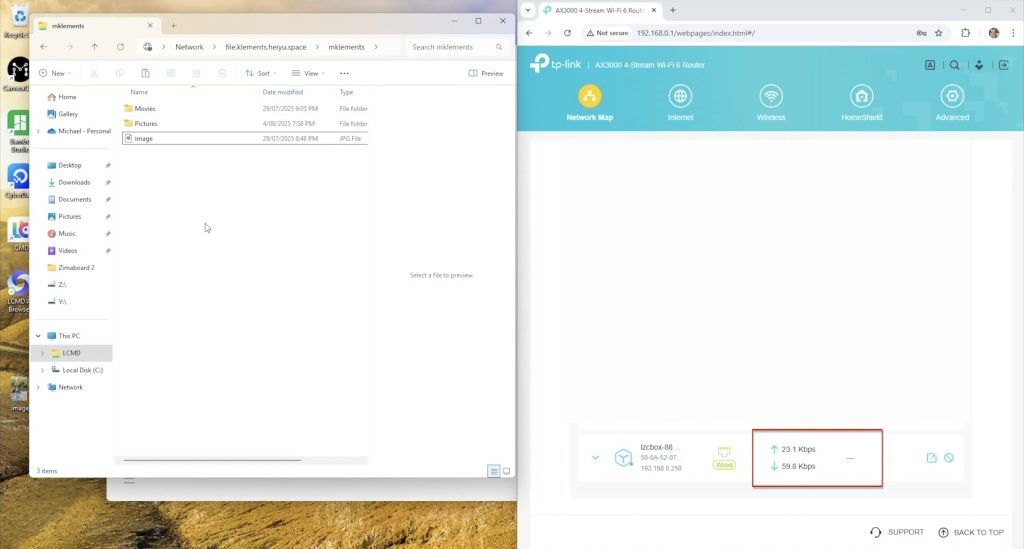
You can also share files over your network with SMB or AFP like a traditional NAS.
The Microserver can act as a smart TV when connected to HDMI, with your phone as the remote. This allows you to watch media content, look at files and photos and even use some of the AI features will get to with the AI Pod.

The AI Pod, Adding an AI Brain To The LCMD Microserver
The AI Pod is an add-on for the Microserver that adds serious machine learning power. Unlike the Microserver, it can’t run on its own, it must be paired with the Microserver.
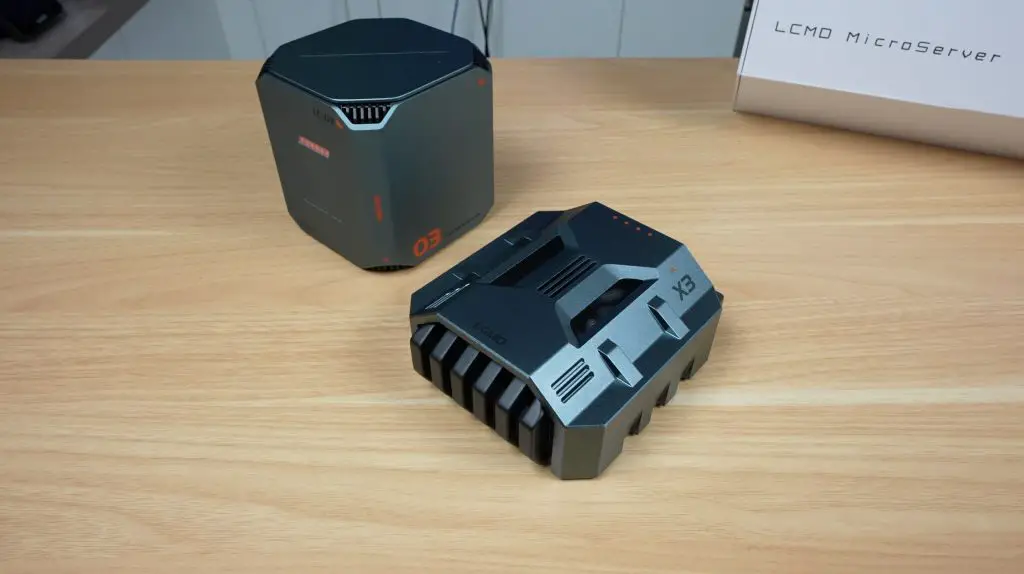
Packaging is again premium, with a foam pad and the device beneath. The AI Pod’s design feels like something from a sci-fi movie. I think it looks a bit like a building from theold PC game StarCraft – I might be showing my age with that comment.
Included with the AI Pod: instruction manual, 12V/96W power supply (my unit was white, but the production one will be black).
Ports and Hardware
Taking a look around the AI pod, the front is actually a ventilation grill and you can actually see through to the back of the enclosure. The two sides are solid. The top has a fine ventilation mesh and the bottom has a removable cover plate.
- Like with the Microserver, the ports are all at the back:
- Power & mode buttons
- USB 3.2 Type-C
- Two USB 3.2
- HDMI 2.1
- 2.5G Ethernet
- 10G Ethernet
- Power input
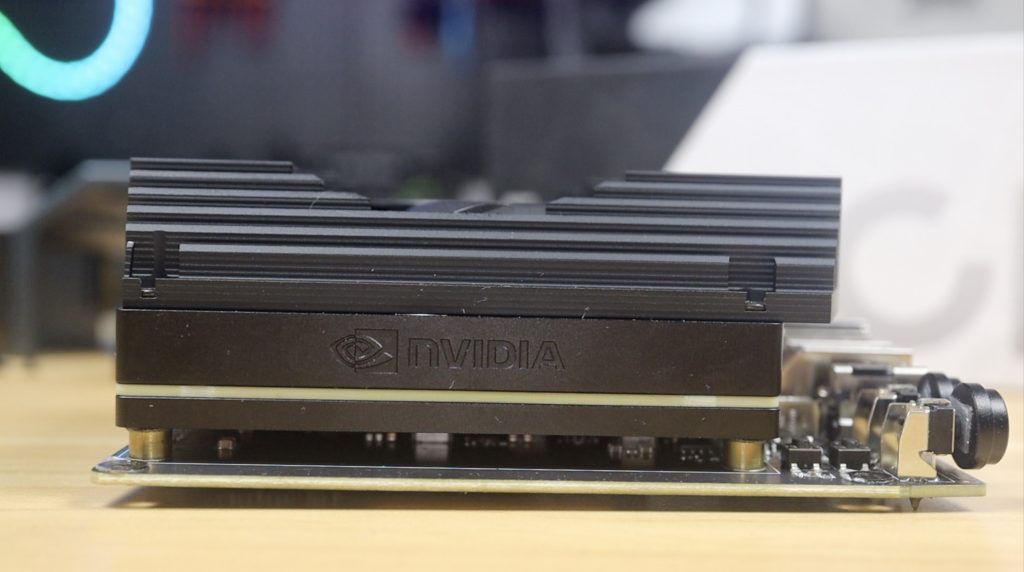
The 10G port is due to the Nvidia Jetson AGX Orin development board inside – not a custom board.
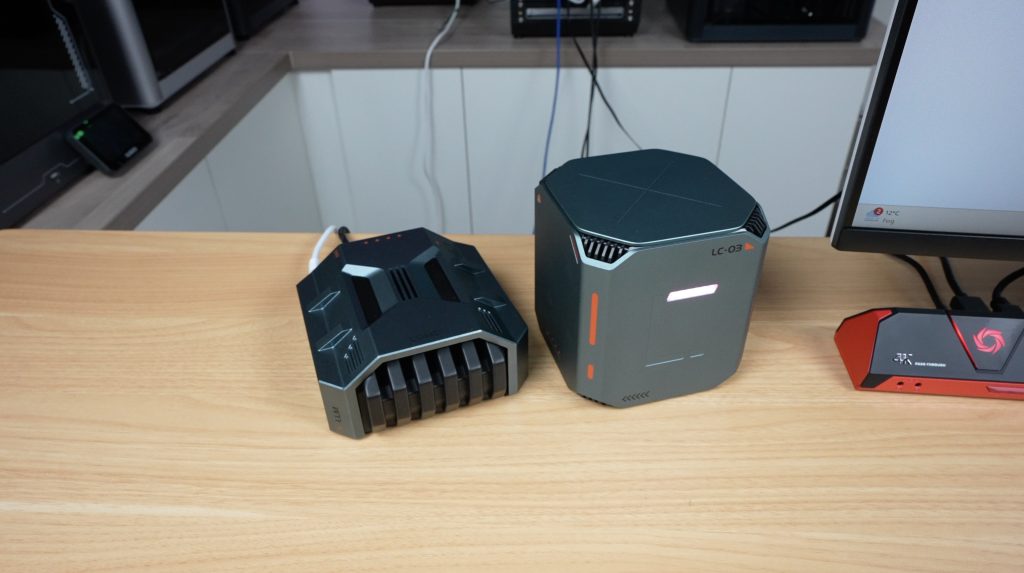
Styling is designed to match the micro server so it’s the same grey aluminium housing with black accents. I think the pair look really cool together.
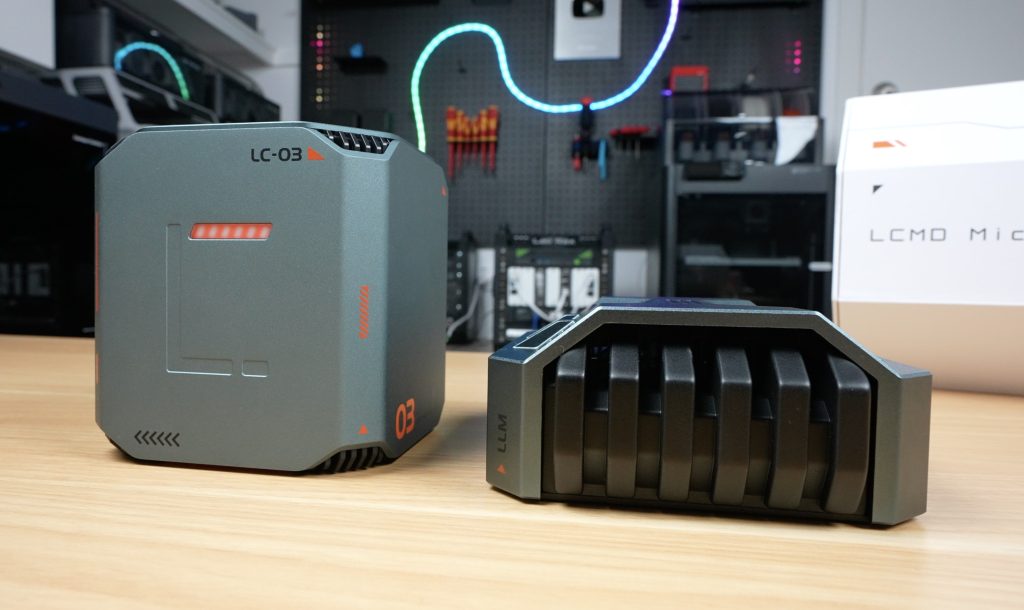
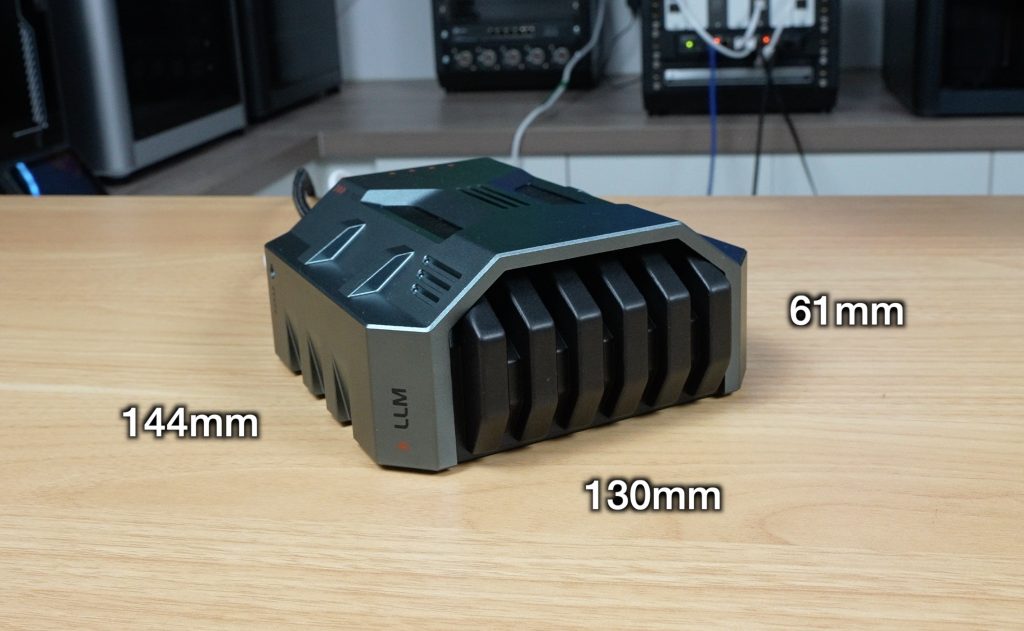
The AI Pod has a slightly larger footprint than the Microserver, measuring 130mm x 144mm but it only stands 61mm high so it might look a bit smaller.
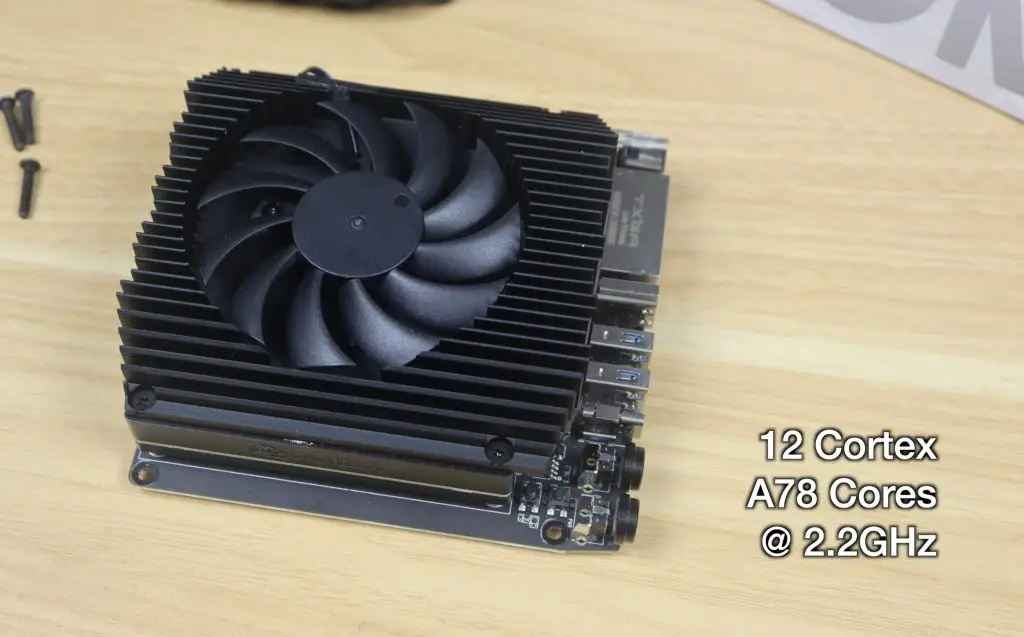
The Jetson Orin board has an Arm CPU featuring 12 Cortex A78 cores that can run up to 2.2GHz and an NVIDIA GPU with 2048 Cuda cores, 64 Tensor cores and 64GB of LPDDR5 video memory. This adds an impressive 275 TOPS of processing power to the Microserver while only drawing around 30-60W.
So this allows you to decode a single 8k30 stream of H.265 video or up to 22 streams at 1080P30. Or it can handle encoding two simultaneous 4K60 H.265 streams. But besides it’s powerful encoding and decoding abilities, it’s main function is to add the ability to run your own AI models locally.
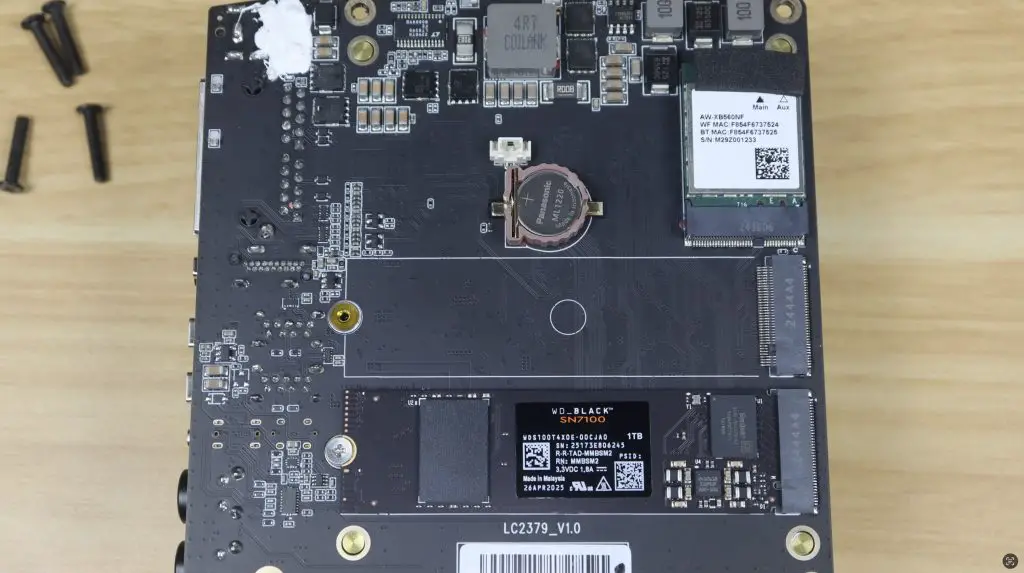
Internally it’s also got a wifi 6 module and a 1TB WD Black NVMe ssd as the OS drive. It’s got a second drive bay but at this stage I don’t think you really need to use it on the AI Pod.
AI Features in Action
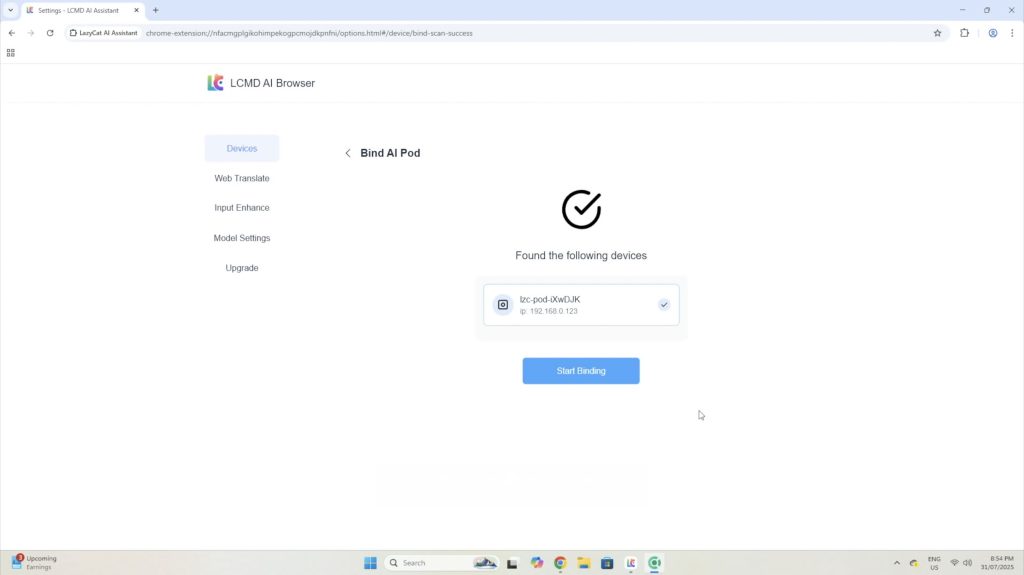
Pairing the AI Pod is easy via a separate desktop app.
With this added, you now have access to some AI based apps that’s take advantage of the pods processing power, so you can do things like image and video generation locally.
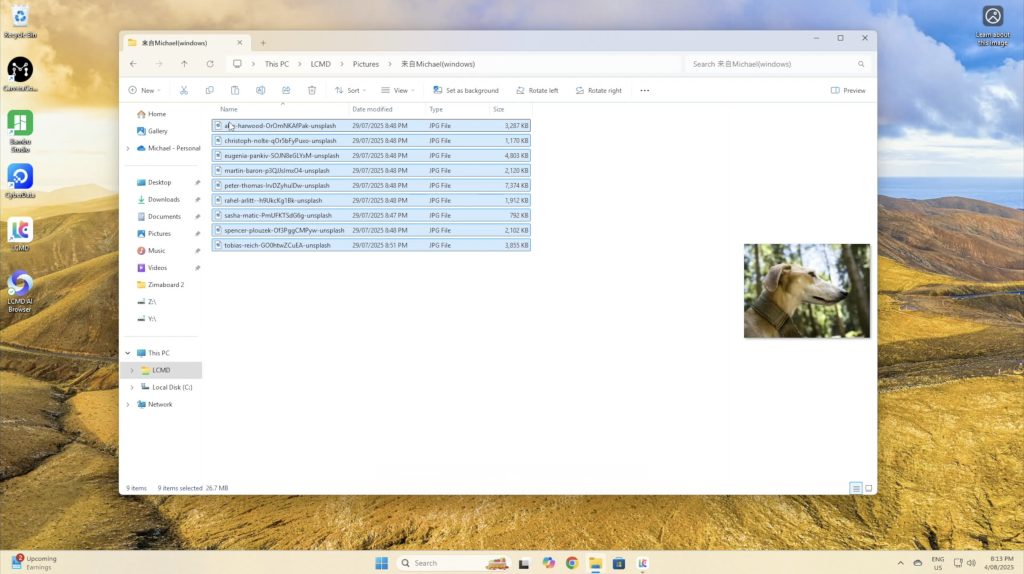
I tried out image generation first. My first test prompt was “a man taking a photo of his dog with a mountain in the background”.
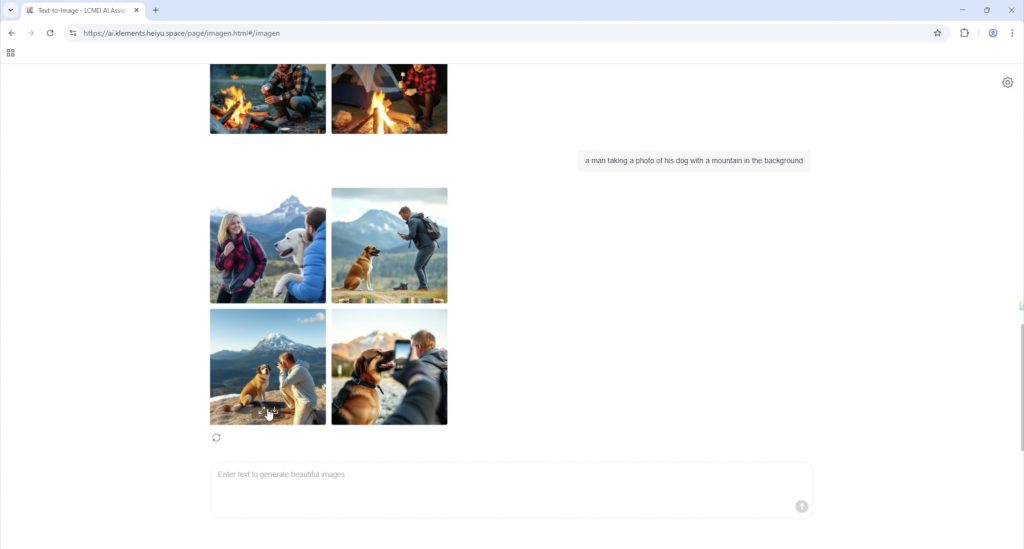
The first test prompt worked quite well. The first and last images aren’t quite what I was going for but the other two are quite good.
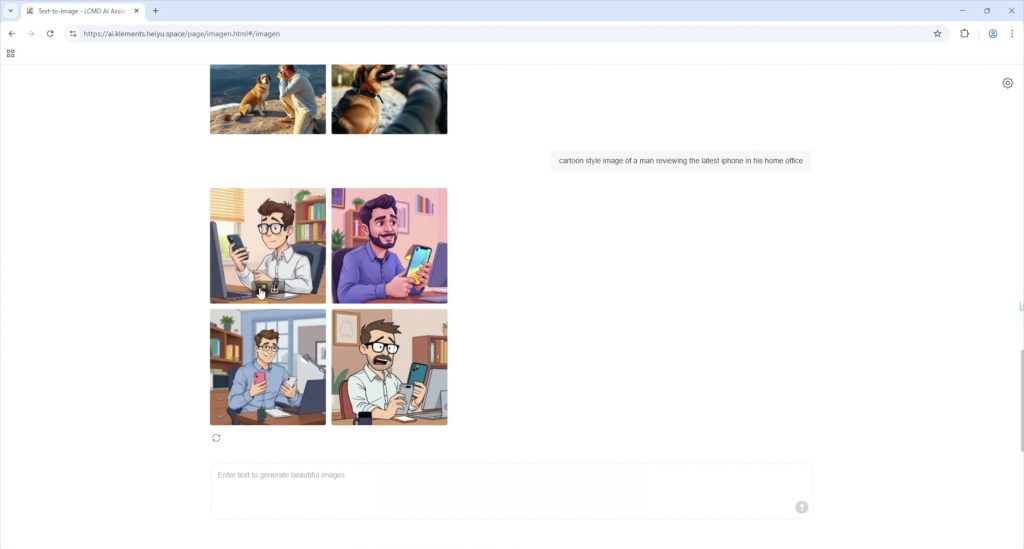
You can also do different image styles like generate cartoon images. The next prompt I tried was “cartoon style image of a man reviewing the latest iphone in his home office”.
Lastly, I trieda prompt that I thought would be a bit more difficult “a girl being pulled by four dogs on her bicycle riding across a frozen lake”.
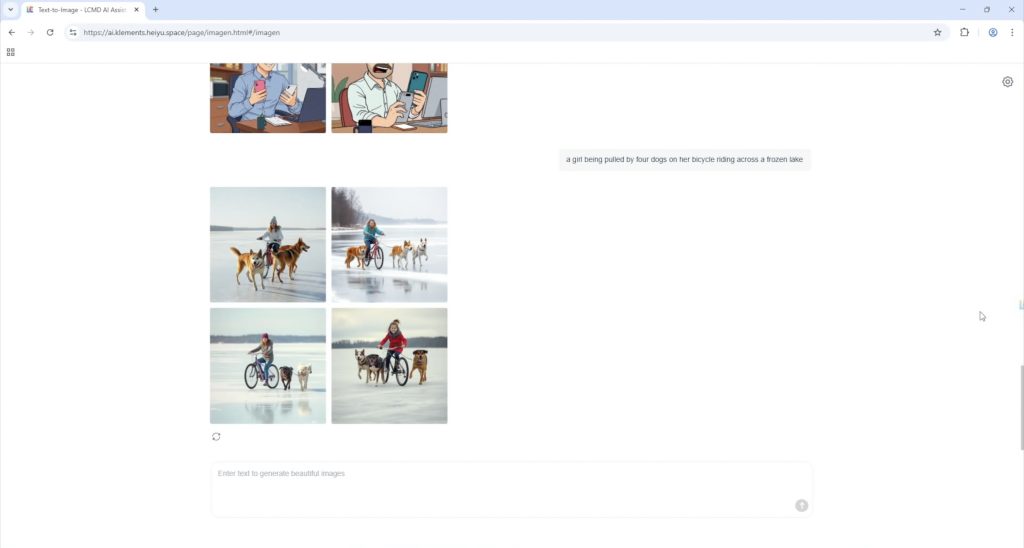
This even worked reasonably well, although this model clearly has a problem with numbers, none of these images have four dogs and this one has two heads.
Next I tried video generation. This works in a similar way to image generation, but takes a bit longer as it has to generate multiple frames.
I tried to be quite specific with this prompt “a red sports car driving through a mountain road at sunset”.
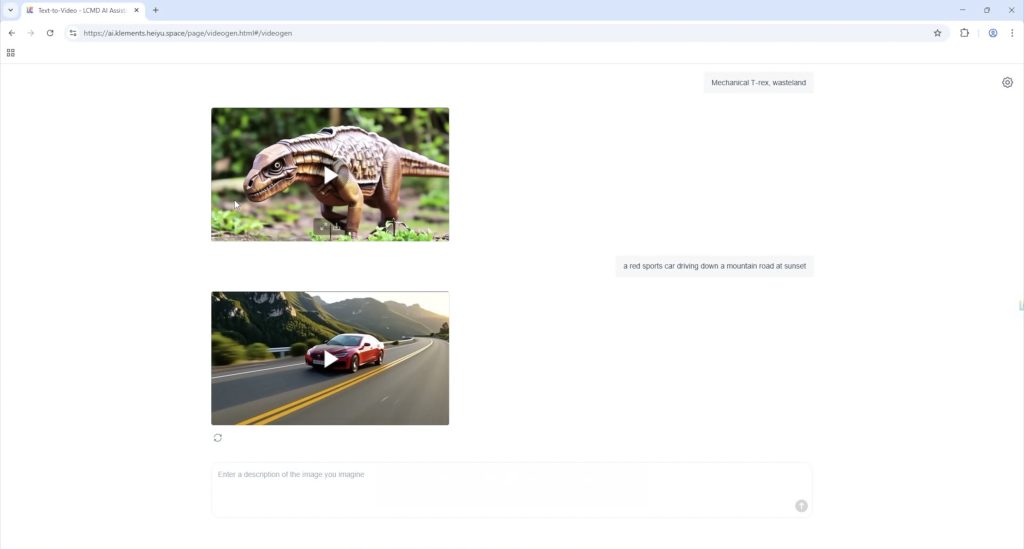

This came out much better than I expected. It’s not amazingly realistic but it is really impressive for a video generated in a minute or two on a local piece of hardware drawing under 100W. You can see this video and the second example video in my Youtube video at the begining of the post.
The second prompt I tried was “a cat looking out the window while it is raining”.

This one also come out quite well.
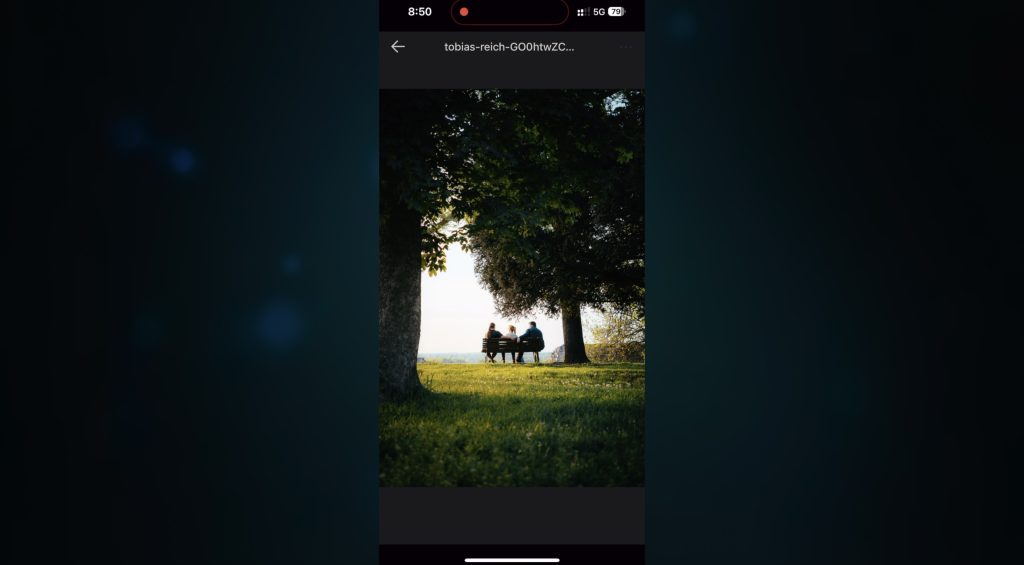
One of the features that I really like is the added search funtionality to your photo albums. You can give it very specific queries and in my small sample libary its very accurate.
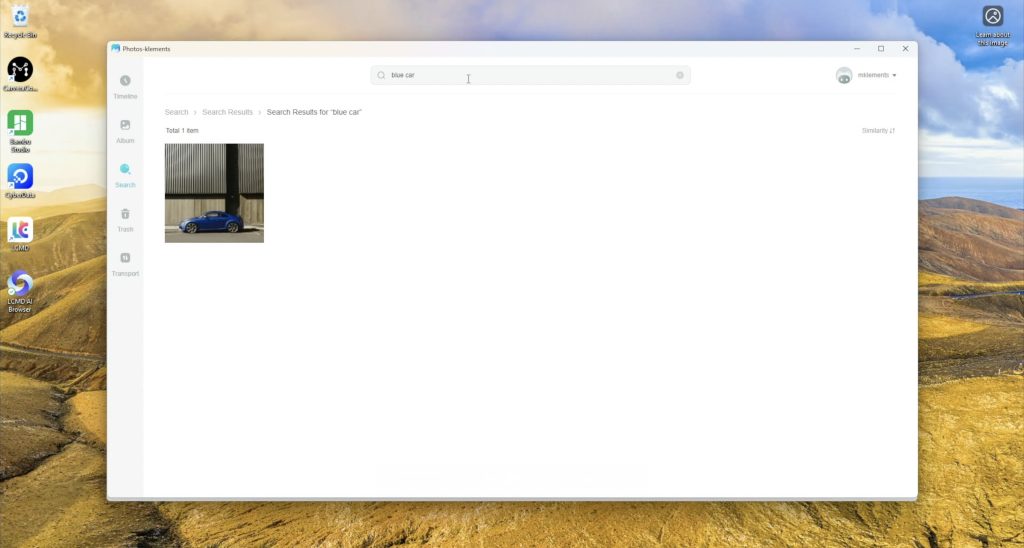
This is a really useful feature if you’ve got thousands of photos and you don’t recall when you took a particular photo but you remember a small detail in it.
There are also a whole lot of other AI based features that I could make a separate video on but some of the useful ones are the ability to translate text locally in the browser, and you can even run a local language model similar to ChatGPT.

Pricing of the LCMD Microserver and AI Pod
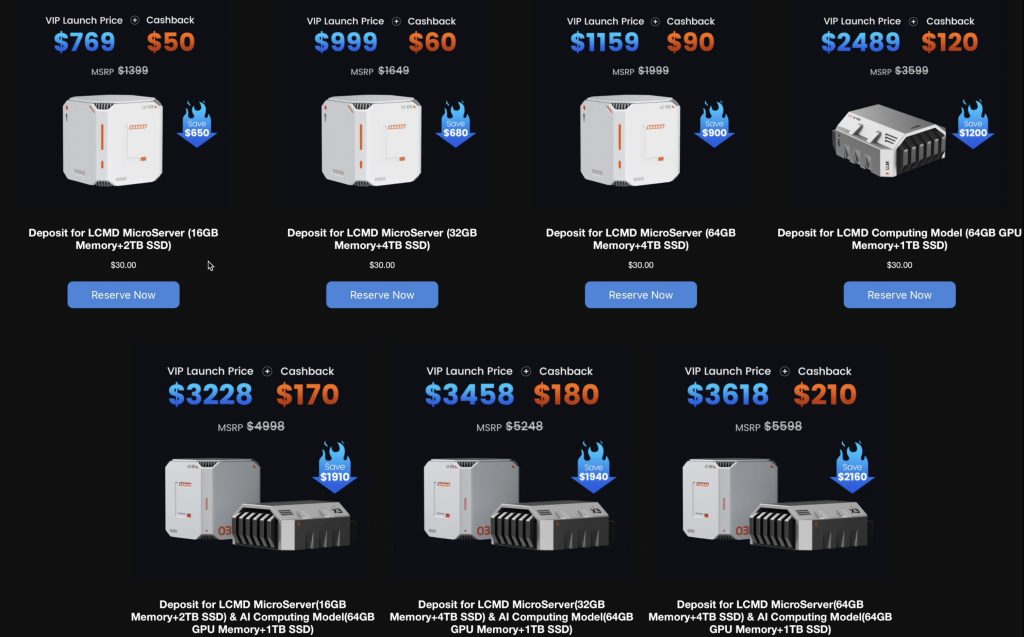
Since this product is going to be crowd funded through Kickstarter before becoming a retail product, the is a special “launch price” for each product and then an eventual MSRP.
- Bottom Model Microserver (16GB/2TB): $769 launch, RRP $1400
- Top Model Microserver (64GB/4TB): $1159 launch
- AI Pod: $2489 launch, RRP $3600
- Combo deals: $3228–$3618 launch pricing
My feeling on the Microserver pricing is that the launch prices are quite fair but the RRP prices are higher than I’d expect. And the AI Pod seems quite expensive, even at launch price. They do both use more premium WD Black drives and Crucial RAM, so they haven’t cut corners with no name brand components but the AI Pod can’t be priced near where a used A4000 or 3090GPU would be a similarly priced as these would be a more powerful option. If they do then the AI Pod will have to seriously prove its worth in software.
Privacy and Transparency
One of the concerns people are probably going to have with a product like this, is that it is running a lot of preconfigured software with very little disclosure on what is and isn’t being shared with the manufacturer, and there is some good and bad news here.
The system is running a custom OS with quite a few proprietary layers and while that makes it capable and offers a lot out of the box, at this stage there is limited transparency on exactly what its doing in the background.
I compiled a long list of questions and spent quite a lot of time talking with LCMDs developers in trying to determine what information they have access to and how this information is used and I’ll try present a summary in the best way that I can. The full list of questions and answers is provided in the next section below.
The LCMD microserver is designed with decentralisation and privacy as a core selling point, which means that users naturally want to bring as much in-house as possible. But on the flip side, LCMD are also trying to make the system as user friendly and easy to use as possible, which they have really nailed. The platforms custom client app enables powerful features that just work, you don’t need to be a wizz with docker containers or have any advanced networking knowledge to get the Microserver up and running. Most people aren’t able to set up remote access to their home networks in a secure way, so there is a balancing act here which they’re trying to navigate.
From what I’ve found through testing and in talking to the developers, the server prioritises direct peer-to-peer communication using asymmetric encryption, and the private keys are stored locally on the device. If both devices can be reached via hole punching then traffic flows directly peer to peer, this falls back to relayed traffic if that process fails – quite similar to Tailscale.
For more advanced users that want a bit more transparency and control, you can also set up your own NAT traversal through Headscale – which is one of the preconfigured apps it offers.
Local storage is also encytped and the encryption keys are again stored locally on the device, so don’t forget your password or your data will be lost.
The server only requires internet access for the initial setup or app installation. You obviously also require an internet connection for remote access after this but if you don’t need remote access and the initial setup is all you require then you can isolate the system from the internet and it’ll continue to function on your local network.
At the very extreme end, the Microserver’s BIOS is also unlocked, so if the software isn’t for you, then your can install your own OS on it if you’d like to. Although for this particular product, the software is a large part of the user experience – so it probably doesn’t make much sense to do so.
With all of that being said, the Microserver still uses proprietary software like its own VPN protocol, which unlike open standards like WireGuard, hasn’t been independently auditied. It’s dependency on a central server is limited but not zero, and although you could potentially configure it yourself to be zero, I wouldn’t say that the system is 100% trustworthy, but it’s about as close as you can get without them making the whole software package open source too.
Questions Asked To Developement Team & The Answers Received
Here’s a list of questions that I compiled and asked their Developement team along with the answers I received back. Due to the language barrier, some questions were reworded or repeated in different ways and translations were required in both directions, so I have summarised the questions and answers here while trying to maintain their original intention.
Q1 – What is LCMD’s networking approach, it appears to be similar to Tailscale?
Answer:
LCMD’s direct connection mode works in a similar peer-to-peer way. In most cases, all traffic is sent directly between devices. In extreme situations (like multiple layers of NAT4), they provide a completely free relay server with 8 Mbps bandwidth and full end-to-end encryption. Users can also self-deploy their own relay server, which maximizes decentralisation.
Q2 – How can users verify that direct connection traffic isn’t passing through LCMD’s servers?
Answer:
Two ways:
- Technical validation – Advanced users can use tools such as Wireshark to check if the inbound/outbound IP corresponds to their home broadband’s public IP.
- Business reality – Routing all traffic through their servers would be financially unsustainable given bandwidth costs.
They emphasised that direct connection is built on a decentralisation philosophy to improve performance and privacy at no cost.
Q3 – How are encryption keys handled, and can LCMD access these keys?
Answer:
There are two types of keys:
- Initialization / license verification – Bound to the motherboard; requires a connection to the official server for registration during initial setup.
- Device communication keys – Public/private key pair generated locally on the Microserver. LCMD’s official servers do not have access to your private key, meaning only authorised users can connect.
Q4 – Is the relay/STUN service open source or self-hostable?
Answer:
LCMD currently allows self-deployment of the relay server, but STUN is not fully open yet. They plan to follow up on this. As a temporary solution, the LCMD Official App Store has Headscale available for one-click installation so users can self-deploy.
Q5 – Why is there a desktop app instead of just a browser dashboard?
Answer:
While browser access is possible via a domain name, the desktop app creates a TUN virtual network interface, enabling advanced networking features.
Benefits include:
- Secure remote access without needing to set up public IPs, NAT traversal, or firewall rules.
- Works out-of-the-box for non-technical users.
For advanced users, browser access remains available, but the desktop client delivers a smoother and more secure experience.
They added that a client app can do things browsers can’t, like:
- Auto-mounting a cloud drive to the system file browser.
- Uploading to the cloud drive app even after the window is closed (client must still be running).
A no-GUI client is also available for more technical users.
Q6 – Does the device need the internet to operate?
Answer:
Internet is only required for initial setup and when installing apps from the LCMD store. In all other cases, it can operate fully in local-only (LAN) mode without internet.
Q7 – Can I access the device via IP address directly?
Answer:
Yes — they offer a LAN port forwarding tool for this purpose and can provide further documentation.
Q8 – What is LCMD’s overall decentralization approach?
Answer:
LCMD was designed with decentralization in mind so users can build and access their own cloud services without relying on centralised infrastructure.
- If the network has a public IP or favorable NAT, connections go directly between devices.
- Benefits: better privacy, full use of home bandwidth, and stable decentralised performance.
- If direct connection is impossible, free relay services (end-to-end encrypted) are provided.
- Advanced users are encouraged to self-host network penetration services. A “Network Penetration Service Setup Guide” will be released within a year.
Q9 – Is the device locked to LCMD’s OS?
Answer:
No — the BIOS is open, and users can install another operating system if desired.
Q10 – How do I enable SSH to access the terminal?
Answer:
They provided this link: https://developer.lazycat.cloud/ssh.html with instructions to turn SSH on.
Final Thoughts on the LCMD Microserver and AI Pod
So that’s the LCMD Microserver and AI Pod – a seriously powerful private cloud and AI edge device combo that’s really easy to set up and use.
Performance is great, the user interface is very well polished and it’s AI features are genuinly helpful, not just for party tricks. I do think LCMD could benefit from being very open about what’s running under the hood, especially for a product designed around privacy and user control, but the same could be said for most cloud or data storage companys.
Let me know what you think of the LCMD Microserver and AI Pod in the comments section below and if this is something you can see yourself using for your homelab or personal cloud.
Here’s a link to their prelaunch page where you can join the waiting list to be notified of their official launch on Kickstarter. As with the other crowd funded products that I’ve reviewed, keep in mind that crowdfunded projects carry some level of risk and that there is no guarantee that the final product will live up to the promises made in the campaign.