A beautifully decorated home not only looks great but functions well too. If you aren’t one of those blessed with an eye for design and décor, there are a few basic techniques which may help you. Follow these basic techniques and you’ll be well on your way to making your home look more impressive and artistic.
Decorate in Odd Numbers
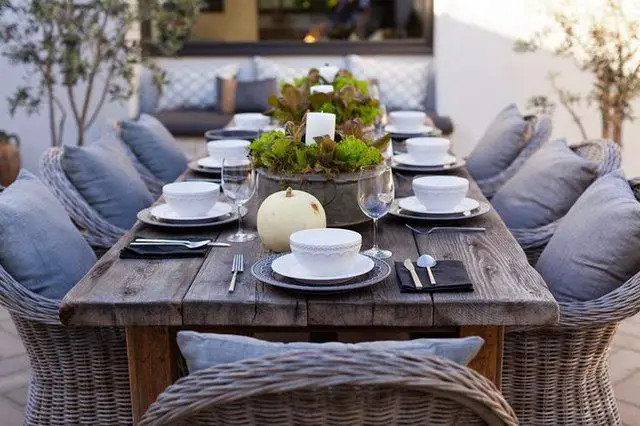
The basic idea behind decorating in odd numbers is that objects arranged in groups of odd numbers are more memorable and visually appealing than those grouped in pairs. Group objects of varying shape, texture and height but try to keep to a theme and colour scheme.
Create a Focal Point
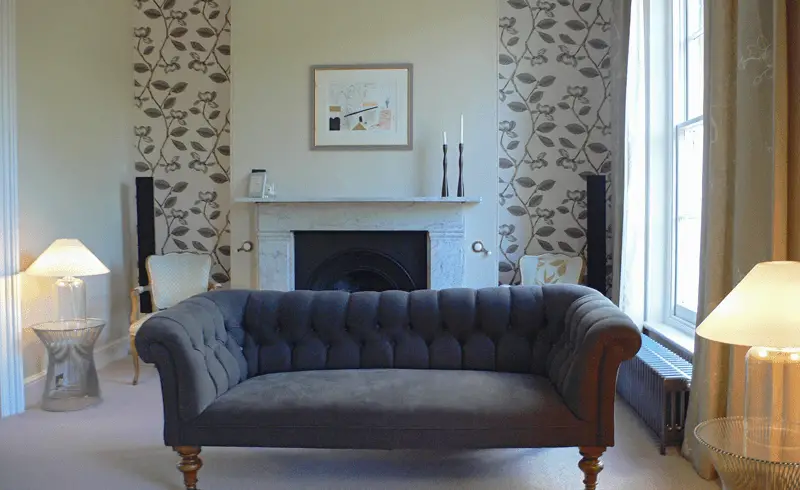
The focal point of a room is the feature which your eyes are immediately drawn to when you walk into it; a large window, door, coffee table, artwork, mirrors, a coloured wall or a fireplace. Everything around the focal point should complement it. The focal point could be an item of furniture that suites the theme of the room, for example a dining table in the dining room or a feature built in such as a fireplace.
Once the focal point has been found or created, the room’s decor should be centralised around it. Take aspects of the focal point and use these in choosing the complementing decor. Use its’ colour, patterns or design features. Generally the main items of furniture are directed towards or focused on the focal point.
Pick A Colour Scheme
Colour should always support the theme of the room. Most of the time, your colour scheme comes from your focal point or main item of furniture. Generally, you want to choose three colours for a room; a dominant colour for the walls, floors and fabric; a secondary colour for the accessories and detail in the fabric and finally an accent colour which is used in a few items to highlight and give the room character.
Negative Space is not a bad thing
Have you heard the saying, less is more? Negative space is the area in a room which is not occupied by something. This can be an empty counter top, bare wall or open shelf. The main idea here is to avoid clutter. We tend to clutter surfaces with things that do not need to be there. Leave some room on surfaces, tables and shelves but also make sure that the negative spaces serve a purpose. Creating negative space is not about going around the house and packing everything away or removing things from the walls. Items should only be removed if doing so highlights features on the wall or furniture. Creating negative space should improve the look and feel of the room.
Choose You Lighting Carefully
Lighting can generally be grouped into three main categories; ambient lighting which is the main lighting used to light up a room, accent lighting which is directed at a particular object or feature and task lighting which is meant to serve a purpose for a specific task.
Different types of lighting allow you to add some depth to your rooms. Most rooms in a home have ambient lighting already but consider how you could add a reading lamp as a task light or a spot light onto a large artwork as an accent light.
Lastly, remember that your home also needs your own personal touch. Always add a little bit of your own style to your décor. This could be in the form of a hobby, sport or your occupation. These are not rules by any means and are simply guidelines to get you started in decorating your home like a professional.
Have you just finished decorating your home or are you thinking about it? Let us know what has worked for you in the comments section below. We would love to hear from you.
Cover Image: Interior design apartments by JOHNSON DESIGN STUDIO. All images in this article are used under CC BY 2.0