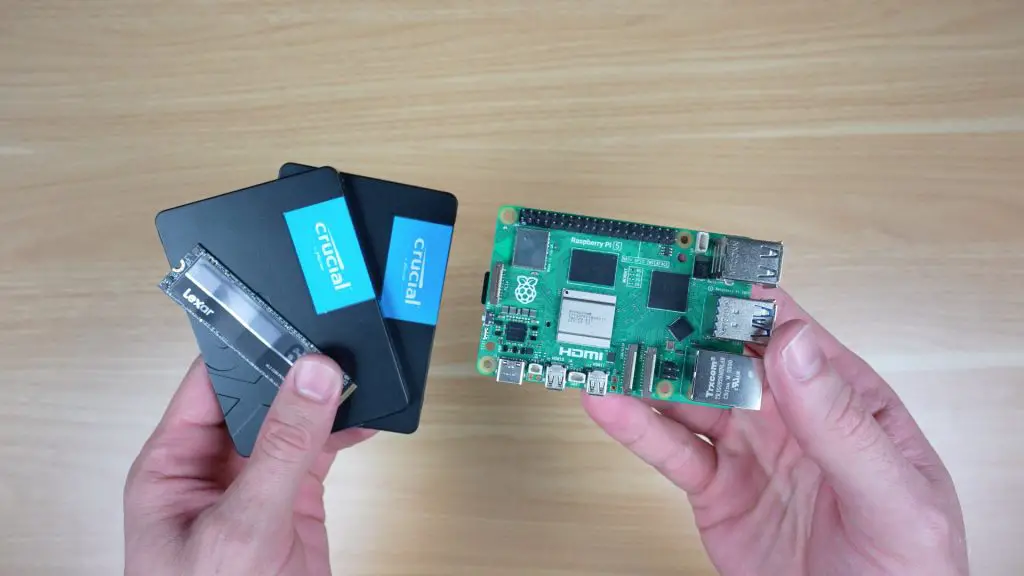
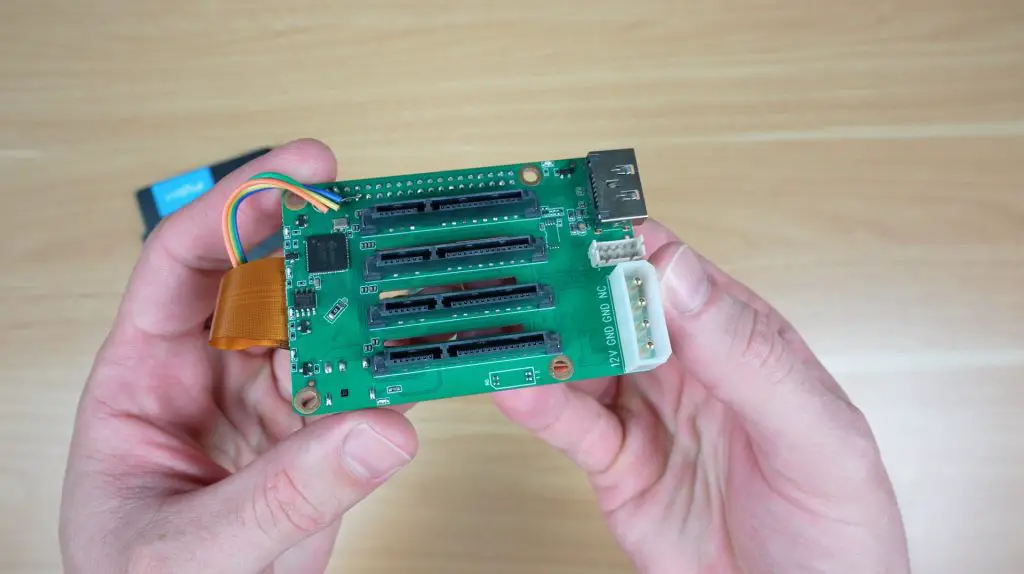
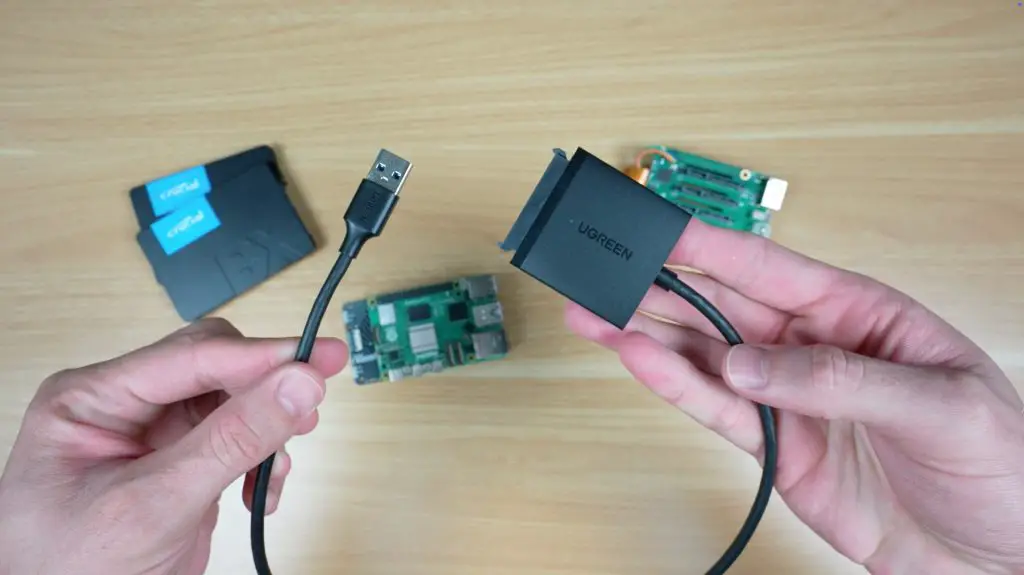
Today, I’m going to be building a low-power SSD NAS that is built around the Raspberry Pi 5. This Pi 5 NAS offers flexible storage options, a stats display, and custom carbon fibre panels. To build a NAS on a Raspberry Pi, you typically need to use one of two hats, a SATA hat to connect 2.5″ SSDs or an NVMe hat to connect M.2 NVMe SSDs. I wanted to do things a little differently for this build, so this NAS uses both 2.5-inch SATA SSDs and NVMe storage drives. This is achieved by using an NVMe hat for the M.2 storage, along with USB to SATA adaptors for the 2.5″ drives.
I’ve used OpenMediaVault (OMV) as the NAS operating system, and I’ll run some real-world tests on the NAs to evaluate real-world performance across different drive options.
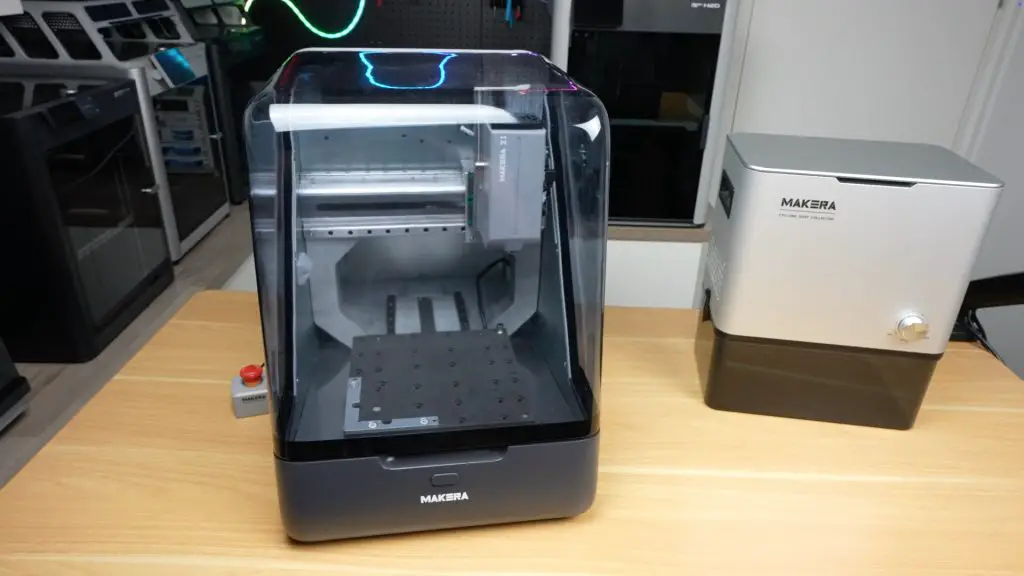
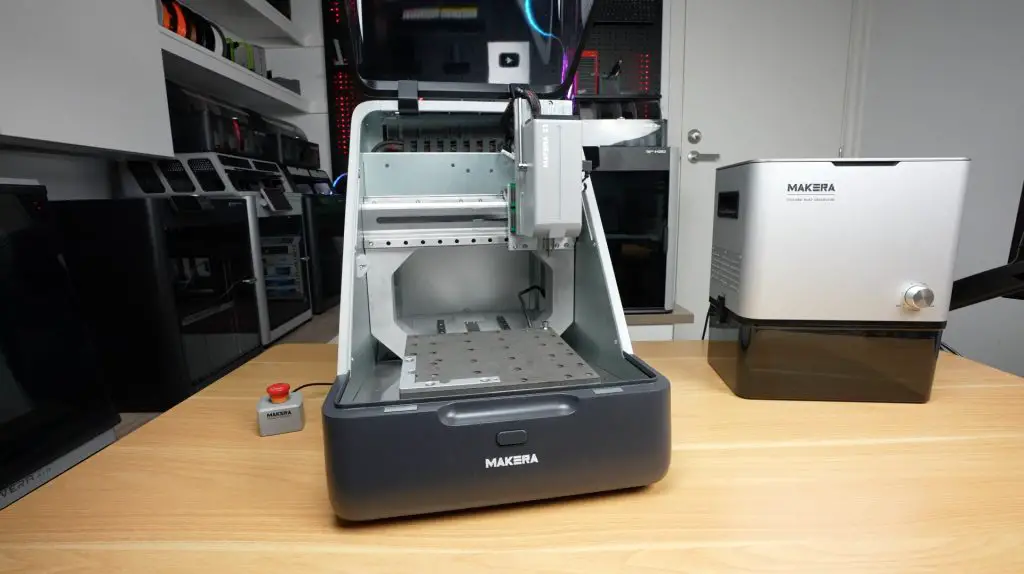
Makera recently reached out and asked if I’d be interested in trying out their new Makera Z1 Desktop CNC machine, so I’ve used that to create some custom components to assemble the NAS into a compact and standalone device.
Here’s my video of the build, read on for the write-up:
What You Need To Build Your Own Pi 5 NAS
- Raspberry Pi 5 – Buy Here
- 32GB Sandisk MicroSD Card – Buy Here
- Pimoroni NVMe Hat – Buy Here
- Lexar NM620 NVMe Drive – Buy Here
- USB 3.0 to SATA Adaptors – Buy Here
- Crucial BX500 SATA SSD – Buy Here
- 128×64 I2C OLED Display – Buy Here
- Ribbon Cable – Buy Here
- 40mm 5V Fan – Buy Here
- Aluminium Heatsink – Buy Here
- M2.5x5mm Standoffs – Buy Here
- M3x8mm Button Head Screws – Buy Here
- M2.5x6mm Button Head Screws – Buy Here
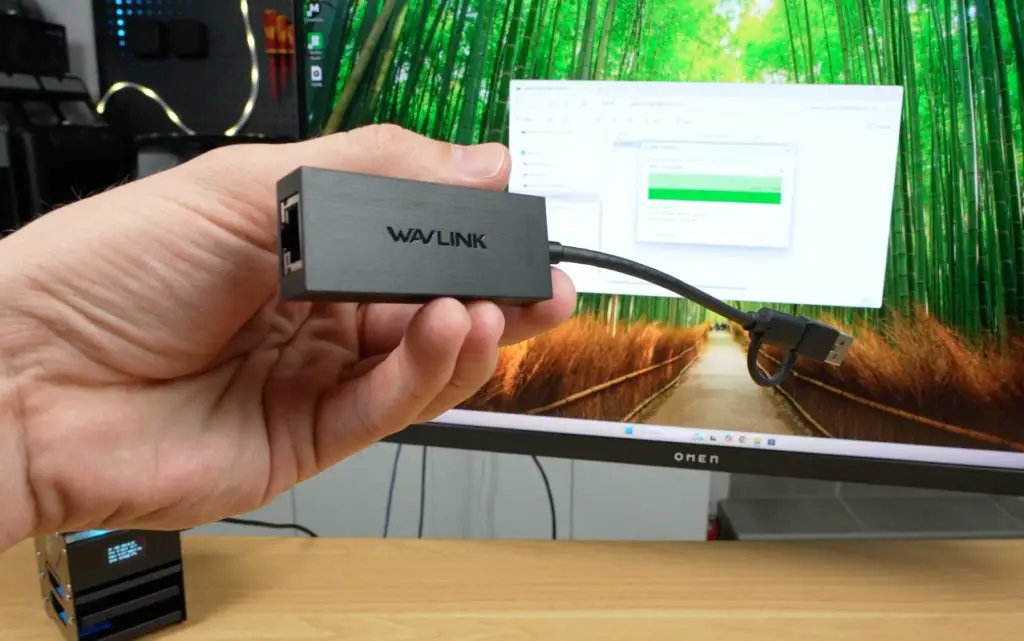
- 2.5G Network Adaptor (Optional) – Buy Here
Tools & Equipment Used:
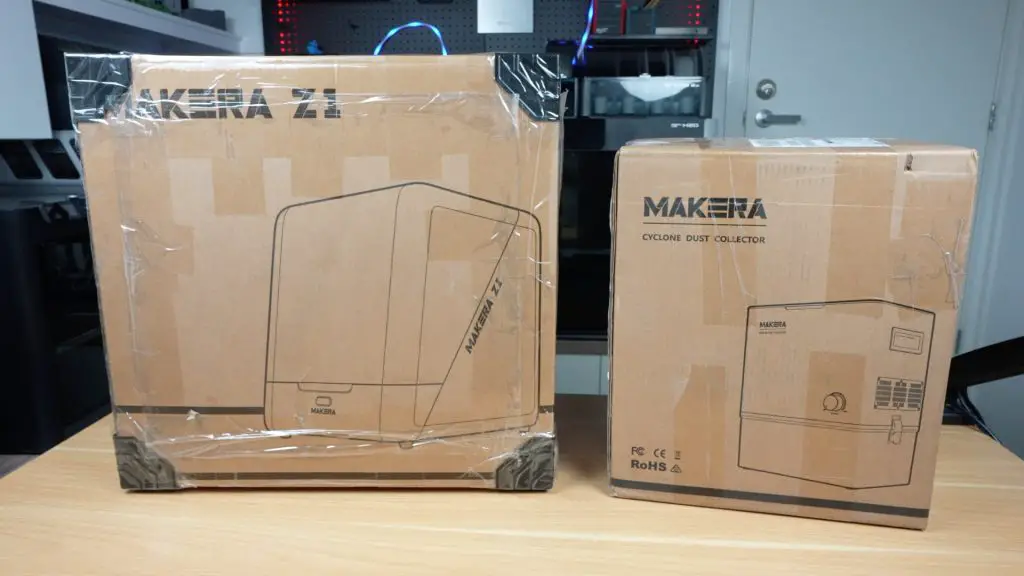
- Makera Z 1 Desktop CNC Machine – Buy Here
- Makera Cyclone Dust Collector – Buy Here
- Power Meter – Buy Here
- USB C Pencil Screwdriver – Buy Here
Use my coupon code below to get $100 off the Carvera or Carvera Air
MichaelK100off
Once per order, one use per customer
Some of the above parts are affiliate links. By purchasing products through the above links, you’ll be supporting this channel, at no additional cost to you.
Hardware Used To Build The NAS
As mentioned in the introduction, the Raspberry Pi 5 provides a single PCIe port, which typically forces you to choose between a SATA or an NVMe expansion hat. I wanted to try use both for this build, so in order to avoid the performance limitations of a PCIe switch, this build uses an NVMe hat connected to the PCIe port, while the SATA drives use USB-to-SATA adapters to take advantage of the USB 3.0 ports.
So, all up in hardware, the list includes:
- A Raspberry Pi 5 with40mm fan and heatsink
- An NVMe hat and NVMe storage drive, although a dual hat and two drives could also be used.
- Two 2.5-inch SATA SSDs with USB adapters
- An I2C OLED display for system stats.
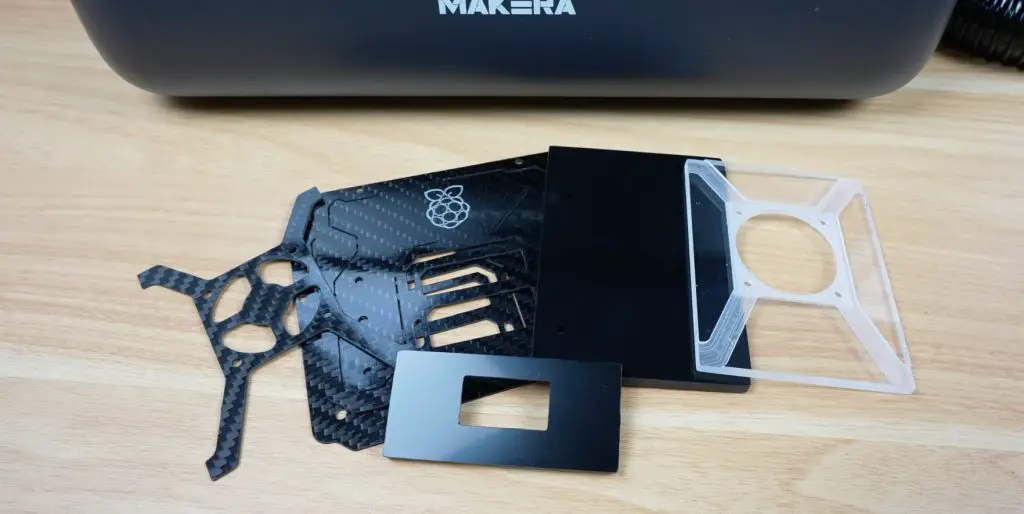
- To assemble these components, custom carbon fibre and acrylic panels will be made up.
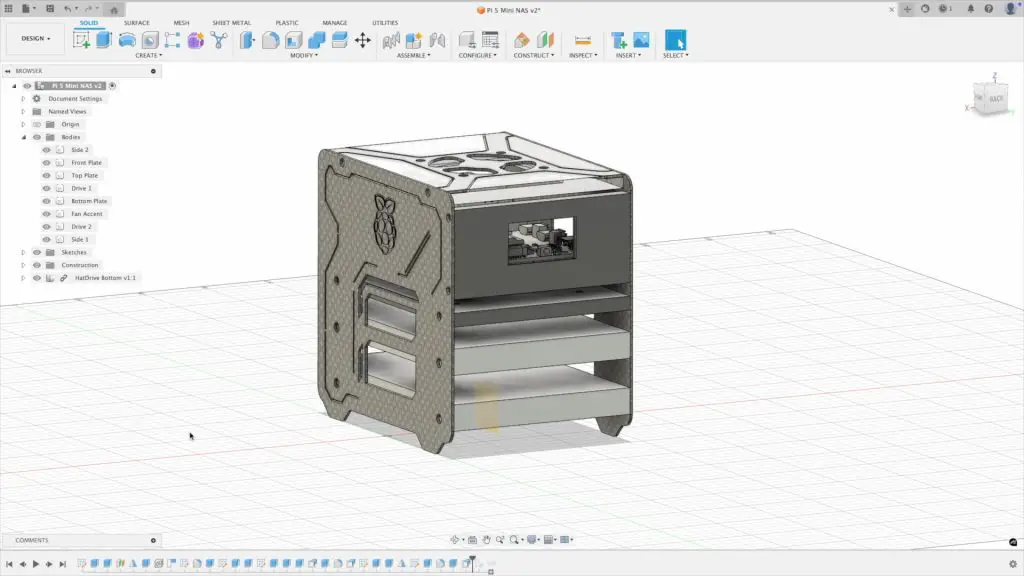
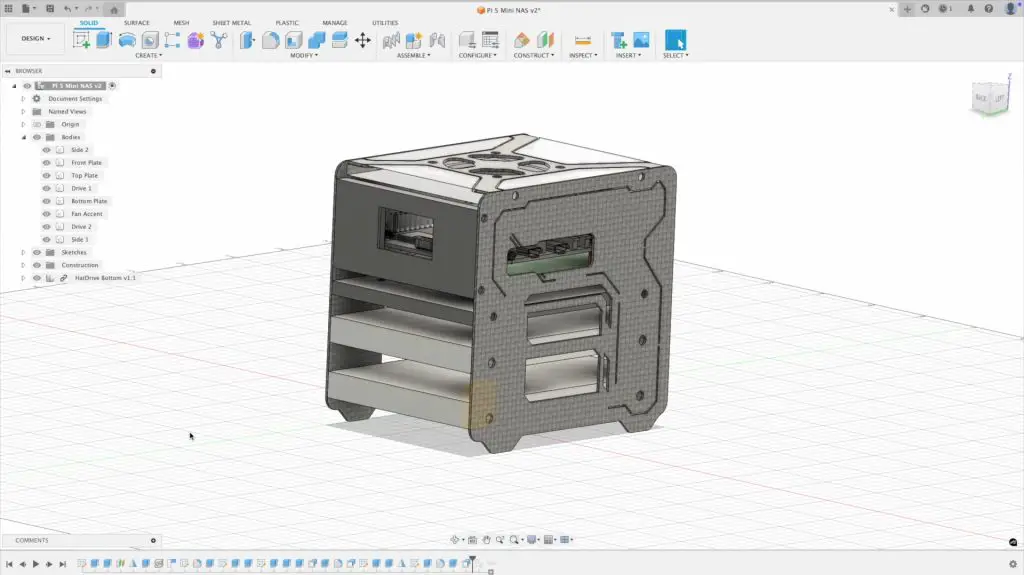
Designing the Assembly
As with most of my projects, the enclosure was designed in Fusion360. Two carbon fibre side panels support the 2.5-inch drives and the acrylic base for the Pi stack. A clear acrylic top panel holds a fan above the Pi’s heatsink, with a carbon fibre accent piece tying it into the side panels. A black acrylic front panel houses the OLED display. The layout is designed around easy of assembly and providing airflow to the drives and Pi.
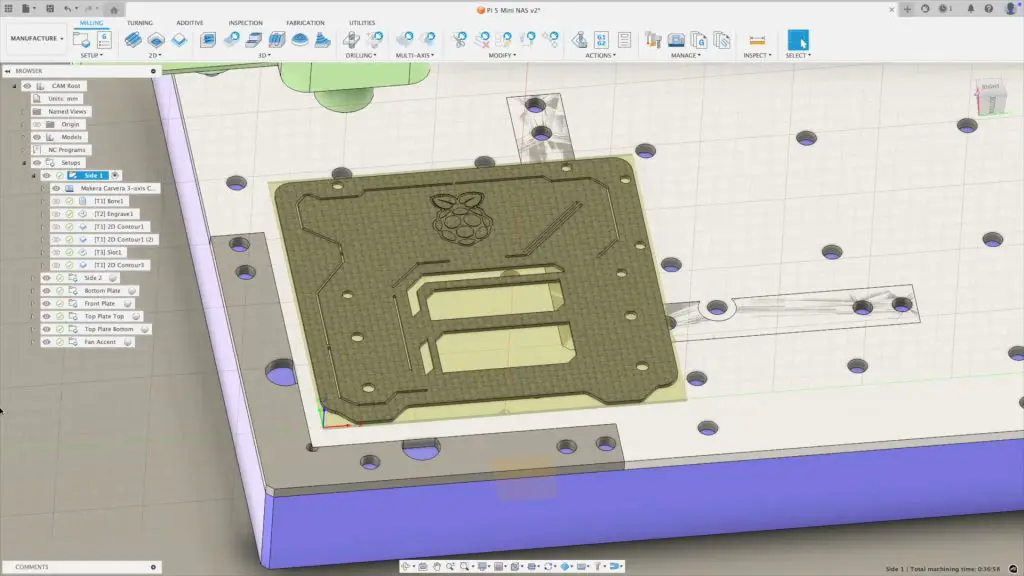
I then used Fusion360’s manufacturing options to generate the NC toolpaths. It’s simulation function is particularly helpful to validate the cutting processes before moving onto the machine.
Cutting the Panels on the Makera Z1
Once the toolpaths were prepared, the NC files were exported and loaded into Carvera Controller for machining.
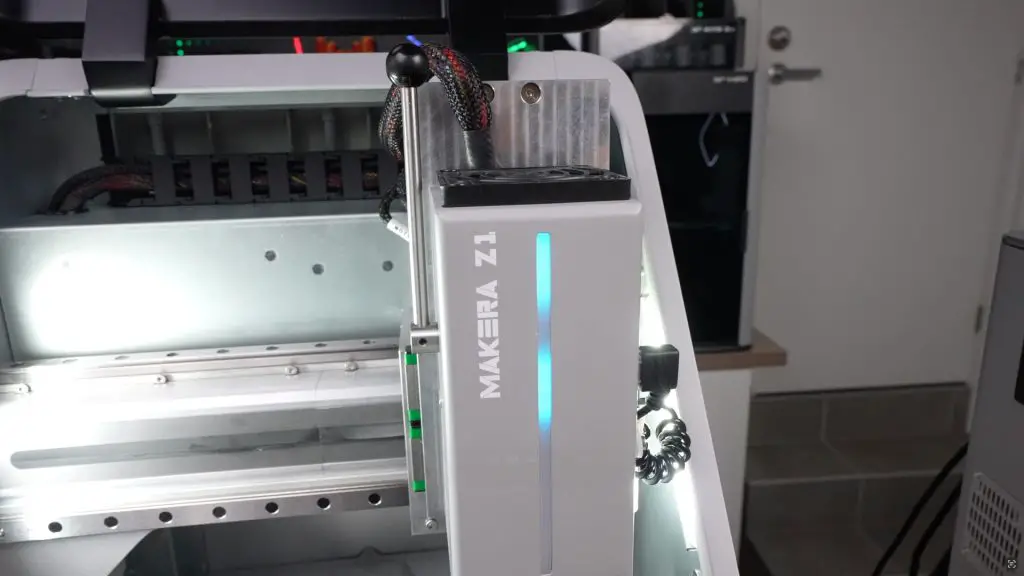
The Z1 is Makera’s new beginner-friendly CNC, with a 200×200 mm bed and 100 mm of cutting height. This provides more than enough volume for smaller projects like this NAS enclosure.
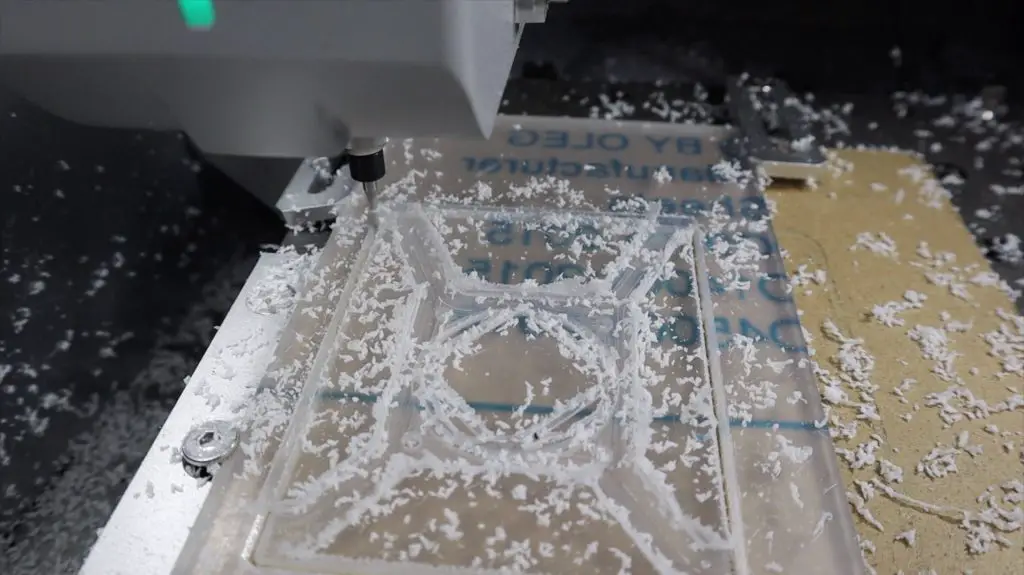
Like with the Carvera Air, the Z1 uses an integrated auto-levelling probe to probe the stock at a number of places across the surface before machining to account for any height differences. This probe also has an integrated laser pointer so it can be used to trace an outline or cutting margins on your stock for you start cutting, which is a helpful check and useful for alignment.
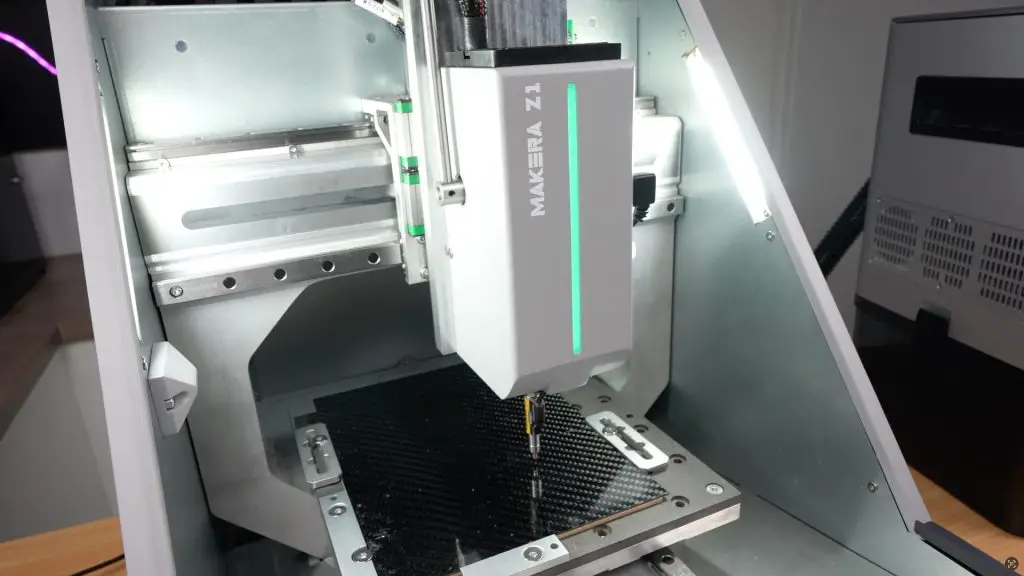
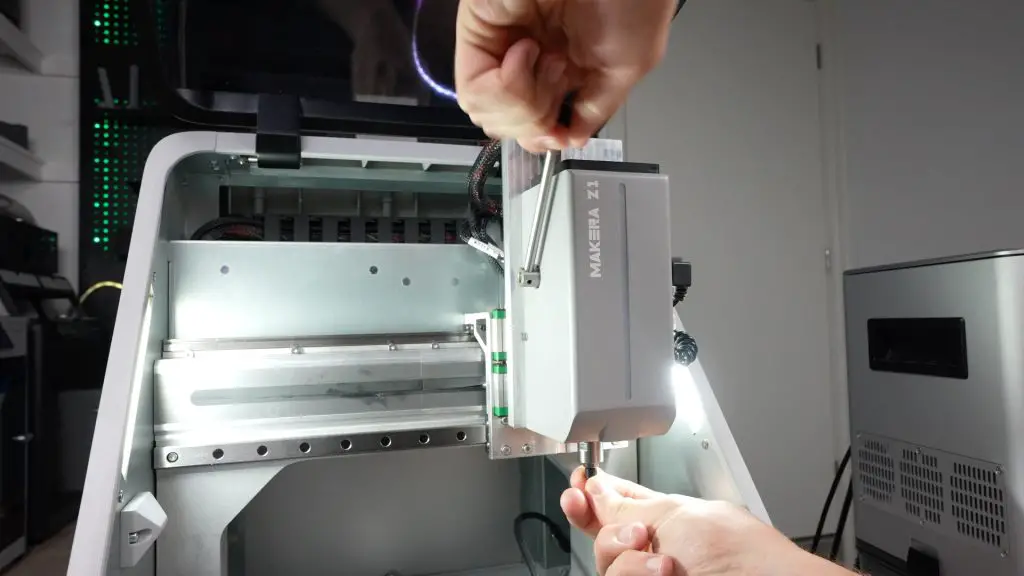
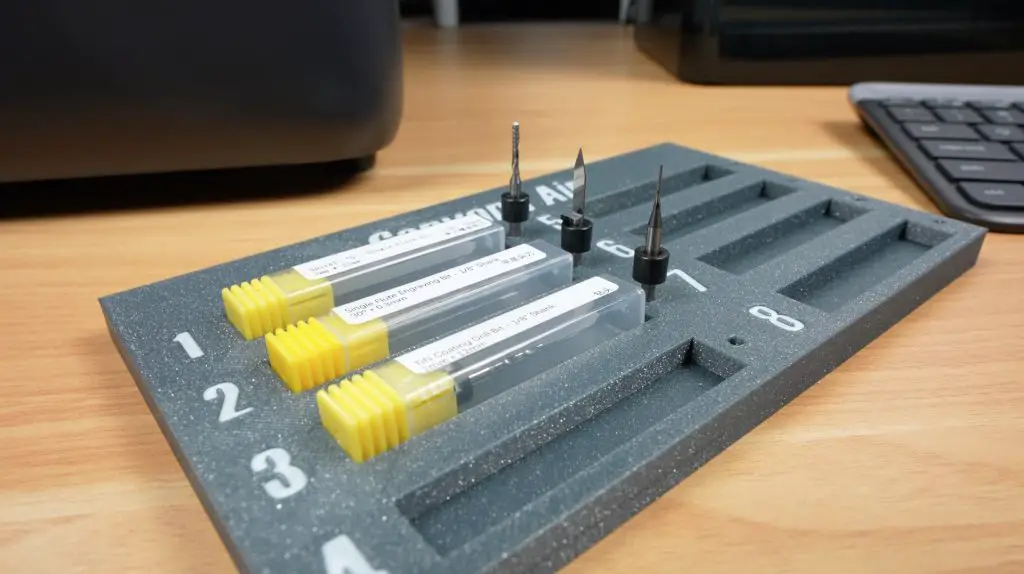
Once auto-levelling is done, again like the Carvera Air, it also has single level based tool changer which allows you to quickly and easily switch between tools. I’m using three tools for this project, a 2mm single flute endmill for the larger profile cuts, a 0.3mm engraving bit for the Raspberry Pi logo and a 0.6mm corn bit for the small accent details. The Z1 has an LED strip light integrated into the tool head, which amonst other things, helpfully indicates which tool number to change to.
The dust port can connect to either a standard shop vacuum or Makera’s Cyclone Dust Collector. The Cyclone offers several advantages: automatic control via the Z1, quieter operation (under 70 dB), compact desktop sizing, and a 6 L capacity with a 200 W motor and HEPA filtration. While it does not capture all debris, it reliably removes 80–90% of chips, significantly improving visibility during machining.
One thing that has changed quite a bit between this machine and the larger Carvera and Carvera Air is how it handles chips and dust. The Z1 has a blower integrated into the tool head. This blows chips and dust away from the work area and towards the back of the machine where there is a port for a vacuum. The base under the bed is also slanted towards the back so chips vibrate their way to the vacumm port on the back of the machine as well.
This port allows you to hook up a shop vac or Makera’s Cyclone Dust Collector.
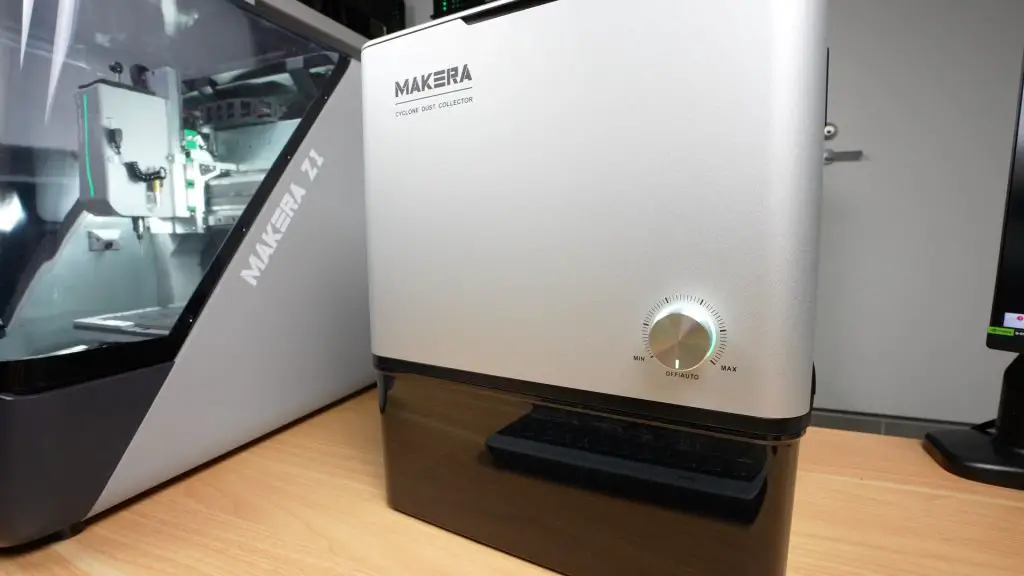
Their Cyclone Dust Collector has a few advantages over a shop vac, it can be automatically controlled by the Z1, both in switching it on or off and in setting the power level, it’s also noticeably quieter than a shop vac, running at under 70dB, and its compact enough to sit on the desk next to the Z1.
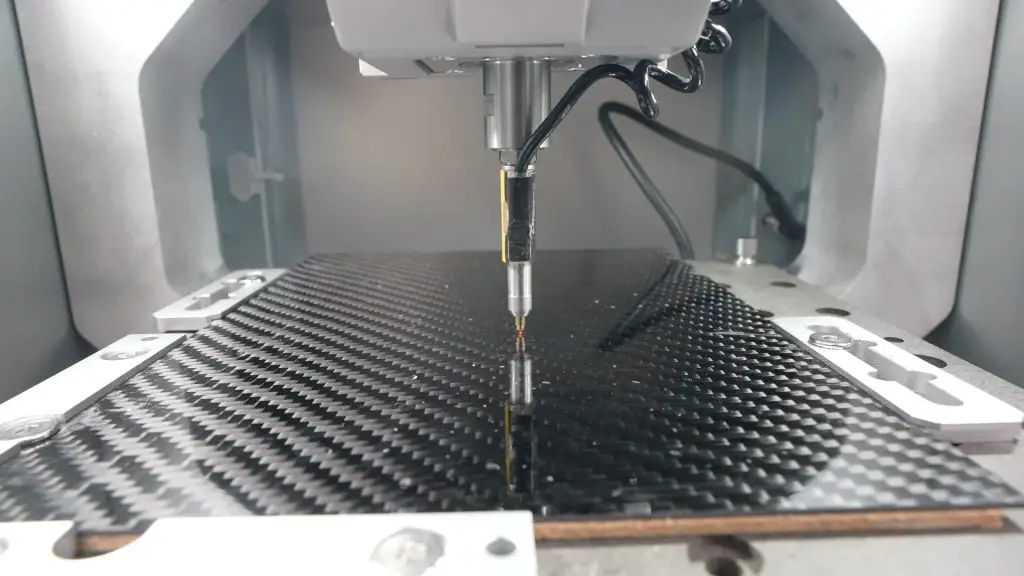
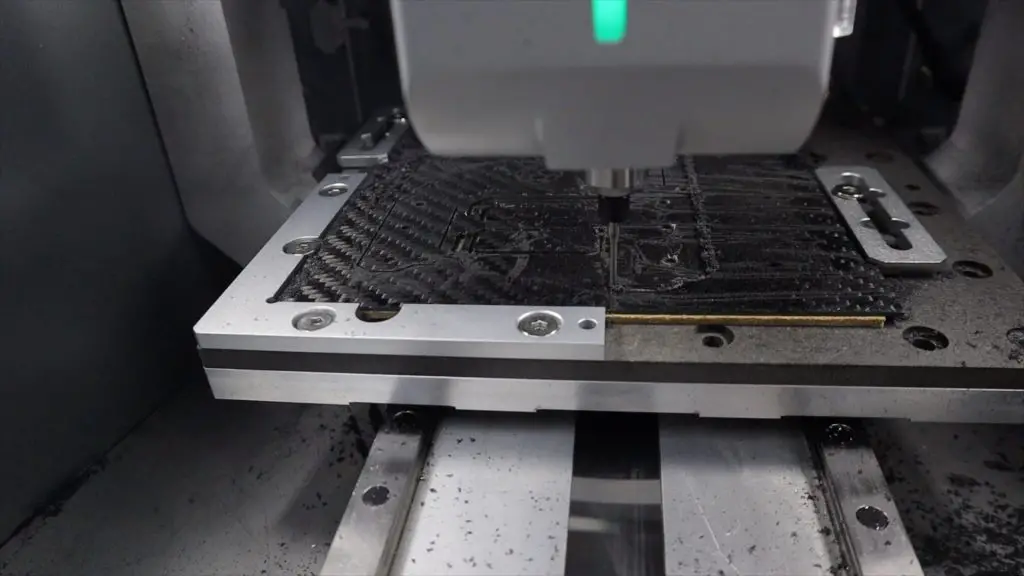
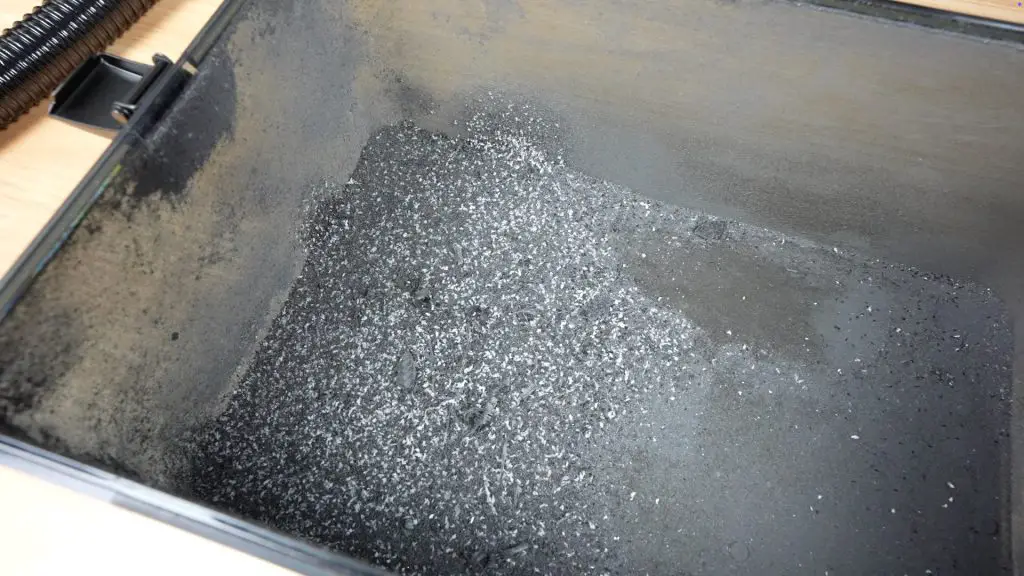
This dust extraction system obviously doesn’t catch everything but it does get 80-90% of the chips and particles out of the way so you can keep an eye on your project while it’s cutting. For comparison, this is what is looks like when you turn the blower and extraction off while cutting a side panel.
To make up the panels, this is what I used for each:
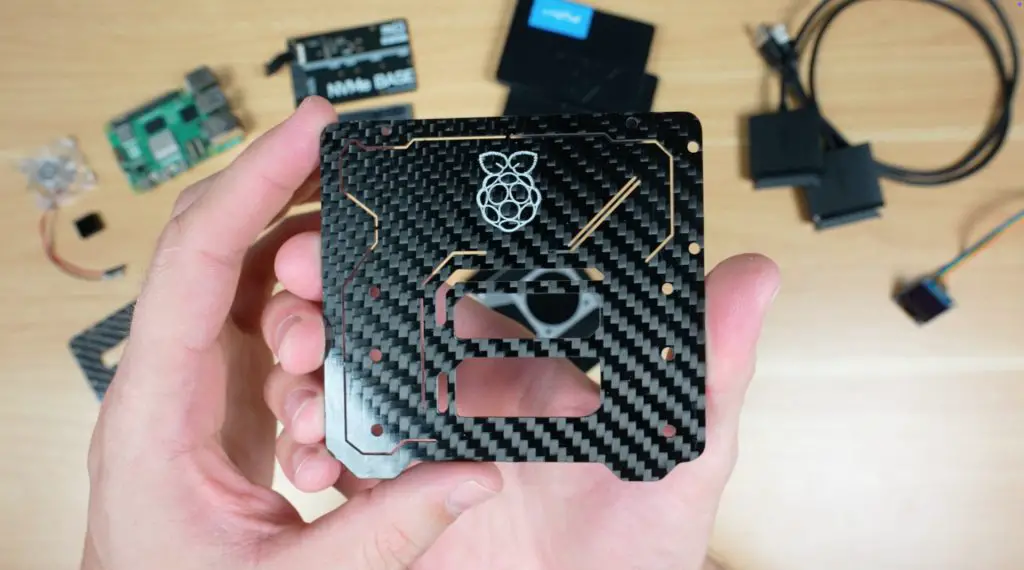
- Side Panels: Cut from 1 mm carbon fibre using a 2 mm endmill, 0.3 mm engraving bit for the Raspberry Pi logo, and a 0.6 mm corn bit for accent details.
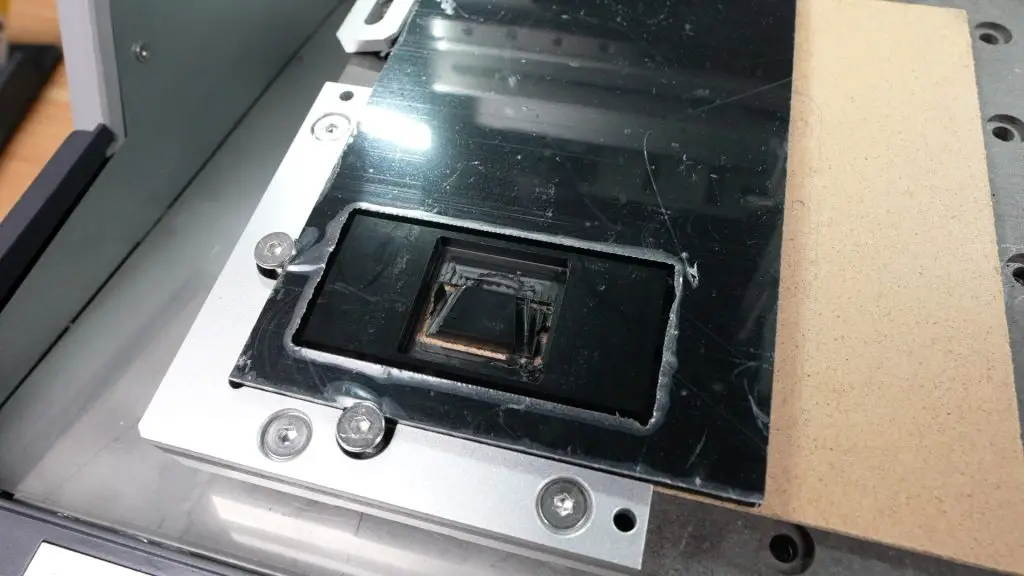
- Acrylic Base Panel: Cut from 5 mm black acrylicusing a 2 mm endmill, requiring only contour and hole cuts.
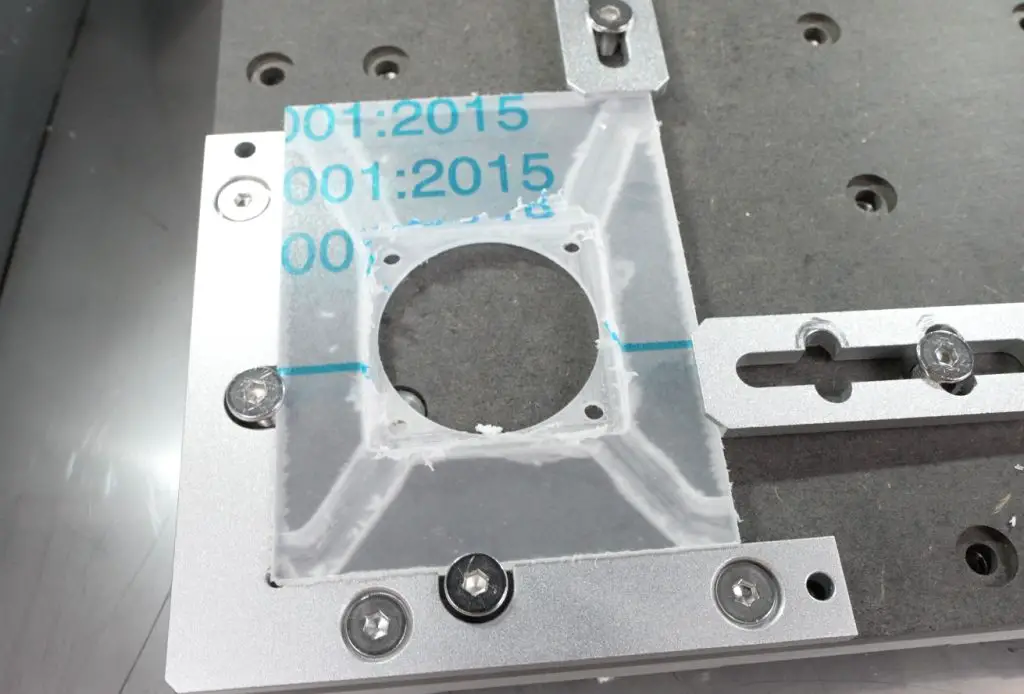
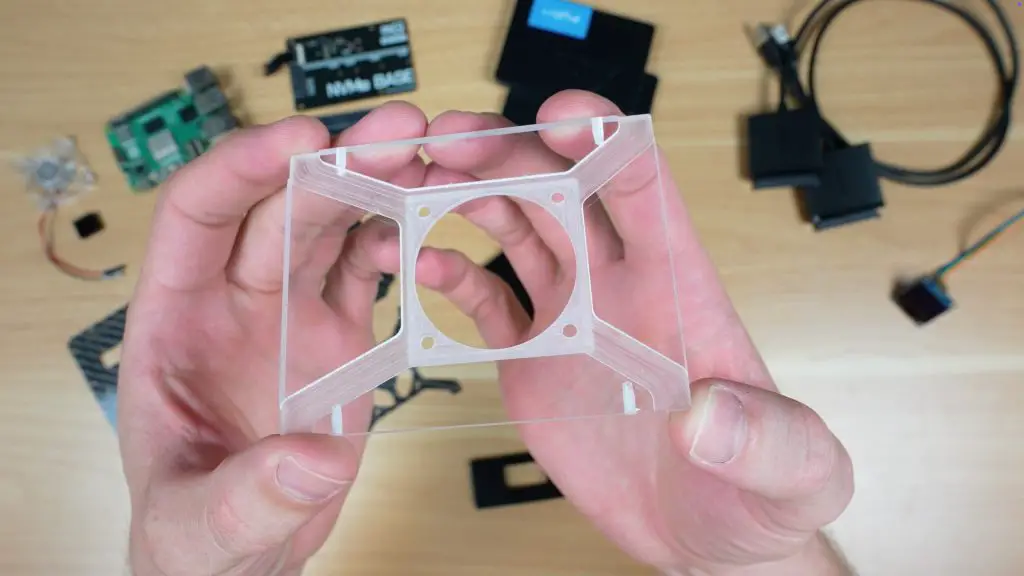
- Clear Acrylic Top Panel: Double-sided machining for fan mount pockets and contours using a 2 mm endmill. The laser outline assisted in aligning the fan cutout after flipping the stock over.
- Front Panel: Machined with the pocket and cutout for the OLED display, again using a 2 mm endmill.

The Cyclone dust collector looks like it’s worked really well, you don’t realise how much it’s collected until you open it up.
To finish the components off, I’ve sanded the edges and added the holes for the side screws to screw into.
I’ve also added some metallic silver paint to the engraved portion of the Pi logo so that it stands out a bit more. Carbon fibre always looks great, but machining it this cleanly on a desktop machine is really satisfying.
Assembling the Pi 5 NAS
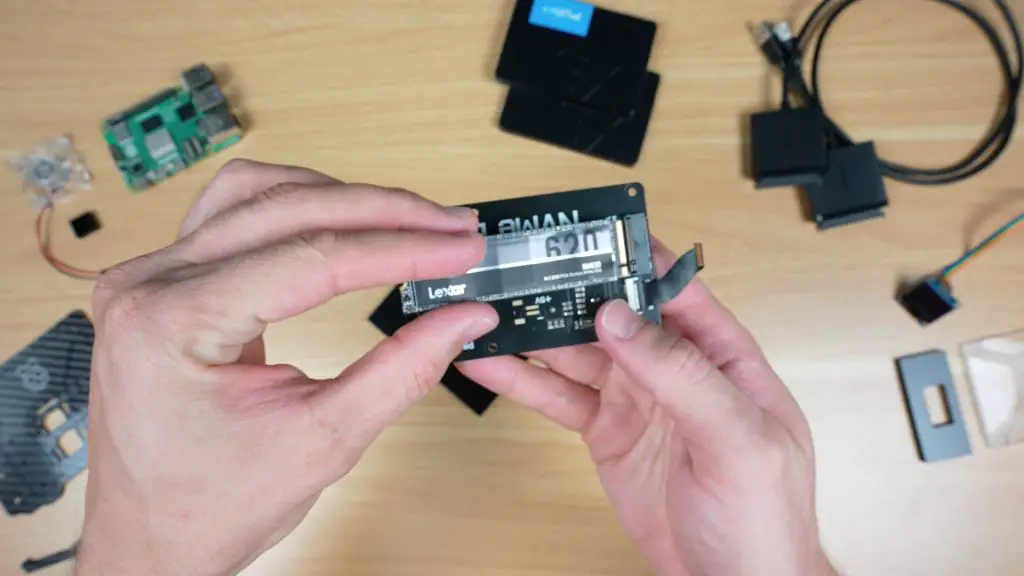
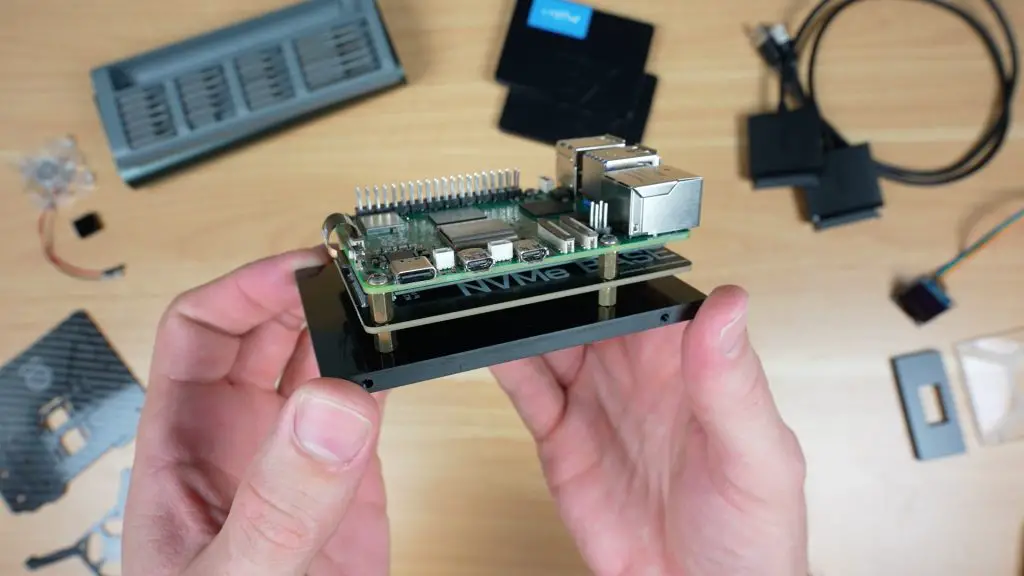
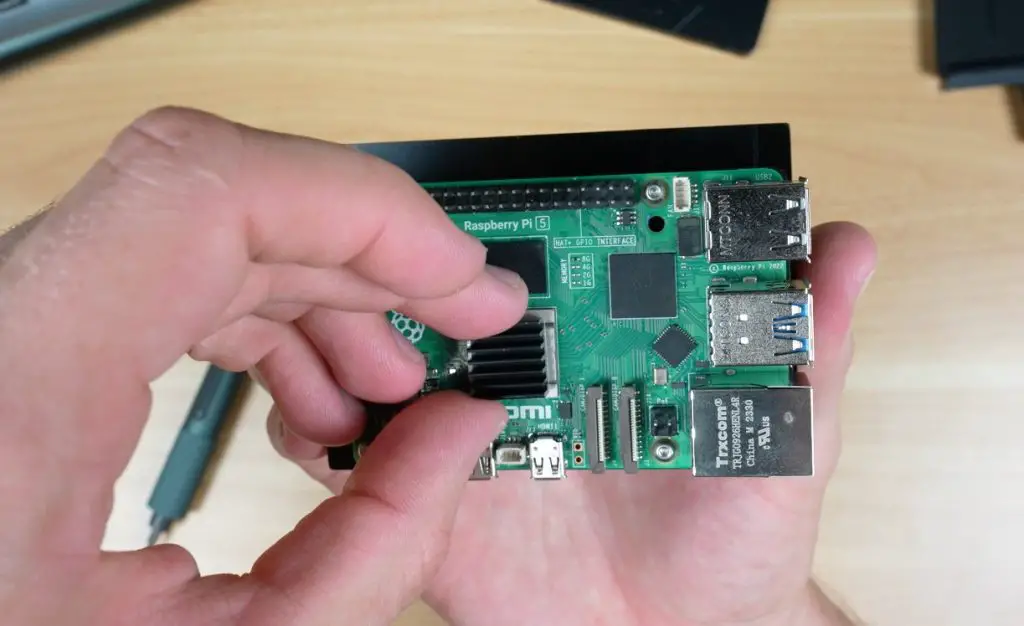
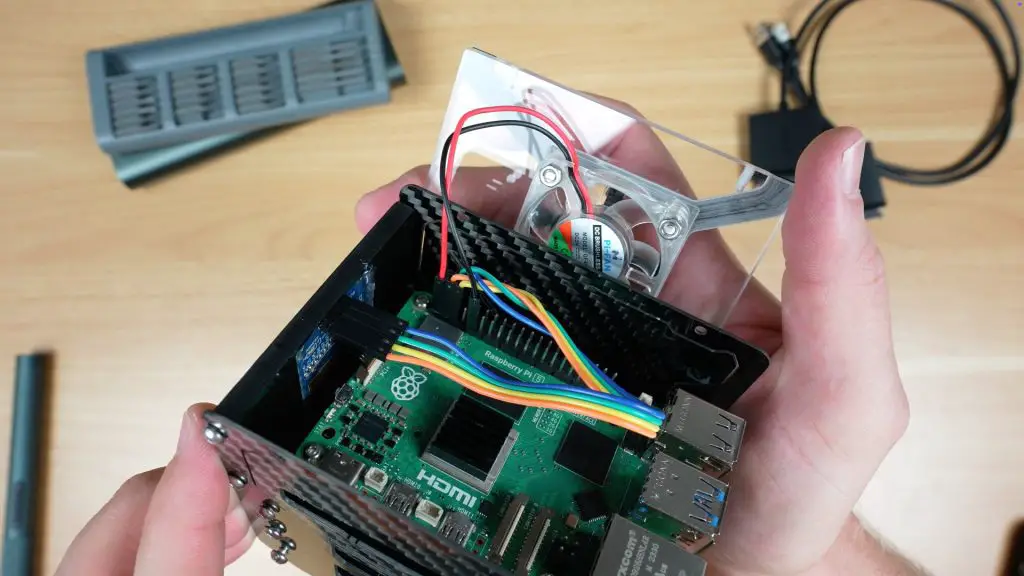
With the components all made up, we can get the Pi 5 NAS assembled. Let’s start with installing the NVMe drive onto the hat and connecting it to the Pi’s PCIe port. The hat mounts beneath the Pi using the included standoffs, and the Pi stack is then mounted onto the acrylic base plate using four 5 mm brass standoffs. A small stick-on aluminium heatsink is added to the CPU.
I’ve installed Pi OS Lite, along with OMV onto a microSD card and I’ll be using that to run the OS. If you’d prefer, you can use a dual NVMe hat and run the OS from one of your NVMe drives, keeping the other for storage, or you can use my configuration but run the OS from one of the available drives and keep the others for storage.

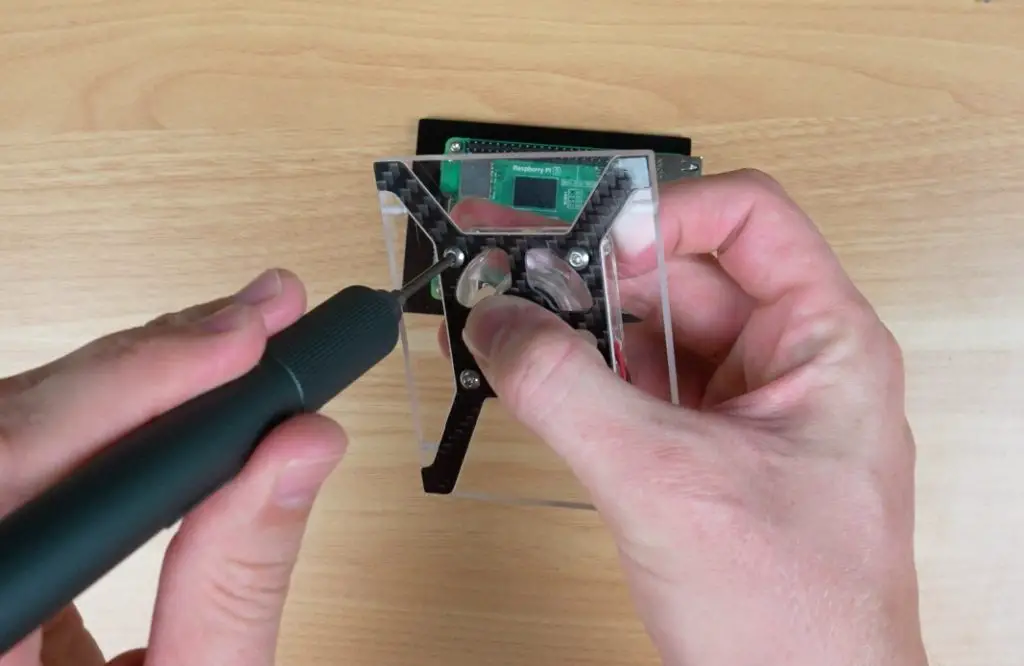
To make up the fan assembly, we need to mount the 40mm fan beneath the clear acrylic and carbon fibre accent piece, and then secure it with four M3x16mm screws and nuts.

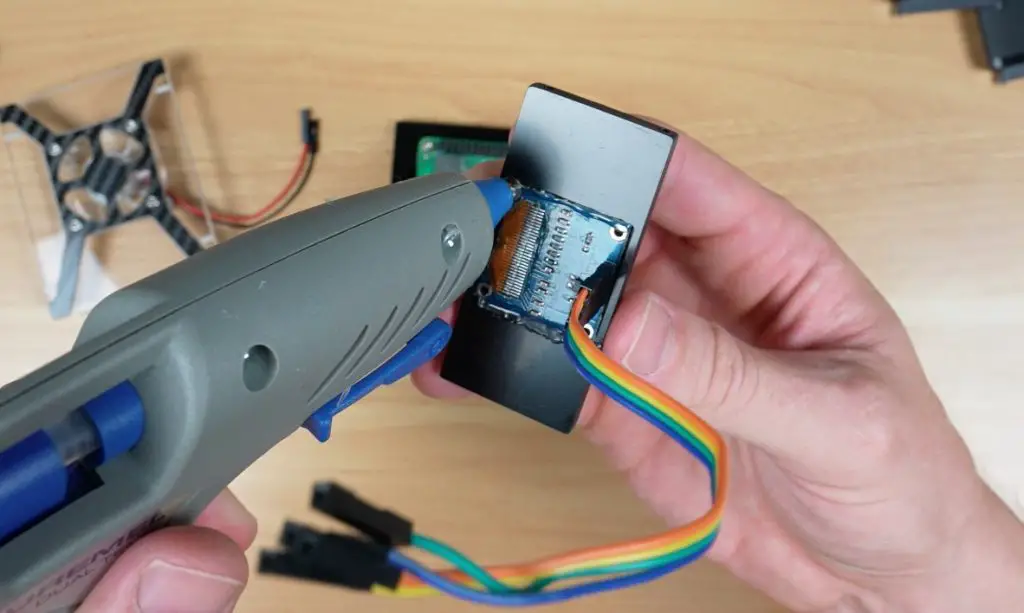
Lastly, the I2C OLED display is held in place with some hot glue along the edges. I didn’t want to use screws to mount the display as I prefer this clean look on the front.
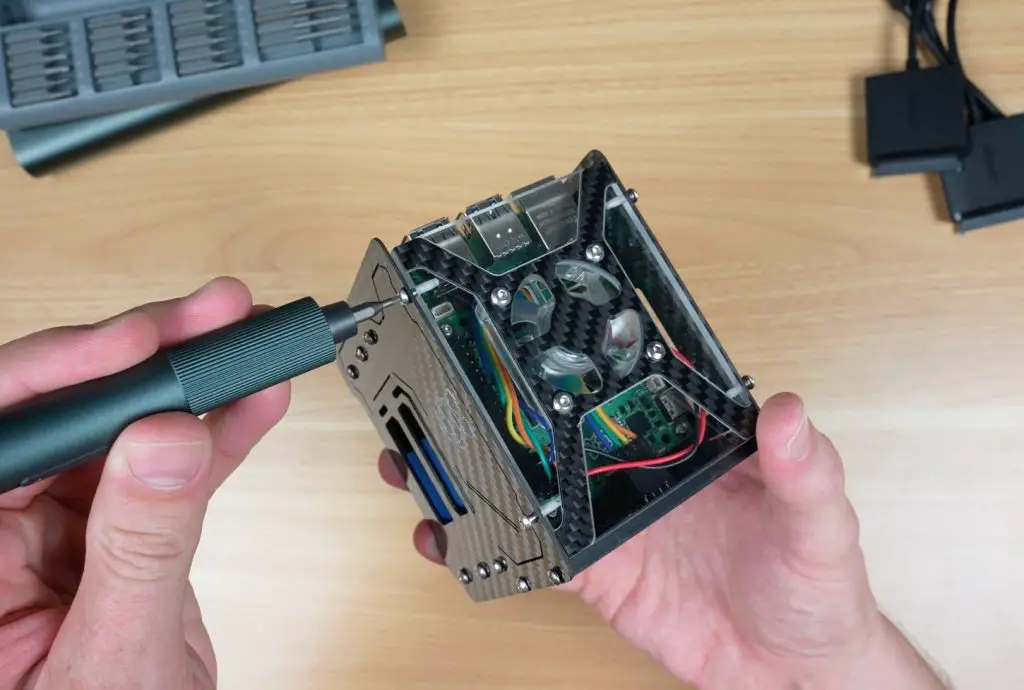
The storage drives are mounted between the carbon fibre side panels, followed by installation of the Pi stack, front panel, and top fan panel. The drives are held in place with M3x8mm button head screws and the acrylic components with M2.5x6mm button head screws. The display connects to 5V, GND, SCL, and SDA. The fan connects to 3.3 V and GND.
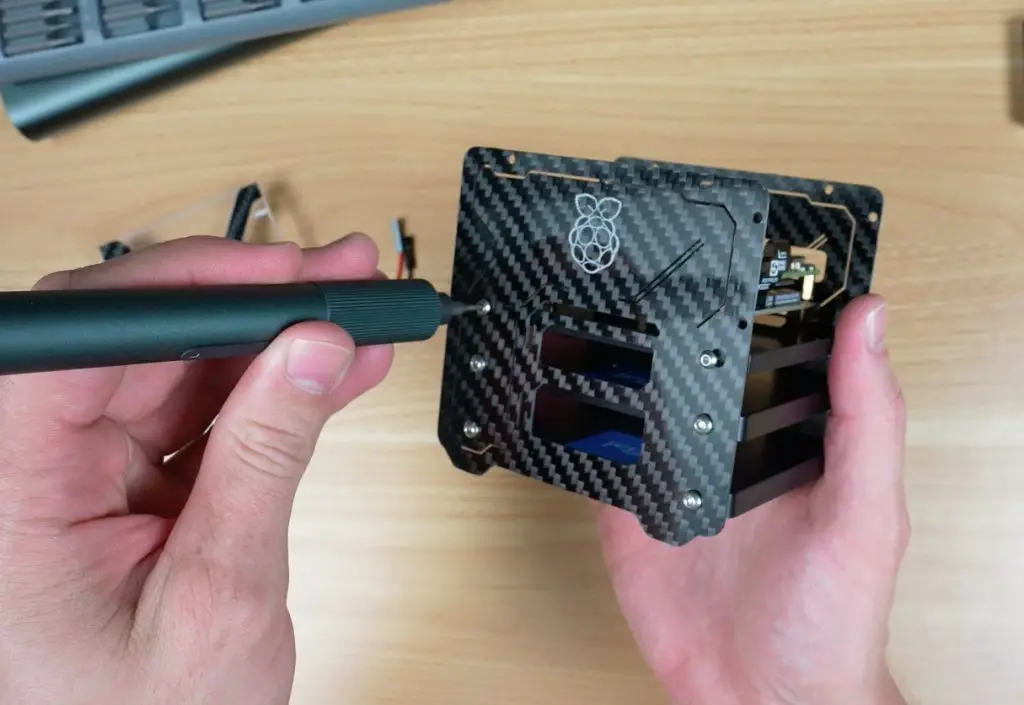
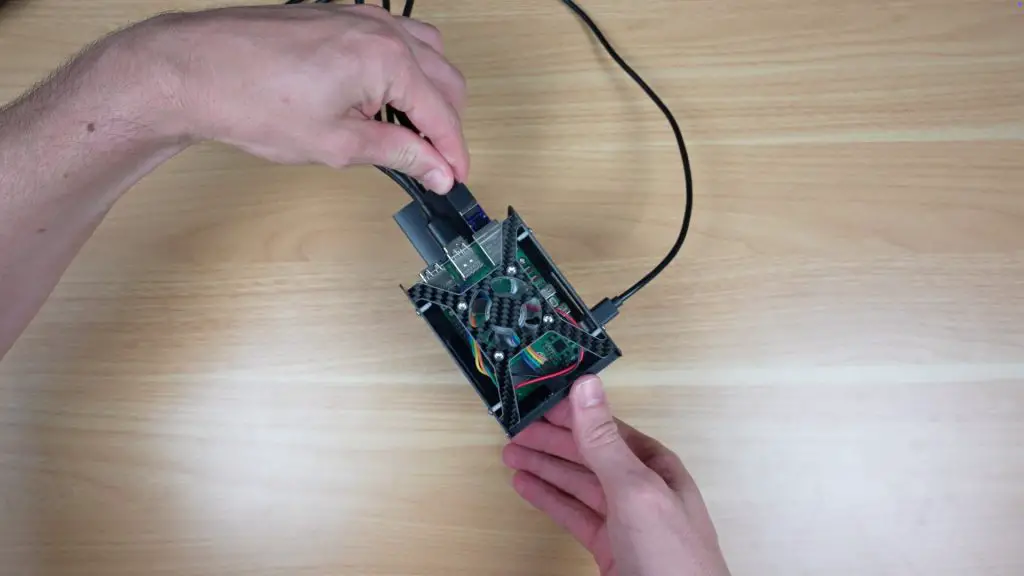
Once fully assembled and squared up, the screws can be tightened up. Then the SATA adapters, power cable, and Ethernet cable are connected to finish off the Pi 5 NAS.
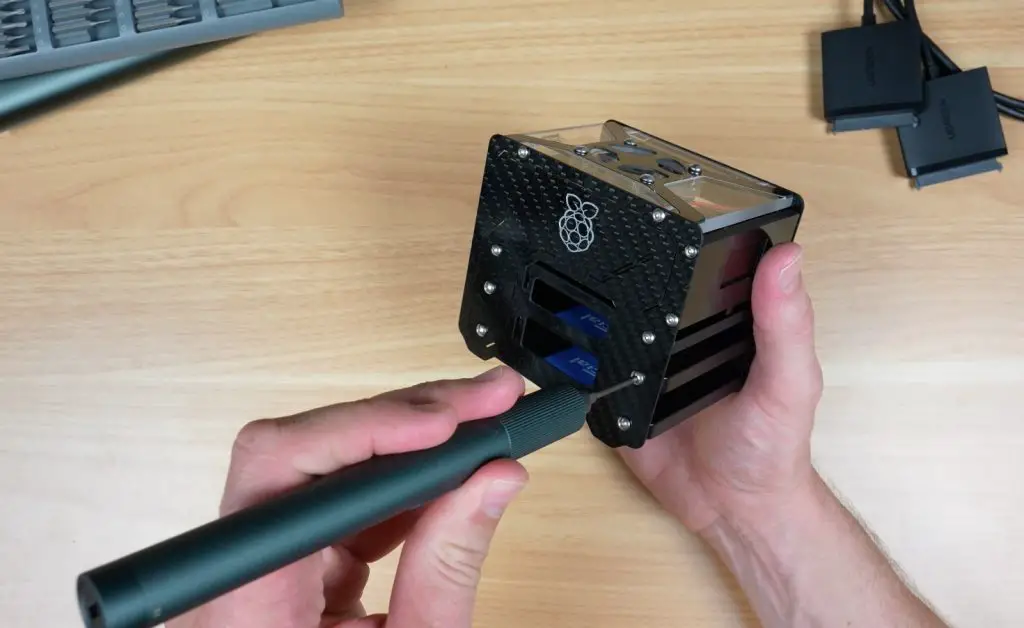
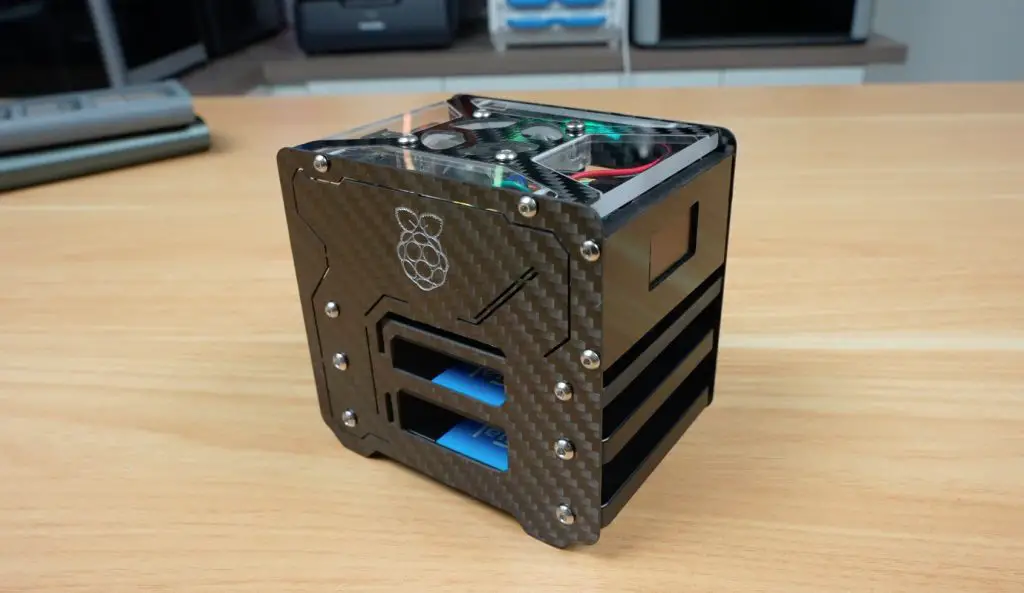
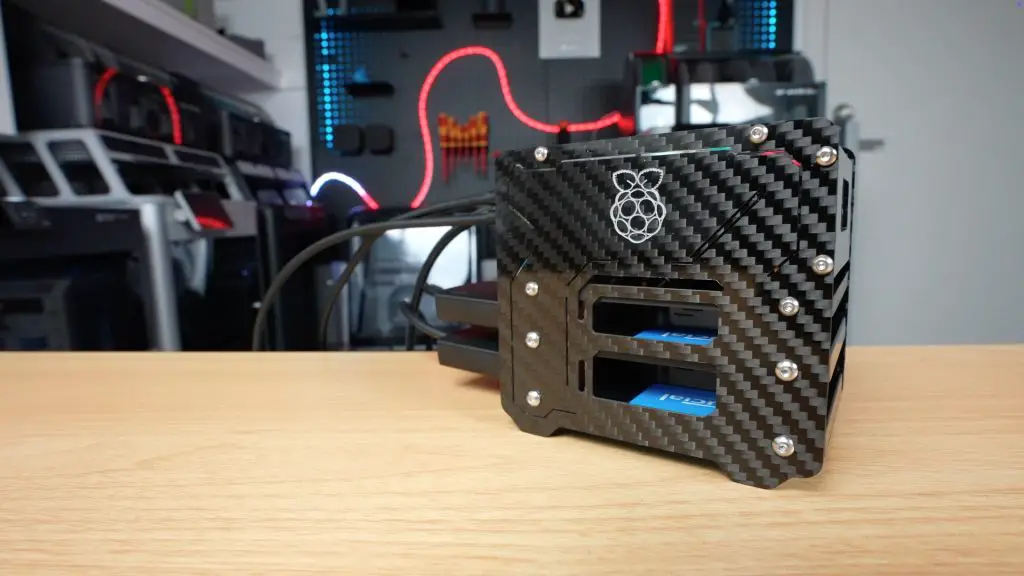
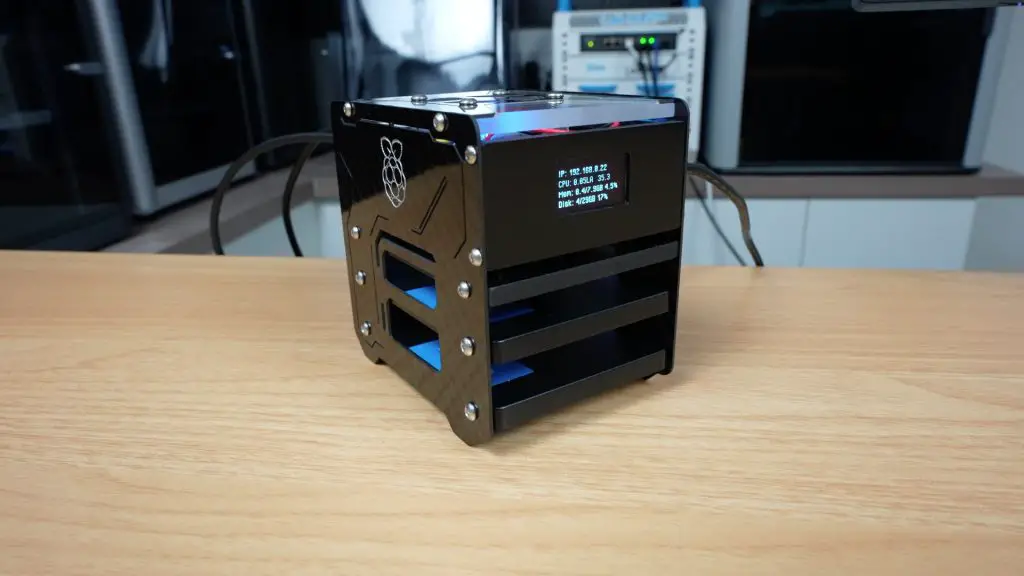
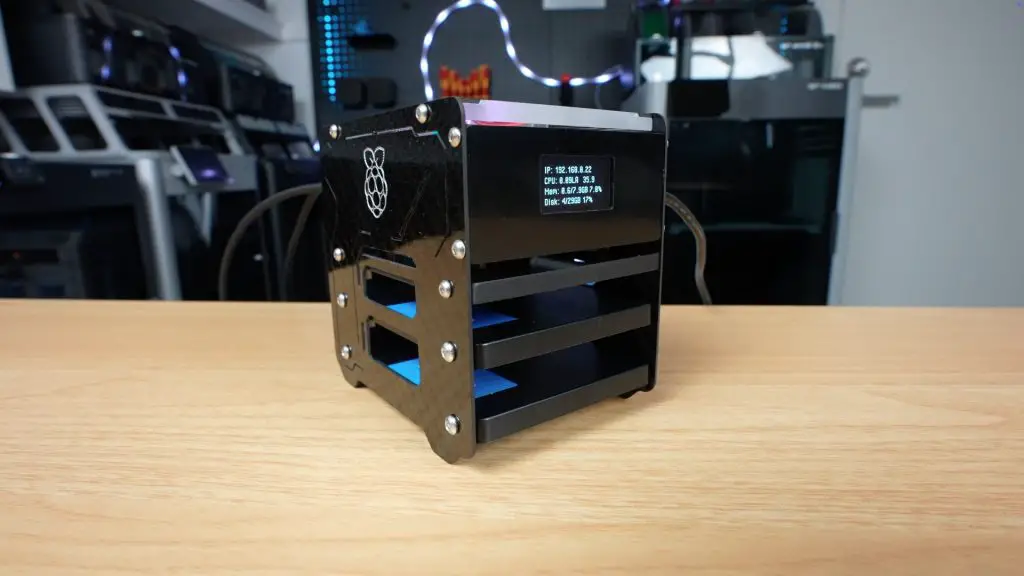
And thats the Mini Pi 5 NAS complete.
Configuring OMV and Testing the NAS
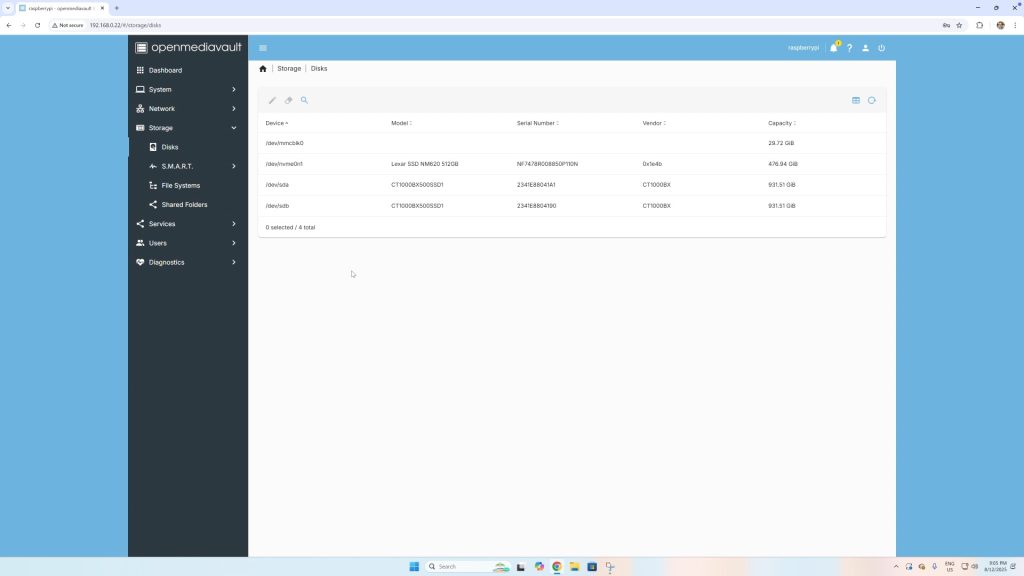
As I mentioned previously, I’ve installed OMV on it as the NAS software, which requires a bit of setup. You’ll need to mount your drives and create file systems and shared folders on them, setup user access accounts and create shares so that they’re accessible over your network. You can set up the SATA drives in a RAID configuration but I wouldn’t recommend this for USB connected drives.
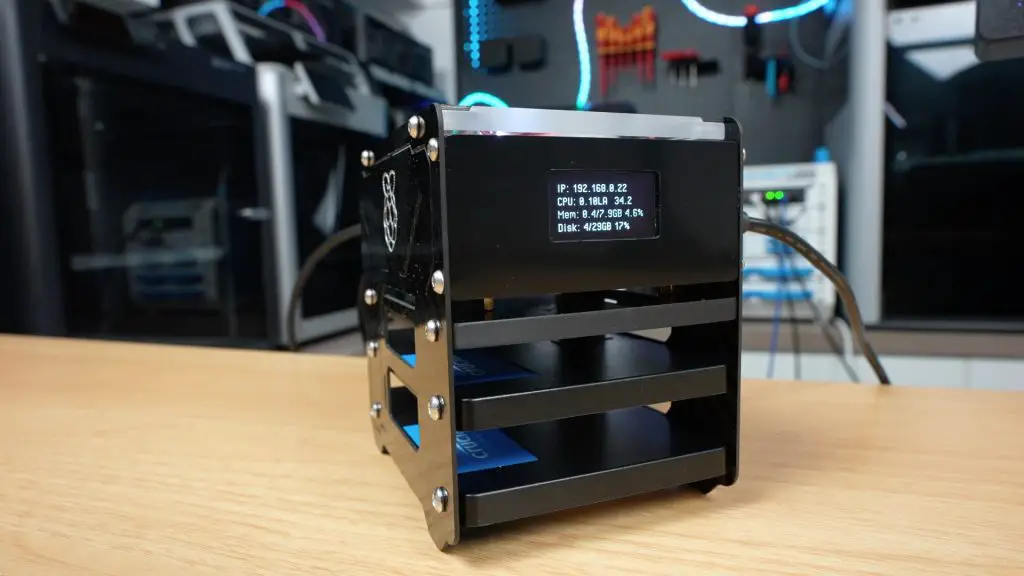
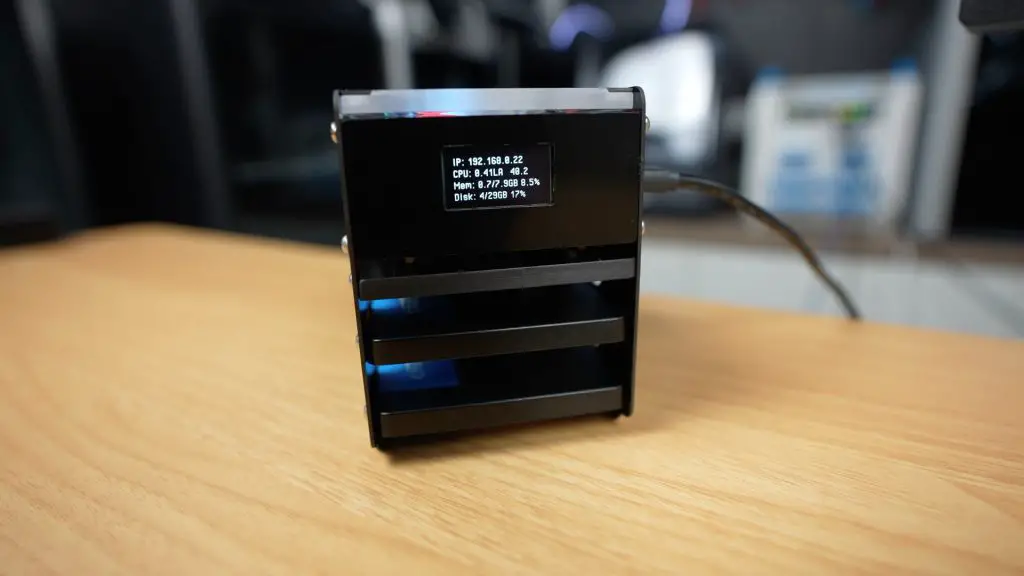
The OLED stats display script provides live system information on the front panel.
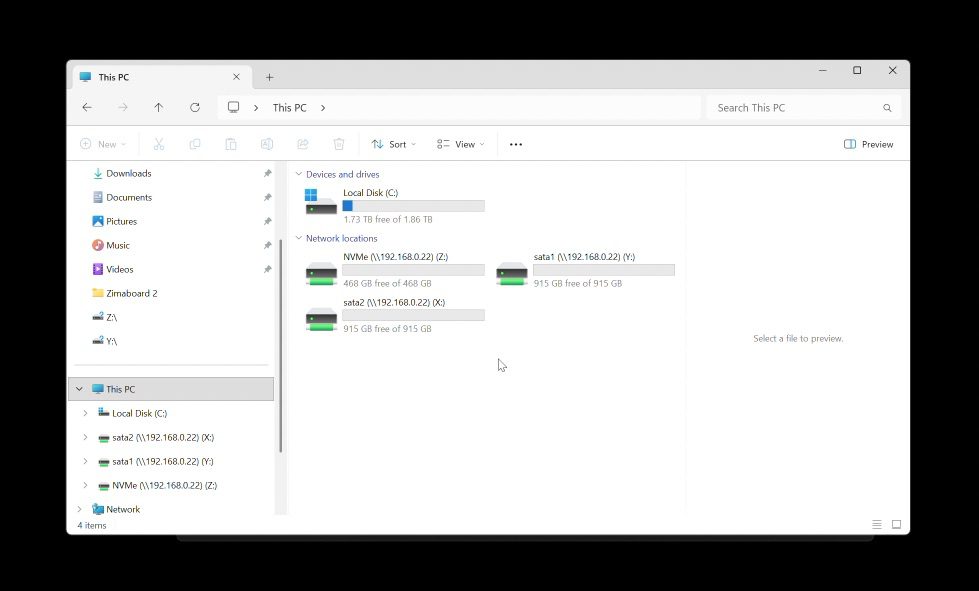
File shares are easily accessible from any computer on the same network.
Performance Testing
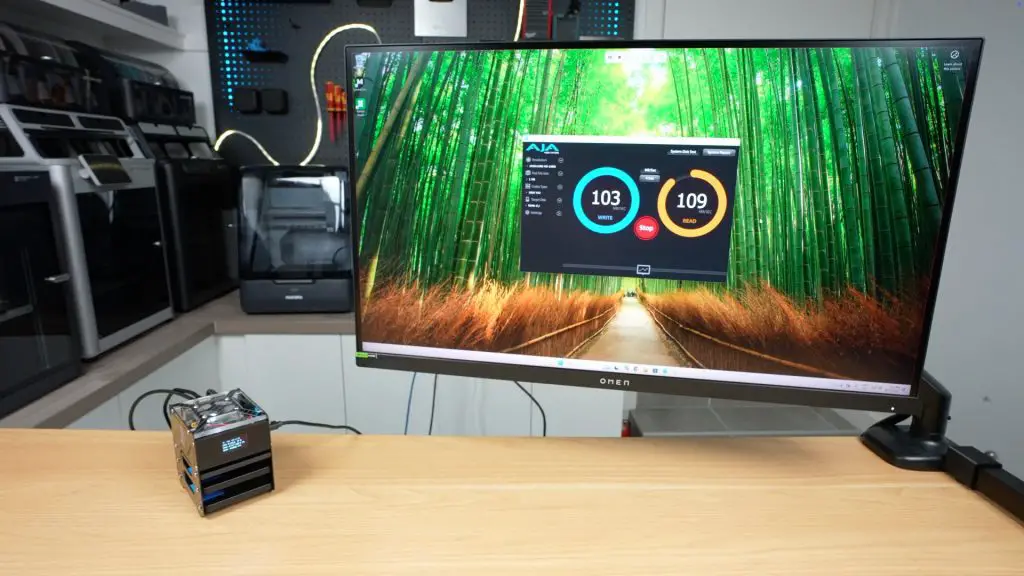
To test the Pi 5 NAS, I first ran some automated tests using AJA System Test
NVMe drive:
- 1 GB file: ~110 MB/s reads and writes
- 16 GB file: ~105 MB/s writes and ~95 MB/s reads
2.5-inch SATA SSD:
- 1 GB file: ~110 MB/s reads and writes
- 16 GB file: ~105 MB/s writes and ~95 MB/s reads
The CPU temperature remained around 40°C throughout all tests. This confirms that the 40 mm fan and heatsink work well in this application.
Next, I tried copying a 30 GB video file as a real-world test:
- NVMe drive: ~110 MB/s writes with small dips; ~112 MB/s reads
- SATA drive: Similar average speeds with fewer dips
So the gigabit ethernet connection is now the bottleneck for file transfer speeds. On some of my other Pi based NAS builds, I’ve used a 2.5G USB adaptor to significantly improve transfer speeds. With this build it’s not as easy an option as we have both drives hooked up to the USB 3 ports. But you could use a hub and since you’d then be limited by the 2.5G throughput of the network adaptor, there should be enough remaining bandwidth on the USB bus to handle this same throughput to the drive as well.
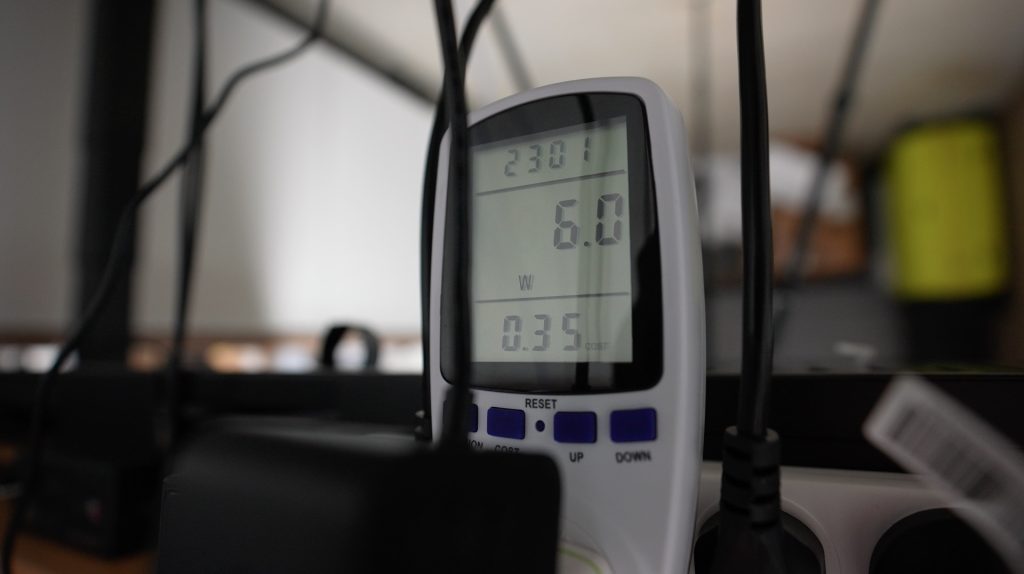
Power Consumption
The entire Pi 5 NAS draws only 6 W at idle and 7–7.5 W under full write load, making it a silent, energy-efficient storage solution.
Final Thoughts On My Pi 5 NAS
This custom carbon fibre Raspberry Pi 5 NAS turned out really well, it’s a clean build that performs better than expected for such a compact system. It offers ample storage flexibility, strong performance within gigabit limits, and extremely low power usage.
If you want to check out the Makera Z1 that I used in this build, they currently have an active campaign on Kickstarter which has over 6,000 backer and only a few hours to go. Go check it out to learn more about the Z1 or support their campaign. It’s a really great desktop machine and they have a proven track record with their Carvera and Carvera Air.
If you liked the build, please comment on what features you’d like to see added to it for a future build!
Hi Michael,
I’ve been following your channel for a while now, and as always, it’s fantastic, brilliant, and excellent.
I wanted to let you know that I bought a case from you for my Raspberry Pi 4, and I installed my server in it. I don’t know if you remember that we made a change to the design, moving the OLED screen hole to the opposite side.
Now that you’ve designed this new case, the Pi 5 NAS With Custom Carbon Fibre Panels, for the Raspberry Pi 5, I’d like to know if you could manufacture it for me so I can install it on my new Raspberry Pi 5?
Please let me know the price and shipping cost to Madrid, Spain.
I look forward to your reply. I also want to take this opportunity to wish you happy holidays and a prosperous New Year 2026. Best regards