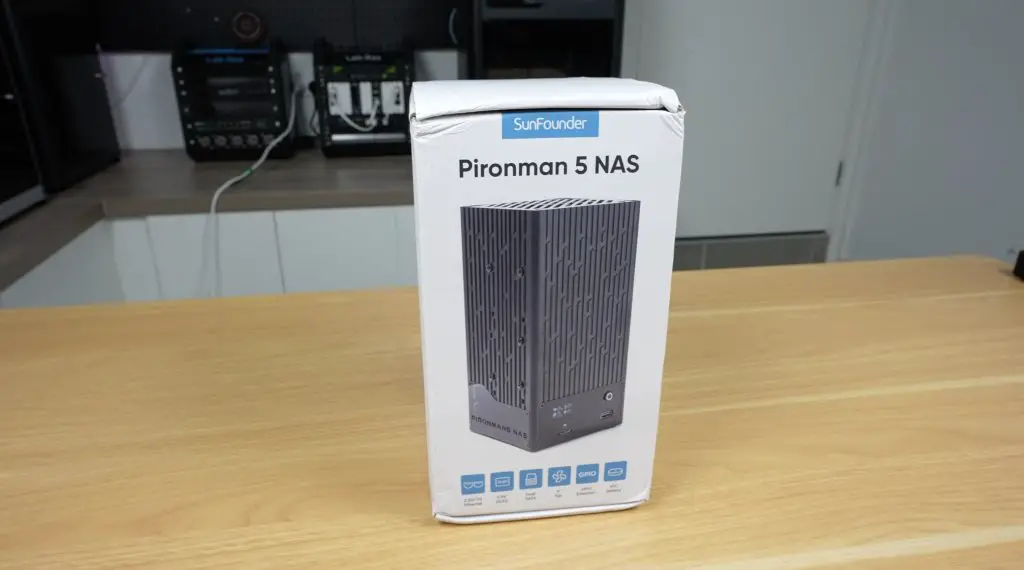
The Pironman 5 NAS case is the latest addition to Sunfounder’s Pironman series, this time designed specifically for the Raspberry Pi 5. Unlike the previous models, this version is built to turn your Pi into a compact yet capable NAS (Network Attached Storage) system.
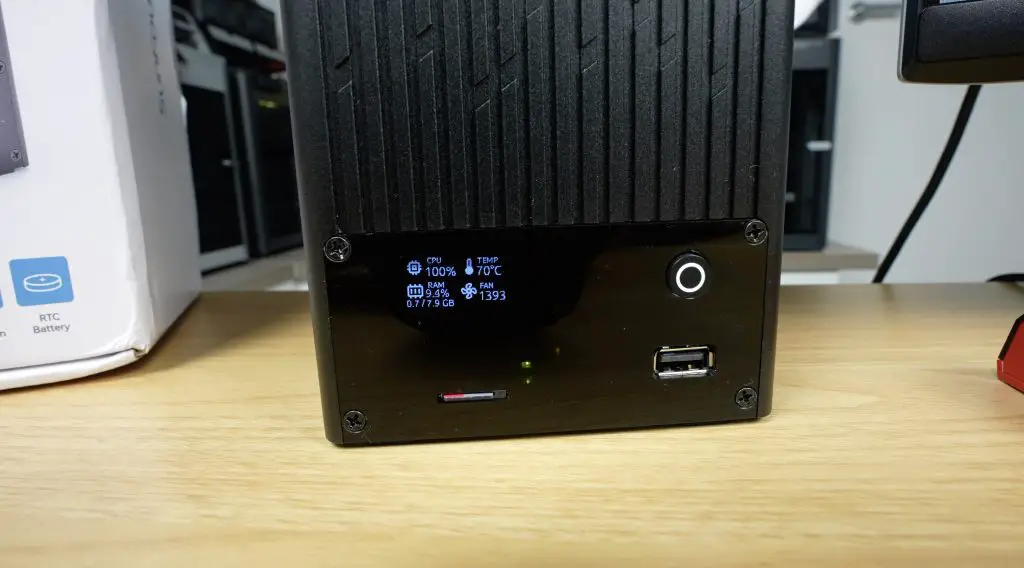
What makes it stand out is its ability to house two drives, either 2.5-inch SSDs or full-size 3.5-inch HDDs. On top of that, the case comes with some great additional features like a built-in 2.5G network adapter, a large 90mm cooling fan and a front-facing OLED stats display.
It’s important to note that this is still a beta product. Sunfounder are in the internal testing stage, and the case hasn’t yet gone into full production. So while I’ll cover the full build and performance here, some things may change before the official launch later this year.
Here’s my video build and testing of the NAS, read on for the write-up;
Where To Buy The Pironman 5 NAS Case?
- Pironman 5 NAS Case – Link To Come
Tools & Equipment Used:
- Video Capture Card AVerMedia GC513 – Buy Here
- Infiray P2 Pro Thermal Camera – Buy Here
- Sound Level Meter – Buy Here
- Power Meter – Buy Here
- USB C Pencil Screwdriver – Buy Here
What’s in the Box?
Inside the box, the first thing you’ll find is the assembly instruction sheet.
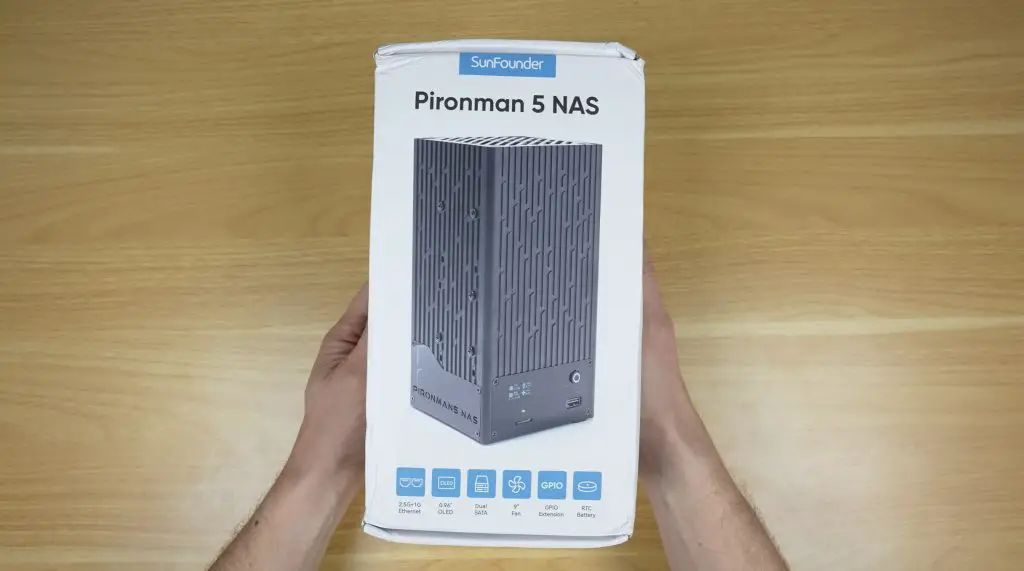

Beneath that is another well-padded white box containing the aluminium enclosure, along with multiple accessory packs that hold all of the panels, components, and PCBs.
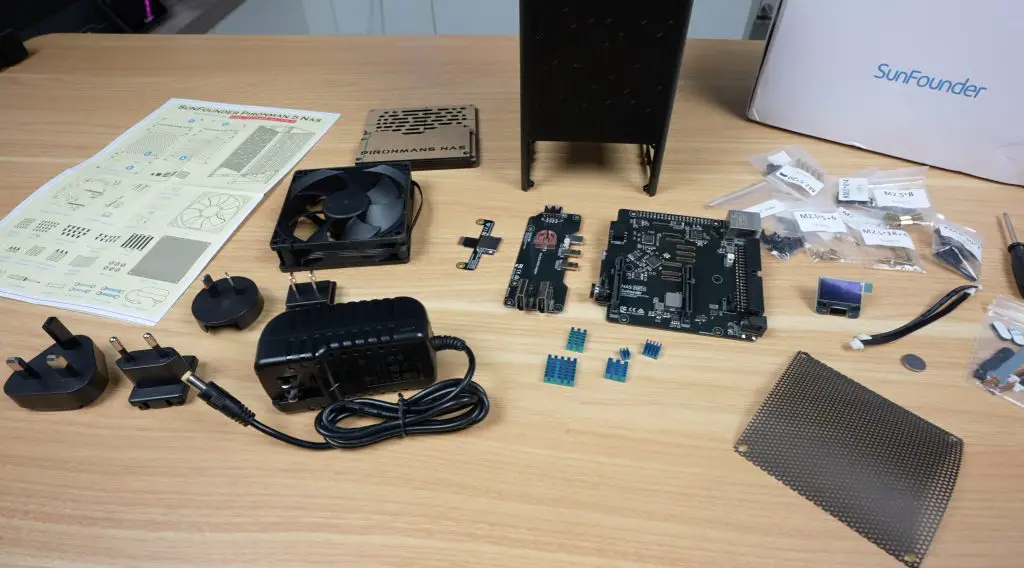
Here’s everything included in the kit:
- Aluminium housing
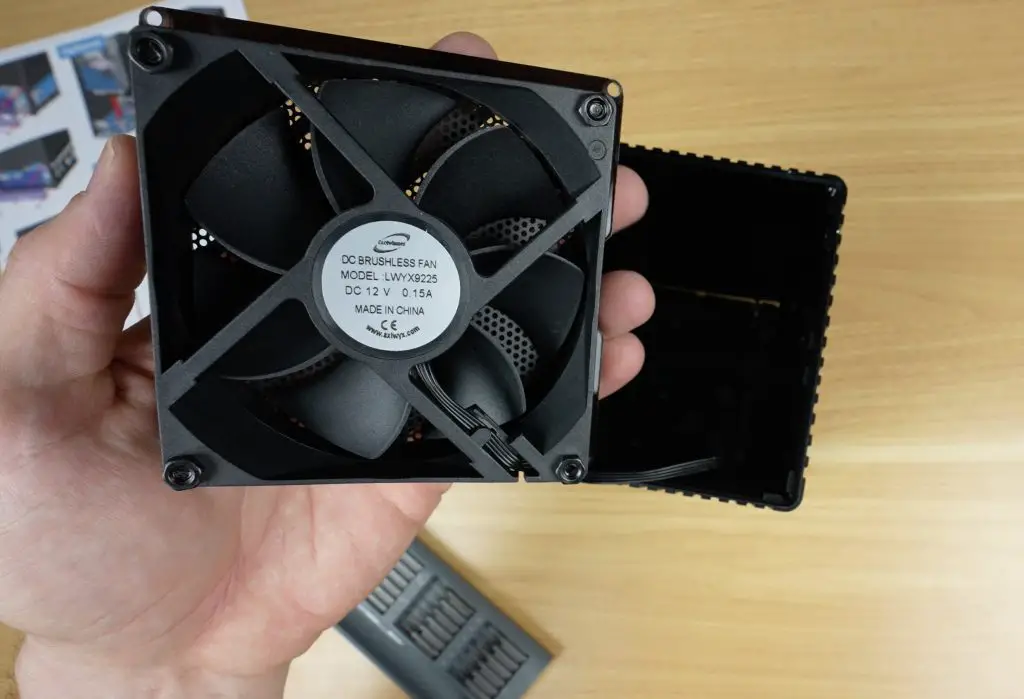
- Acrylic panels and the 90mm cooling fan
- Universal 12V 4A power supply
- Several adapter/control PCBs and heatsinks for the Pi
- OLED display module, cables, screws, and mounting hardware
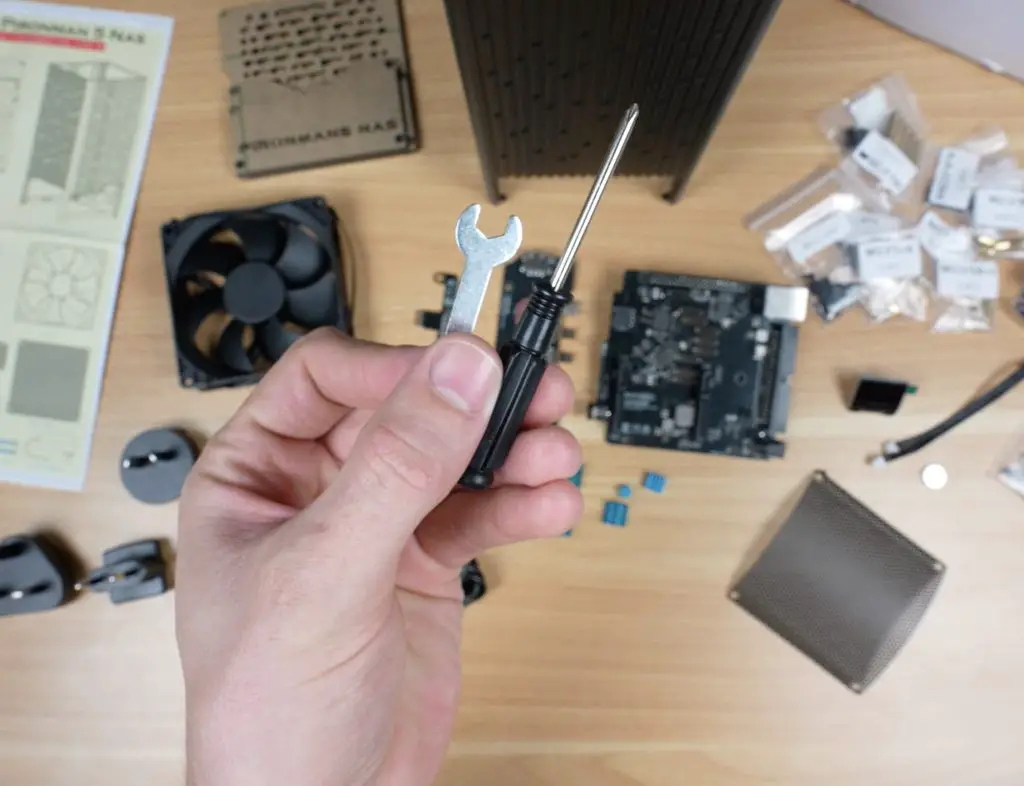
- A set of basic assembly tools
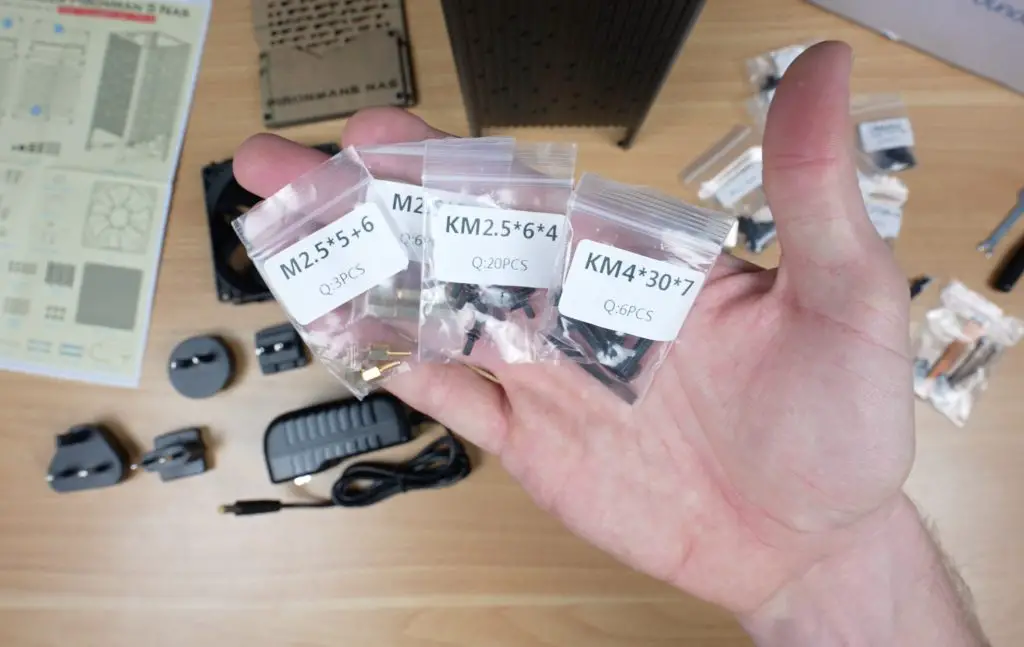
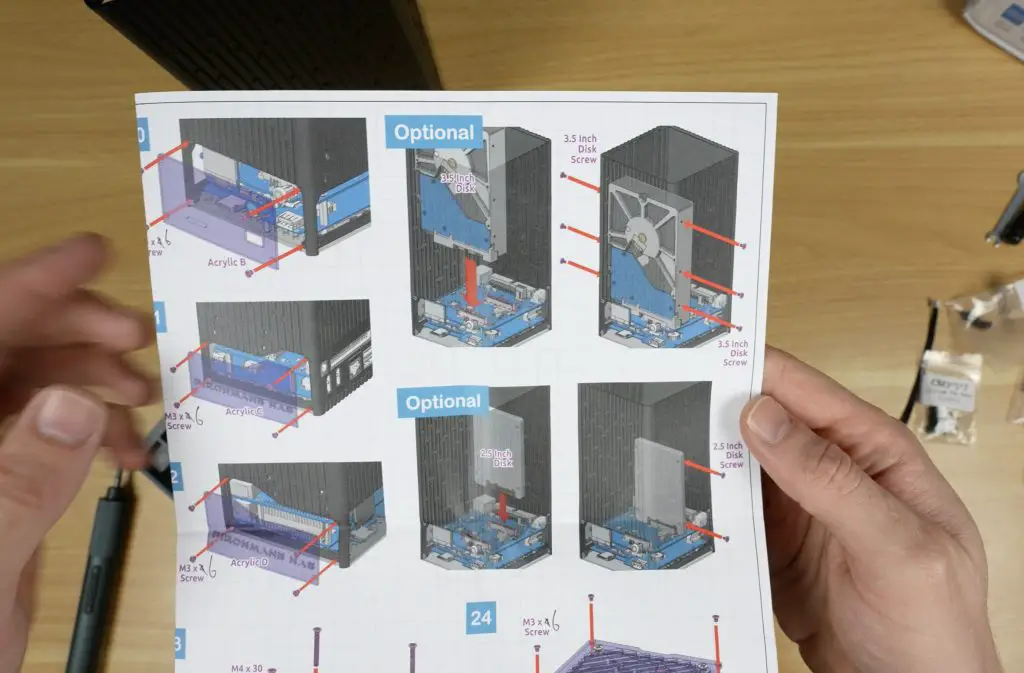
As with other Sunfounder kits, the screws are clearly labelled, and the assembly process is made easy by their detailed, picture-guided instruction sheet.
Assembling the Pironman 5 NAS Case
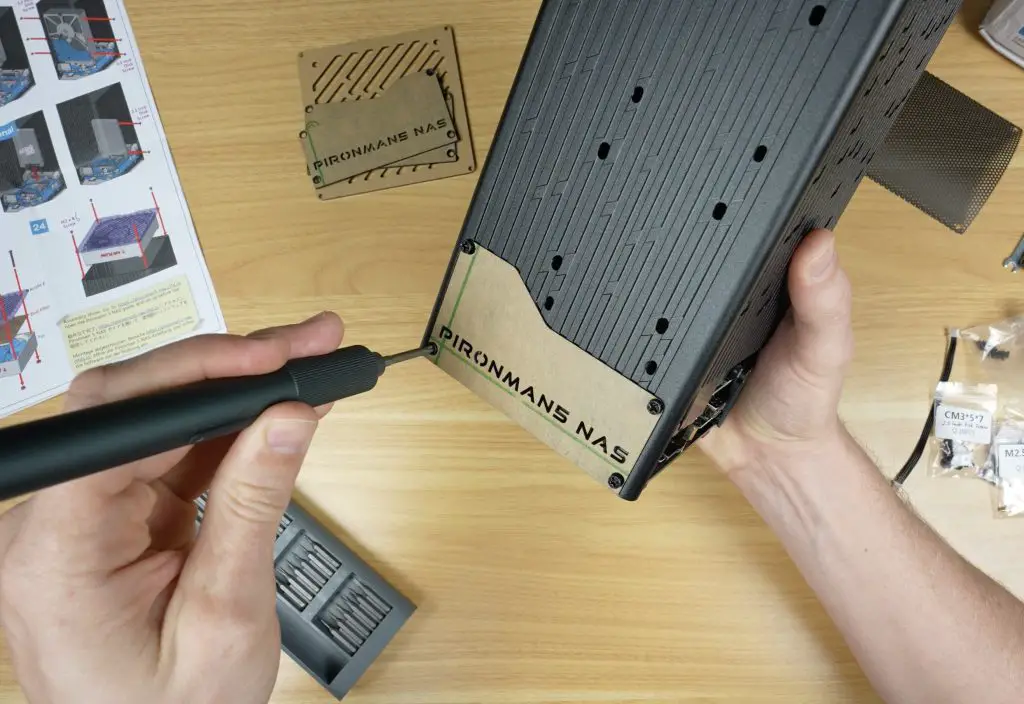
Putting the Pironman 5 NAS case together is fairly straightforward. The acrylic panels even feature countersunk screw holes, giving the finished case a much cleaner look.
Here is the basic build process:
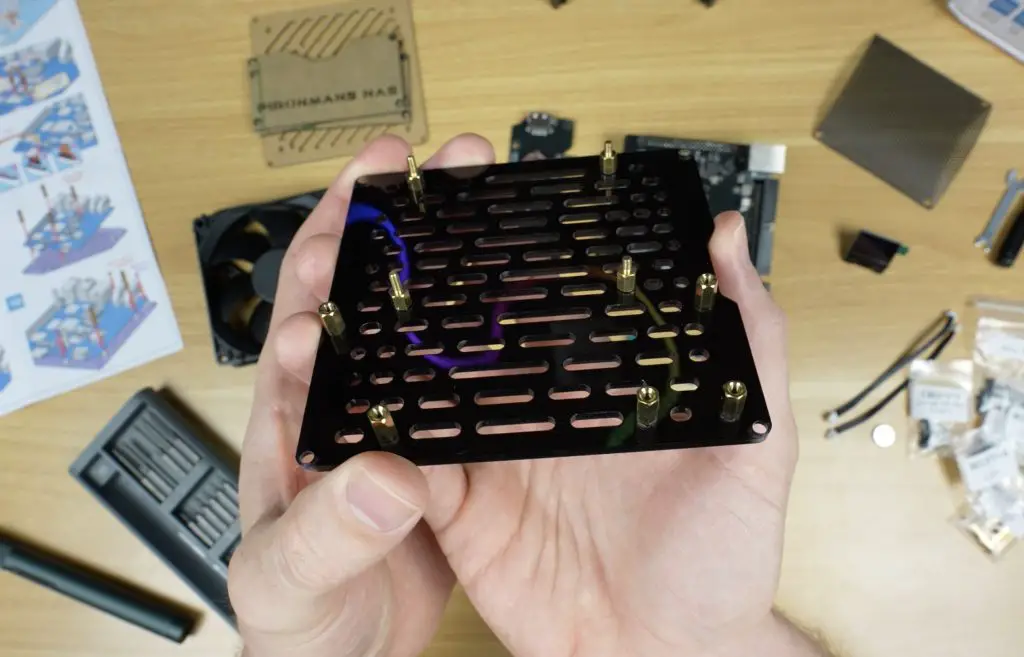
- Add standoffs to the acrylic base panel, which will support the Pi assembly.
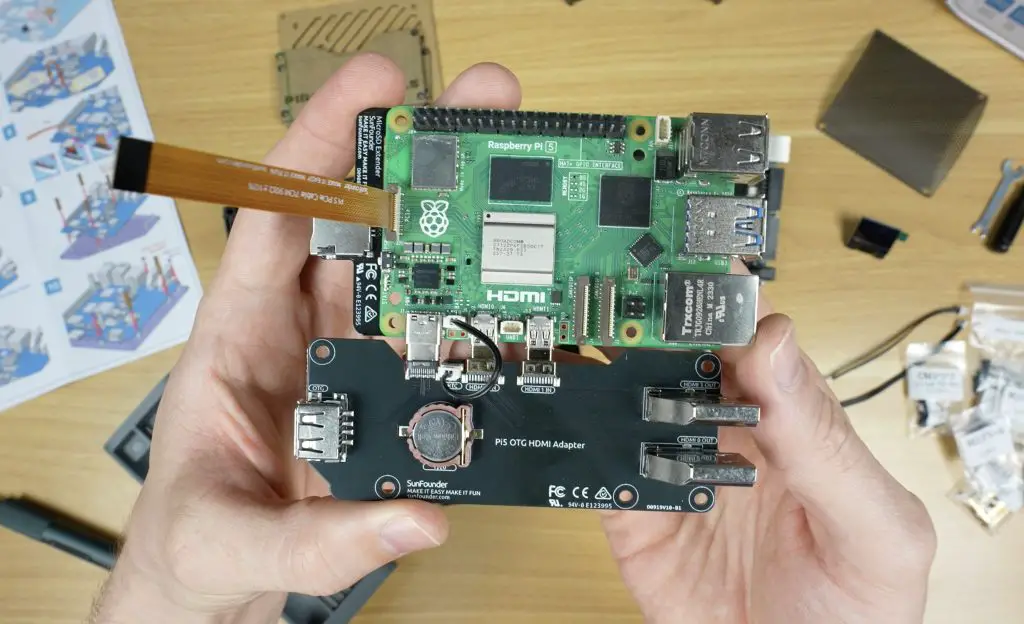
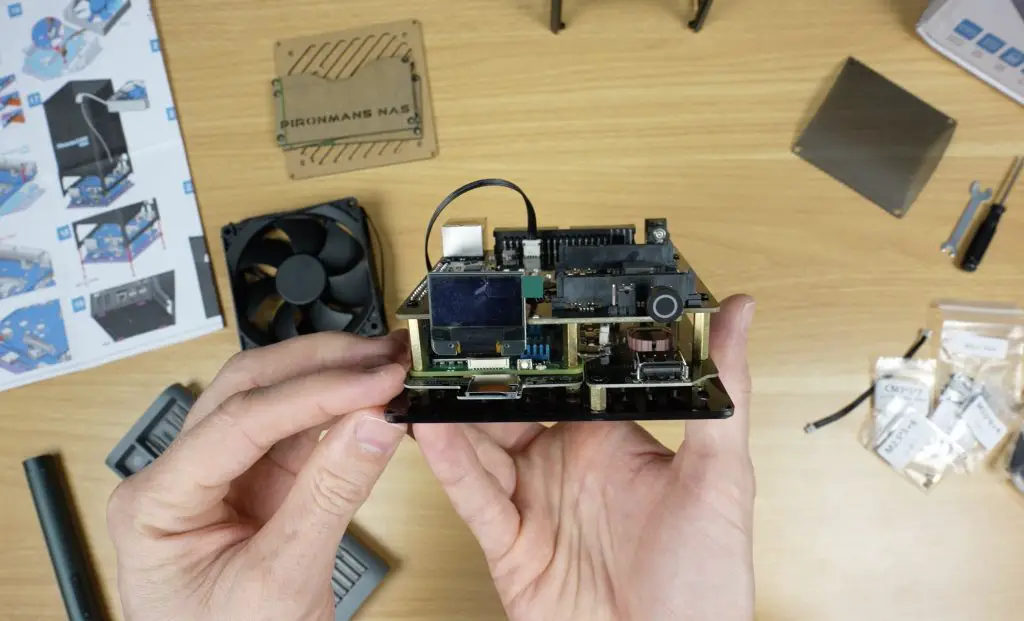
- Mount the Raspberry Pi and attach the adapter boards, securing the stack with additional standoffs and screws.
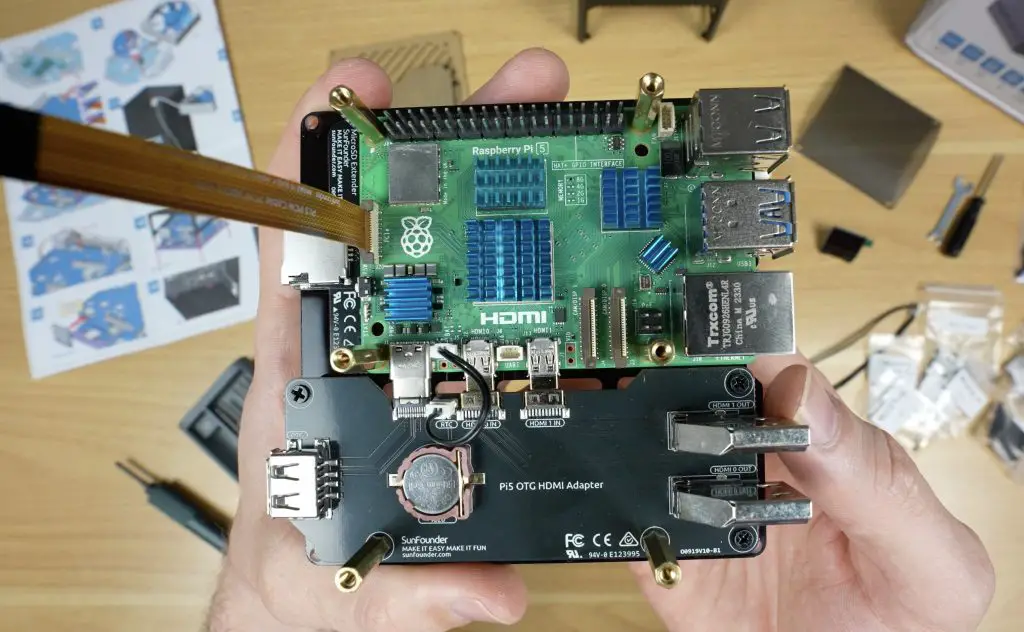
- Install the five supplied heatsinks on the Pi’s key components. The CPU heatsink is on the smaller side, but we’ll see later how well it performs.
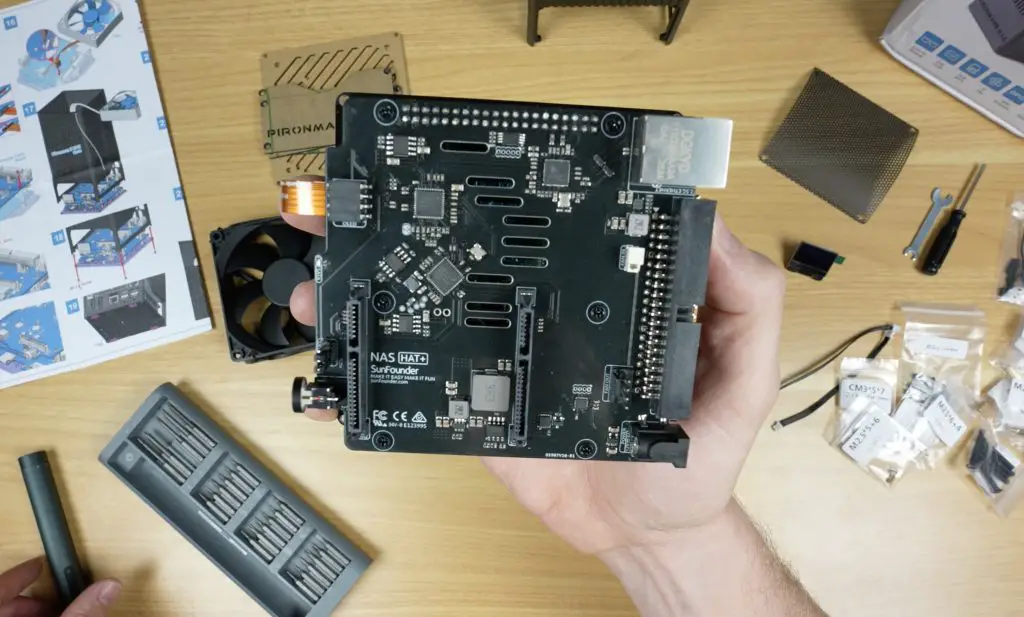
- Attach the main SATA and control HAT to the Pi.
- Plug the OLED display into its dedicated 4-pin socket.
- Connect the 90mm fan.
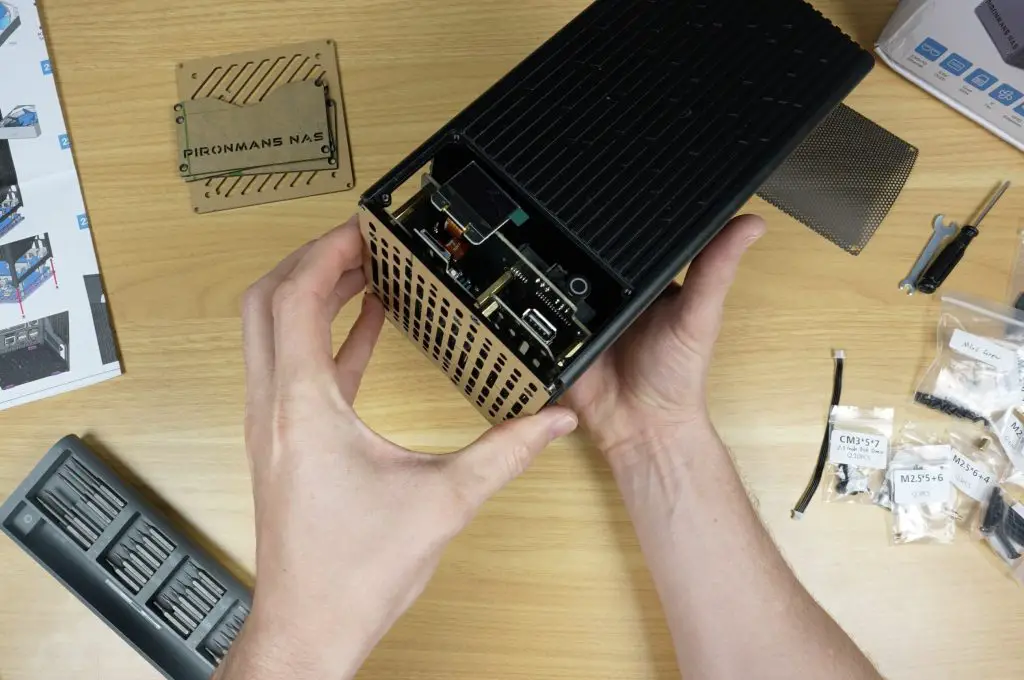
- Mount the completed Pi assembly into the aluminium housing and add rubber feet to the base.
- Secure the acrylic panels onto three sides of the case, and mount the fan to the top acrylic cover.
The drive bay section of the enclosure is cleverly designed to fit either two 3.5-inch drives (secured on both sides) or two 2.5-inch drives (secured on one side).
I personally would have liked to see an option for four 2.5-inch drives, but given that 3.5-inch drives remain popular for high-capacity NAS builds due to their cost-effectiveness, this design fills a gap in the market.

For my testing, I installed a pair of 1TB Crucial BX500 SSDs before closing up the case.
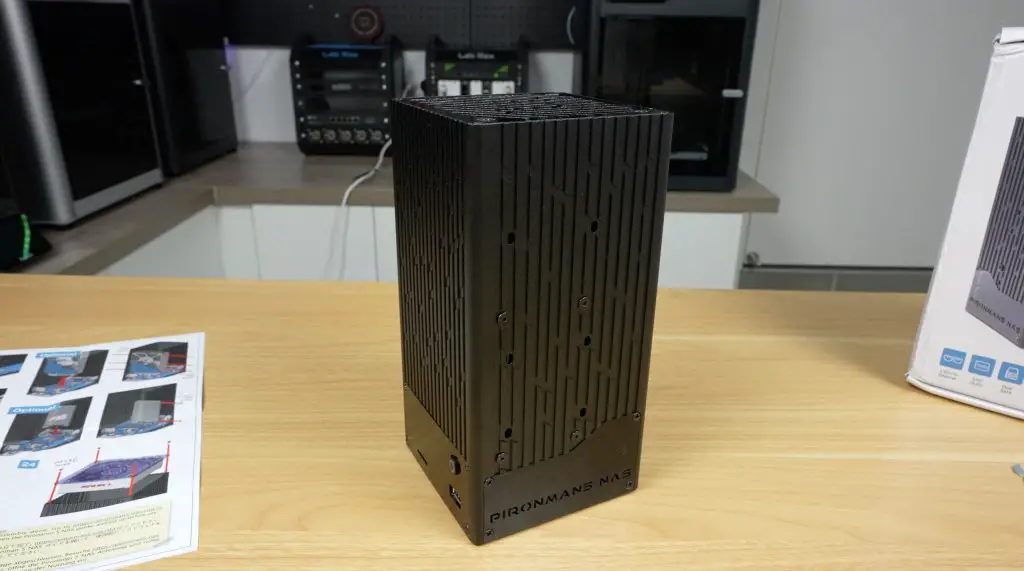
The finished enclosure measures 109mm x 109mm x 216mm, which is really compact considering it can house two full-size 3.5-inch drives.

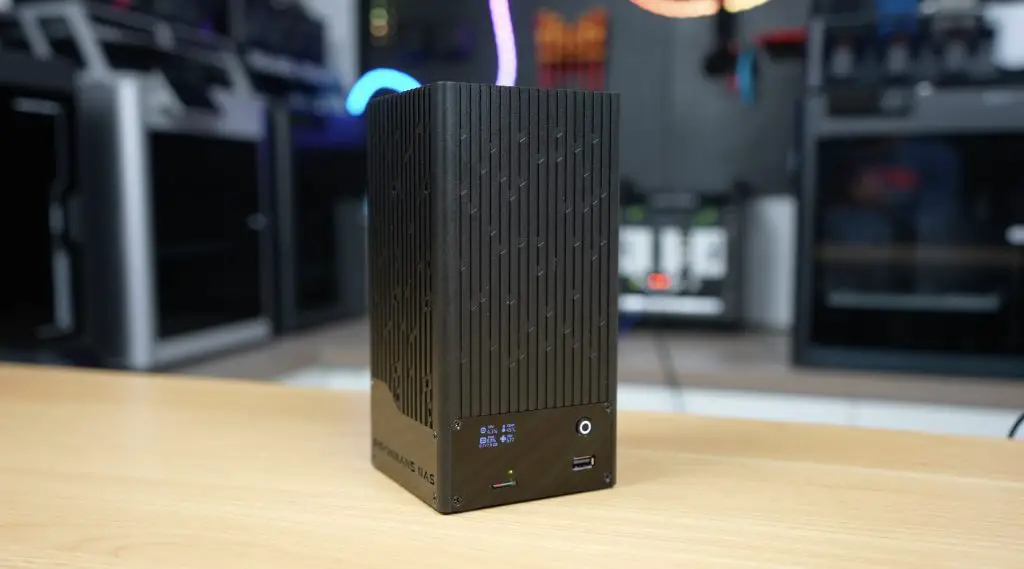
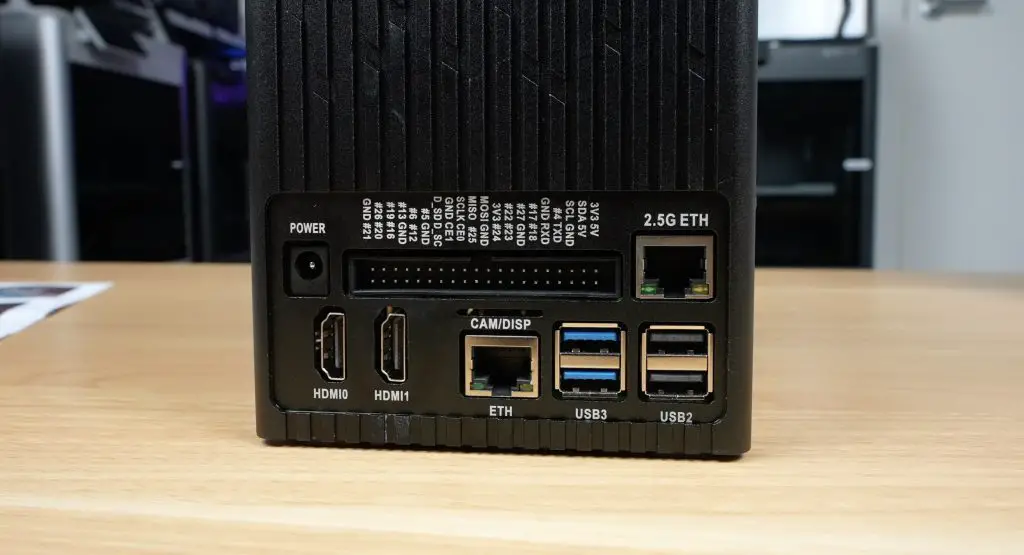
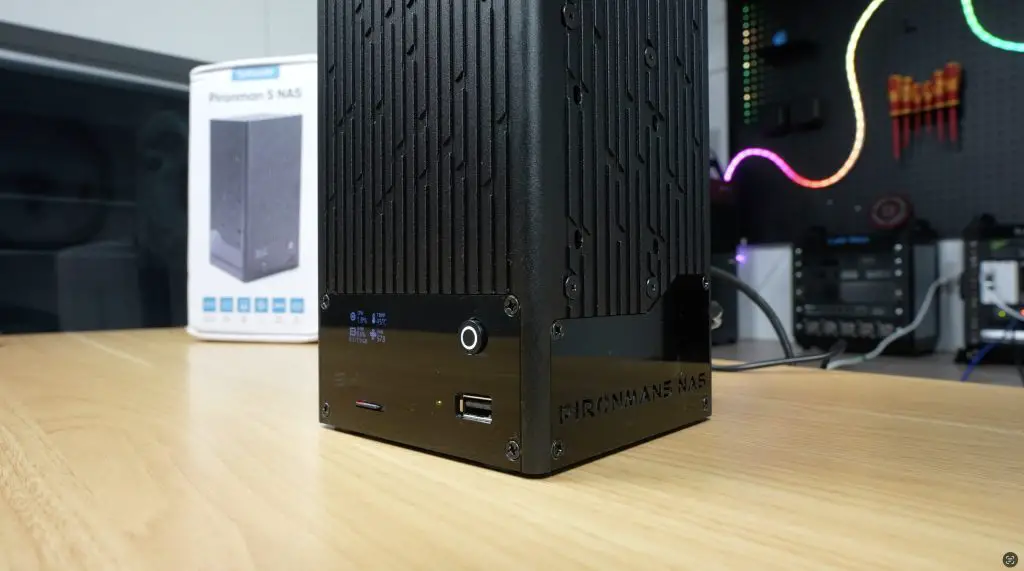
Ports and I/O on the NAS
The Pironman 5 NAS case provides plenty of connectivity, expanding on the Pi’s basic IO through the included hat:
- Raspberry Pi’s standard Gigabit Ethernet, 2x USB 3.0, and 2x USB 2.0 ports
- A ribbon cable slot for Pi camera or display connectors
- Two full-size HDMI ports from the adapter board
- 12V barrel jack input
- A full GPIO pin header passthrough
- A 2.5G Ethernet port, a standout feature for a Pi-based NAS
Operating System and Software Setup
Sunfounder recommends using Open Media Vault (OMV), but being a Raspberry Pi there are other options for operating systems if you’d like to use an alternative. The setup process is as follows:
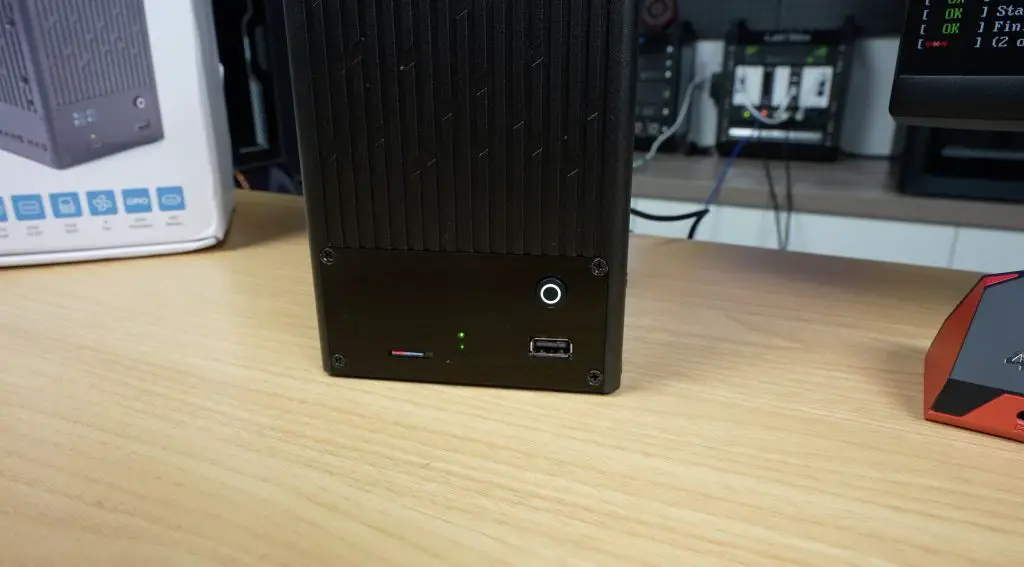
- Flash Raspberry Pi OS Lite to a microSD card and insert it into the case’s front slot.
- Update the Pi and install OMV.
- Install the Pironman script to control the OLED display.
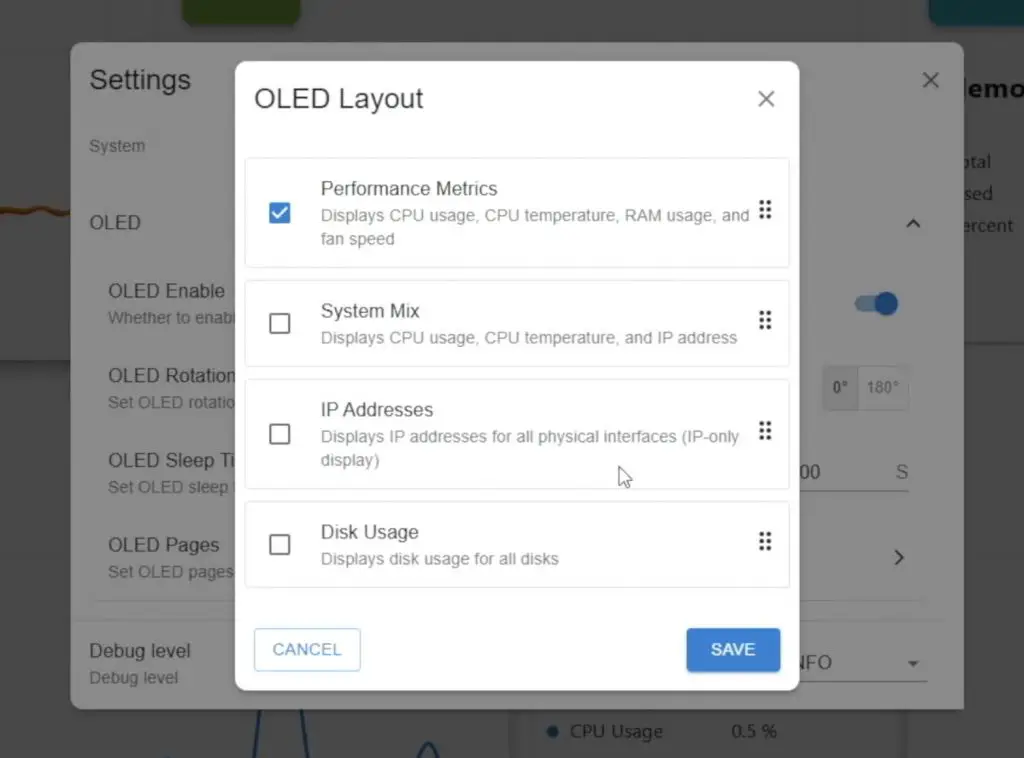
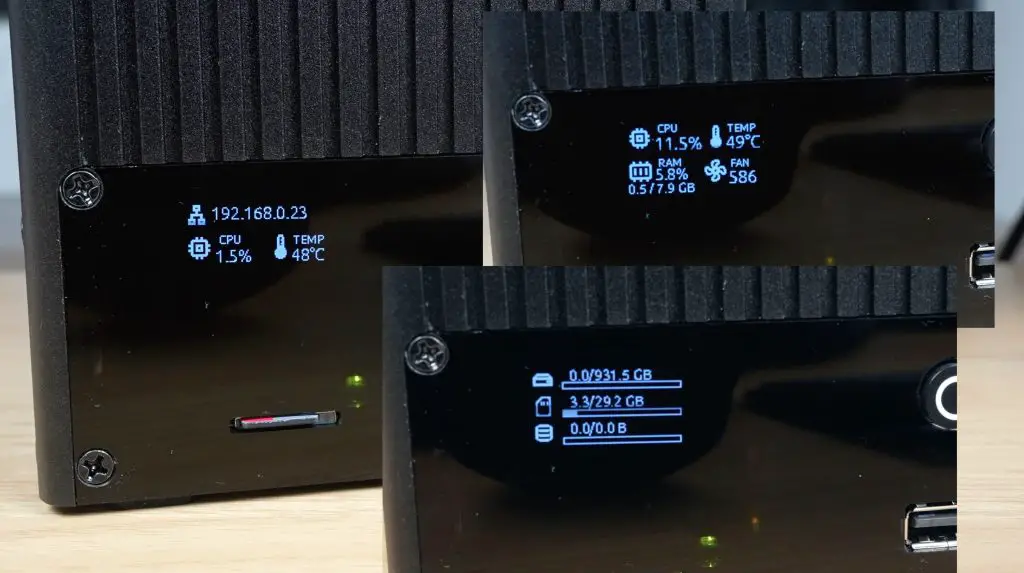
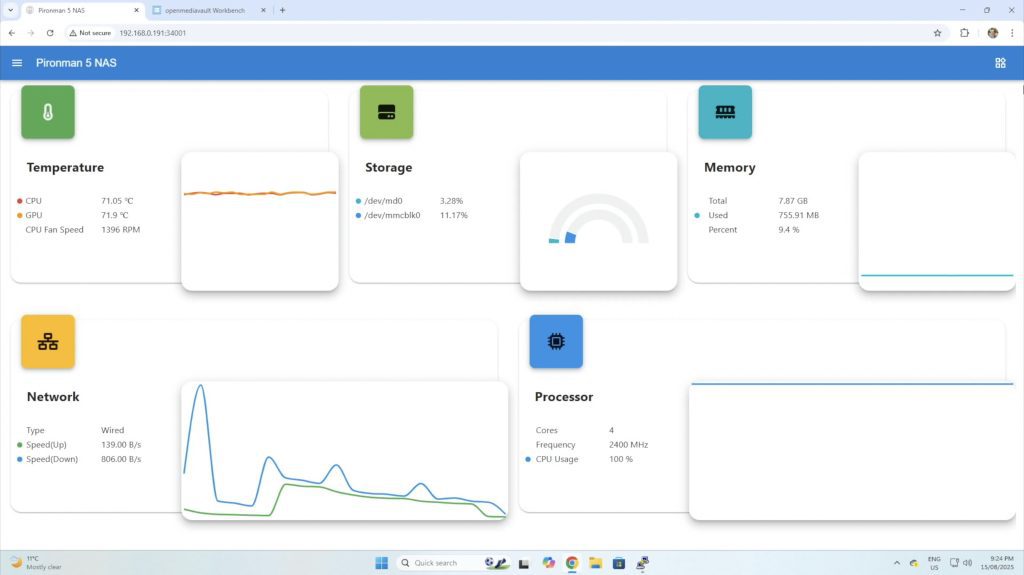
Like other Pironman cases, this one also includes a web dashboard to monitor stats and adjust settings. The OLED display itself has multiple options, allowing you to choose a fixed readout or cycle between different stats.
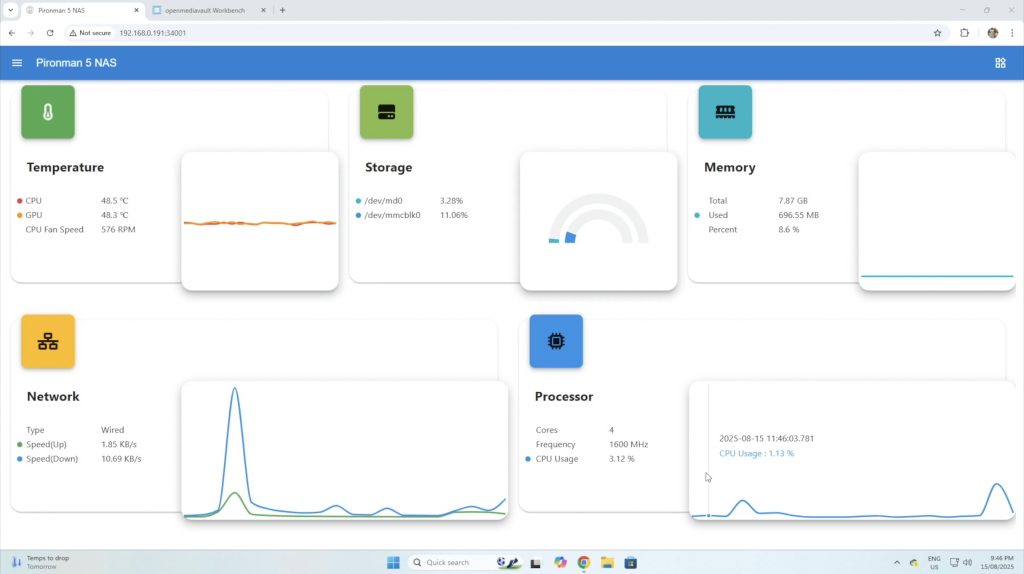
To manage storage, log into the OMV web dashboard via the Pi’s IP address. From there, create a file system, a shared folder, and set up an SMB share to access the NAS from a Windows PC.
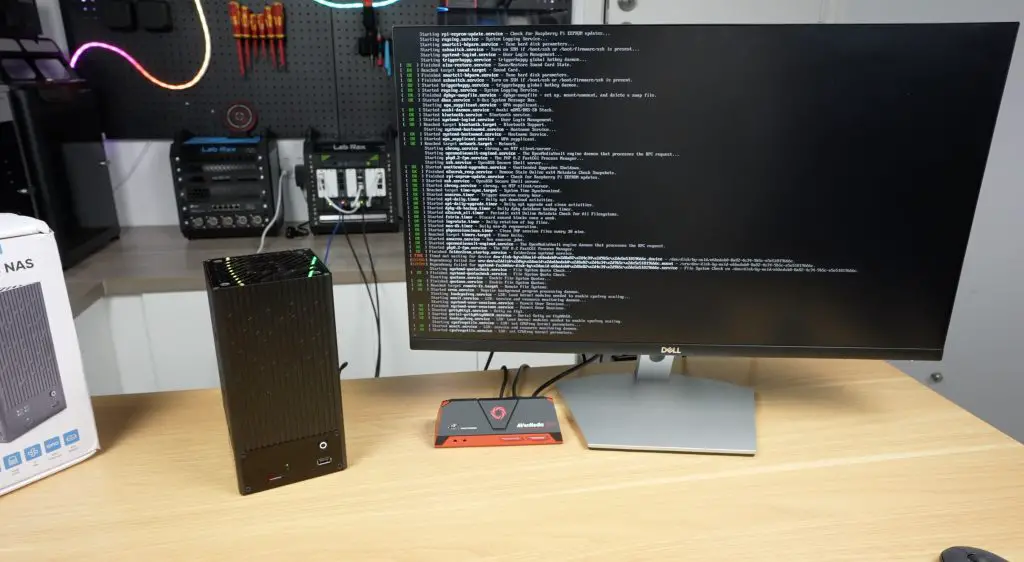
Performance Testing the Pironman 5 NAS Case
With everything configured, I ran a series of transfer tests to test the performance of the hat and 2.5G network connection.
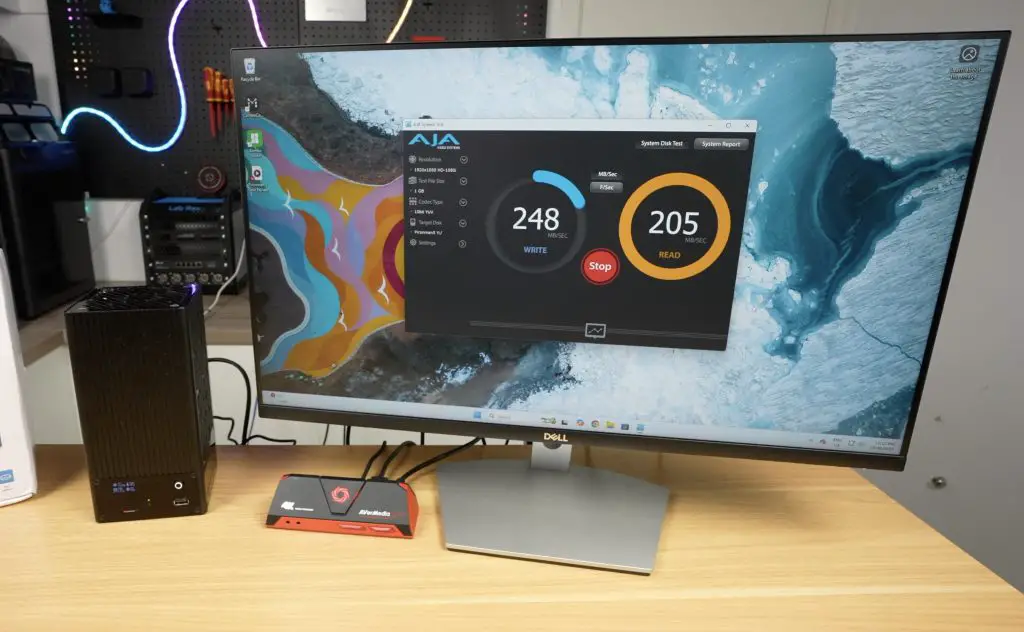
Running an automated test through AJA System Test, I got;
- 1GB file test → Writes: ~240MB/s | Reads: ~200MB/s
- 16GB file test → Writes: ~230MB/s | Reads: ~170MB/s
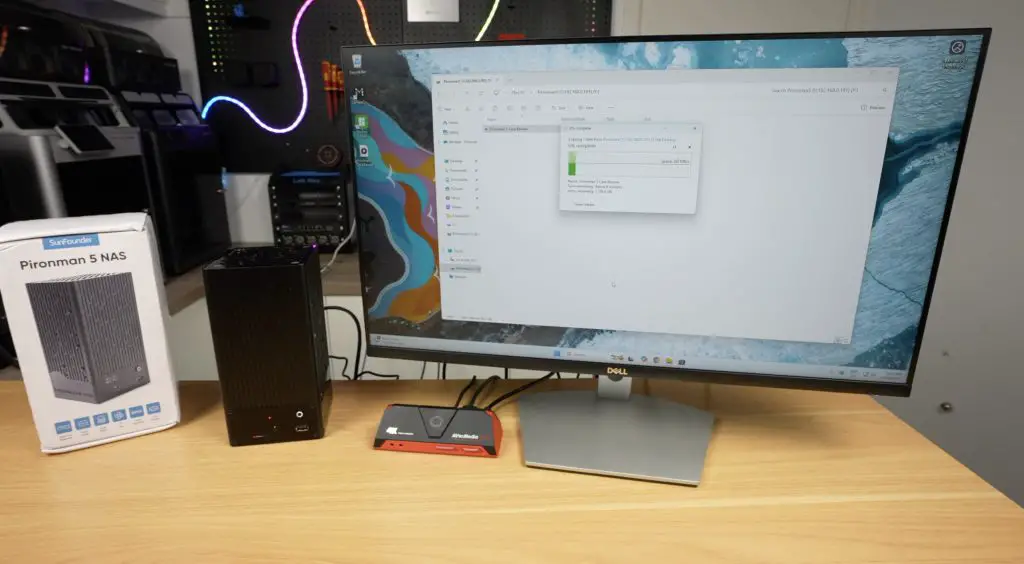
Doing a realworld file transfer of a 60GB video file to and from the NAS in Windows 11, I got;
- 60GB video file → Writes: ~260MB/s (peaking near 280MB/s) | Reads: ~260MB/s (very consistent)
These results are right in line with what you’d expect from a 2.5G network connection and show no issues with bottlenecking on the single available PCIe lane on the Pi.
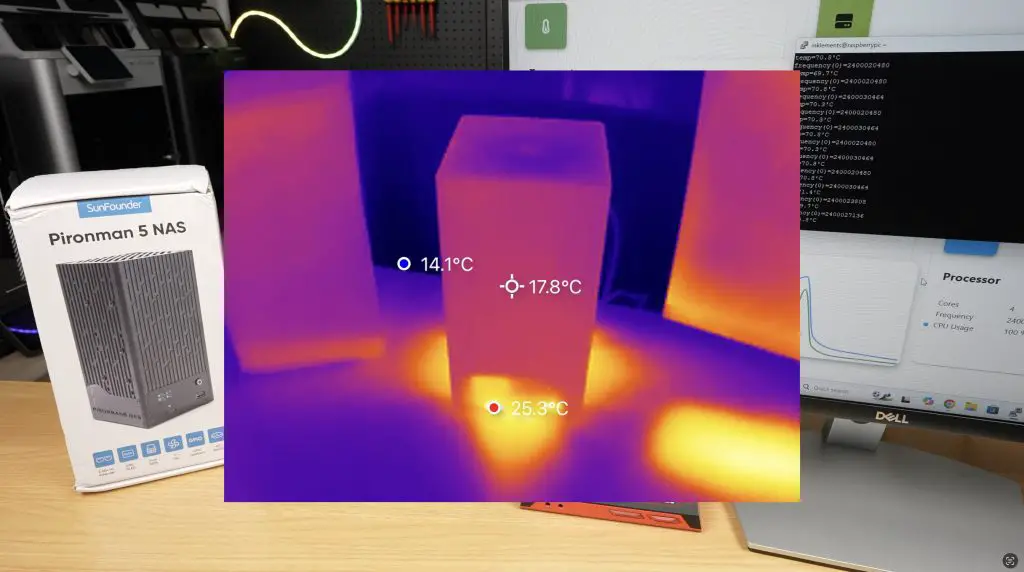
Cooling and Thermal Testing
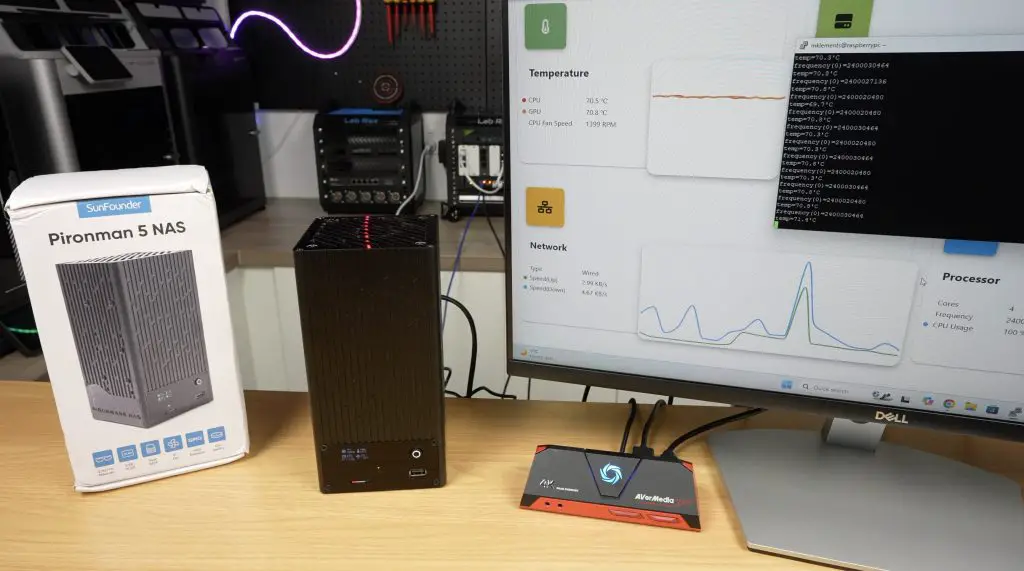
The large 90mm fan keeps drive temperatures very low during heavy file transfers.
The Pi’s CPU, however, runs hotter. At idle, the CPU started at 48°C, climbing quickly to 70°C under load during a 20-minute stress test using CPU Burn. The small CPU heatsink is adequate for basic NAS use but not ideal for workloads like RAID parity or media encoding. A larger aftermarket heatsink would be recommended for those cases.
Fortunately, since this is still a beta kit, SunFounder will likely address cooling improvements in the final version.
The aluminium housing also helps dissipate heat, and airflow inside remains decent even with 3.5-inch drives installed.
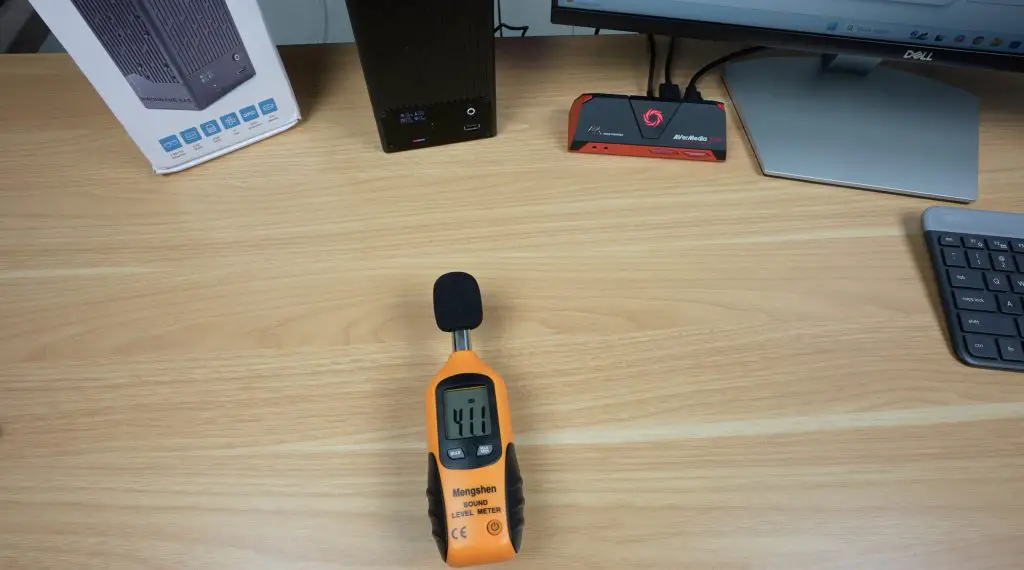
As for noise levels, the 90mm fan is PWM controlled. At full load, it reached about 41dB (which is not significantly loud), but when running below 800RPM it’s essentially silent. With mechanical drives installed, you’d likely never hear the fan over the drive noise anyway.
Power Consumption
I tested power consumption using a wall adaptor and took readings both at idle and with the CPU full loaded during the thermal test, while also copying large video file to the NAS. For these two tests, I got;
- Idle: ~8W
- Full load: ~14W
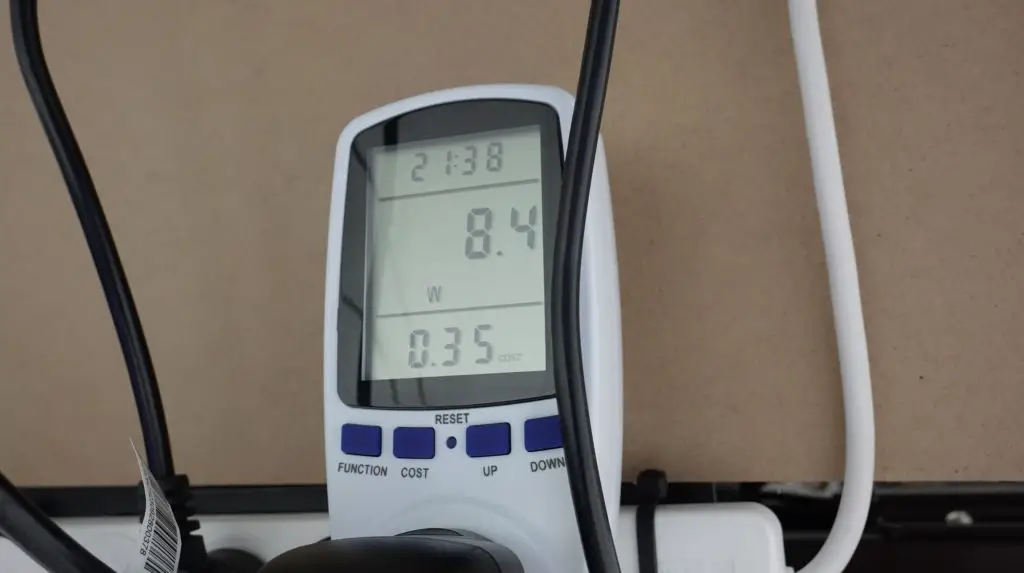
These are impressively low numbers for a dual-drive NAS, thanks to the Pi’s efficiency. With mechanical HDDs, consumption would be slightly higher, but OMV allows you to set drive spin-down times to save even more power when idle.
Final Thoughts on the Pironman 5 NAS Case
The Pironman 5 NAS case is another great addition to SunFounder’s lineup. It’s well-built, easy to assemble, and packed with useful features like the OLED display and 2.5G networking.
Since it’s still in development, SunFounder haven’t released official pricing yet. But if it lands in the $100–$120 range, I think it would be excellent value for a Pi-based NAS kit.
I’d personally love to see a version that supports four 2.5-inch drives, but the flexibility of using 3.5-inch HDDs is a big selling point that very few other Pi enclosures offer.
Overall, this is shaping up to be a compact, efficient, and capable NAS solution for the Raspberry Pi 5. Let me know what you think of it in the comments section below.
This product is just what we need … Our home libraries need this
I can’t wait for the link to buy this one! I really want it.
where can i buy ?