Growing your own seedlings from seeds offers you a lot of control over your veggies and can be very rewarding. The key to a successful veggie garden is planning, you need to decide on the time of year and the positioning of your veggies in the final garden bed so that you know how many to grow and when to start them. Once you have a plan, here’s how to start growing your seeds.
Well Lit Area
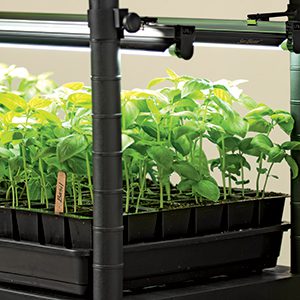
In order to grow healthy seedlings, you need a well lit area. Seedlings need at least 8 hours of light a day and most plants will do even better with 12-16 hours of light per day. A sunny window sill or porch is ideal for natural light or for better results an artificial light source on a timer will work the best. Place the lights about 10cm (4″) above the seedlings (this may need adjustment as they grow) and put the lights on a 16 hours on, 8 hours off timer.
Growing Containers


You need some containers or trays to fill with soil as your grow beds. These can be small pots, trays, toilet rolls, newspaper pots or any container with a few drainage holes in the bottom of them. Place the containers on a tray or in a container to catch any water which drains through the pots.
Seedling Soil
Use potting soil or a specially formulated seed starting mix made for growing seedlings. As far as possible, try not to use contaminated garden soil to start seedlings to ensure that no diseases are introduced and the seedlings are kept healthy. Make sure the seedling soil is moist before filling your containers with it. Press the soil down gently to remove any pockets of air which may have formed.
Sow the Seeds
The packet your seeds come in usually specifies the sowing depth. Poke a hole with a stick or your finger to the required depth and drop two seeds into it. Cover the hole with soil and press it down gently. Drop a few drops of water onto the top of the bed to moisten the seeds.
Cover the seeds trays with a clear plastic lid or dome to keep the moisture locked in. Check the trays daily for germination and keep the soil moist but not wet. As soon as the sprouts are visible, you can remove the moisture dome and place the seed trays in the sun or under your lights.
Water Regularly
Keep the soil moist but not soggy, use a dropper, turkey baster or mister to water the seedlings to avoid damaging their roots. Once the seedlings start growing proper leaves, you can allow the soil to dry out slightly between watering.
Fertilize Your Seedlings
If your seed starting mix does not contain any nutrients or fertilizers, you will need to start fertilizing your plants once they begin growing leaves. Begin fertilization with half strength fertilizer until the seedlings and transplanted.
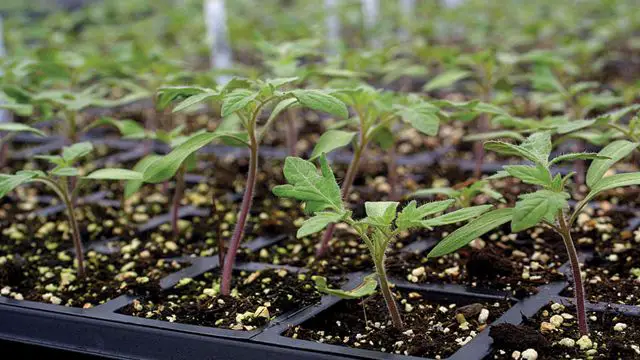
Continue growing your seedlings in this manner until they are large enough to be transplanted into the garden. Some larger variety plants may require transplanting into a larger pot and some spacing out as they grew before they are large enough to be moved into the garden.
Before moving your seedlings into the garden, thoroughly wet the garden bed the day before you plant them. Plant your seedlings in the later afternoon to give them time to adjust to the environment before the next day’s midday sun. Water the seedlings well just after your have planted them.
What you grown your own seedlings from seeds? Let us know your tricks and tips in the comments section below.