If you’ve been on Pinterest lately, you’ve likely seen a couple of fantastic concrete ideas including these little planters. They are super simple to make and are really cheap, an old plastic bottle is used as the mould and a small bag of cement is all that you need to buy. Here’s a guide to make your own small concrete planters.
What You Need To Make These Concrete Planters
- An Old Plastic Bottle Per Planter
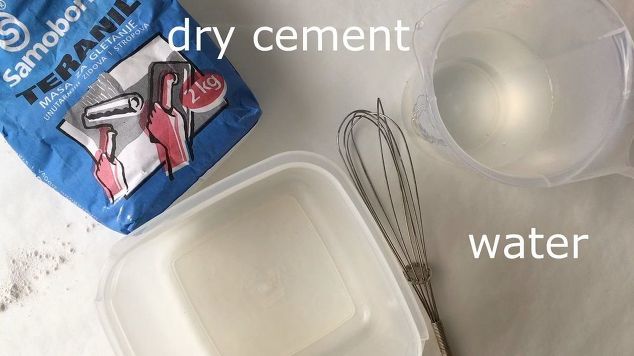
- A Small Bag Of Dry Cement Mix – Buy Here
- Vaseline – Buy Here
- Craft Knife – Buy Here
- Sand Paper (120-160 grit) – Buy Here
- A Few Small Stones To Be Used As Weights
How To Make The Concrete Planters
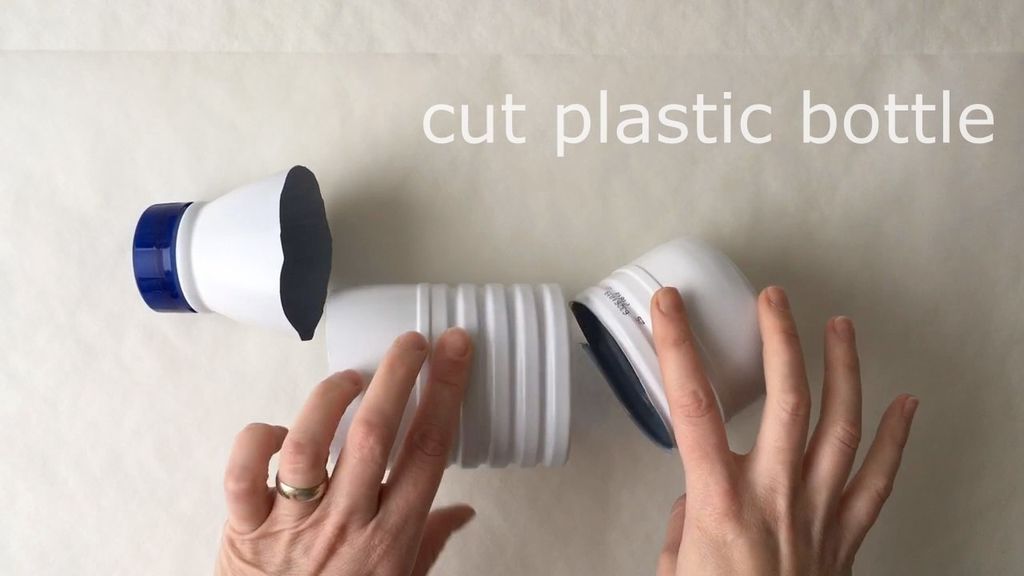
Cut the plastic bottle into three sections. Cut the bottom and the top of the bottle off of the middle section. The bottom section of the bottle is going to be the mould for the outside of the planter and the top section of the bottle will be the planter insert in which your plant will go.
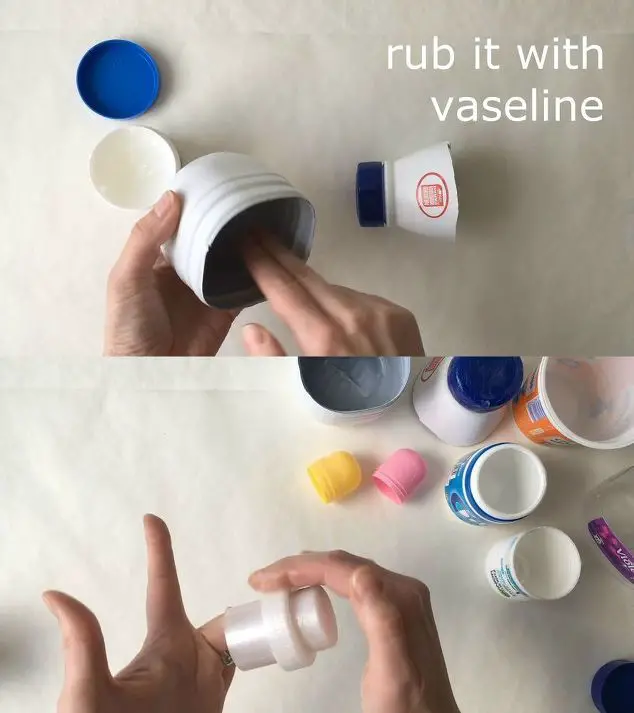
Now rub the bottle top and bottom with Vaseline to make the plastic come away from the cement easily. Rub Vaseline on the inside of the bottom part and on the outside of the top part of the bottle.
Now mix up the cement with water as per the instructions on the packaging. Mix a big batch if you’re making a number of planters or a portion of the bag for one or two planters. If you prefer a whiter look for your planters then use cement used for smoothing walls.
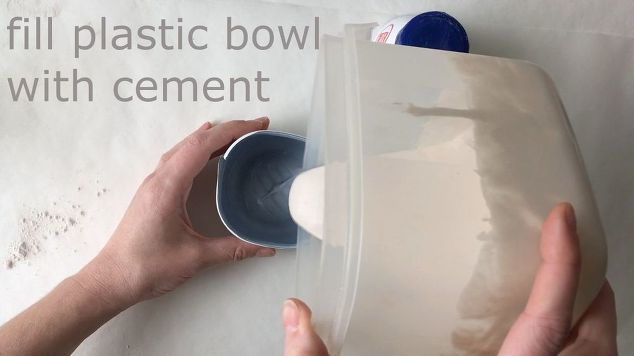
Pour the cement mix into the large container, the bottle base.
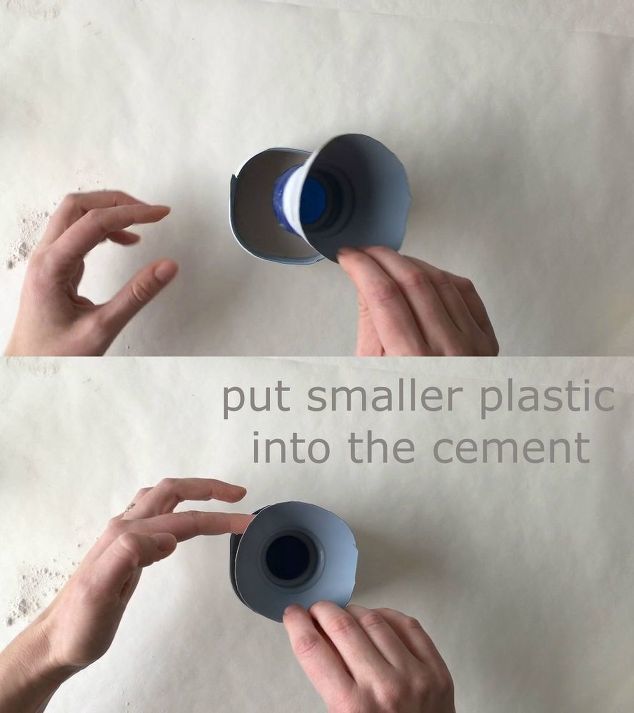
Gently press the small bottle top into the cement in the larger container. The bottle top should sit roughly in the centre of the cement mix (although it can be offset for an artistic look) and should be about a finger width from touching the bottom of the large container otherwise the cement may be too thin and will crack.
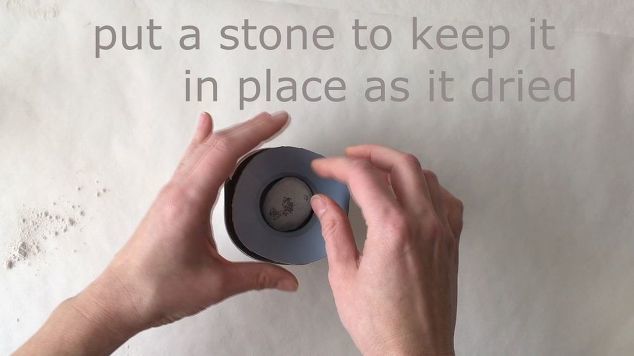
once you are happy with the position, place a stone or two into the bottle top to keep it in place.
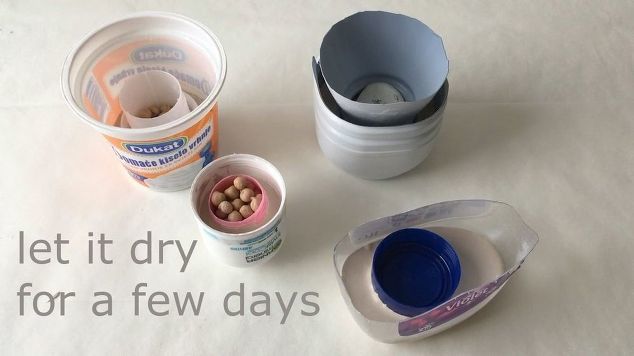
Now allow the cement to cure for a day or two as per the directions on the packaging.
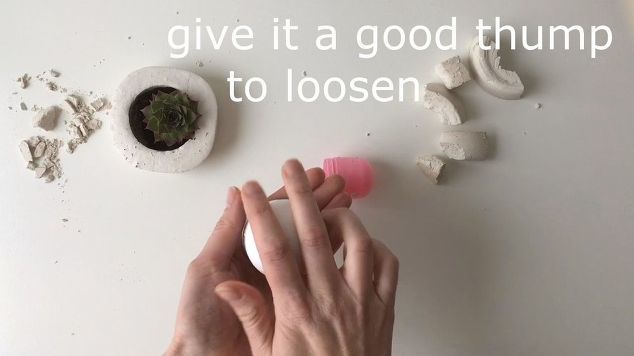
Once the cement has cured, press the cement out of the mould. It should come out quite easily because of the Vaseline.
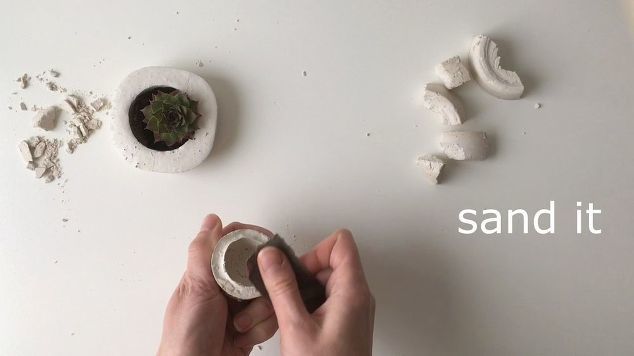
Take a small piece of sandpaper and clean up the edges.
Now fill the planters up with some soil and place your plant inside, its that easy.
Have you made any interesting things with concrete? Let us know in the comments section below.
This guide is based on How to Make Concrete Planters by Inablue and has been modified and used under the creative commons license CC BY NC SA.