Turning your home into a “smart home” is not nearly as daunting a task as it was a couple of years ago. You no longer need to hire contractors to rewire your home, there is now a huge range of products which have been designed to fit seamlessly with your home’s existing wiring and equipment to turn your ordinary home into a smart home without breaking the bank or requiring a degree to operate.
If you’re new to the smart home scene then a good place to start is perhaps by looking at Google Home or Amazon’s Alexa devices which include smart light bulbs, plugs and security devices which connect to your home’s wifi and enable you to access and control them from your phone or pc from anywhere in the world with an internet connection.
To help you get started, we’ve put together a list of our favourite devices to have a look at this fall to turn your ordinary home into a smart home.
If you enjoy this post, have a look at these 5 High Tech Investments To Include In Your Next Home Improvement.
Amazon Echo Dot (3rd Gen)
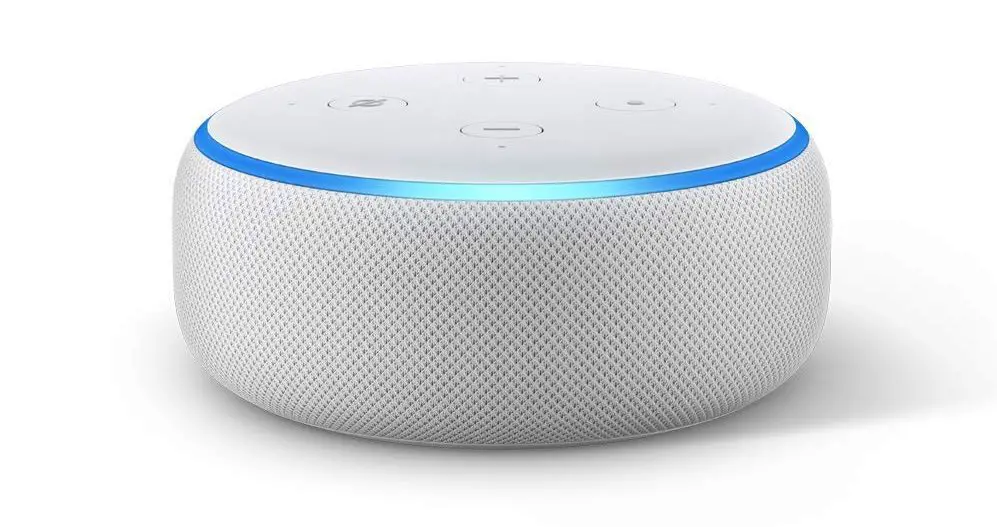
One of the most simple and affordable smart home hubs to set up and operate has been through another update. The Third Generation Amazon Echo Dot features a significant improvement to its sound and music playing capabilities, turning the small hub into a capable and discrete voice assistant and music device for almost any room.
The echo device is the heart of your smart home, you can ask it to play you the news headlines, give you a weather update, find out how long it will take you to get to work or simply call another echo device in your home as an intercom system. You can also pair it with most popular music streaming services to play your favourite song or playlist.
With the huge range of Alexa enabled smart home devices available online, and hundreds of new products being added every month, you really can’t go wrong with an Echo or Echo Dot. You’ll even love the price as they come in as one of the cheapest smart home hubs on the market.
Phillips Hue Smart Lighting Solution
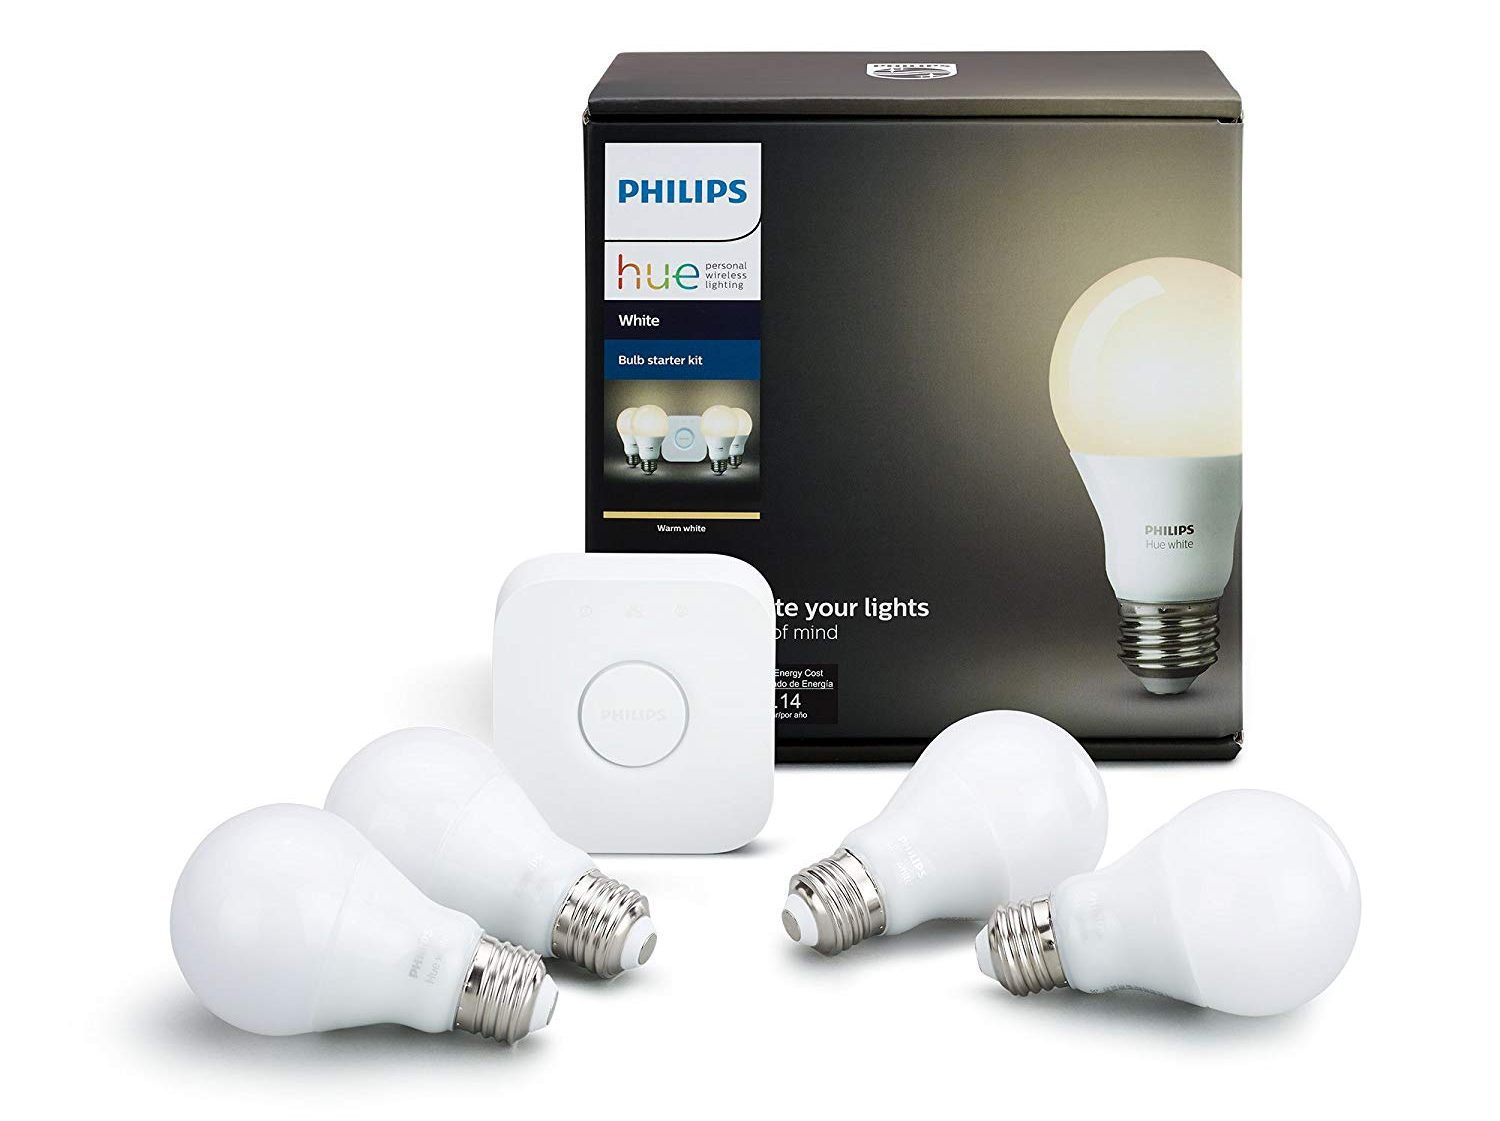
Phillips are arguably the leaders in the smart home lighting scene with a wide range of lighting products which all integrate with the Phillips Hue smartphone app and with Amazon’s Alexa devices. With Phillips Hue, you can easily control your entire home’s lighting with your voice, set up moods and scenes, day night timers and even get your home’s lighting to turn off when you leave home and turn back on when you arrive home again.
Here Are Some Of Our Favourites To Get You Started:
- Phillips Hue 4 White Bulb & Hub Starter Set
- Phillips Hue 2 Coloured Light Bulb & Hub Starter Set
- Phillips Hue Outdoor 5m Coloured LED Strip
Although they are quite pricey, Phillips claim that their bulbs last up to 25,000 hours each which should get you over 20 years of evening use. They also have something for every pocket with simple dimmable white bulbs being the cheapest, right through to multi-coloured dimmable spotlights and feature lights.
We love how easy the Phillips Hue products are to set up and use as well as integrate with your existing smart home hub.
Nest Thermostat
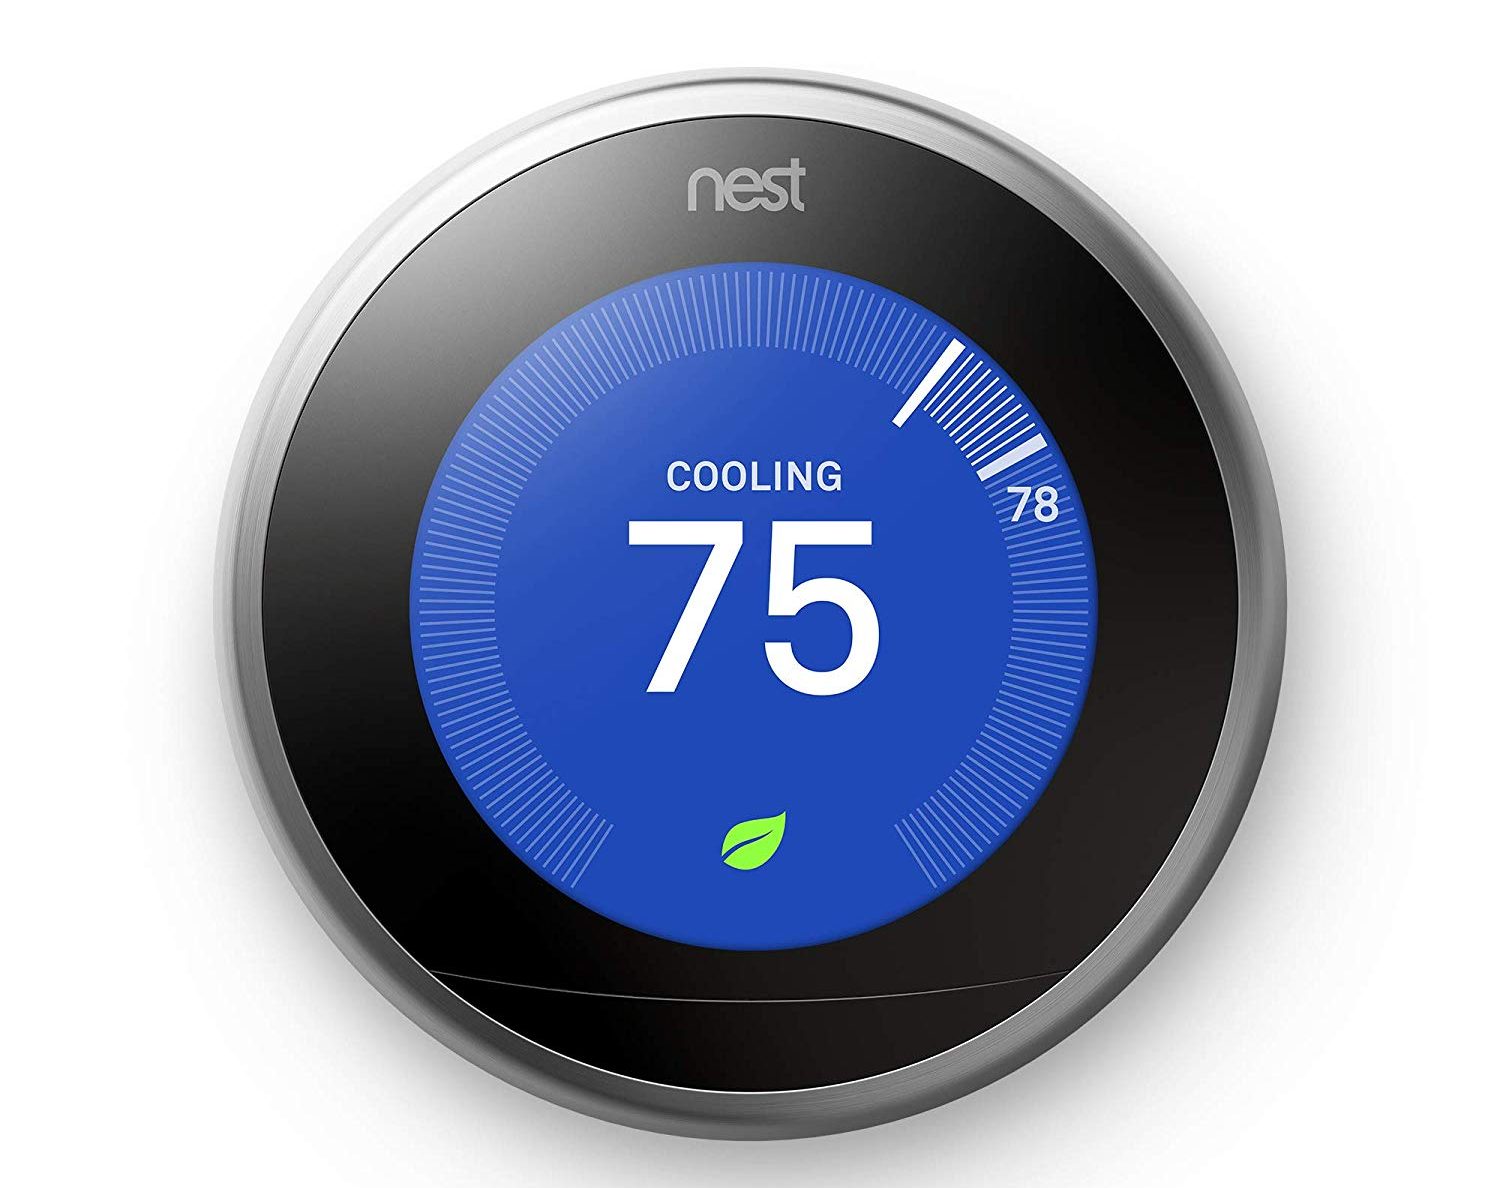
There really is only one go-to smart home thermostat, and that’s the Nest Thermostat. It allows you to control your home’s heating and cooling system from your phone or with your voice through your smart home system. The Nest Thermostat has earned an Energy Star certification, meaning that it has been shown to significantly reduce energy consumption, leading to a more environmentally friendly living space.
It allows you to turn off the heating or cooling during the day and then turn it back on again before you get home so you don’t arrive to a freezing cold or unexpectedly hot home.
Smart Home Door Lock
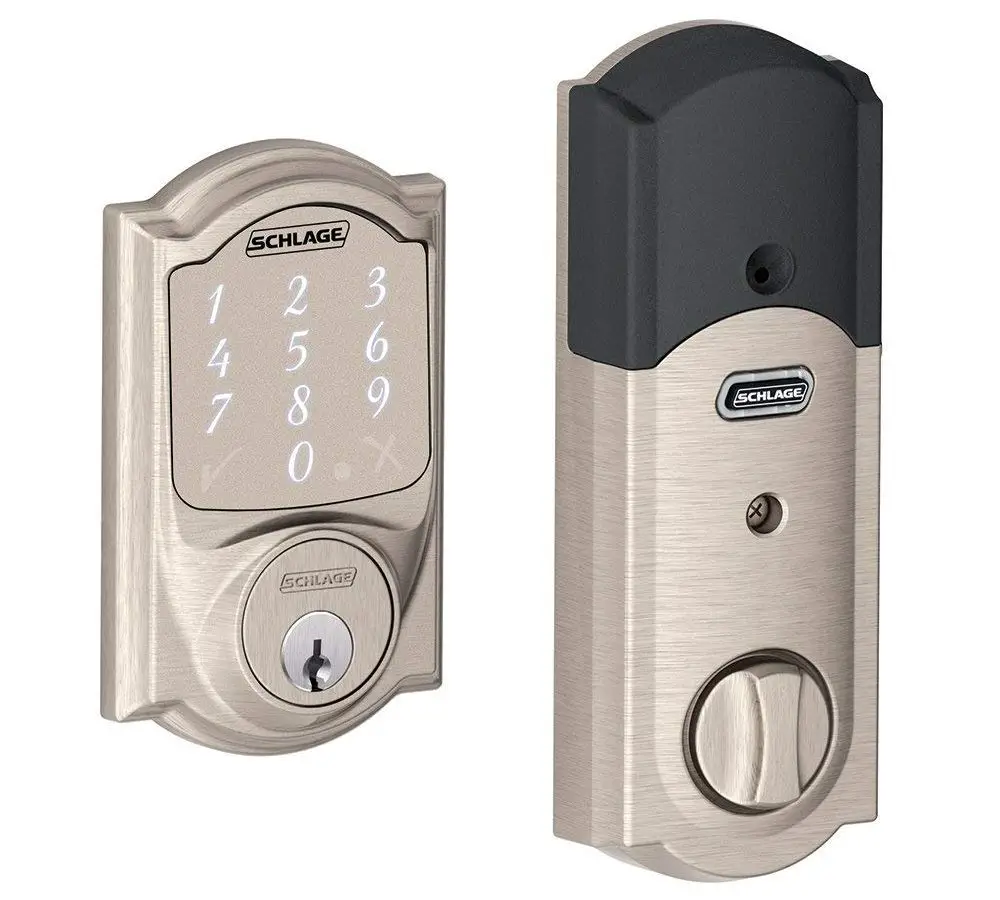
A smart door lock like this Schlage Sense Smart Deadbolt is really useful to provide access to your home when you’re away without having to leave keys out for guests, cleaners or delivery services. You can lock and unlock your home straight from your smartphone and with keypad locks you can provide guests or delivery services with a one time code to allow temporary access to your home.
This product works especially well with a WiFi enabled doorbell, mentioned below.
Wifi Enabled Doorbell
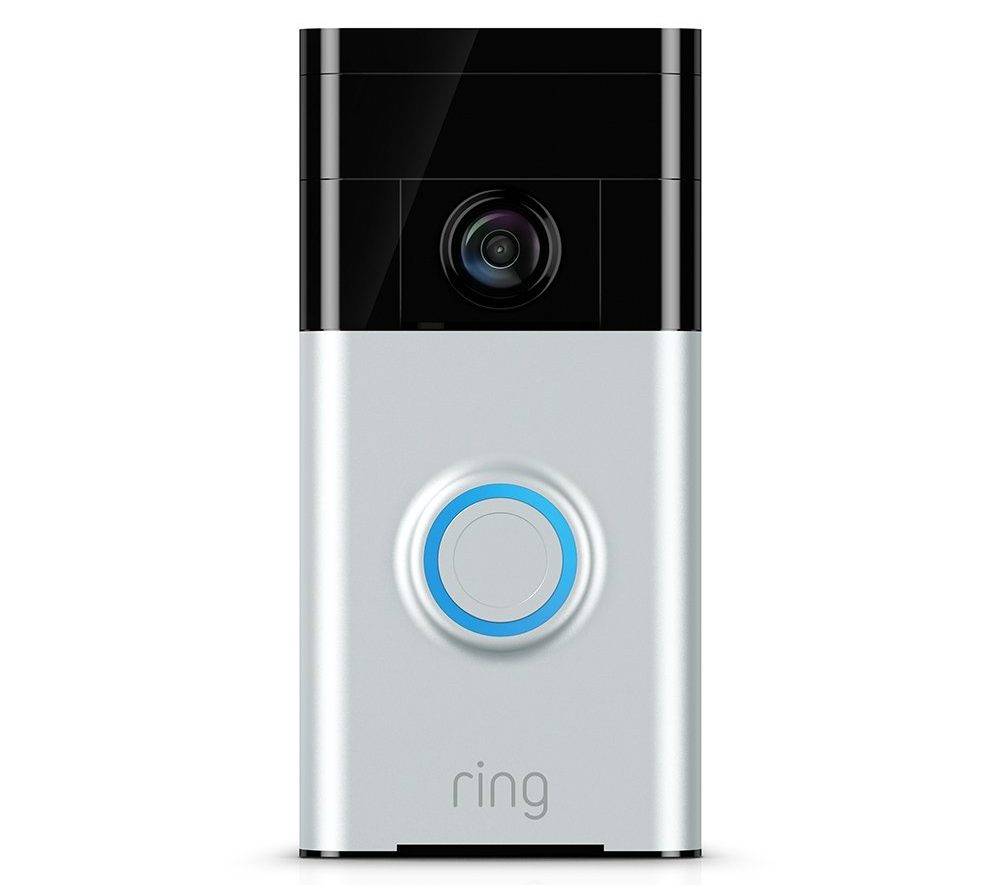
A Ring WiFi Enabled Doorbell is a great addition to the home for anyone who works full days or travels a lot. It allows you to answer the door remotely, talk to your guests and the higher end ones are able to stream full HD video back to your smart phone to keep an eye on who’s at your front door.
A motion sensor will automatically send an alert to your smart phone when someone arrives at your door so that you can keep track of packages being delivered or unexpected guests.
Have we left anything off of our list? Let us know what your favourite smart home products and devices are in the comments section below. We’d love to hear from you.