Today we’re going to be looking at the M5 Paper development board, which is essentially an ESP32 tablet with a 4.7” e-ink touch display. The combination of a WiFi-enabled tablet with accessible IO as well as an ultra-low power consumption touch display really opens up a world of possibilities for home automation, dashboards, monitoring and data logging.
If you’re interested in some other boards in the M5 range, I had a look at the M5Stack Core 2 and M5StickC Plus last week.

Here’s my video of the unboxing and tinkering with the M5 Paper development board:
Where To Buy The M5 Paper
This board was sent to me by Banggood to share with you, you can get your own through the below link:
- M5 Paper – Buy Here
You can also have a look at some of the other boards in the M5 range:
The above links are affiliate links. By purchasing products through these links, you’ll be supporting my projects, with no additional cost to you.
Unboxing The M5 Paper
Let’s open up the M5 Paper and take a look at it.
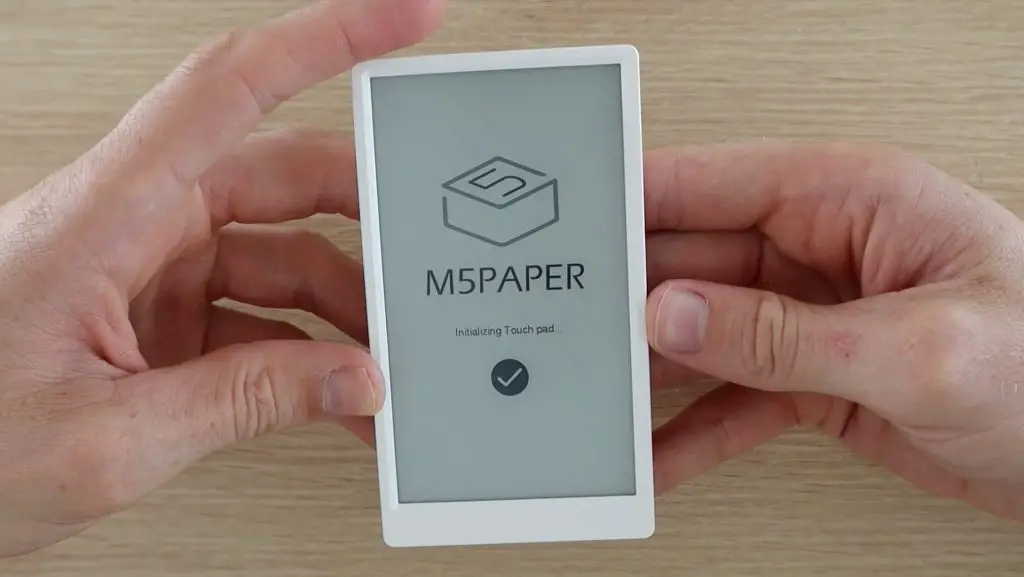
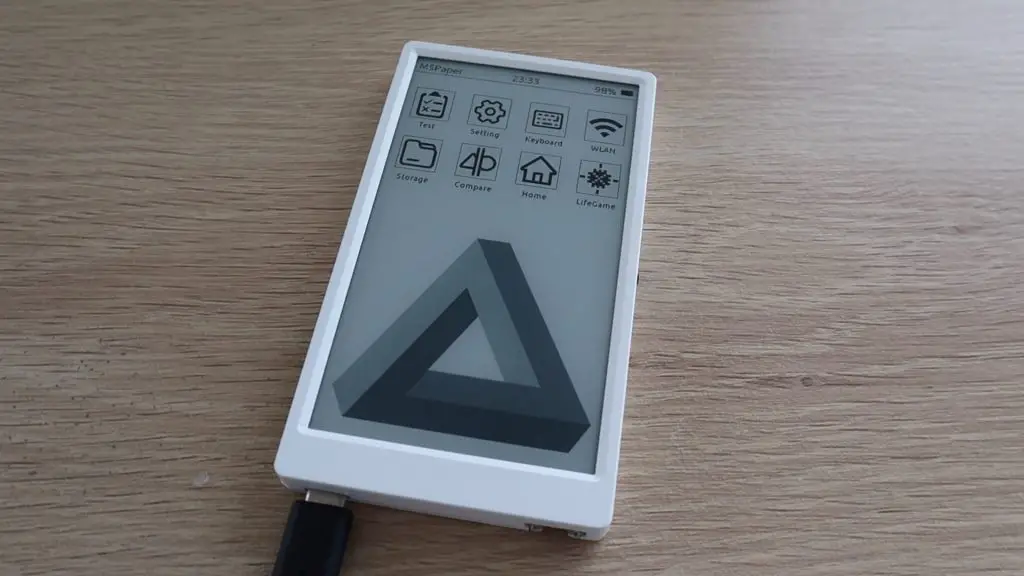
The device is shipped with the pre-loaded demo program being displayed. This is one of the benefits of an e-ink display, the image can continue to be displayed even when the device is off or the battery is dead. The touch functionality obviously only comes back on when the device is powered up though.
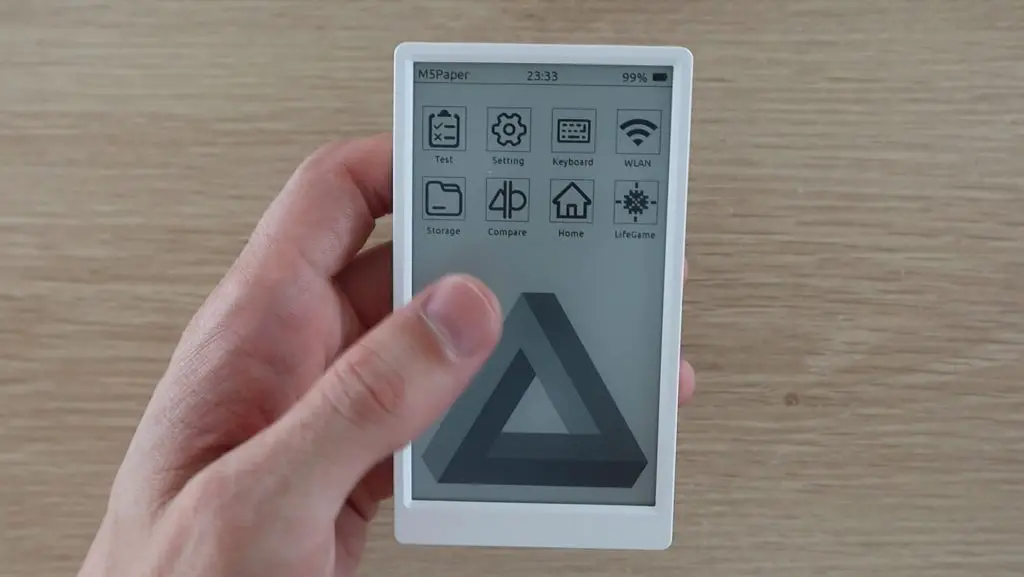
The 540 x 960 pixel e-ink display supports two touch points and 16 grey levels. The resolution is pretty good for a display of this size, the characters are crisp and clear and images look good as well.
On the right side we’ve got a microSD card slot for additional storage and a multifunction button – up, down and centre press.
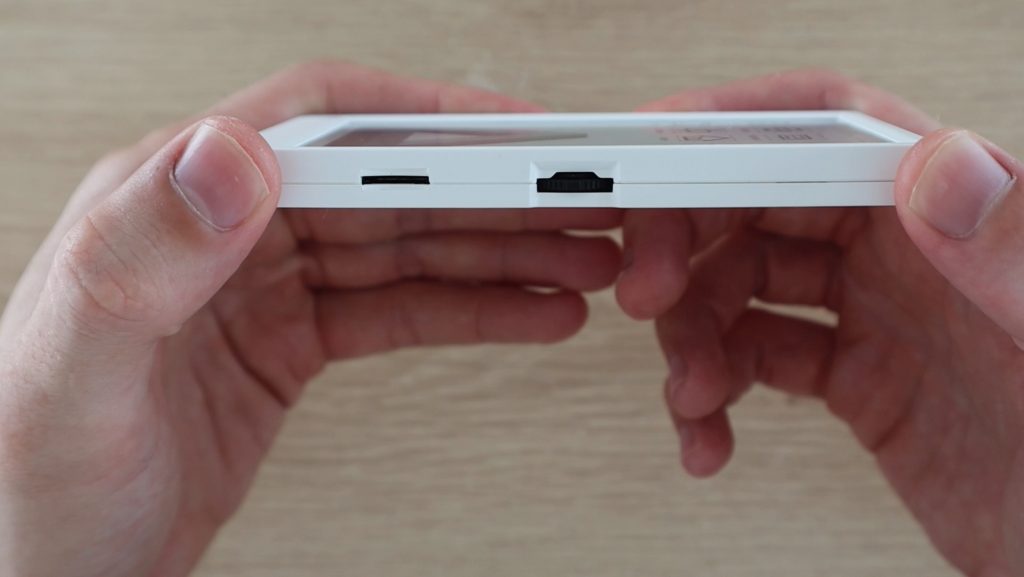
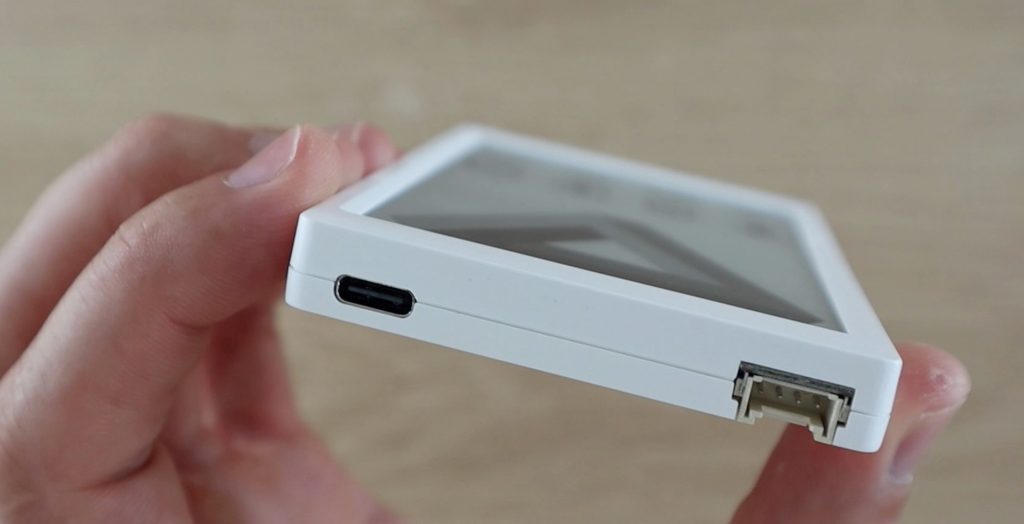
It is charged and programmed through a USB C port on the bottom alongside an IO expansion port.
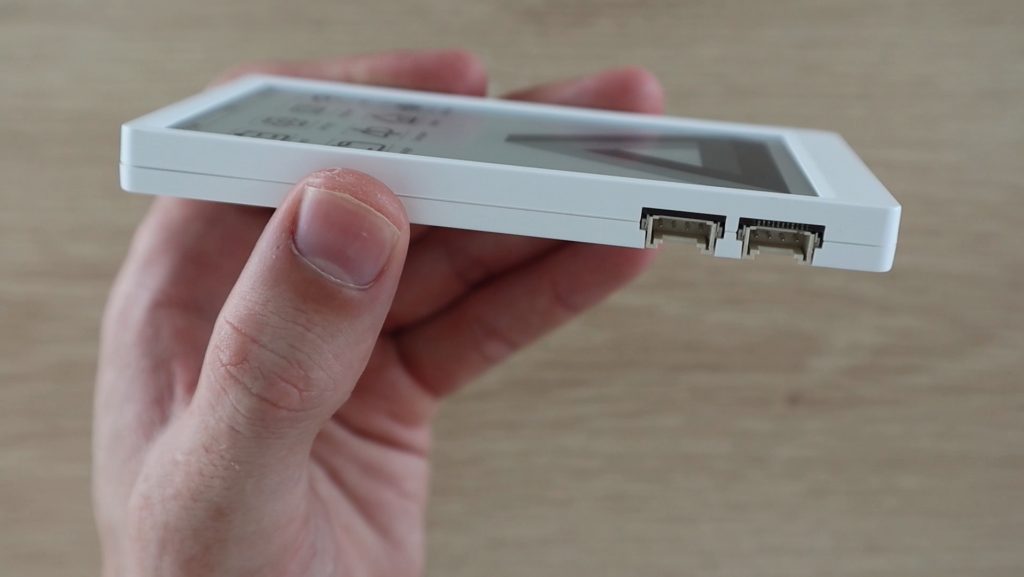
One the left side, we’ve got two additional expansion ports. Unlike the M5Stack and M5Stick boards, there are no accessible IO pins through a header pin arrangement, you’ve only got three IO expansion ports. But three ports seems like enough for what you’d be using on a device like this.
Like the other M5 boards, the M5 Paper has WiFi and dual-mode Bluetooth. It also has a realtime clock module and a built-in SH30 sensor that measures temperature and humidity.
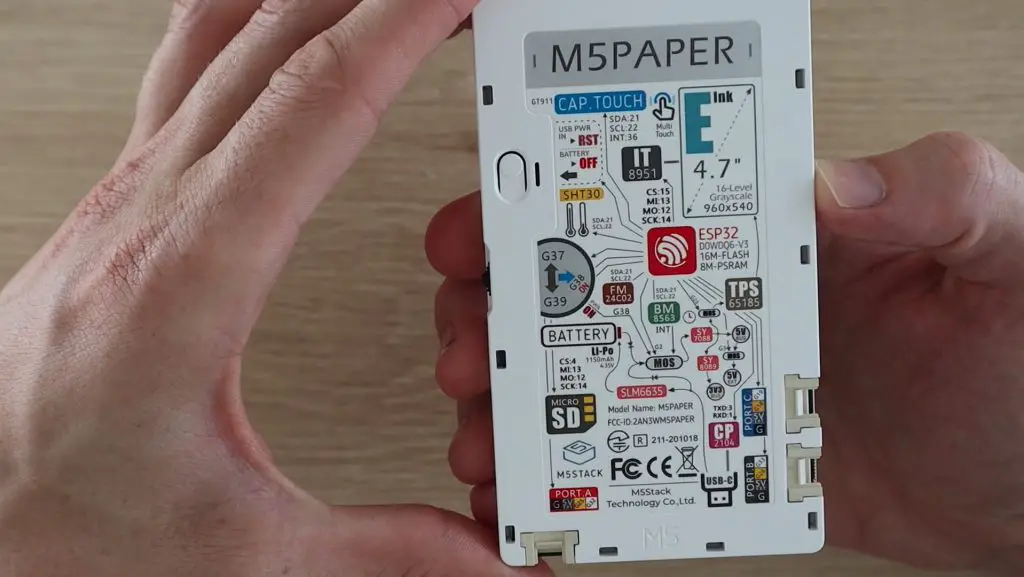
Specifications:
| ESP32-D0WDQ6-V3 | 240MHz dual-core, 600 DMIPS, 520KB SRAM, Wi-Fi, dual-mode Bluetooth |
| Flash | 16MB |
| PSRAM | 8MB |
| Input Voltage | 5V @ 500mA |
| Ports | 1 USB Type C, 3 x HY2.0-4P , TF-card (microSD) slot |
| E-Ink Display | Model Number:EPD_ED047TC1 | 540*960@4.7″ | Grayscale : 16 Levels | Display area : 58.32*103.68mm | Display Driver : IT8951 |
| Physical Button | 1 x Multi-function Button , 1 x Reset Button |
| RTC | BM8563 |
| Antenna | 2.4G 3D Antenna |
| PINS | G25, G32, G26, G33, G18, G19 |
| Battery | 1150mAh@3.7V |
| Working Temp | 32°F to 104°F ( 0°C to 40°C ) |
| Net Weight | 86g |
| Gross Weight | 100g |
| Product Dimension | 118*66x*10mm |
| Packaging Dimension | 120*70x*14mm |
| Casing Material | Plastic ( PC ) |
Preloaded Demo Program
The M5 Paper comes with a pre-loaded basic demo program, there’s a sample clip of this program included in my video at the beginning.
You turn it on by pressing the centre button on the side, the device then boots up and re-freshes the home screen we saw earlier.
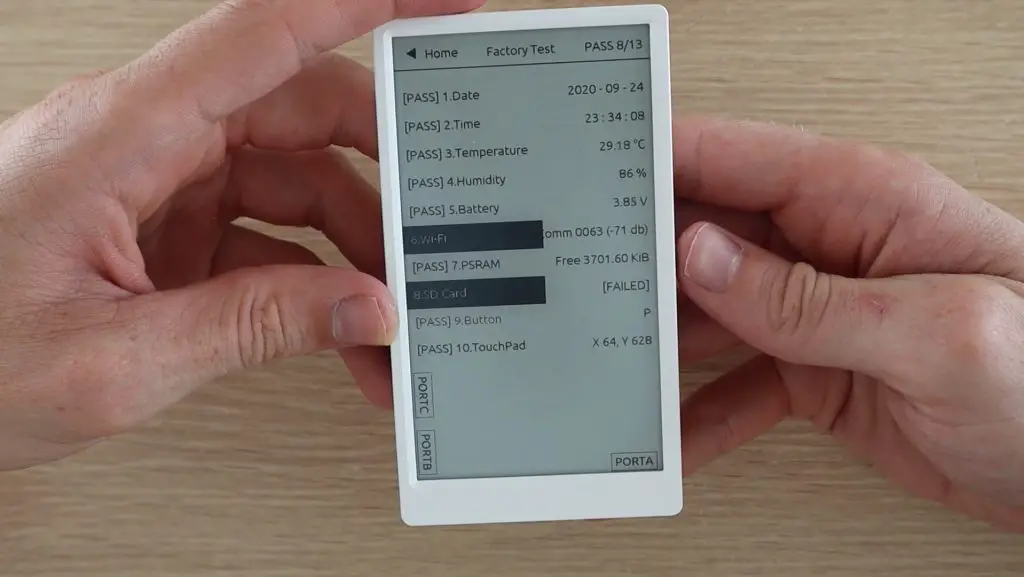
You can then open up a couple of mini-apps, one of which allows you to do a factory test of the sensors and IO. The system does a check on each device/sensor and reports the data back on the display. In our case there was no SD card plugged in and no WiFi connection, so those showed up as failed.
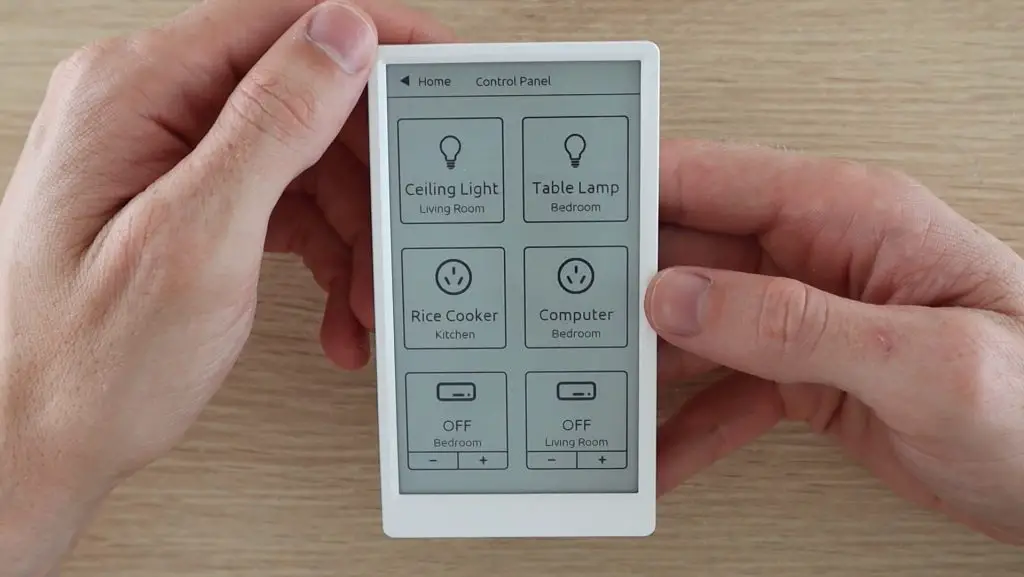
There are a few other mini-apps like this home automation dashboard. I’d definitely like to try and get this to drive my Phillips hue lights in future. This sort of app is one area where I think this device could really excel. I think a lot of people with various home automation devices would appreciate having a universal remote control for their system, which also lasts for a couple of weeks on a single charge.
Using the text editor, I found that the display is amazingly responsive for e-ink technology and it does partial updates in well under a second. It’s still obviously a lot slower than an LCD or LED display, but if you’ve used an e-ink display before then you’ll really appreciate how well they’ve managed to get this one to work.
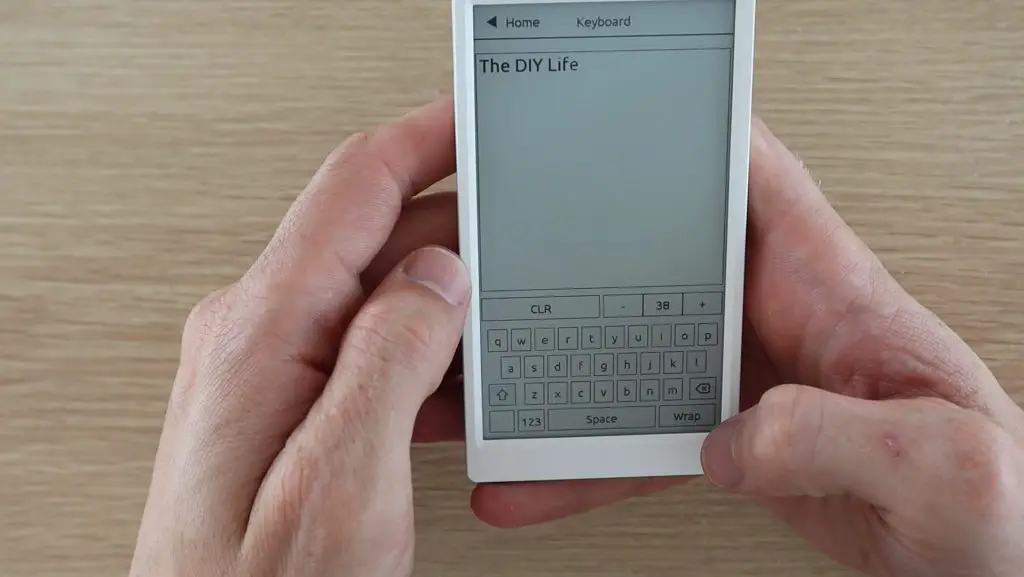
There are a few draw backs to the quick updates, you’ll see a bit of ghosting on more solid images, but you’ll hardly notice this through normal use. If you’re interacting with the display a lot, like during typing, then you’ll see that it partial updates small areas or it just does one refresh cycle at a time before waiting to see if you continue to interact with it. If you pause for one or two seconds then it’ll do another refresh to improve the image quality.
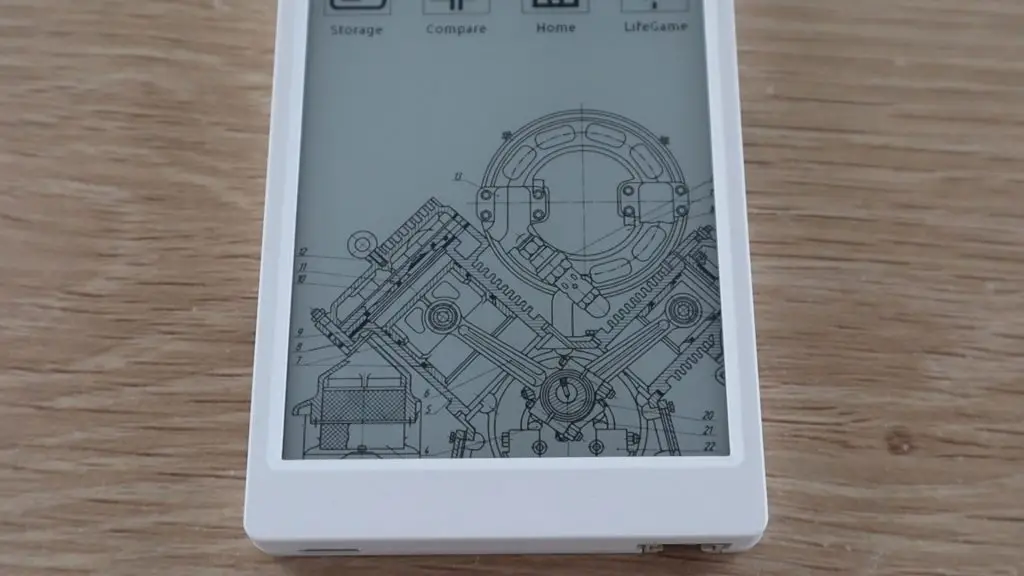
Overall, the image quality is crisp and clear, you can get quite a lot of detail out of it.
Pressing the power button on the back instantly turns it off, keeping whatever is currently displayed, but disabling the touch functionality.
You just push the middle button on the side to start it up again.
Programming The M5 Paper With Ui Flow
Now let’s try making and loading our own basic program onto the M5 Paper. It is compatible with the Arduino IDE, but we’re going to try and use Ui Flow to create a basic weather dashboard.
Ui Flow is a block coding and MicroPython IDE which allows you to drag and drop blocks to create basic programs in your browser and then wirelessly uploaded them to your M5 Paper device.
It’s got a reasonably long list of features and its really easy to use, so you can quickly and easily create your own programs with very little programming experience. It’s definitely a bit limited for the M5 paper though, so you’ll probably want to use the Arduino IDE if you’ve got more ambitious plans for your programs.
To start, you’ll need to install a basic driver and then use M5 Burner to load the Ui Flow firmware onto the device.

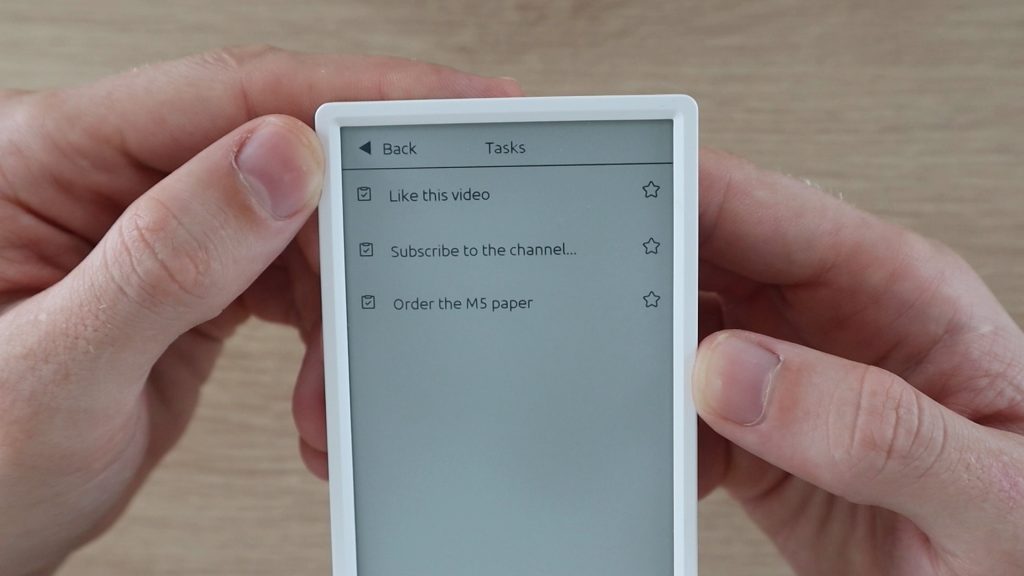
M5 burner also allows you to burn a couple of other pre-made programs onto it, like this Microsoft ToDo list dashboard. The dashboard connects to your Microsoft account and pulls your to-do list onto your device.
Now let’s install Ui Flow to try and build our own dashboard. You simply click on download, wait for it to be downloaded onto your computer and then click on burn to burn it to your M5 Paper. You might also be asked to enter your WiFi network’s credentials to allow the device to access the internet in order to communicate with Ui Flow on your computer.
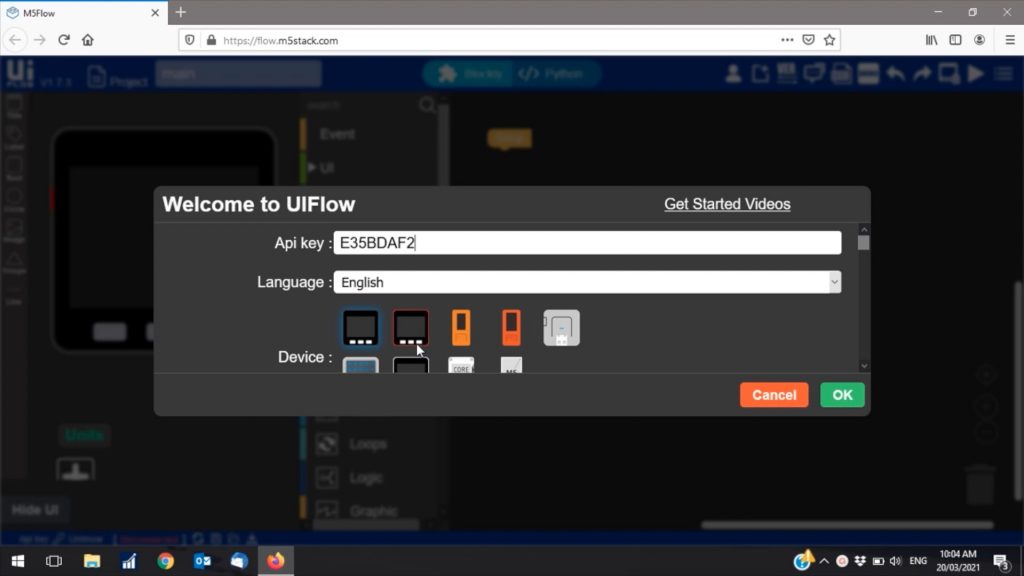
The Ui Flow firmware on your device then creates an API key which you’ll need to enter into Ui Flow in your browser to connect to your M5 Paper.

You then need to enter the API key into Ui Flow in your browser and then select the M5 Paper as your device.
You’re then taken to the drag and drop block coding interface which allows you to start building your code.
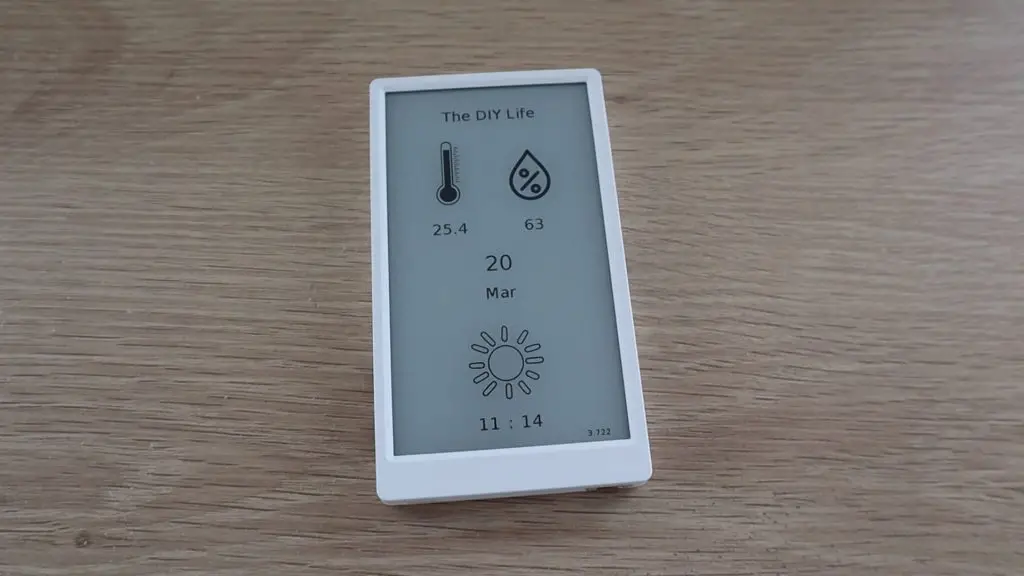
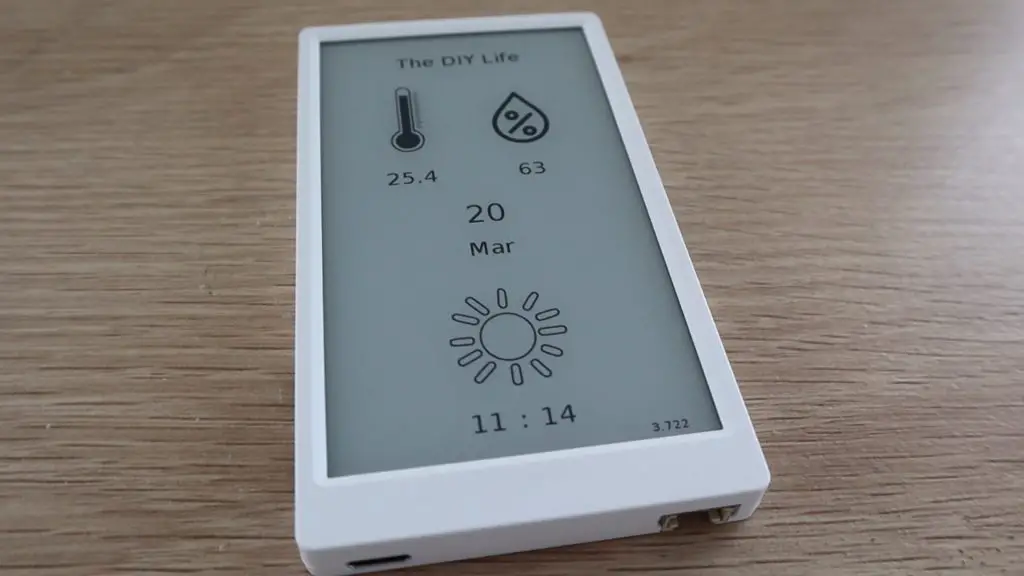
I’m going to create a basic temperature and humidity dashboard that shows the date and time as well as a sun or moon depending on whether it is day time or night time.
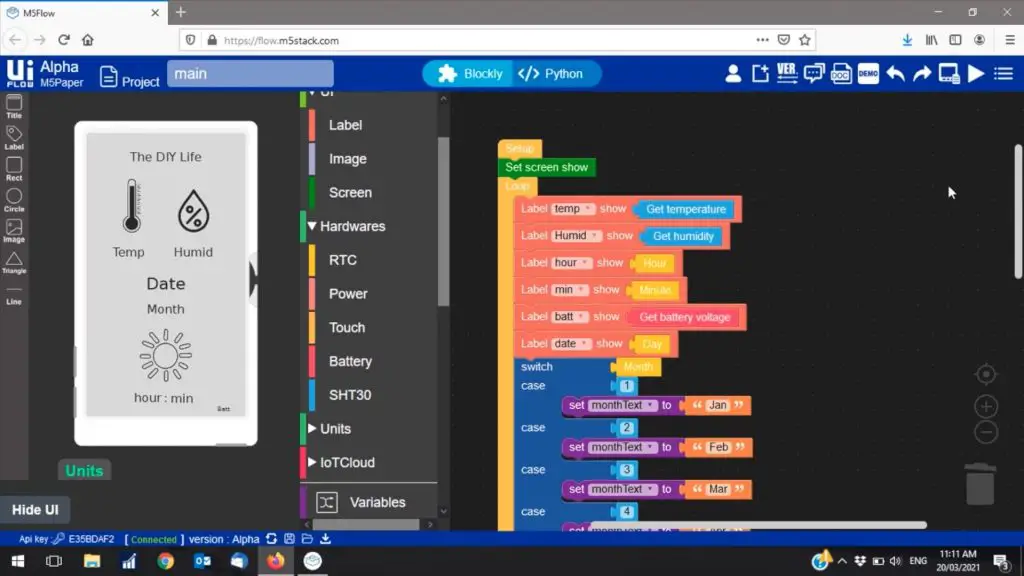
This dashboard took around 15 minutes to make and upload to the device. Once you’re happy with the code, you just click on the run icon in the top right corner and the code is wirelessly sent to your M5 Paper device.
Ui Flow for the M5 paper has a lot of room for improvement to make it easier to use the touch display. For example, it would be a lot easier to enable touch inputs on shapes, buttons or images to build control panels.
Final Thoughts
The M5 Paper is a fantastic device in terms of hardware. It’s got a lot of built in features and I can definitely see a lot of potential in it, especially for home automation, universal remotes and creating longer term dashboards which don’t need to update very often.
I think the software packages and documentation for the M5 Paper need some work. Ui Flow is really easy to use to create basic dashboards, but it’s a mission to get anything meaningful from the touch display. It would have been a lot simpler to use if you could program images and shapes to function as buttons. You can obviously use the Arduino IDE as an alternative, but it’s going to take some time for the documentation, community and forums to catch up.
So if you’re up for the challenge, then consider getting one to start tinkering with.
Let me know what you think of the M5 Paper in the comments section.
Thank you for the article! Does anyone know if it is possible to do refreshes when the M5Paper is not plugged in?
I want to use it as weather station. But it seems that I have to press the on button every time or let it permanently connected (see also https://github.com/Bastelschlumpf/M5PaperWeather/issues/1). Thanks in advance for the answers!
Is this still up to date or do you have a more recent version now?