Today we’re taking a look at the new Zimaboard 2, this is the second generation Zimaboard from Icewhale, the company that have also brought us the Zimablade and Zimacube. With upgraded hardware, a new aluminium chassis, and IceWhale’s CASA OS pre-installed, the Zimaboard 2 is targeted at homelab and personal cloud enthusiasts. In this review, we’ll unbox the new board, compare it with the original Zimaboard, put it through some performance and thermal tests, and see how it handles additional storage.
Here’s my video review of the Zimaboard 2;
Where To Buy The Zimaboard 2
At this stage, the Zimaboard 2 is being crowd-funded on Kickstarter, so is only available to backers of their campaign;
Tools & Equipment Used
- FNIRSI Power Supply with Display – Buy Here
- Infiray P2 Pro Thermal Camera – Buy Here
- Bambulab A1 Combo (To Print Lab Rax System) – Buy Here
Some of the above parts are affiliate links. By purchasing products through the above links, you’ll be supporting this channel, at no additional cost to you.
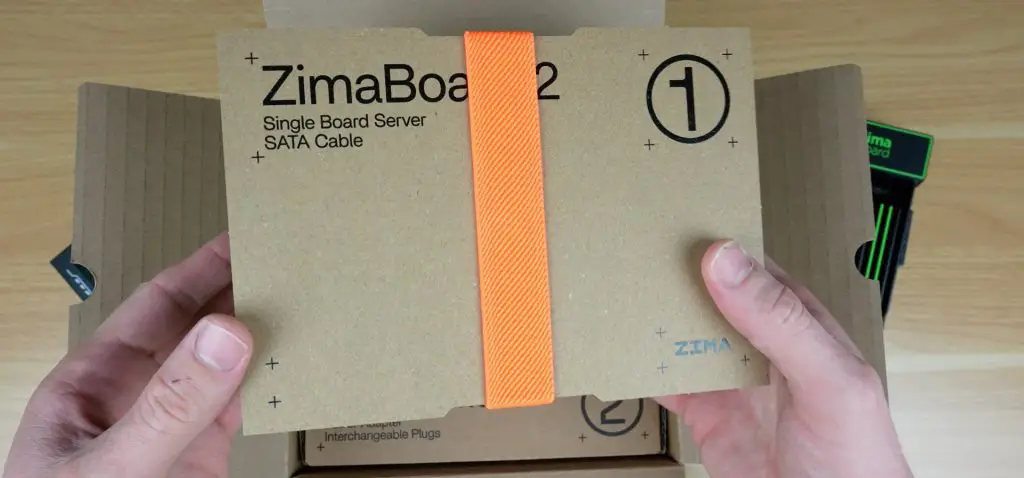
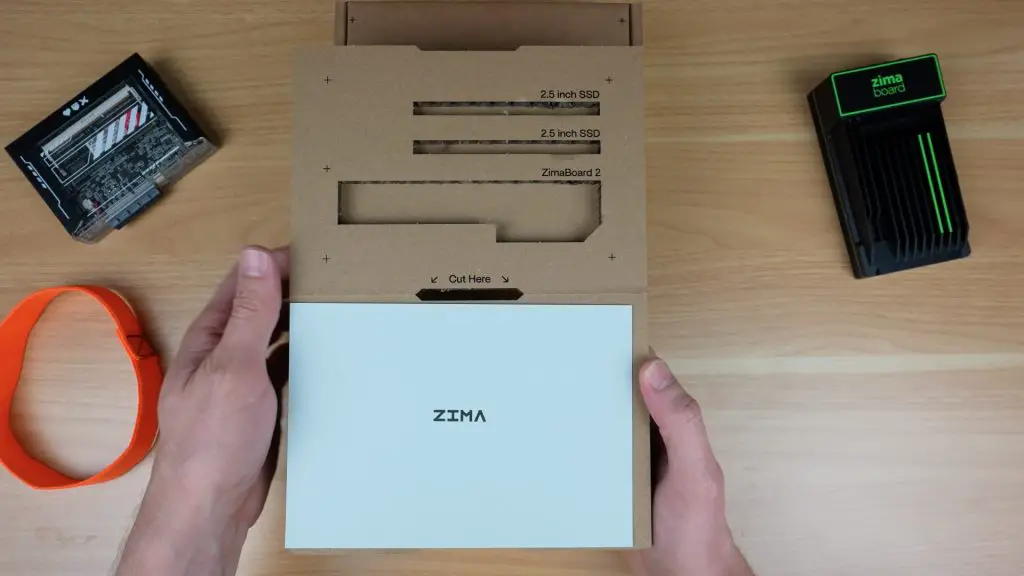
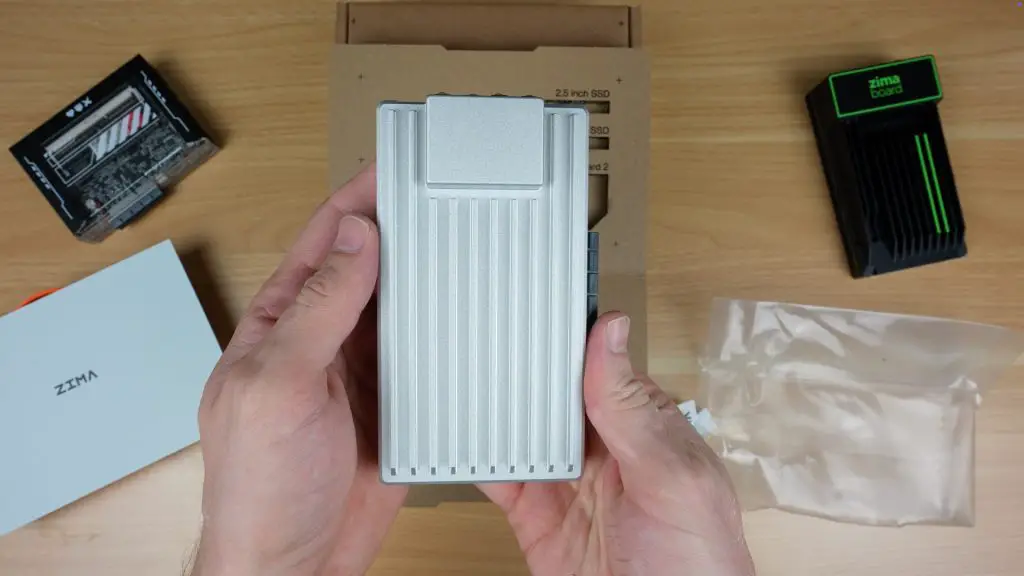
Unboxing the Zimaboard 2: What’s Included
The Zimaboard 2 ships in a well-designed cardboard carrier that doubles as a holder for the board and up to two 2.5″ drives. Inside the box, you’ll find the Zimaboard 2 in a protective sleeve and a separate accessory pack.

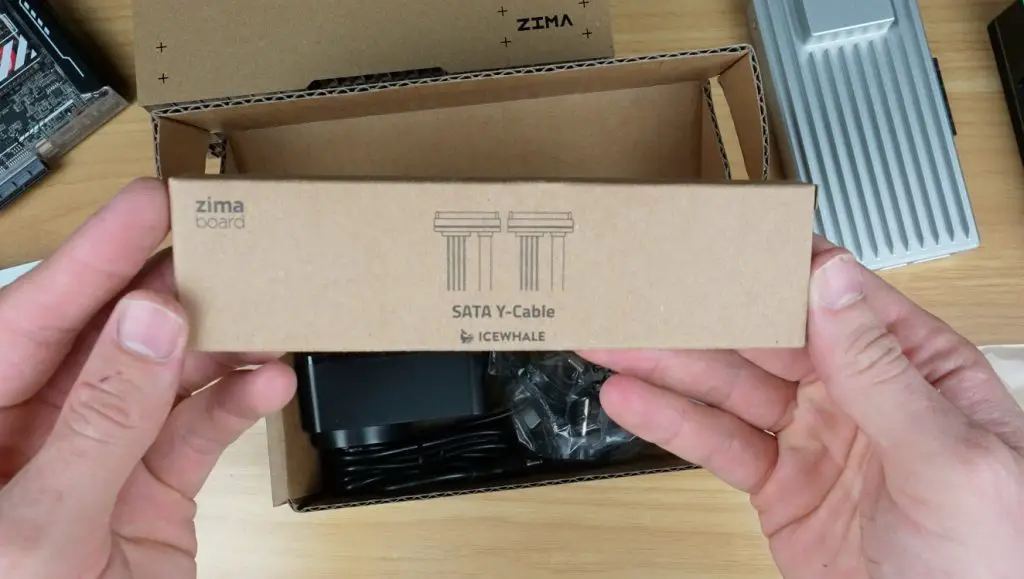
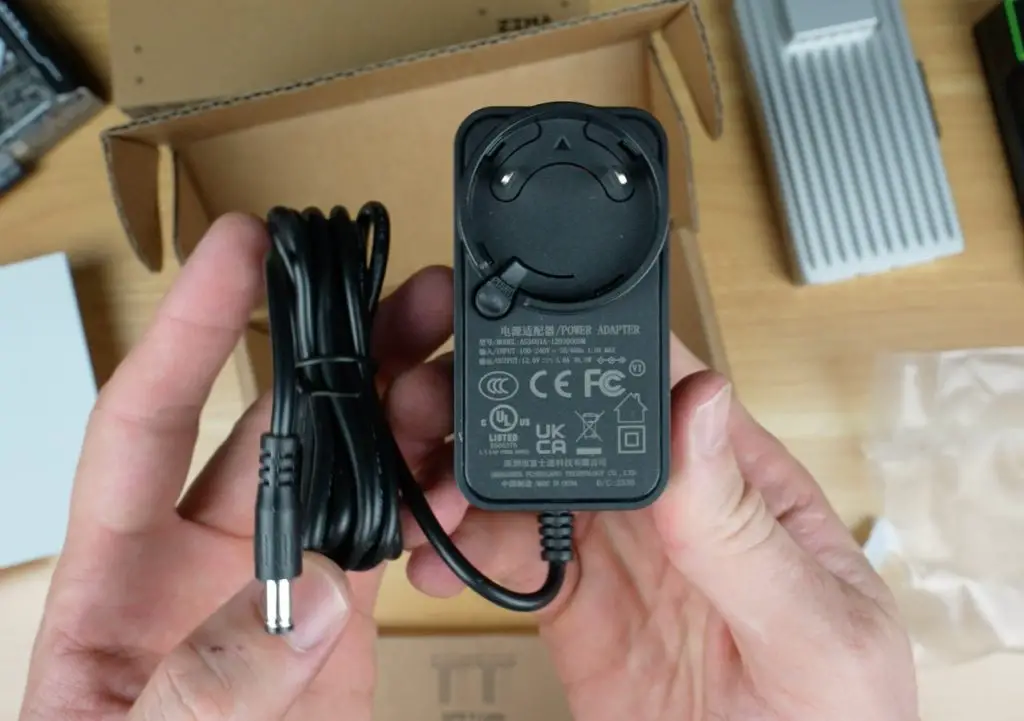
The accessory pack contains:
- A dual SATA cable
- A multi-region 12V/3A power supply
- A quick start guide
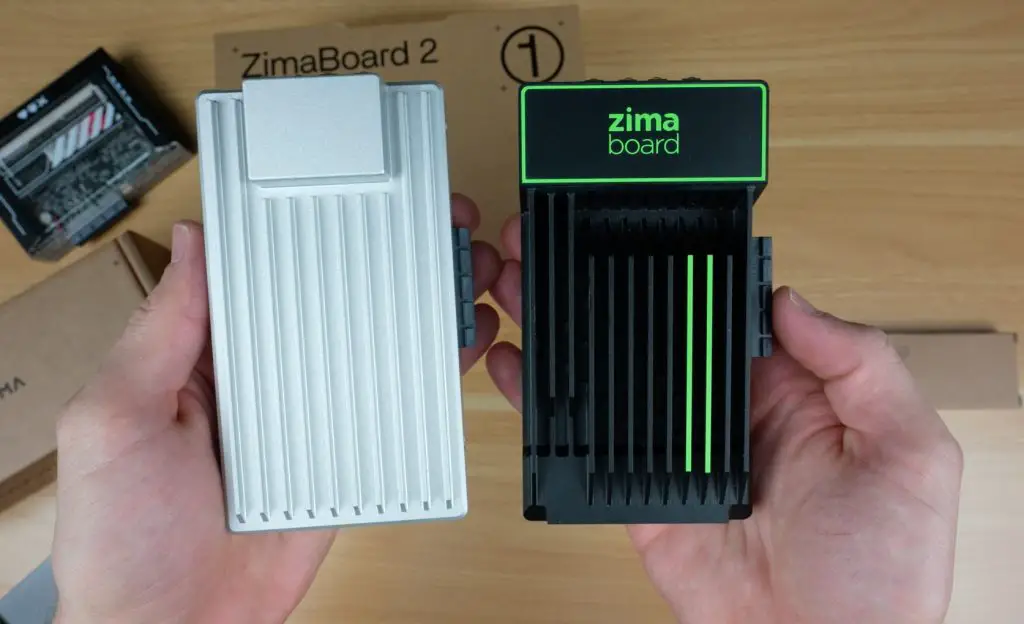
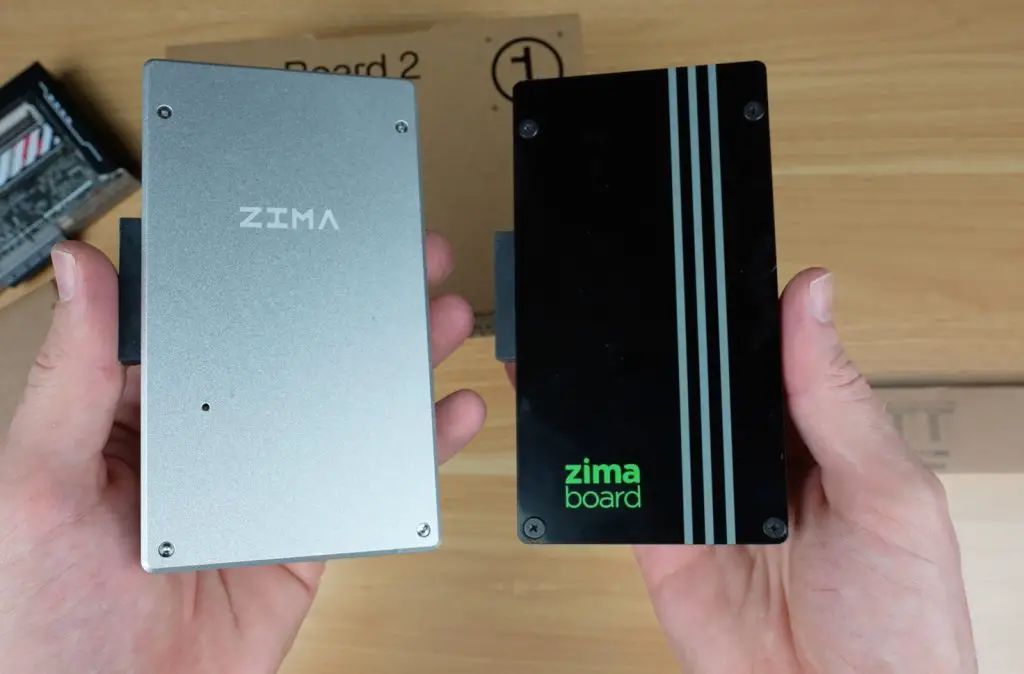
Right out of the box, the Zimaboard 2 looks and feels like a premium upgrade to the original. It now features a cast aluminium casing, giving it a sturdier, more refined appearance while remaining completely passively cooled — there are no onboard fans or ventilation holes.

Tech Specs and Comparison to Zimaboard 1
Key Hardware Upgrades:
- CPU: Intel N150 (4 cores, up to 3.6GHz) vs. the original’s Celeron N3450 (up to 2.2GHz)
- GPU: Upgraded integrated graphics with 24 execution units (vs. 12) at up to 1GHz
- RAM: 8GB LPDDR5 @ 4800MHz (vs. 8GB LPDDR4)
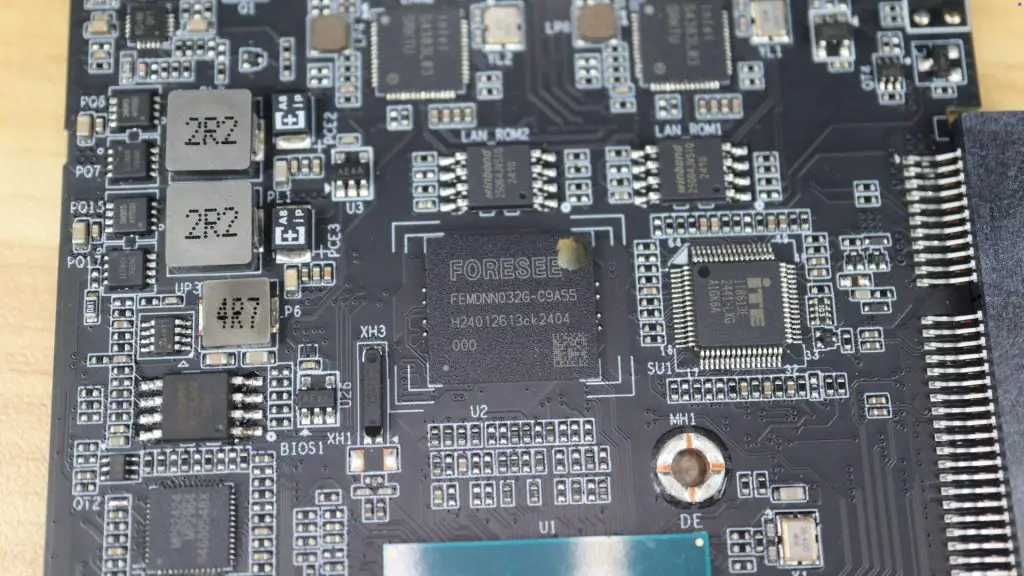
- Storage: 32GB eMMC (unchanged)
- PCIe: Gen 3.0 x4 slot (vs. Gen 2.0 x4)
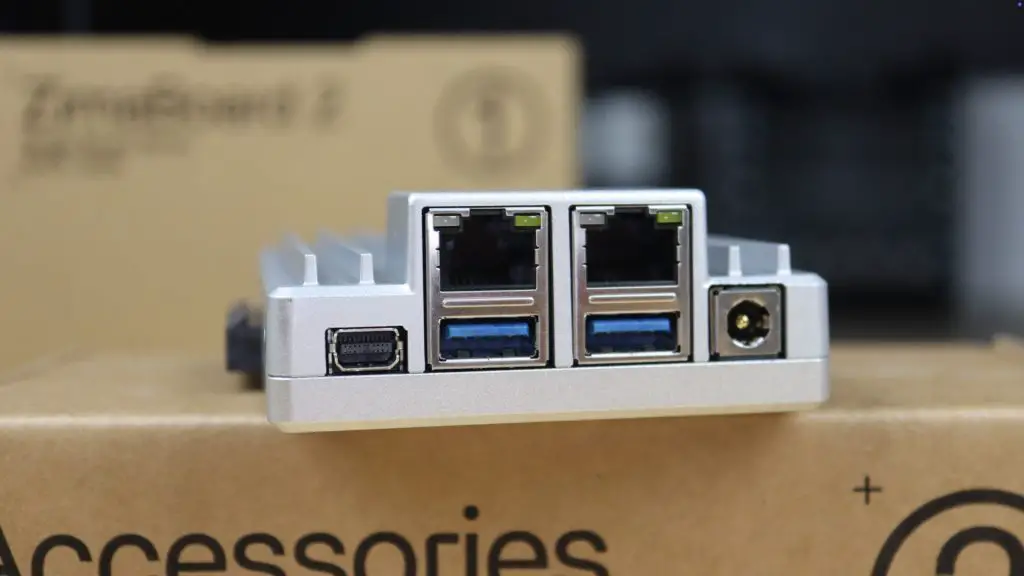
- Networking: Dual 2.5G Ethernet ports (up from Gigabit Ethernet)
- Ports: 2x USB 3.1, mini DisplayPort, SATA III ports (6Gbps), 12V barrel jack
Physically, the board is just 1mm longer and 4mm thinner than the original, but noticeably more robust thanks to the new aluminium housing.
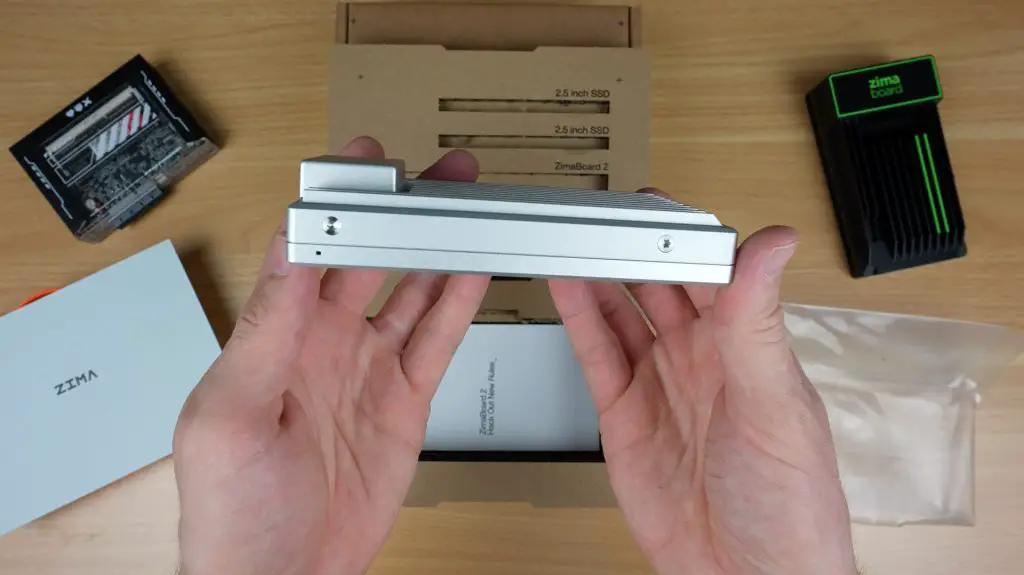
Port placement remains nearly identical, making it easy for users upgrading from the original, but there are some differences.
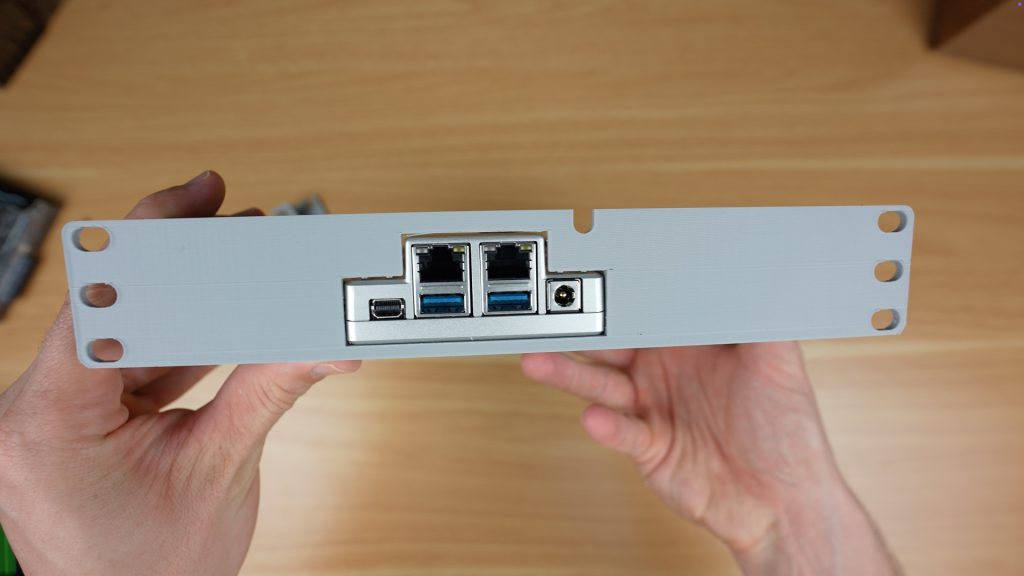
On the front we’ve got the same mini DisplayPort, but then we’ve got improved dual 2.5GB Ethernet ports and beneath those are two USB 3.1 ports. Next to those is the power supply barrel jack input. On the side is a PCIe 3.0 x 4 slot, which is an improvement on the 2.0 x 4 port on the original.
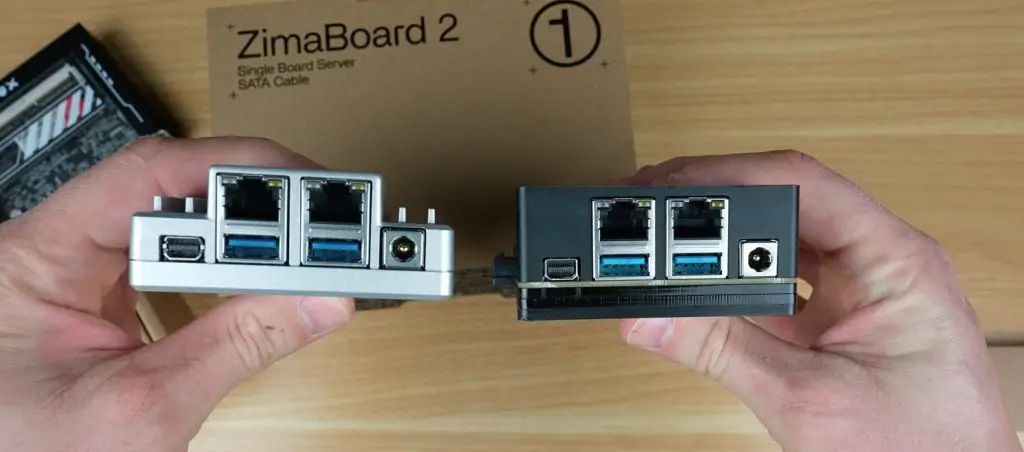
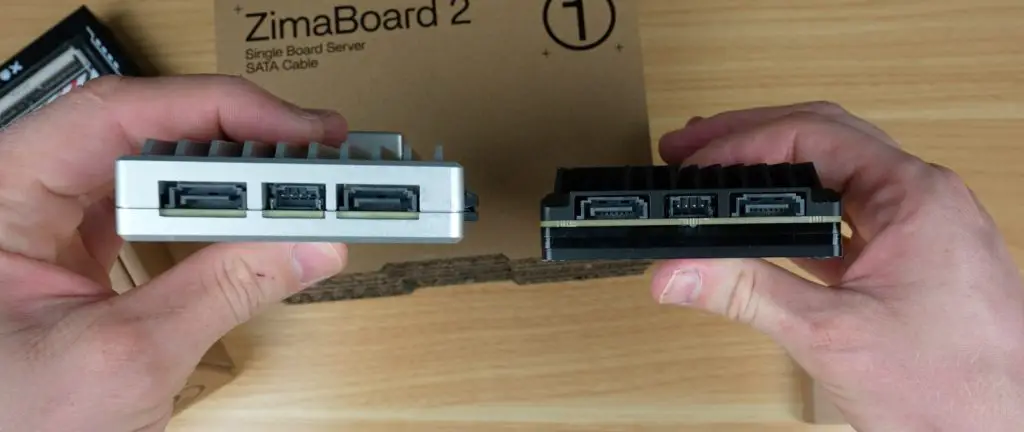
On the back of the board, we’ve still got two SATA ports alongside a central power port. These are the same SATA 3.0 ports that can do up to 6 Gbps.
Internally, there isn’t much on the bottom of the board other than the CMOS battery and clear CMOS button near it.

On the other side, the Zimaboard 2 has an improved 4 core Intel N150 CPU. This has the same number of cores as the original Celeron N3450 CPU, but they now boost to up to 3.6GHz instead of 2.2GHz. It’s also got 3 times the cache and 9 PCIe gen 3 lanes instead of the 6 gen 2 lanes on the original.
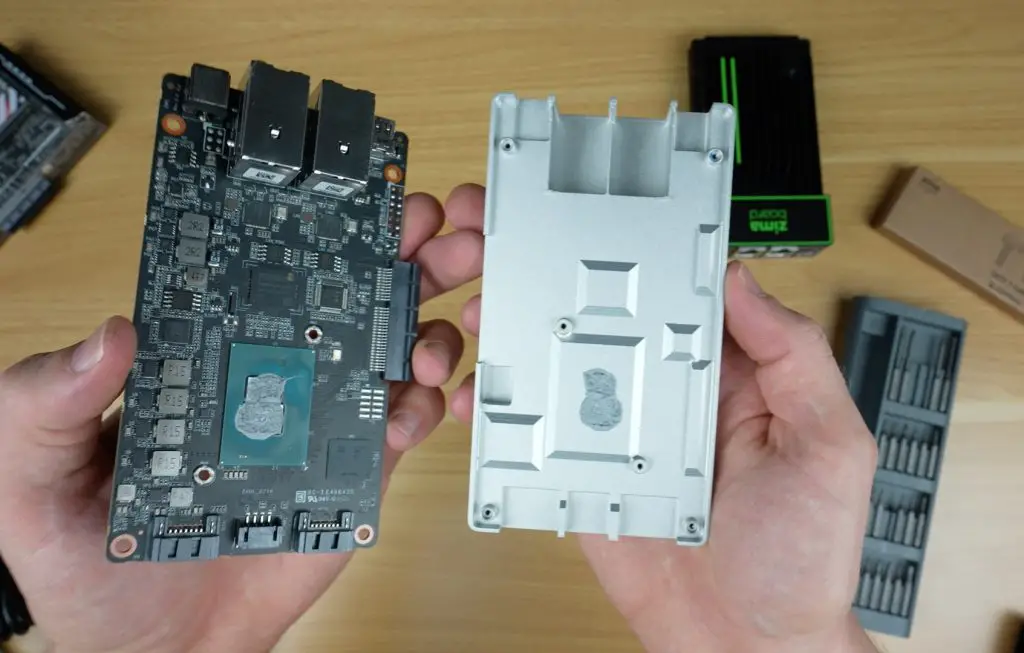
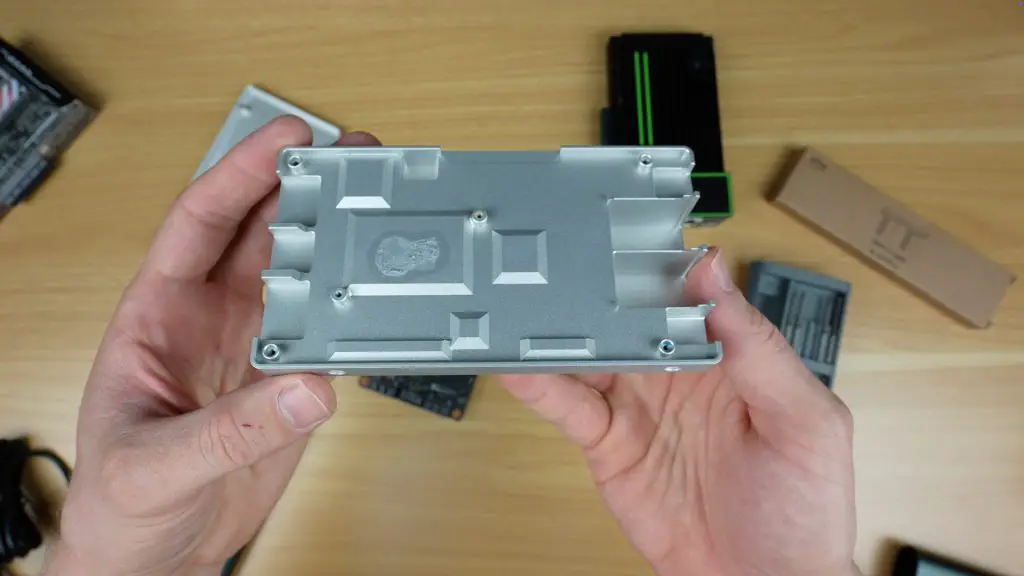
The top shell is quite thick, so probably has a good thermal capacity.
It also has an improved integrated GPU, now with 24 execution units over the original 12, which boosts up to 1Ghz.
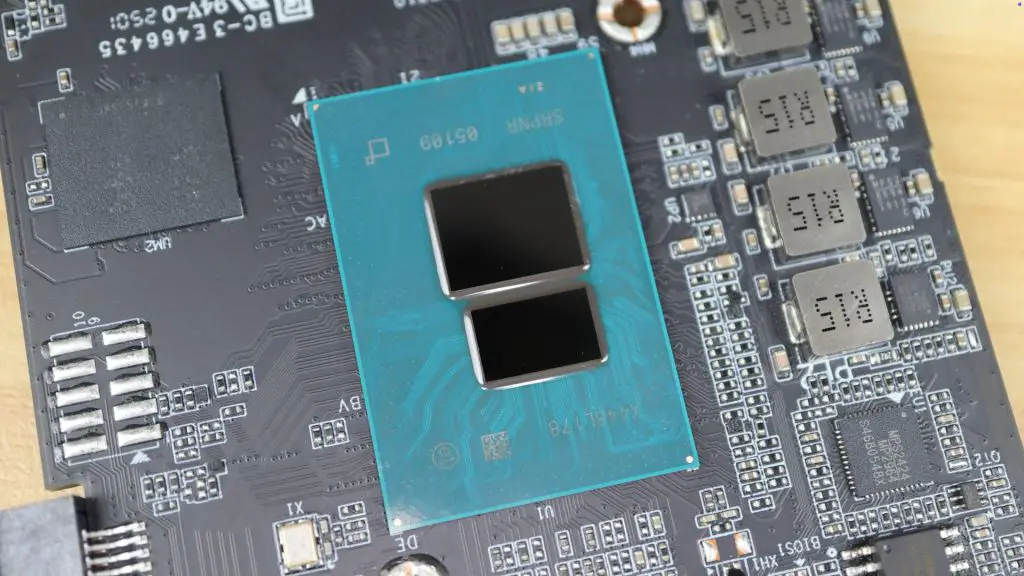
Storage remains the same, we’ve got 32GB of eMMC storage and RAM stays at 8GB but is now DDR 5 instead of DDR 4 and runs at an increased 4800MHz. Both are soldered to the board and therefore aren’t upgradeable.
First Boot Into CASA OS
Like its predecessor, the Zimaboard 2 is meant to be run headless. Setup is simple: plug in the power and connect an Ethernet cable. WiFi is still absent, so a wired connection has to be used.

Once booted (after a few minutes), you can access the dashboard by entering the device’s IP address in a browser. IceWhale provides a handy utility called Zima Client to help locate the IP if needed. It’s best to assign a static IP address through your router for easier future access and to set up network storage.
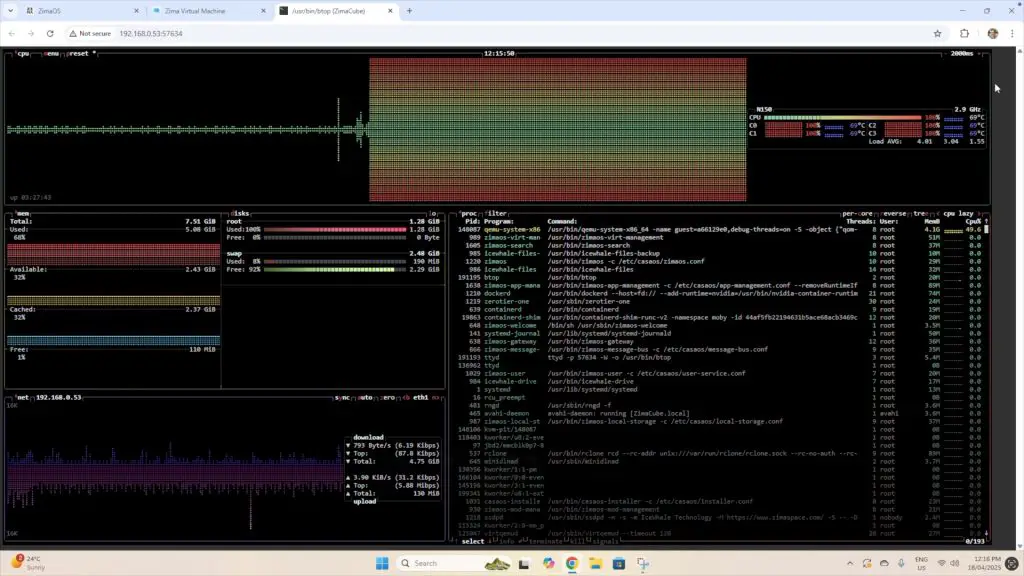
The board came preloaded with what appears to be the Zimacube version of CASA OS — likely to be updated following the Zimaboard 2’s full release. You’ll need to set up a local user account to begin using the dashboard.

CASA OS is essentially a web-based Docker frontend built on Debian, designed for homelab and personal cloud setups. It’s a clean, customizable dashboard that includes:
- System monitoring
- App Store with 50+ preconfigured Docker apps
- VM and storage management
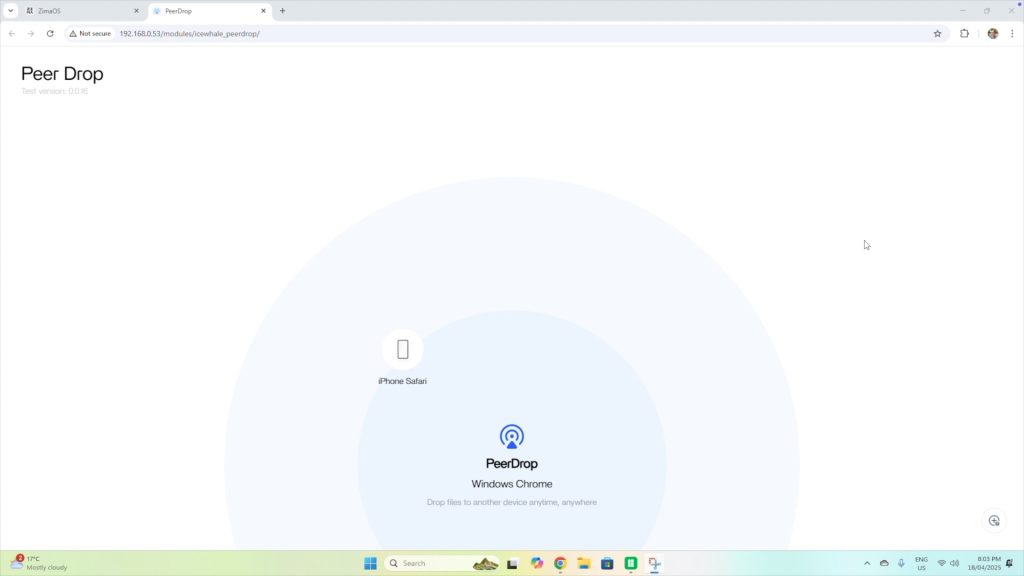
- PeerDrop for local file sharing (more on that later)
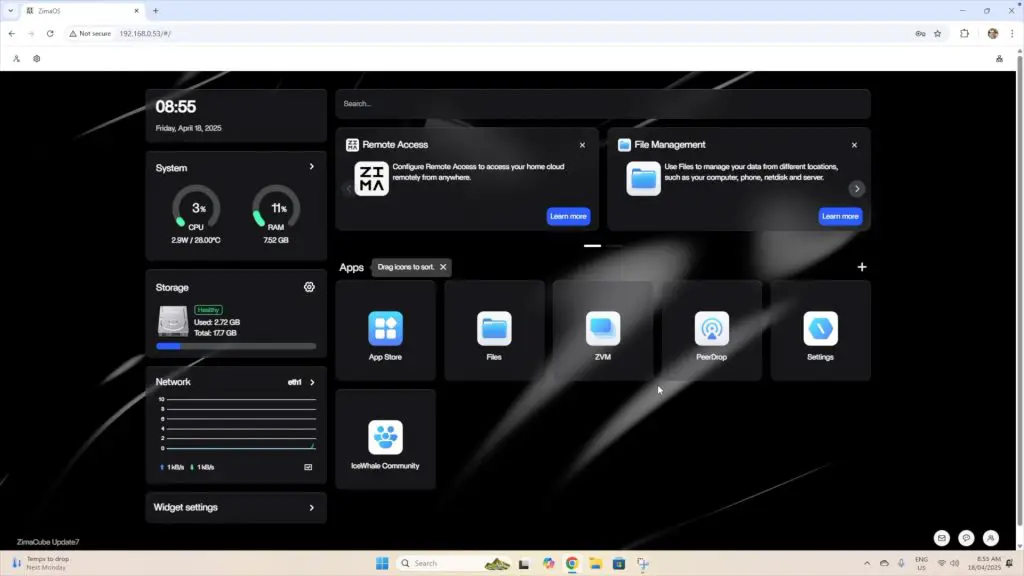
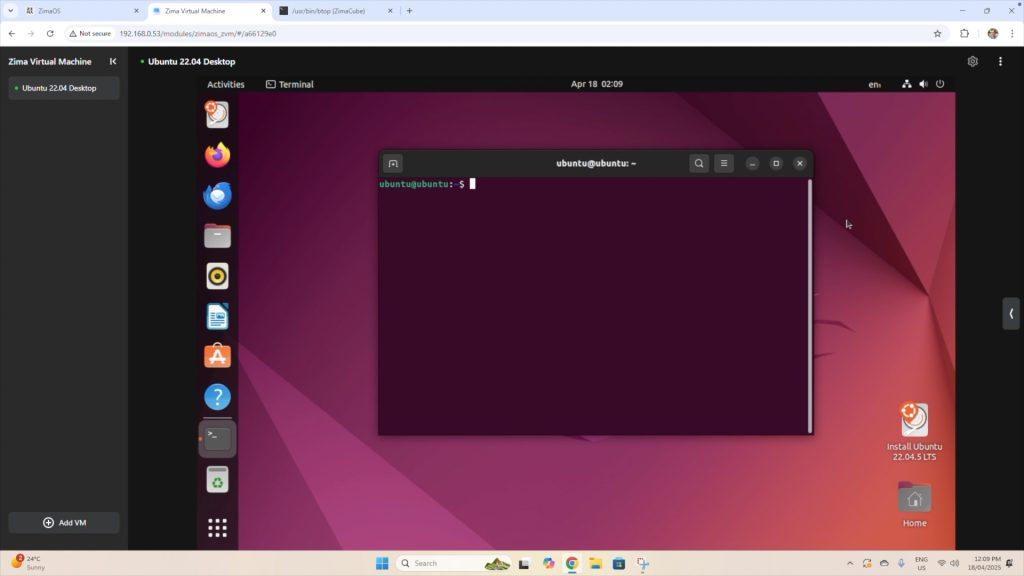
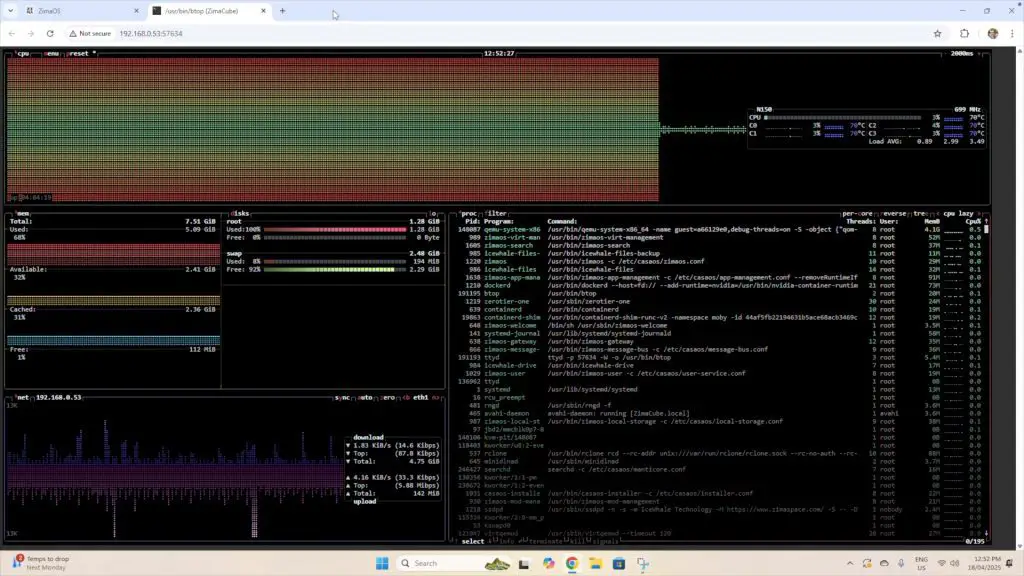
System usage was minimal on idle, with CPU at near-zero and RAM usage at 11%. Using btop, you can view per-core CPU loads, memory usage, active processes, and network activity.

Power Consumption
To assess power consumption and thermal performance, an Ubuntu virtual machine was set up to run a CPU stress test. Here’s how the board handled the load:
- Idle: 7W at 3% CPU use
- Full load: 16W with VM stress test

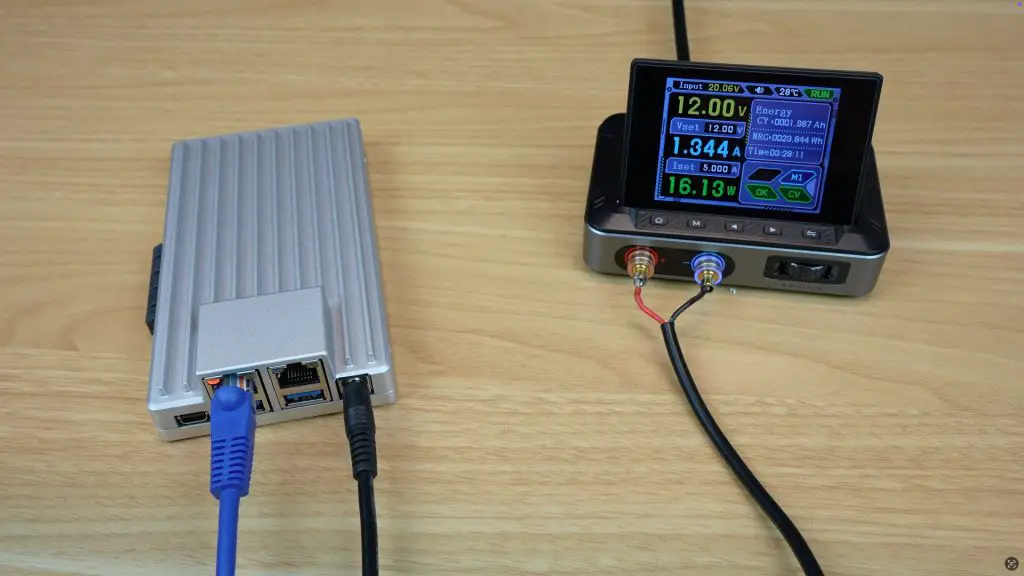
This is the bare board without any additional drives, PCIe cards or peripherals attached to it.
Testing The Zimaboard 2’s Thermal Capacity
Thermally, the passive heatsink enclosure does quite well under full load. With the same stress test running, putting the CPU under full load, we get the following results;
- 7 minutes: CPU ~70°C, case surface 56°C (room at 20°C)
- 15 minutes: CPU at 77°C
- 30 minutes: CPU at 87°C, case at 68°C
- 41 minutes: Hit 90°C, test stopped
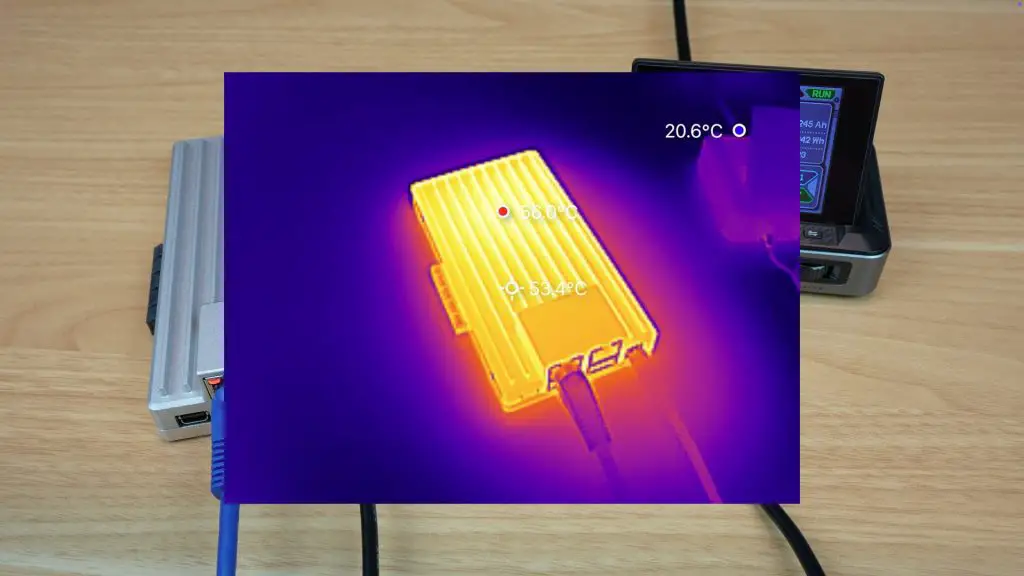
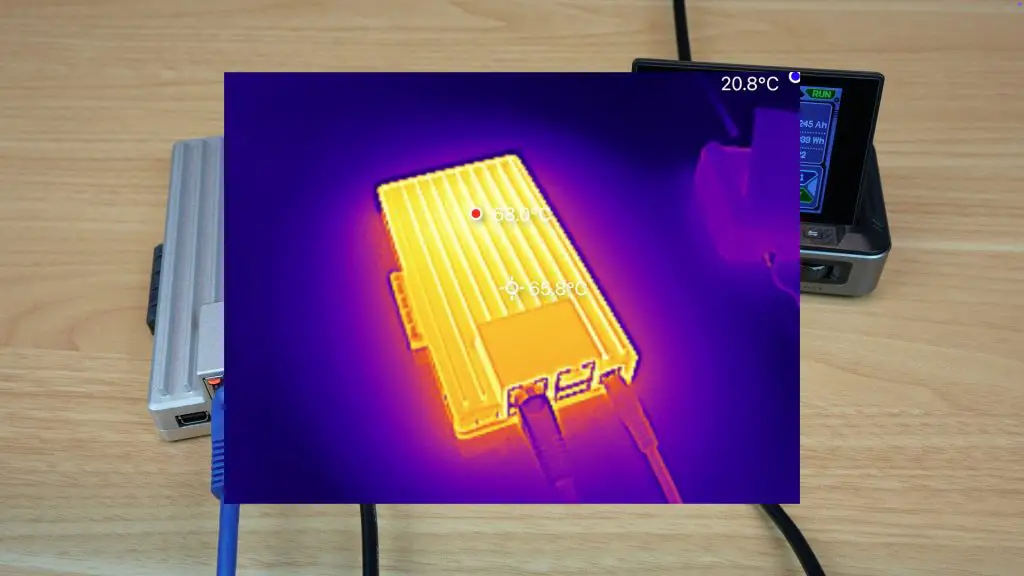
Despite these high temps under sustained load, the system stayed stable and silent. Once the load stopped, temperatures dropped quickly. So provided you’re not subjecting the Zimaboard 2 to a full load for long periods of time, the passive heatsink works quite well, and it’s great that it’s silent.
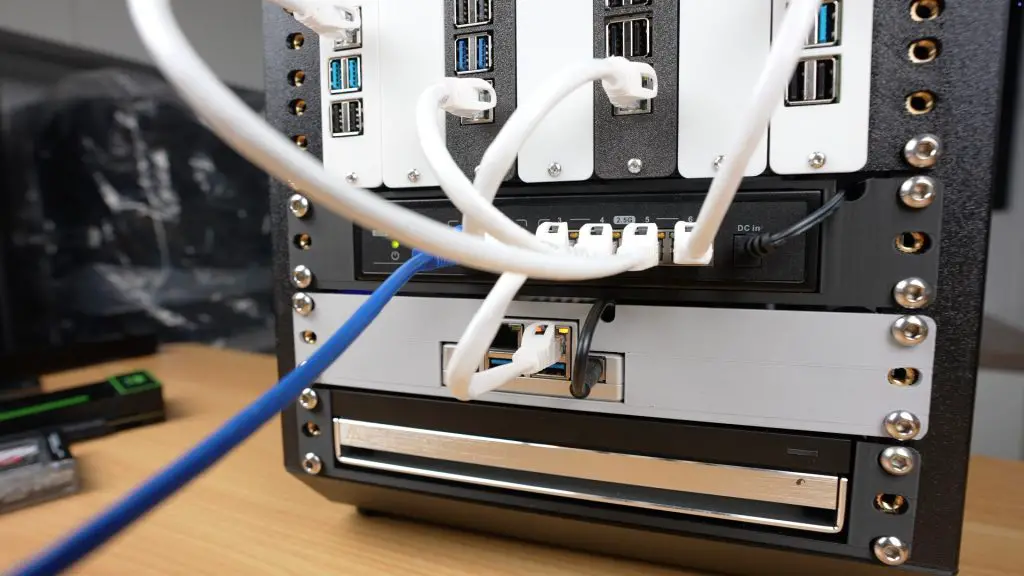
Adding Storage Drives & Using It As A NAS
To expand storage, the Zimaboard 2 was installed in a 3D-printed 1U shelf and fitted out with:
- 1 x 2TB NVMe drive (on the PCIe port)
- 2 x 1TB 2.5” SATA SSDs
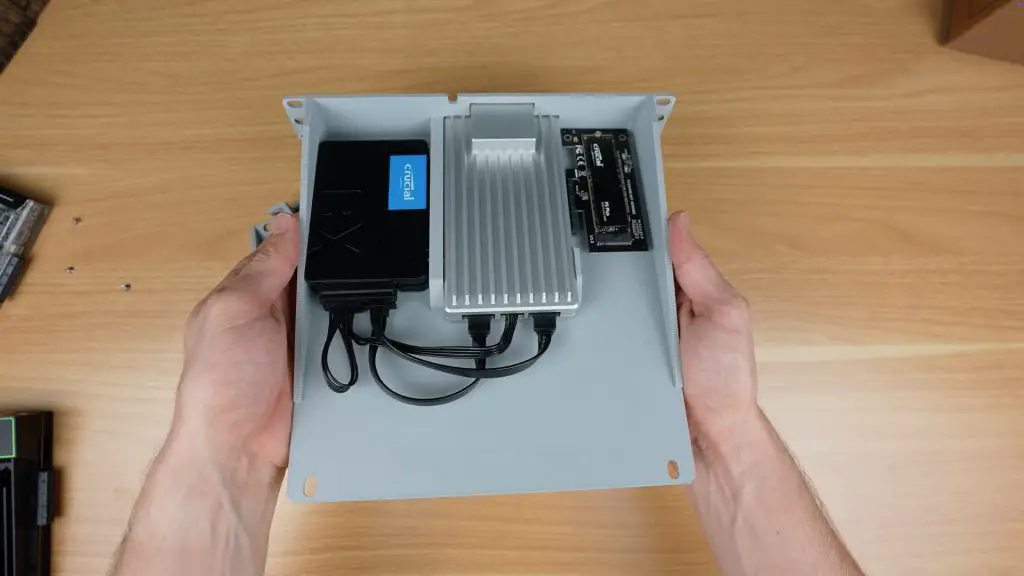
The board features four M3 mounting points to install it into a case or rack. I used these to secure it to my 1U shelf.
Upon reboot, all three drives were recognized in CASA OS.
The NVMe drive was formatted for general storage. The two SATA SSDs were combined into a RAID 0 array using CASA OS, ideal for non-critical media storage (e.g. for a Plex server).
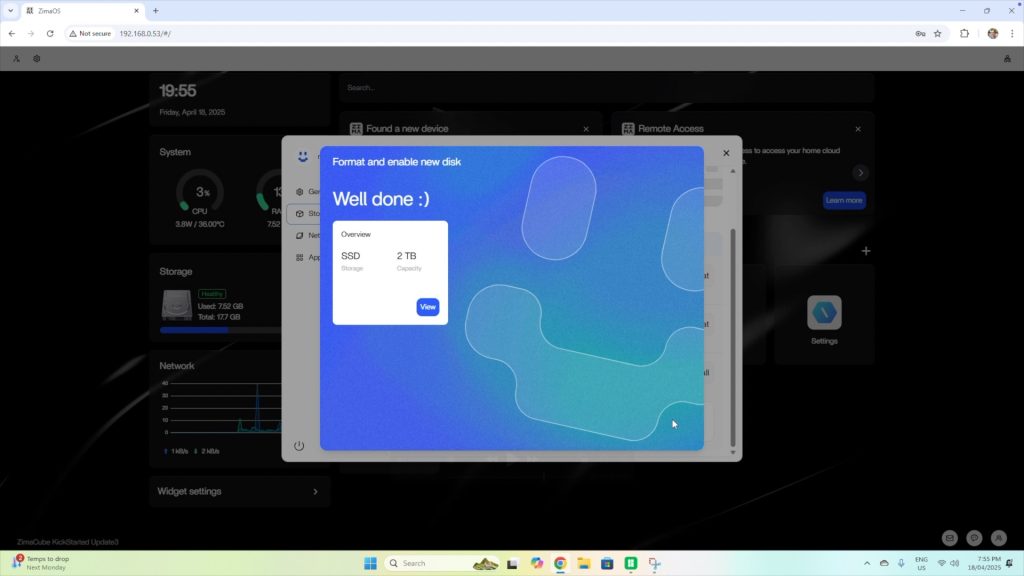

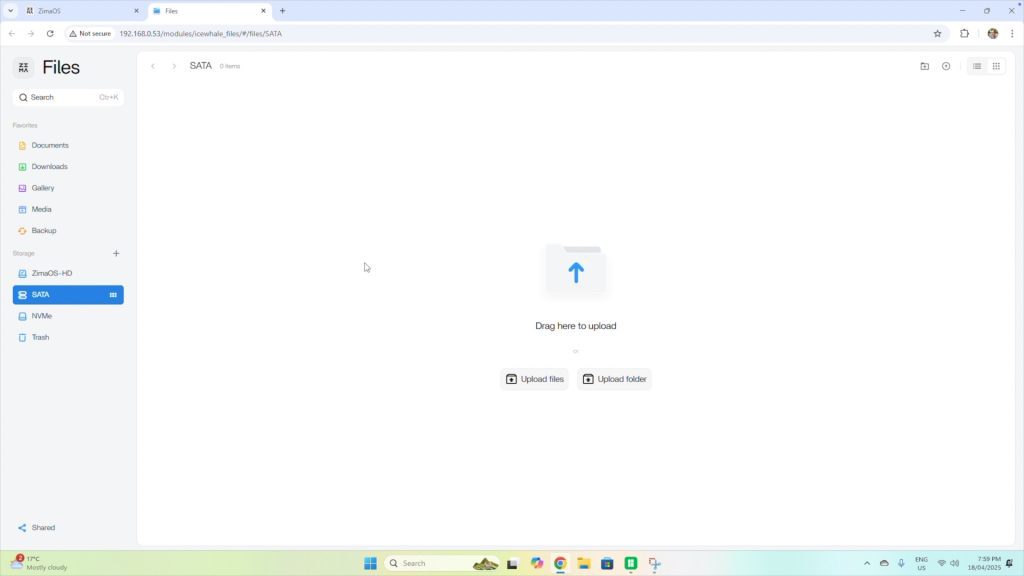
File access via the Files app was seamless, and the storage was also visible under the Storage tab. Drives were mapped to a PC for use as a basic NAS.
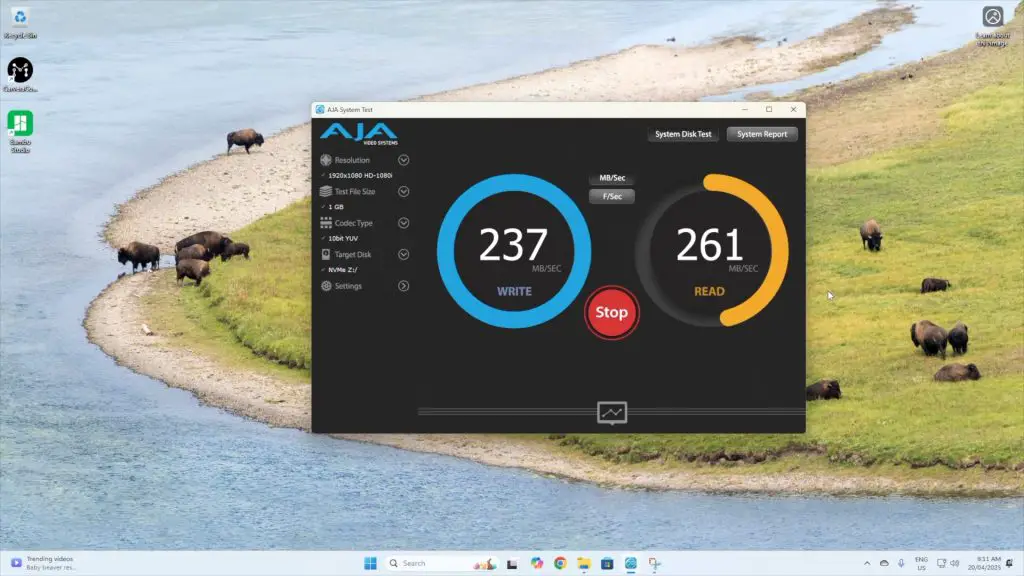
Storage Performance
- NVMe:
- Write: ~240MB/s
- Read: ~260MB/s
- SATA RAID 0 array:
- Write: ~230MB/s
- Read: ~260MB/s
These are quite good results, especially over a 2.5G network connection, making the Zimaboard 2 very capable as a networked storage server.

Final Thoughts On The Zimaboard 2
The Zimaboard 2 delivers a meaningful upgrade over the original. With faster CPU and RAM, better graphics, and a sleek aluminium case, it looks and feels like a premium homelab device. The inclusion of dual 2.5G Ethernet ports and a PCIe Gen 3 x4 slot opens up many more possibilities for custom setups.
Thermal performance is impressive for a fanless design, although the case does get hot under prolonged full load. Storage expansion is easy, and CASA OS continues to offer a smooth and beginner-friendly platform for managing containers, apps, and storage.
One standout feature is PeerDrop, which enables file sharing between devices on the local network using just a browser — a handy Apple AirDrop-style tool that works across all platforms.
The Zimaboard 2 is a powerful and quiet mini-server board, ideal for DIY NAS, media servers, and homelab projects. Pricing is still unconfirmed at the time of writing, but if it lands between $180–$240, it will be a competitive option. Any higher, and it may start to overlap with more capable mini PCs.
Let me know what you think of the Zimaboard 2 in the comments section below.
Awesome build! Any chance you can make the files for the aluminium block and acrylic distribution plate available somewhere?
Sorry, meant to reply to the Pi 5 Water cooled build