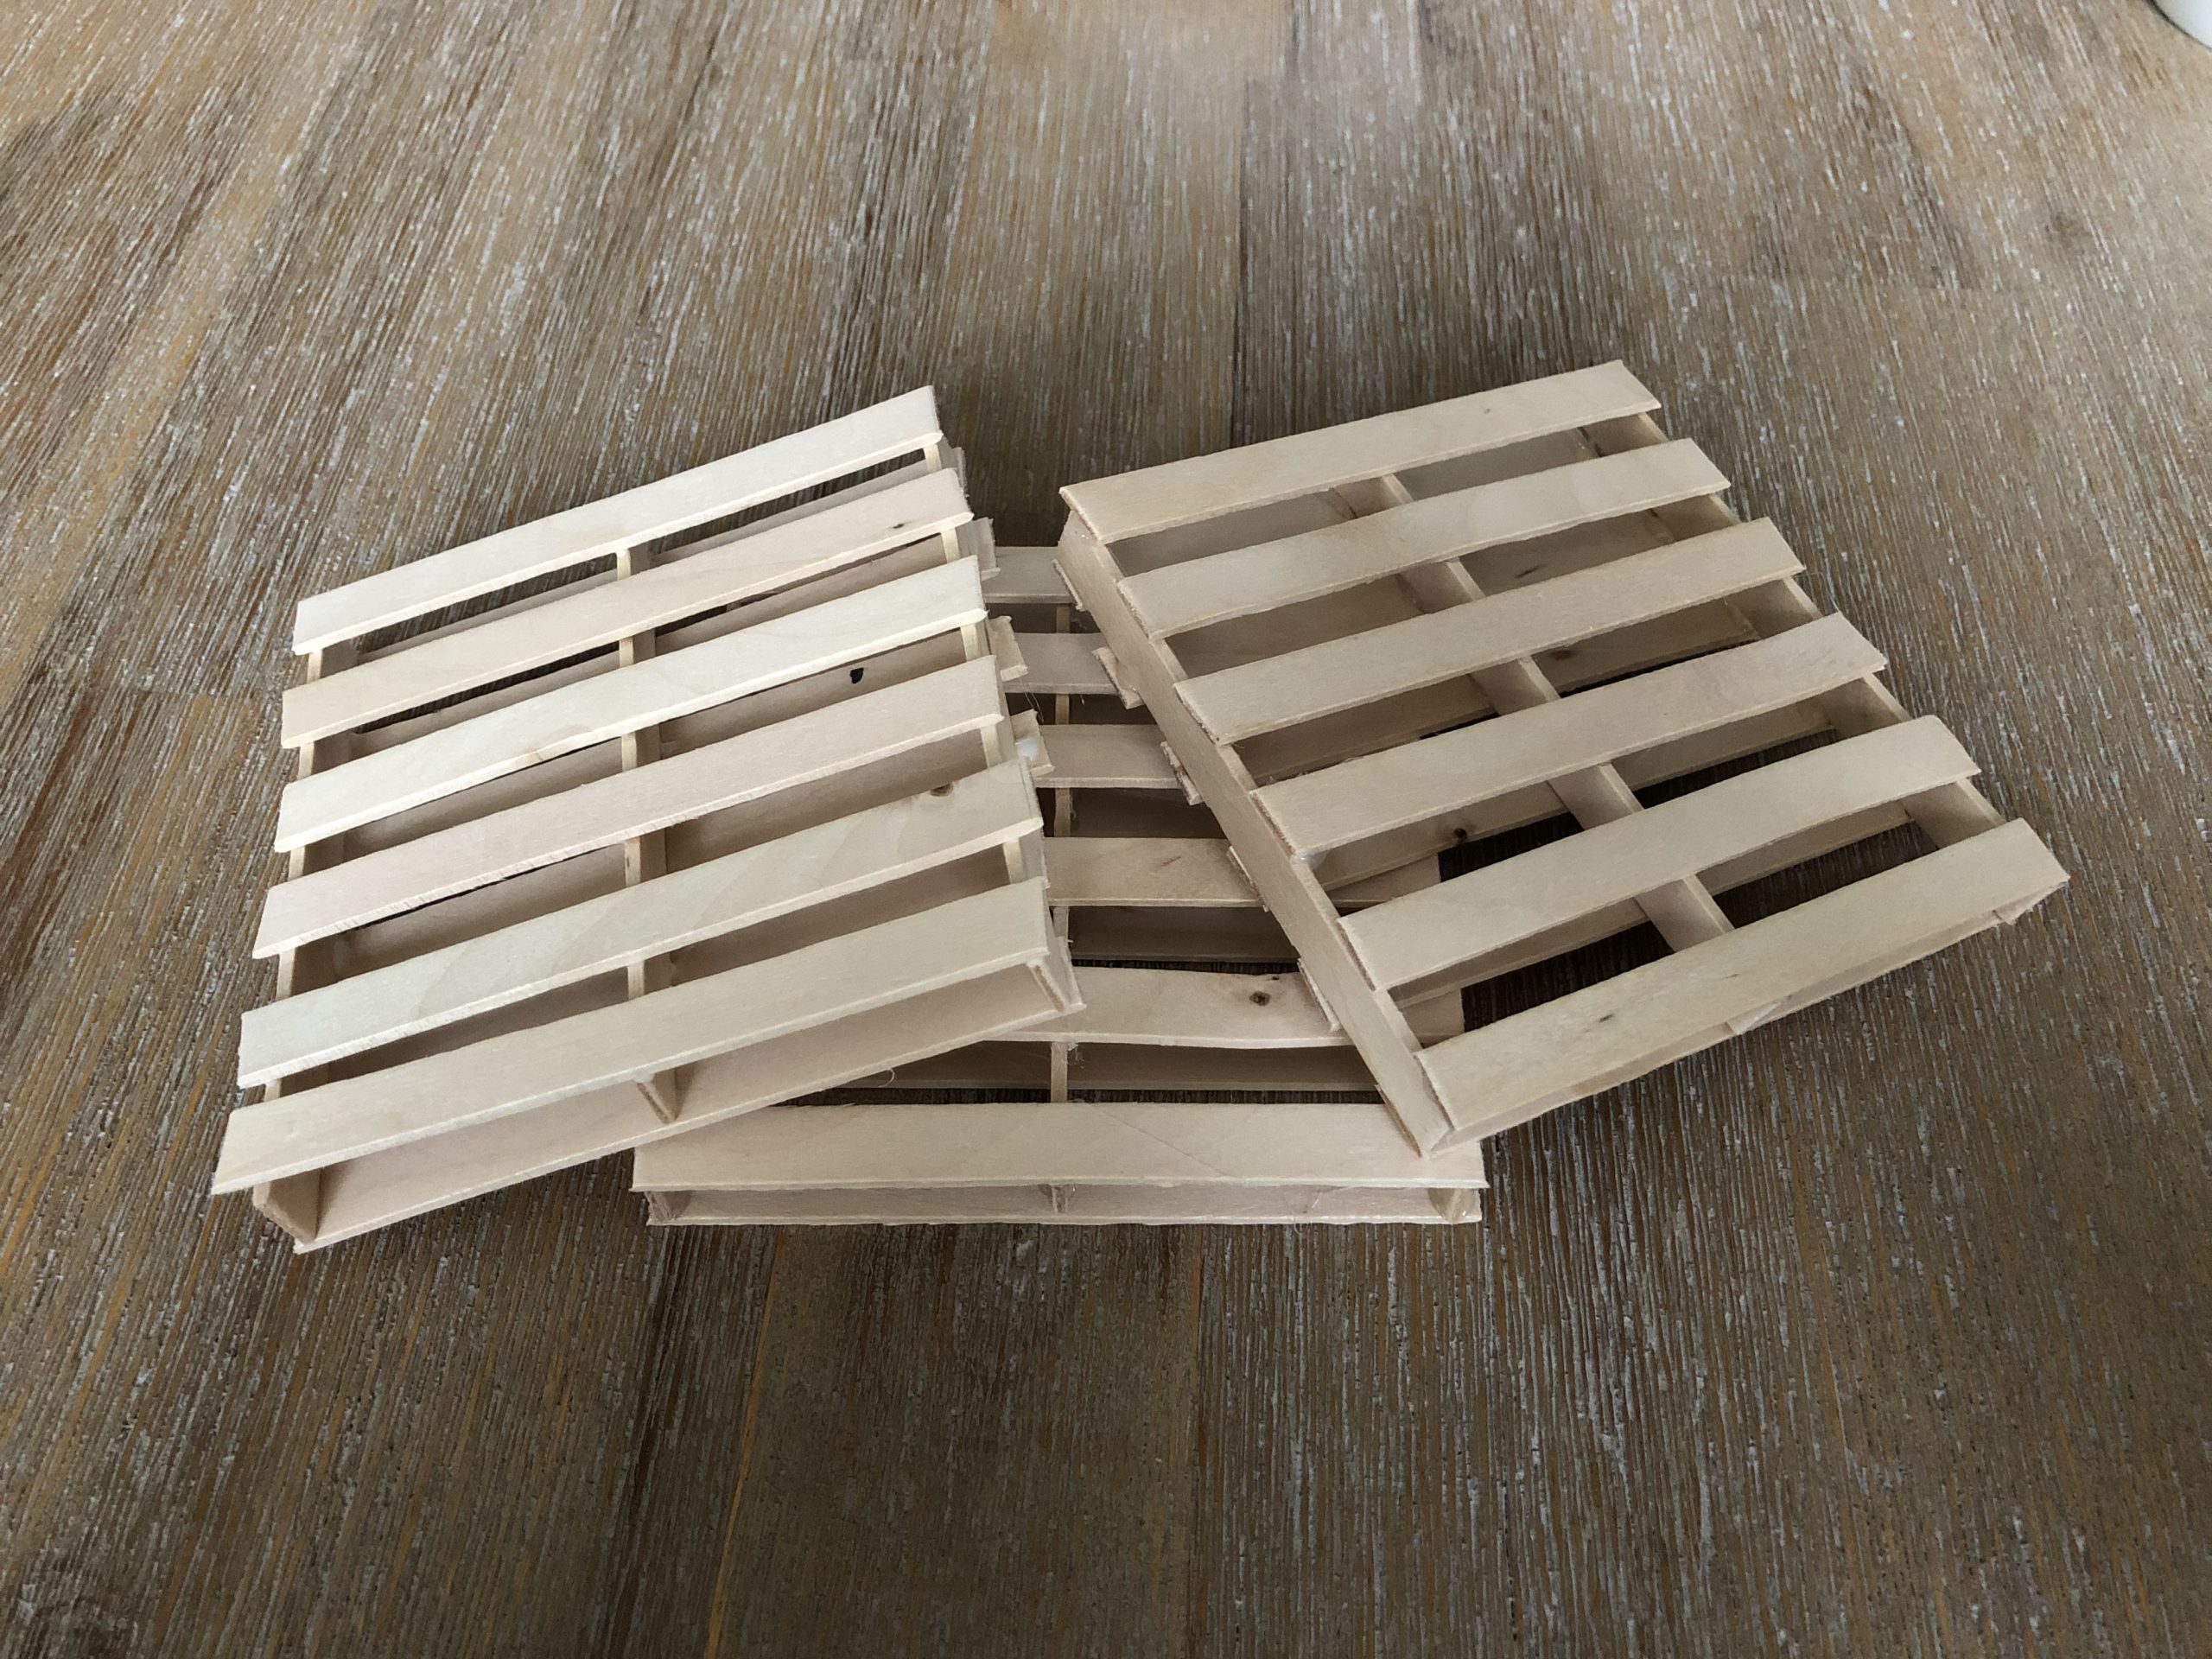
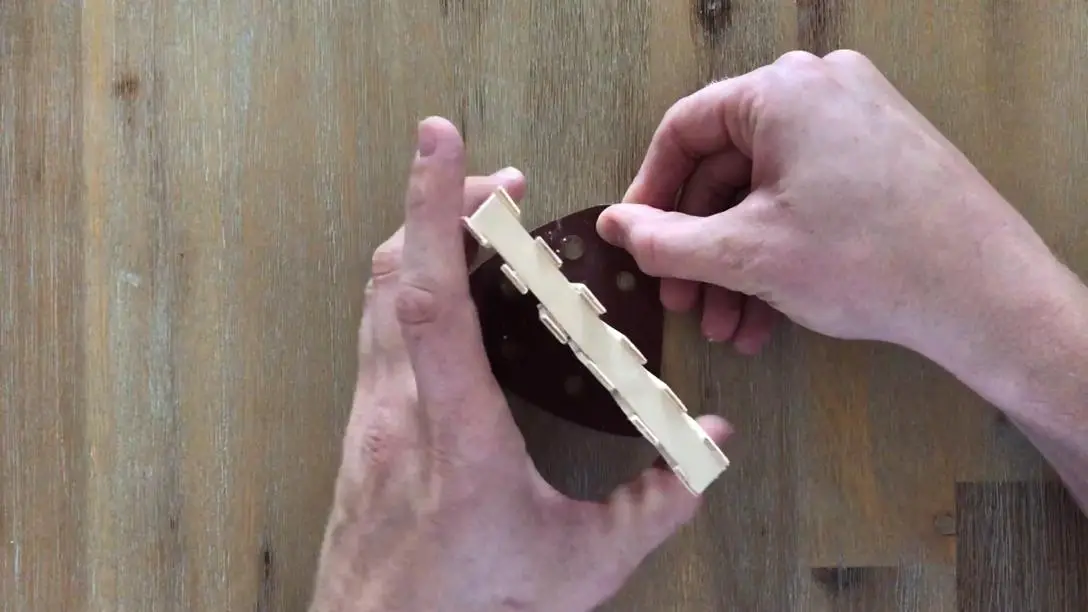
Make these awesome mini pallet coasters using just some glue and popsicle sticks. They’re really easy and cheap (around $0.50) to make and they look great around wooden or pallet furniture. They also make great gift wrap bases for soaps, bath bombs or other homemade gifts.
If you’re interested in making your own pallet furniture, have a look at Upcycling Wood Pallets Into Furniture.
Lets get started…
What You Need To Make Your Own Wooden Pallet Coasters
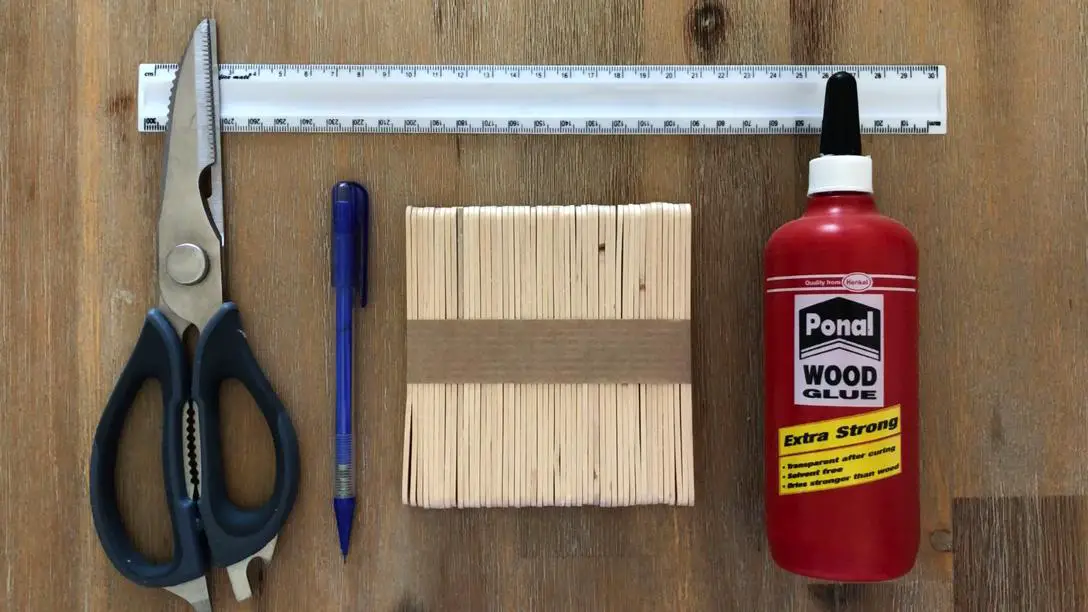
Besides glue and popsicle sticks, you’ll need a few tools to help you out. Here’s what you’ll need to make your mini pallet coasters:
- 15 Popsicle Sticks per Coaster – Buy Here
- Wood Glue – Buy Here or Glue Gun – Buy Here
- Ruler & Pencil or Marker
- Scissors or Craft Knife or Side Cutters – Buy Here
You can decide whether to use wood glue or a glue gun, wood glue will last longer but it takes longer to make a coaster as you have to wait for the glue to dry between steps. The glue gun is much quicker but your coasters may collapse if you leave them in the sun or if you put something really hot on them. A mug of coffee or tea is usually fine as the mug doesn’t make contact all around the coaster and the wood keeps the heat from reaching all of the joints.
I’ve also said that you can use scissors, a craft knife or side cutters. The scissors are by far the hardest to use, popsicle sticks are quite strong. The craft knife is a bit easier but you need strong mat to cut on. The easiest thing to use is a good strong pair of side cutters or workshop scissors.
How To Make The Wooden Pallet Coasters
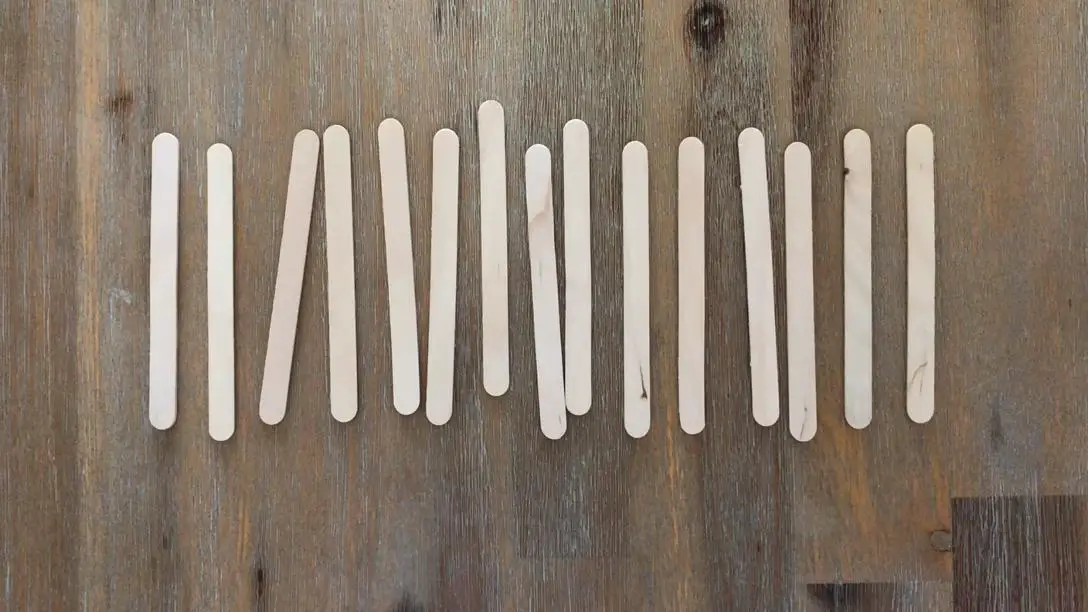
Open up your pack of popsicle sticks and put them into groups of 15. You should be able to make three to four coasters from a single pack of sticks. Try to choose the sticks that are as straight as possible. You can also decide if you prefer the grainy looking sticks with very visible wood grain on them or choose the sticks which are more uniform and don’t have a visible grain.
Next you’ll need to cut the round end off of the sticks. Use your ruler and pencil or marker to mark off the ends of the sticks, this will ensure that you cut the same amount off of each stick so that they are all the same length when you’re done.
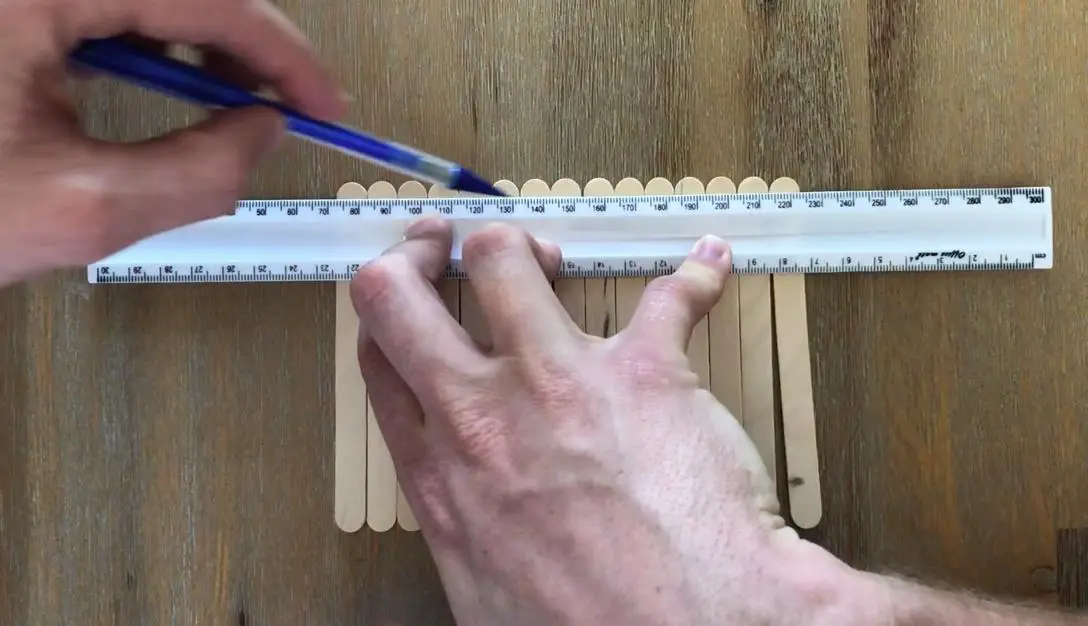
Mark both ends of the sticks just underneath the end of the curved edge.
Once you’ve marked your sticks, use the scissors, craft knife or side cutters to trim off the piece that you have marked. Be careful when using the scissors or knife as you’ll have to apply quite a lot of pressure to cut through the sticks. As I’ve mentioned before, this step is a lot easier with side cutters or workshop scissors, but not everyone has these lying around.
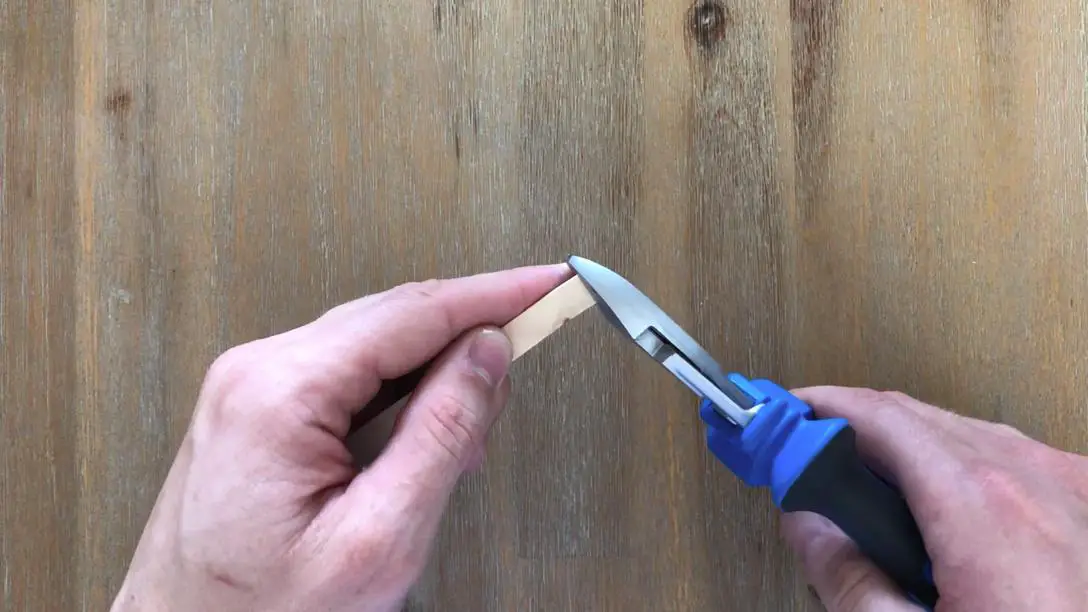
Trim all 15 of your sticks, more if you’re making multiple coasters.
Now that you’ve trimmed the curved edge off of your sticks, it’s you can begin putting the coasters together.
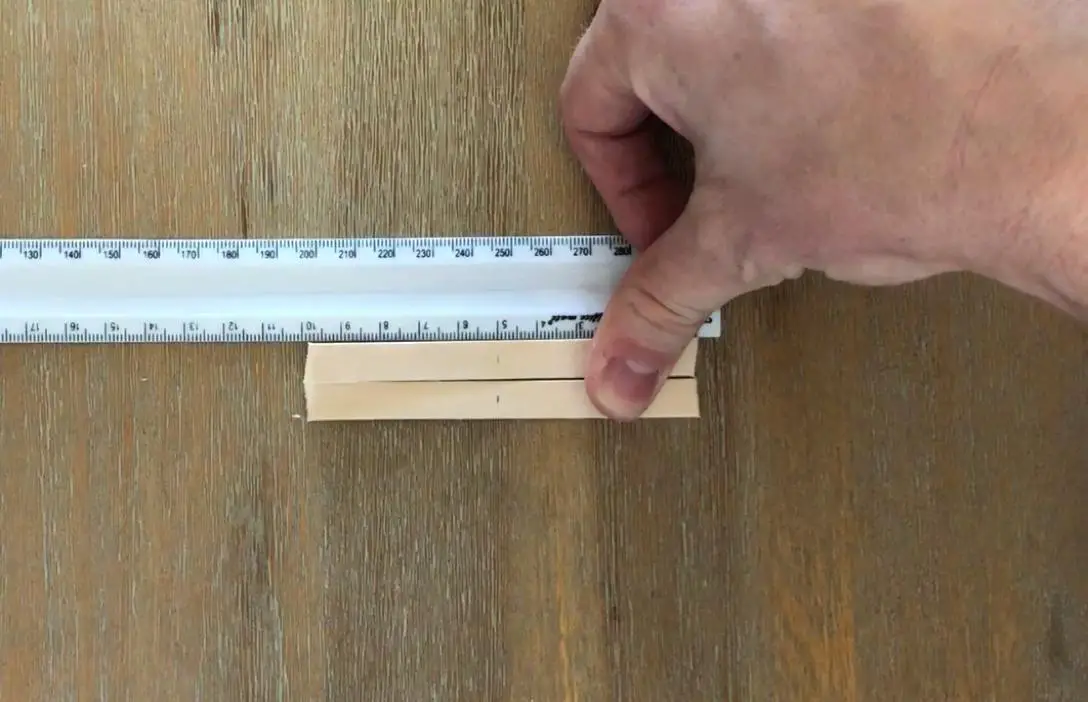
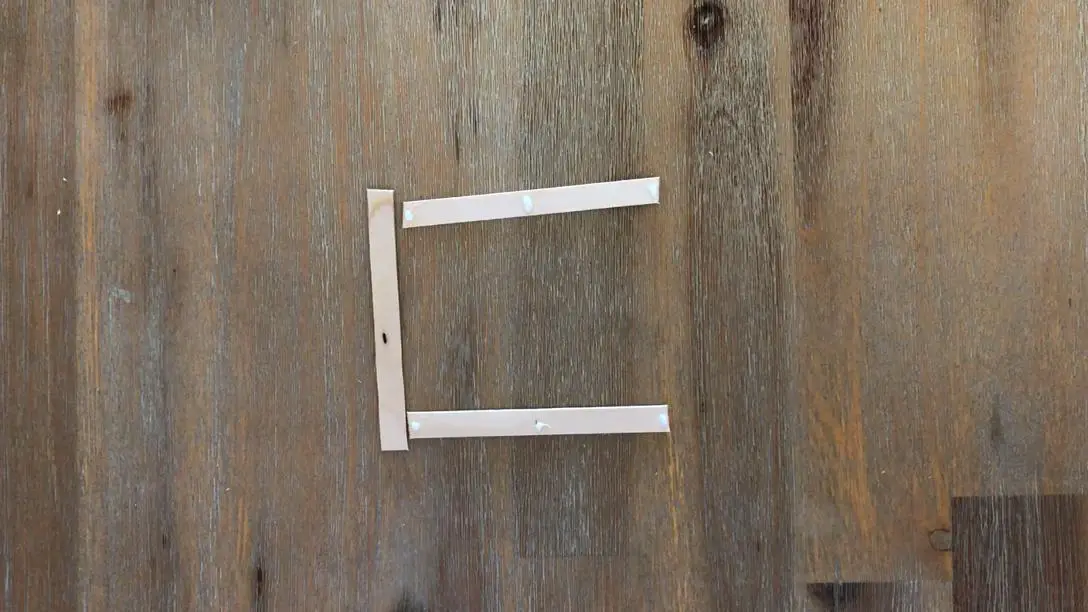
Start off by marking the centre point on two of your sticks, this will help you to place the three “planks” in the middle layer of your coaster. My sticks came out to be around 10cm (just under 4 inches) long, so I’ve marked the centre at 5cm (2 inches).
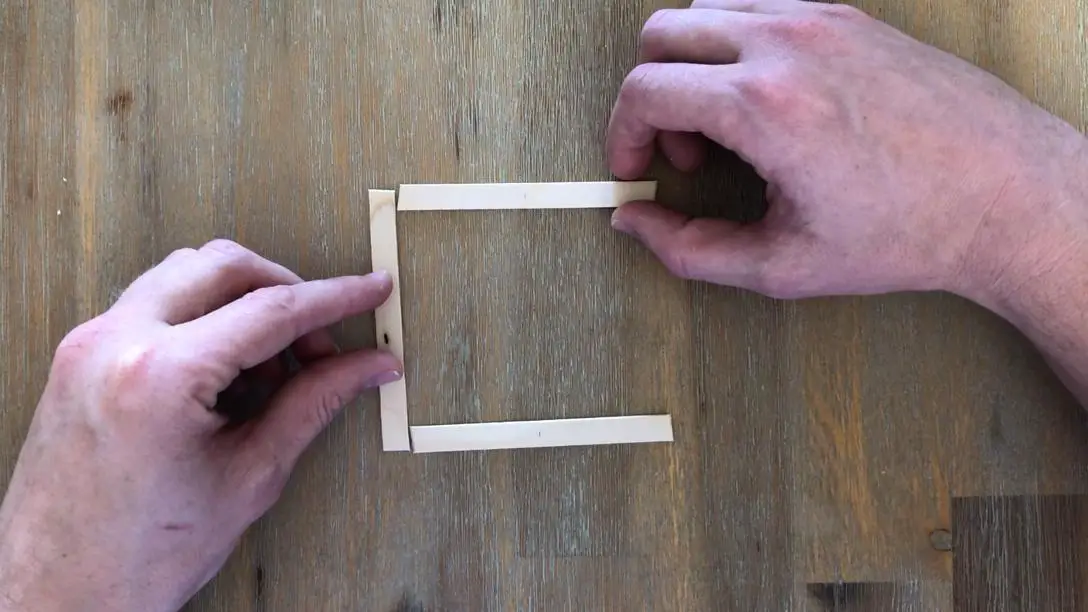
Space the two marked sticks one stick length away from each other. The ends of the spacer stick should align with the outside edges of your marked sticks. These are going to form the base of your pallet.
Gluing With Wood Glue
You’ve got your basic coaster size, now it’s time to glue them together. As I’ve mentioned before, there are pros and cons of each glue type, if you’re impatient and want to get your coasters done quickly then go with a glue gun, if you’re willing to spend a bit more time and come out with longer lasting coasters then go with wood glue.
If you’re using wood glue, follow this step and skip the next. If you’re using a glue gun, skip this step and follow the next.
Put a drop of wood glue on each end and in the middle of both of your marked sticks.
Now stick another 3 sticks between these drops along their thin edge (standing on their side). These three sticks are going to form the middle layer of your pallet.
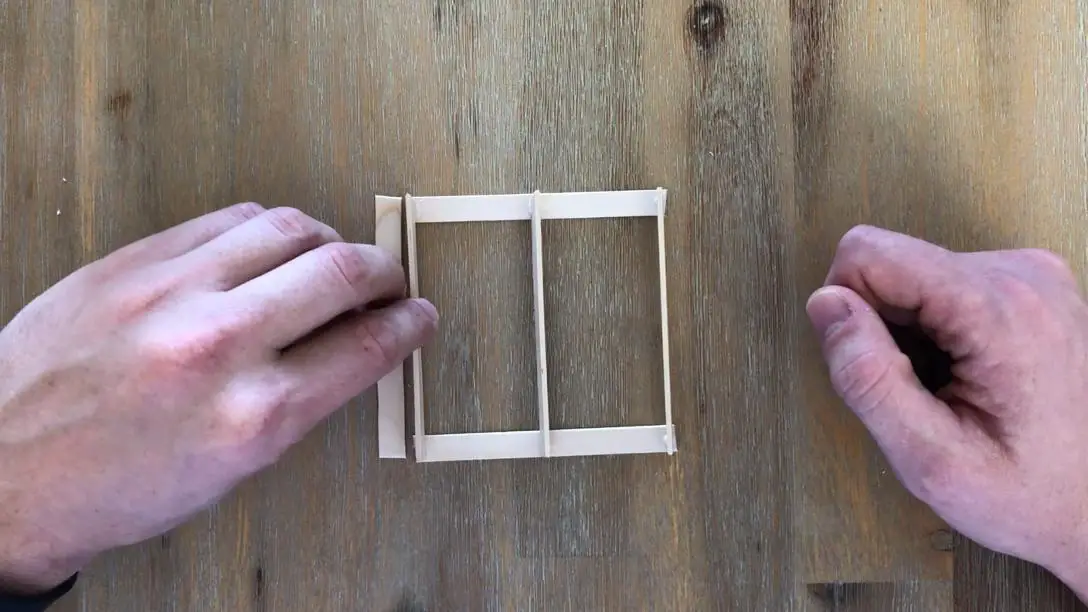
Leave the glue to dry for about 10 minutes and then flip the pallet over to glue the remaining sticks onto the first side of your pallet.
Glue another 4 sticks between your two end sticks, taking care to space them evenly as you go.
Again, leave your pallet to dry for around 10 minutes before flipping it over.
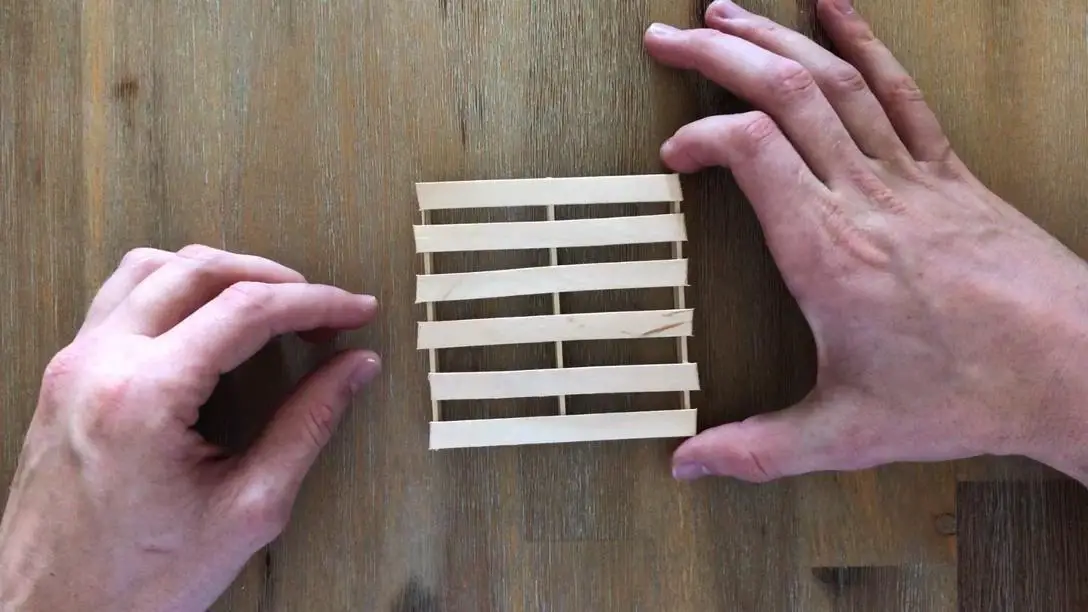
Then glue the next 6 sticks onto the other side of the pallet. Two on the ends and the other 4 spaced out evenly between them.
Allow your glue to dry completely and then pick up your coaster and touch up any areas which are not properly glued together.
Gluing With a Glue Gun
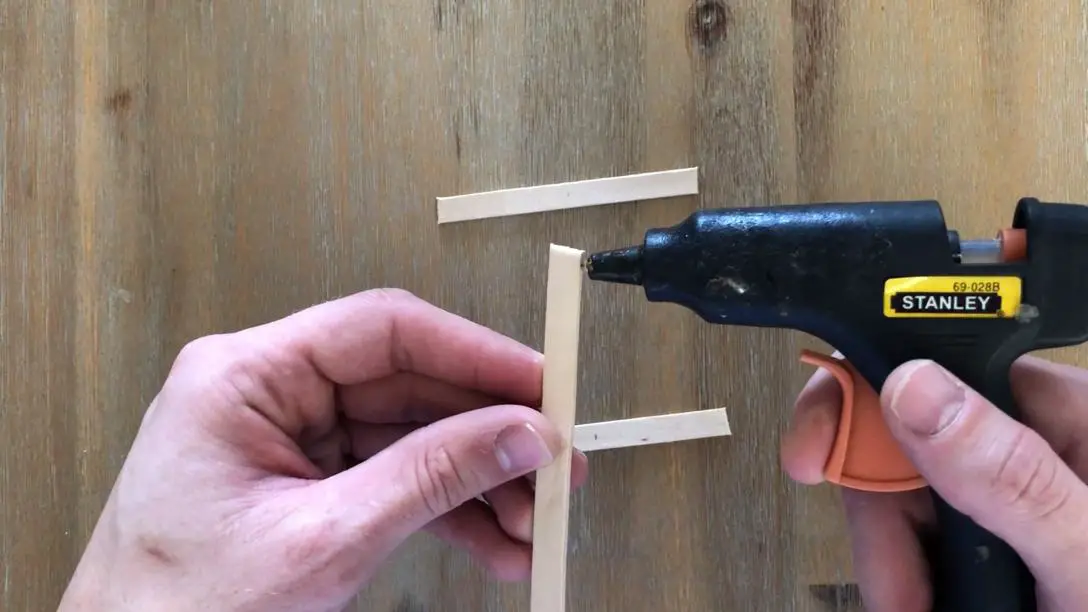
Using your glue gun, put a drop of glue onto the thin edge on the end of a stick and stick this onto the one side of your two marked sticks. Do the same for a second stick and stick it onto the other side and a last stick for the middle. These three sticks are going to form the middle layer of your pallet.
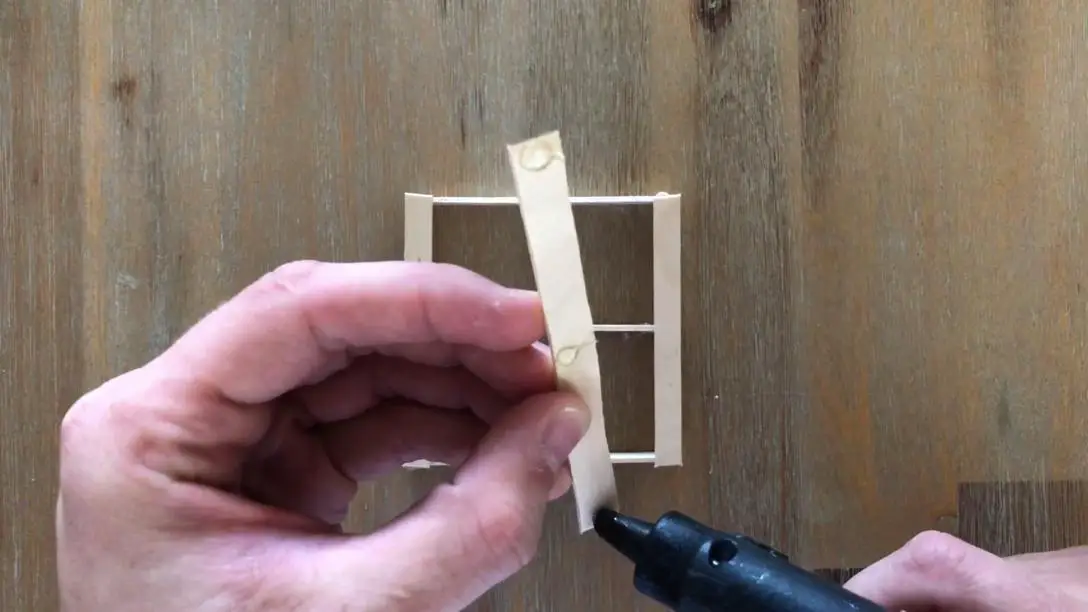
Flip the pallet over to glue the remaining sticks onto the first side of your pallet. Glue another 4 sticks between your two end sticks, taking care to space them evenly as you go.
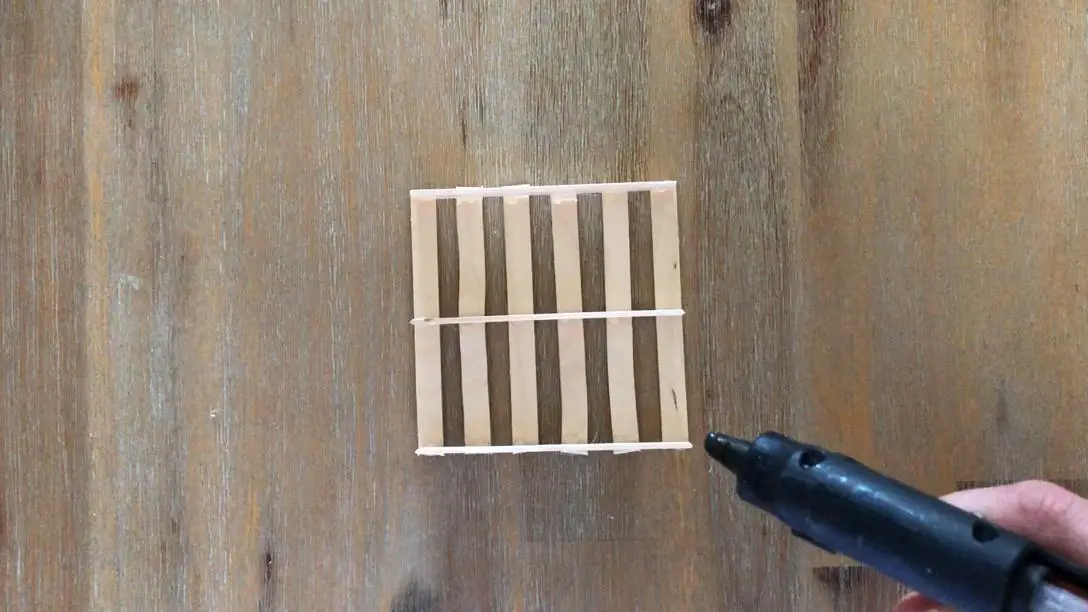
Flip it over again and then glue the next 6 sticks onto the other side of the pallet. Two on the ends and the other 4 spaced out evenly between them. Pick up your coaster and touch up any areas which are not properly glued together.
Finishing Touches
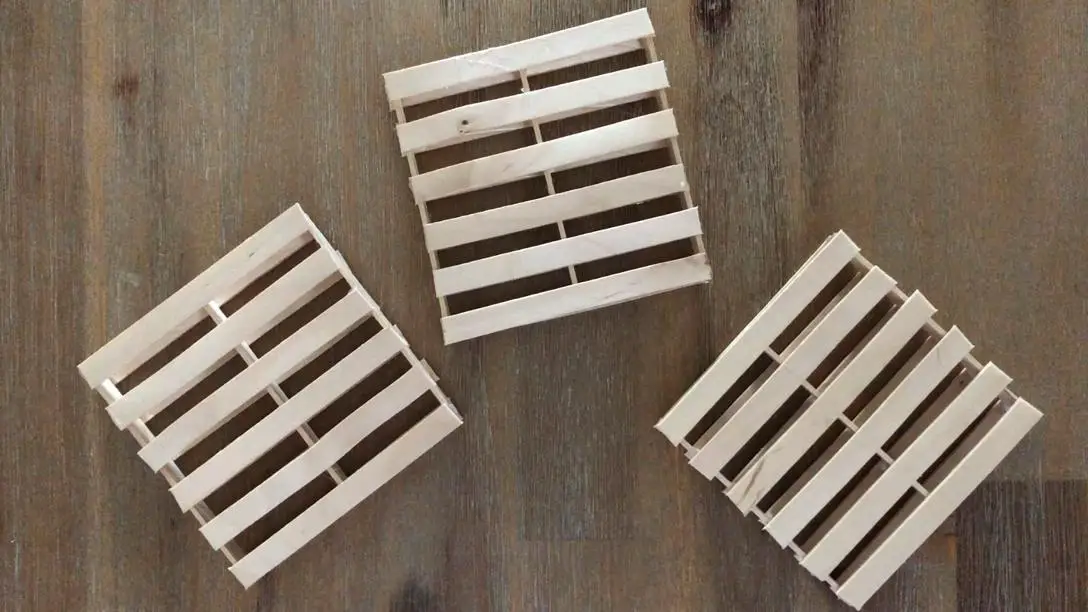
If you like a rustic, raw wood look then you can stop here. Repeat the previous steps to make as many additional coasters as you’d like.
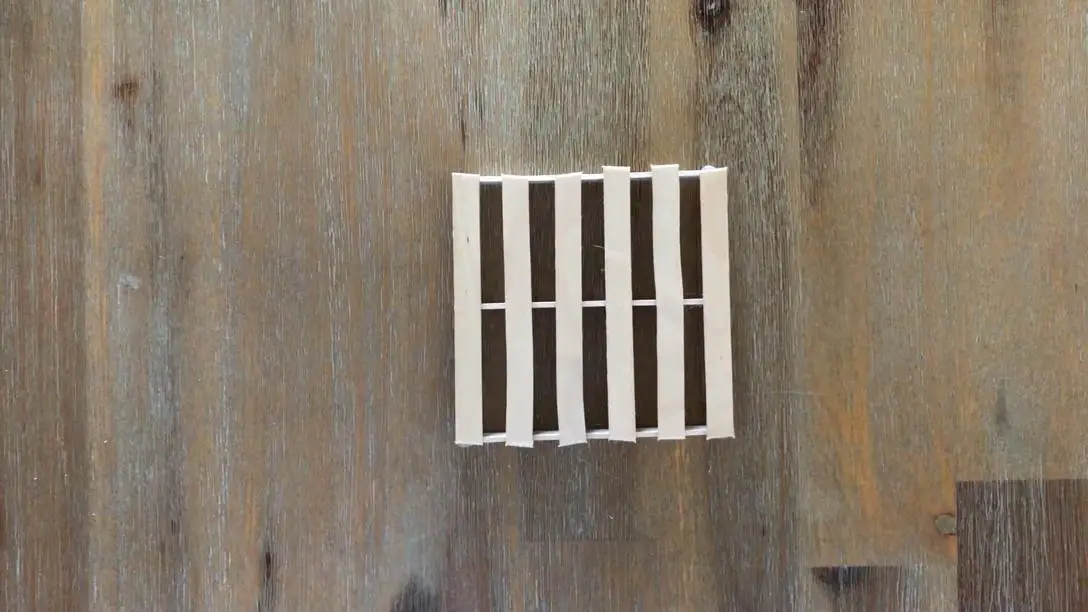
If you’d prefer the edges to be neatly aligned, use a piece of sand paper and gently sand the high points on the edge of your coaster. When you’re done, all of the edges should be even and aligned with the stick in the middle layer.
You can also apply paint or a wood stain to your coasters for a dark or coloured wood effect.
Make yourself the perfect lights to go with your pallet furniture and coasters – make your own pallet sconces.
Good luck with your mini pallet coasters, let me know how yours come out in the comments section below. We’d love to see your photos.