Home improvements are a great way to increase your home’s value, and keep yourself busy for a weekend or two. Here are some ideas for each room in your home to suite your available budget and get you started on your next home improvement project.
The Kitchen
The kitchen is probably one of the best areas in your home to focus your home improvement efforts on. Clever upgrades to your kitchen can give you the most bang for your buck, and you won’t need to completely remodel your kitchen either.
There are three main areas in your kitchen which are easy and affordable to tackle as a DIY project, let’s have a look at them.
Paint Your Cabinets
The cheapest, and possibly the most effective, is to start with your cabinet doors and shelving. Modern kitchen design trends include lighter greys, whites and pastel colours and you can give your kitchen a significant upgrade by simply painting your existing cabinets and shelves.
Solid wood cabinets will need to be sanded before painting, while melamine coated cabinets will require a coat of special primer first. The good news is that both can be painted and both will yield fantastic results. Use a modern foam roller and water based enamel paint for a long lasting, smooth finish.
Remember to put in the extra effort and remove all of the cabinet hardware such as hinges and handles before you paint them. While they’re off, it may be a good time to consider replacing them, you can often find cheap and effective handles at your local hardware store.
Replace Your Countertops
This may sound like an expensive exercise, but it really doesn’t have to be. There are a couple of options to replace your counter tops and some of them are really affordable.
The easiest and most affordable replacement for a DIY weekend project is to go with melamine coated timber counter tops. These are commonly available in lengths from hardware stores and home improvement sections of places like IKEA. They can be cut to size at home using a circular saw and are simply screwed into place. A good quality timber counter top is really affordable and will completely transform your kitchen! When choosing a timber counter top, avoid choosing the faux granite or marble tops but rather go for modern wood grains or minimalist textures.
The second option is to get a company in to install stone, granite or engineered counter tops. These are usually quite a lot more expensive than timber ones and they often need to be installed by professionals as they are very heavy and require special tools to cut. They do however last longer and allow you more freedom to splash water or leave a hot pot on.
When choosing a new countertop, remember to keep to the style of your home to make sure that your new countertop enhances its surroundings. A square edge profile is more modern than a traditional quarter round and adds a more contemporary flavour.
Upgrade An Appliance Or Two
This is one of the easiest of the kitchen upgrades but can also be one of the most expensive. Modern appliances in the kitchen make the whole area feel more modern.
A simple and affordable upgrade of your kettle and toaster to something in stainless steel can make your kitchen feel more sleek and modern.
If you’ve got some extra money, the refrigerator is going to be the most effective upgrade you can make. New French door refrigerators have a lot more storage space in them than traditional ones and a new refrigerator is more energy efficient, meaning you’ll be saving money on electricity every month.
While you’re looking at appliances, have a look at these 5 High Tech Investments To Include In Your Next Home Improvement.
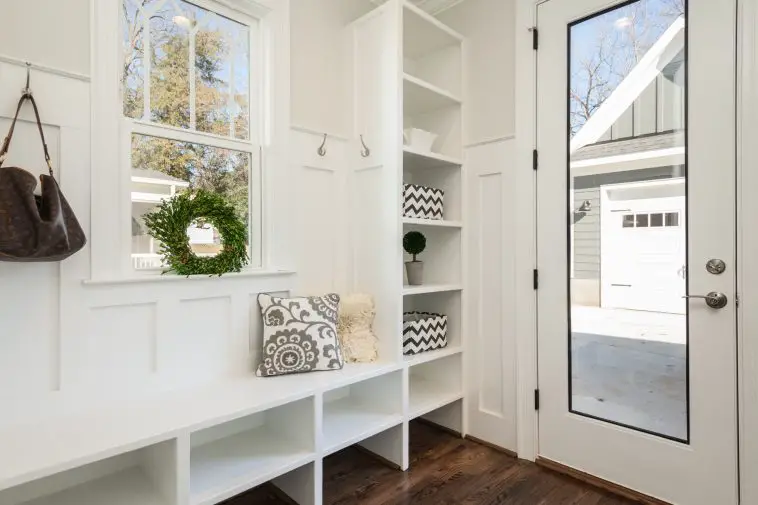
The Bathrooms
Your home probably has more than one bathroom, and if you’re on a budget then you’ll need to decide which one to start with. If you do a lot of entertaining and value having guests over then you’ll likely want to start with your guest bathroom, or the one which your guests are most likely to use. If you spend more time alone or just together as a family, then you’ll probably want to start with the master en-suite.
Either way, you don’t need to completely re-vamp the entire bathroom in one go and there are a few easy weekend upgrades you can do to make a big difference.
Fresh Paint
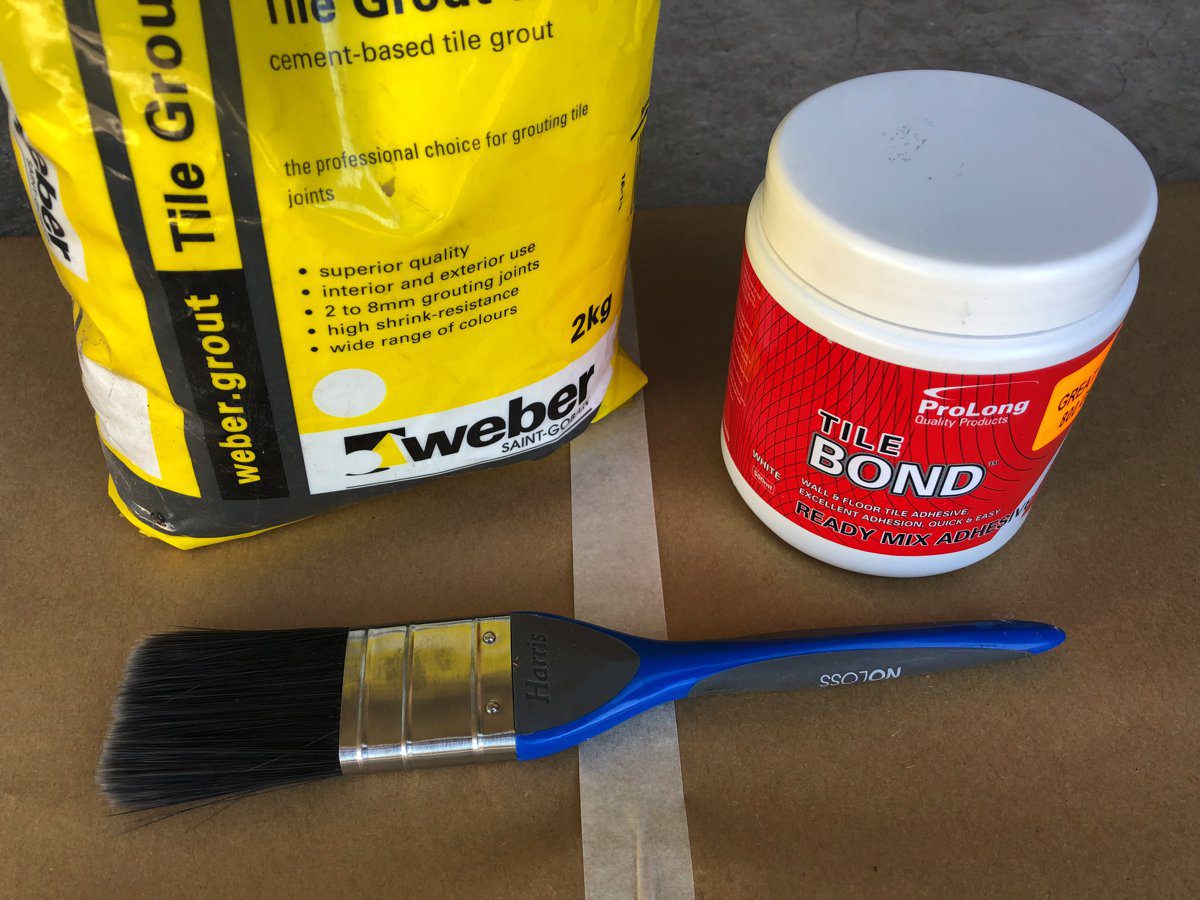
A fresh coat of paint is always a good starting point for any home renovation. The paint on the ceilings or walls around a shower is constantly struggling with humidity and may eventually start flaking off. Give your ceiling a new coat of white and consider a colour for the walls to compliment your décor or theme. You can even paint the tiles in your bathroom, just make sure that you use the correct paint and primer first.
Replace Your Rails and Accessories
Modernise your bathroom with a new set of towel rails, hooks, soap dishes and accessories. They’re usually quite easy to replace, just requiring a screw or two to secure. Some even come with stick on options.
You could also consider replacing your bathroom cabinets or putting up a shelf or two to put towels and décor accessories on.
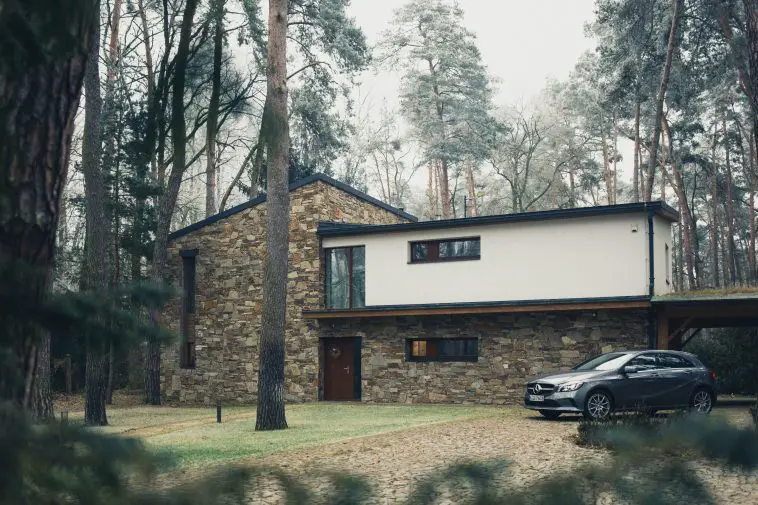
The Garage
The garage might not be an area that comes to mind when you think of upgrading your home but it has the power to add a lot of value to your home.
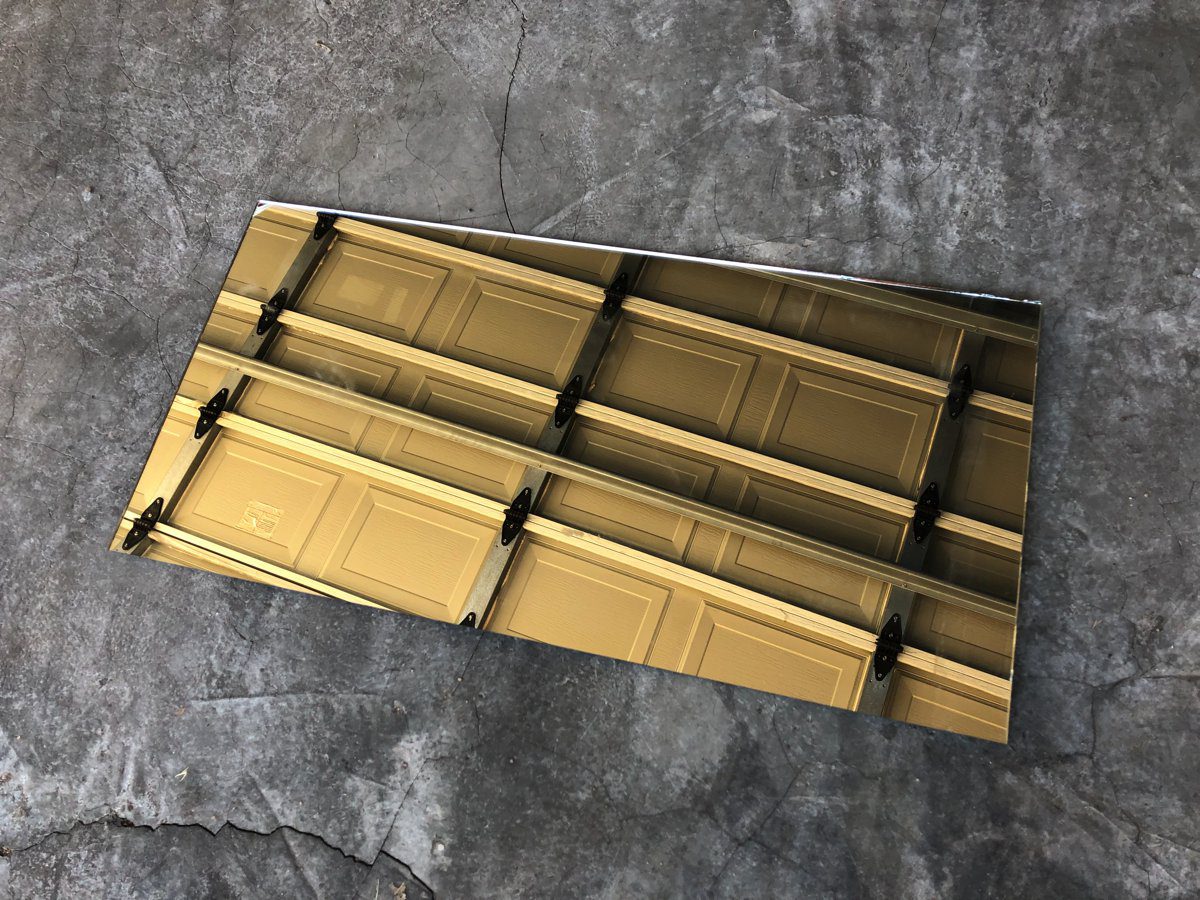
Paint Your Doors
When was the last time you painted or varnished your garage doors? Most homes have their garages as close to the street as possible, which means that your garage doors are often the first thing people see when they arrive at your home. Make sure that you create a good first impression by keeping them looking well maintained and new.
Your garage doors might just require a fresh coat of paint, or if they’ve been left a bit too long, they can be sanded down, re-primed and then painted.
This is also a good time to give all of the hinges and rollers an oil to keep the doors opening and closing with ease and without a squeak.
Upgrade Your Storage
Storage is important to prospective home owners, people are always looking for more areas to stash their stuff, and people have a lot of stuff! Your garage is the ideal place to add a row of shelves or some cupboards.
You can often buy readymade or flat packed cupboards from your local hardware store quite affordably. Packing all of your things which usually lie around the garage and your home into these cupboards will leave both looking neater, newer and more modern.
Outdoors
Last, but not least on our list is the outdoor area of your home. Modern home owners are looking for a functional area which is easy to maintain.
People are looking less at large lawns and flower beds which take a lot of time to upkeep and keep watered and are favouring functional entertainment areas with gravel or paved sections.
There are a number of DIY home improvement options for the outdoor area including laying down gravel or paving over a bare section of ground. You could also put your woodwork skills to the test by building a pergola or lay some bricks to build a barbeque. There are a huge number of online plans available for outdoor décor which can all be built from supplies available from your local hardware store.
If you’ve got a green thumb and enjoy maintaining a beautiful garden, make sure that you Avoid Planting These 10 Invasive Plants In Your Garden.
Have you tried out any of these small home improvement projects? Let us know how they went for you in the comments section below.