People often avoid projects which involve repairing or modifying drywall because a bad patch up job really looks terrible. Here are some tips and tricks which will really help you improve any drywall patching job you take on. If you need to remove and patch wall anchors, follow this link for an easy solution.
Don’t be Afraid to Make the Hole Bigger

Don’t be afraid to cut out a larger portion than that which is damaged. Start out by cutting a shape which is easy to replicate, usually a square or rectangle works well. Cut a new piece of drywall using the cutout as a template.
Back the Drywall with Short Board
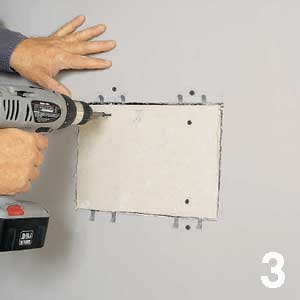
Install a piece of short board behind the patch to hold it in place. Cut a piece of short board roughly 10cm (4″) wider than the patch and secure it behind the dry wall patch by screwing two screws through the drywall and into the short board. This provides a solid foundation for the drywall patch.
Use Drywall Mesh Tape
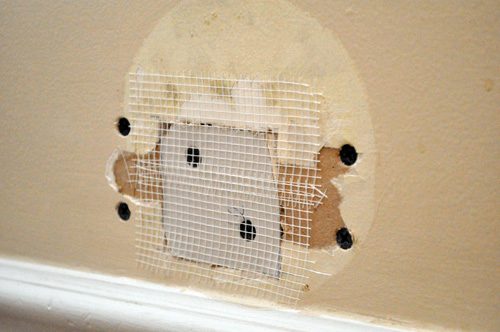
Apply a piece of mesh tape over the patch and apply joint compound over it. Spread the joint compound over the entire mesh tape area with some overlap. Once the joint compound has fully cured, apply spackle/crack filler over the joints with the flat scrapper to get a smooth and even finish. Let it dry for 24 hours before sanding and painting.
Texture your Sanding
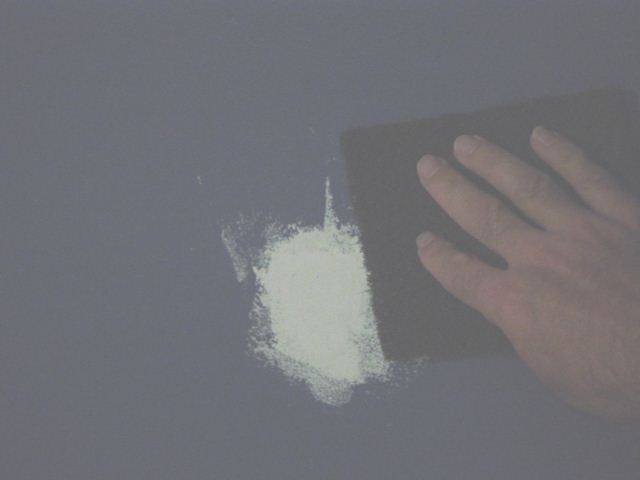
Use very rough grit for rough walls and fine grit for smoother walls to try to match your sanded area’s surface to the wall around the patch.
Use a Primer
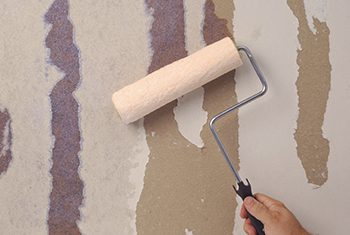
Primer is often left out when patching a hole but it important. A layer of primer helps to conceal any color mismatches and surface imperfections as well as providing a good surface for the final paint layer to adhere to. Also ensure that you get paint that is an exact color match for the last coat. If you can’t get the exact color then consider painting the entire wall to all of the corners with a color as close as possible to the other walls as this will be the least noticeable.
Do you have any further tips, tricks and suggestions for repairing drywall? Let us know in the comments section below.