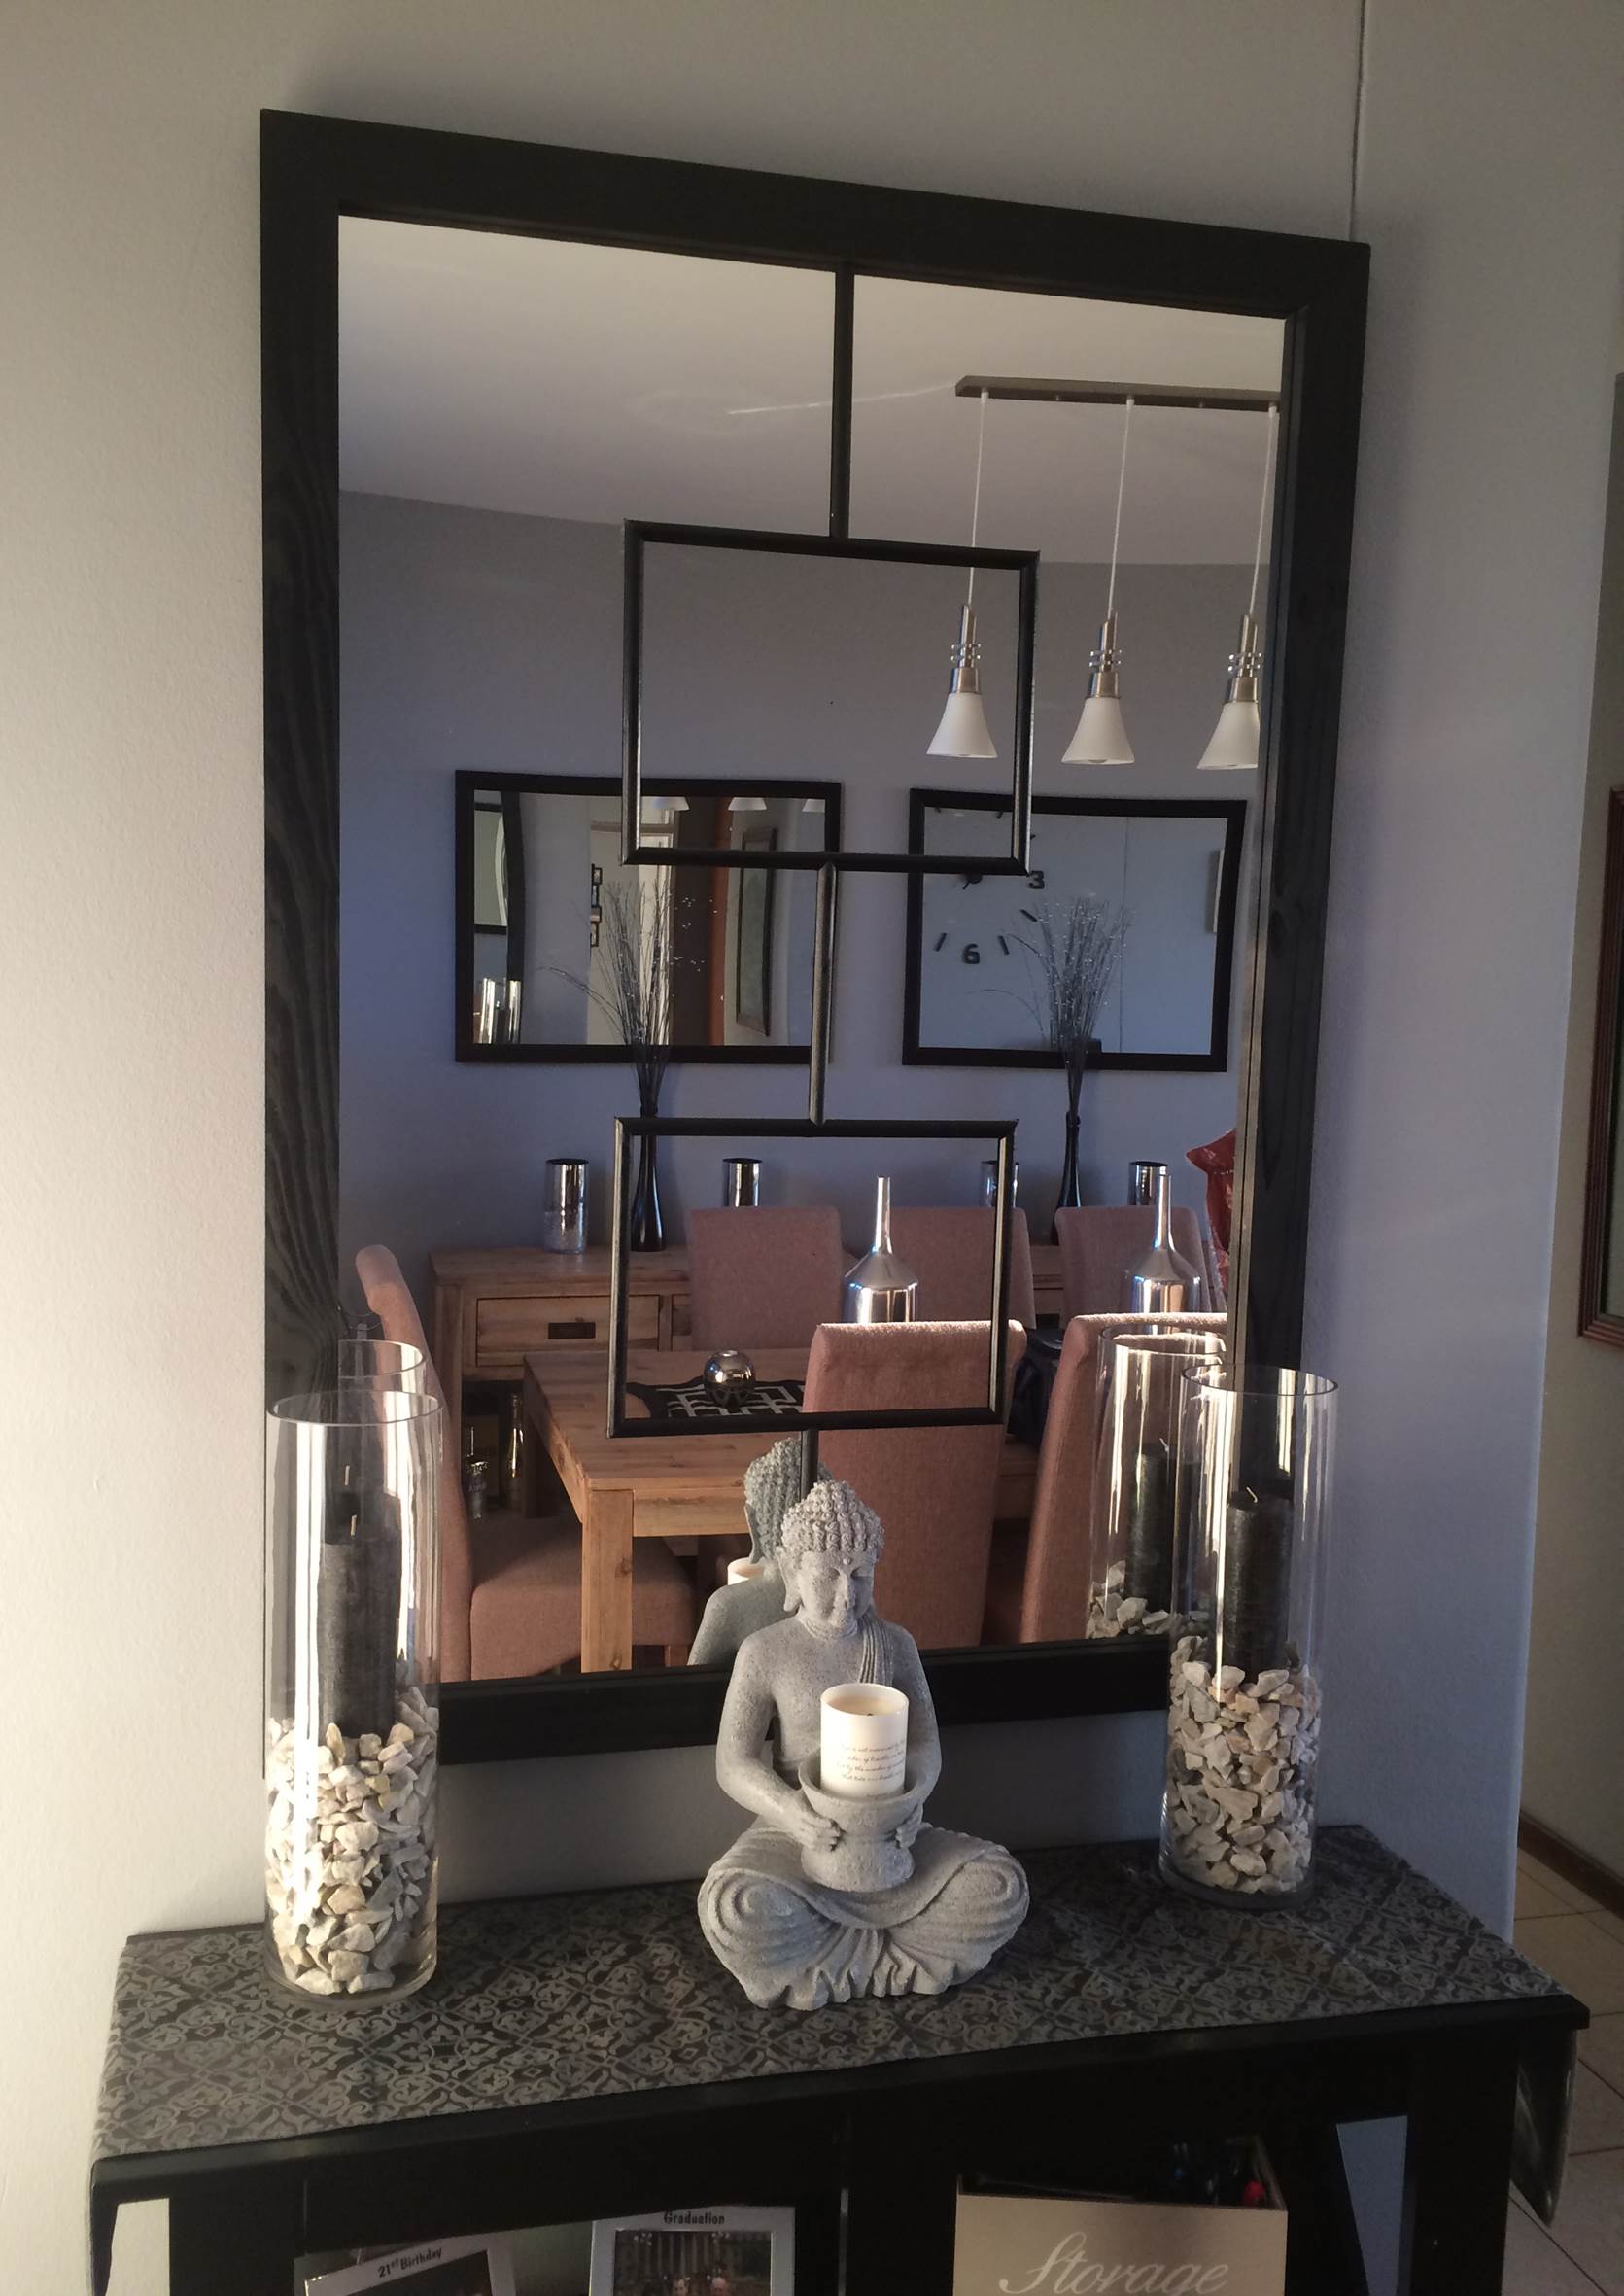
A well placed large mirror becomes a feature in a room, giving it depth brightness and a more open feeling. Large mirrors work well at the end of a corridor, behind an item or furniture such as a couch or headboard or over a side console with a vase or tall décor in front of it.
For This Project You’ll Need:
- Glass Mirror (To Suite Your Size)
- 63x19mm (2 ½” x ¾”) Pine (Length To Suite Your Size)
- 17mm (3/4”) Pine Half Rounds
- 1 Can Black Spray Paint
- 1 Pack of Two Part Epoxy
- 2 Picture Hanging Hooks
- Wood Glue
- Mitre Box or Electric Mitre Saw
- Dremel Multi Tool + Sanding Attachment
- Staple Gun – Optional
First measure out the size of the mirror you’d like to make. I used 63x19mm (2 ½” x ¾”) pine wood for the frame. Allow for a 10mm (0.4”) mirror overlap onto the frame for the epoxy to set on.
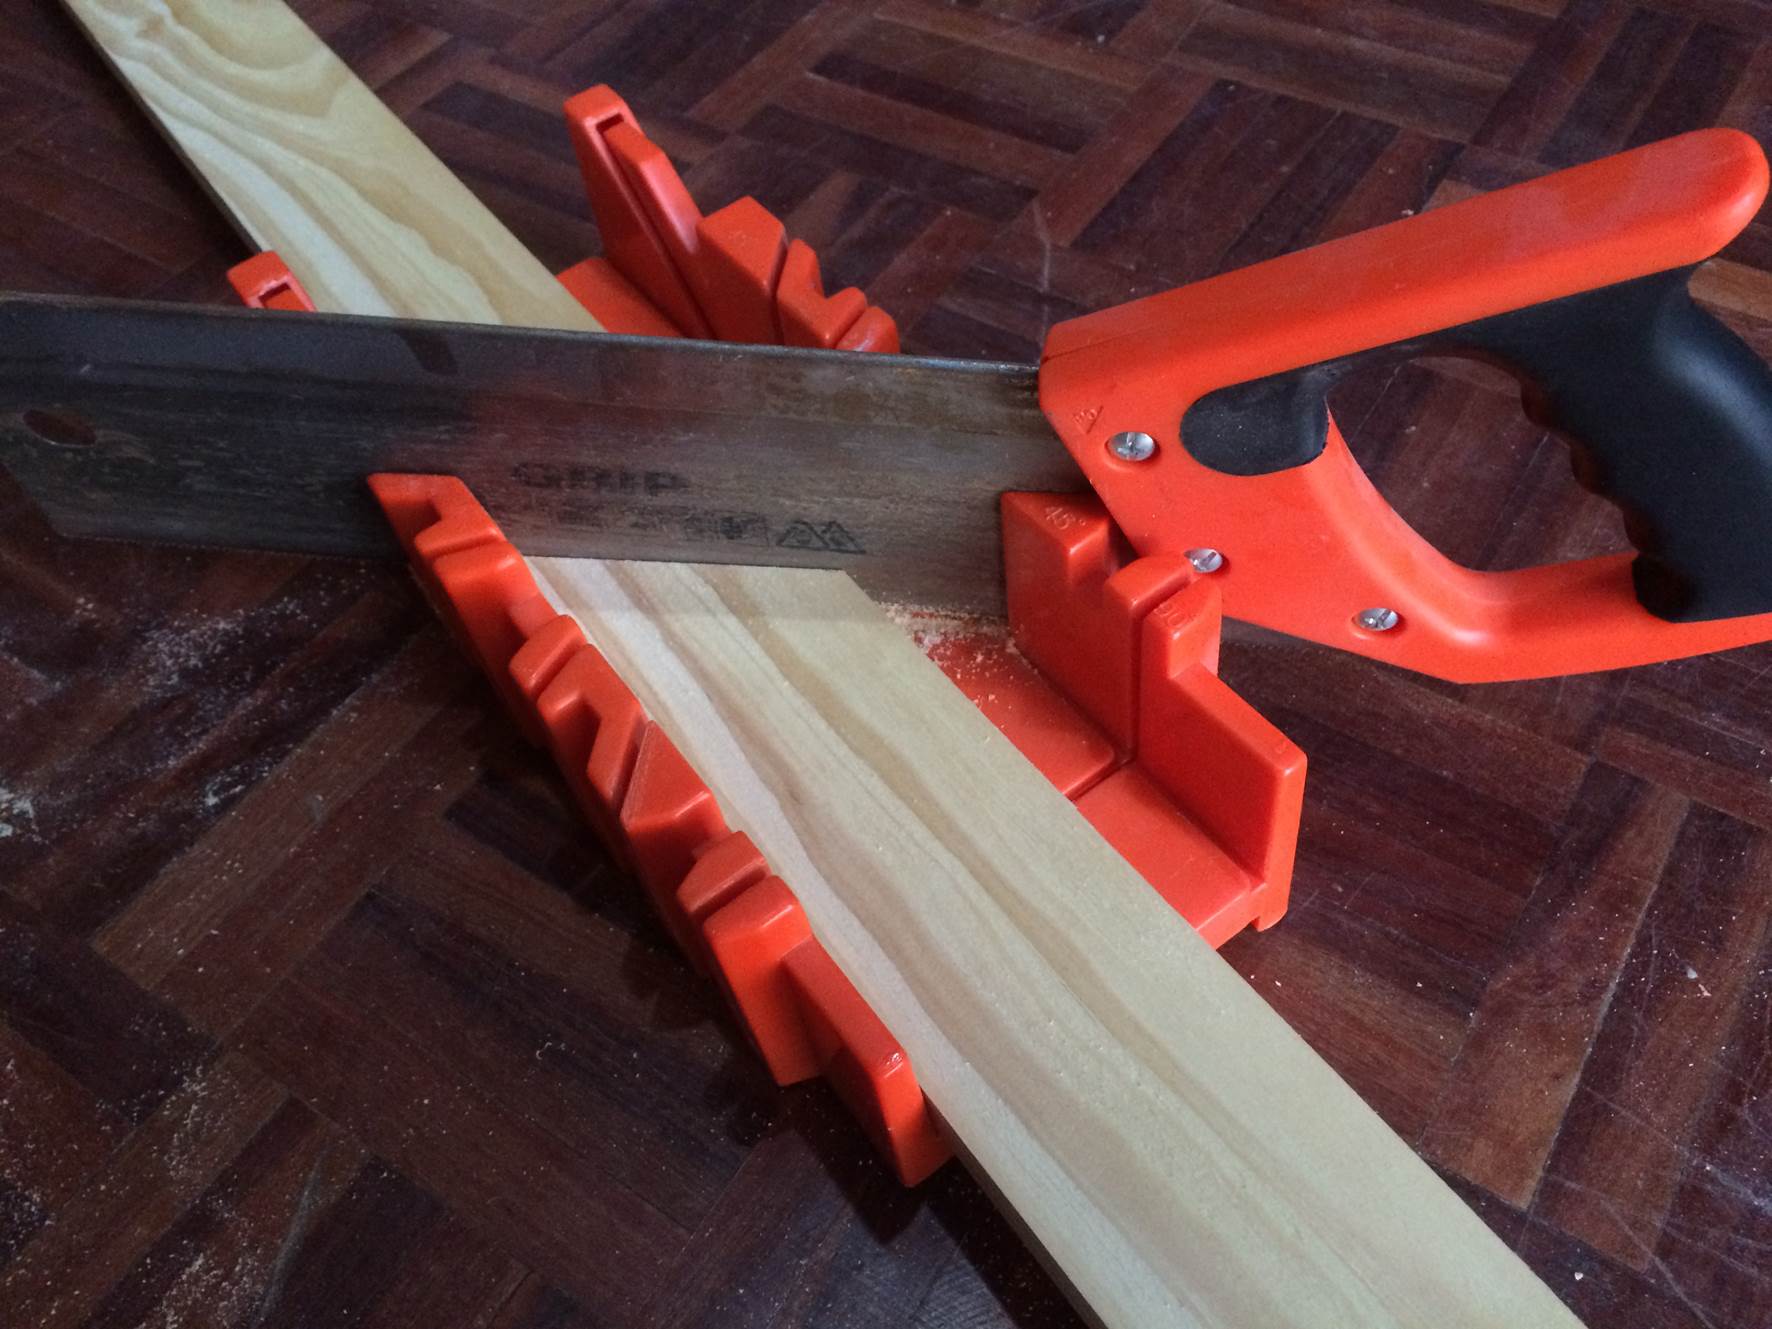
Cut the pine at 45° with the inside edge (short side) of the sides 20mm (0.8”) shorter than your mirror dimensions using an electric mitre saw or a mitre box and handheld saw. The 20mm (0.8”) will give you 10mm (0.4”) overlap on each side of the frame to epoxy onto the mirror.
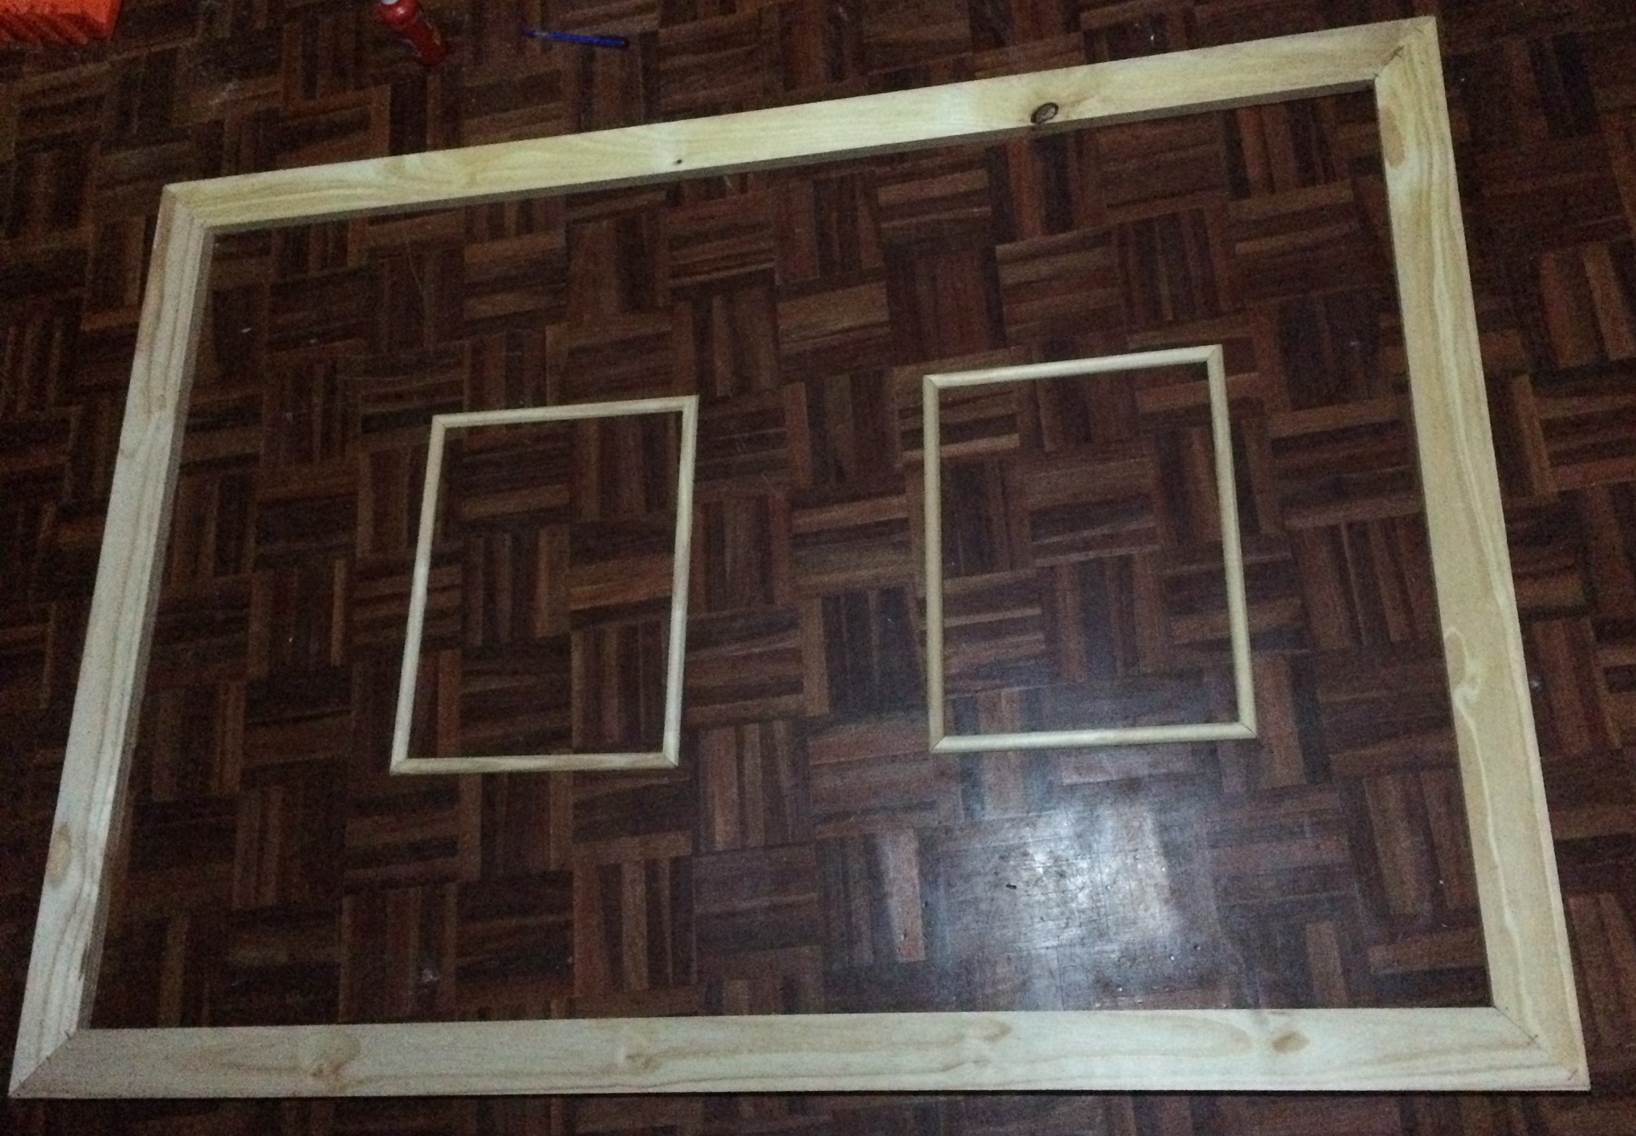
Now glue the frame together. A corner clamp comes in handy to press the glued faces together and keep the edges of the frame square. Alternately put glue on the edges, press them together, ensure that they are square and then use a staple gun to staple along the back edge of the joint to keep it together while the glue dries. Do not staple along the front edge as these staples will be visible when the mirror is hanging.
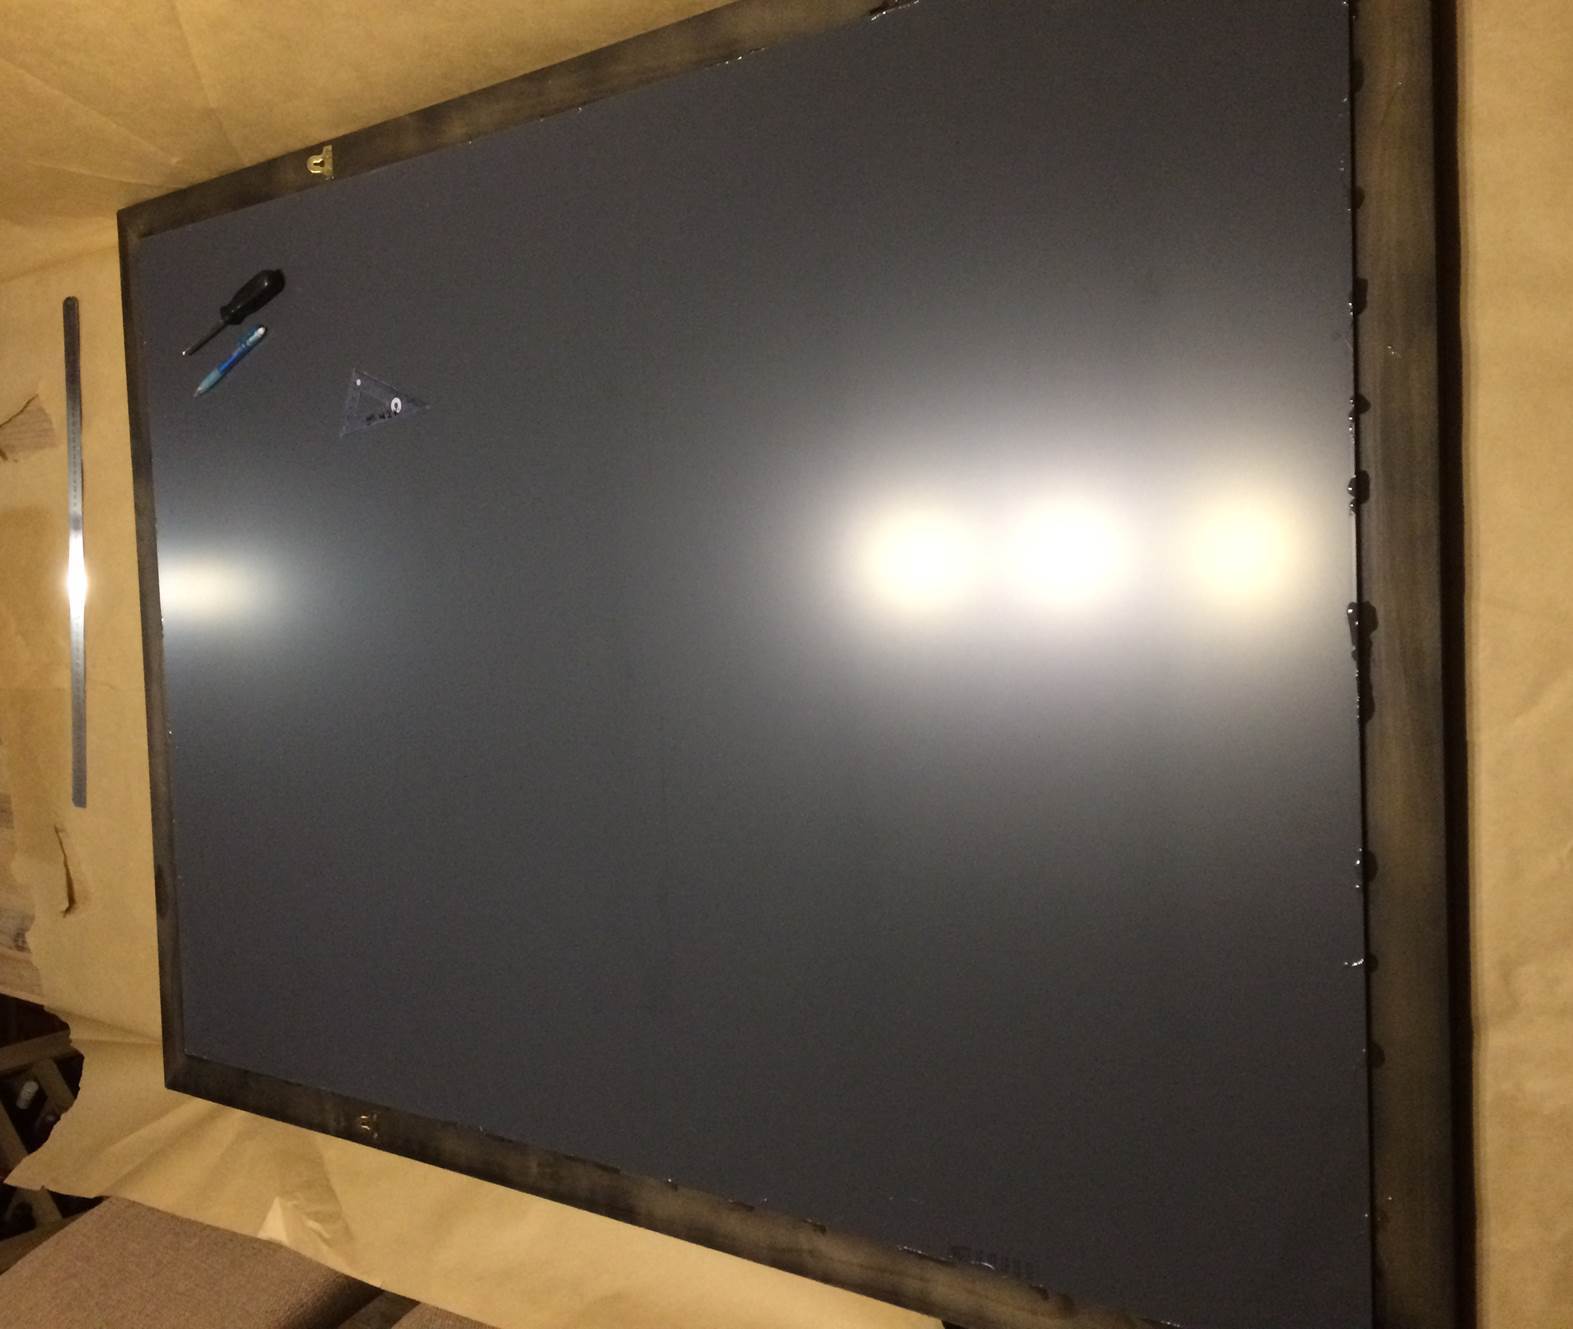
When the frame joints are dry, place the frame over some old newspaper and begin spraying the back of the frame. Pay particular attention to the edges. Although the back of the frame will be against the wall, the inside back edge of the frame which is epoxied onto the glass will be reflected in the mirror and show up as a light brown border right around the mirror and on the edges of the trim.
Once the back of the frame is painted and dry, paint the front of the frame.
The frame can then be attached to the mirror. Lay the frame down front first on a large work surface where you can get around all of the sides. Next lay the mirror face down on top of the frame. Make sure that the mirror is in the centre of the frame. Mix up some two part epoxy and begin epoxying along the edges. There does not need to be a continuous epoxy seam along the entire edge, a dot or line every 5-10cm (0.2”- 0.4”) is sufficient. Make a good epoxy seam along the edges near the corners. Leave the epoxy to cure as indicated on the packaging.
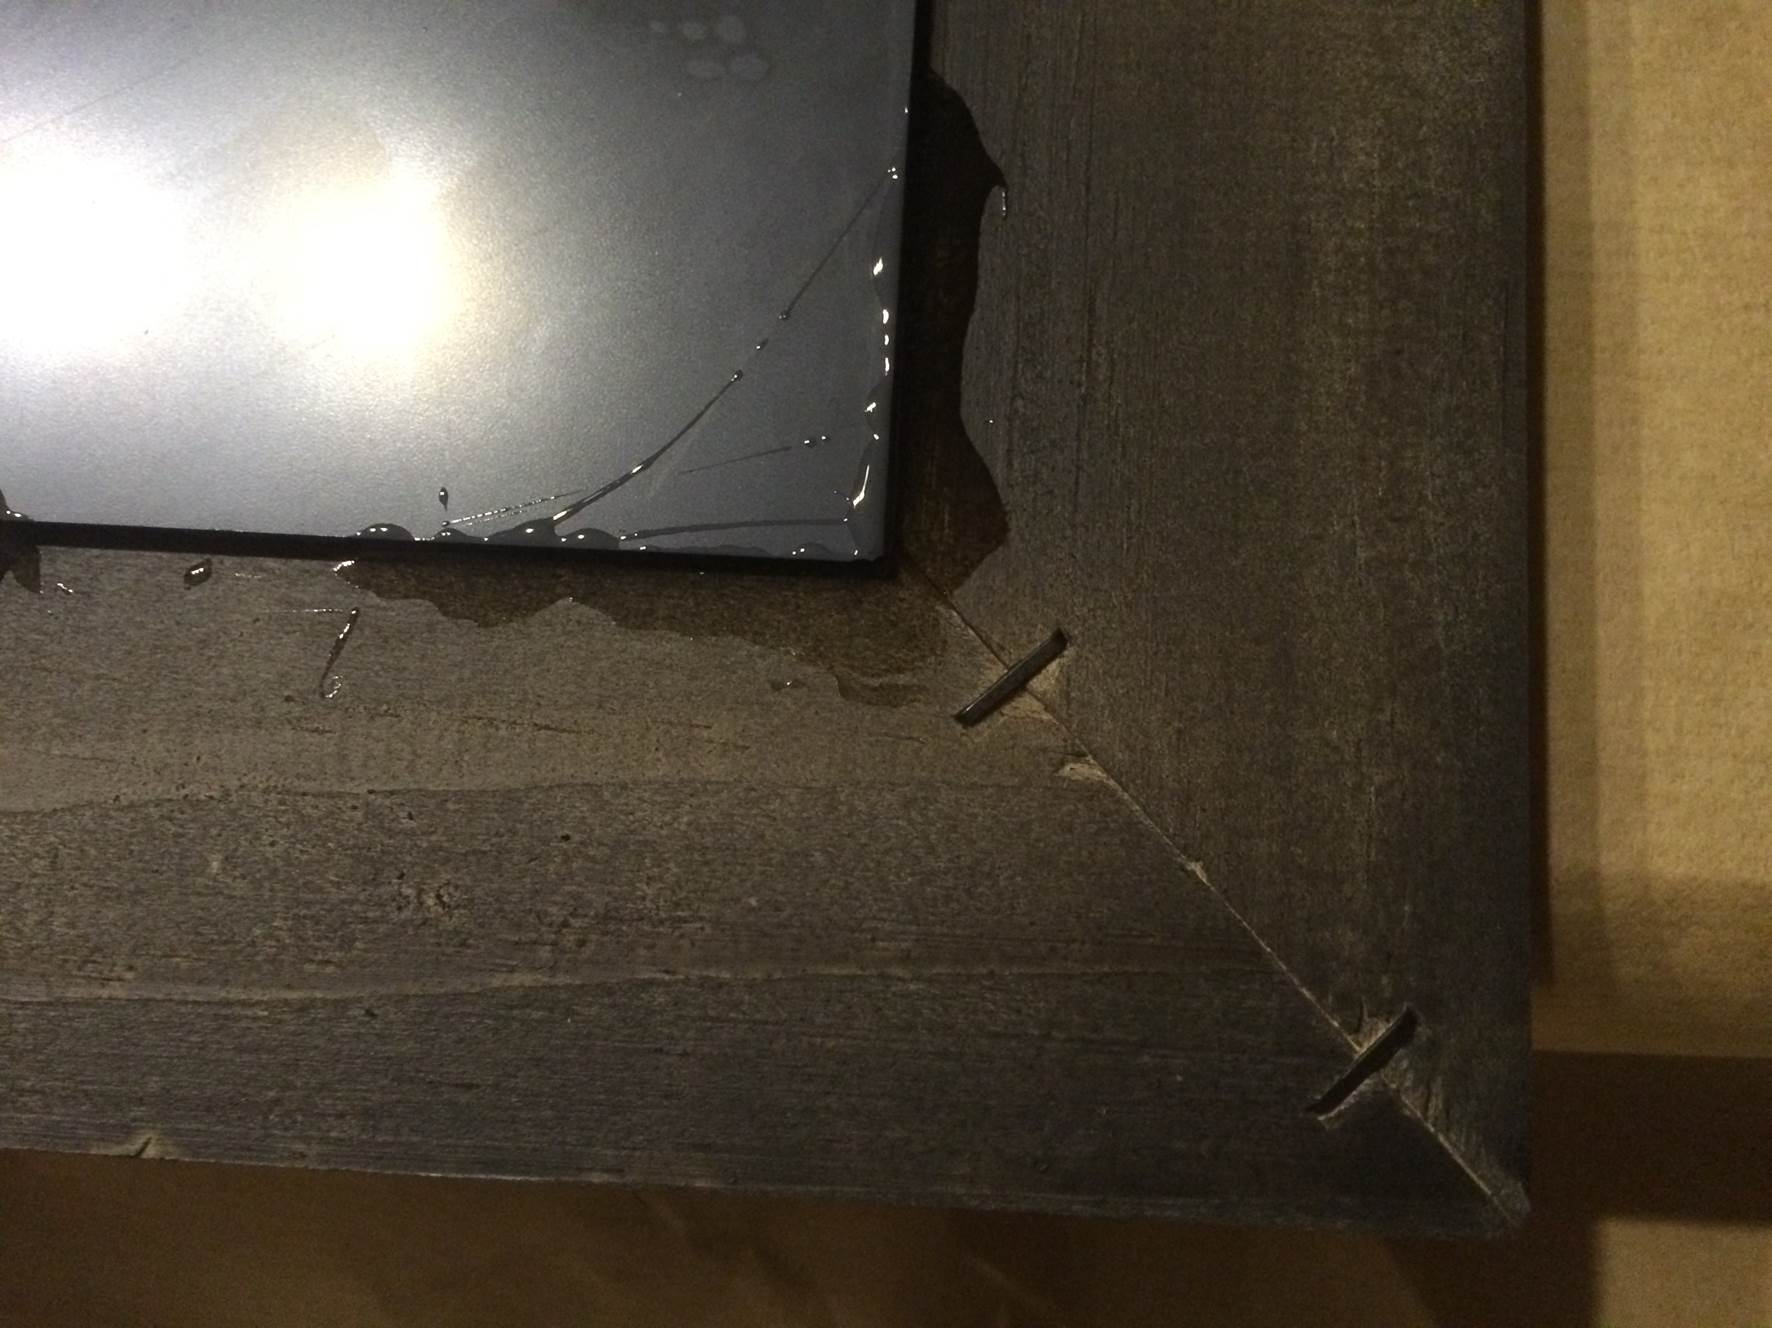
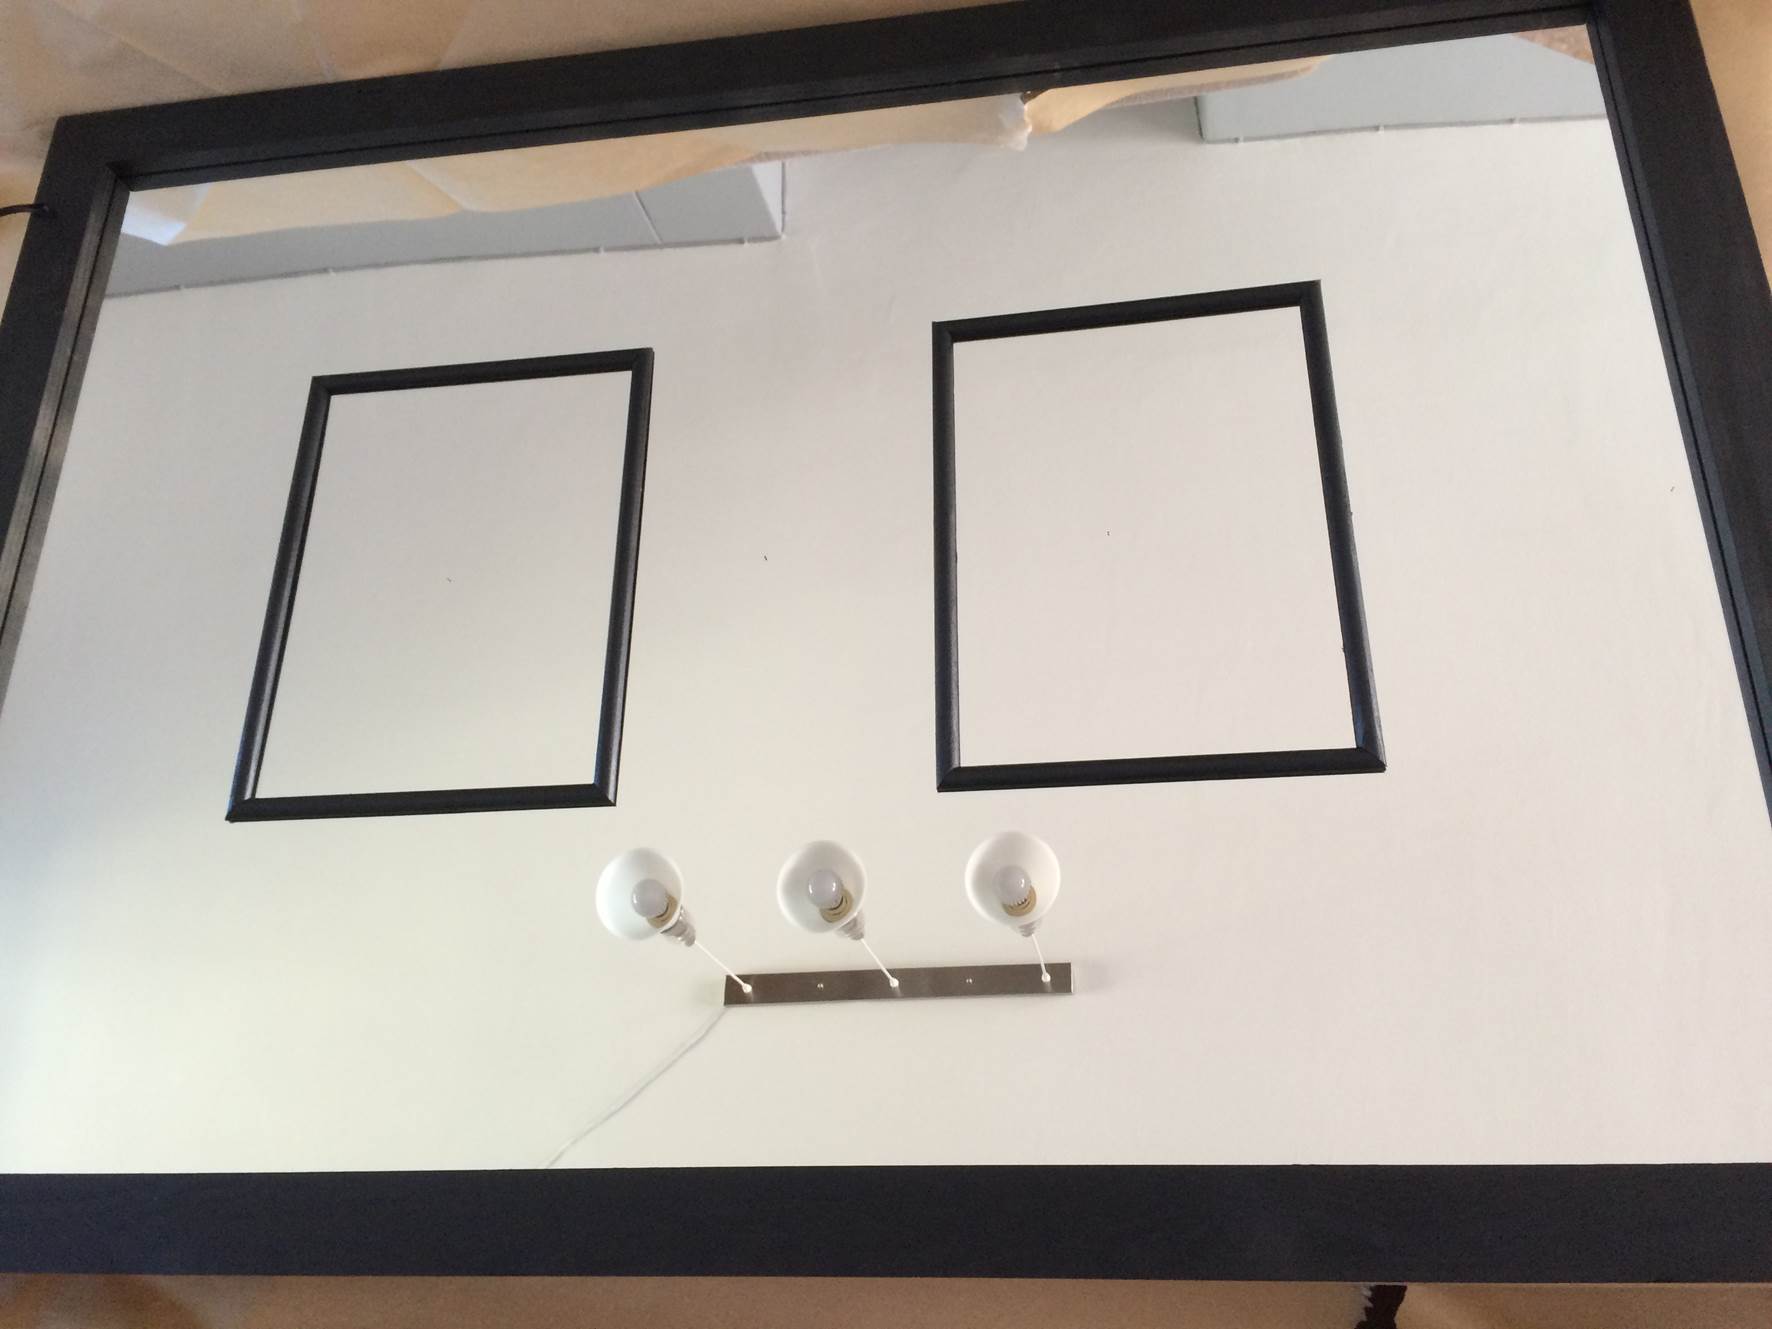
Now turn the mirror over. Use 17mm (3/4”) pine half rounds. Size two rectangles or squares which proportionally fit into your frame. Again, cut the edges at 45° such that they join together neatly to form a frame corner. Spray the back and front of the individual pieces. When the paint is sufficiently dry, epoxy the pieces in their rectangular shape on the mirrored surface. It may help to plot out your design with a permanent marker beforehand so that the sections are aligned and square. Excess epoxy is difficult to get off of the glass afterwards so use it sparingly. Allow the rectangle sections to cure before starting on the straight pieces.
For the straight pieces, measure the distance between the edge of the half rounds and the frame. Add on half of the width of the half round and make a square cut. Use a Dremel sanding tool to round the underside of the straight half round where it meets the rectangular sections such that a neat overlap is formed. Now spray the front and back of the straight edges, allow to dry and then epoxy them in place.
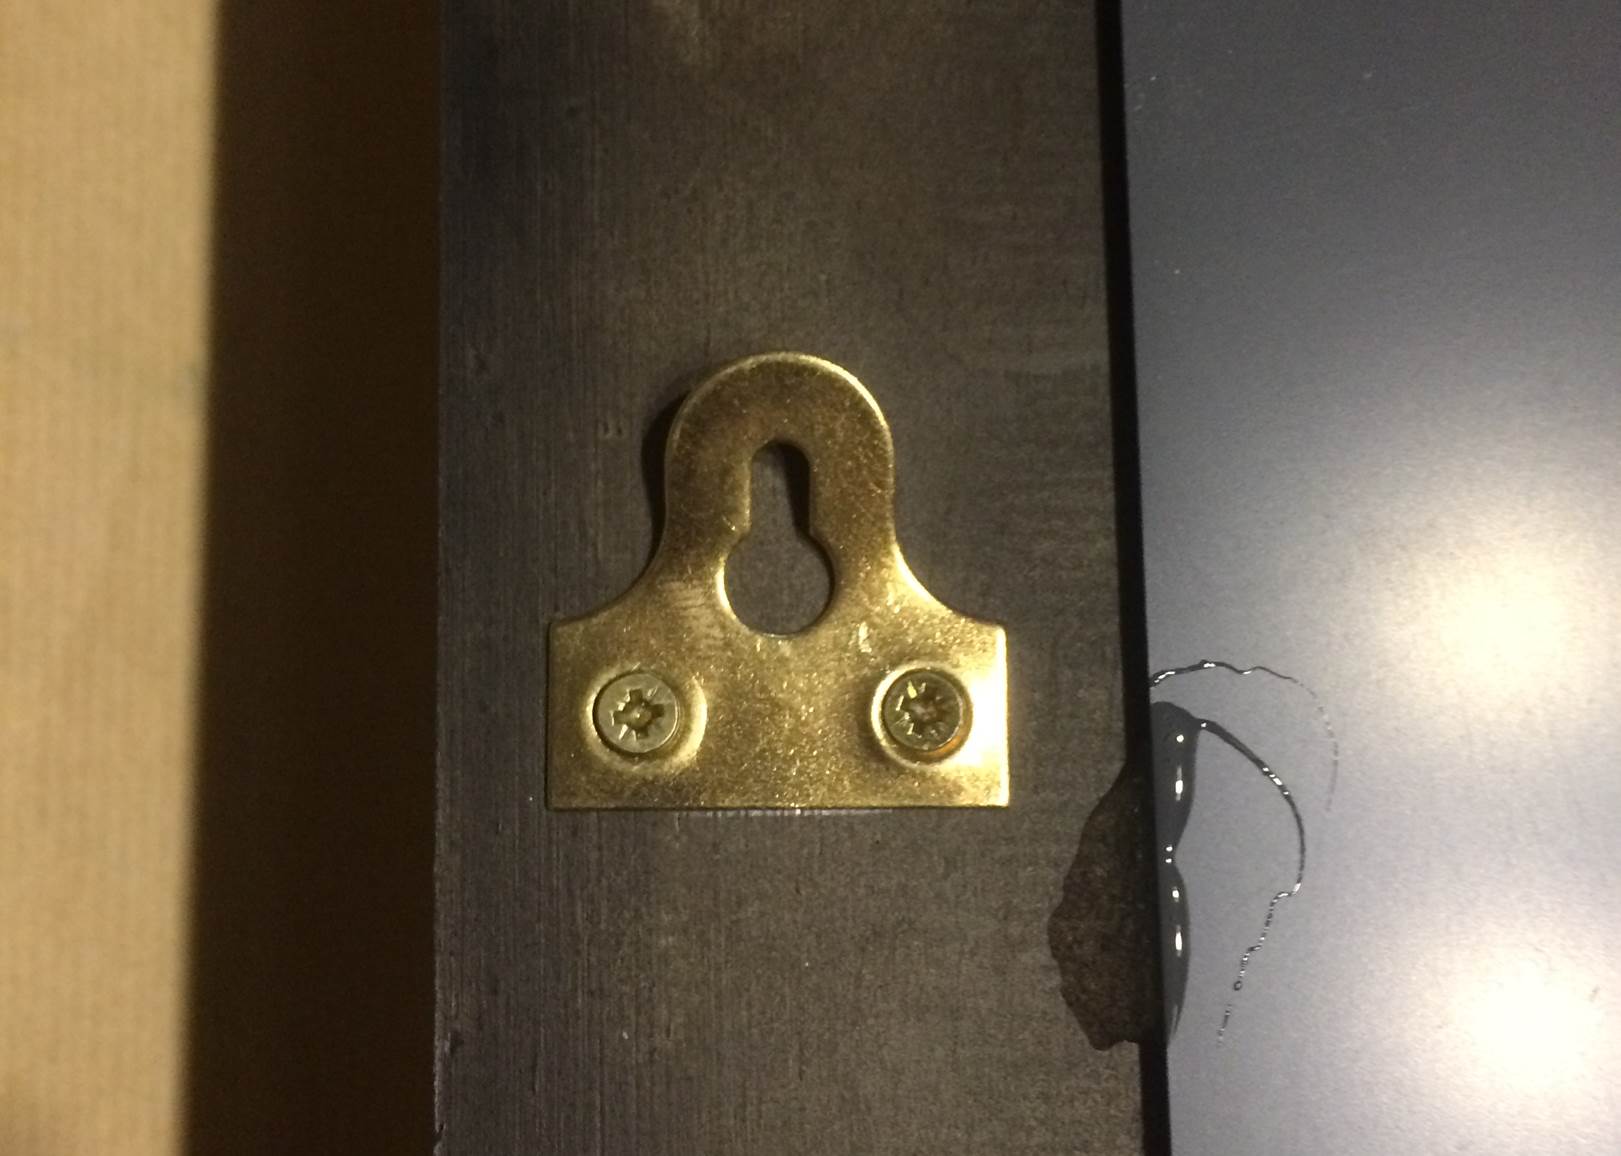
To hang the mirror, screw in two brass or steel picture mounting hooks about two thirds of the way up the back vertical sides of the frame. Do not use picture hanging wire on a very large mirror as the wire places additional side loads on the frame which it is not able to take. The sides of the frame will collapse inwards when the mirror is hung and the glass will break. Alternately picture hanging hooks can be fitted to the vertical sides or the horizontal top edge of the frame.