As a window cleaner one of the most common things we hear from our clients is, “how do you make that look so easy?” The truth is that many homeowners find washing windows a real chore, requiring time and energy that they simply don’t have. It’s a task that’s easily put off until it seems almost impossible to see out of the windows. Windows look great after being professionally cleaned, but it might be hard to incorporate into your budget on a regular basis. This article is designed to break down your home window cleaning into an easier, more efficient and, I believe, more enjoyable task. To start with we will take a look at what tools to use to make cleaning windows easier, then we will outline the easiest methods to carry out the job.
You’ve probably heard the old saying, use the right tool for the job. It’s no different with window cleaning, the tools that you use will make or break the job.
For example, hosing your windows off might seem like the easiest way to clean your windows. However, leaving tap water on the windows leaves a mineral residue that can etch into the glass. This can leave what is called “hard-water stains”, similar to what a damaged glass shower screen looks like.
You may also be tempted to use a spray-on window cleaning product, which are often touted as the best way to take off marks and smears. However, these products take far longer to use than a traditional squeegee and also leave a film of residue that attracts dust and moisture, meaning you have to clean your windows more often.
While you’re thinking about cleaning your windows, have a look at these things you should be cleaning but probably don’t.
Tools To Help You
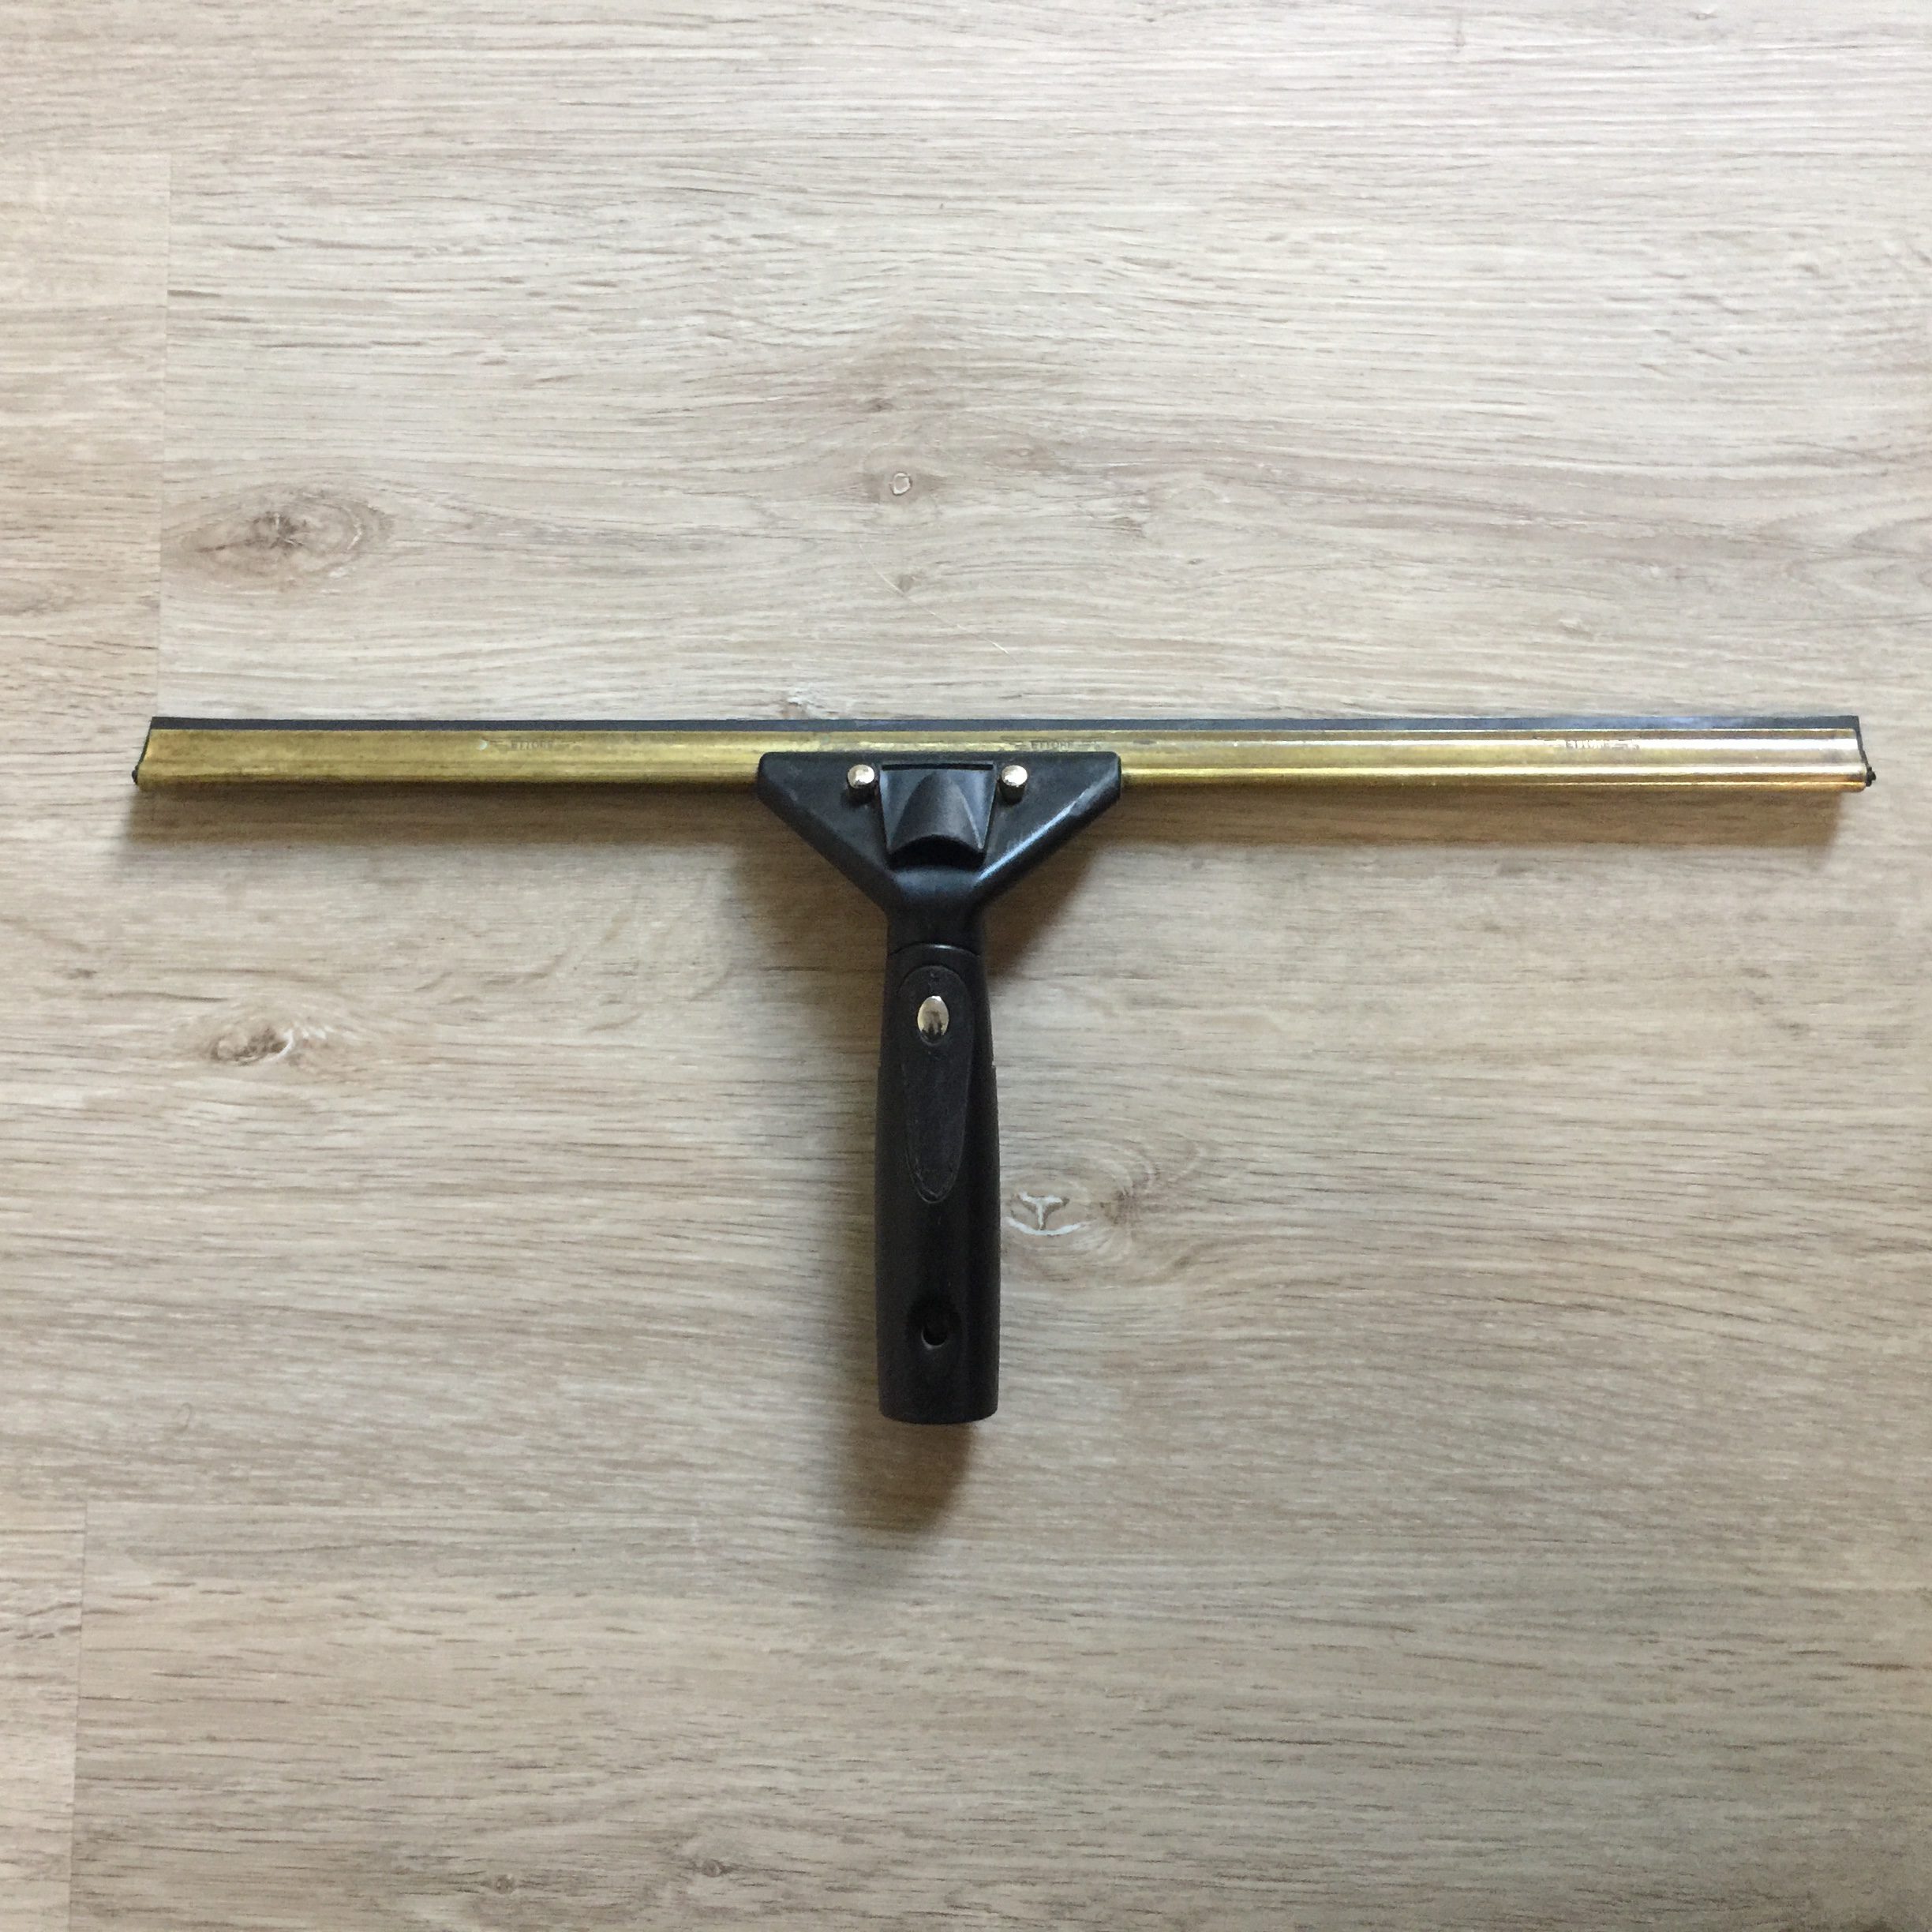
The best tool for cleaning glass is a good quality squeegee, or this one from Amazon. A squeegee does the hard work for you and is non-abrasive, leaving the surface of the glass clean and damage free. Once you learn to use the squeegee it also makes the job a lot quicker. Basically, you will get the best results in a shorter time.
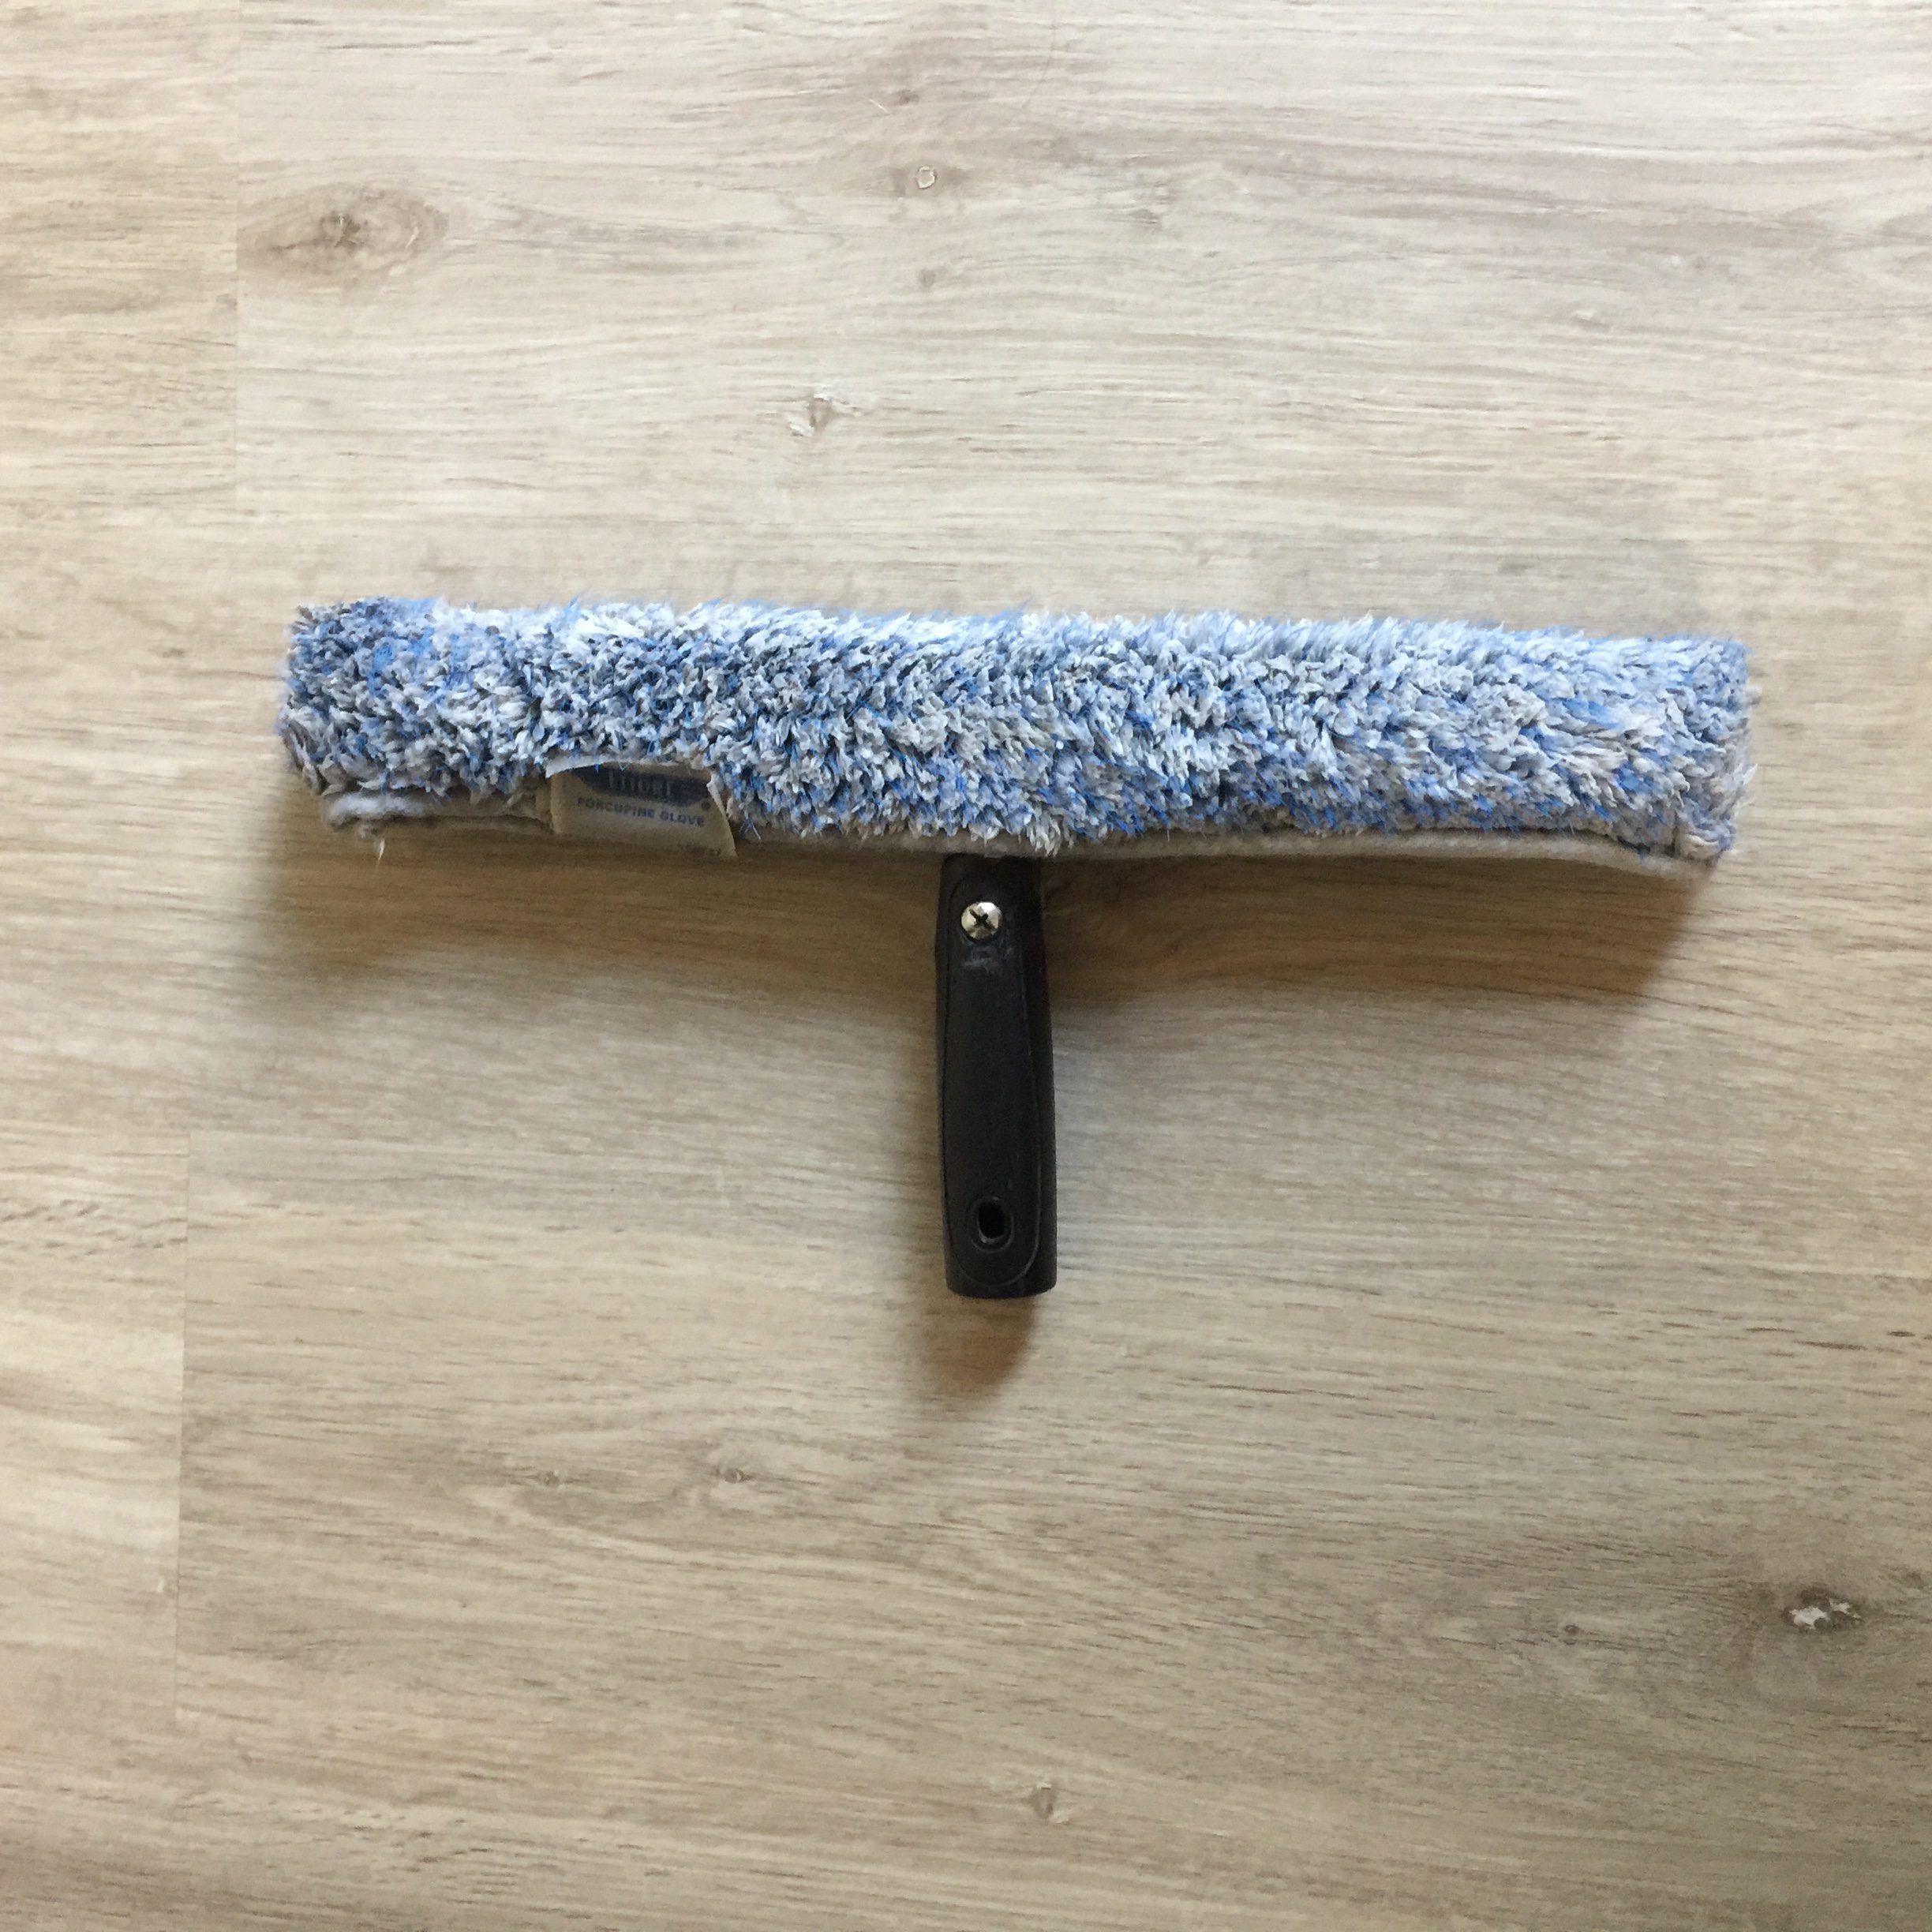
After you’ve acquired your squeegee of choice, you will need something to scrub the windows with. As a window cleaner we use an “applicator mop”. This is a quick, efficient tool to scrub the windows with. You could simply use a sponge or rag, basically anything that you can apply your window cleaning solution and do a little scrubbing with.
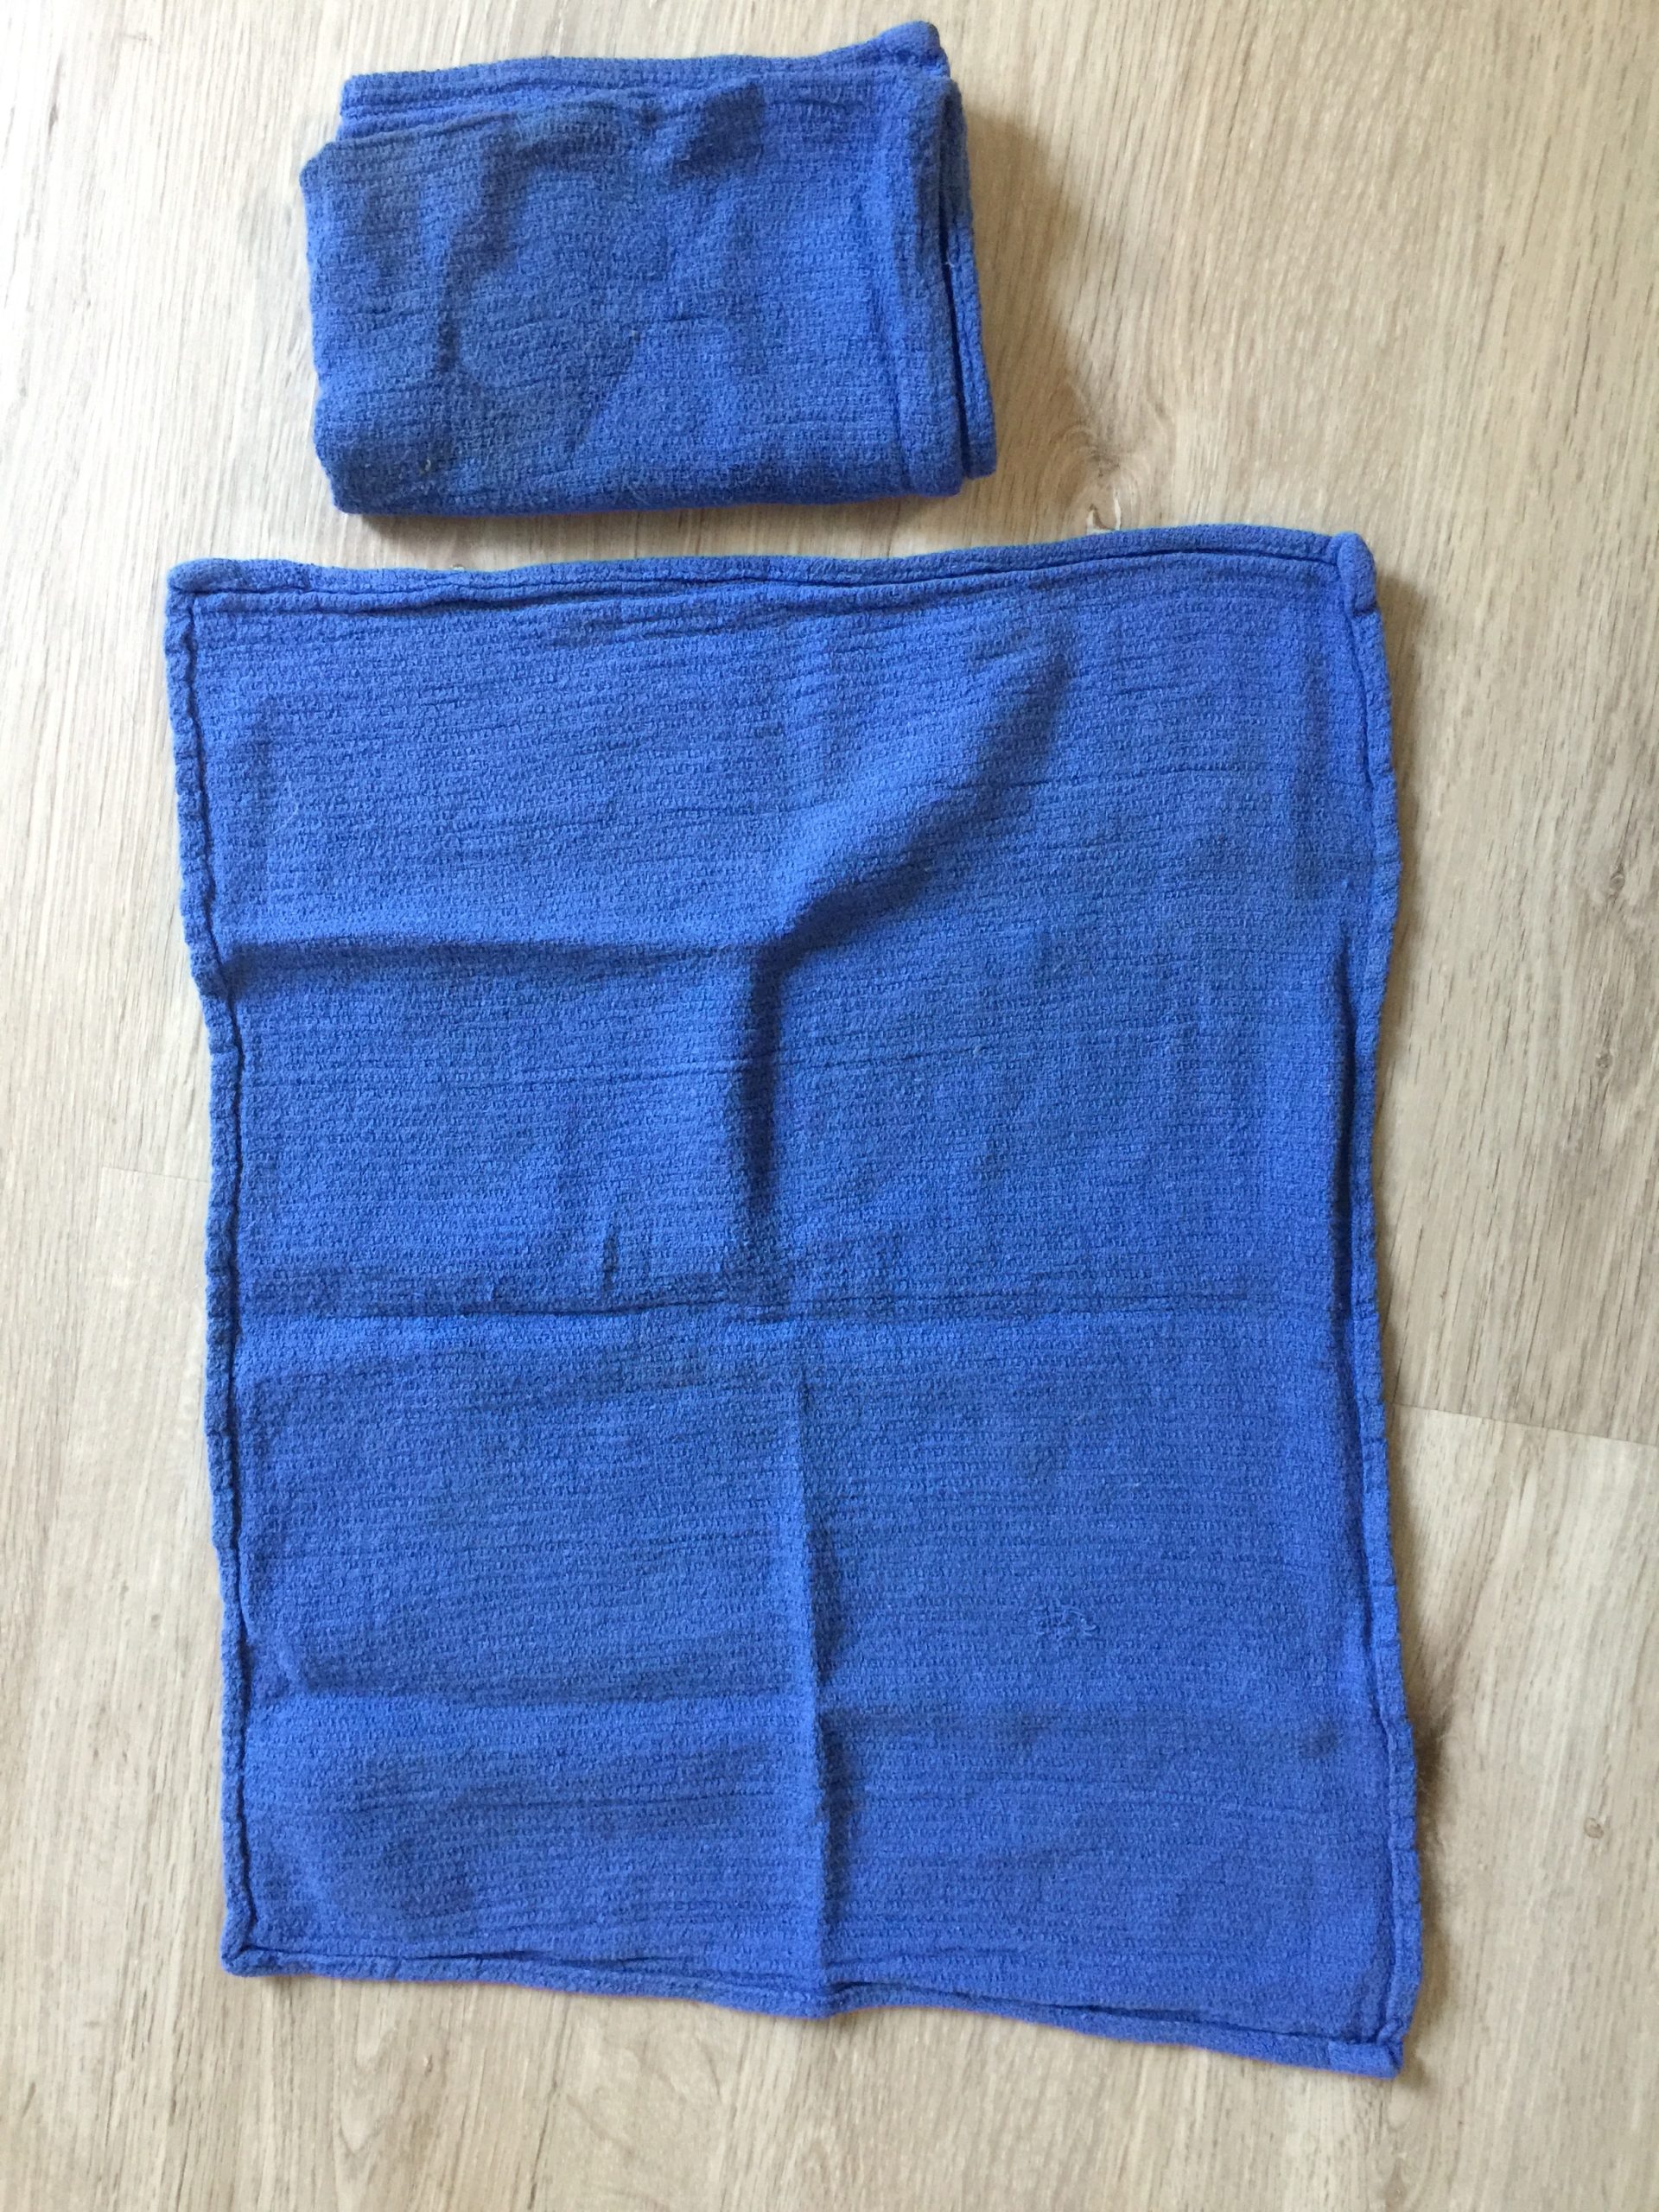
It is helpful to have a few microfiber cloths or some old rags to be used as “detailing” cloths. You don’t need anything fancy, just something that can soak up water.
Finally, before you get started you will also need water – warm is preferred – in a bucket to carry around from window to window. At this point you will need to add the magic window cleaning solution! It is, wait for it, wait for it . . . dishwashing detergent! Dishwashing detergent is the best cleaning solution for washing windows. When you prepare your bucket, give it a good long squirt of your dishwashing liquid for best results.
How To Clean Your Windows
Okay, now you are all kitted out with your window cleaning gear. You’ve got your bucket with soapy water, a squeegee, something to mop water onto the glass with, and a few rags. You are ready to do some serious window cleaning. Let’s go through a simple technique, that will mean you can clean windows with your squeegee quickly and efficiently.
- First, take whatever you are using to soap up the windows and give the glass a good wash, scrubbing where you need to. Your window should be left completely covered and dripping with water.
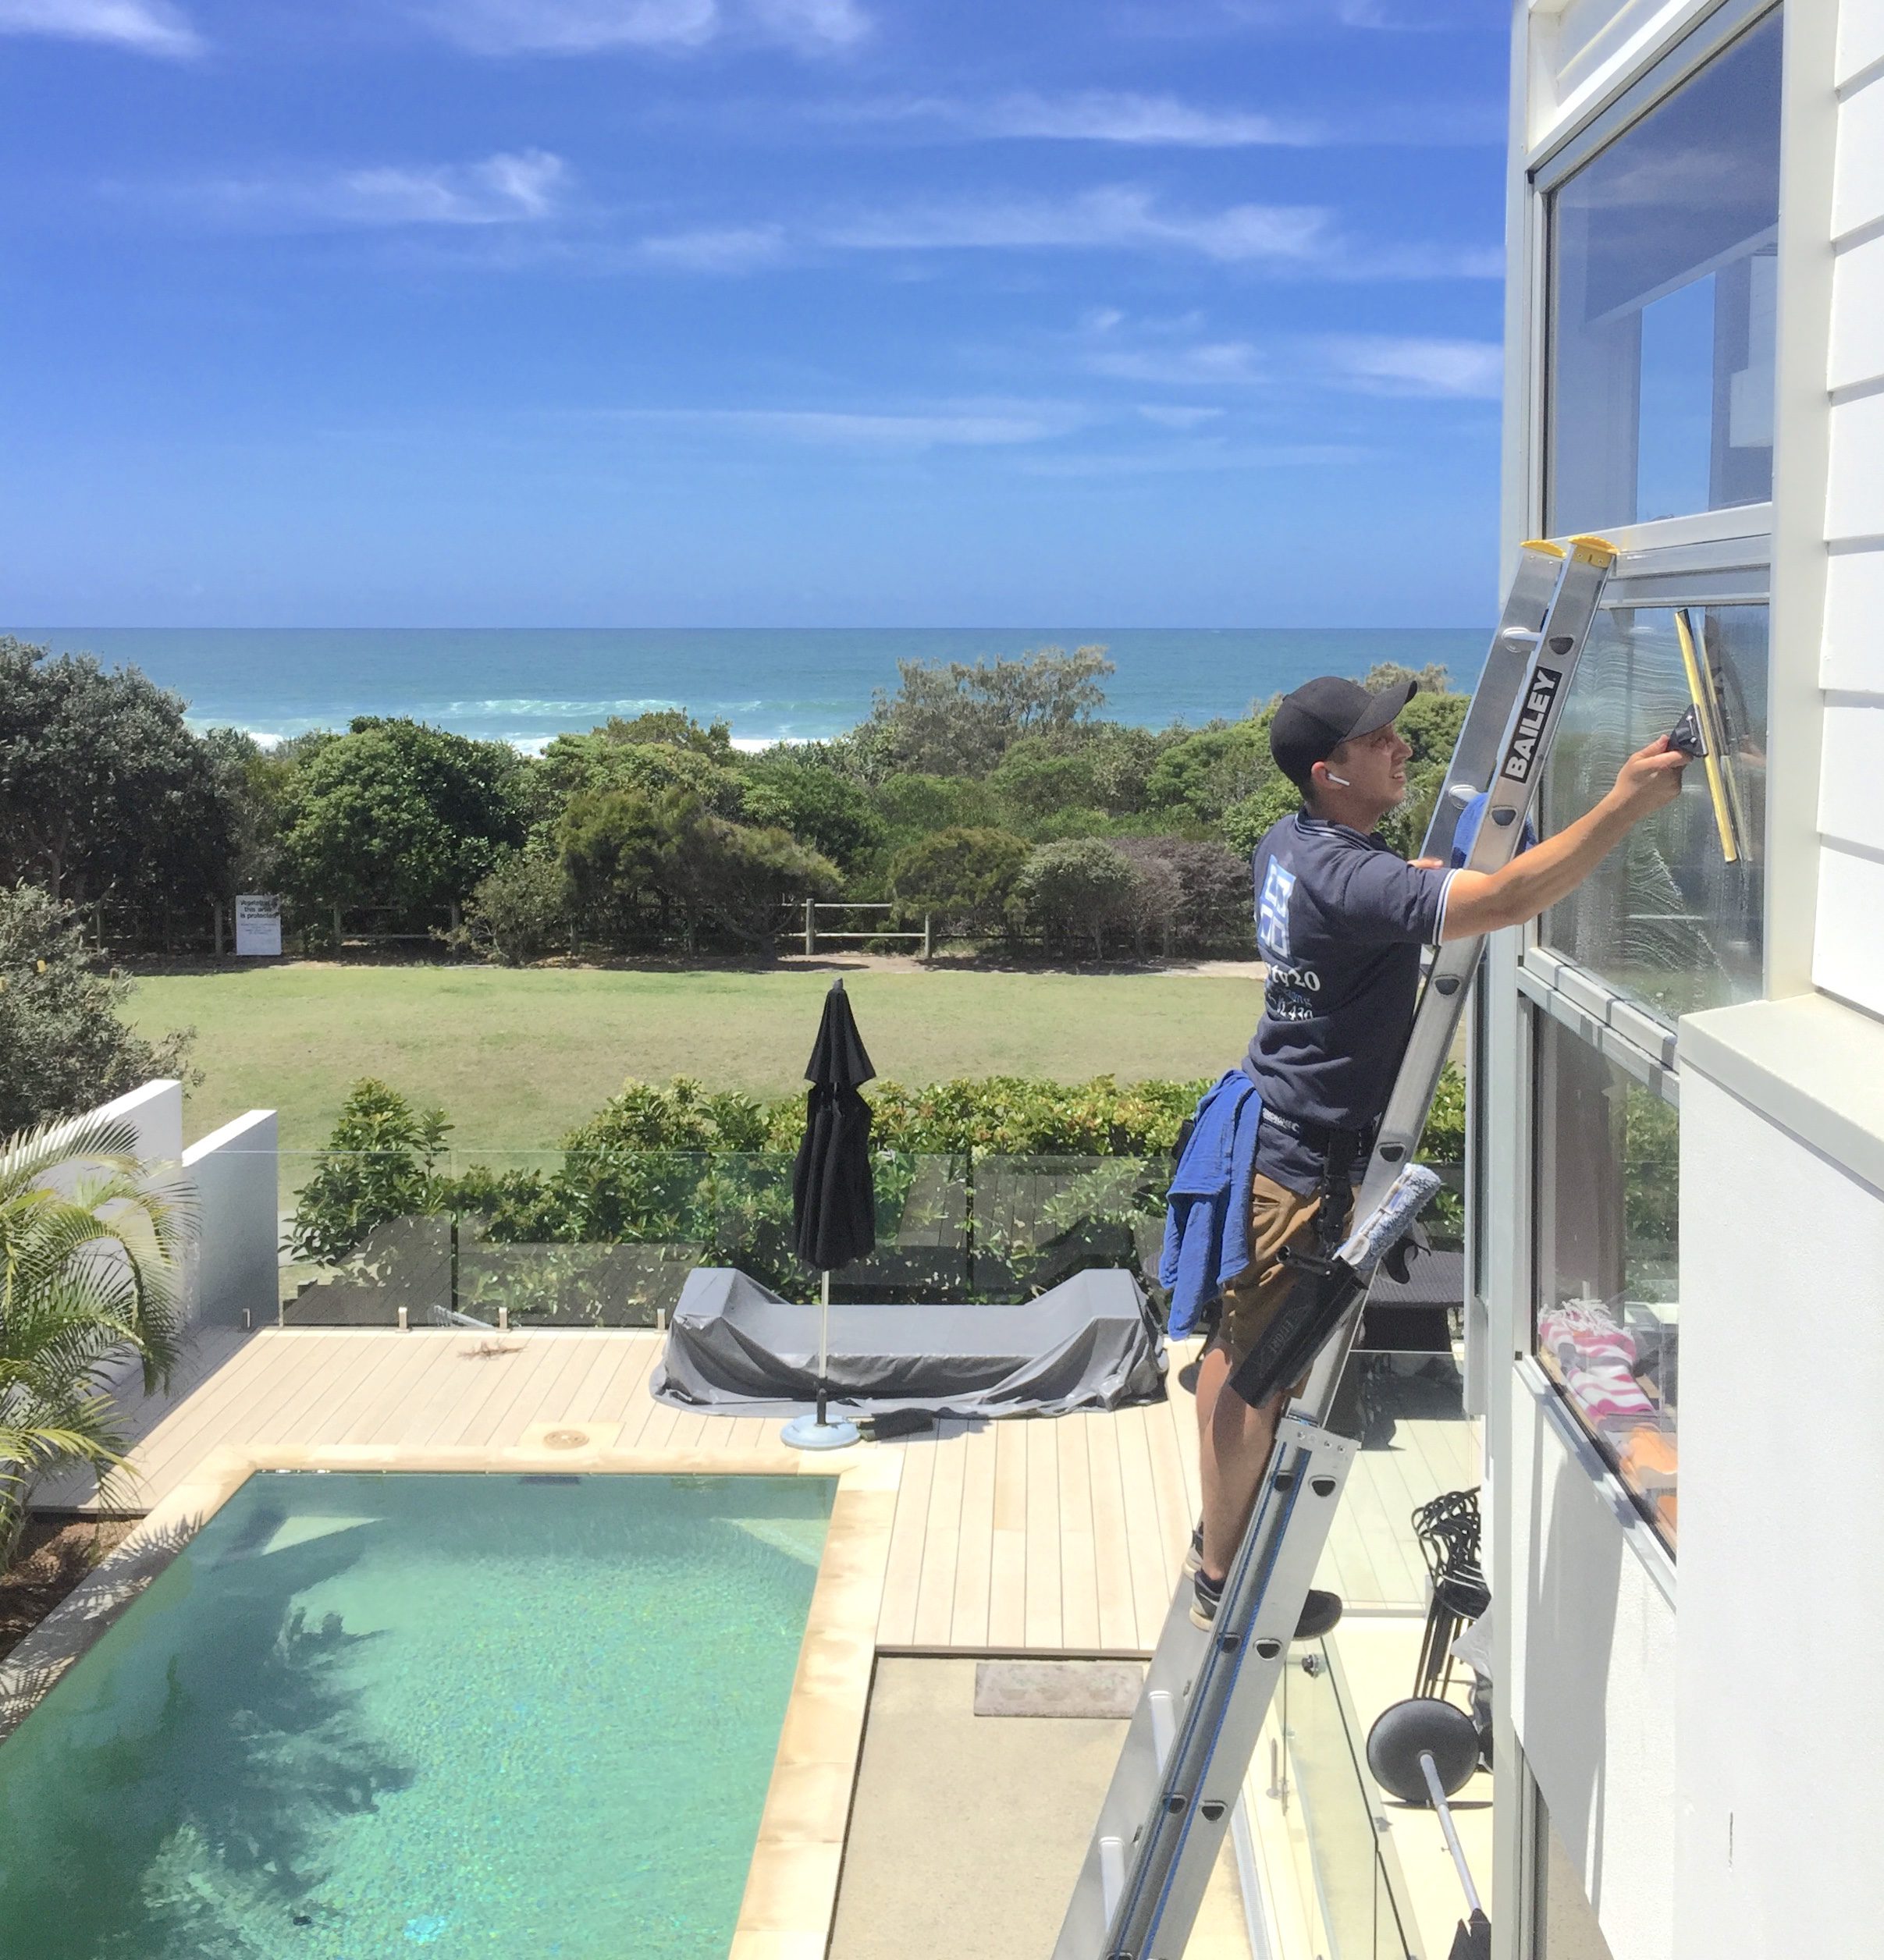
- Now it’s time for some squeegee action. Take the squeegee and from the top of the glass pane or window use the squeegee rubber to drag all the dirty water down to the bottom of the pane. Take a dry rag and wipe the squeegee rubber reasonably dry.
- Repeat the last step, moving over to where there is still water left on the window, drag the water down to the bottom of the window or pane. To squeegee like a real professional, angle the squeegee down so that the dirty water streams out the back end of the squeegee.
- After repeating this process a few times, your window should be completely dry and clear of water. If you have angled the squeegee correctly there shouldn’t be any streaks.
- You may however have a few beads of water where the pane meets the frame, the sides, top and bottom. Taking a dry part of your rag on the end of your index finger to detail the pane by running your finger along the edges.
- The bottom of the pane should have quite a lot of water run-off from your handy squeegee work. Using a rag, mop this water up. You can also take this opportunity to use the water run off and the rag to clean out your window tracks, sills or sliding door runners.
- Now move to your next window! You will get faster and faster as you master the squeegee.
- If you are feeling really confident with the squeegee you can actually squeegee from side to side on the glass pane, snaking the water down as you go. This is how professional window cleaners get even less streaks.
This is more or less the same method that we use as professionals, just with a few little tweaks. Check in at Twenty20 Window Cleaning’s blog for more window washing tidbits. There’s no doubt that cleaning windows can be hard work. However, by following this short guide it should be quicker, you will get a better finish, and your windows will stay cleaner longer! It’s a win all round! If window cleaning is your type of chore it can even become therapeutic. Just imagine wiping that dirty water off the glass with your squeegee is like wiping away all of the grime and dirt out of your life, leaving you with clear vision and a clear head!


