Do you want to build and control your own cloud storage? Here’s an easy guide to build a home based cloud storage solution that’s inexpensive and requires no coding experience, just follow these steps to get it set up.
The whole project takes about an hour to put together and set up and costs around $100 depending on the availability of components in your area/country
What You Need To Build Your Own Cloud Storage
- Raspberry Pi 3
- Western Digital PiDrive (314GB and 1TB available)
- Micro SD Card (4GB or More)
- Ethernet Cable
- HDMI Cable (For Setup)
- Monitor (For Setup)
- USB Keyboard and Mouse (For Setup)
How To Build Your Own Cloud Storage
The building of your cloud storage system is done in two parts, the hardware needs to be connected and then the correct software needs to be installed and configured. The HDMI cable, monitor and USB keyboard and mouse are only required to do the software setup. Once the cloud storage is working, you can disconnect these devices. This allows the setup to use less power and fit into a smaller space.
Enjoy having the freedom to not carrying your bulky external storage devices and instead rely on cloud by accessing your files and media with a windows 7 virtual desktop on the go on your favorite mobile device. With 24*7 support from Apps4Rent.
Connecting The Hardware
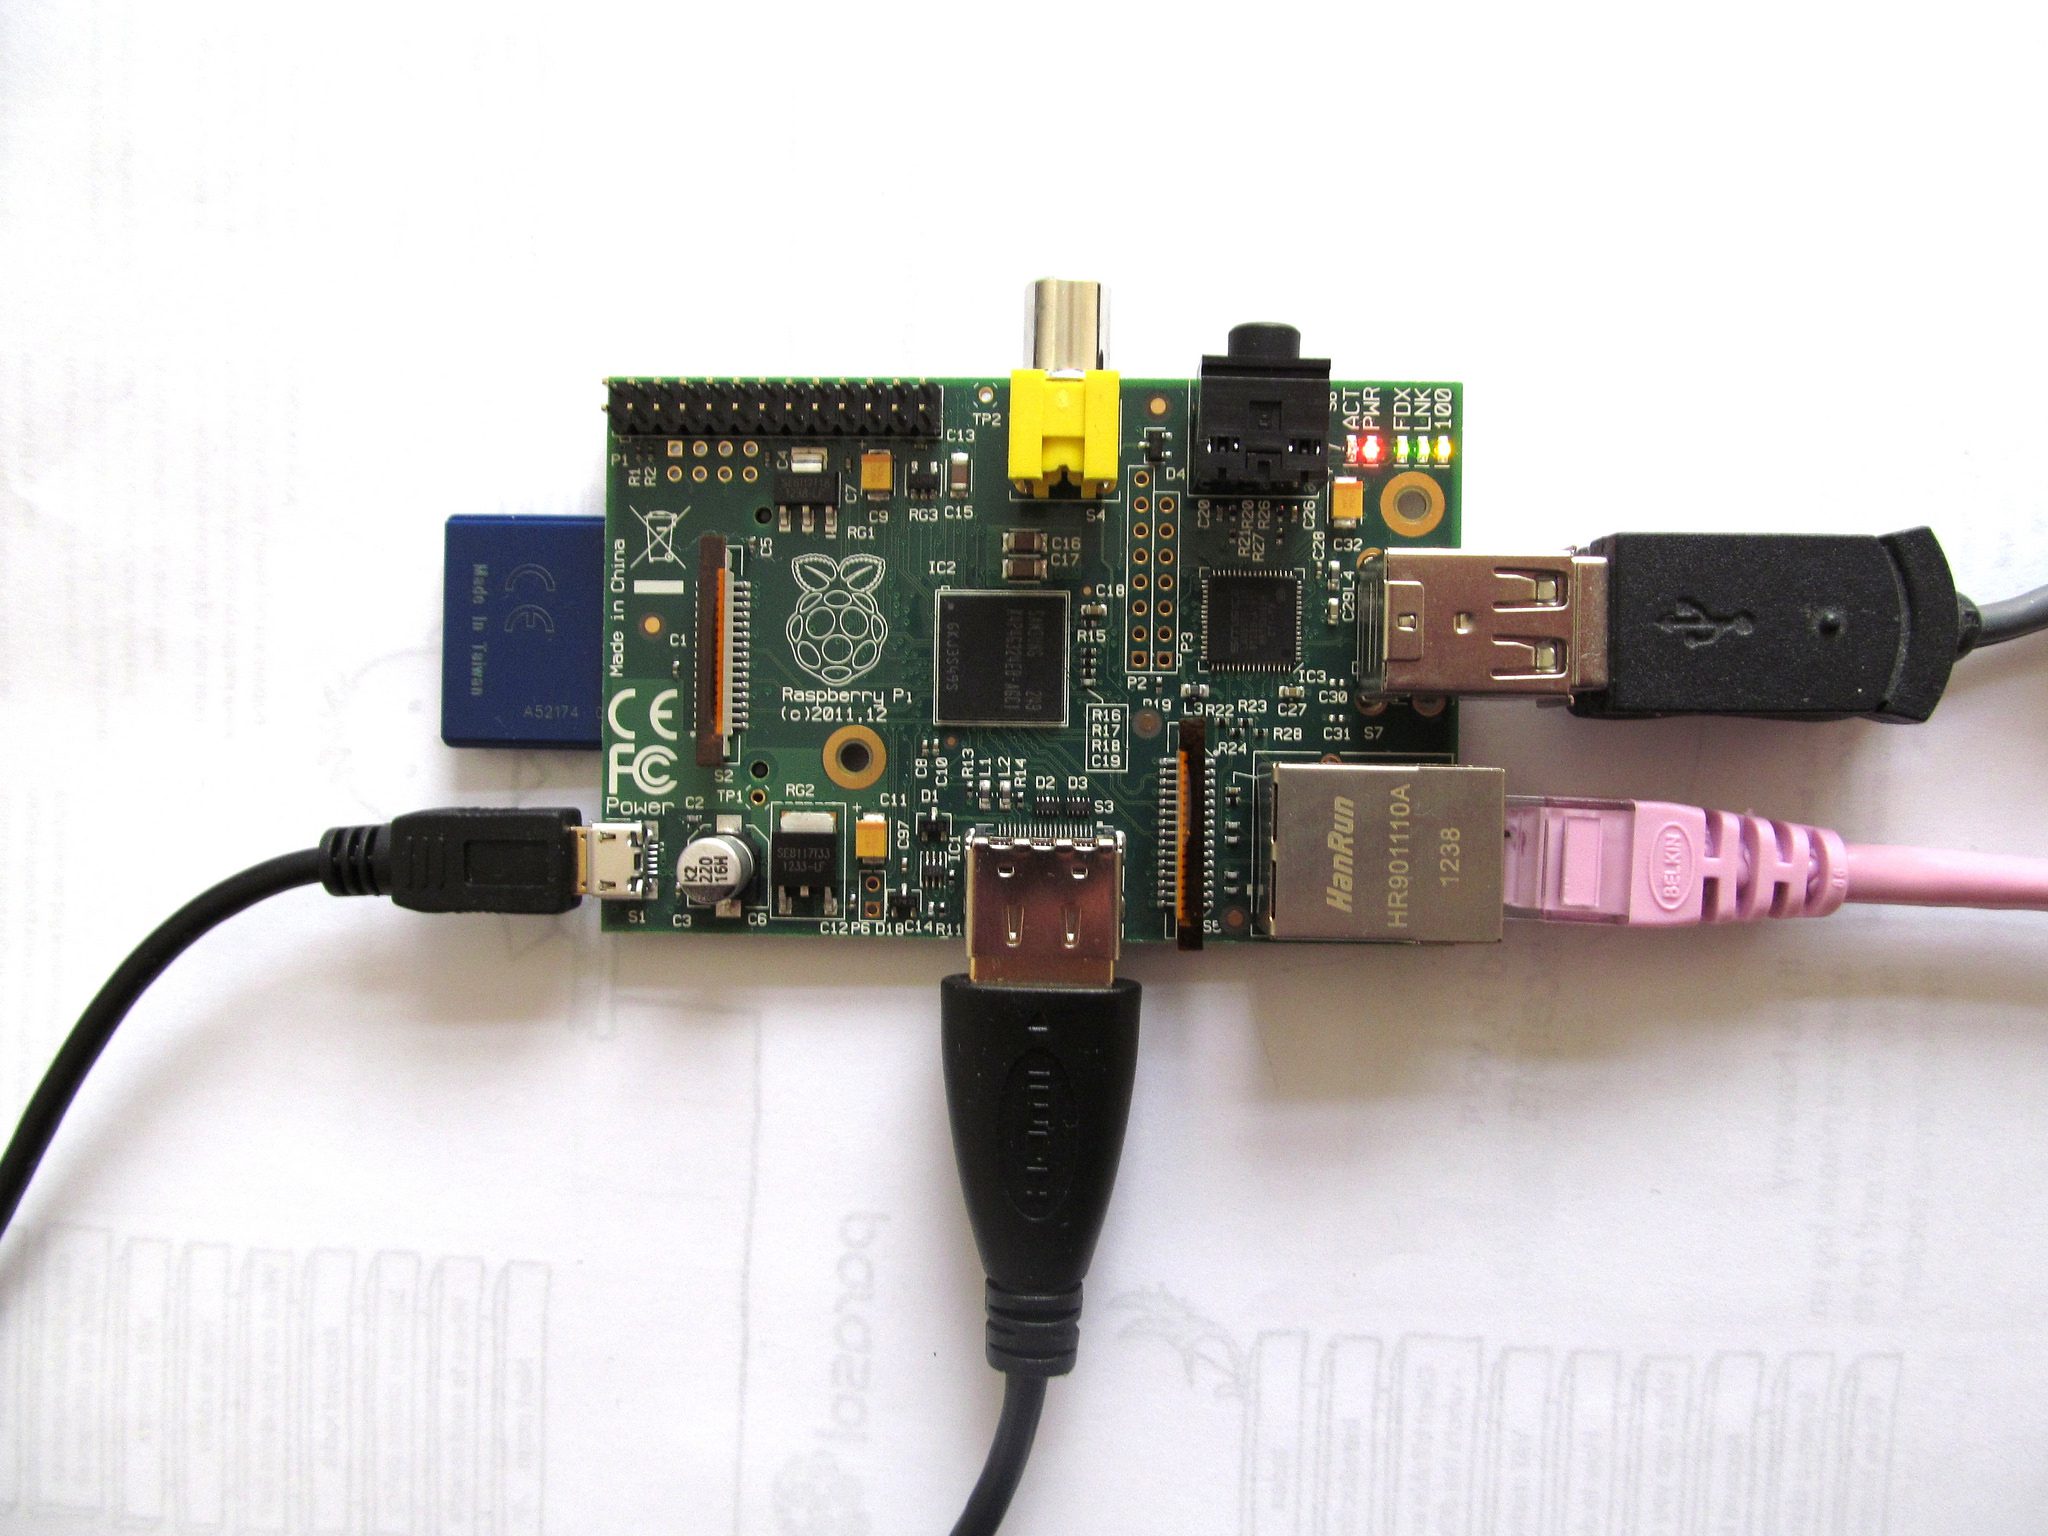
First plug the hard-drive into the Raspberry Pi. The hard-drive plugs into the mains and then connects to the Raspberry Pi via one of its USB ports. A micro USB plug is also provided on the hard-drive wiring harness to power the Raspberry Pi, plug this into the Pi’s micro USB socket.
Use the Ethernet cable to plug your Pi into your router to provide a network/internet connection.
Plug the monitor into the HDMI port on the Pi and the keyboard and mouse each into a USB port.
The microSD card plugs into the Pi’s card reader, keep it for the time being as you need to load software onto it before plugging it in.
Loading the Pi’s Operating System
Plug the microSD card into your laptop’s card reader or using an adapter.
Go to raspberrypi.org and download Raspbian NOOBS which will then install the Pi’s Linux based operating system. In the NOOBS folder there is a file called INSTRUCTIONS-README.txt, follow the instructions in this file to load the operating system onto the microSD card.
Plug the microSD card into the Pi and then power up your Pi via the hard drive.
The monitor should now take you through instructions to install NOOBS which takes around ten minutes or so.
Configuring the Cloud Storage
Now you need to configure the Raspberry Pi to tell it how to manage the storage on the hard-drive. This will be done through the Pi’s command prompt system, it may seem confusing at first but if you follow the instructions presented below paying careful attention to the syntax, it’s really quite easy.
Click on Menu > Accessories > Terminal. A black window will pop up which allows you to type and enter commands. Throughout the commands listed below, <Enter> denotes pressing the Enter button on your keyboard.
Start by typing:
dmesg | tail -n20 <Enter>
You will get a reply which looks like this: [5.860566] sd 0:0:0:0: [sbc] 1953547193 512-byte logical blocks: (1.00 TB/931 GiB)
In this case, the drive name is sbc but yours may be sda or sdc, change the name accordingly below and type in:
sudo mkfs.ext4 /devsda -L “Data” <Enter>
sudo mkdir /mnt/data <Enter>
sudo mount -t ext4 -o “noatime” /dev/sbc /mnt/data <Enter>
sudo mkdir /mnt/data <Enter>
sudo nano /etc/fstab <Enter>
Please the down arrow to move the cursor to a new line, then type in this:
/dev/sbc /mnt/data ext4 defaults,noatime,nofail 0 2 <Enter>
Then press these keys in order <ctrl + x>, <y>, <Enter>
The hard-drive is no set up and ready to run. You now need to install the BitTorrent Sync with these commands:
wget “https://download-cdn.getsync.com/stable/linux-arm/BitTorrent-Sync_arm.tar.gz” <Enter>
tar -zxvf BitTorrent-Sync_arm.tar.gz <Enter>
./btsync –webui.listen 0.0.0.0:8888 <Enter>
cd ~/.config/ <Enter>
mkdir autostart <Enter>
nano autostart/syncstart.desktop <Enter>
[Desktop Entry] <Enter>
Type=Application <Enter>
Exec=/home/pi/bysync –webui.listen 0.0.0.0:8888 <Enter>
And then save what you have done by pressing these keys in order <ctrl + x>, <y>, <Enter>
Find your Pi’s IP address by typing ifconfig <enter> into the terminal as you have just done for the setup. One of the fields will be inet addr and then a number like 192.168.1.3, this is your Pi’s IP address.
On your computer (PC or Mac) connected to the same network, open your web browser and enter the Pi’s IP address: http://192.168.1.3:8888/gui. Follow the prompts given on screen and setup an account. When you get to the main account page, click on Add Folder and choose the folder you created called /mnt/data, this is a folder on your PiDrive. Make sure the the Read & Write box is checked which allows other devices to access it. Leave this browser window open.
Open another browser window and go to: https://get-sync.com/platforms/desktop/. Install the app and open it. Now go back to the browser window with Sync open to Share -/mint/data. Click copy and then paste that URL into a new browser window. This URL will open your Sync desktop app and add your /mnt/data folder to it.
Approve the Sync request from your control panel (the one you copied the URL from) and it’s complete. If you’d like to upload files from your phone or tablet, download the Sync app and open the copied sharing URL or QR code on your desktop. You’ll need to approve it on the new devices as well.
You can now send files to your personal Cloud Storage from anywhere.
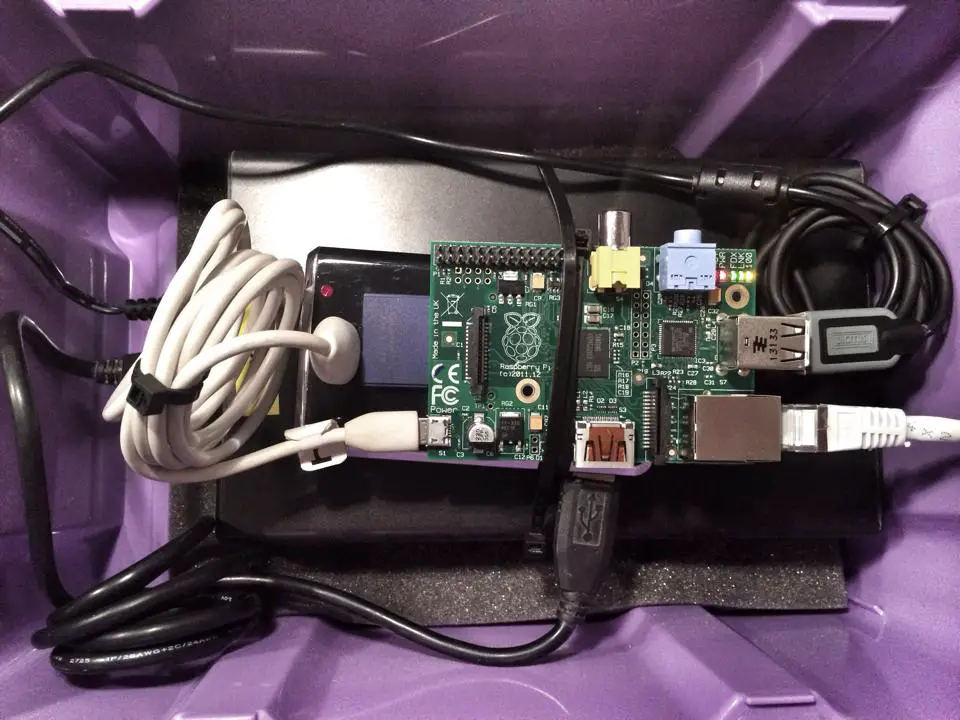
Here’s a working Raspberry Pi cloud storage server which has been built into a small storage container:
Home Server by Kristian Mollenborg
Have you built your own Raspberry Pi or other platform Cloud Storage? Let us know in the comments section below!
If you enjoyed this project, you may be interested in building your own home automation system by connecting an Arduino to the internet.
Share This Guide:
Cover And Setup Images: Raspberry Pi by Clive Darra. All images in this post are used and modified under CC BY 2.0.


Correct me if I am wrong, but it seems like a fair amount of these commands have errors such as:
sudo mkfs.ext4 /devsda -L “Data” {{/devsda should be /dev/sda}}
sudo mount -t ext4 -o “noatime” /dev/sbc /mnt/data {{ /dev/sbc should be /dev/sdc }}