In browsing through Wish for some electrical components for upcoming projects, I stumbled upon this DIY Tesla Coil kit advertised for $5. I’ve seen them online before on EBay and Aliexpress etc. but never given them much thought. But for $5, I thought I’d try one out. This was my first kit-form electronics project I’ve bought and while it presented a few challenges, it was relatively easy to get working and the quality of the components wasn’t too bad.
Here’s a video of the build and testing, read on for the write up.
What Was Delivered
I ordered the Tesla coil kit early in January. It took and about two weeks to be delivered, which wasn’t too long a wait but is certainly a lot longer than local products from Amazon or EBay.
Here is the link to the kit from Wish and an equivalent from Amazon if you don’t want to wait for it:
- Tesla Coil Kit from Wish
- Tesla Coil Kit from Amazon
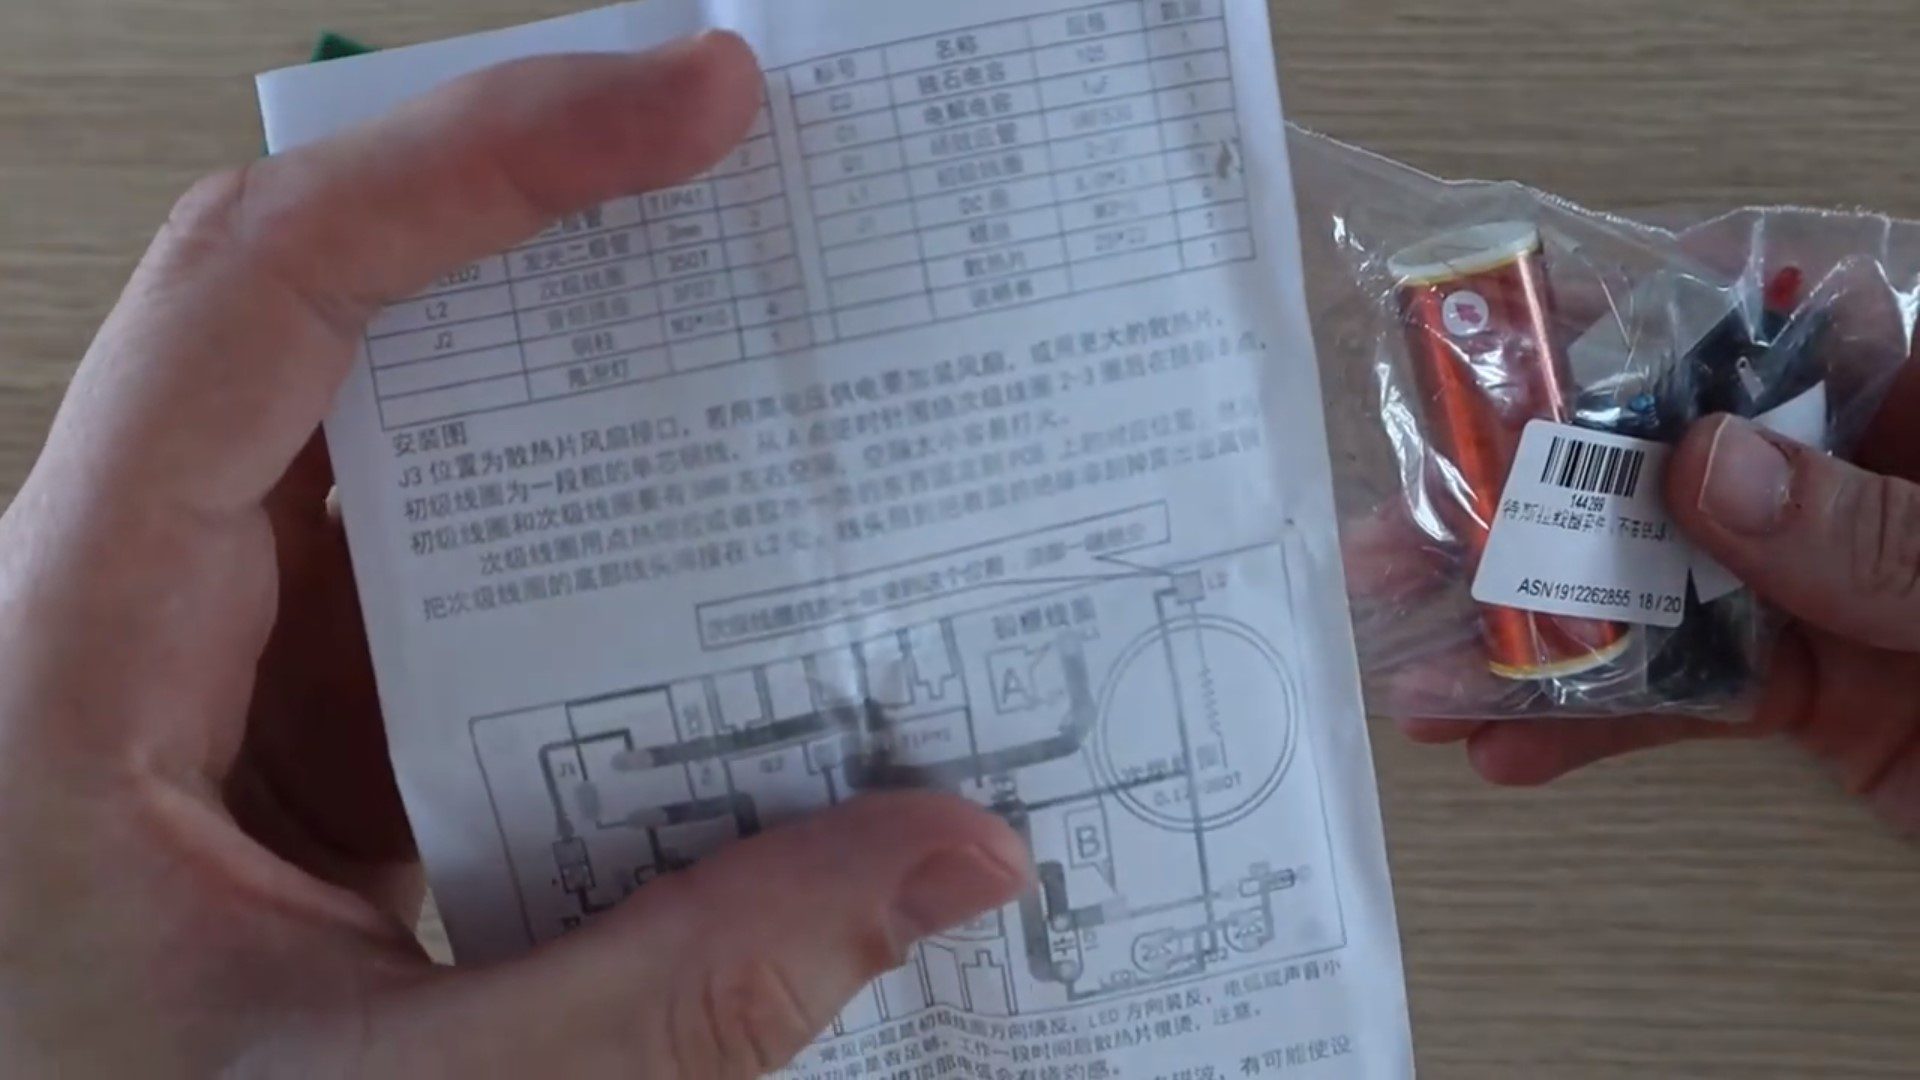
The kit came pretty well packaged in bubble wrap and included the components as shown below.
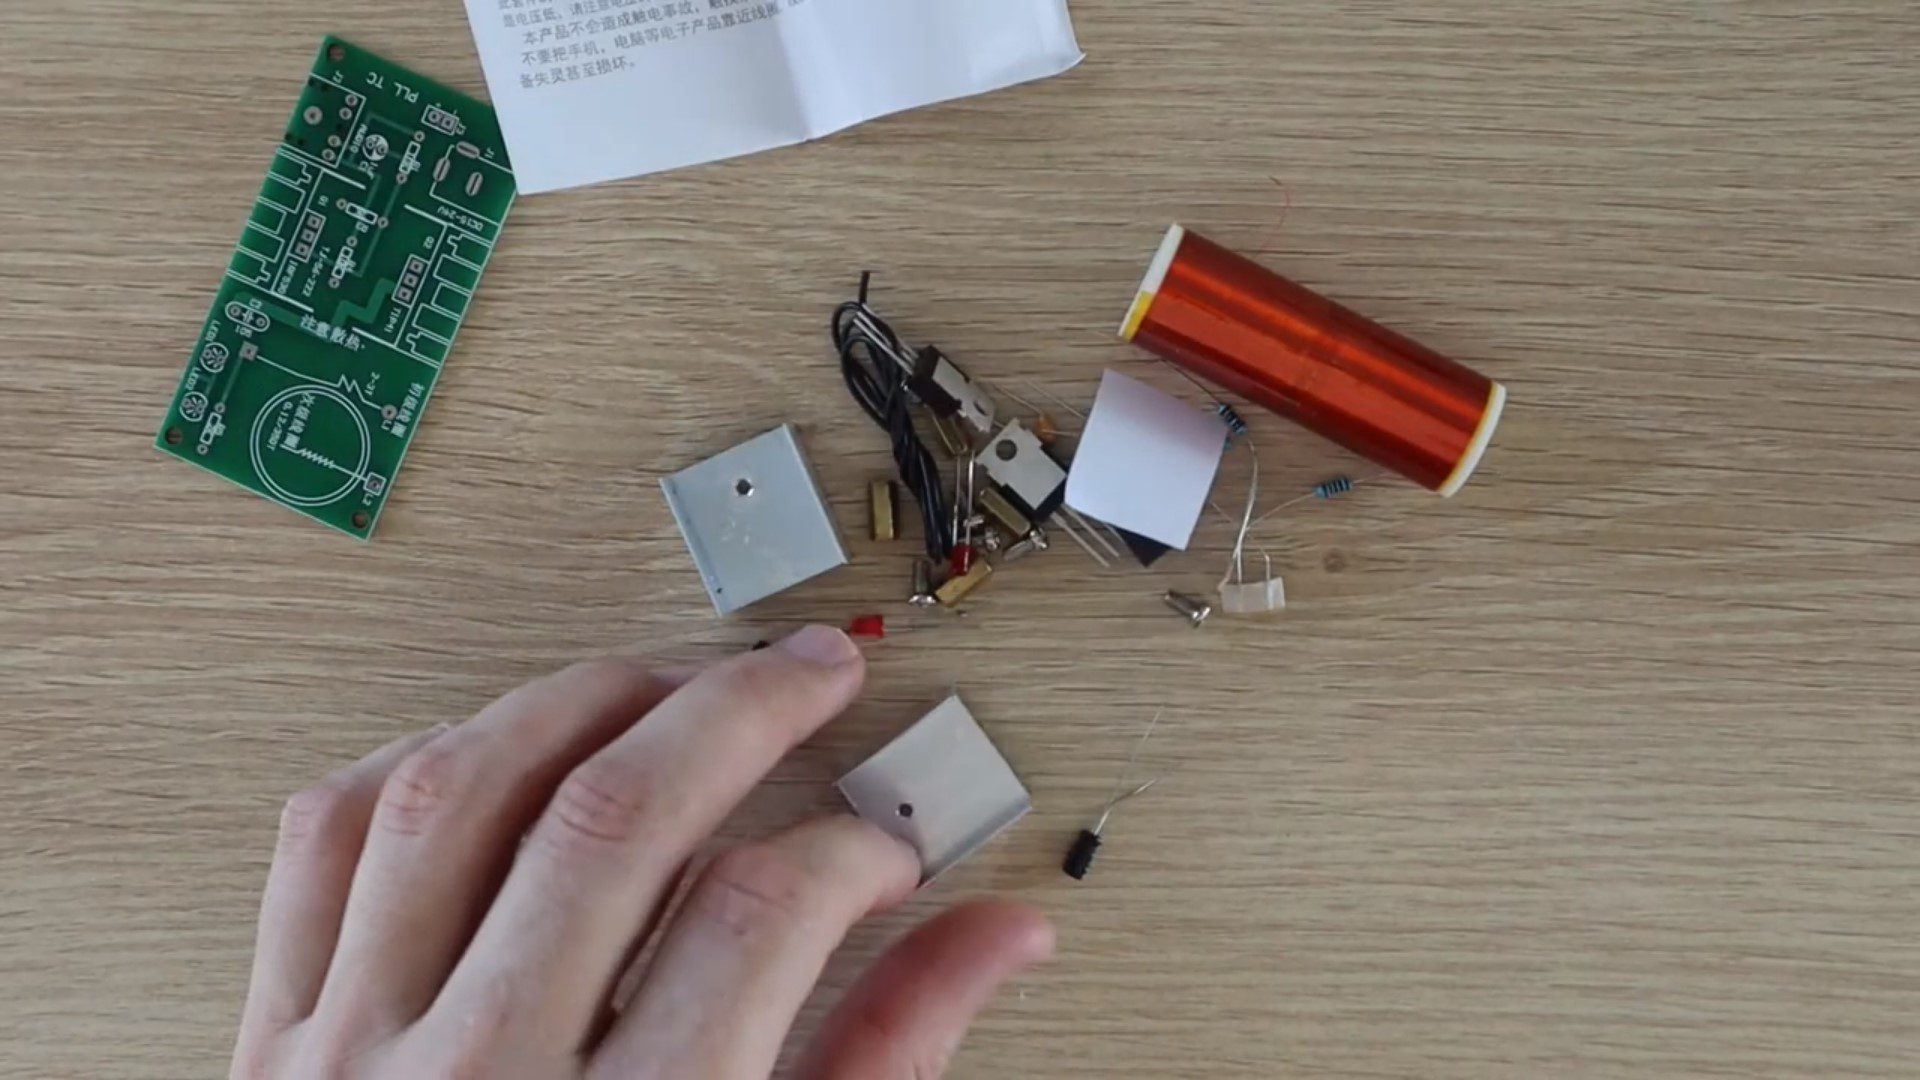
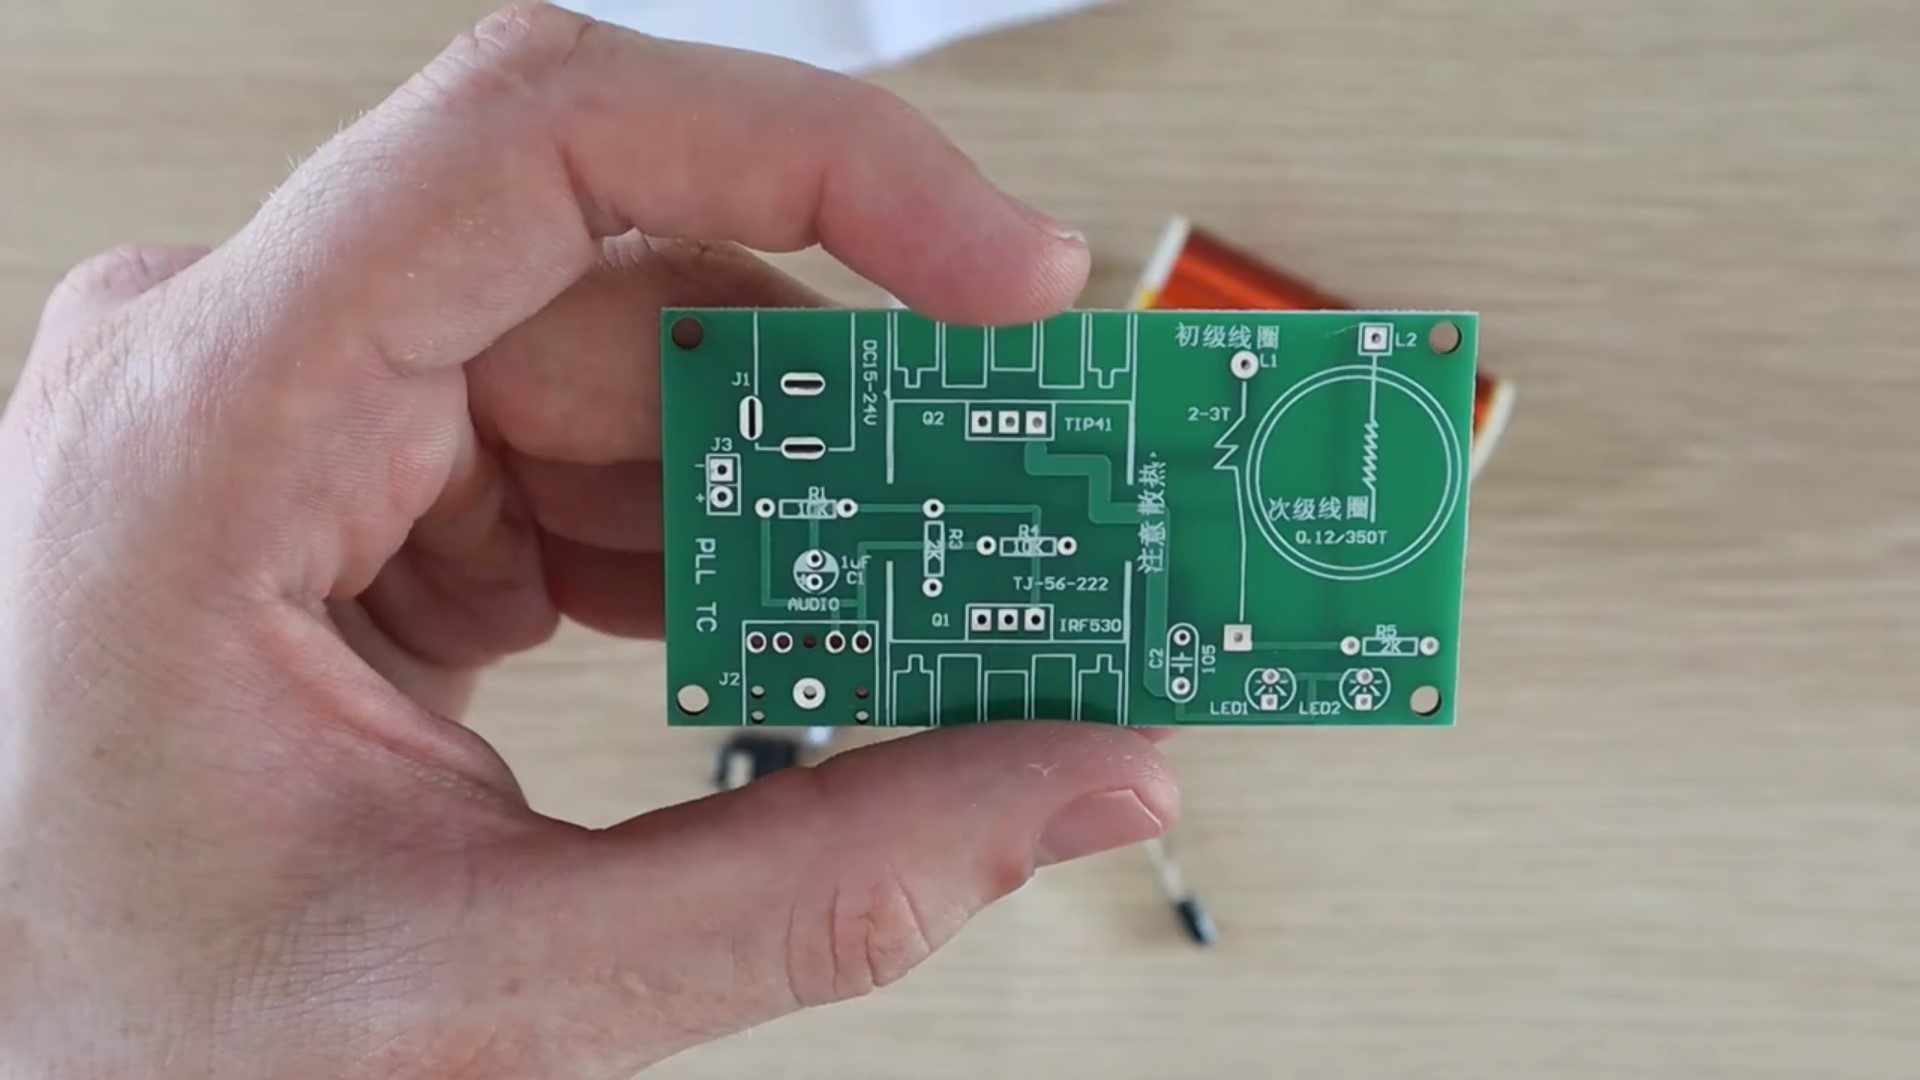
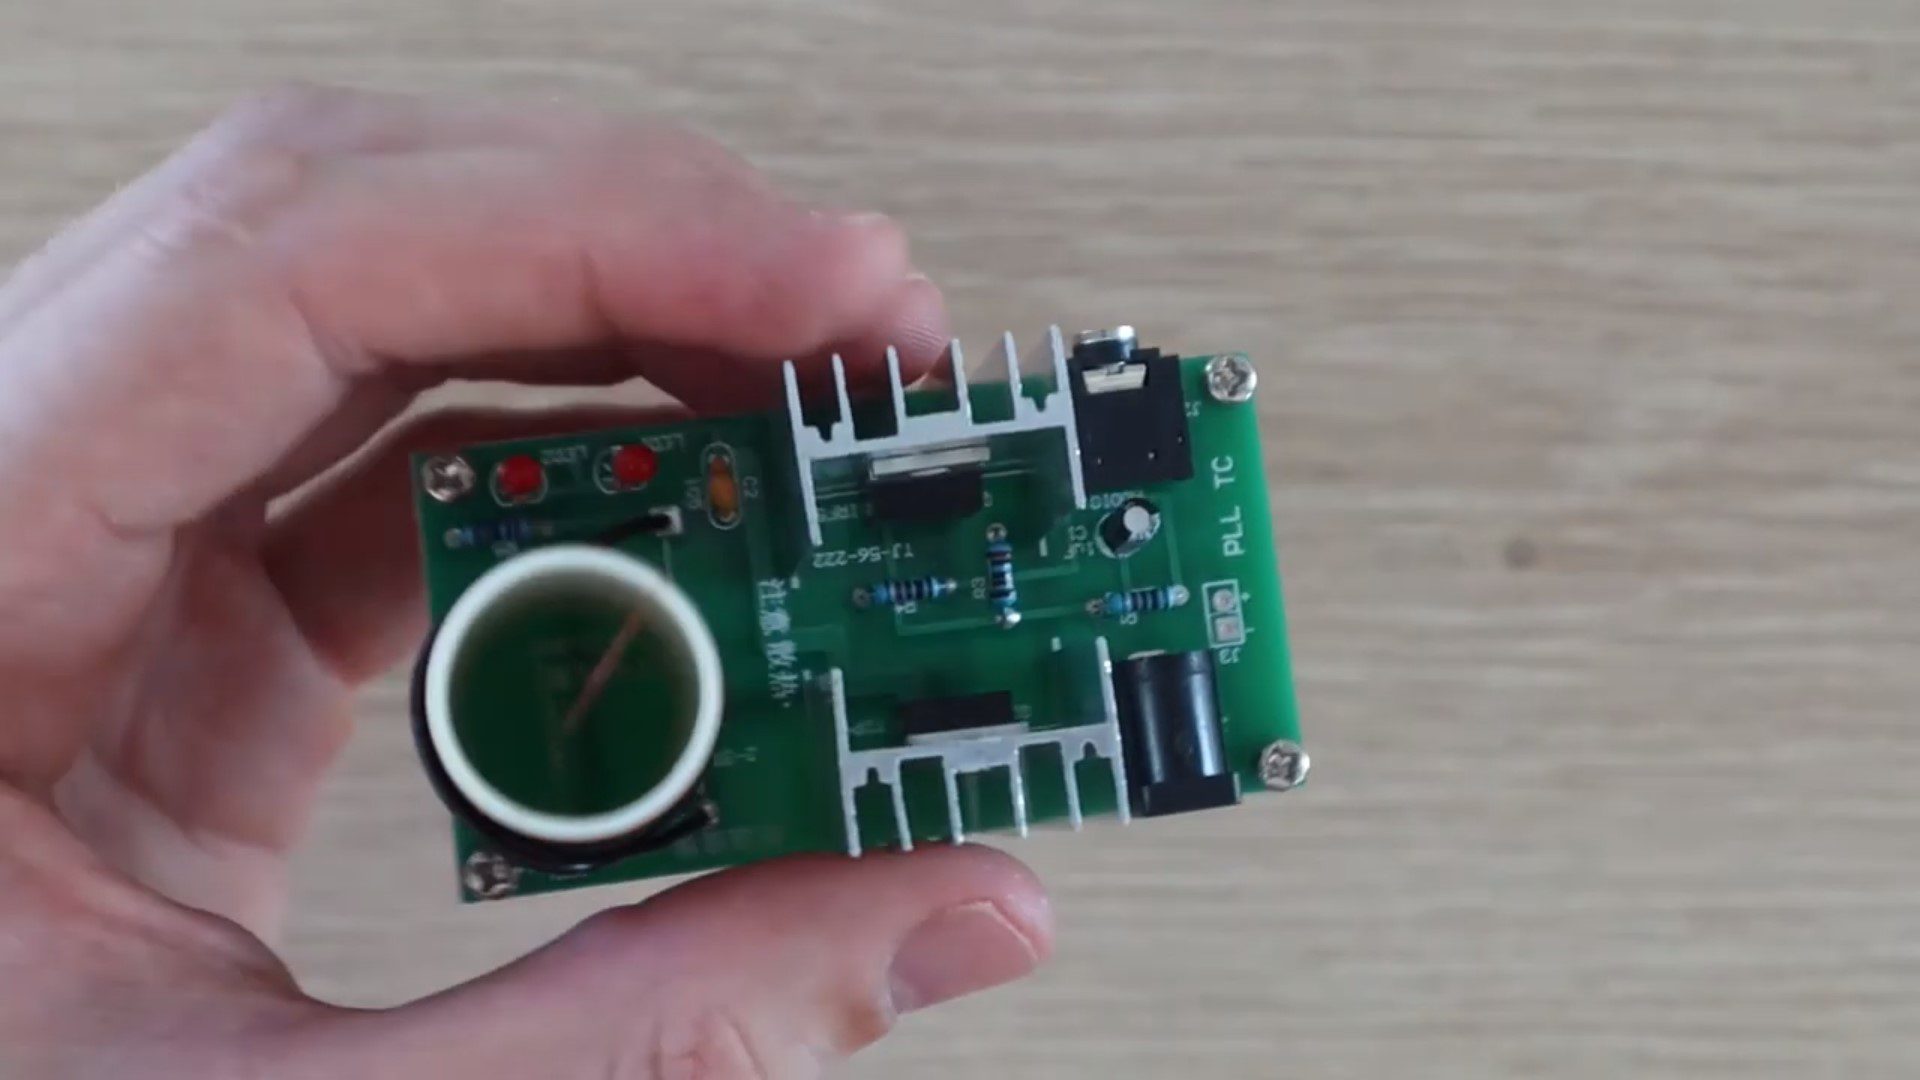
The PCB is pretty good quality and has all of the component locations clearly identified and component references marked. I didn’t have any issues with getting the components assembled onto the board.
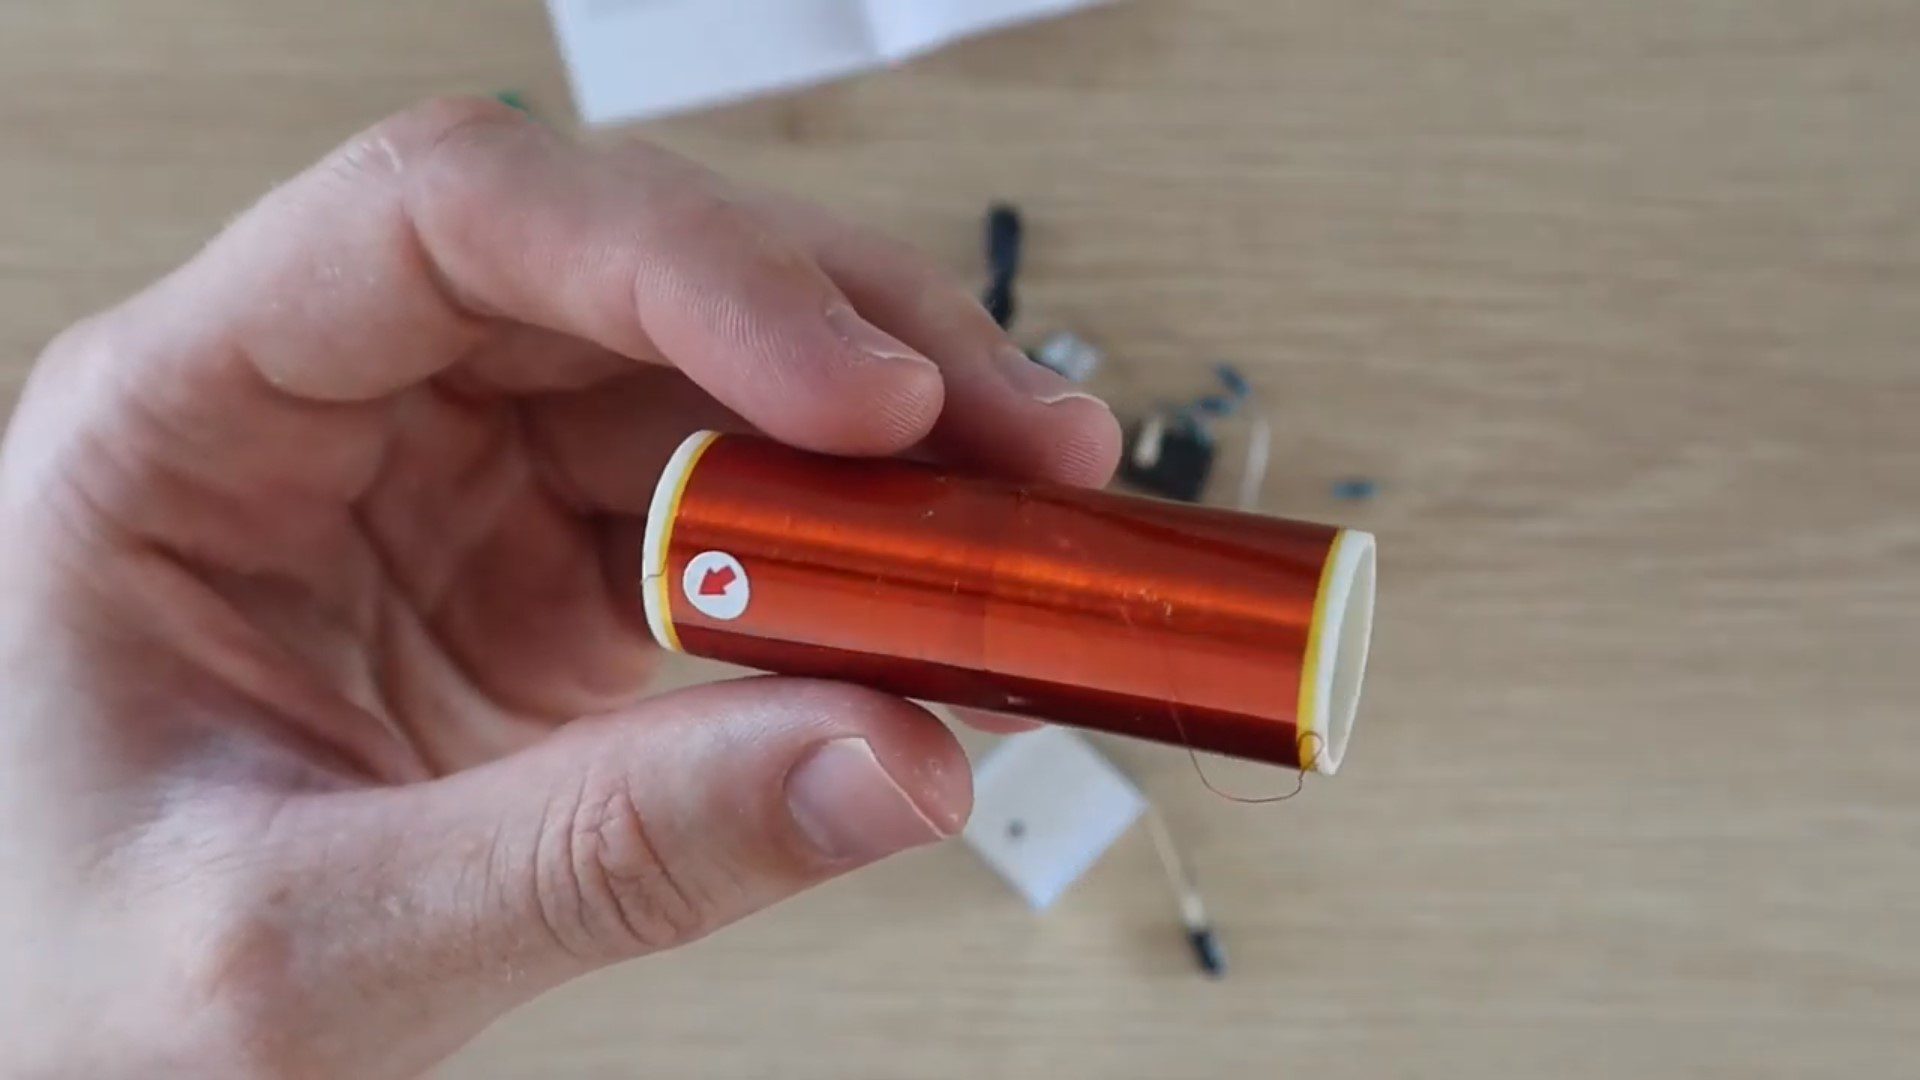
The secondary coil came pre-wound. I know that this should be the case, but with products from Wish, you never know just how much DIY work may be involved in assembling them.
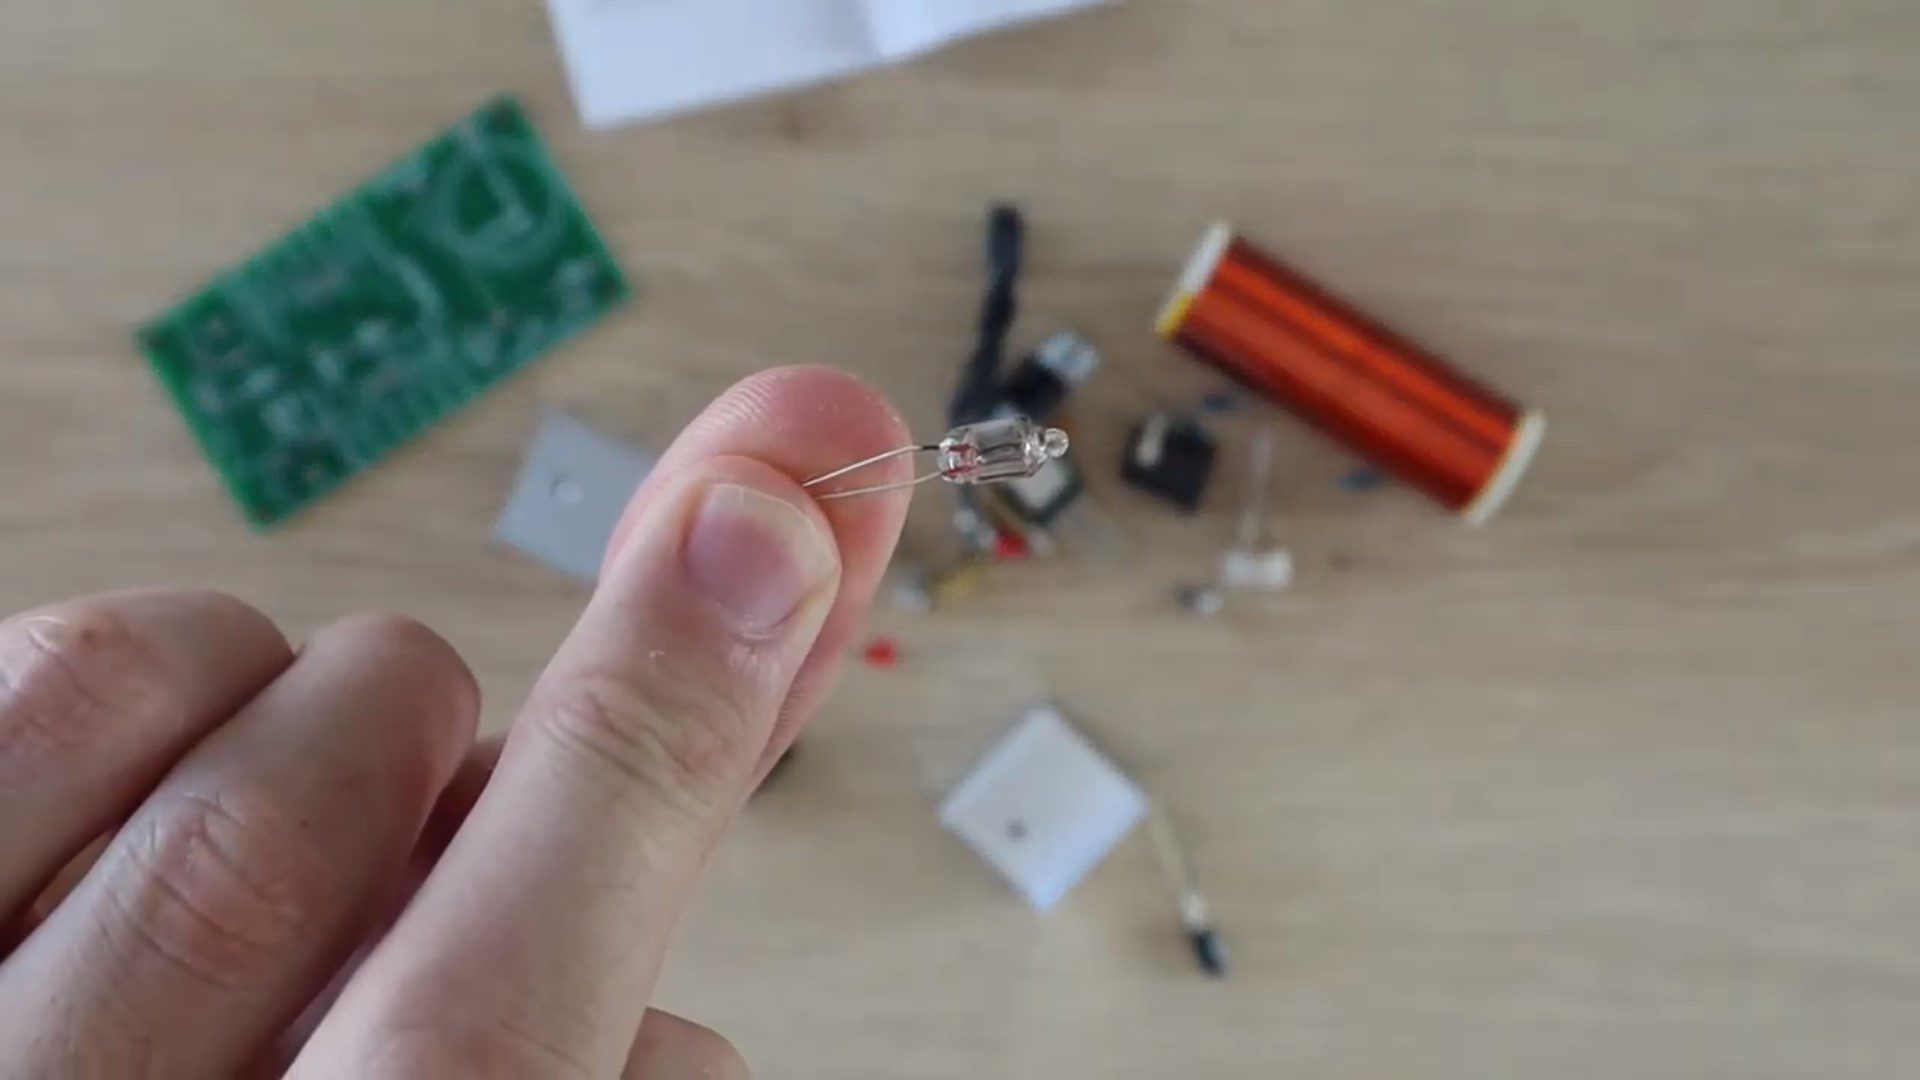
Lastly, they included a small light bulb to test the Tesla coil kit with.
The kit included an instruction sheet. Again, coming from Wish, this is not always the case. The trouble with the instruction sheet is that it was all in Chinese. It’s not an overly complex build and the components are all identified on the PCB, but I had no idea what the supply voltage was, how to assemble the primary coil or if there was anything else to look out for during the assembly process.
I landed up using Google Translate on my phone to translate most of the sheet into English. It wasn’t the greatest translation and included a few questionable lines about fire and electric shocks, but I managed to figure out that the supply voltage should be in the range of 9V to 30V and that anything above 15V provides the best results. I also found a line which mentioned something about a common problem being that the primary coil is wound in the wrong direction but couldn’t find anything about what the correct direction is.
Assembling The Components
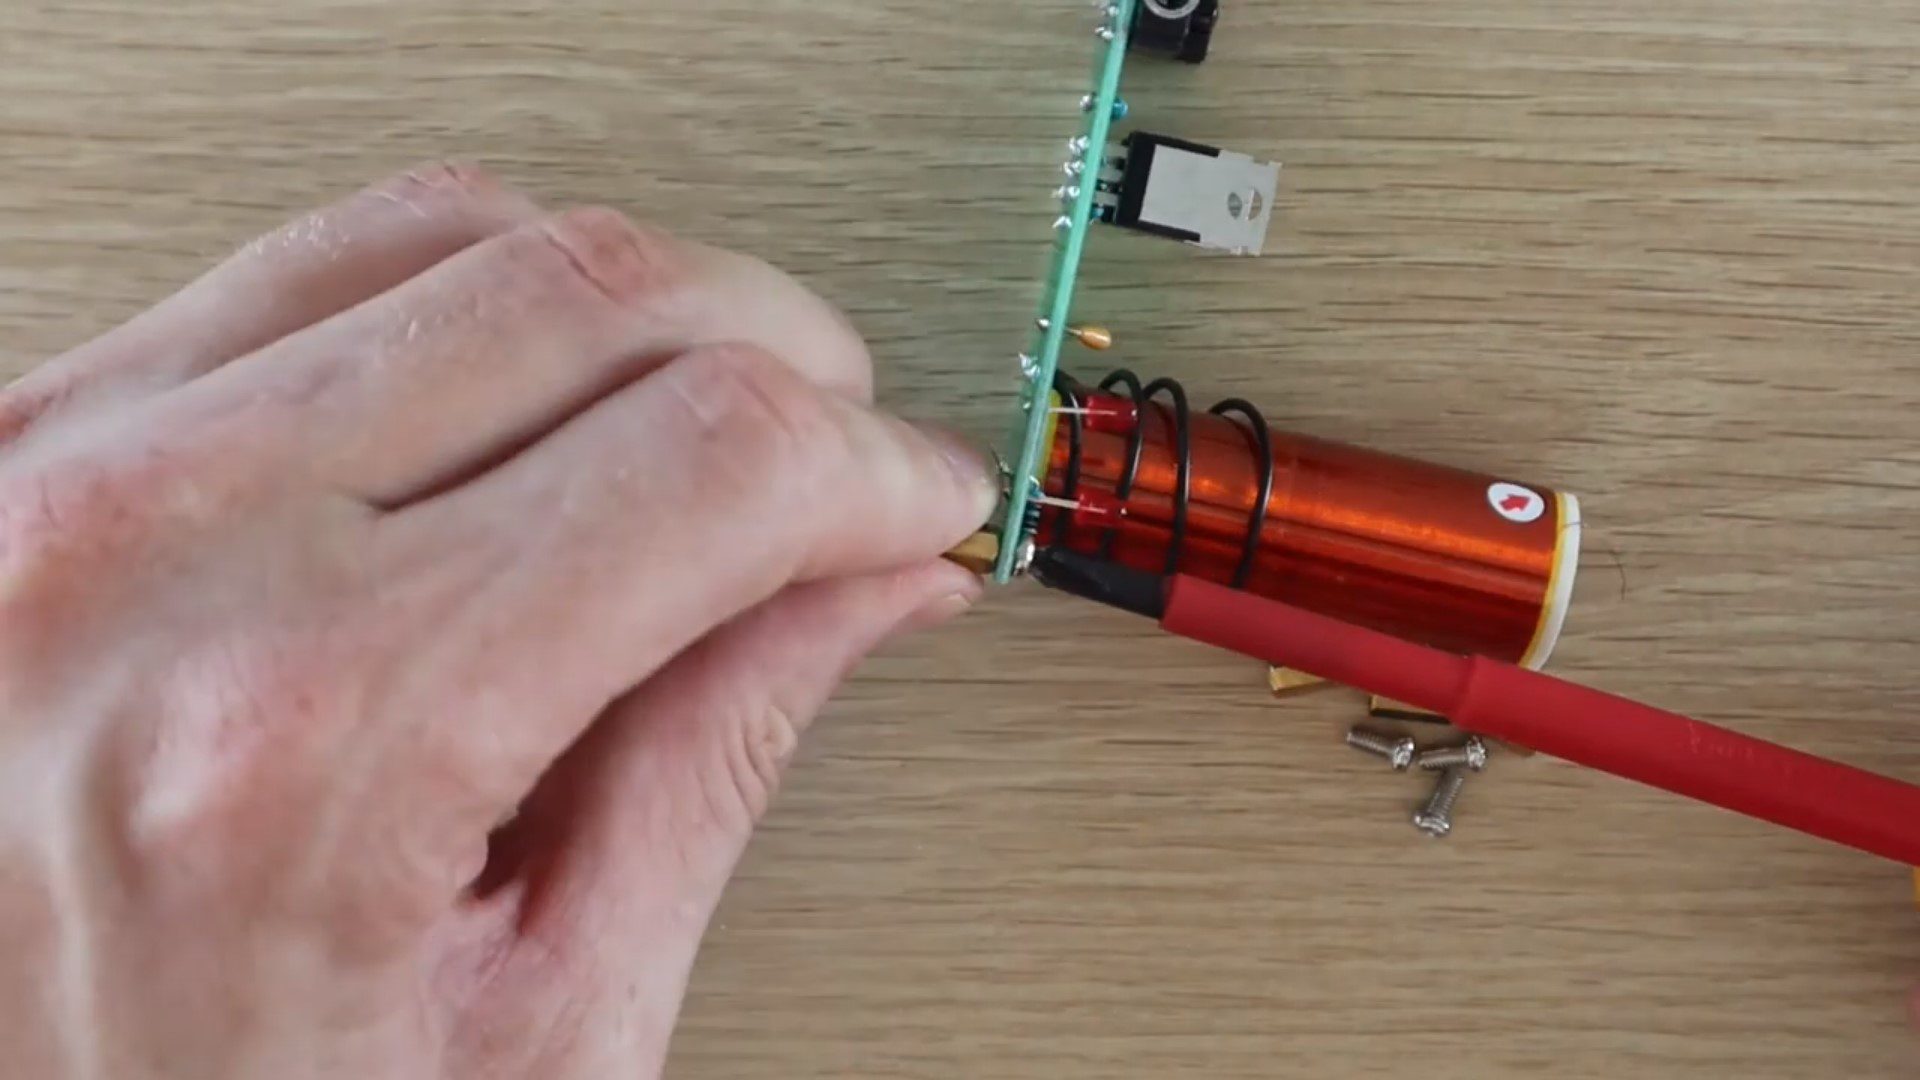
Once I was fairly happy with what to do, I began soldering the components onto the PCB. There isn’t really anything tricky involved (other than the primary coil). I soldered all of the components onto the board, then glued the secondary coil in place.
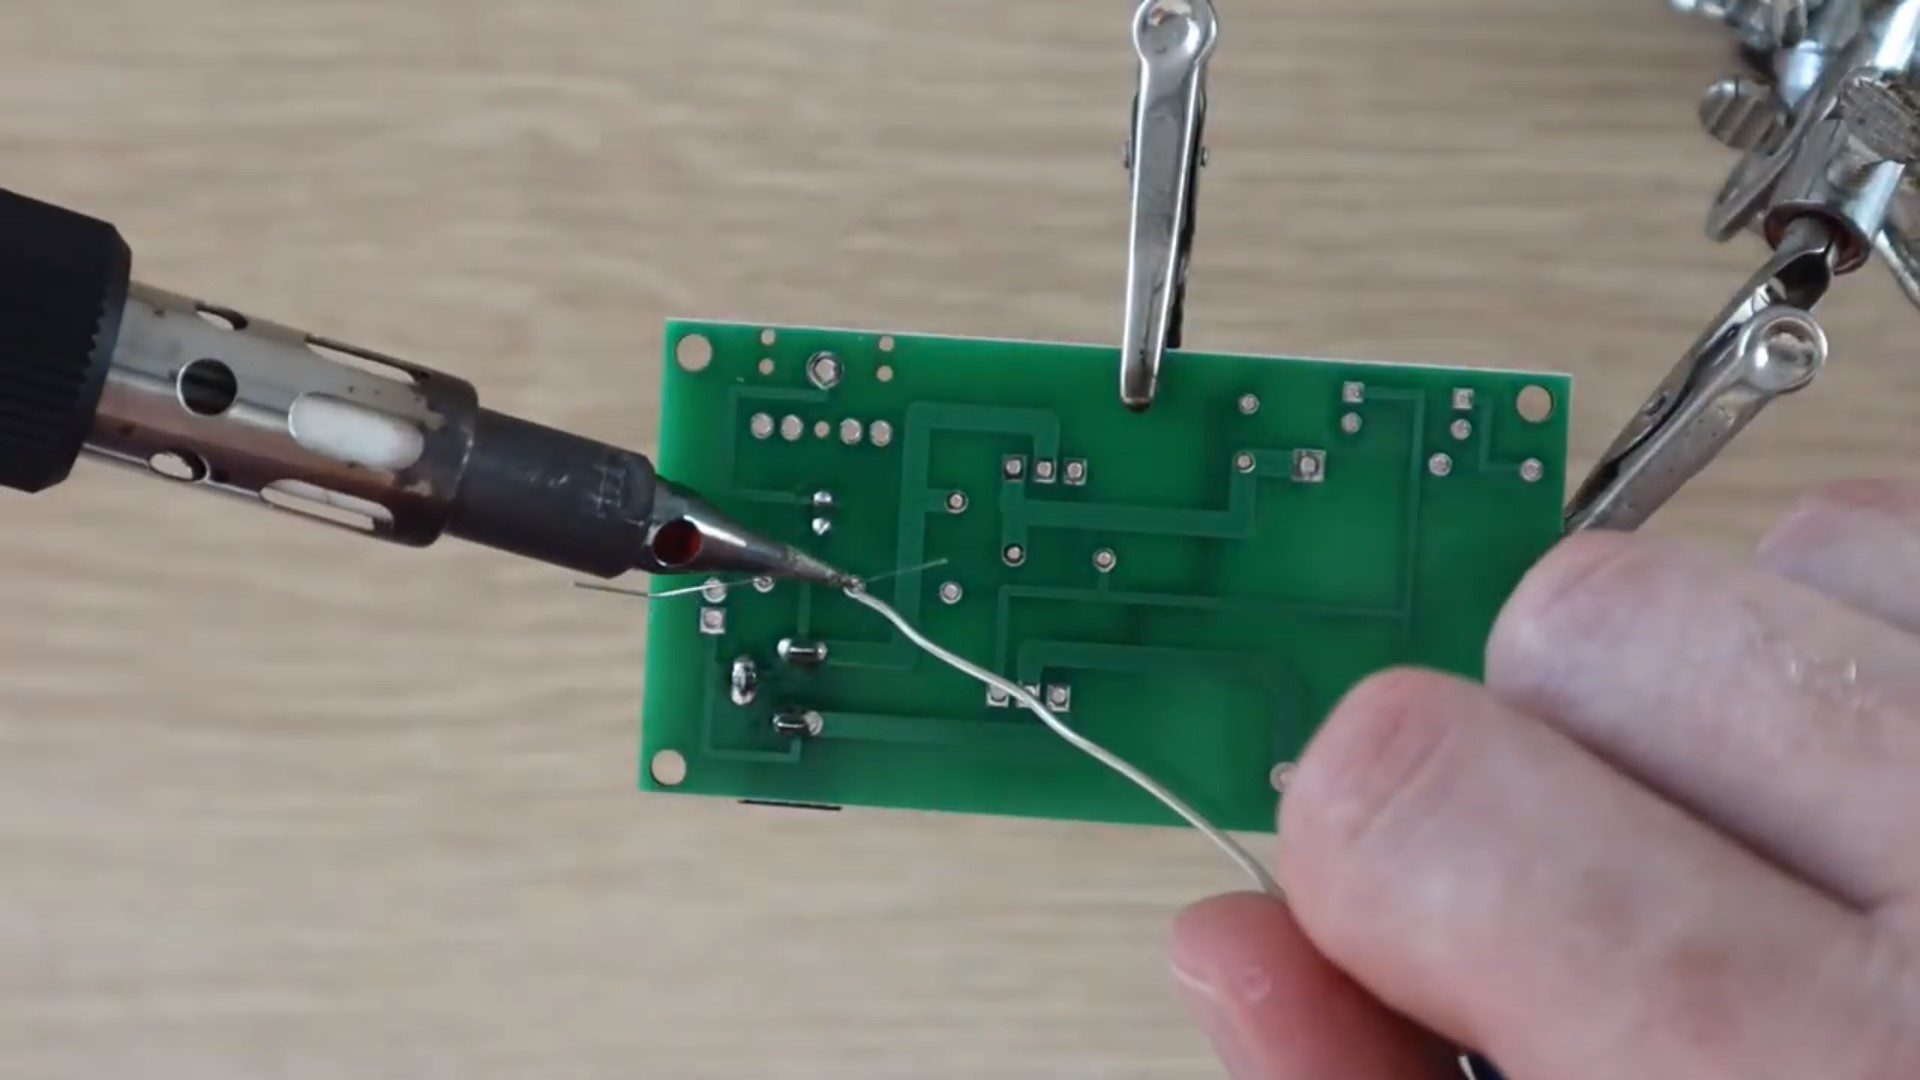
I then had to wind the primary coil. I started off by winding the coil as shown below. I figured out after switching it on, and having nothing happen, that this was obviously the wrong direction which they mentioned in the instruction sheet. So I had to remove it and remake it in the other direction. Also, although I wound it tightly to make up the coil shape, I then loosened it as the coil should be loose when soldered in place and there should be a gap between the primary coil leads and the secondary coil otherwise it also won’t work.
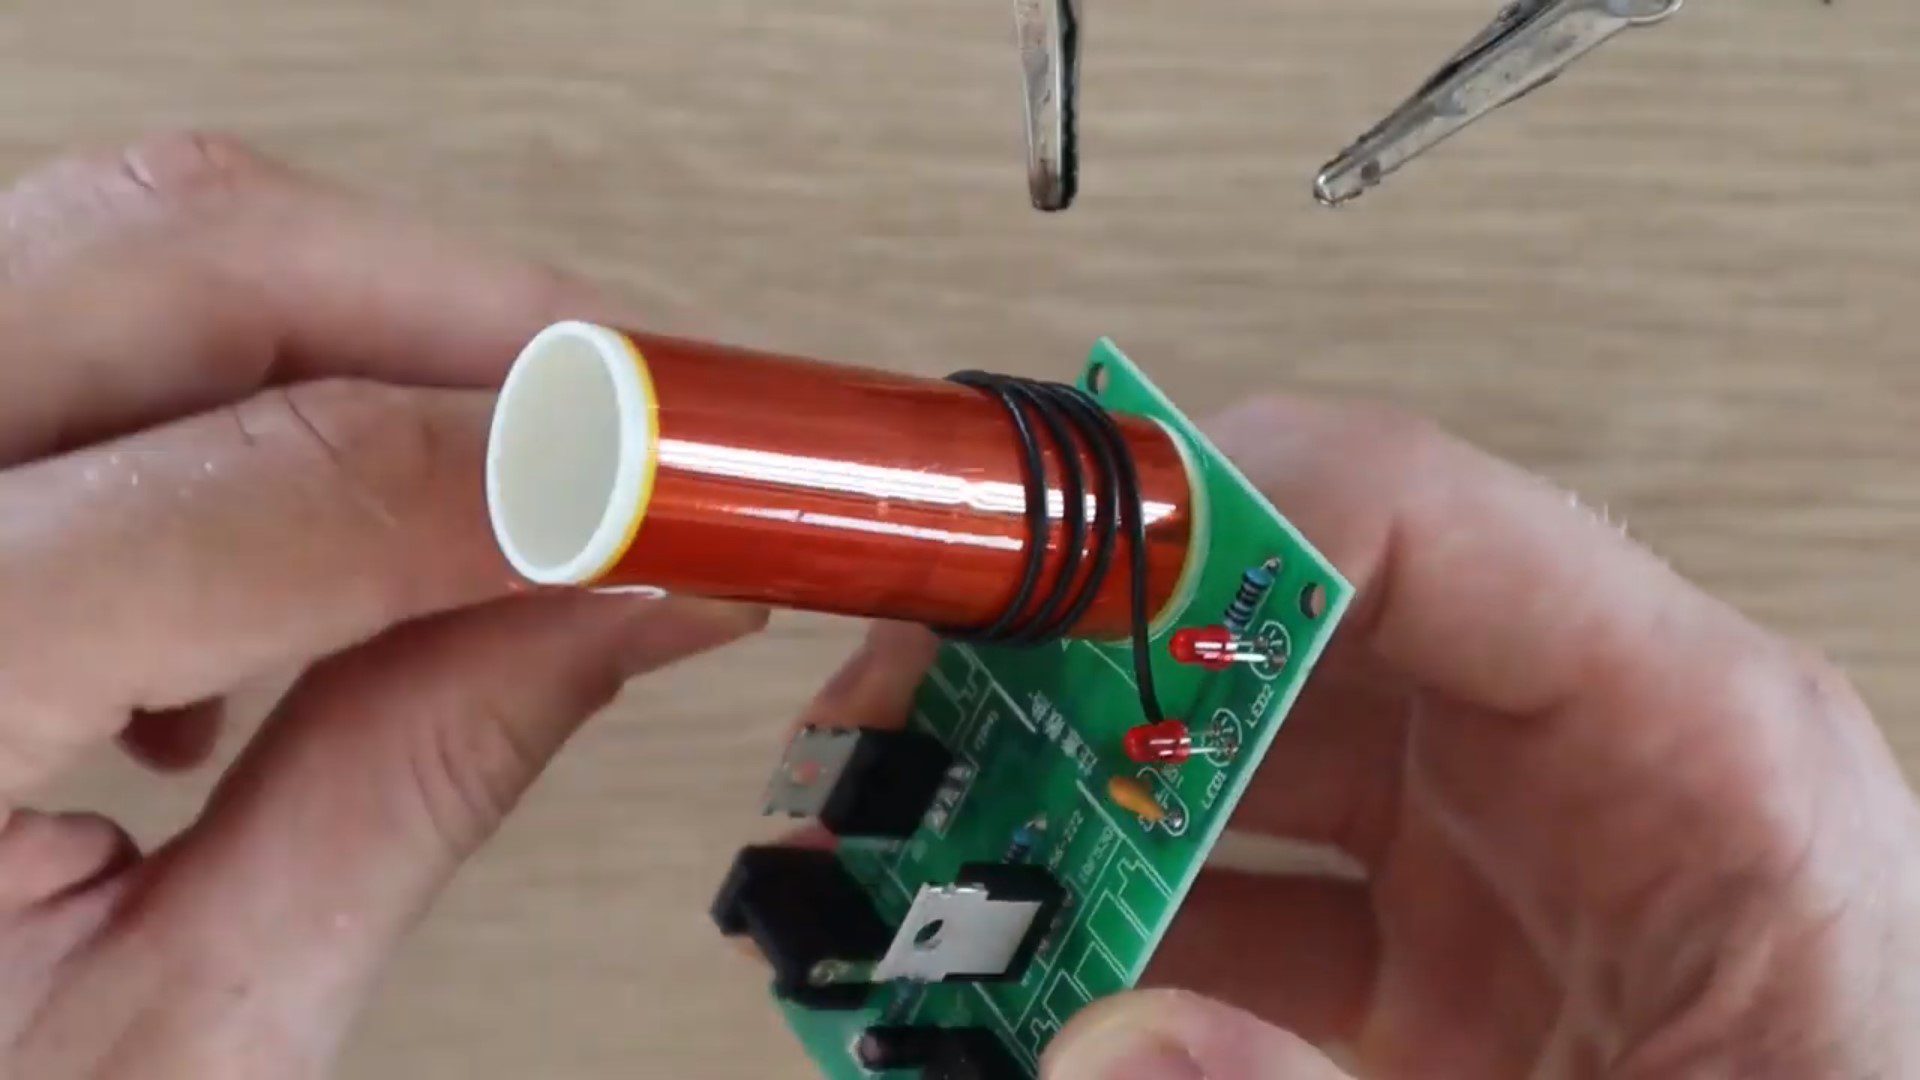
I then finished it off by adding the screw on legs and the heat sinks. I stuck the heat sinks on with my own thermal tape rather than the included screws.
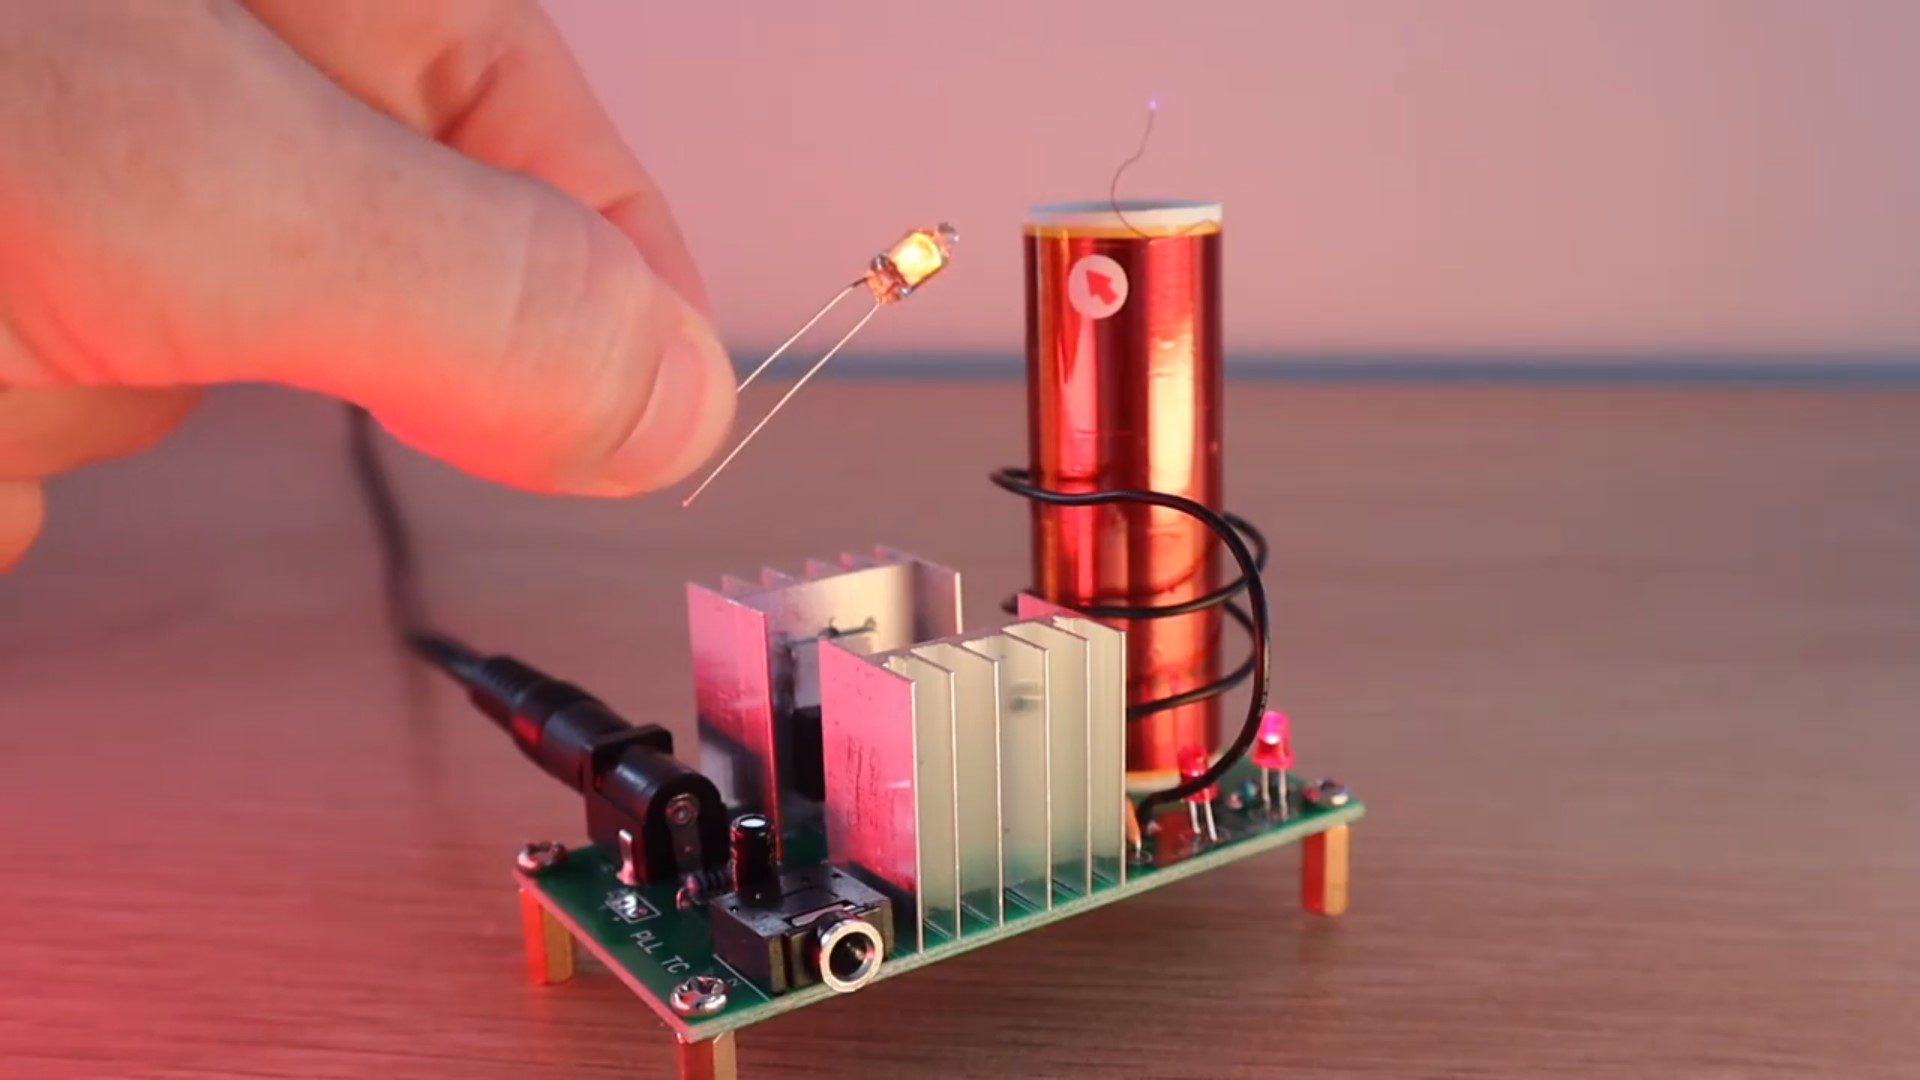
This was the final, fully assembled Tesla coil kit.

Testing The Mini Tesla Coil Kit
As I mentioned before, the first time I powered it on, the LED came on but nothing else happened and the light bulb wouldn’t light up near the coil. I figured that this may have something to do with the primary coil as they had mentioned that this was a common problem in the instructions. I switched the coil direction around and it then worked perfectly.
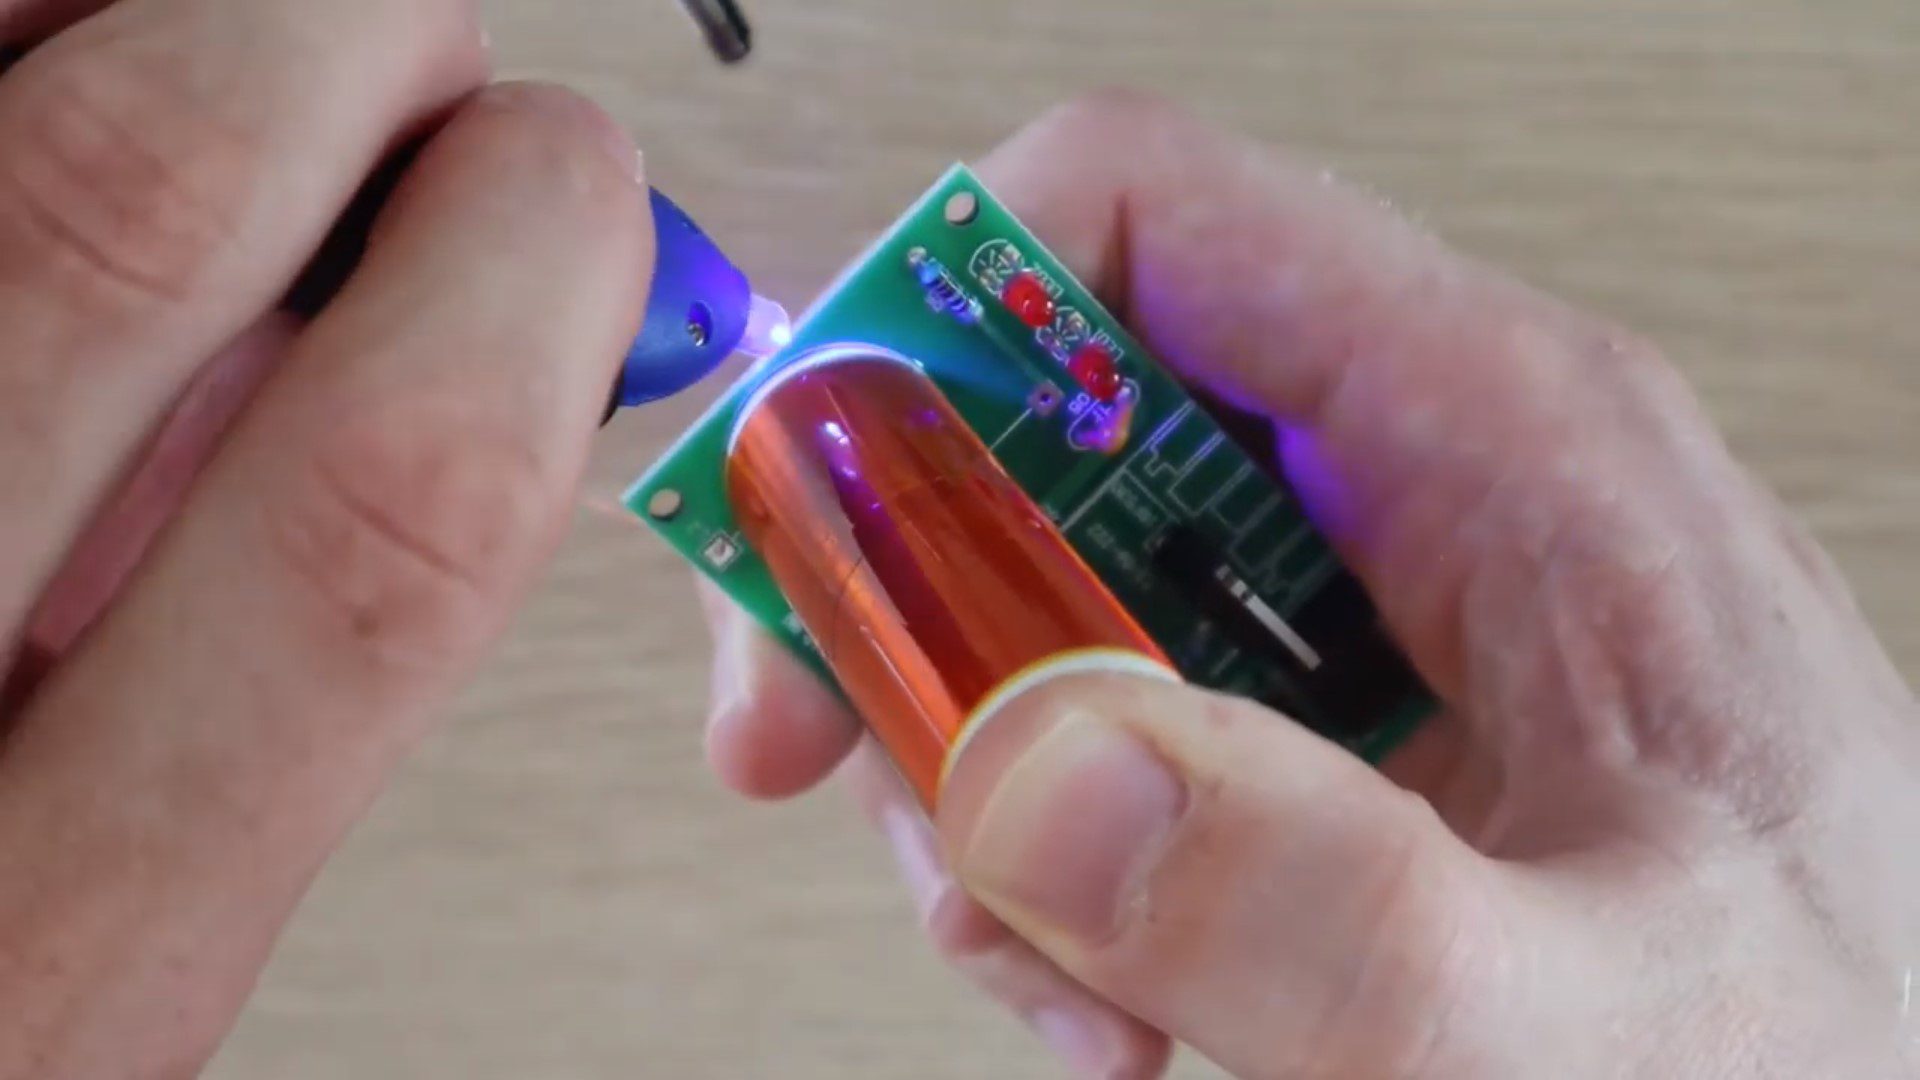
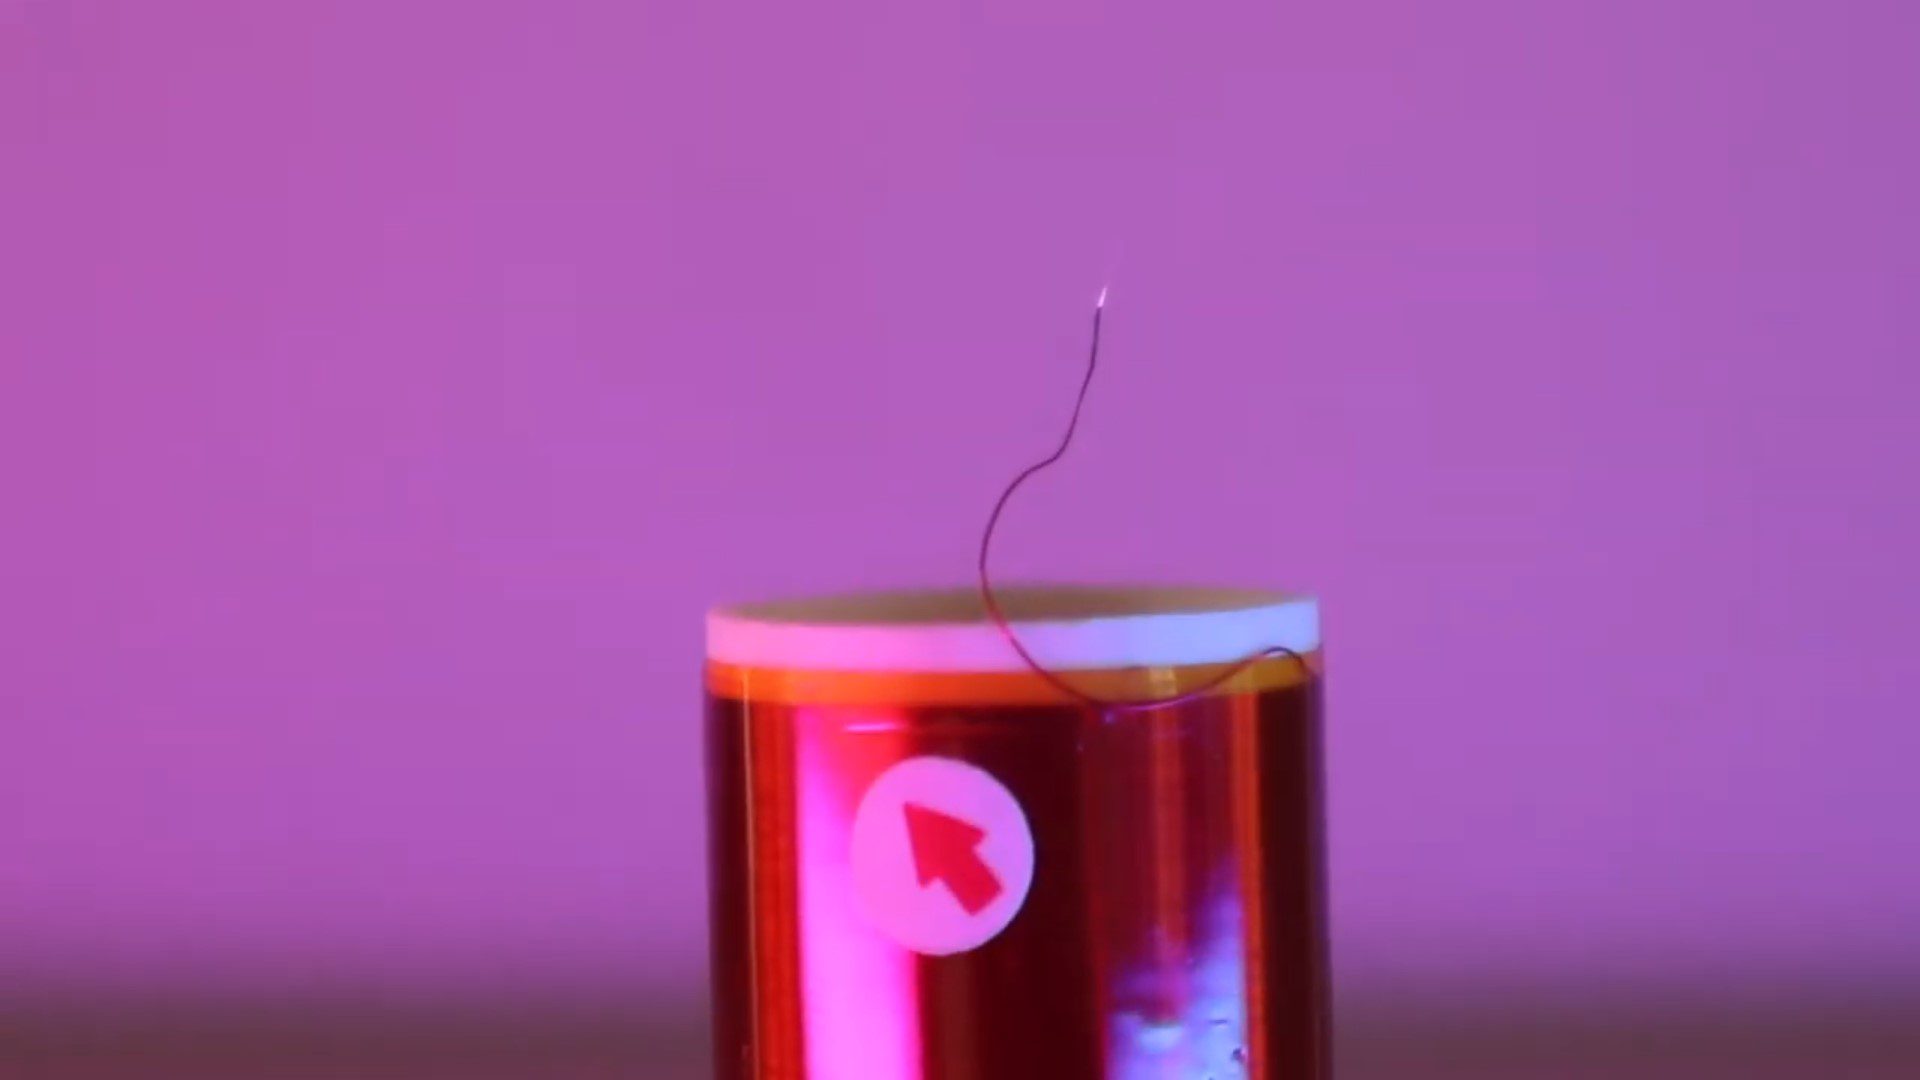
I only have a 15V power supply, but this was enough to generate a high voltage discharge on the end of the secondary coil.
The included light bulb lights up really well around the Tesla coil, even from a few centimetres away.
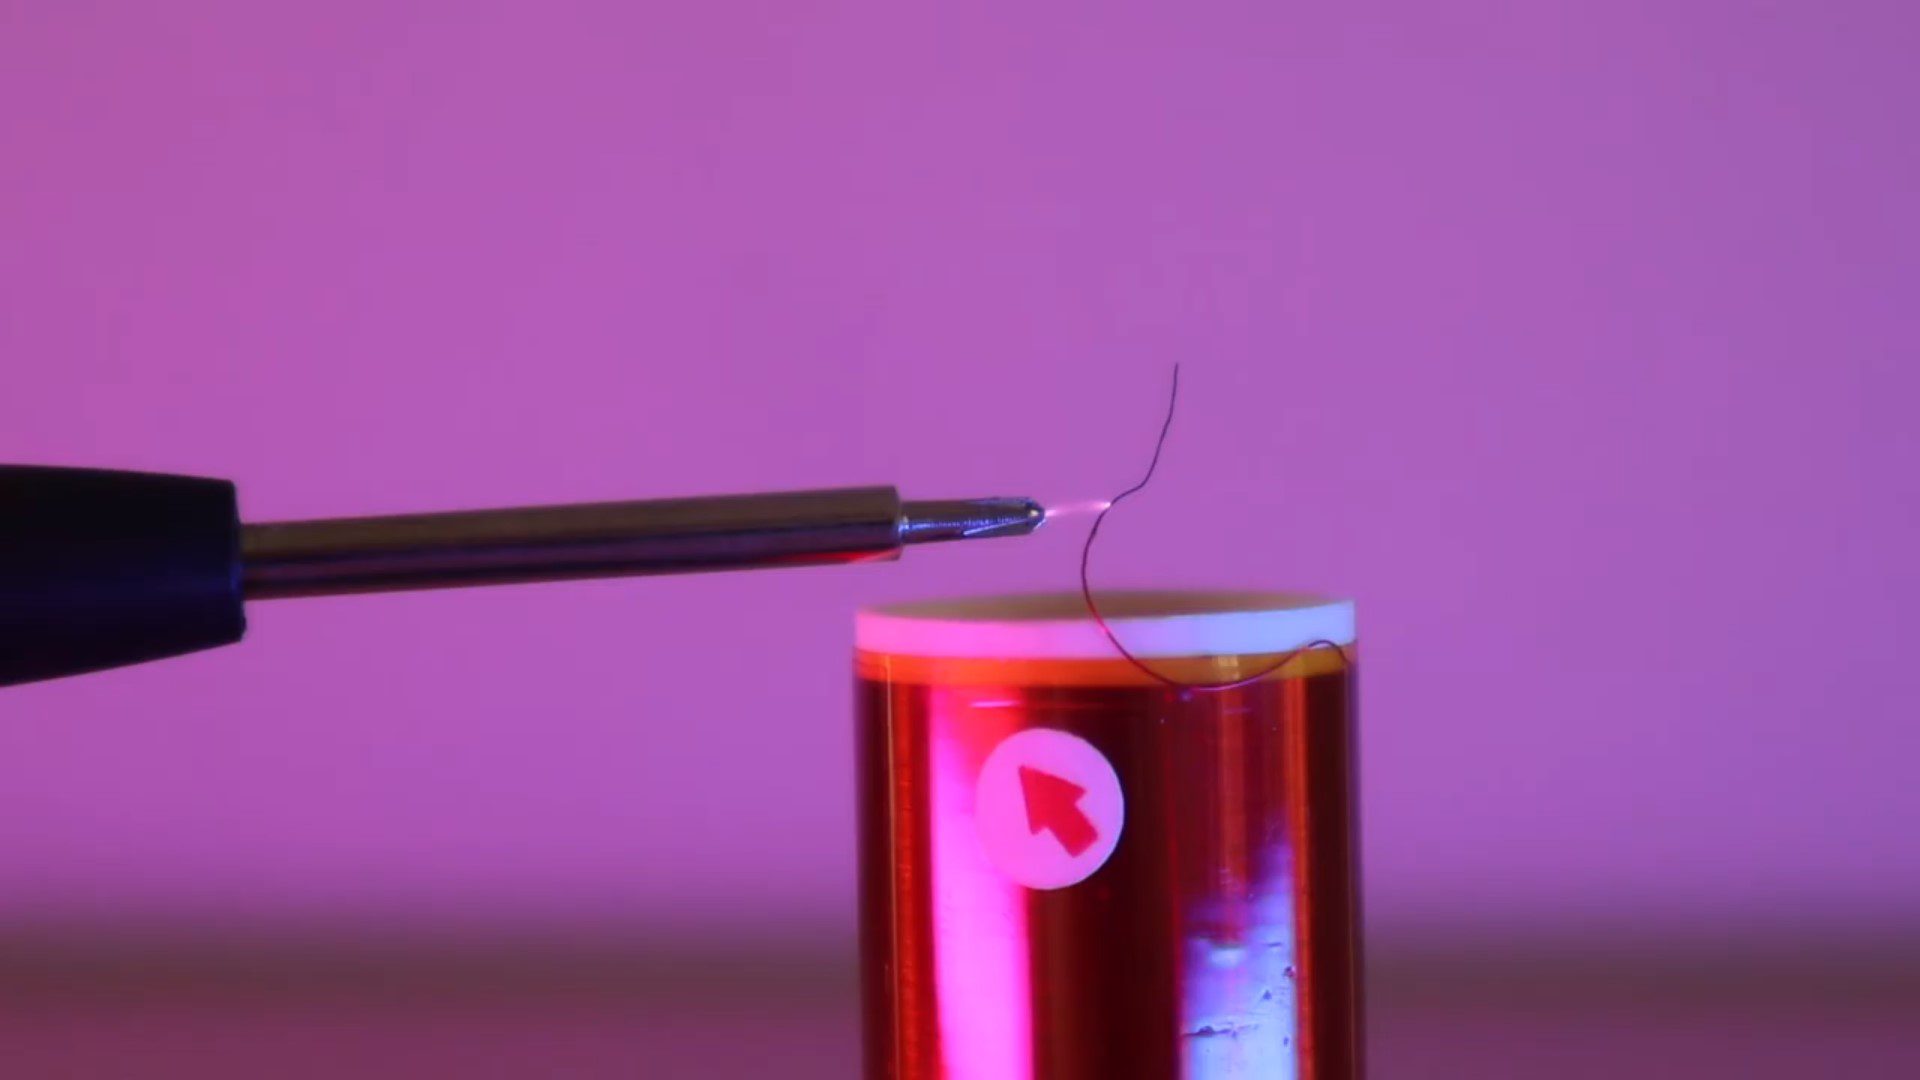
I then played around with creating an arc between the tip of a screwdriver and the end of the coil. I also had some fun with the arc, burning the remaining plastic coating (insulation) off of the secondary coil wire.
Overall, I really enjoyed building this little kit and had some fun playing around with it. Its a great starter electronics kit with larger components which are easy to solder. I’m sure that there’s a pretty high success rate with these, there really isn’t too much which can go wrong – aside from with the primary coil. So if you’re keen to build your own Tesla coil, have a look at the kits in the links above.
Have you assembled an electronics kit which you’ve bought online? Let me know in the comments section below. Also let me know if you have any other suggested kits to try out.
Is there a polarity for the LEDs and does it matter how they are positioned.
Thank,
Duncan
Yes they do have a polarity, the flat side of the LED should align with the flat side shown on the PCB.