Do you feel like you need to take an evening off to relax and rejuvenate your dry skin? Or treat your partner to a romantic evening by putting this spa evening together for her/him. This guide uses objects you find around the house to produce an at-home spa for another person. While most of the items you’ll need are commonly found around the home, we’ll provide a comprehensive list of items to prepare before you begin the spa experience.
Setting the Scene
Right before the spa, relax and prepare a relaxing environment.
- Invite your friend or partner to take a relaxing shower or wash his/her face, hands, and arms with warm water.
- Make sure there are no harsh or bright lights in the room. Light the room with a lamp or candles. Avoid overhead lights since your friend will spend time with his/her face towards the ceiling.
- Use a comfortable area. A reclining armchair is ideal, but a couch or a bed could work, too. Ensure that your friend is comfortable before beginning the spa treatment.
- Set the mood with comfortable audio. Play soft, calming music during the entirety of the spa. If the music’s audio is less than 30 minutes, then plan a playlist beforehand so DJ needs do not interrupt your work.
This will be a two-part spa. It will involve a facial and a foot treatment. The entire foot treatment could happen during step 11 of the facial. Read over all the instructions before beginning the spa treatment to make sure you have everything ready when it’s needed.
Spa Facial Ingredients
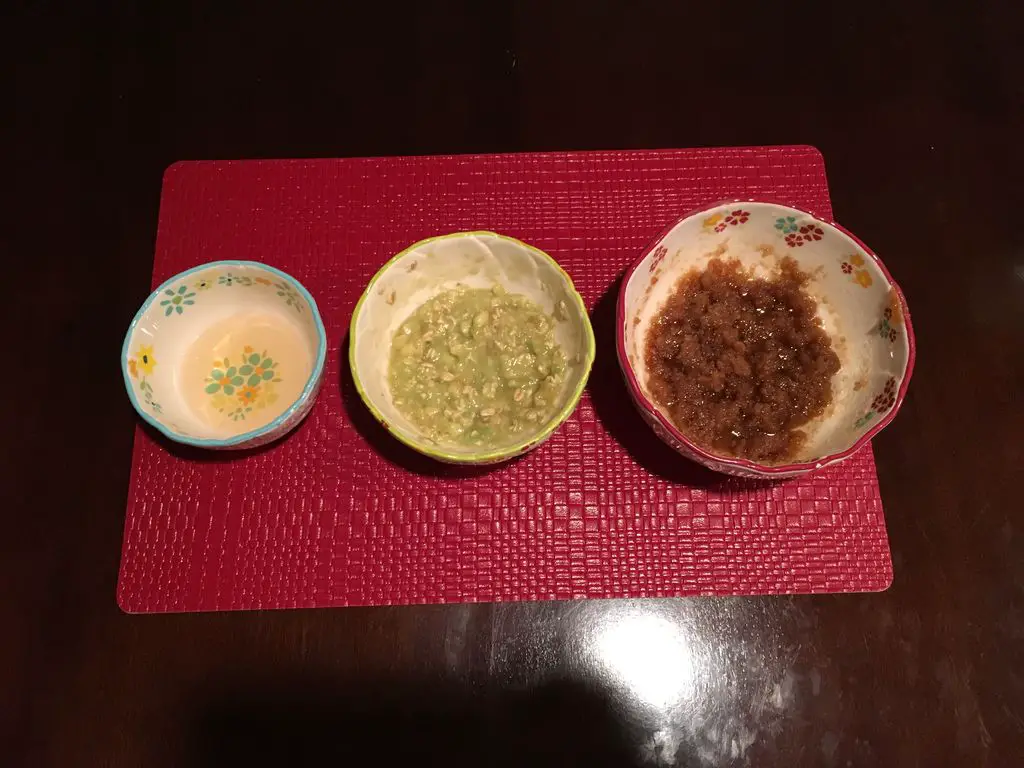
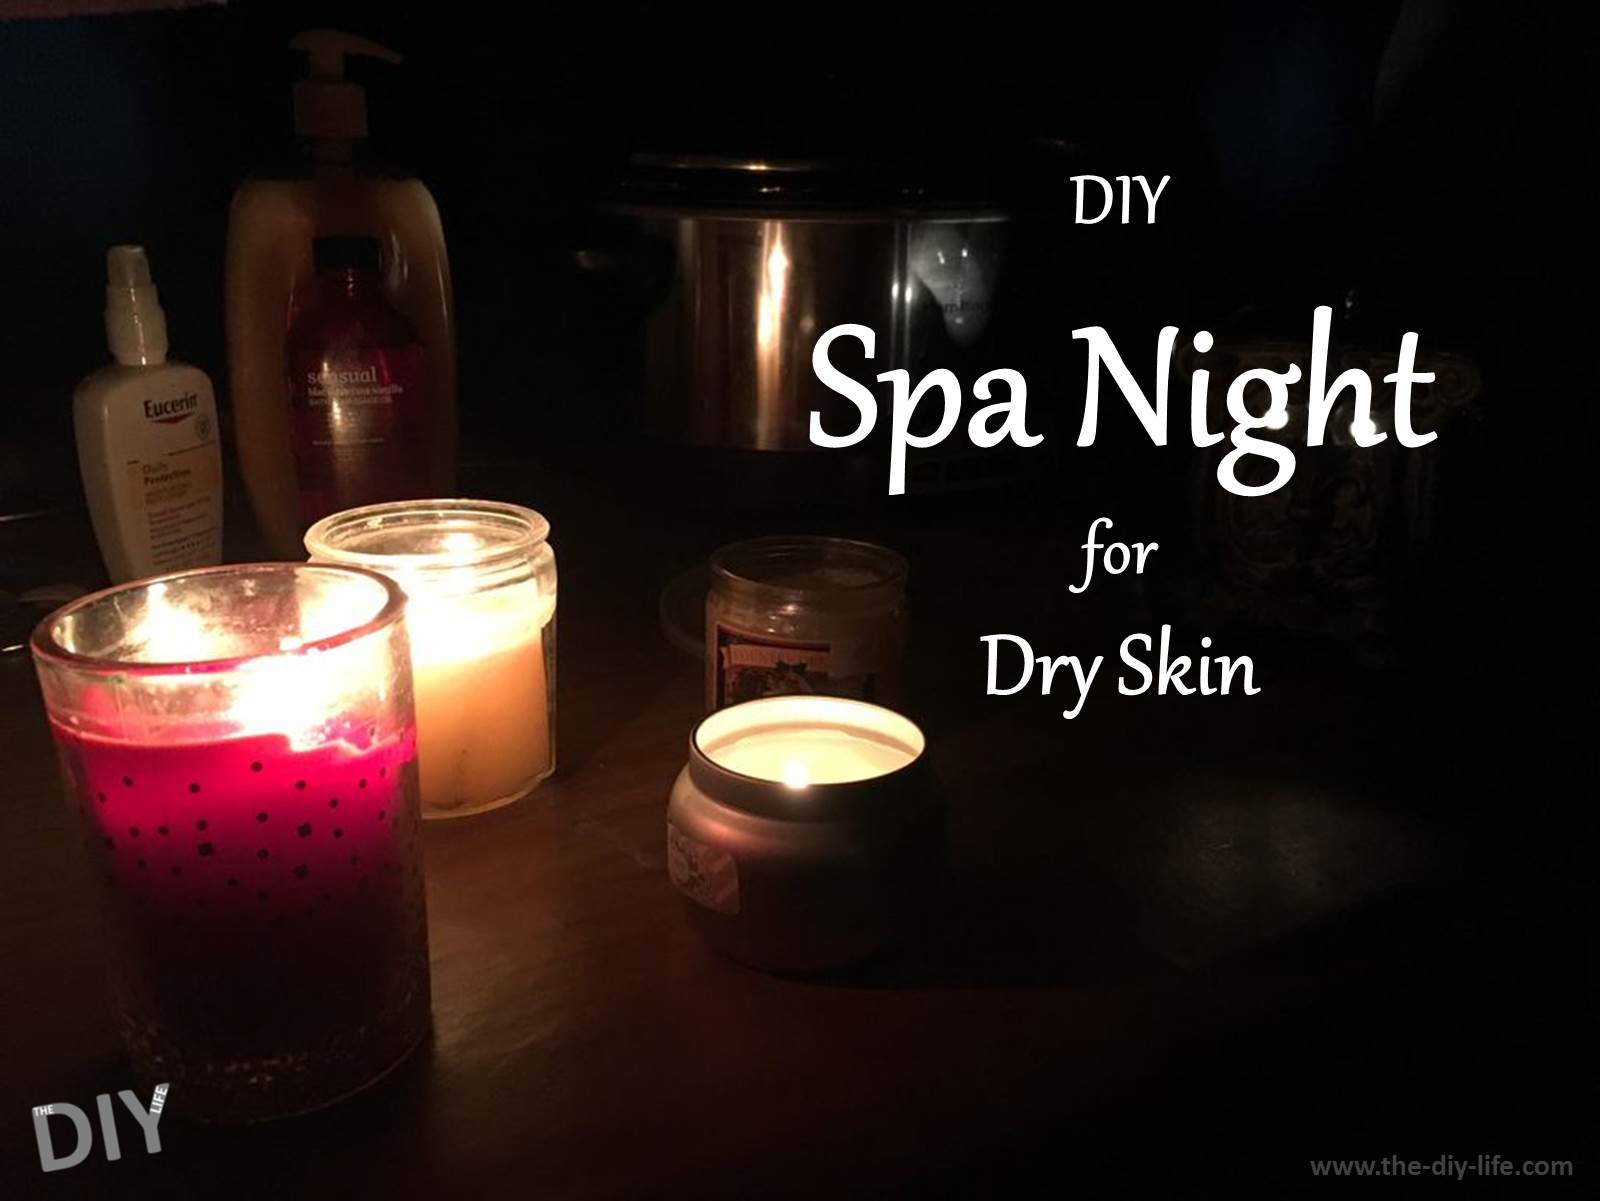
[From left to right: toner, facial, and body scrub. Body scrub recipe and directions not included in this tutorial.]
You will need:
- 1/2 ripe avocado
- 1/4 cup of plain whole oats (not “quick oats”)
- washcloth towel face cleanser (any kind; a bar soap or liquid cleanser is okay)
- hot-to-boiling water
- 1 tablespoon apple cider vinegar
- cotton balls or pads (optional)
- table or breakfast tray
How To Do The Facial
At-home facials are quick, easy, and inexpensive. Natural foods are full of moisturizing properties to soothe your dry, tired skin. Avocados and oatmeal are popular bases for DIY facials for dry skin. This recipe combines the two for a simple, relaxing experience.
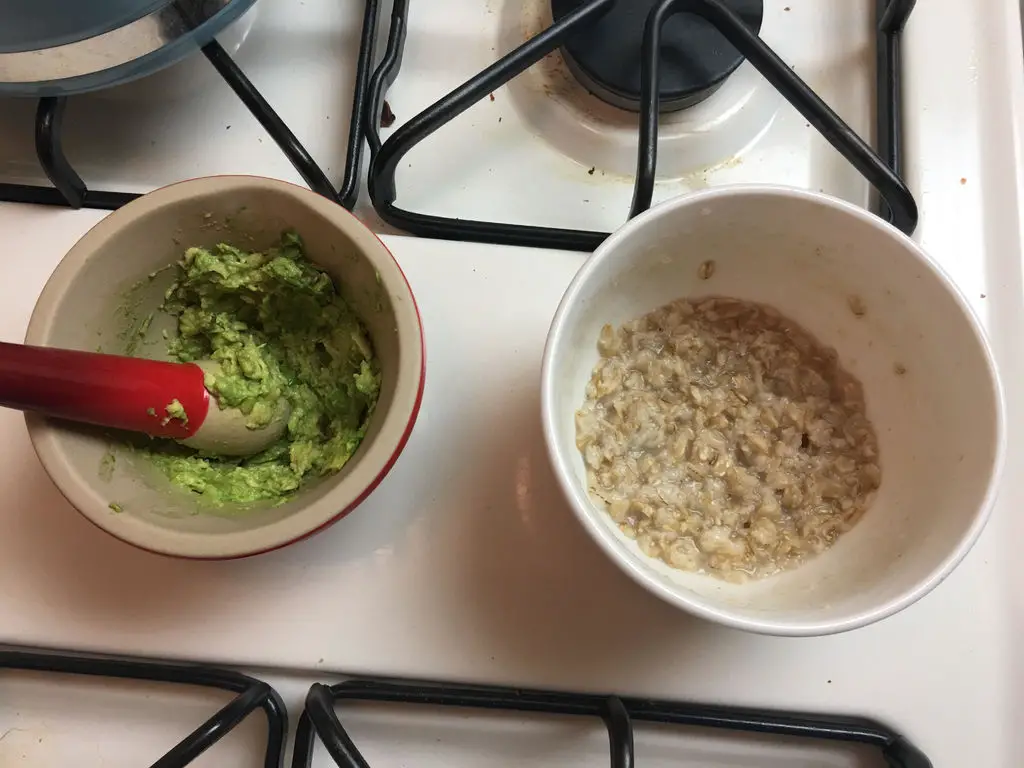
- Prepare the oatmeal. Put 1/4 cup of plain whole oats (any kind but quick oats) in a microwave-safe bowl. Add 1/2 cup of water. Microwave for 1 minute. The oatmeal should be soft and mushy; if it isn’t, cook it for 30 seconds and repeat until soft.
- Prepare the avocado by removing the skin and the pit. Set aside the half you don’t plan to use.
- Mash the avocado in a bowl until smooth. Add the oatmeal into the bowl and stir with a spoon until the mixture is an even texture.
- Boil about 8 cups of water in a large pot. This may take anywhere from 10 to 20 minutes depending on your stove.
- While the water is boiling, have your friend wash his/her face with warm water (NOT the boiling water) and a face cleanser.
- Pour the boiling water into a bowl. The bowl could be on a table and your friend could be on a chair at the table. Alternatively, if you have a breakfast tray, your friend could sit on a couch or a recliner and set the bowl of boiling water on the tray.
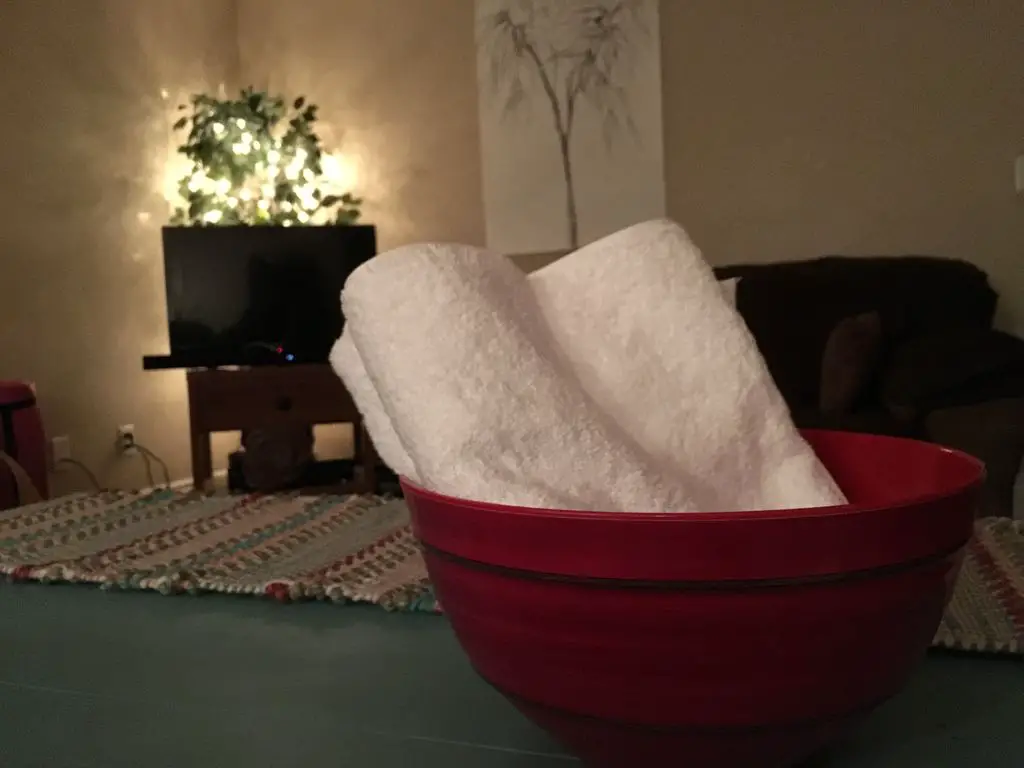
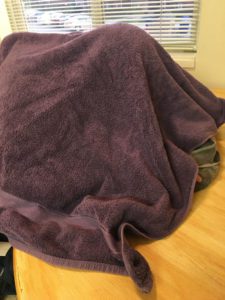
- Have your friend hover over the steaming bowl with a towel over his/her head. Drape the towel over the head like a tent, forming an enclosed shelter around the head and shoulders. He/she should breathe the steam in for 5 to 10 minutes, removing and replacing the towel for fresh air as needed.
- Have your friend lean back into a comfortable reclining position and set the bowl of hot water aside.
- Pat his/her face with the towel.
- Apply the facial. Spread the avocado-oatmeal mixture evenly all over your friend’s face, being careful to avoid the eyes. You may not use all of the facial; this is okay. Make sure that the skin is covered.
- Let the facial sit for 15 minutes or until it hardens. If it is still wet and goopy after 15 minutes, fan your friend’s face or invite your friend to pace the room to dry the facial.
- Wash the facial off your friend’s face with warm water and a washcloth (if he/she is more comfortable doing it alone, encourage him/her to use the washcloth). You will probably want to do this in a sink with a garbage disposal or a strainer.
- Have your friend rinse his/her face with warm water.
- While your friend is rinsing off, prepare the toner by mixing 1 tablespoon apple cider vinegar with 1 tablespoon water.
- Splash your friend’s face with cold water.
- Apply the toner over your friend’s face with small patting motions, avoiding the eyes. It will help if you use cotton pads or balls, but it isn’t necessary.
- Apply your usual facial cream or lotion quickly.
Spa Pedicure and Foot Treatment Ingredients
Prepare beforehand:
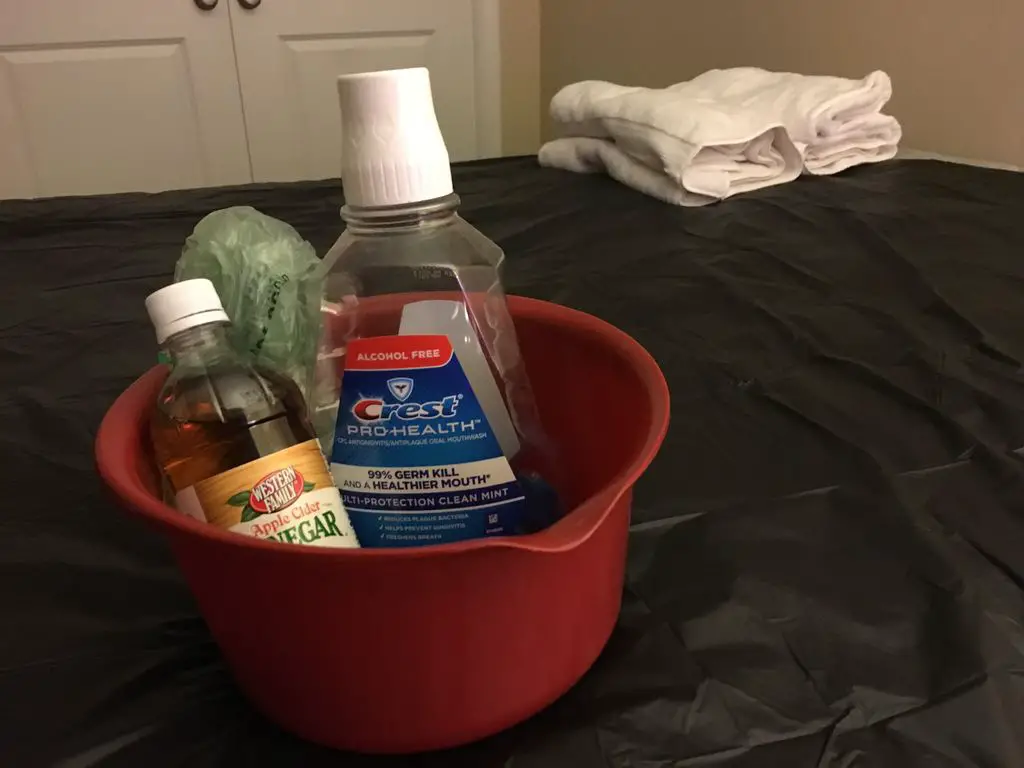
- 1 cup of mouthwash
- 1 cup of vinegar
- 2 cups of warm water
- Foot file or pumice stone
- Dried herbs (optional; for scent only. Consider lavender, eucalyptus leaves, mint, or basil)
- Towel
- Nail clippers
- Nail file
- Lotion
How To Do The Pedicure & Foot Treatment
(You could do this while the facial is sitting.)
- Combine mouthwash, vinegar, and water in a bowl large enough to fit your feet in. Sprinkle in dried herbs for a comforting scent.
- Let the feet soak for 10 minutes.
- Pat your friend’s feet dry.
- Scrub dry patches of feet with foot file or pumice stone over a towel. This will remove the dried skin that the food bath has loosened. Make sure you communicate with your friend to ensure that he/she is comfortable and the filing does not hurt.
- Clip your friend’s lunula (the white, crescent, excess part of the toenail) over the towel. File down any rough or jagged edges.
- Spread lotion across your friend’s feet and rub it in. Consider incorporating motions from this video on foot massages as you rub the lotion into the skin.
Your spa evening is now complete.
Do you have any other inclusions for your own home spa days? What are some of your homemade treatments? Let us know in the comments section below.
Share This Guide
This post is based on DIY Spa Night for Dry Skin by 410R MBS Group and has been used and modified under the Creative Commons license CC-BY-NC-SA.


