I’ve been wanting to get an Oscilloscope for my work bench for some time now, but they’re generally quite expensive for the amount of use I’m actually going to be getting out of it. I was finding it difficult to justify the cost, and then I found the DSO138 Digital Oscilloscope kit online, which was on sale for just under $20. It looked very basic, but it would do everything I wanted it to do. I also picked up the acrylic case. The case cost almost as much as the oscilloscope did, I paid around $16 for it. But I figured that since I’d be using it around electronics on my work bench, its probably better to protect the circuit board in some way.
If you’re not up for the challenge in soldering and assembling the oscilloscope yourself, they are also available pre-assembled and ready to use.
Buy Your Own DSO138 Digital Oscilloscope Kit
- DSO138 Oscilloscope In DIY Kit Form – Buy Here
- Acrylic Case – Buy Here
- DSO138 Oscilloscope (Assembled) With Case – Buy Here
Assembling The Oscilloscope
Here’s the video of my unpacking, assembly and testing of the DSO138 oscilloscope and acrylic case. I’ve also put together a write up of the important parts and problems which I encountered during the assembly which follows the video.
As expected, two packs arrive in the delivery, one containing the DSO138 oscilloscope components, manual and PCB and the other containing the acrylic case – with no manual. I’ll start with the assembly of the oscilloscope and then move on to the acrylic case.
The PCB comes with the surface mounted components already soldered in place, but there is still a fair amount of work to be done to complete it.
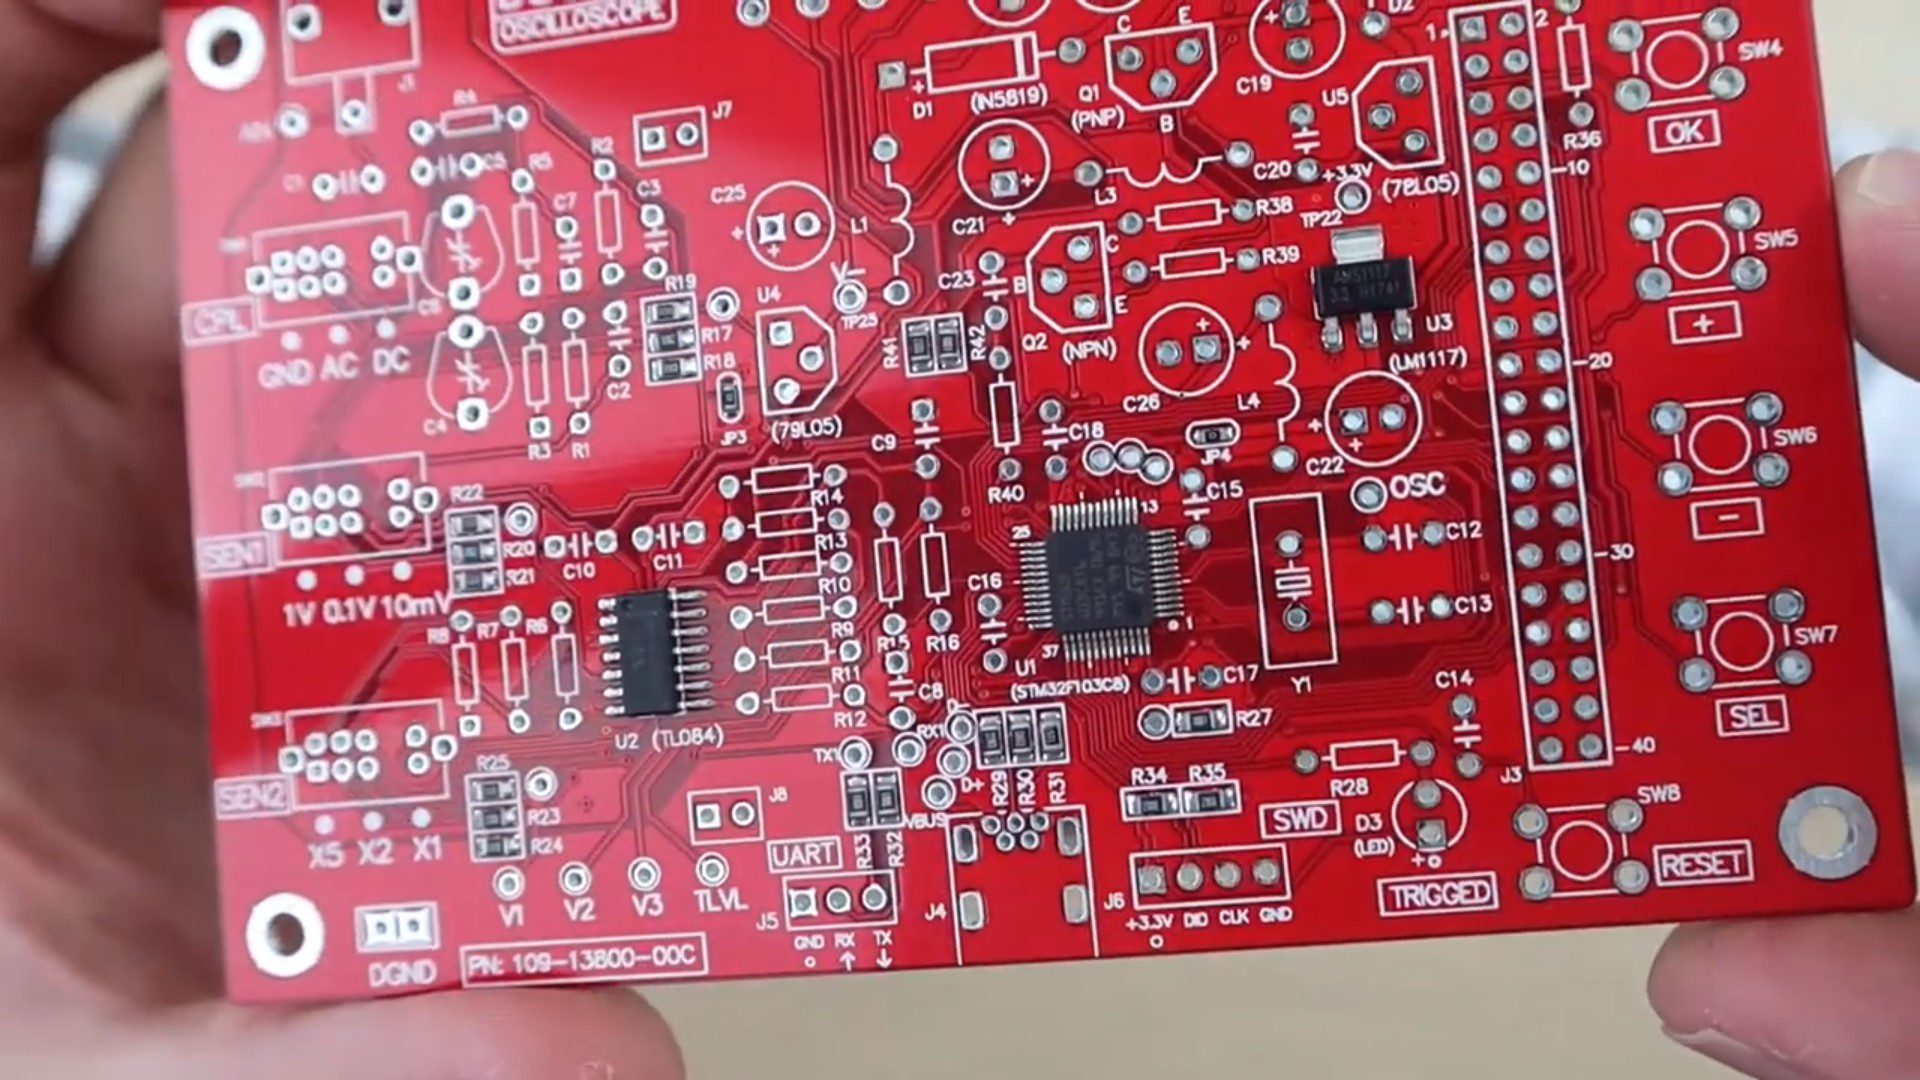
The manual which comes with the DSO138 digital oscilloscope is quite good, its actually one of the better ones I’ve seen with these types of DIY electronics kits. It has a detailed schematic, components list and assembly procedure as well as a few checks to do before powering it up and a fault finding or trouble shooting guide. It leaves you feeling quite confident that you’ll be able to get the kit working.
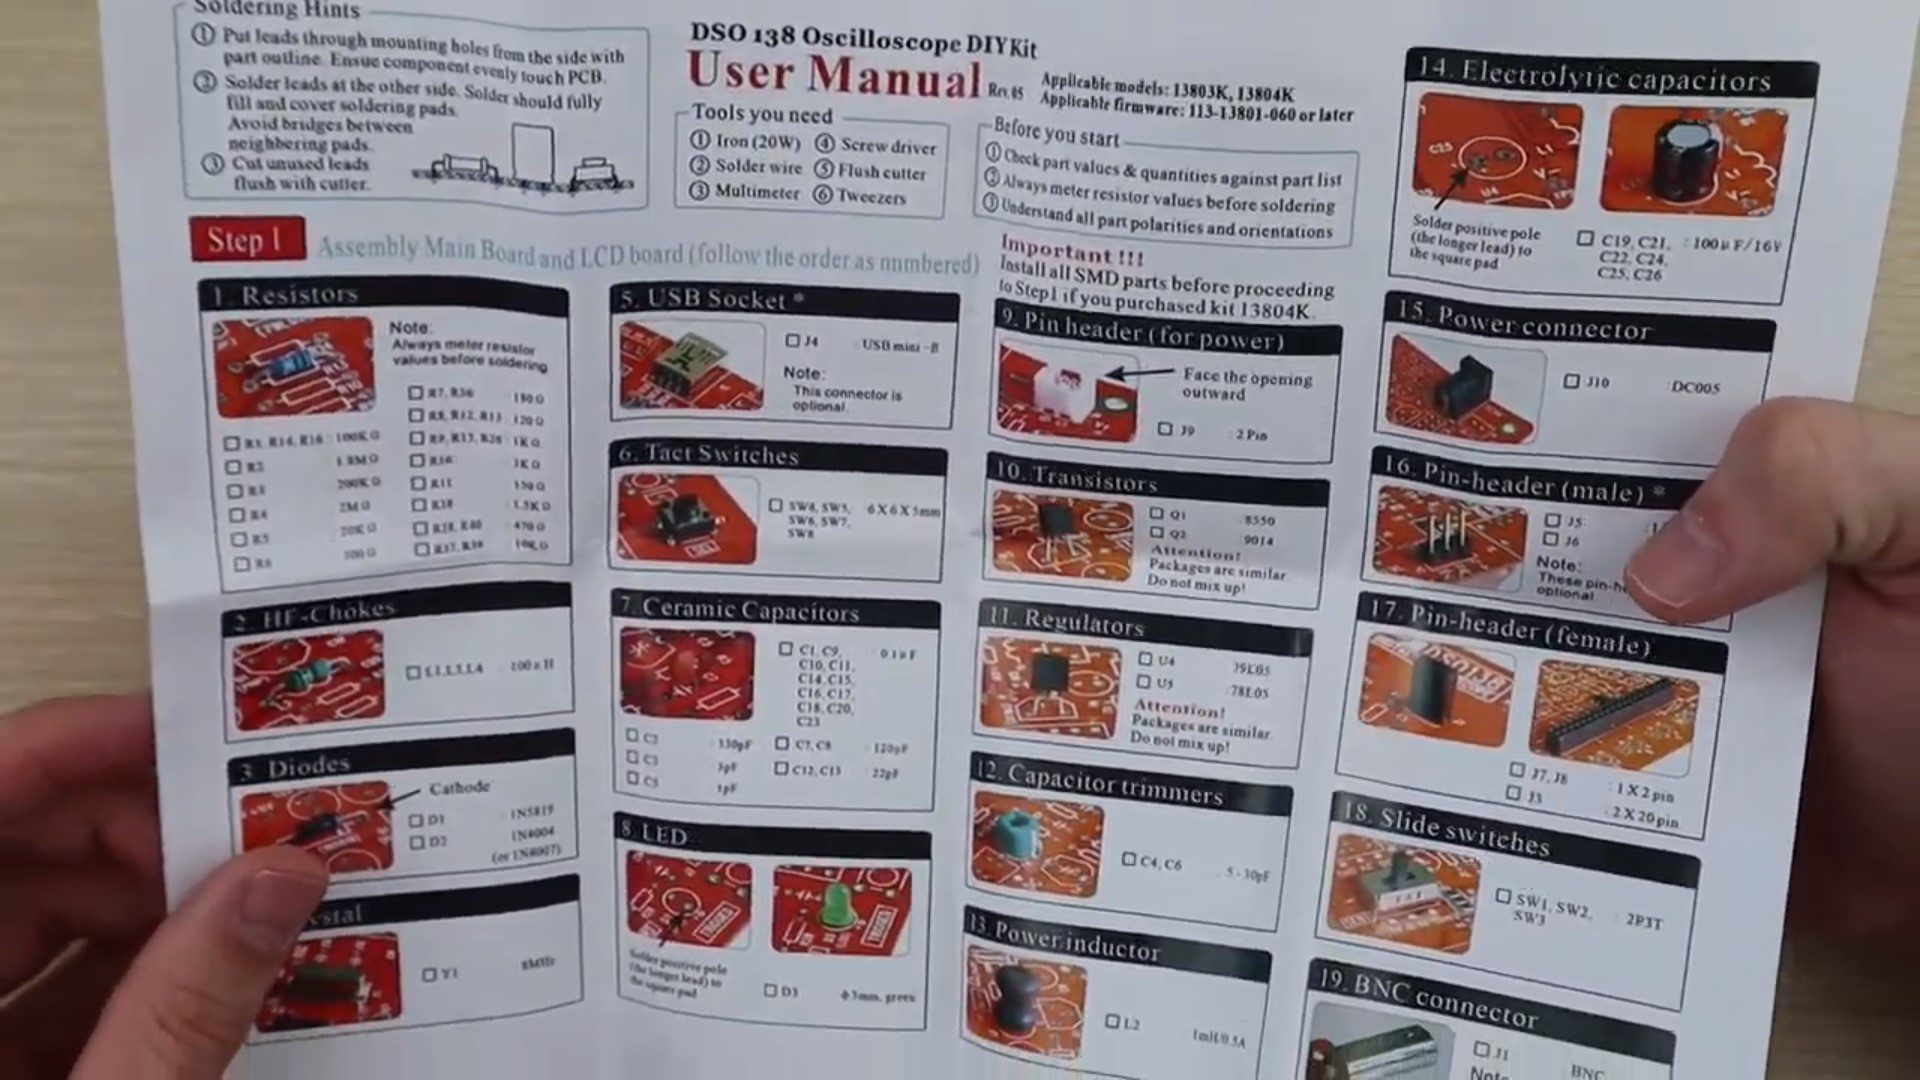
Download The Manual – DSO 138 Oscilloscope Instructions/Manual
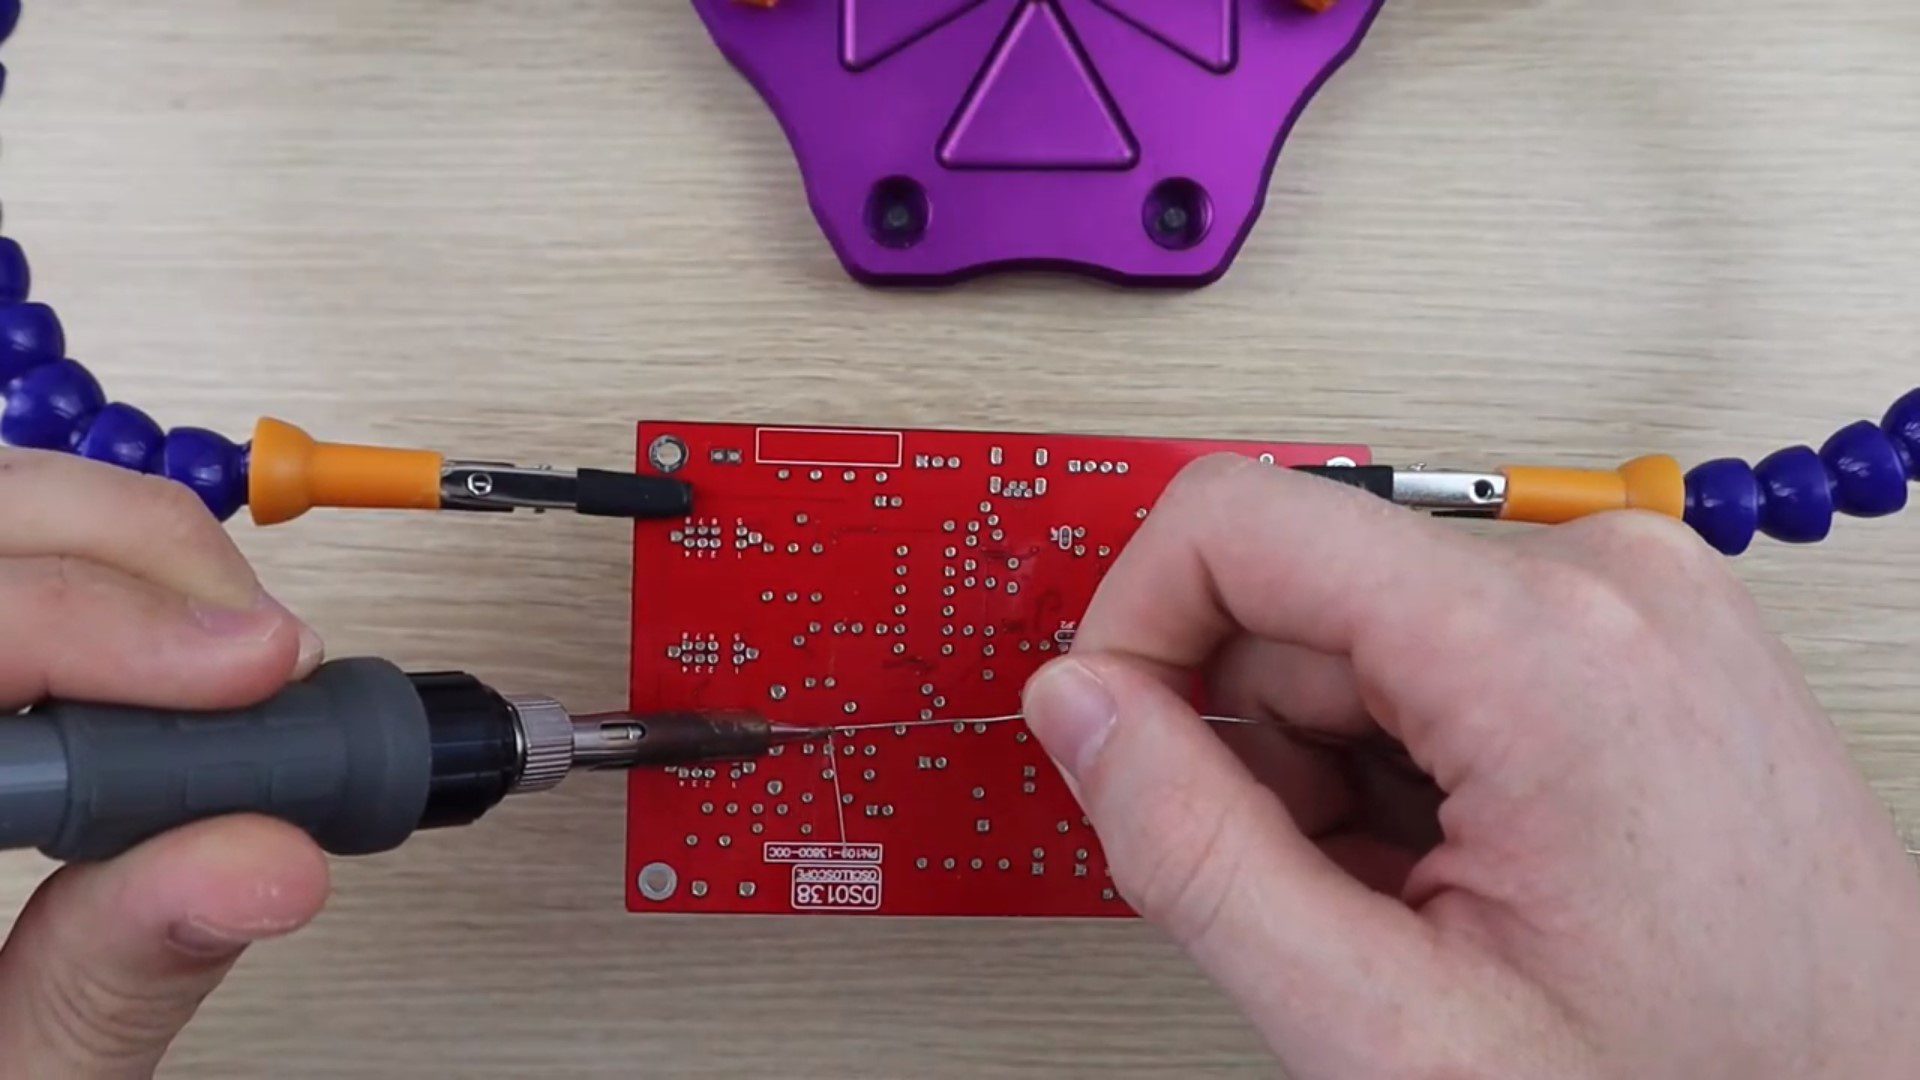
I then started with the build. The most cumbersome part was measuring and sorting the resistors, which took quite a bit of time.
The actually build process went quite smoothly. The manual guides you through the sequence and gives you small notes on what to look out for. It also has a check box next to each component to mark them off as they are installed.
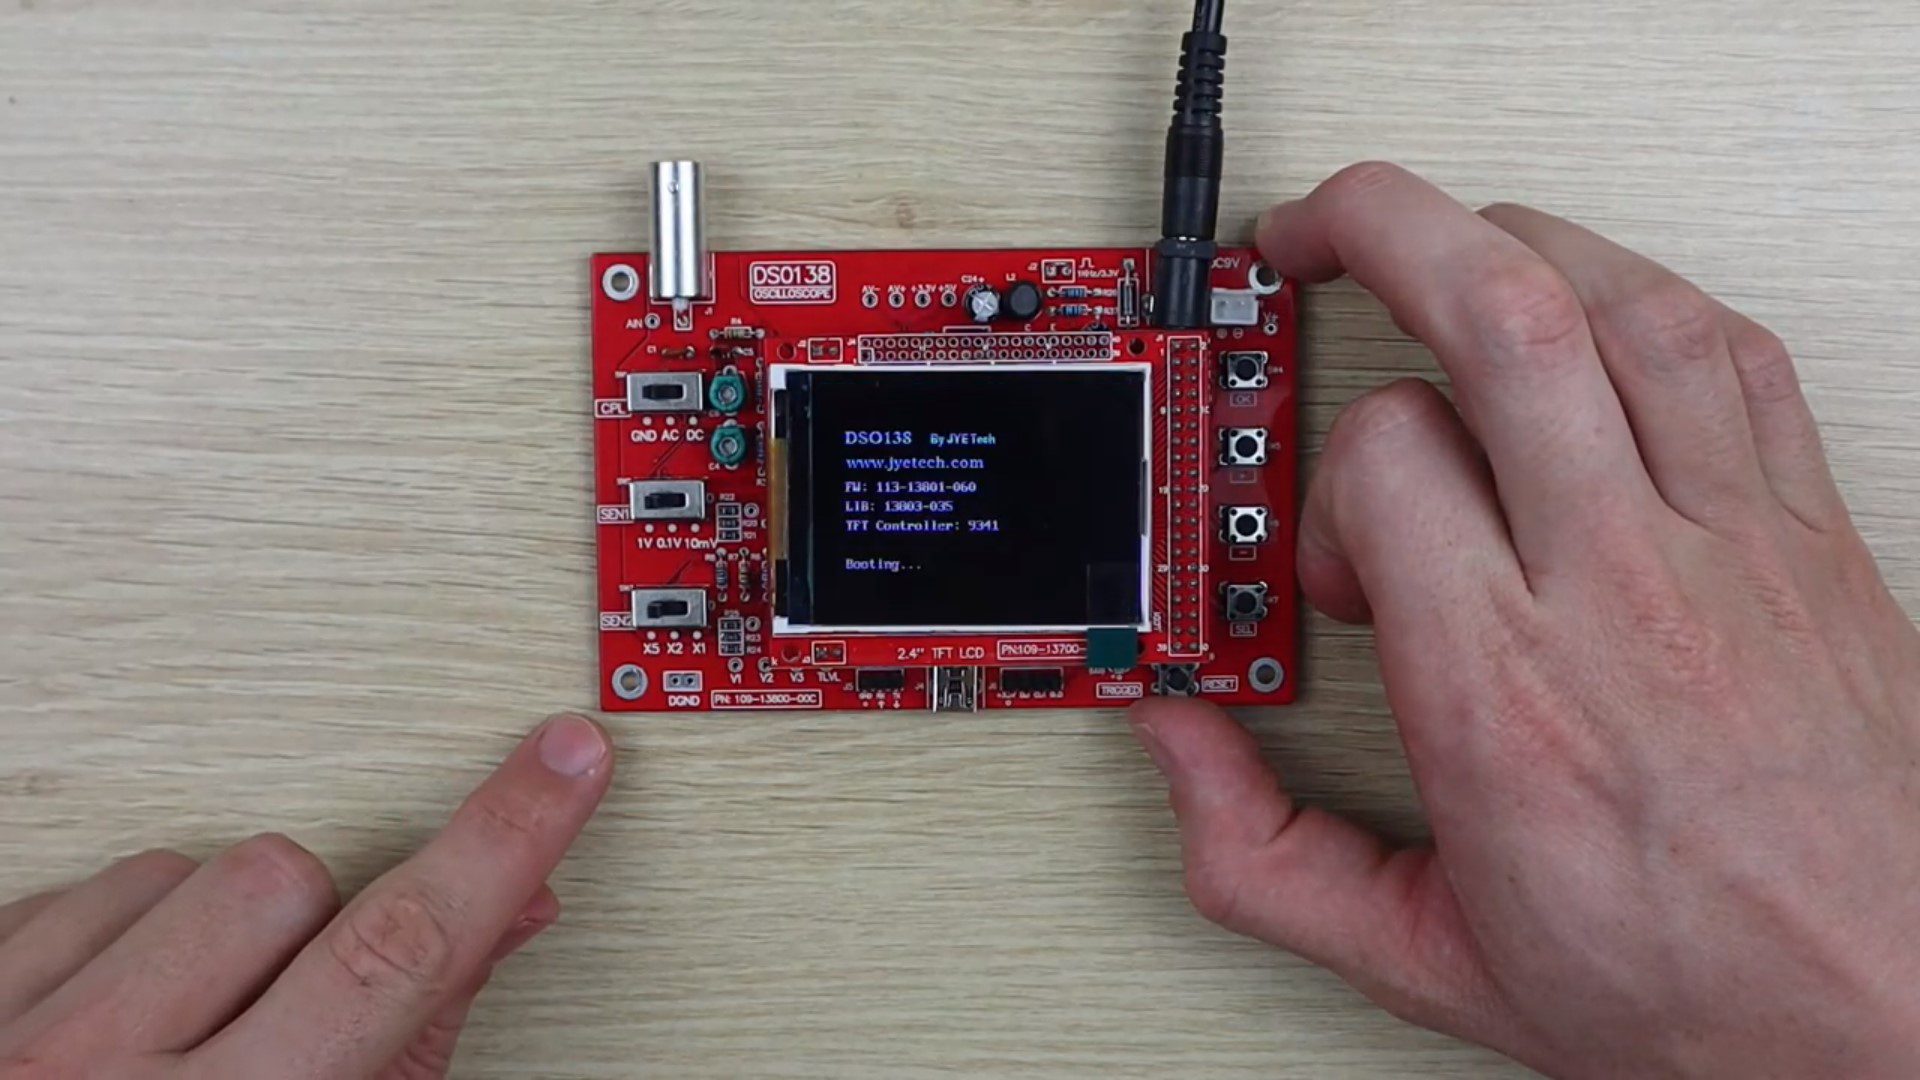
I then checked the PCB and components again before powering it up. The manual then guides you through testing a few voltages at various test points before plugging the display in. My test voltages were all correct but I still had a couple of issues to resolve before it started working properly.
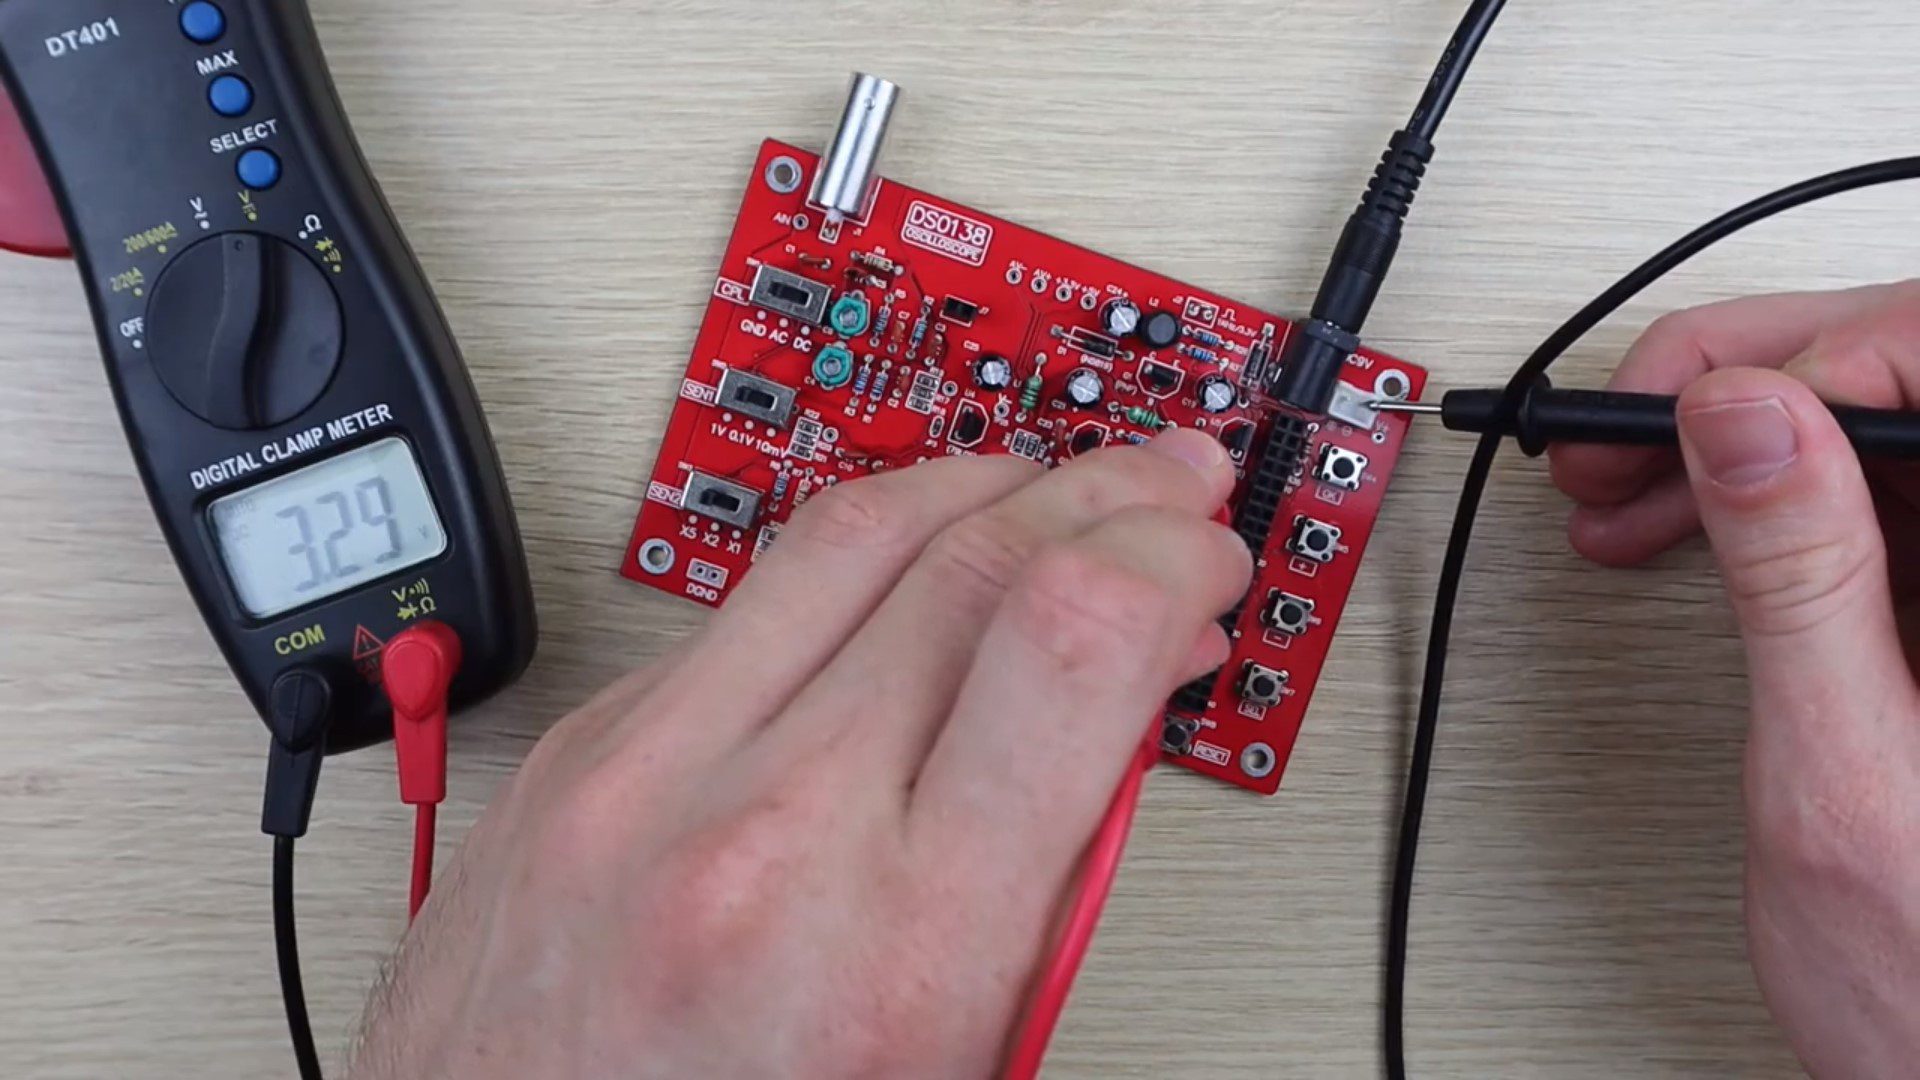
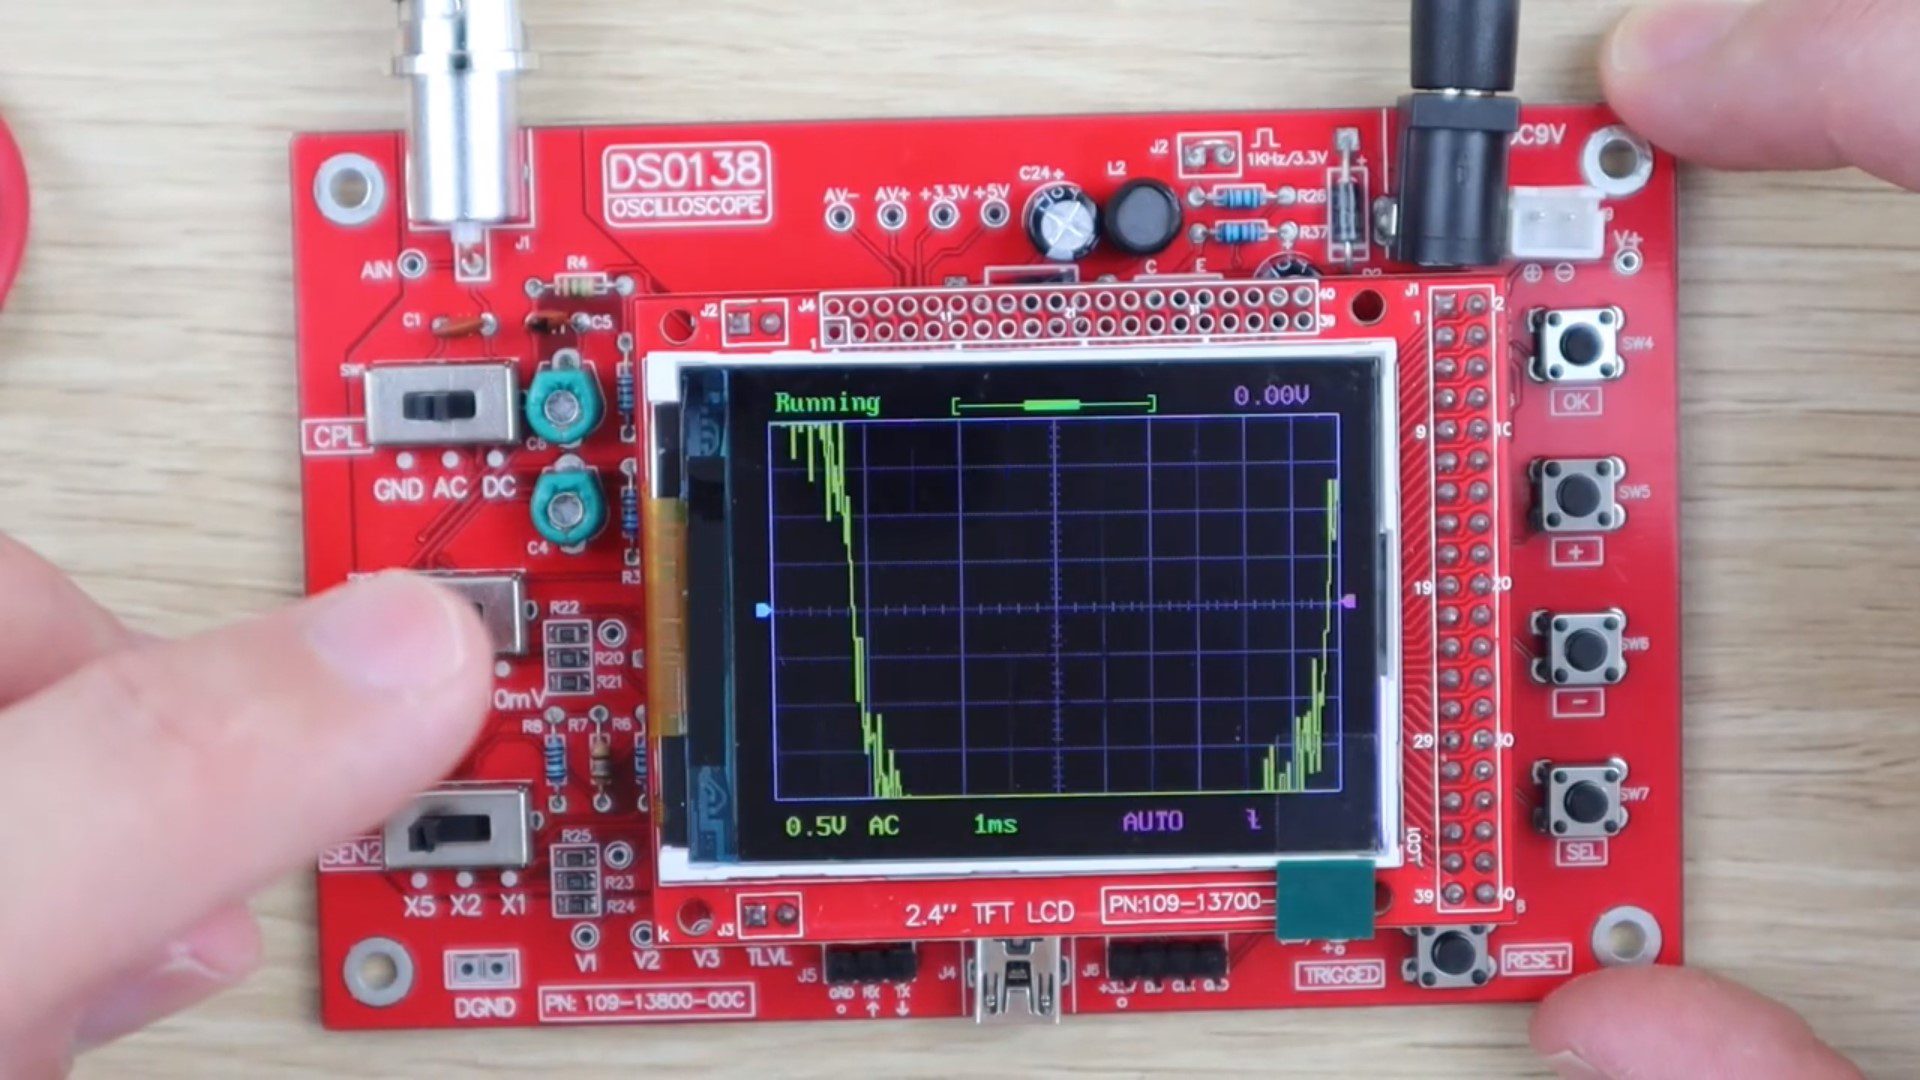
My DSO138 digital oscilloscope started up perfectly the first time, but there was no trace visible. I initially thought that this was because the trace was just off the screen and I tried flipping through the switches and connecting the test leads but this didn’t help. This also lead me to discover that the push buttons on the right side were not responding. I switched the scope off and put a multimeter across the push buttons and found that one was short circuit. I replaced the faulty push buttons and then cursor then moved around the display but there was still no trace visible.
After a bit more investigating and testing various voltages, I found that one of the resistors was faulty. I replaced it and the trace then appeared.
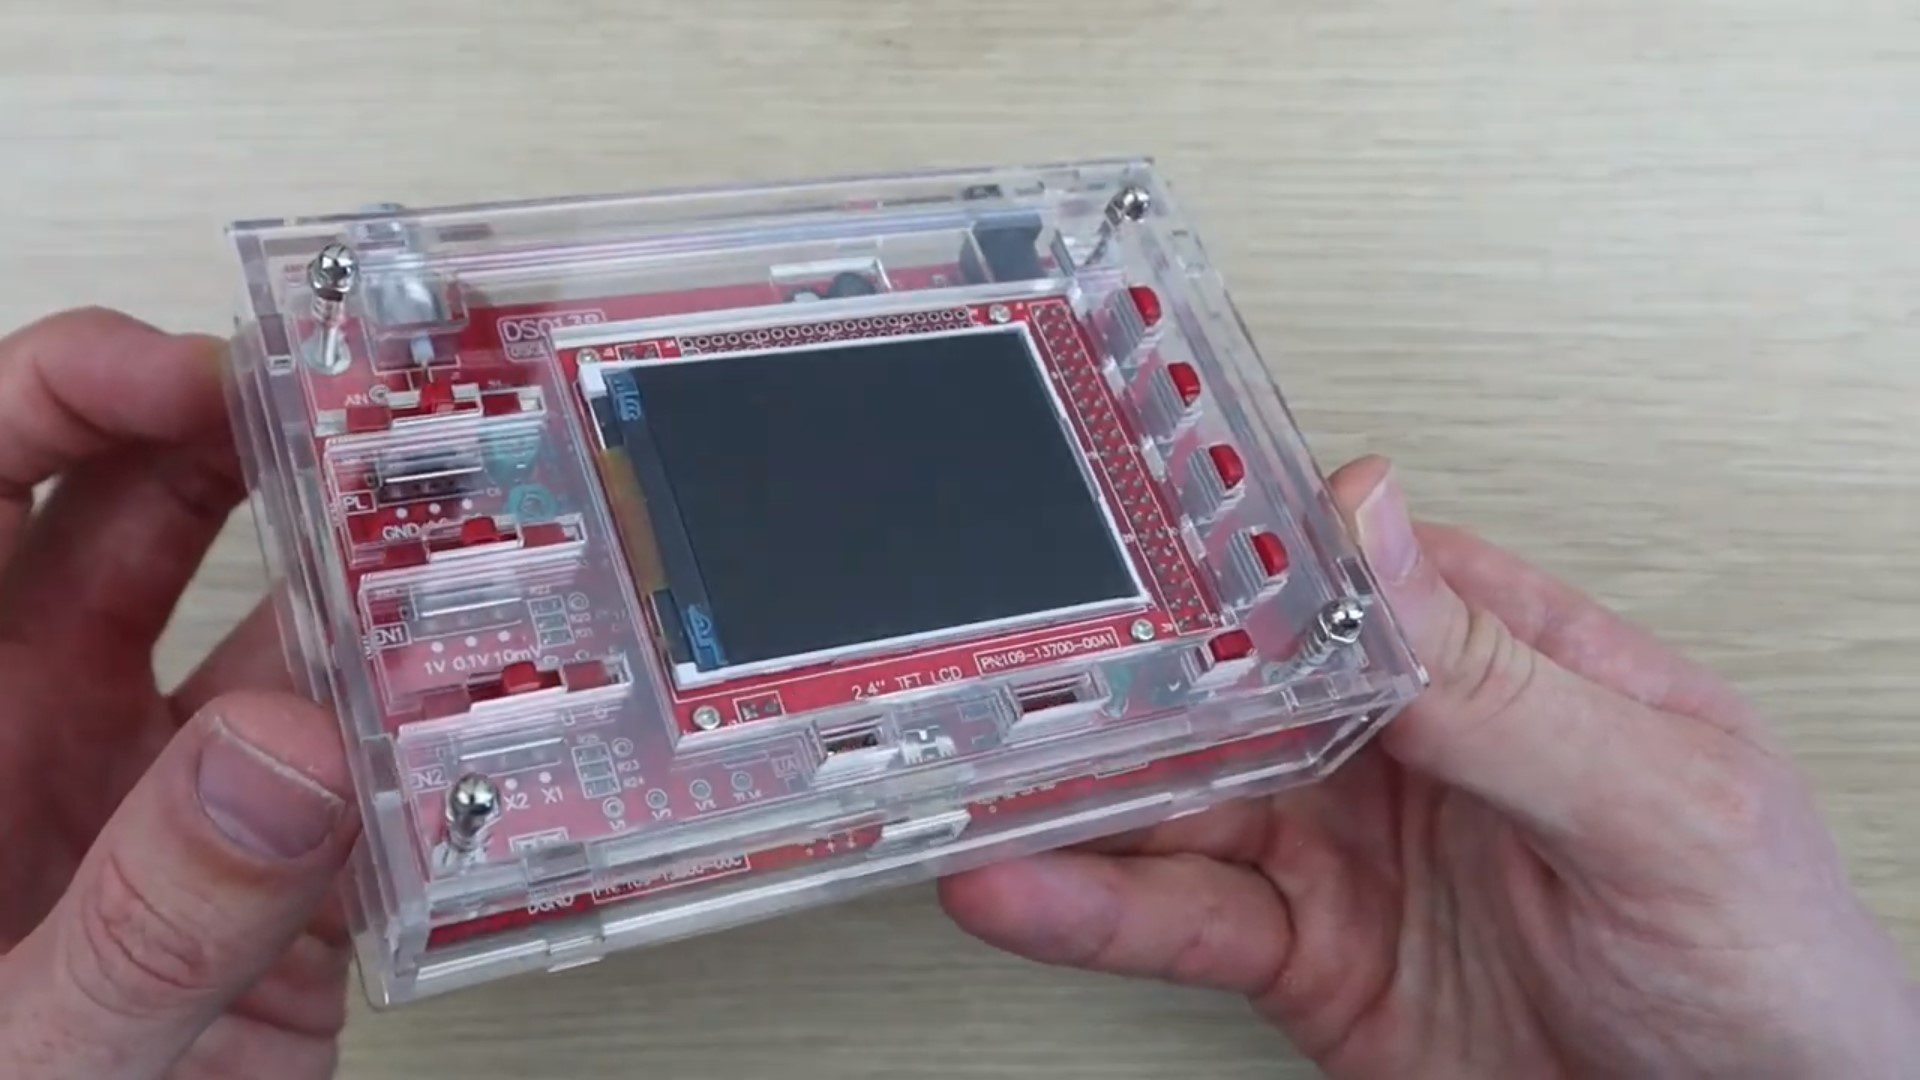
I then got to work putting the oscilloscope into the acrylic case.
The acrylic case was a bit frustrating to assemble. As mentioned before, there were no instructions provided with the kit and although there are numerous video and pdf instructions available online, almost all of them have notes saying “this is wrong” or “don’t do this” somewhere in them. And they’re all a little different.
If found two main issues with assembling the case.
The first was the component clearances. The bottom inside plate is designed to fit around the PCB components, but the clearances are unnecessarily tight. If any components were skew, as was the case with my power socket, it won’t fit. I tried to trim a piece off and landed up cracking the top corner. This doesn’t really affect the build but it is noticeable through the other clear layers.
The second was the headroom above the components. There is not much headroom allowed for the PCB components beneath the inner acrylic layers. If your PCB components are not all completely flush with the PCB then you’ll probably have a difficult time trying to get the internal layers into place without bending or forcing them. This is particularly true for the ceramic capacitors.
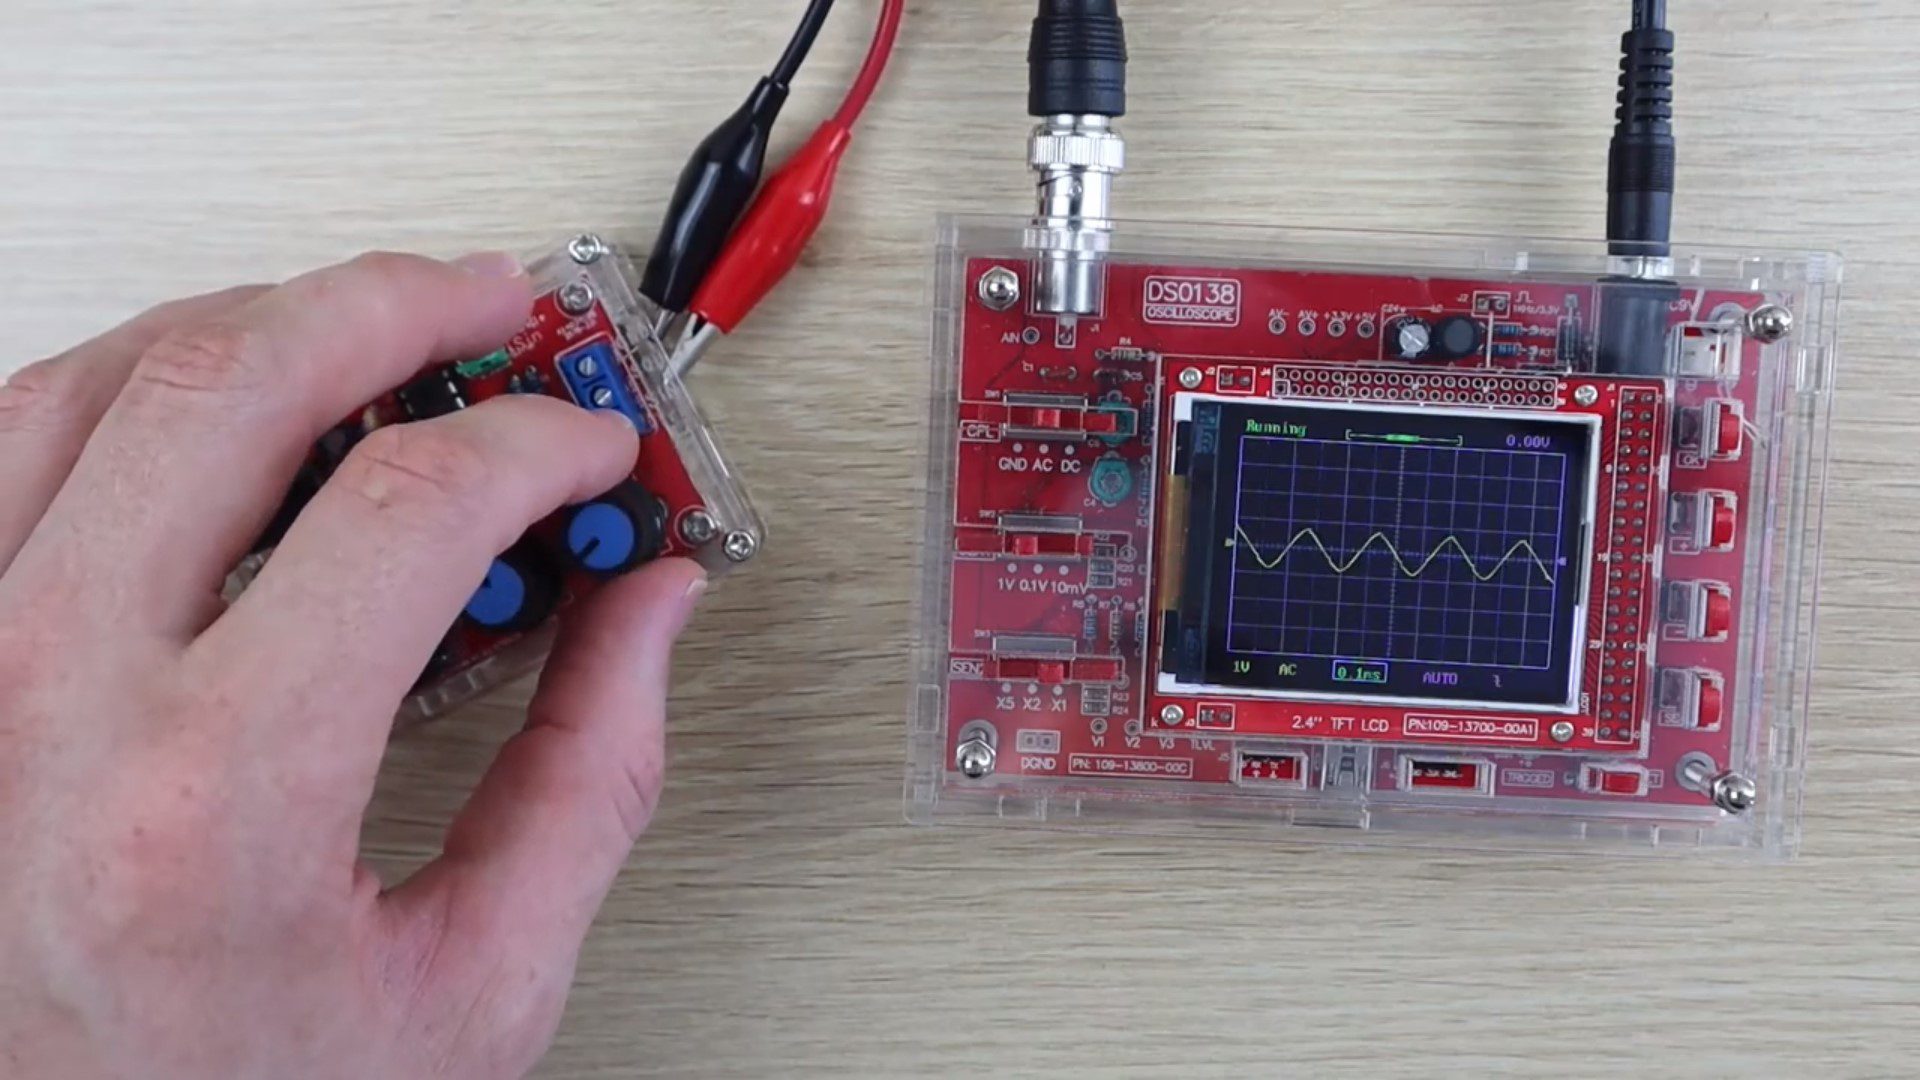
Overall, I think that the DSO138 digital oscilloscope is quite a useful and functional scope for it’s price. It’s great for home and hobby use and does everything you’d expect from a small and basic digital oscilloscope.
I’m not sure that the success rate is for this kit, but there seems to be a large number of people complaining on forums that their scope is dead, display is dead or that there is no trace visible. This seems to suggest that it’s not the easiest kit to get working, but it also may just be that it’s quite popular and there are a large number of people who have tried putting one together.
Have you build this kit or any other oscilloscope kit? Let us know how it went for you in the comments section below.
Do you happen to have a digital copy of the instructions for the oscilloscope project? I bought it on Amazon and they dont have it or a link to it on their website. I would tremendously appreciate it if you can help me with this problem. Thank you!
Sure, I’ve added a link to download a pdf copy of the manual. It’s just a copy of the physical manual, I haven’t seen a digital copy online.