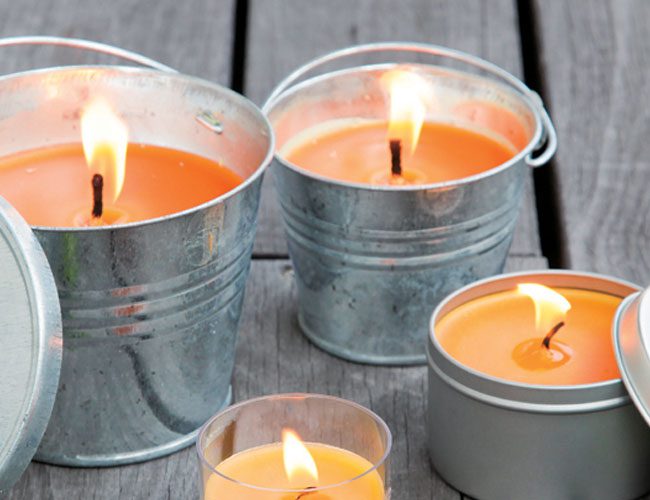
You can never be over prepared when it comes to bugs and mosquitoes, keep these annoying pests away with natural citronella oils in a homemade candle. Making your own candles is really easy and you can usually find most of what you need to make them laying around the house.
What You Will Need To Make 4 Citronella Candles
- 3-4 Ceramic or Metal Pots, Jars or Containers – Buy Here
- 500g (1lb) Wax – Buy Here
- 30ml (1oz) Citronella oil – Buy Here
- 3-4 Candle Wicks – Buy Here
- Clear Tape – Buy Here
- Pencils or Sticks (To Keep Wicks Upright While They Set)
- Double Boiler – Buy Here
How To Make The Citronella Candles
Finding The Ingredients
For the pot or jar, you can re-use tins from canned goods, empty food jars, coffee pots or small ceramic flower pots (the ones without holes). The most expensive part of these candles is the wax however most households have a couple of almost burnt out candles lying around to get you started. Alternately, wax pellets are available at most craft stores. You could also save up the remaining candle wax from your burnt out candles throughout the year so that you have a collection for the summer. Lastly, you need some wicks. If you are starting out with candle making then its probably best to go out and buy a few from a craft store, they are relatively inexpensive and and guaranteed to work. If you are feeling a bit more adventurous (or frugal) you can make your own with cotton, twine, string, shoe laces etc. Just soak the string in some melted wax and lay them out straight to harden and you have a wick.
Remember that different types of waxes burn at different rates and temperatures so you may need to experiment with different size wicks and mixtures of waxes until you find a combination which works well for you. If you make a candle and it doesn’t work too well you can always remelt the wax, substitute the wick and pour it back into the container so you don’t have to throw the candle out. If you have a very fast burning wax, like beeswax, you can slow down the burning by adding an oil such as coconut or palm oil to the molten wax.
Making The Candles
Place all of your wax into the double boiler and heat the wax over a medium heat until it has all melted. This usually takes between 15 to 30 minutes depending on the type of wax being used.
Add the citronella oil and any other oils if you wish to slow down the burn rate of your candles. Stir the oil in well.
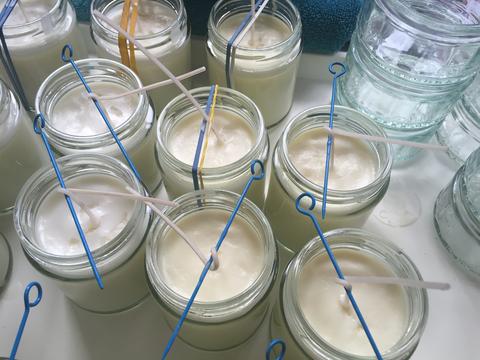
Place one wick into each of the jar and tape the end to the centre of the bottom of the jar to keep the wick in place. Use a tablespoon and drop a few spoons of wax onto the taped area to really secure the wick and keep the tape from pulling loose. Place a pencil or stick across the top of the jars and rest the wick on it in an upright position.
Now pour the hot wax into the jars, fill the jars to about 2cm (1″) from the top. Once all of the jars are filled, place them in a sheltered and warm place with a dish towel around them and allow them to cool. You want them to cool as slowly as possible to prevent the wax from cracking.
Once they are cool, allow them to stand and cure for 48 hours before using them. Trim the wicks to 1cm (1/2″) before lighting them.
Have you ever made your own candles? If you have any tips, tricks or advice, please tell us in the comments section below.
If you are making these candles as a gift, consider presenting them on a homemade mini wooden pallet. If you enjoyed making these citronella candles, you may also like these soy candles with free printable labels.


