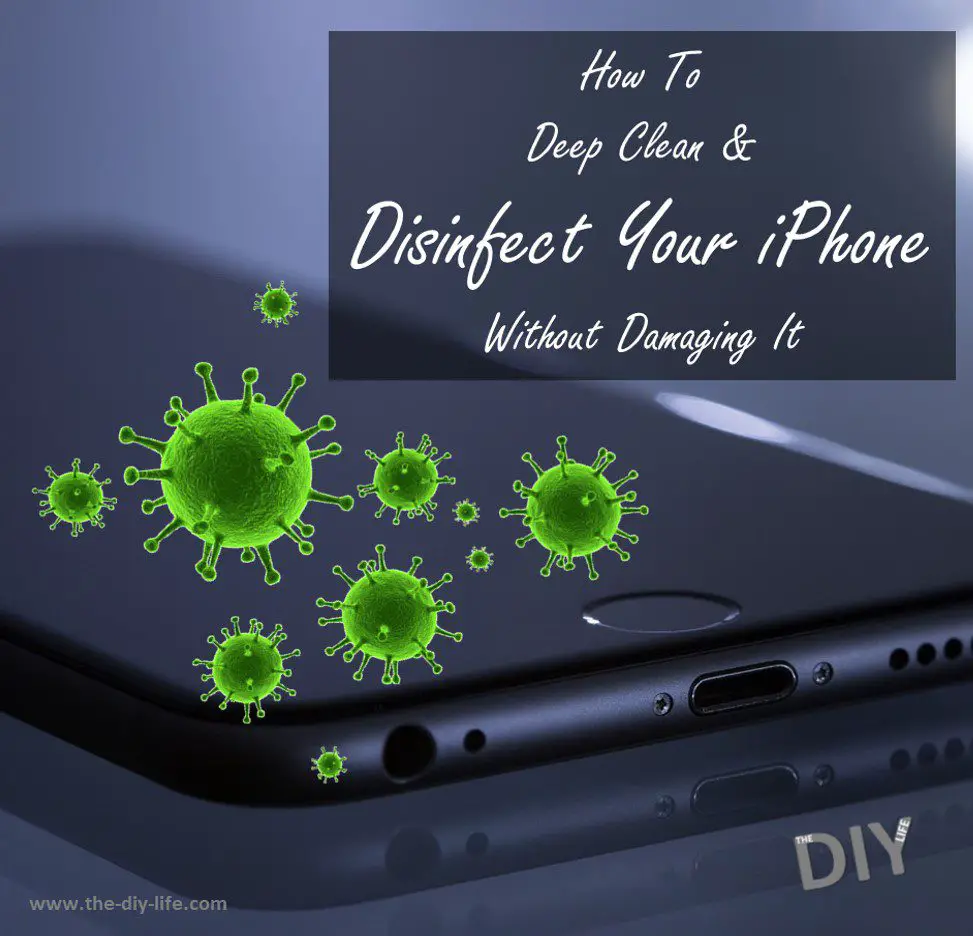
In the recent weeks we’ve all been stepping up our general household and personnel hygiene, one of the most frequent recommendations being to wash our hands often and thoroughly. This is a great first step, but you probably handle your phone before and after washing your hands as well, transferring germs to and from your phone each time. So its best to give your mobile device a wipe down at least once or twice a day too. Cleaning your iPhone is not as simple as giving it a spray of disinfectant as harsh chemicals may permanently damage the oleophobic coating on the display, and older, non-water resistant models may be susceptible to moisture ingress. So here’s a useful guide to clean and disinfect your iPhone while minimising the risk of damaging it.
It is important to note that using harsh chemicals to disinfect your iPhone, especially those containing bleach, will damage the coating on your iPhone’s screen. Apple’s official recommendation is to use either 70% alcohol wipes or Clorox disinfecting wipes. These are the only disinfectants or cleaning products which you should use on your iPhone.
If you enjoy this article, you may also want to find out about these Things You Should Be Cleaning But Probably Don’t.
What You Need To Clean Your iPhone
- Clorox Disinfecting Wipes – Buy here
- or
- 70% Rubbing Alcohol Wipes – Buy here
- Narrow Tip Cotton Swabs – Buy here
- Toothpicks – Buy here
- Two Microfibre Cloths – Buy here
How To Properly Clean Your iPhone
Start by removing your iPhone’s cover and lay them down onto one of the microfibre cloths. If you’ve got a cover which is not designed to be easily removed, then rather clean the outside of the cover and use the cotton swabs (as mentioned below) to clean along the edges. Repeated removal of covers which are not designed to be removed may damage them and cause them to become loose around your iPhone. Also, don’t remove your tempered glass screen protector, if installed.
Carefully and gently remove any dirt or lint which has been caught in your iPhone’s lightning port or in your microphone and speaker grills with a toothpick. It is important to be very careful when working in and around the lighting port. Only use the toothpick to gently lift dirt or lint out of the port, do not scrape, scratch or rub the inside of the port or you risk damaging the terminals.
Use a Clorox wipe or a 70% rubbing alcohol wipe and give your iPhone and cover a wipe down to clean and disinfect it. Be thorough and make sure that you wipe down the front and back surfaces as well as around the sides. Don’t use a lot of pressure and be especially careful when wiping down the screen. Never press the wipe or cloth down over the speaker grills, buttons or microphone ports as you risk forcing moisture into the openings and into your iPhone which may permanently damage it.
Use a cotton swab with a small amount of rubbing alcohol from a wipe to get in around the buttons, switches and grills. Again, it should be slightly damp, not soaked in alcohol or you risk getting moisture into your iPhone.
Once done, wipe your iPhone and cover down with the dry cloth on which they have been resting and replace the cover.
If your iPhone case or cover has any signs of advanced wear, deep scratches or cracks then you’ll want to throw it away and get a new one. Cracks and crevices are great hiding places for germs.
You’ve now successfully managed to clean and disinfect your iPhone, leaving it germ free.
What are some of the other personal and household items which you’ve found important to keep clean? Let us know in the comments section below.
Share This Guide