There are plenty of DIY Dremel-style rotary tool ideas available on the internet but there isn’t really anything that is powerful enough or usable in the long term, while still looking good! So here are plans to make your own 3D Printed Dremel-style rotary tool which is compact and light, yet powerful enough for 90% of the things you’ll need to do and makes much less noise than commercial ones.
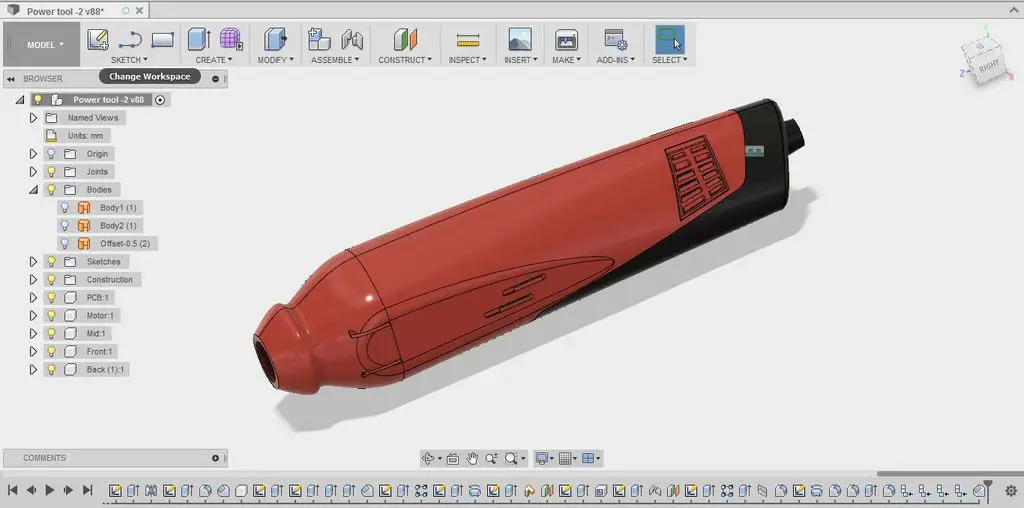
The design was done by Makernaut who used Fusion 360 for the 3D CAD model. The front part has a groove for more control while doing detailed work. It has a snap fit which makes it detachable for changing tool bits. The rest of the casing is made up of 2 parts stuck together using adhesive and holds the motor and pcb with ventilation holes for cooling.
What You’ll Need To Build Your Own Dremel-Style Rotary Tool
- 3D Printer or 3D Printed Parts
- 12V DC Motor: Listed as 6000 rpm, RS-550S Motor. Diameter~37mm – Buy Here
- PWM DC Motor Controller 3A – Buy Here
- Mini Chuck/Collet Set for 3.17mm Shaft – Buy Here
- Adhesive – Buy Here
- Wires
- Black Rubberized Automotive Paint(Optional) – Buy Here
- 12V Power Supply , At Least 5A Current – Buy Here
- Rotary Tool Bits – Buy Here
How To Make Your Dremel-Style Rotary Tool
3D Print The Casing
To start off with, you’ll need to print the 3 parts which make up the casing. You can either print these using your own 3D printer or use a printing service such as 3D Hubs.
Here are the 3D print models:
The parts should be printed with PLA with a 0.2mm layer height.
Assemble The Components
Sand and Finish the parts to get the right fit and remove irregularities. Especially the snap fit at the front cover. You could also temporarily connect the motor to a 12V battery and chuck, and use the tool bit for sanding.

Don’t forget to wear appropriate safety equipment.
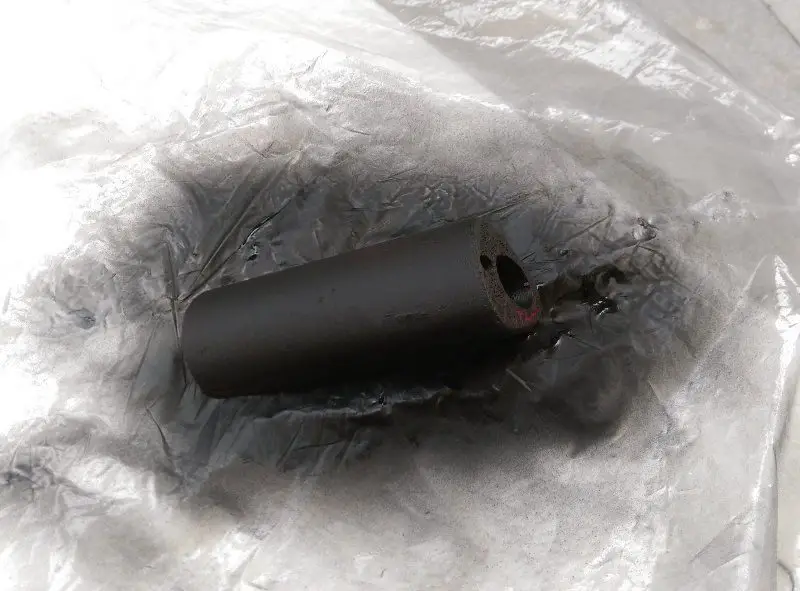
After sanding and finishing, Paint the lower-part with Black Rubber Automotive Paint for a nice grip and aesthetics. Apply 4 coats for a nice soft-touch feel. Paint outside in open area and use safety gear.
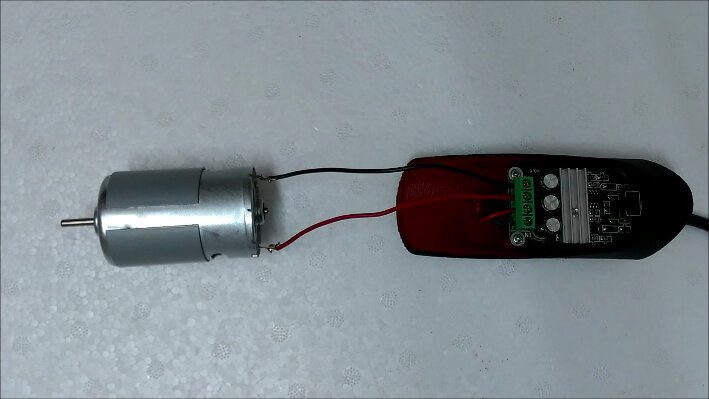
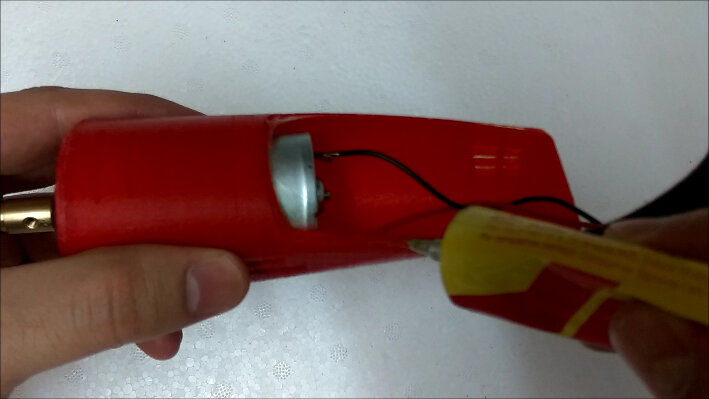
Solder the wires to motor terminals, the other ends go to the ‘Motor +/-’ terminals on the PWM controller circuit board.
Pass 2 wires through the smaller hole at the end of the ‘lower-part’ and through the small triangular hook as shown in image. Then connect one end to the ‘Power +/-’ terminals on the circuit board and other end to a 12V power supply.
Turn on the 12V supply to ensure that the motor turns counter-clockwise. If not, switch the wires going into ‘Motor +/-’ terminals.
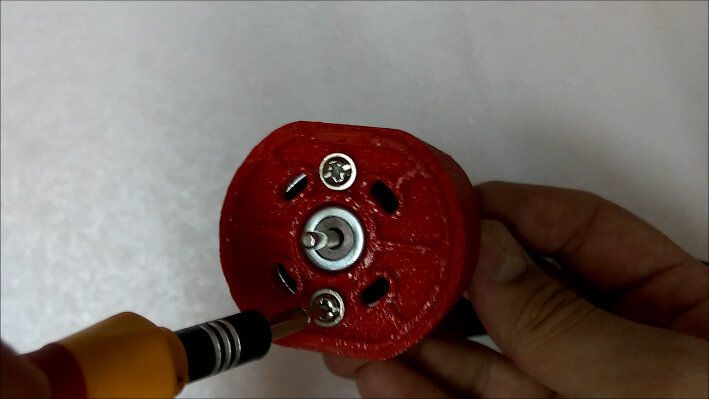
Using 2 machine screws provided with the motor (usually M3 screws), secure the motor to the front side of the casing.
Remove the potentiometer cap from the PWM controller and insert it through the hole at the end of the lower casing. Using a minimum of two M3 self tapping screws, secure the PWM controller board to the lower casing.
Tuck the motor wires in, and stick the lower casing to the other half casing by applying adhesive at the edges.
Insert the chuck on the motor shaft and secure it. Snap on the front plastic cover. Put the potentiometer cap back on.
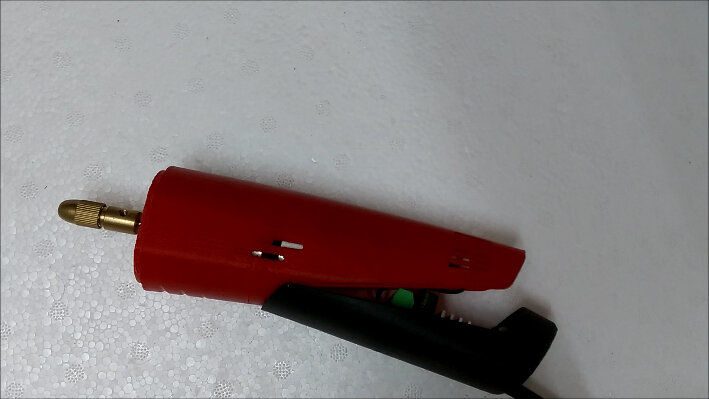
Your Rotary Tool Is Now Ready To Use
Cut, Engrave, Sand, Polish, Drill many materials including most Plastics, Woods, relatively Soft Metals like Aluminium.
Smaller tool bits fit in directly, but for larger bits either you may sand the opening hole of the front cover or not use the front cover. The front cover is mostly for holding the rotary tool closer to the tool bits to give more control.
Have you tried making your own rotary tool? Let us know in the comments section below!
This post is based on 3d Printed DIY Dremel-style Rotary Tool by Makernaut and is modified and used under the Creative Commons license CC BY NC SA.