Today we’re taking a look at a new modular robotics kit called UGOT. It’s been developed by a company called UBTECH, who already have quite a few products in the robotics space. They are particularly known for their humanoid robots like the UBTECH Walker and their educational kits, but they also have a number of commercial robots available as well.
The UGOT robotics kit is currently being launched on Kickstarter and I think it’s going to be quite a popular product.
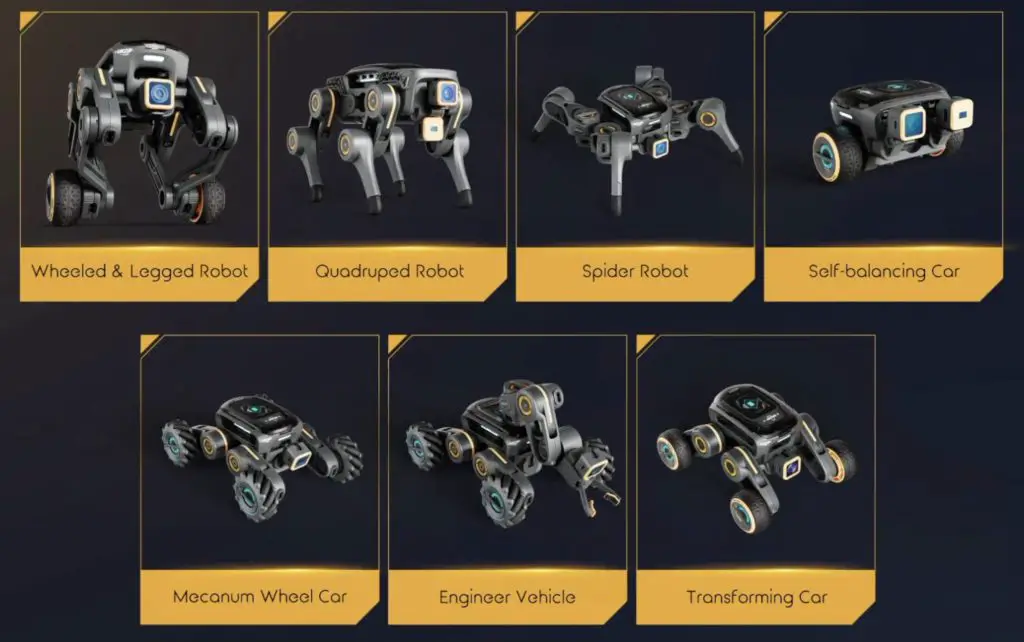
UBTECH have sent me an early version of their UGOT kit. It’s an assortment of motors, joints, sensors and cables that connect to a central controller to build a number of different robots. At this stage, this kit includes the parts to build 7 different robots but from their website, they clearly plan on expanding this to include drone-style robots with a propeller kit and a two-legged walking robot.
You’re also not just limited to the robots that come with the kit, the entire system is wirelessly programmable through their online platform called uCode and you can drag and drop blocks to add functionality to existing robots or even create your own robots from scratch.
Here’s my video review of the kit, read on for the written review;
Where To Get The UGOT Kit?
The kit is currently being crowd-funded through Kickstarter, so is available through their funding page;
UGOT Kit (Kickstarter) – Back Here
What Makes Up The UGOT Kit
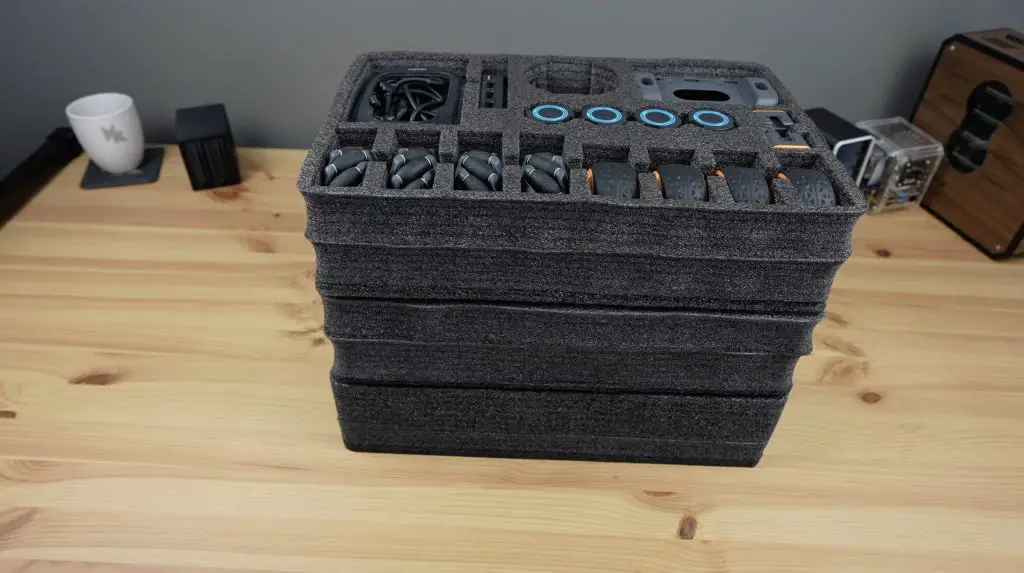
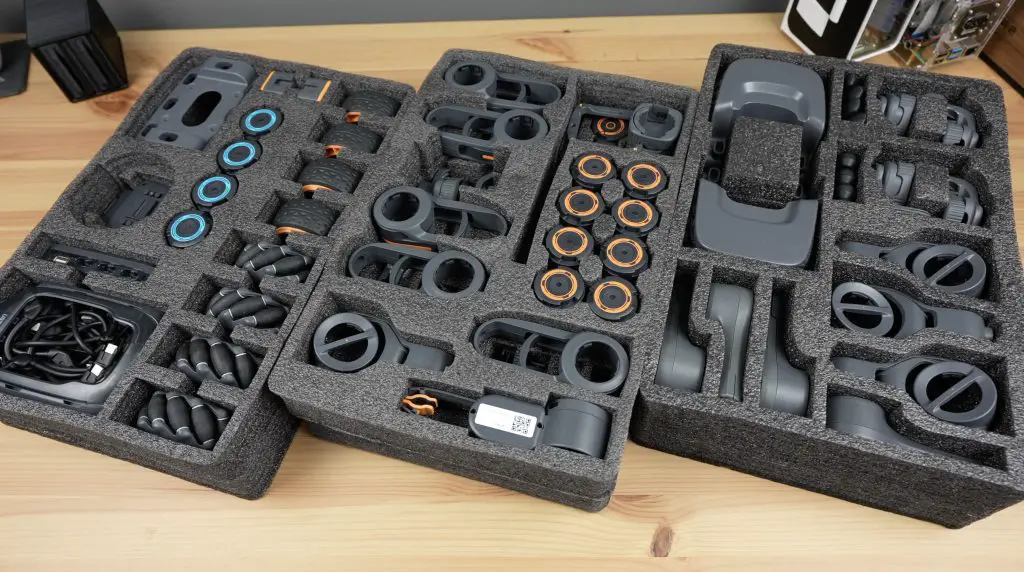
As mentioned above, the kit is an assortment of motors, joints, sensors and cables that connect to a central controller to build a number of different robots. All of the components come individually protected in three foam trays.
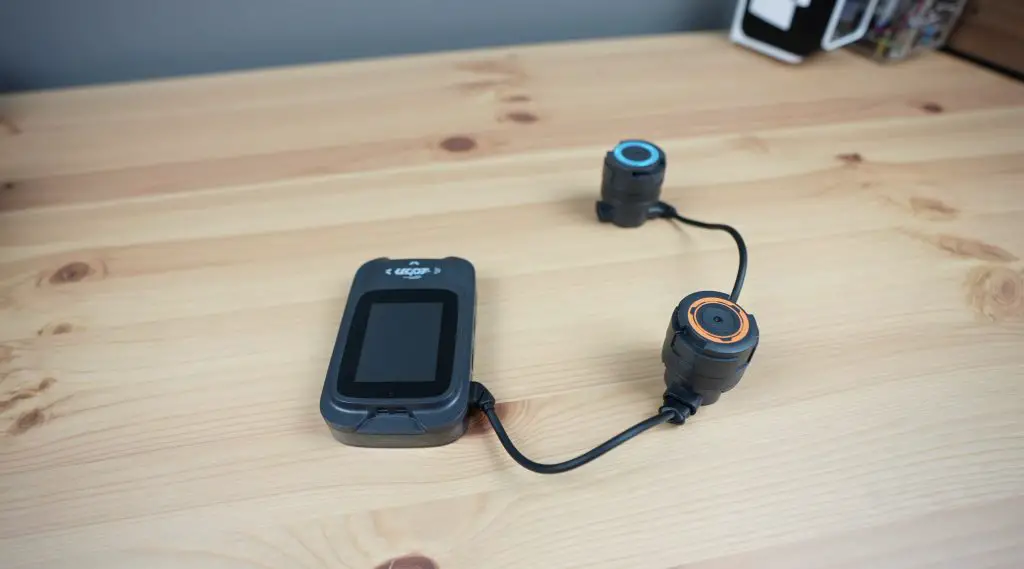
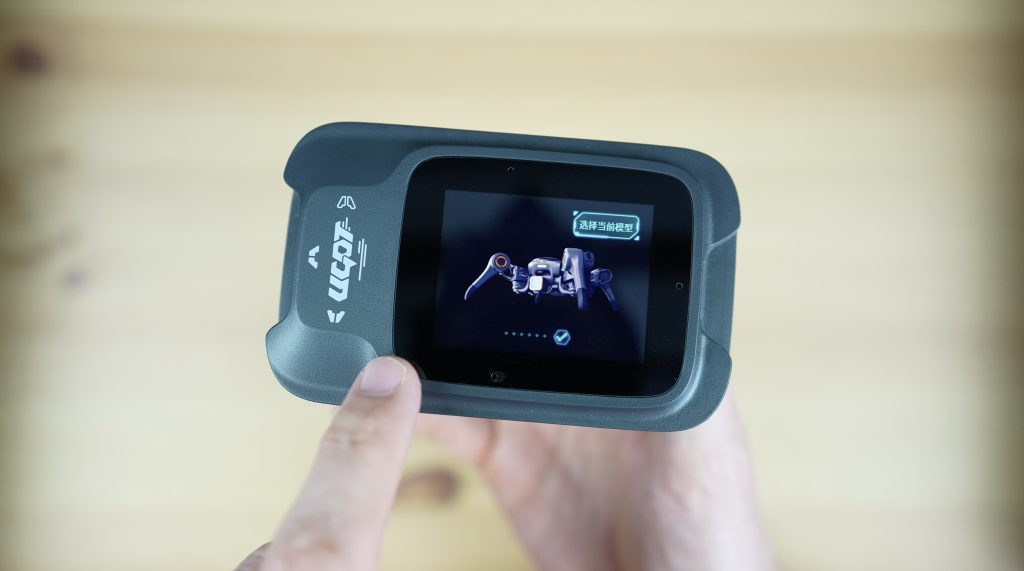
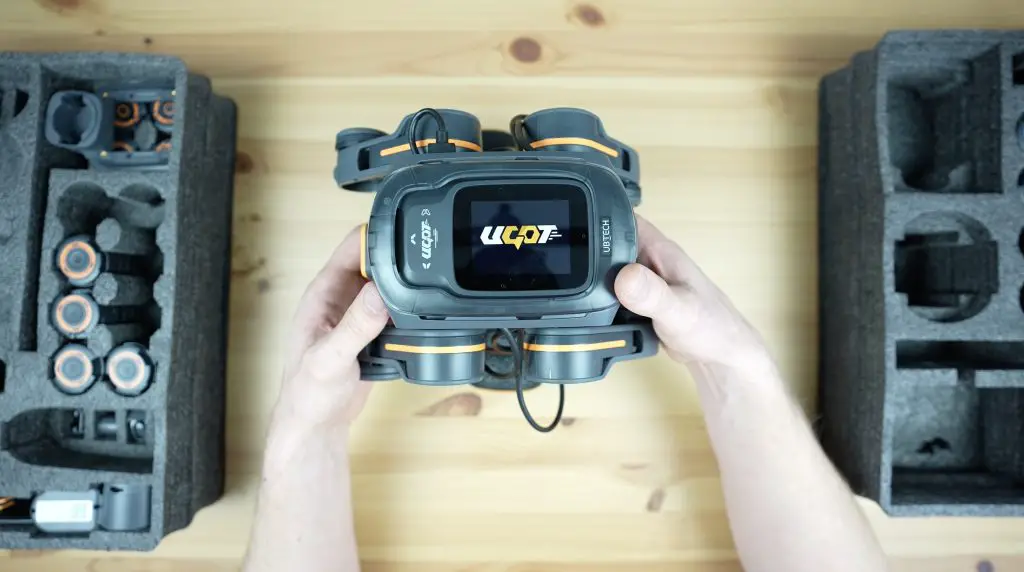
Let’s start by taking a look at the controller or brain of the robot. This is a computer with a range of ports around the edges. It’s got a connector for the battery on the back and a 2.4” LCD touch display on the front.

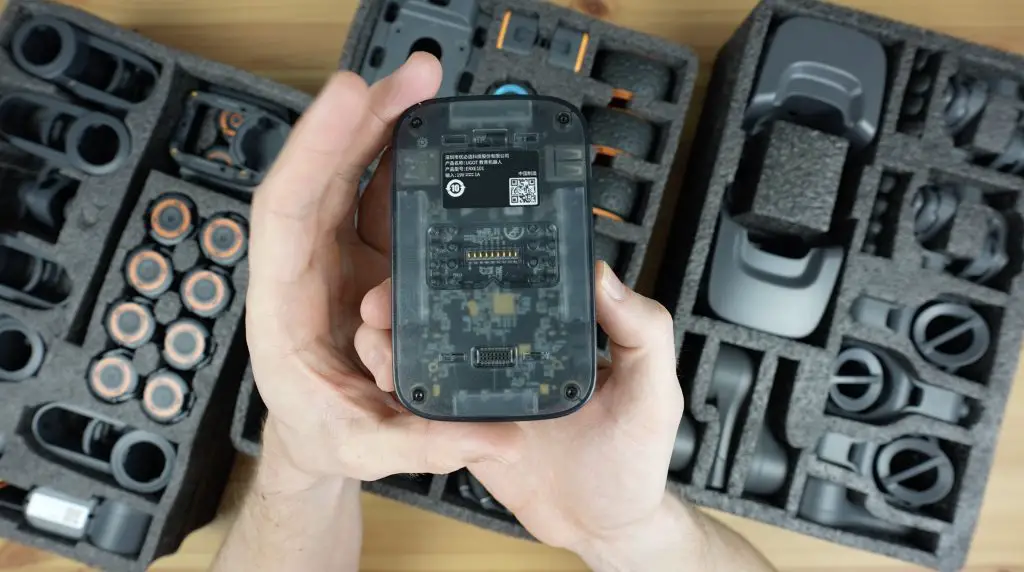
It’s got a quad-core Arm Cortex-A55 CPU running at 1.8GHz, 4GB of LPDDR4 RAM and 32GB of EMMC storage. That is coupled with an integrated GPU, NPU and motion sensor system which includes a 3-axis accelerometer, 3-axis gyroscope and 3-axis geomagnetic sensor. It’s also got RGB LEDs, a 3 microphone array and a speaker.
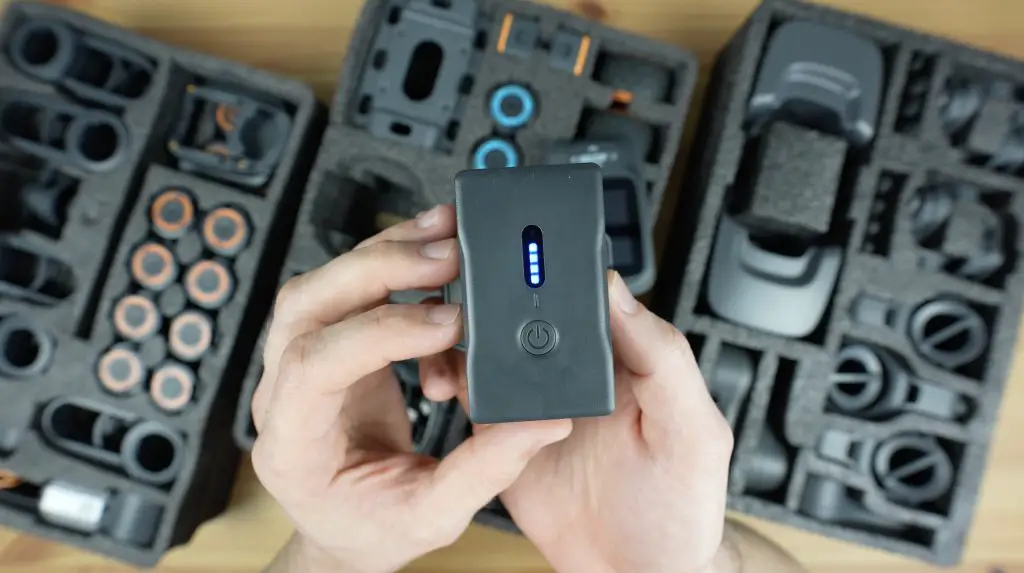
To power the controller, we’ve got a 2600mAh 11.1V lithium-ion battery pack. This gives the system a run time of about 2.5 hours, depending on how many motors are being used.
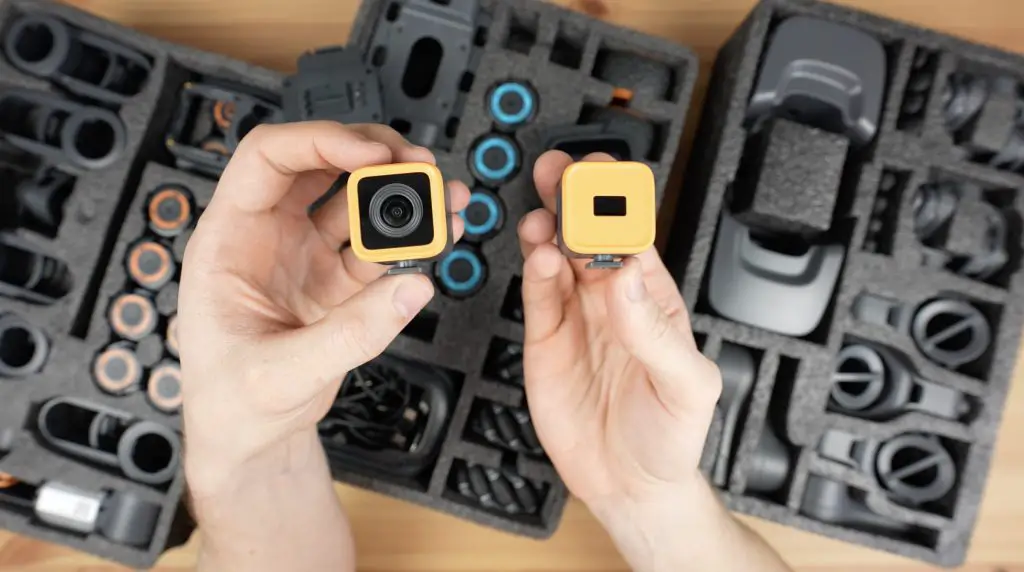
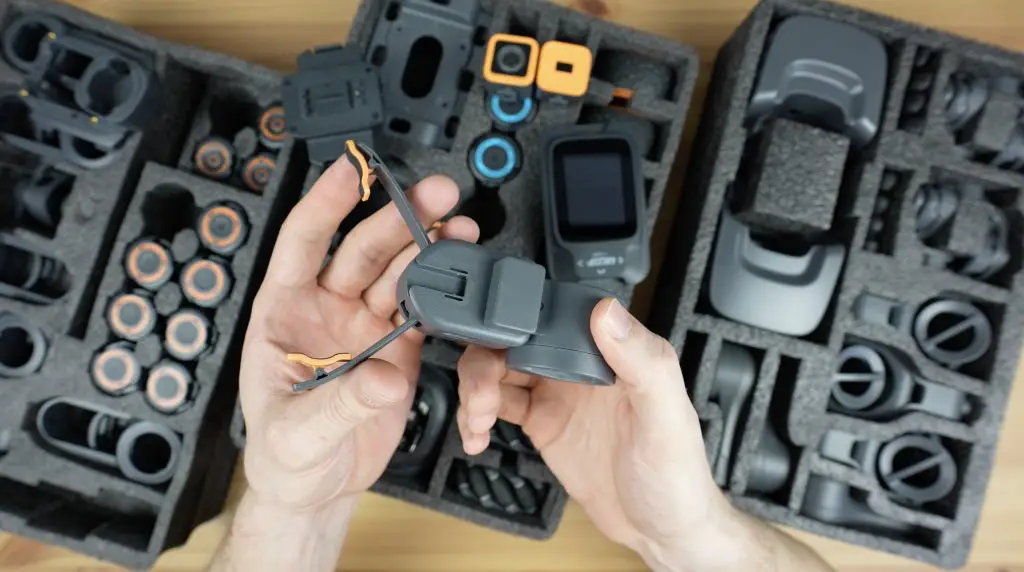
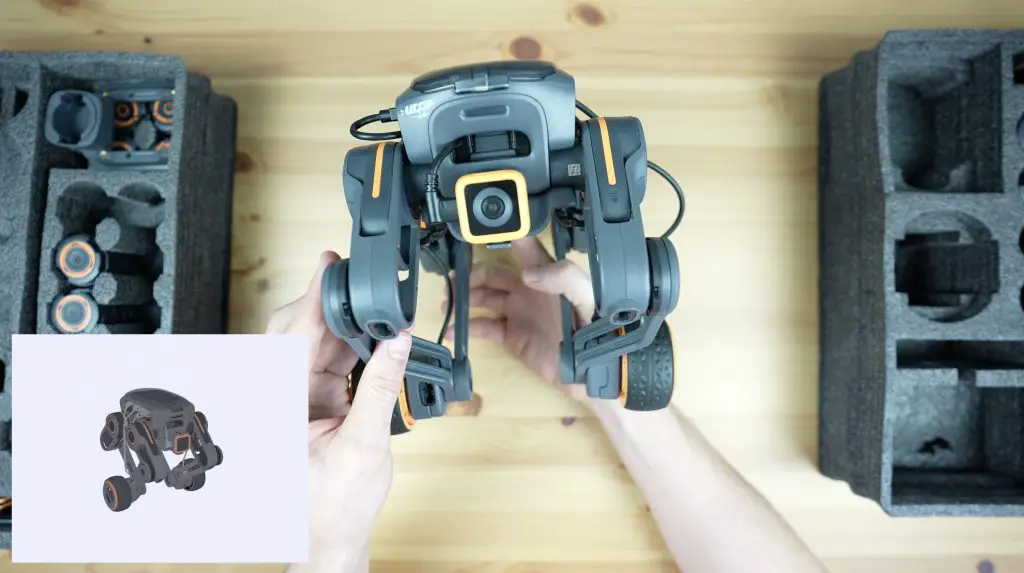
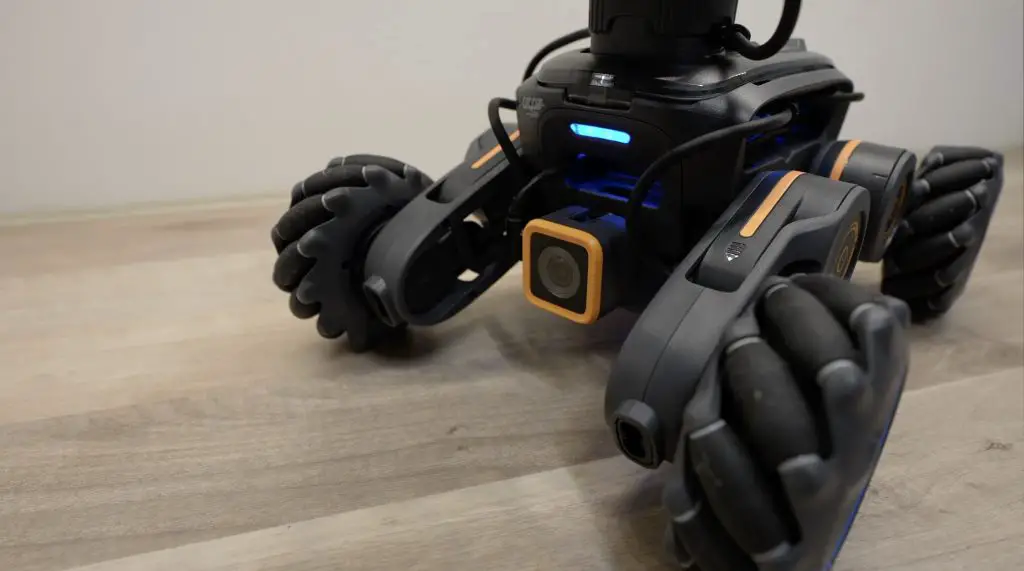
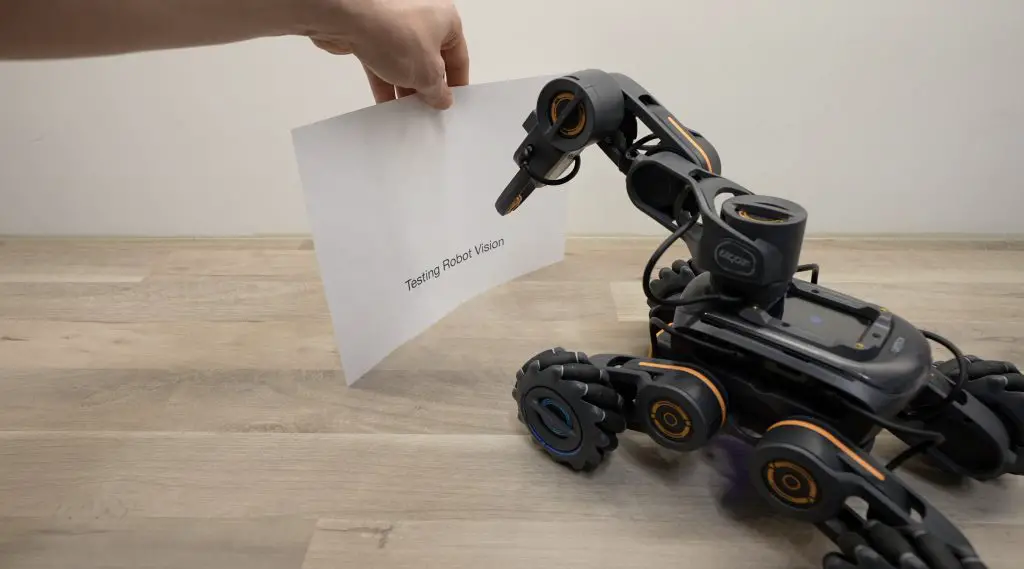
To give the controller a sense of its surroundings, we’ve got an included 720P camera module and a distance sensor. Through software the camera can be used to recognise things like gestures, movements, signs and QR codes, and the distance sensor obviously measures the distance to surrounding objects.
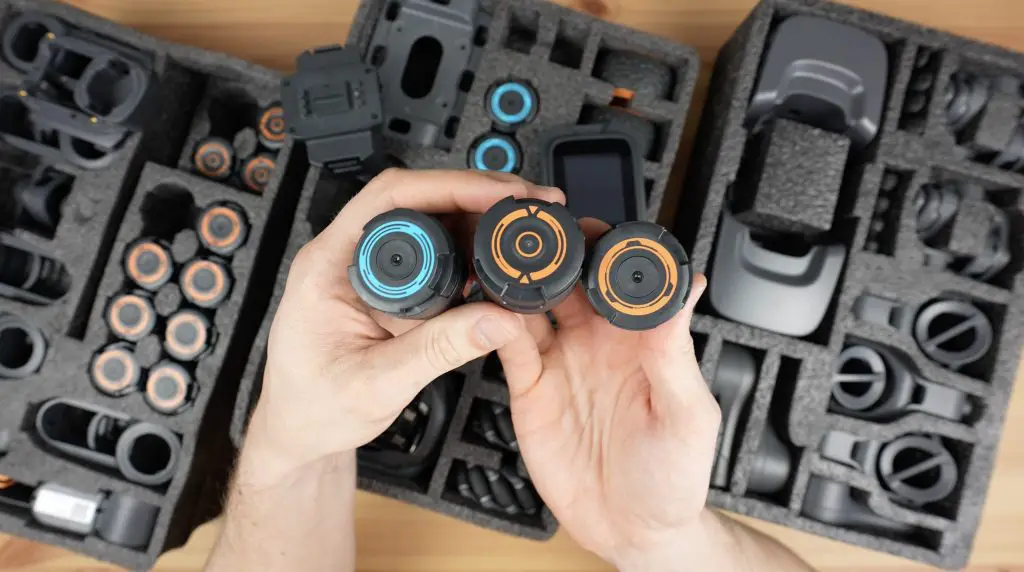
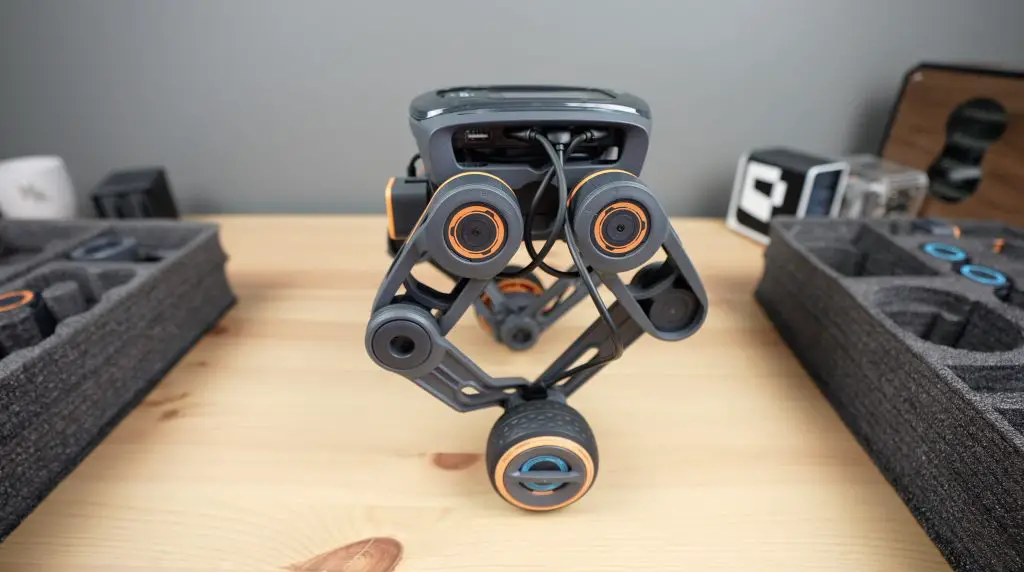
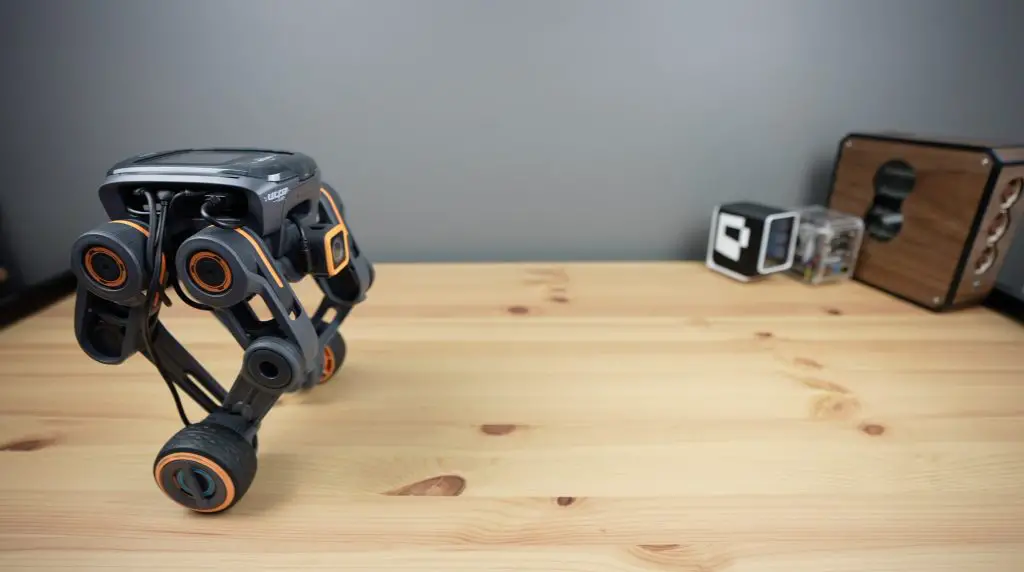
To actuate the wheels and form the joints, we’ve got a few different motors. The blue ones are continuous rotation motors which are used for wheels and the orange ones are servo motors which are used to actuate leg and arm joints. These have higher torque and lower speed than the continuous motors and have position feedback through a magnetic encoder. There is also a set of motor dummy pieces that just act as fixed joints in the place of motors for specific robot configurations.
The last included actuator is a grabber for the end of a robot arm.
Then we’ve got a number of moulded plastic arms, legs, joints and adaptors which allow you to connect the motors and sensors to the controller to build the actual robots.
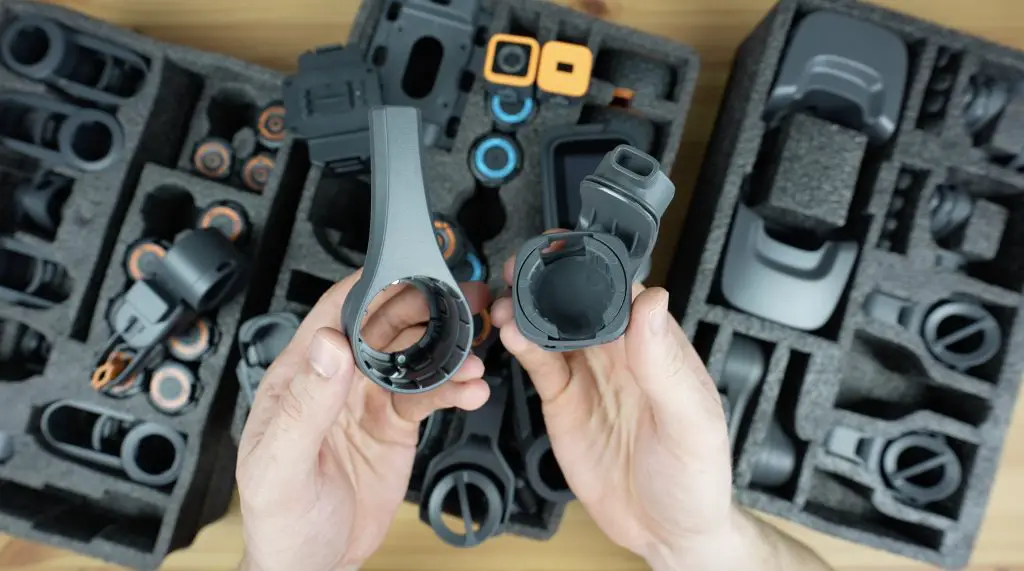
These are quite well thought out. They lock into place around the motors to create quite robust builds. You can knock them around a bit and they still hold up well.
Lastly, we’ve got a pack of cables. These look to be USB-C style cables with a shroud around them and they connect the motors to the controller.
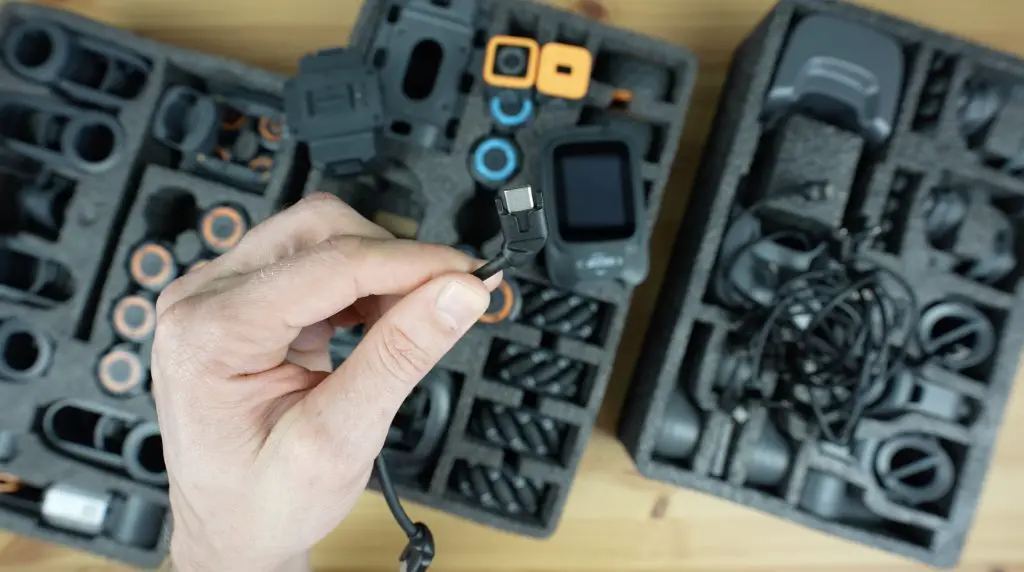
The motors have two ports on them and are chainable, so you can pass commands through one motor to another and a few of the standard designs actually use this feature.
Assembly Instructions & Programming UGOT
Now that we’ve seen what is included in the kit, let’s take a look at the software.
Assembling and programming each robot is done through uCode. This is an online tool that is also shared with their other educational platforms.
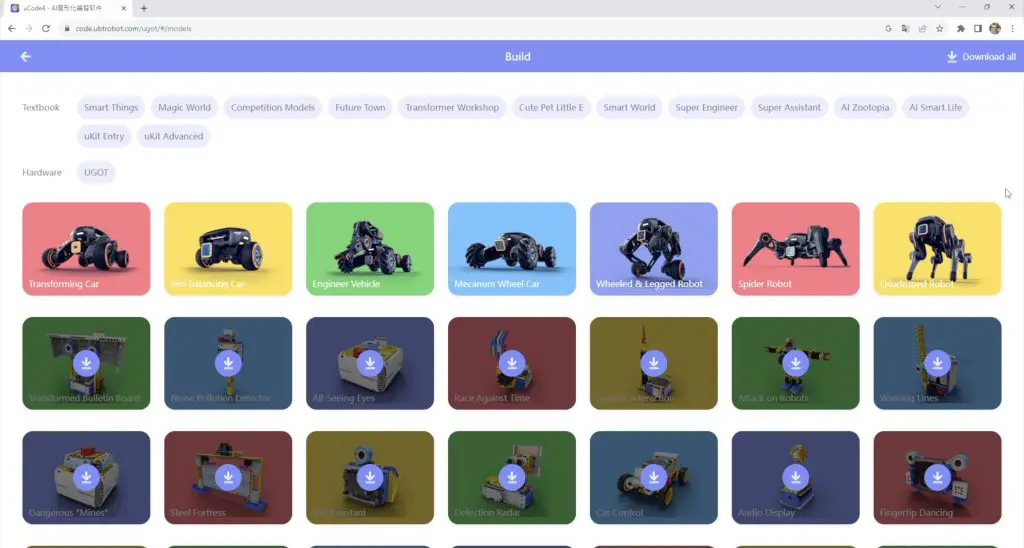
It gives you step-by-step instructions to assemble each robot in the form of a 3D model and parts list.

Once the model is complete, it then takes you to a programming interface.
UGOT includes basic programs for each robot preloaded, so you don’t have to do any programming to get started. As a beginner, you can simply build the model you’d like and then run the program directly from the controller.
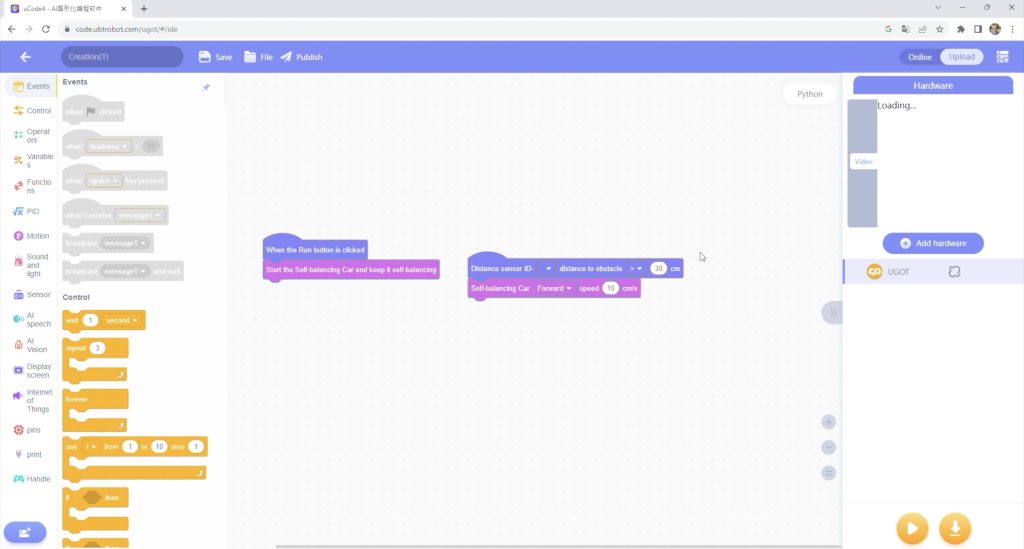
If you then want to add functionality or change the robot’s behaviour then you’ll do it through block coding or Python in uCode.
I’ve tried building all of the included models and I’ve run the demo program for each of them. I really enjoyed how easily they go together. There is a bit of tinkering to get the first one assembled but once you learn how the joints and cables work, changing between robots is literally a 5 minute exercise.
Assembling A Test Robot
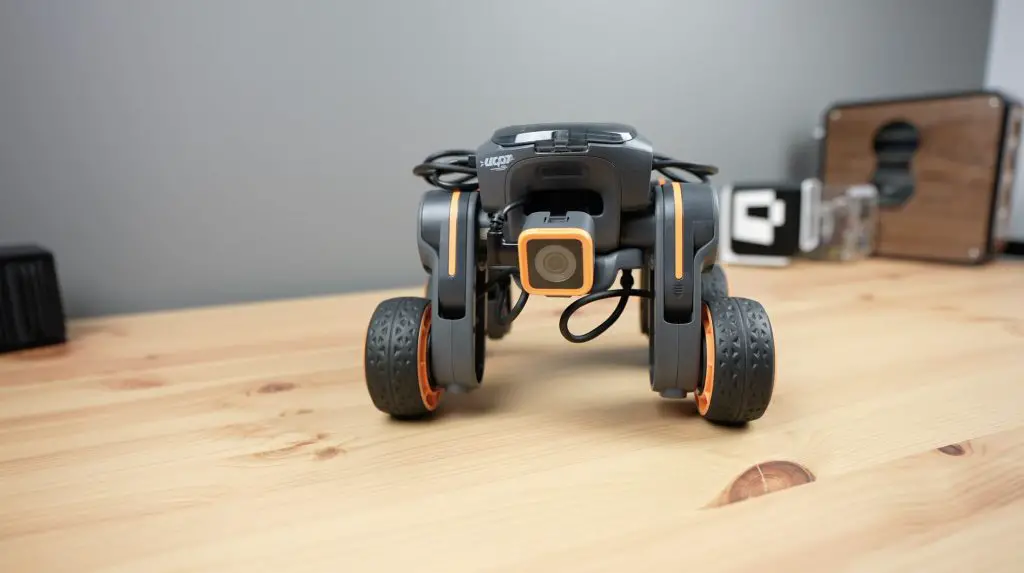
Let’s try to put together the wheel and legged robot and you can then see how the assembly process works.
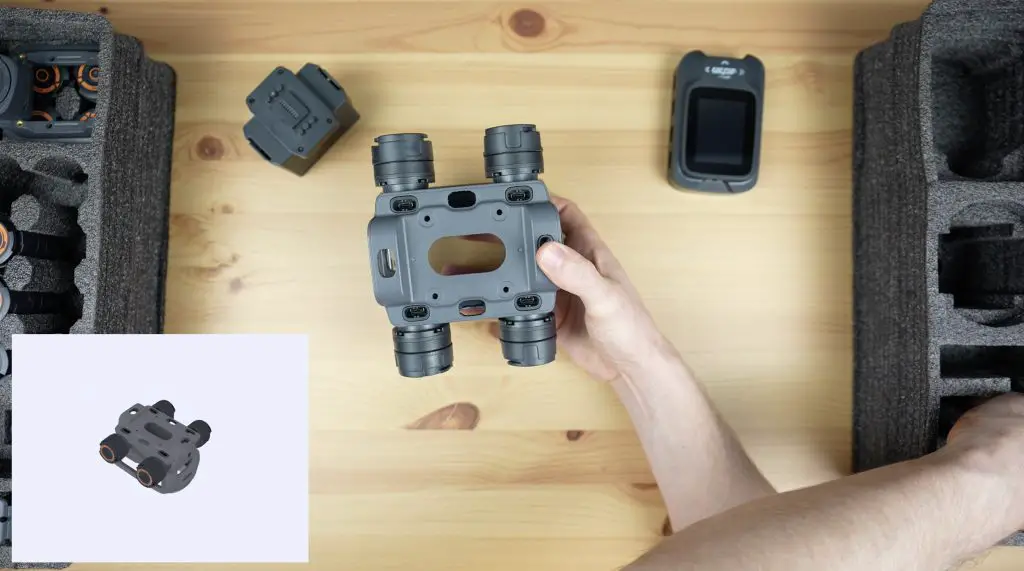
All of the models start with this main body section, which we’re going to attach four servo motors to as well as a bracket for the front camera. We then add the base plate with some thumb screws to lock it into place.
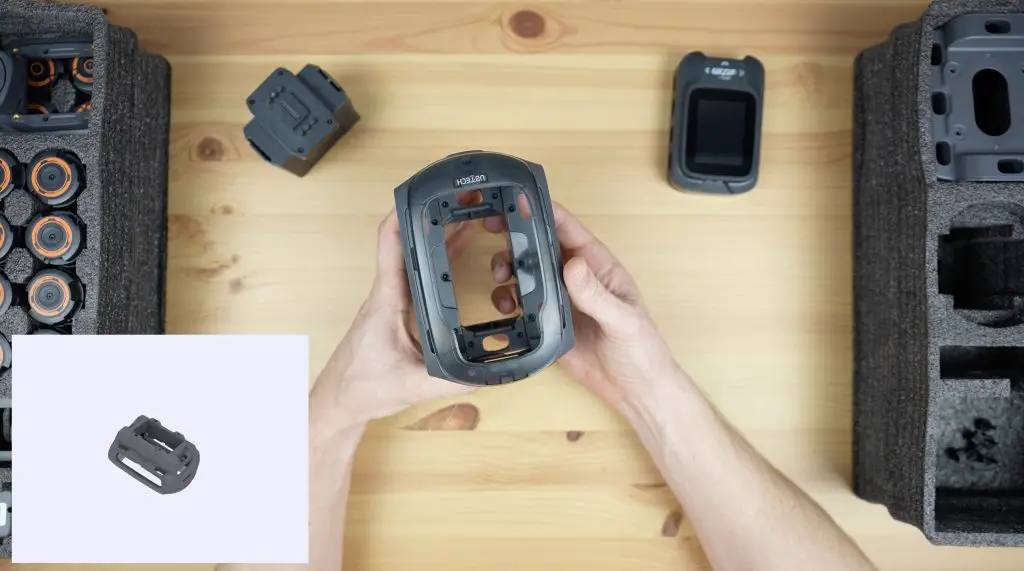
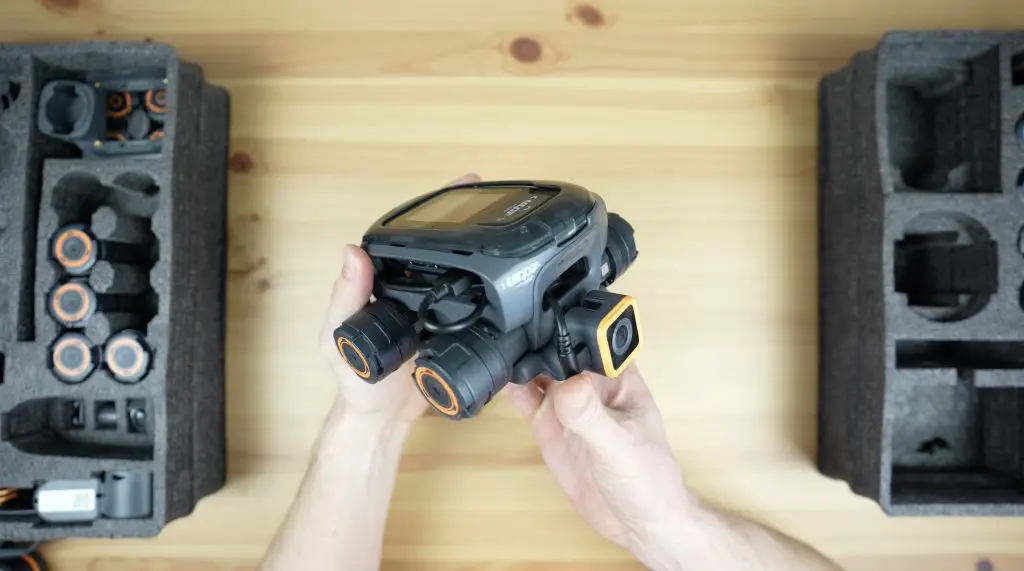
Next, we add the battery and the controller. This is one thing that I’d like to see them improve upon, it would be great to have this body cage designed in a way that allows the battery to be swapped out without having to remove the controller. You can charge the battery when it is installed but it would allow you to keep working on your robot if you could just swap the battery out easily instead.
Next, we can plug in the cables for the motors.
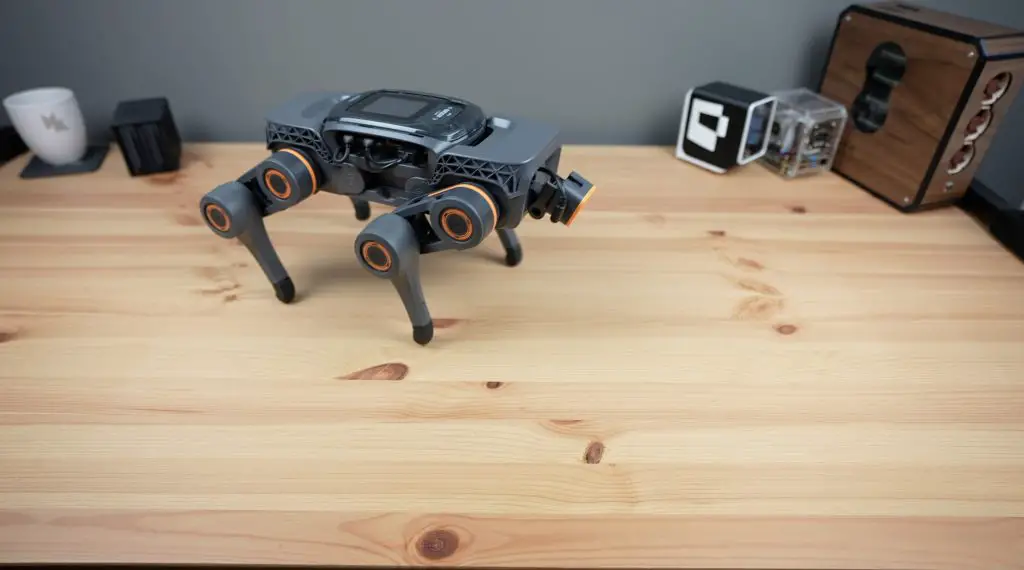
We then add the leg system to each motor, with a continuous rotation motor on the end for the wheel.
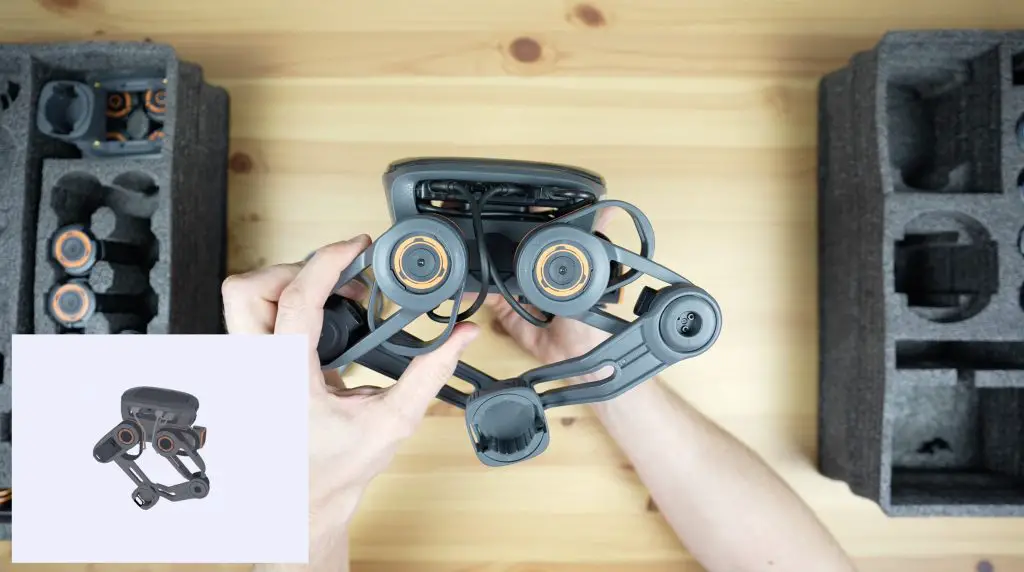
With that complete we can do the same on the other side.
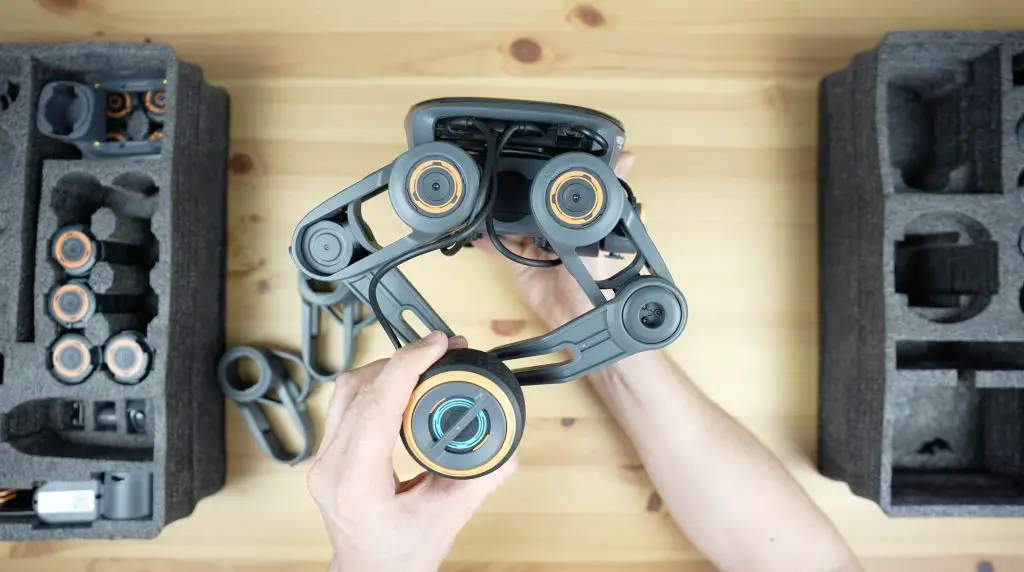
The robot is then complete and we can turn it on.
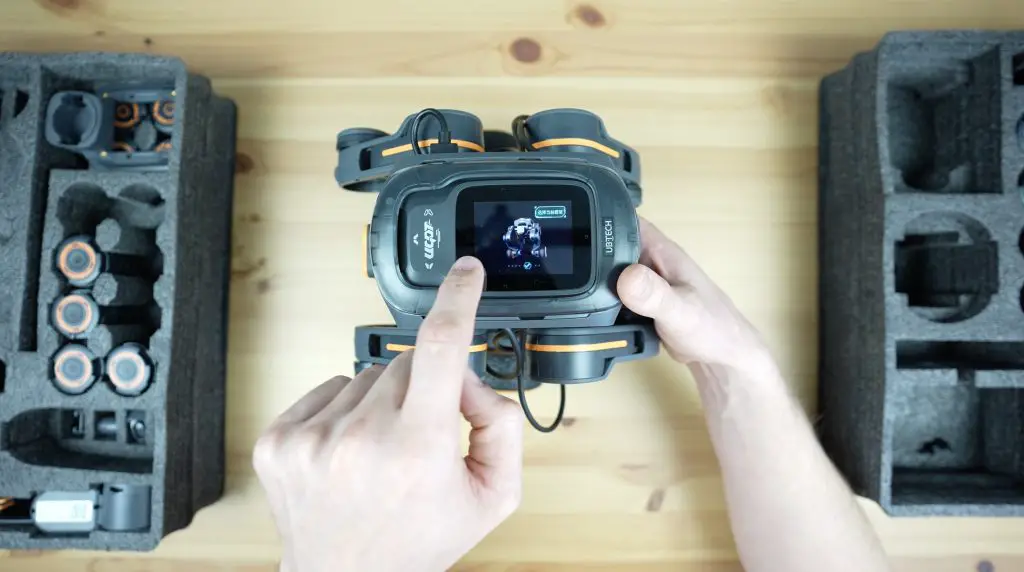
We select the model that we’ve built and a program to run on it. The included program extends the legs and keeps the robot balancing.
Now we need a way to control it. The sample kit that they sent me also includes a Bluetooth controller which can be used to wirelessly control each of the robot’s movements. UBTECH have advised that the actual kits will not include a controller but the robot will rather be able to be controlled through a mobile app.
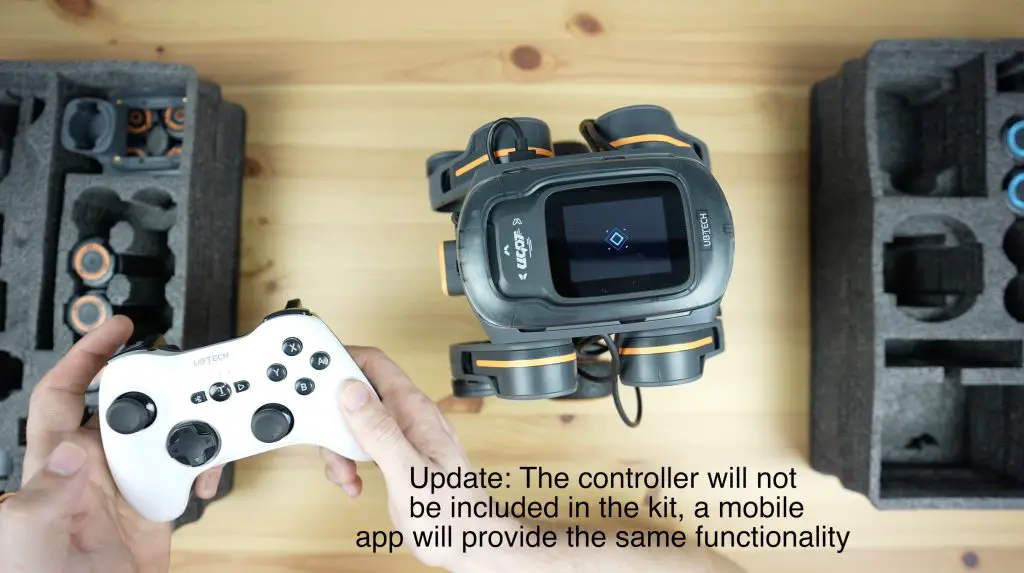
So we can use the controller or app to raise or lower the body and to drive forwards, backwards or turn.
Trying Out The Other Included Robots
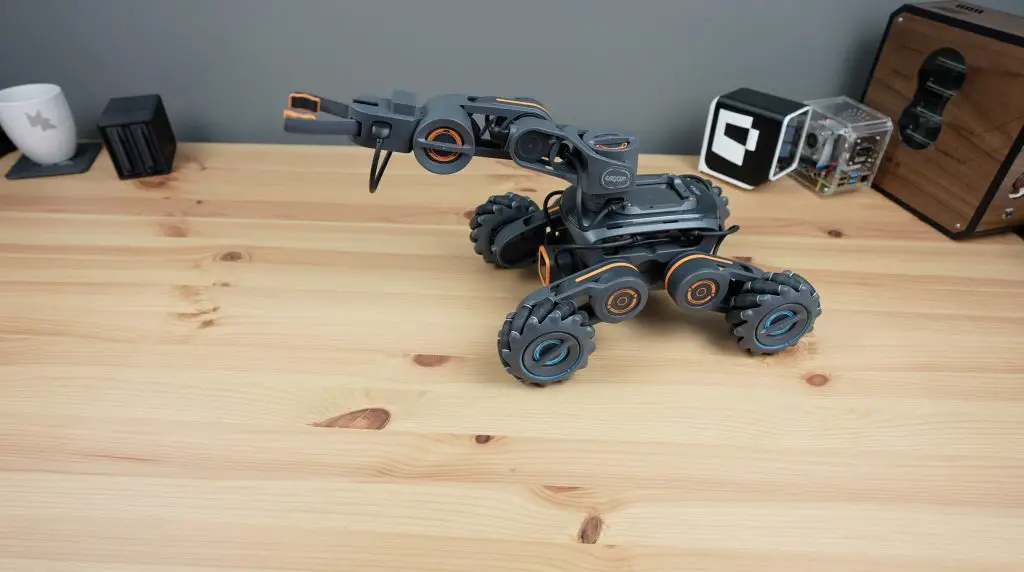
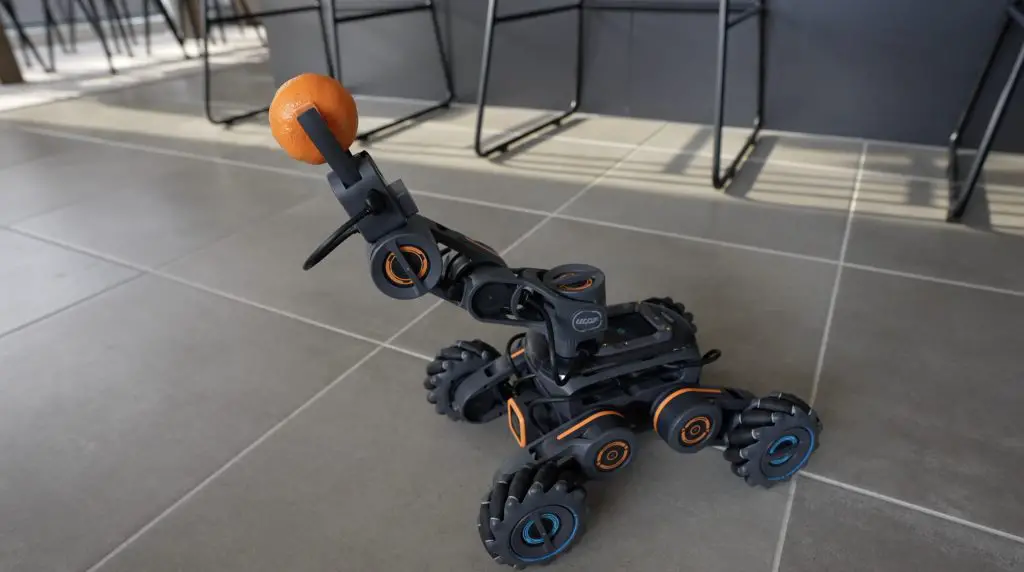
I have built and tried all of the included robots and found it quite easy to switch between them.
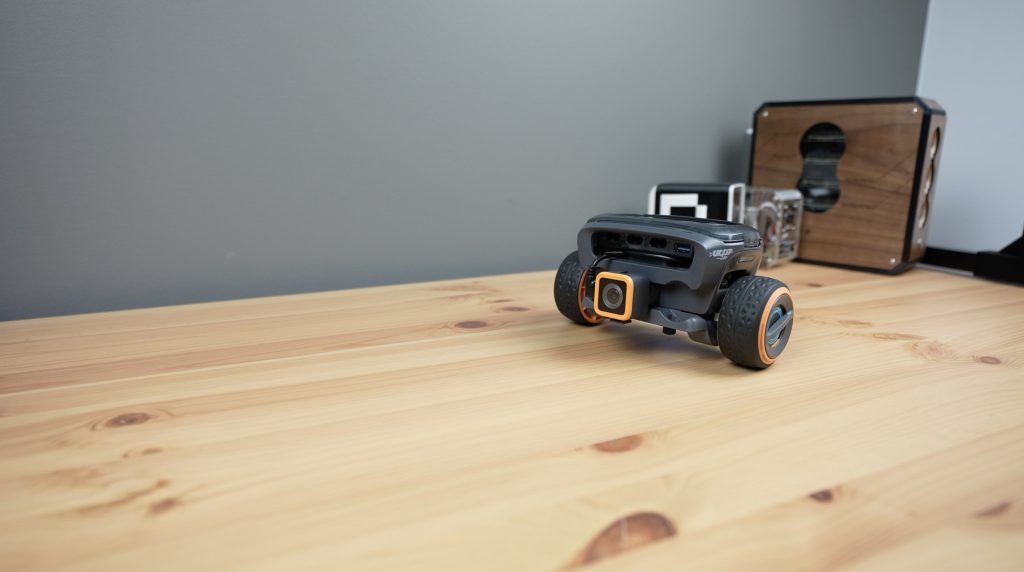

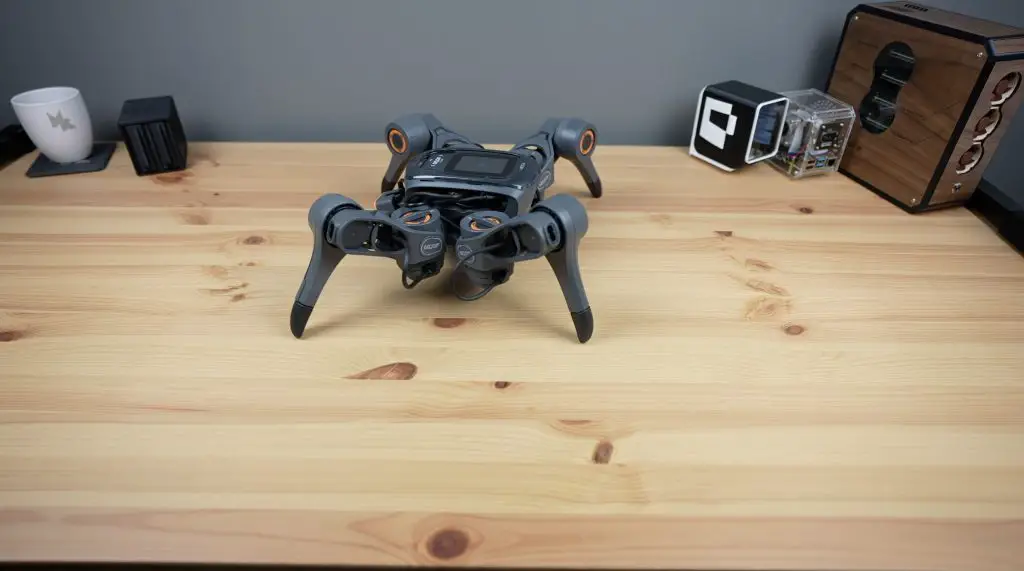
I think my two favourites are the one that I built as an example, called the wheel and legged robot, and the engineer vehicle.
Other UGOT Features
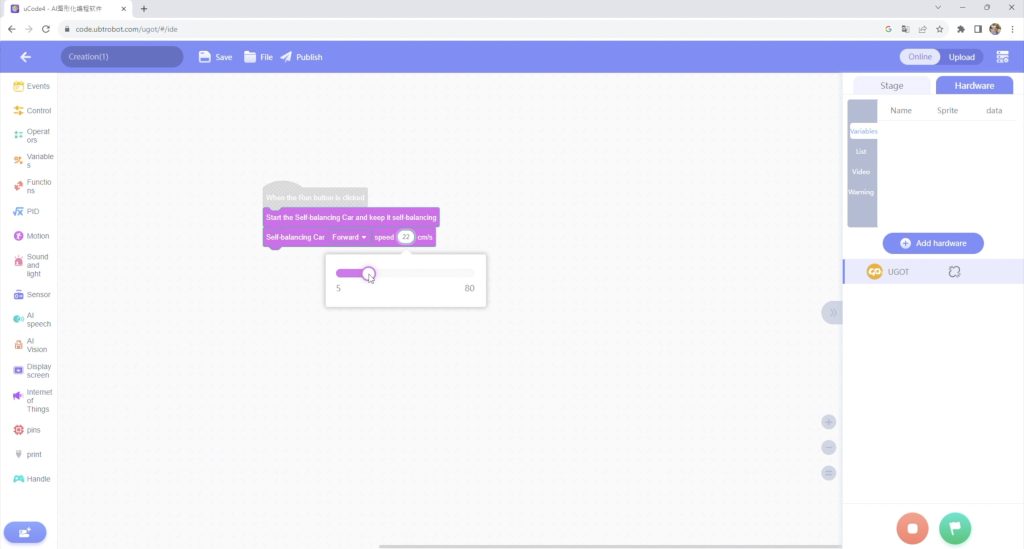
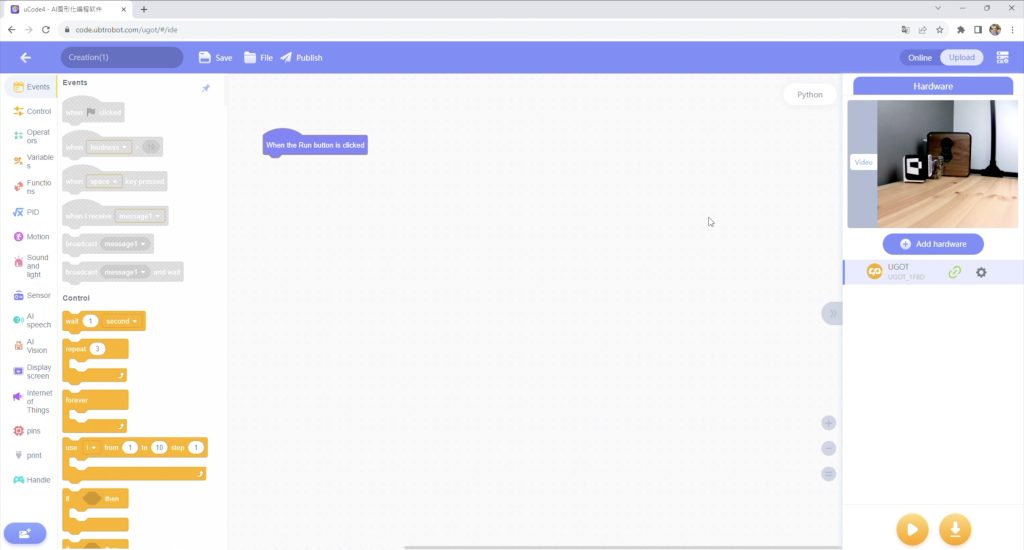
You can also add functionality to each robot using the drag-and-drop block coding platform. There is a really long list of powerful functions which include blocks for the particular robot style and blocks for the sensors.
You can even use the included camera to recognise text, gestures, codes and colours to add features to your robots.
Through uCode you can see a live feed of the camera on the robot and they plan to make this available through their mobile app as well, so you can use it as a FPV camera.
Final Thoughts On The UGOT Platform
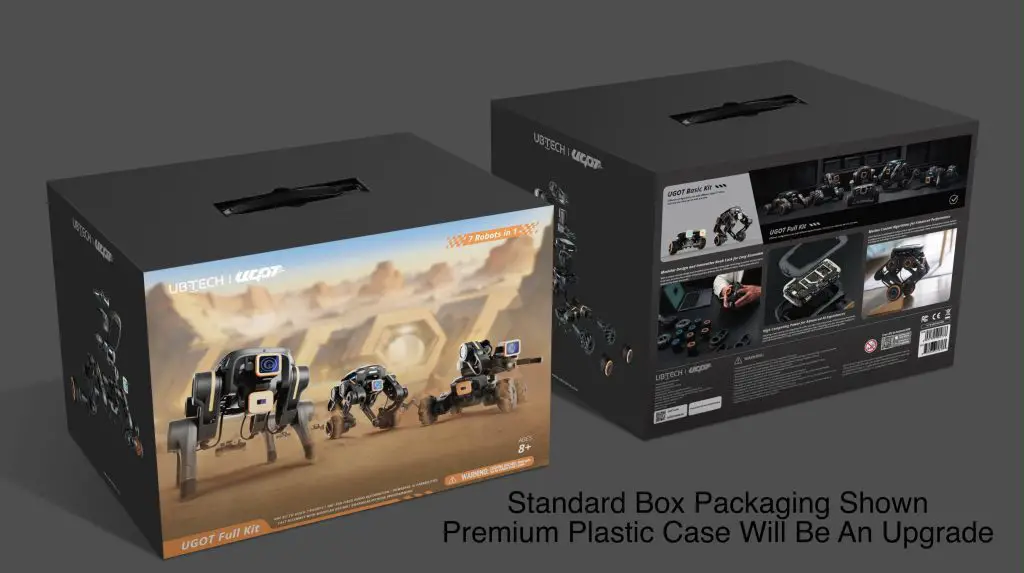
The final version of the kit will come in a neat layered box in two versions, but they will also be offering a hard plastic case that houses the three layered inserts as an upgrade option. So it should be quite a neat all-in-one kit.
This is obviously an early pre-production set so I’d expect that the final product may have some changes or improvements but it looks like it has a lot of potential.
I really like the quality and robustness of the parts. The motors feel solidly built and all of the arms and legs are rigid and lock together well.
Other than the battery not being easy to swap out and a few minor software bugs like the model select button still being in Chinese when in English mode, it’s actually a surprisingly stable system for one that is still in pre-production.
As with the other crowd-funded products that I’ve reviewed, I’d like to finish off with a reminder that crowdfunded projects carry some level of risk and that there is no guarantee that the final product will live up to the promises made in the Kickstarter campaign. UBTECH is an established company with a good history of delivering robotics products and they’ve obviously completed their pre-production run, which has allowed me to demonstrate it. From what I have seen it certainly looks like they have put a lot of time into its development, and the platform is already usable, but that isn’t to say that the product is without risk – it is not yet a fully-fledged retail product.
Let me know what you think of it in the comments section below.