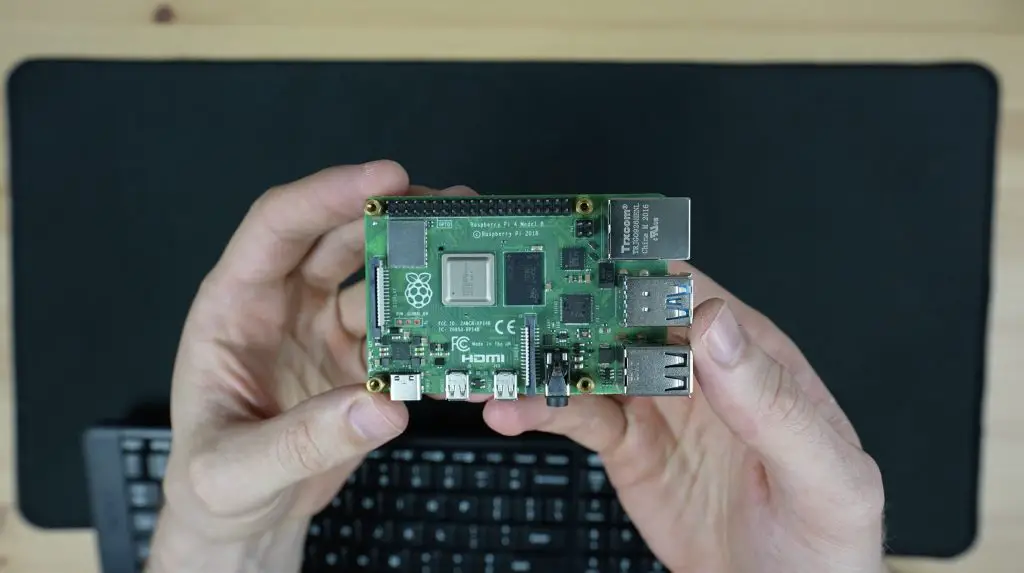
Today we’re going to overclock a stock Raspberry Pi 4B as far as possible before it gives up. I decided to try this after I accidentally increased the clock speed of this particular board to 2.2GHz instead of the 2.0GHz that I usually use. The Pi still booted up just fine and I only noticed that it was running at 2.2GHz when I ran a stress test a while later.
Here’s my video of my overclocking results, read on for the write-up:
Purchase Links For This Project
- Raspberry Pi 4B 8GB – Buy Here
- Ice Cube Cooler – Buy Here
- Ice Tower Cooler (Alternative) – Buy Here
- Arctic Thermal Compound – Buy Here
Equipment Used
- InfiRay P2 Pro Thermal Camera – Buy Here
- Jobi Gorilla Pod – Buy Here
- Smartphone Holder – Buy Here
- Electric Screwdriver – Buy Here
Overclocking Test Setup and Process
The stock speed of a Raspberry Pi 4 model B board like this is 1.5GHz, but it is fairly common for people to overclock them a little with adequate cooling. For a while the maximum limit was 2.147GHz and that’s why I was surprised that the board booted at 2.2GHz. I then did some reading and found that this limit seems to have been removed on newer models like the Compute Module 4, Pi 400 and the 8GB variant of the Pi 4 B, most likely because they have an upgraded (PMIC) power management integrated circuit. It looks like quite a few people have managed to overclock their 8GB Pi 4 B’s up to around 2.2-2.3Ghz before running into issues.
So today we’re going to try overclocking this 8GB Pi 4 in a few increments until it starts behaving weirdly, just won’t boot anymore or has a hardware failure. I’m going to be monitoring the internal temperatures in software and the component temperatures with a thermal camera, so I’m hoping that we reach a boot or lock-up limit rather than having a hardware failure. Raspberry Pi’s are still quite hard to come by so I’d prefer not to destroy this one.
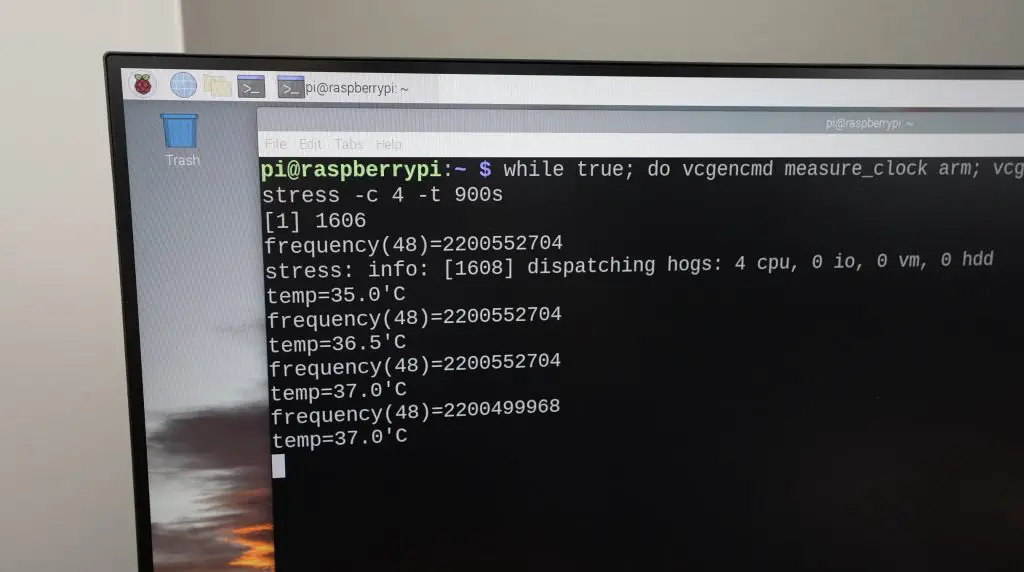
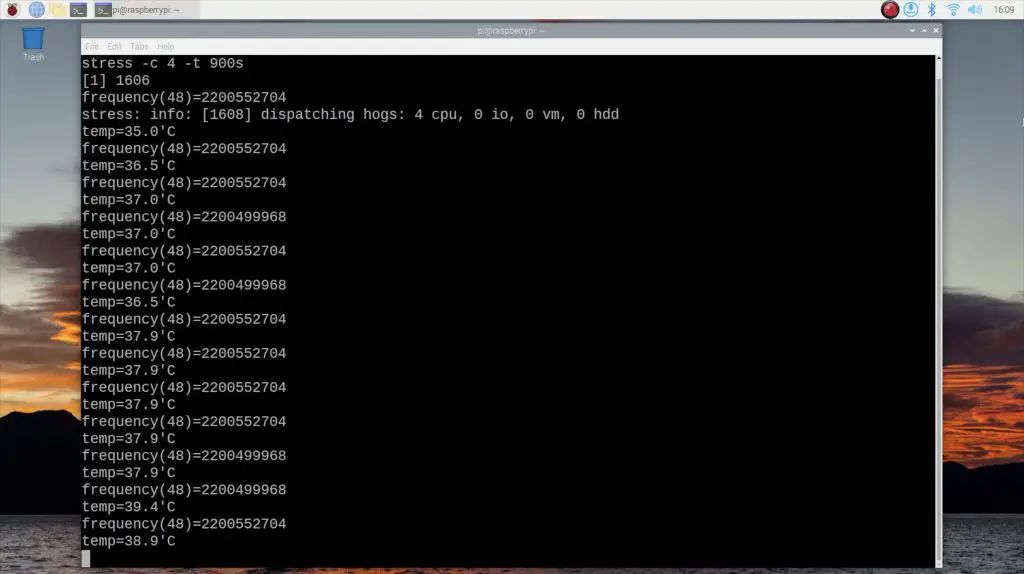
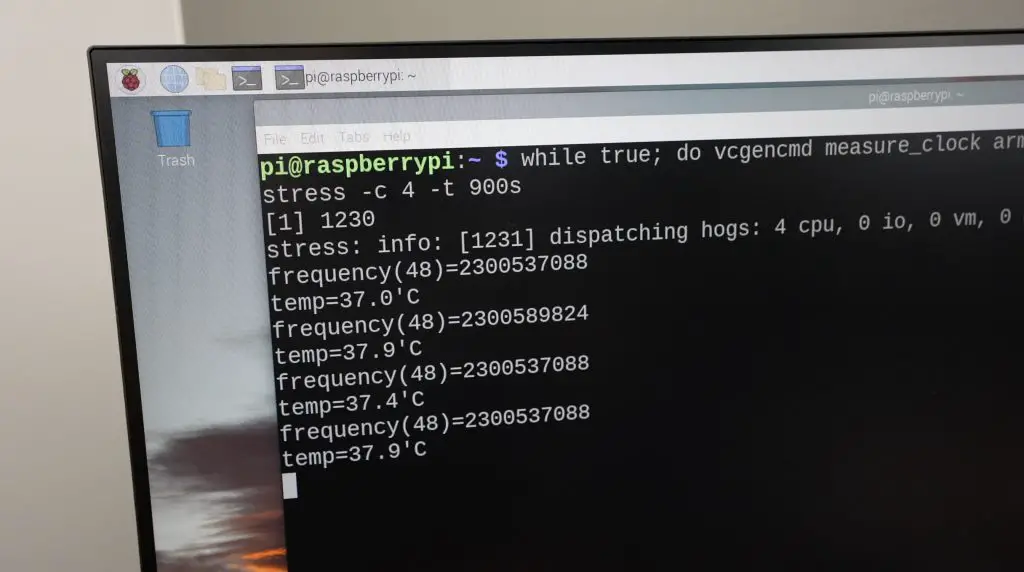
At each clock frequency, we’re going to run a quick stress test to check that the CPU can actually handle being fully loaded. This will also show us the CPU temperature during the test so that we can keep an eye on the thermals. We’ll then also run a Sysbench Benchmark to get a numerical value that we can use to compare the performance of the Pi at each increment.
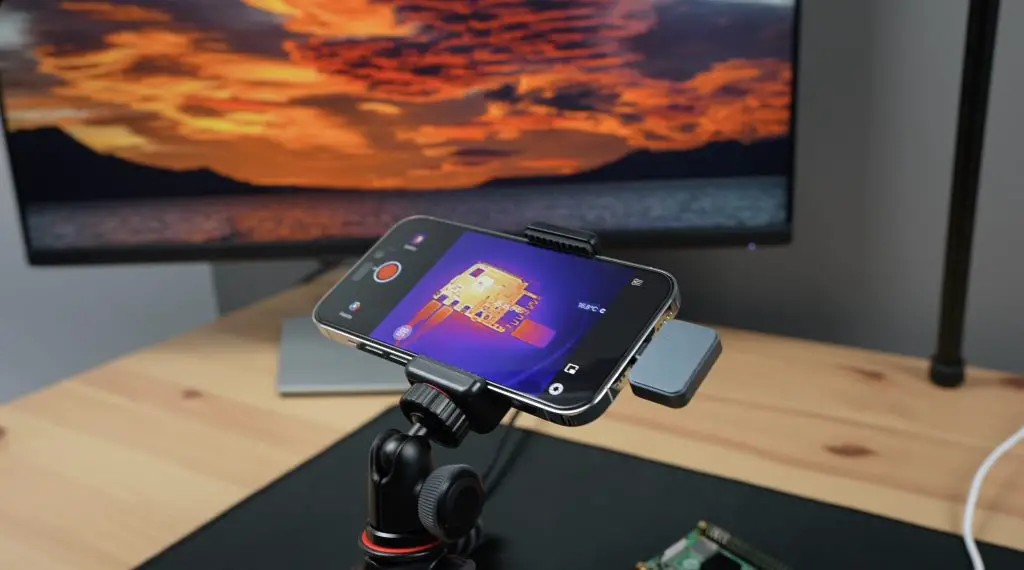
Monitoring The Pi’s External Temperature
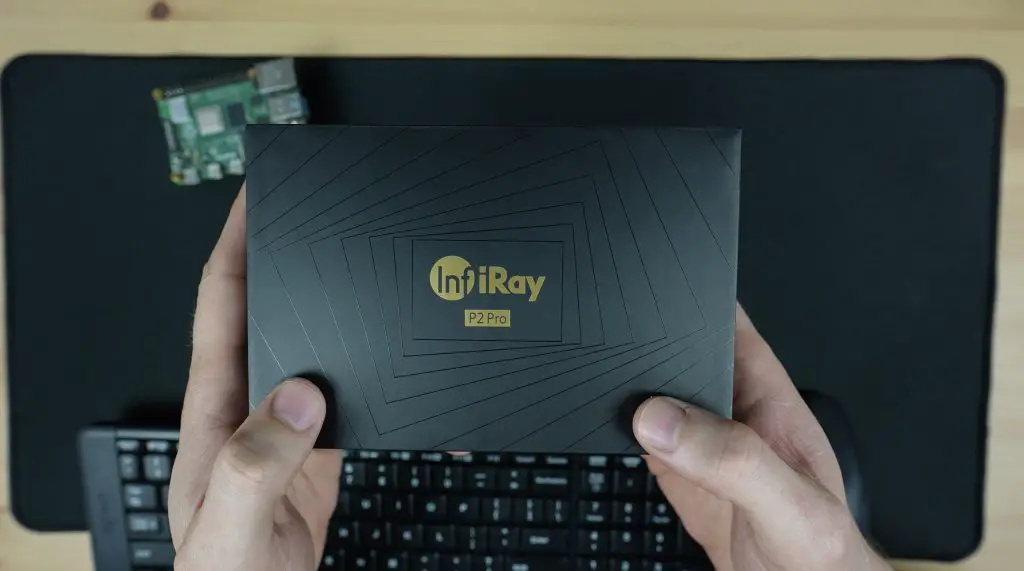
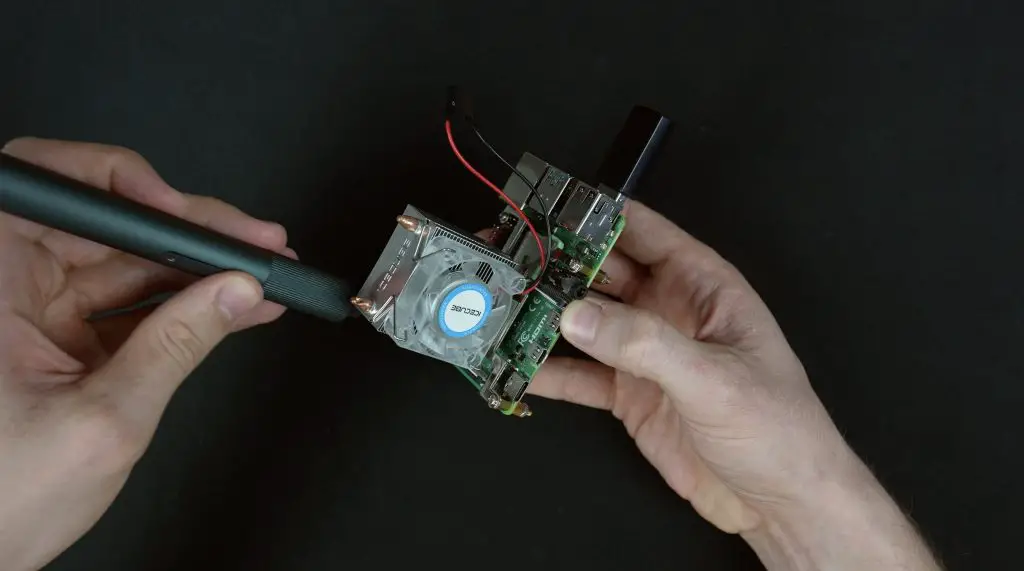
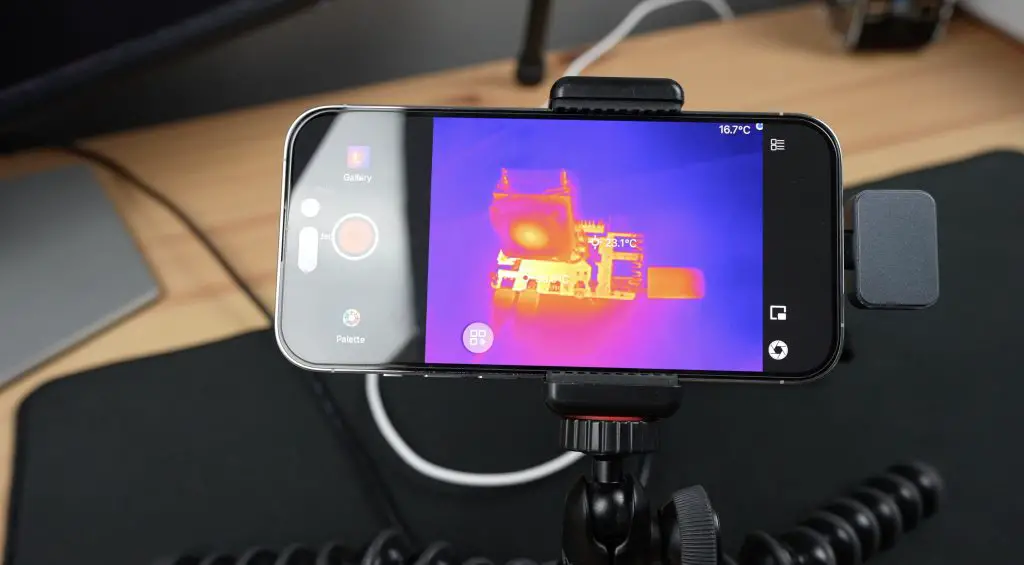
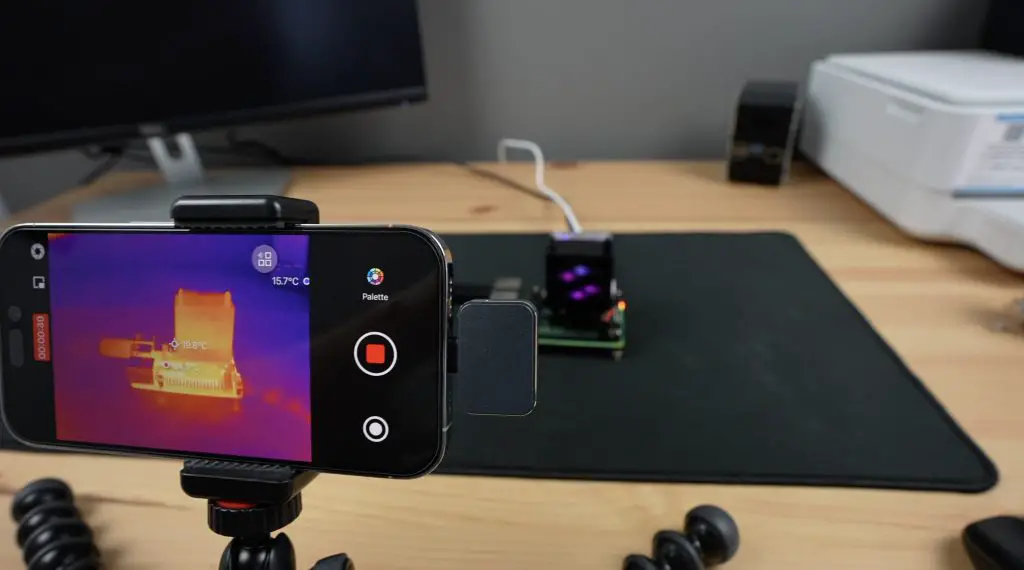
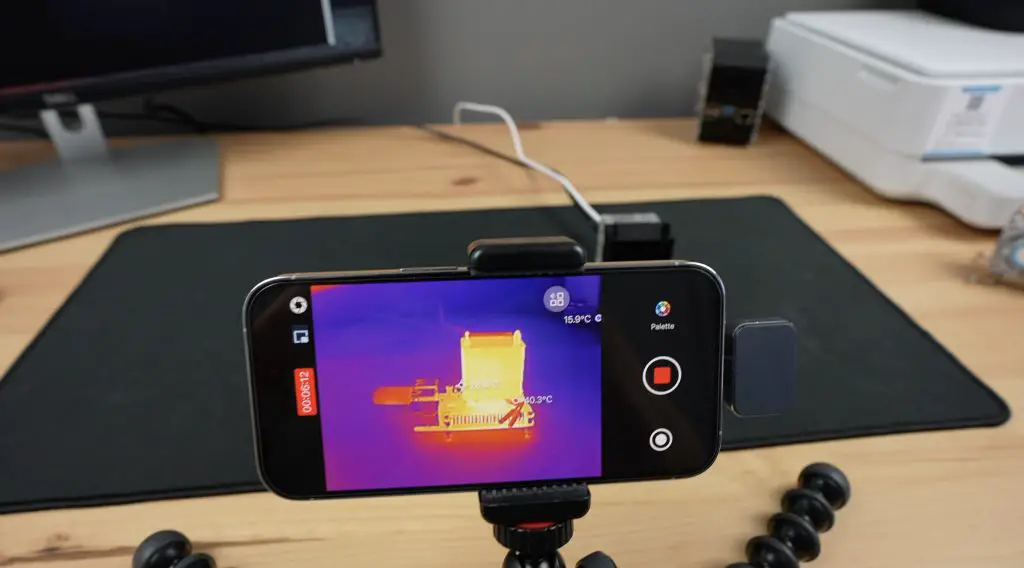
To monitor the component temperatures when we overclock the Pi, I’m going to be using the new P2 Pro by InfiRay.
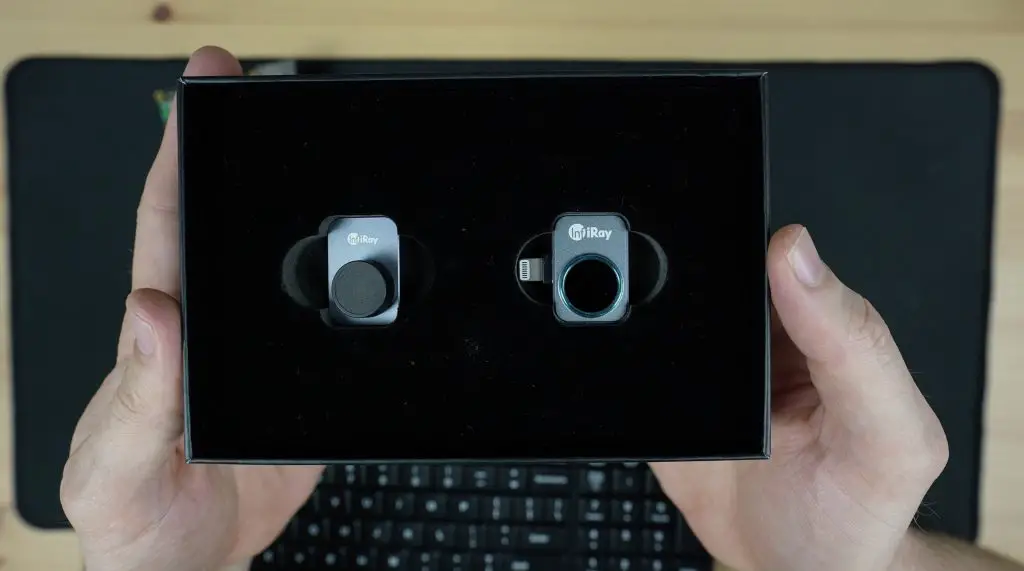
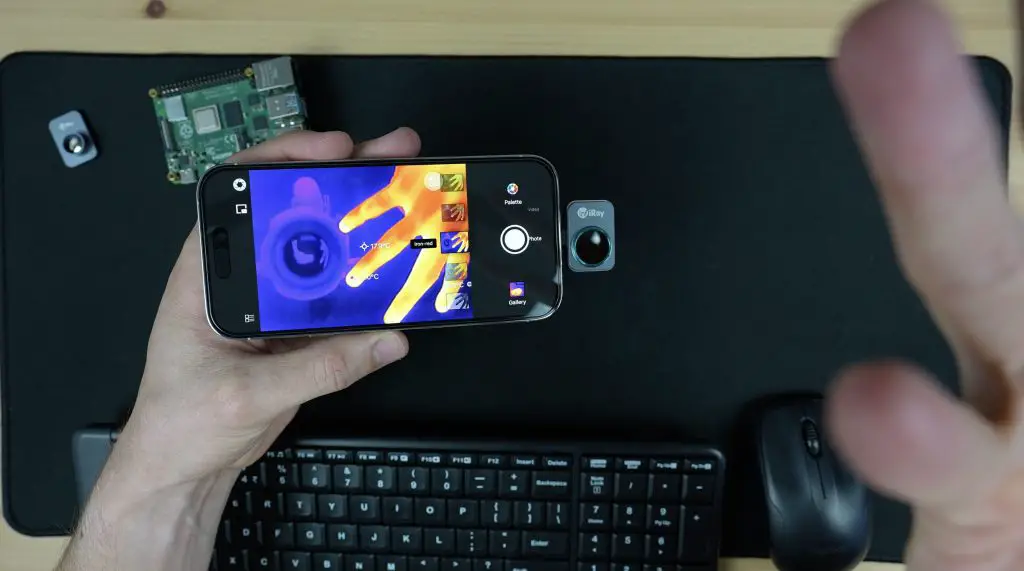
This is a new tiny thermal camera that weighs just 9g and plugs into iOS or Android smartphones, turning it into a high-resolution thermal camera with a range of colour pallets. Don’t let its size fool you, compared to other entry-level thermal cameras, and even well-known smartphone-attached thermal cameras, this camera gives you around 2.5 times the resolution, 2.5 times the refresh rate and four times the measurement range.
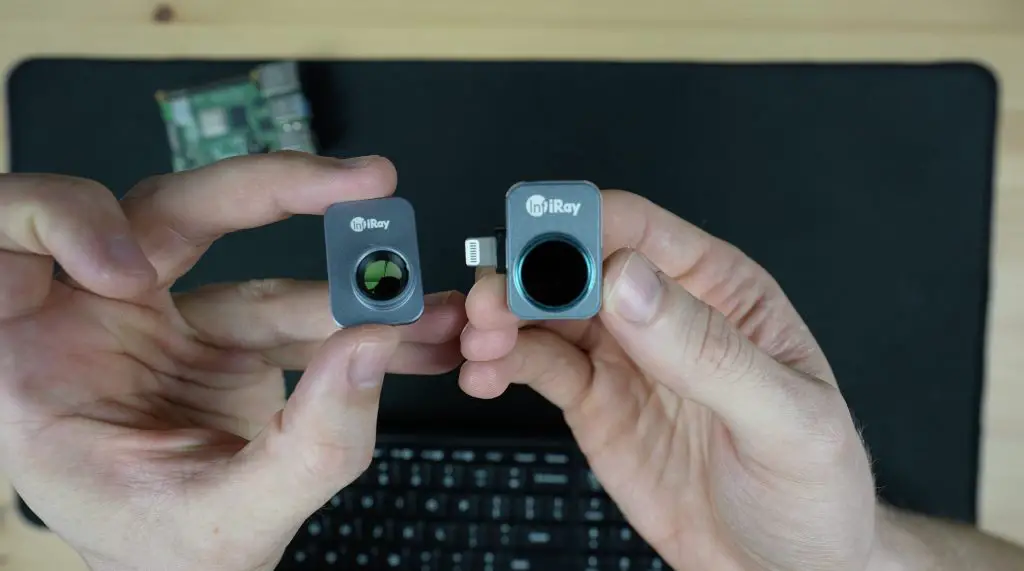
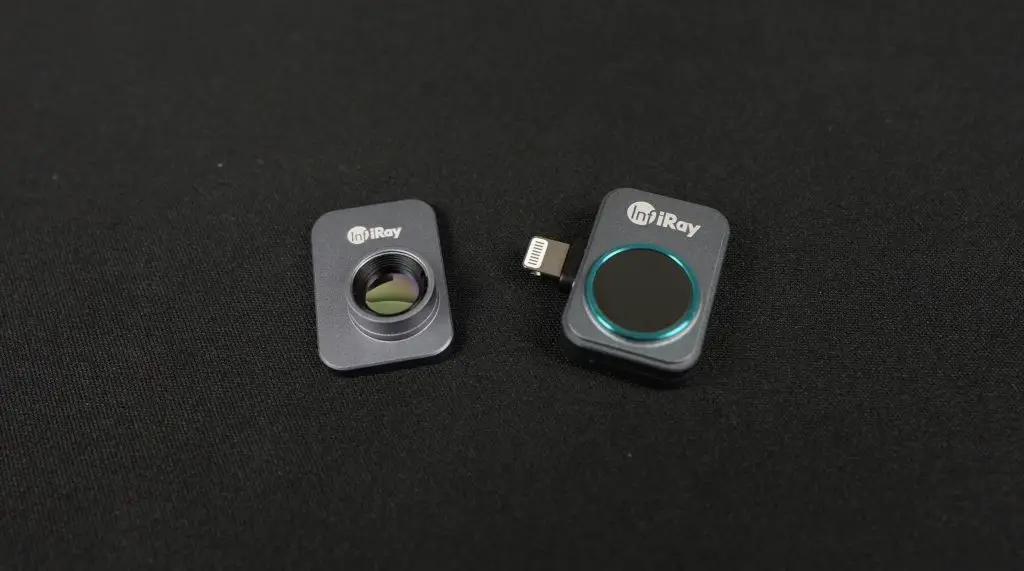
The P2 Pro also has a trick up its sleeve. Not only does it have a typical wide-angle lens for looking at large objects a short distance away. It also includes a magnetic macro lens that snaps onto the front of the camera and lets you see amazing detail close up – like inspecting small components on a PCB.
Infiray is a large thermal imaging company that released their first thermal sensor back in 2015. So, while this is a new product in their lineup, they have a wide range of industrial products and they’ve been around for a number of years.
Overclocking The Pi 4B And Testing It’s Performance
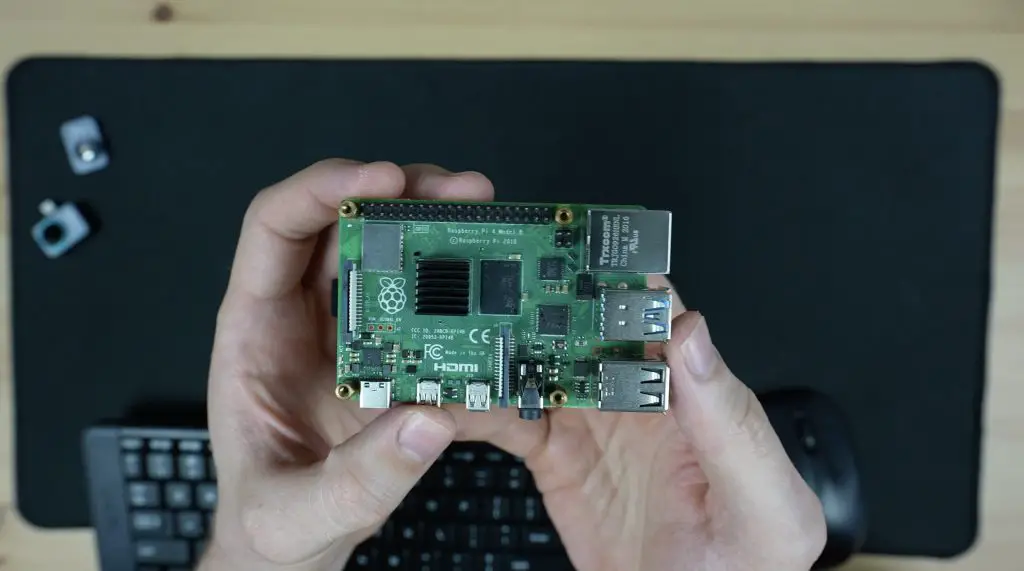
To start off, let’s get a baseline result from a stock Pi 4B running at the standard base frequency of 1.5GHz. From past experience, I already know that the Pi 4 runs into thermal throttling really quickly if you don’t use a heat sink so I’m going to use a standard stick-on heat sink for this first test.
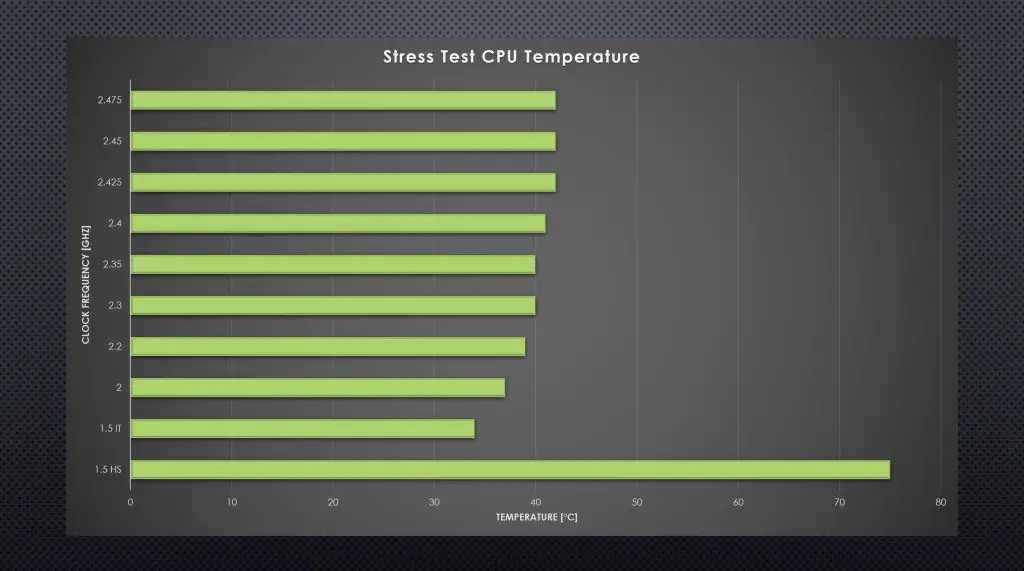
From this first test, it’s pretty obvious that we’re going to need better cooling if we want to overclock the Pi. Not even a minute into the test we were already well over 70°C, so increasing the clock speed by even a small amount is going to push us into thermal throttling.
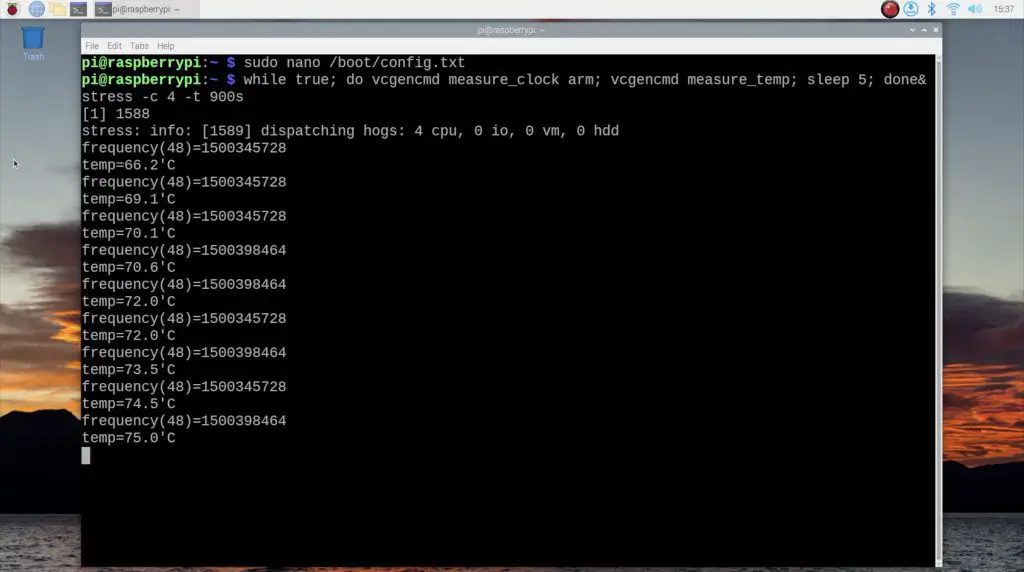
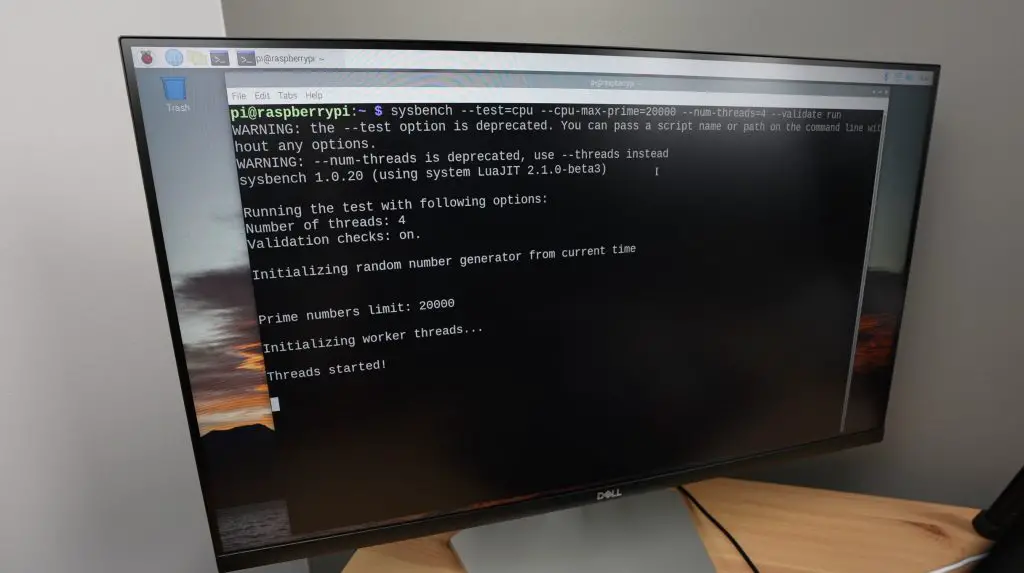
Even so, I ran the Sysbench benchmark and got a total number of events of 785.

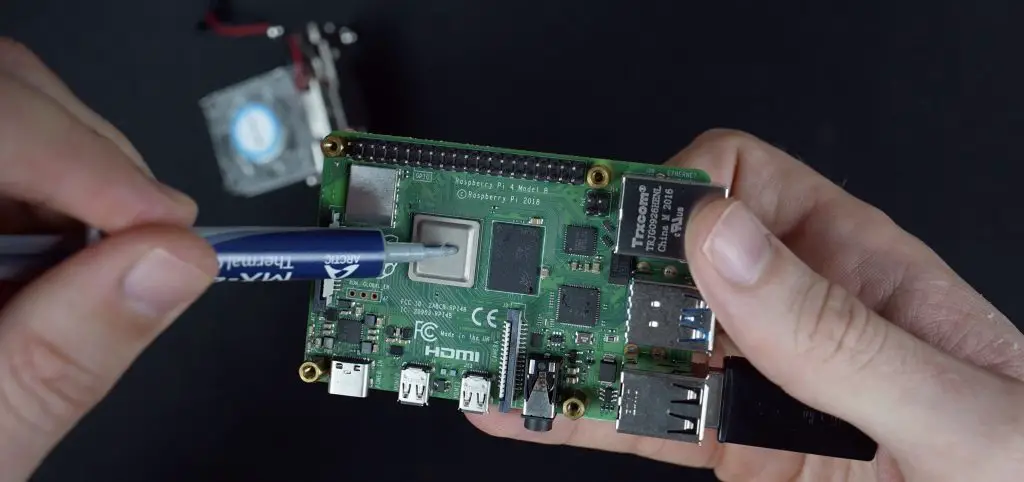
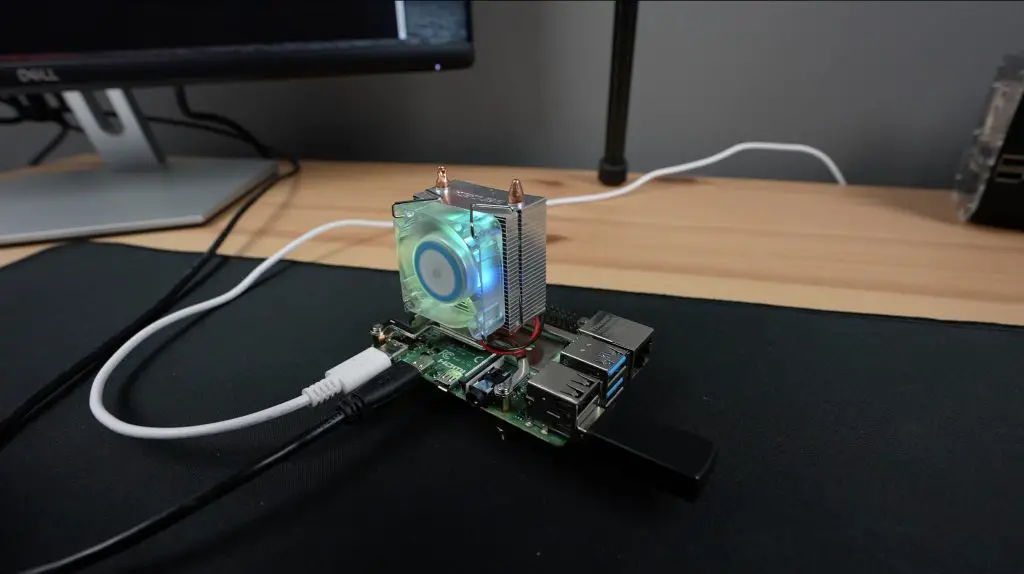
To provide additional cooling, I’m going to use an Ice Cube cooler which I’ve used in many of my previous builds and I already know does a really good job. I prefer the Sunfounder Ice Cube cooler over an Ice Tower cooler as the cooling plate extends to cover the RAM, USB and Ethernet controller chips surrounding the CPU and not just the CPU itself.

I’m also going to use thermal paste between the CPU and the cooler to improve thermal conductivity so that we’re hopefully not limited by inadequate cooling in any of the tests.
Now let’s get the Pi booted up and see what improvement has been made by adding the Ice Cube cooler.
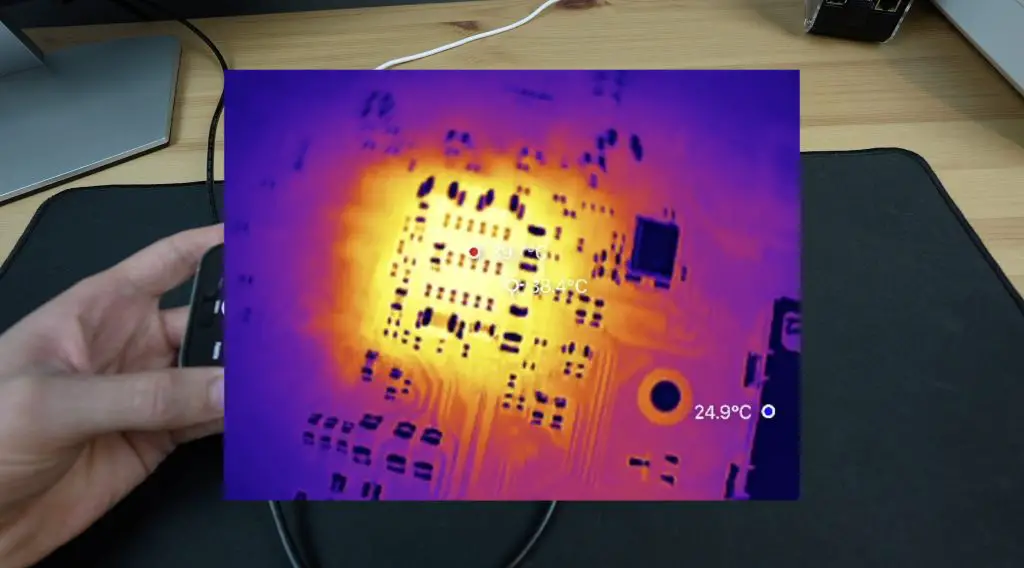
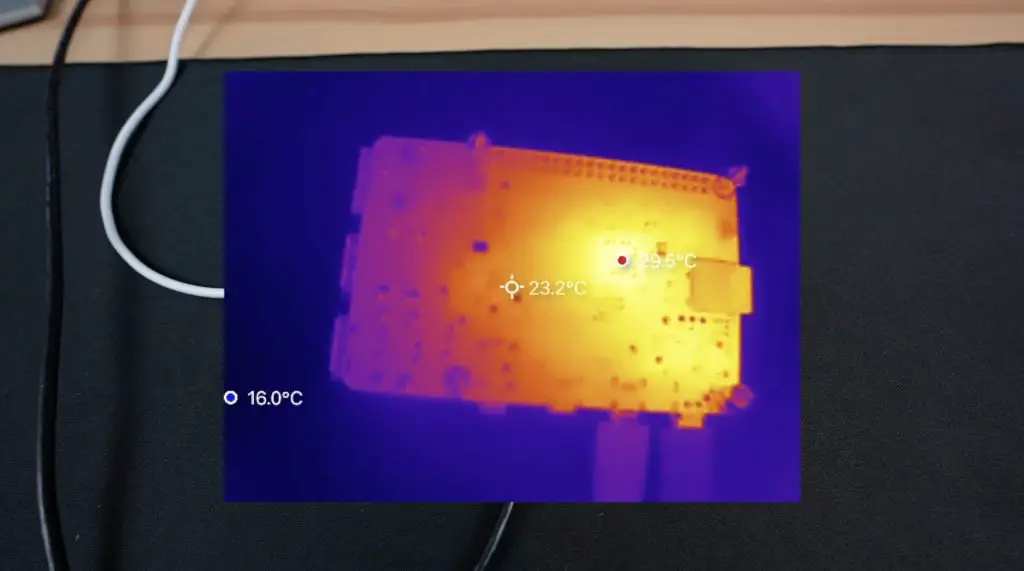
You’ll notice on the thermal camera that the fins on the cooler as well as the arms and even the ports on the Pi are all similar to the background temperature. This is because metals are reflective and essentially behave like a mirror, reflecting the surrounding infrared radiation. We can however still see the base of the Ice Cube cooler around the CPU, which is the area we’re interested in anyway.
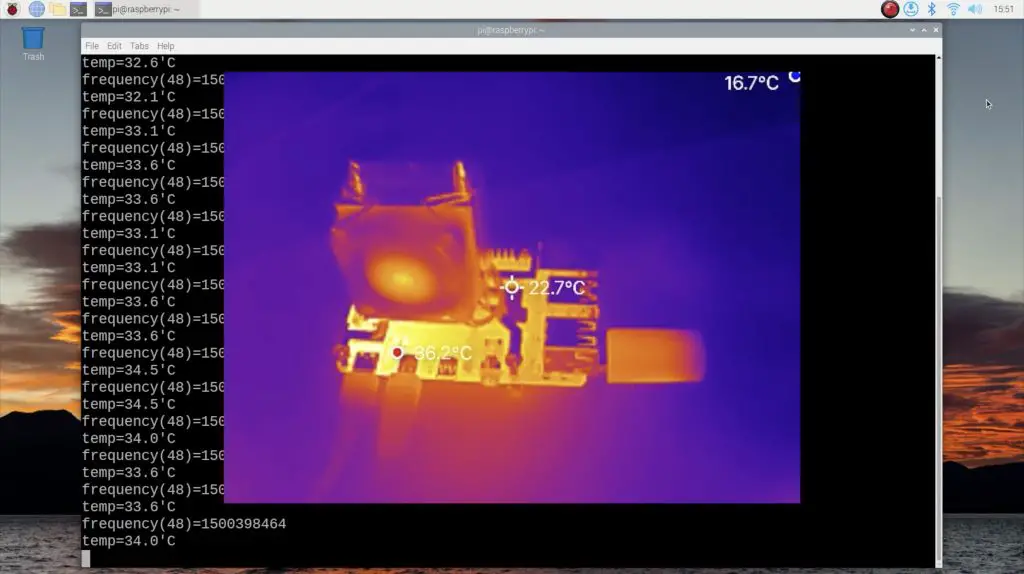
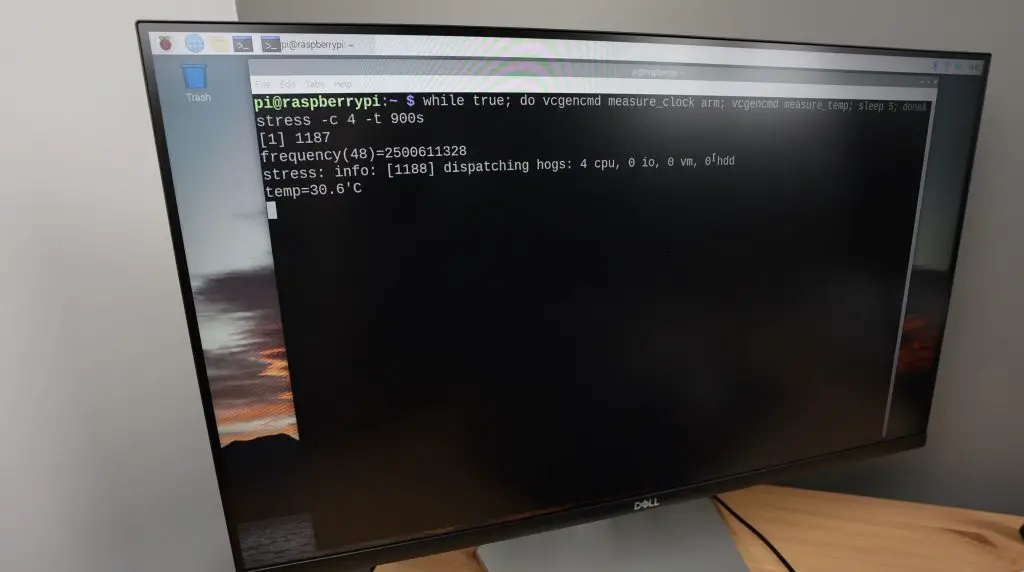
Running the stress test, we can see our CPU clock frequency is sitting at 1.5Ghz and after a minute the temperature stabilises at around 34°C. So the Ice Cube cooler is working well – this is half of what we were at with the standard heat sink.
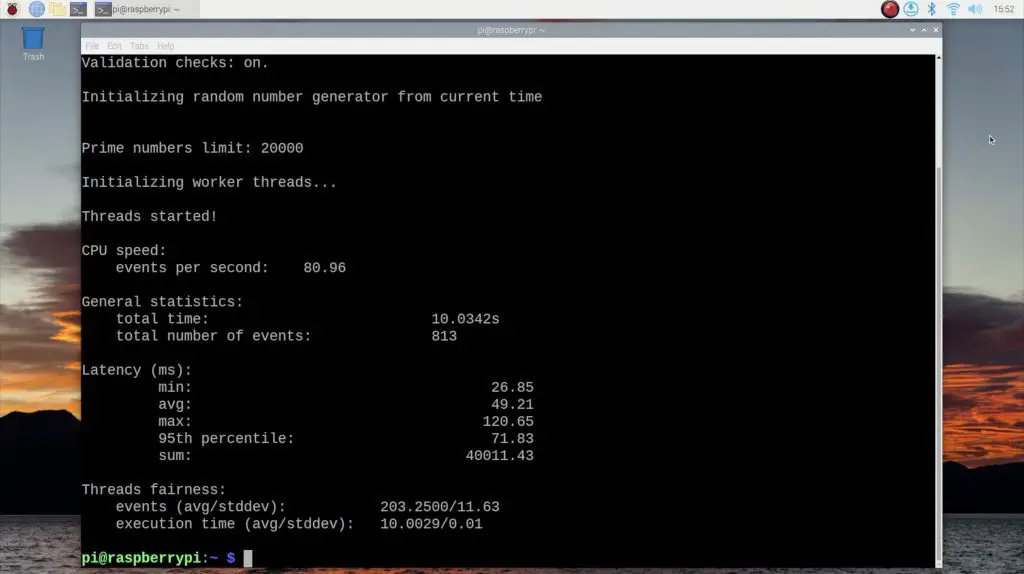
Running the Sysbench benchmark, we get a total number of events of 813. This is a slight improvement over the standard heatsink which is surprising given that we weren’t near the thermal throttling limit of the Pi.
Next, let’s try to overclock the Pi. I increased the clock speed to 2GHz and rebooted it. Running the stress test, the temperature now reaches around 37°C after a minute, so we’ve got a 3°C increase over the base frequency which honestly isn’t much. On Sysbench we get 1031 events, so an increase of over 25% which is great.
Next, let’s step it up to 2.2GHz. For this frequency, I’m also going to increase over_voltage to 10. This adjusts the core CPU voltage to accommodate the higher clock speeds.

At 2.2GHz we get a slight temperature increase of 2°C up to 39°C.
On Sysbench we get another 13% increase in performance, getting a total of 1173 events.
The Pi still looks fine thermally both in software and on the camera so let’s increase it to 2.3Ghz. To increase it to 2.3Ghz we need to also enable force_turbo. This improves stability by making your Pi run continuously at the set clock speed rather than dynamically adjusting the clock speed to match the workload. This setting voids your warranty though and you’re now obviously risking damage to your Pi, so don’t do this unless you’re prepared to potentially permanently damage your Pi and don’t leave your Pi running for long periods of time with this setting enabled.
At 2.3Ghz we get another temperature increase but this time of only 1°C to 40°C and in Sysbench we get a total of 1164 events, which is actually slightly worse than the performance at 2.2GHz.
I then went up in smaller increments, each time expecting the new frequency to be the last that the Pi would boot up successfully.
At each frequency, the Pi did boot up and I ran the stress test and Sysbench benchmark in increments from 2.35GHz to 2.475GHz.
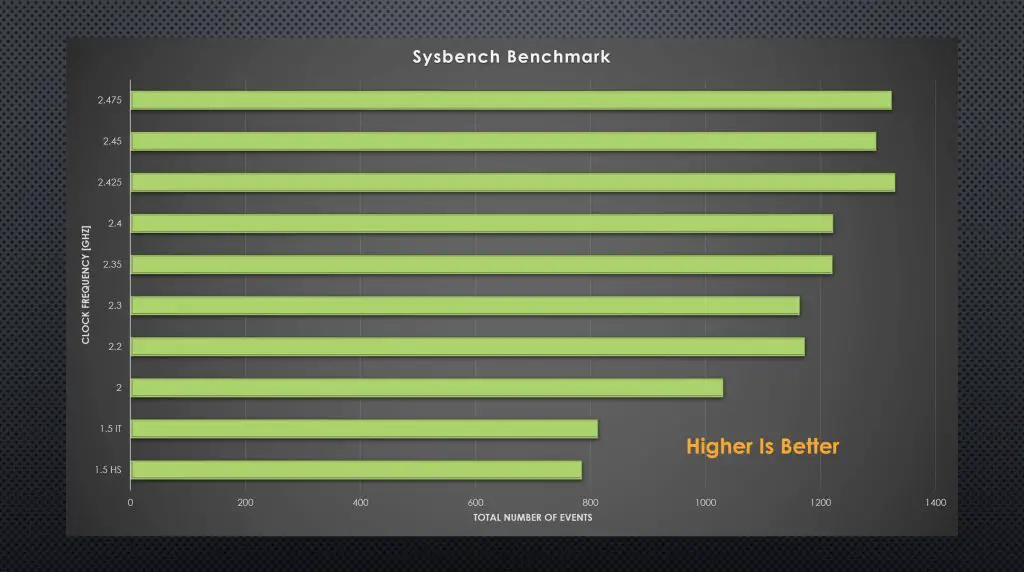
At an overclock frequency from 2.3GHz to 2.45GHz, we had an average increase in performance of about 15%, but at 2.45GHz I started noticing the Pi doing a few weird things. The cursor started flickering every so often and at 2.475GHz some of the files in directories wouldn’t show up. But in each case, the Pi was still able to capture the screen contents, run the stress test successfully for about 2 minutes and run the Sysbench benchmark.
I then tried 2.5Ghz and since I hadn’t expected the Pi to boot up beyond 2.3Ghz, I didn’t have much hope for this. But after a brief boot screen, it did actually boot up into the desktop.
But all wasn’t well and the Pi was struggling.
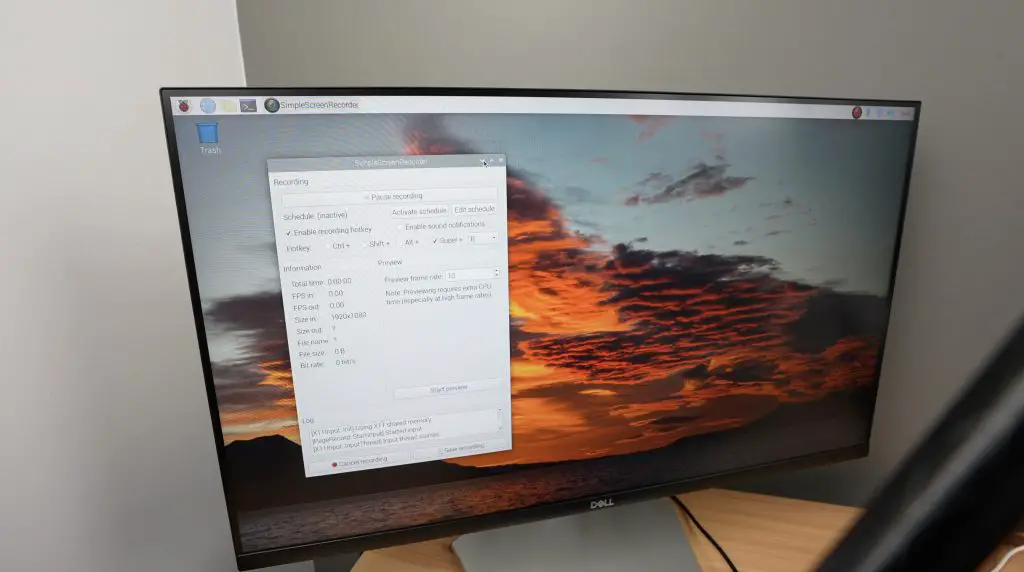
The first time it booted, I tried running the screen capture utility and it immediately locked up.
I then decided to skip the screen capture and just try to run the stress test and that too locked up.
I then tried to run the Sysbench benchmark and even that locked up.
So the Pi booted and was indicating that it was running at 2.5Ghz, but if I put any form of load onto it then it locked up.
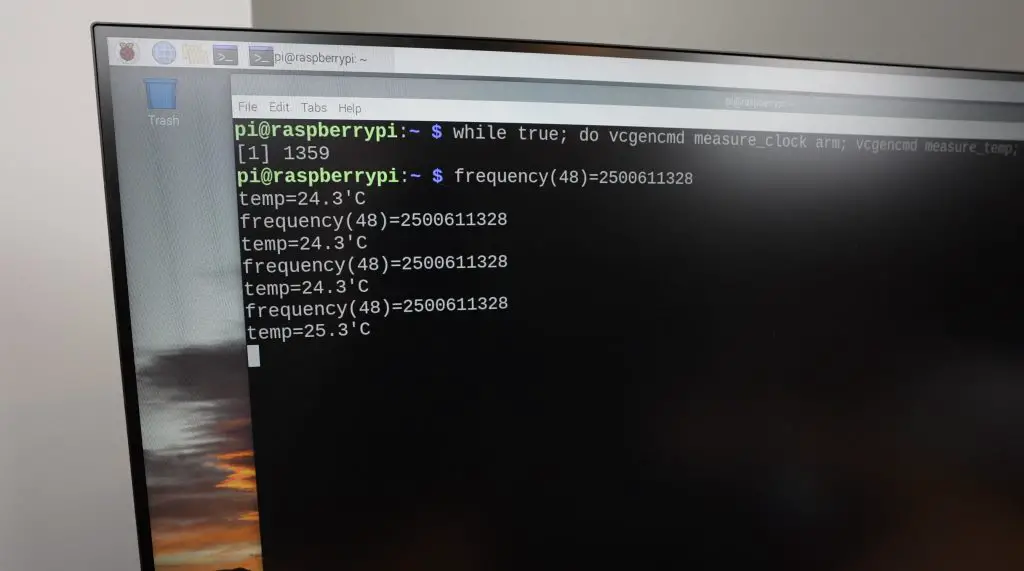
So that marked the end of my testing. This might have been a power issue since the CPU seemed to actually be ok running at 2.5Ghz but if you put any load onto it then it may have caused the supply voltage to dip enough to lock up.
Looking At The Pi Using The P2 Pro
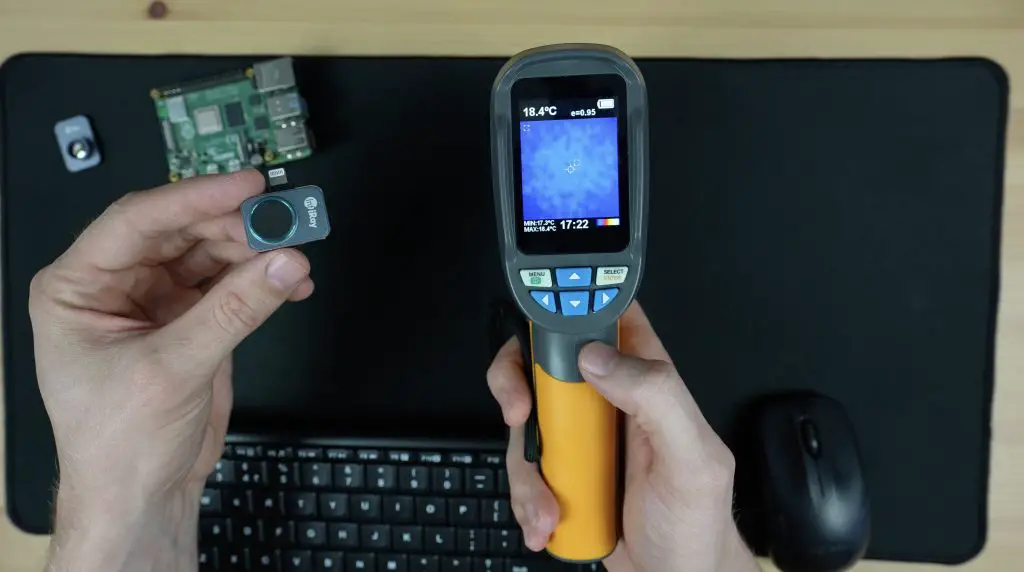
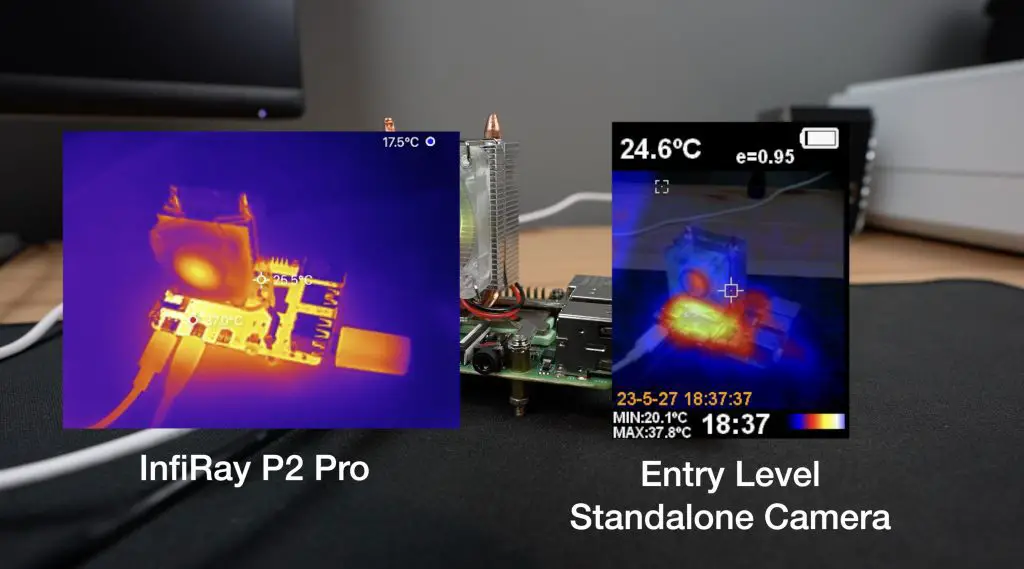
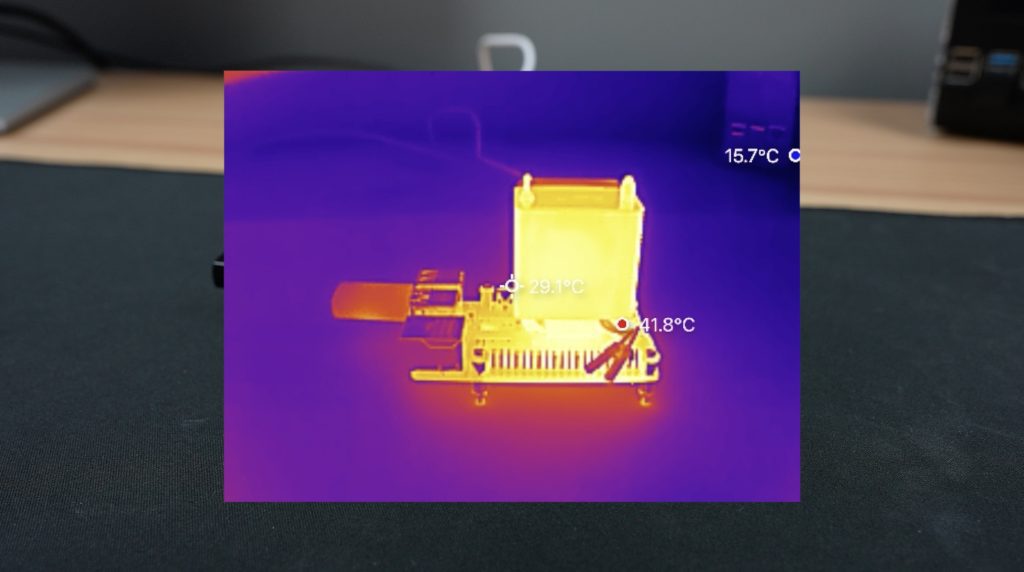
After my overclock tests, I then had some fun playing around with the thermal camera. You can see from the thermal images of the Pi and Ice Cube Cooler just how much better the resolution on the P2 Pro is compared to a slightly cheaper standalone camera.
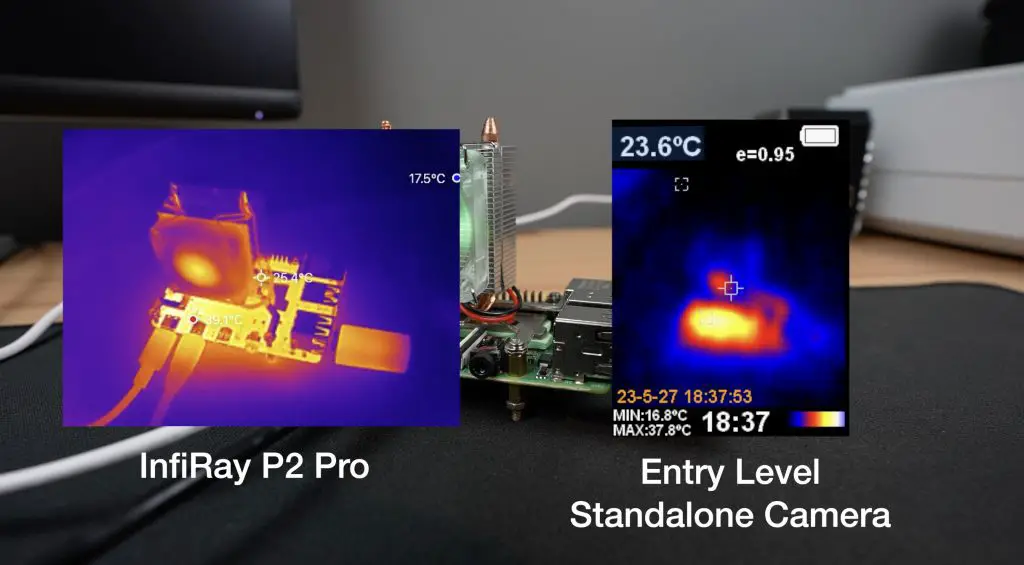
This alternate thermal camera only costs $60 less than the P2 Pro and even combining a photo with the thermal image like some cameras do doesn’t look nearly as good.
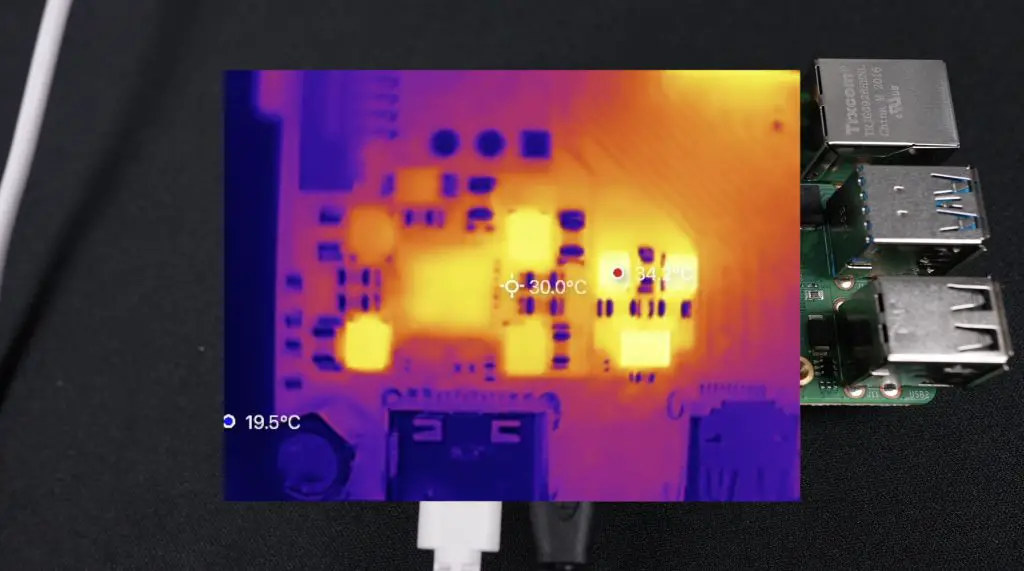
Some other things that I found interesting under the thermal camera were how the surface mount components in the power circuit around the USB-C port start up in sequence when the Pi is powered up, and also how quickly they cool down when the Pi is shut down. Watch my video at the beginning of this post to see this clearly.
You can also watch the Pi boot up from the bottom of the board.
As I mentioned earlier, thermal cameras can’t see the temperature of metallic surfaces because they’re reflective. But I wondered whether spraying an Ice Tower cooler black would mask the metal and allow the thermal camera to actually see the heat from the cooler.
So I sprayed one of my coolers black for science…
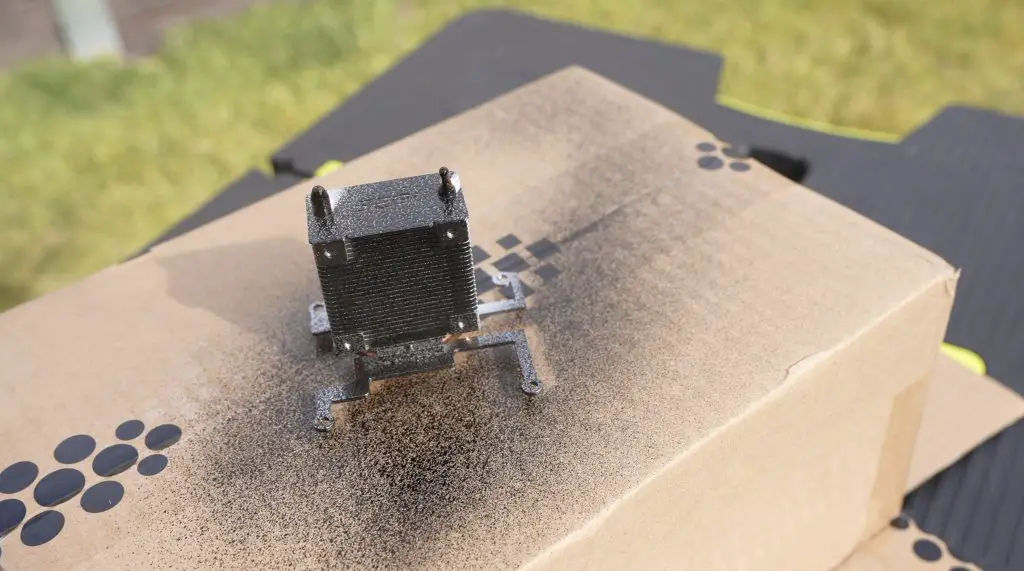
I put it onto the Pi with some thermal compound and I booted the cold Pi up at 2.0Ghz. I left the camera recording for two minutes while running the same stress test and you can now actually see the heat sink warming up.
After 3 minutes I tried unplugging the fan, which lead to a 10°C rise in temperature over the next three minutes. Plugging it back in brought the temperature back down again.
Final Thoughts On Overclocking A Pi 4
I’m curious to see if anyone else has managed to overclock their Pi 4 or even a CM4 or Pi 400 to 2.5Ghz or higher, and also whether you were able to run any tests on it. I’m aware of Claude Schwartz managing to overclock a CM4 module to 3.0GHz using Ice Spray and a firmware bypass. Let me know of any others in the comments section below.
Aside from the limitations in the power circuits, there is an element of silicon lottery involved. Some CPU’s will be able to be overclocked higher than others, so there might be a couple of Pi 4B’s out there that can go beyond 2.5Ghz.
If you’re interested in getting yourself a really small but powerful thermal camera that’s great for getting up close with PCBs and small electronics, the P2 Pro is available from InfiRay’s Amazon stores in a range of countries for $299. If you order one using my coupon code Klements123, you’ll get $20 off your order.
Here are some additional purchase links