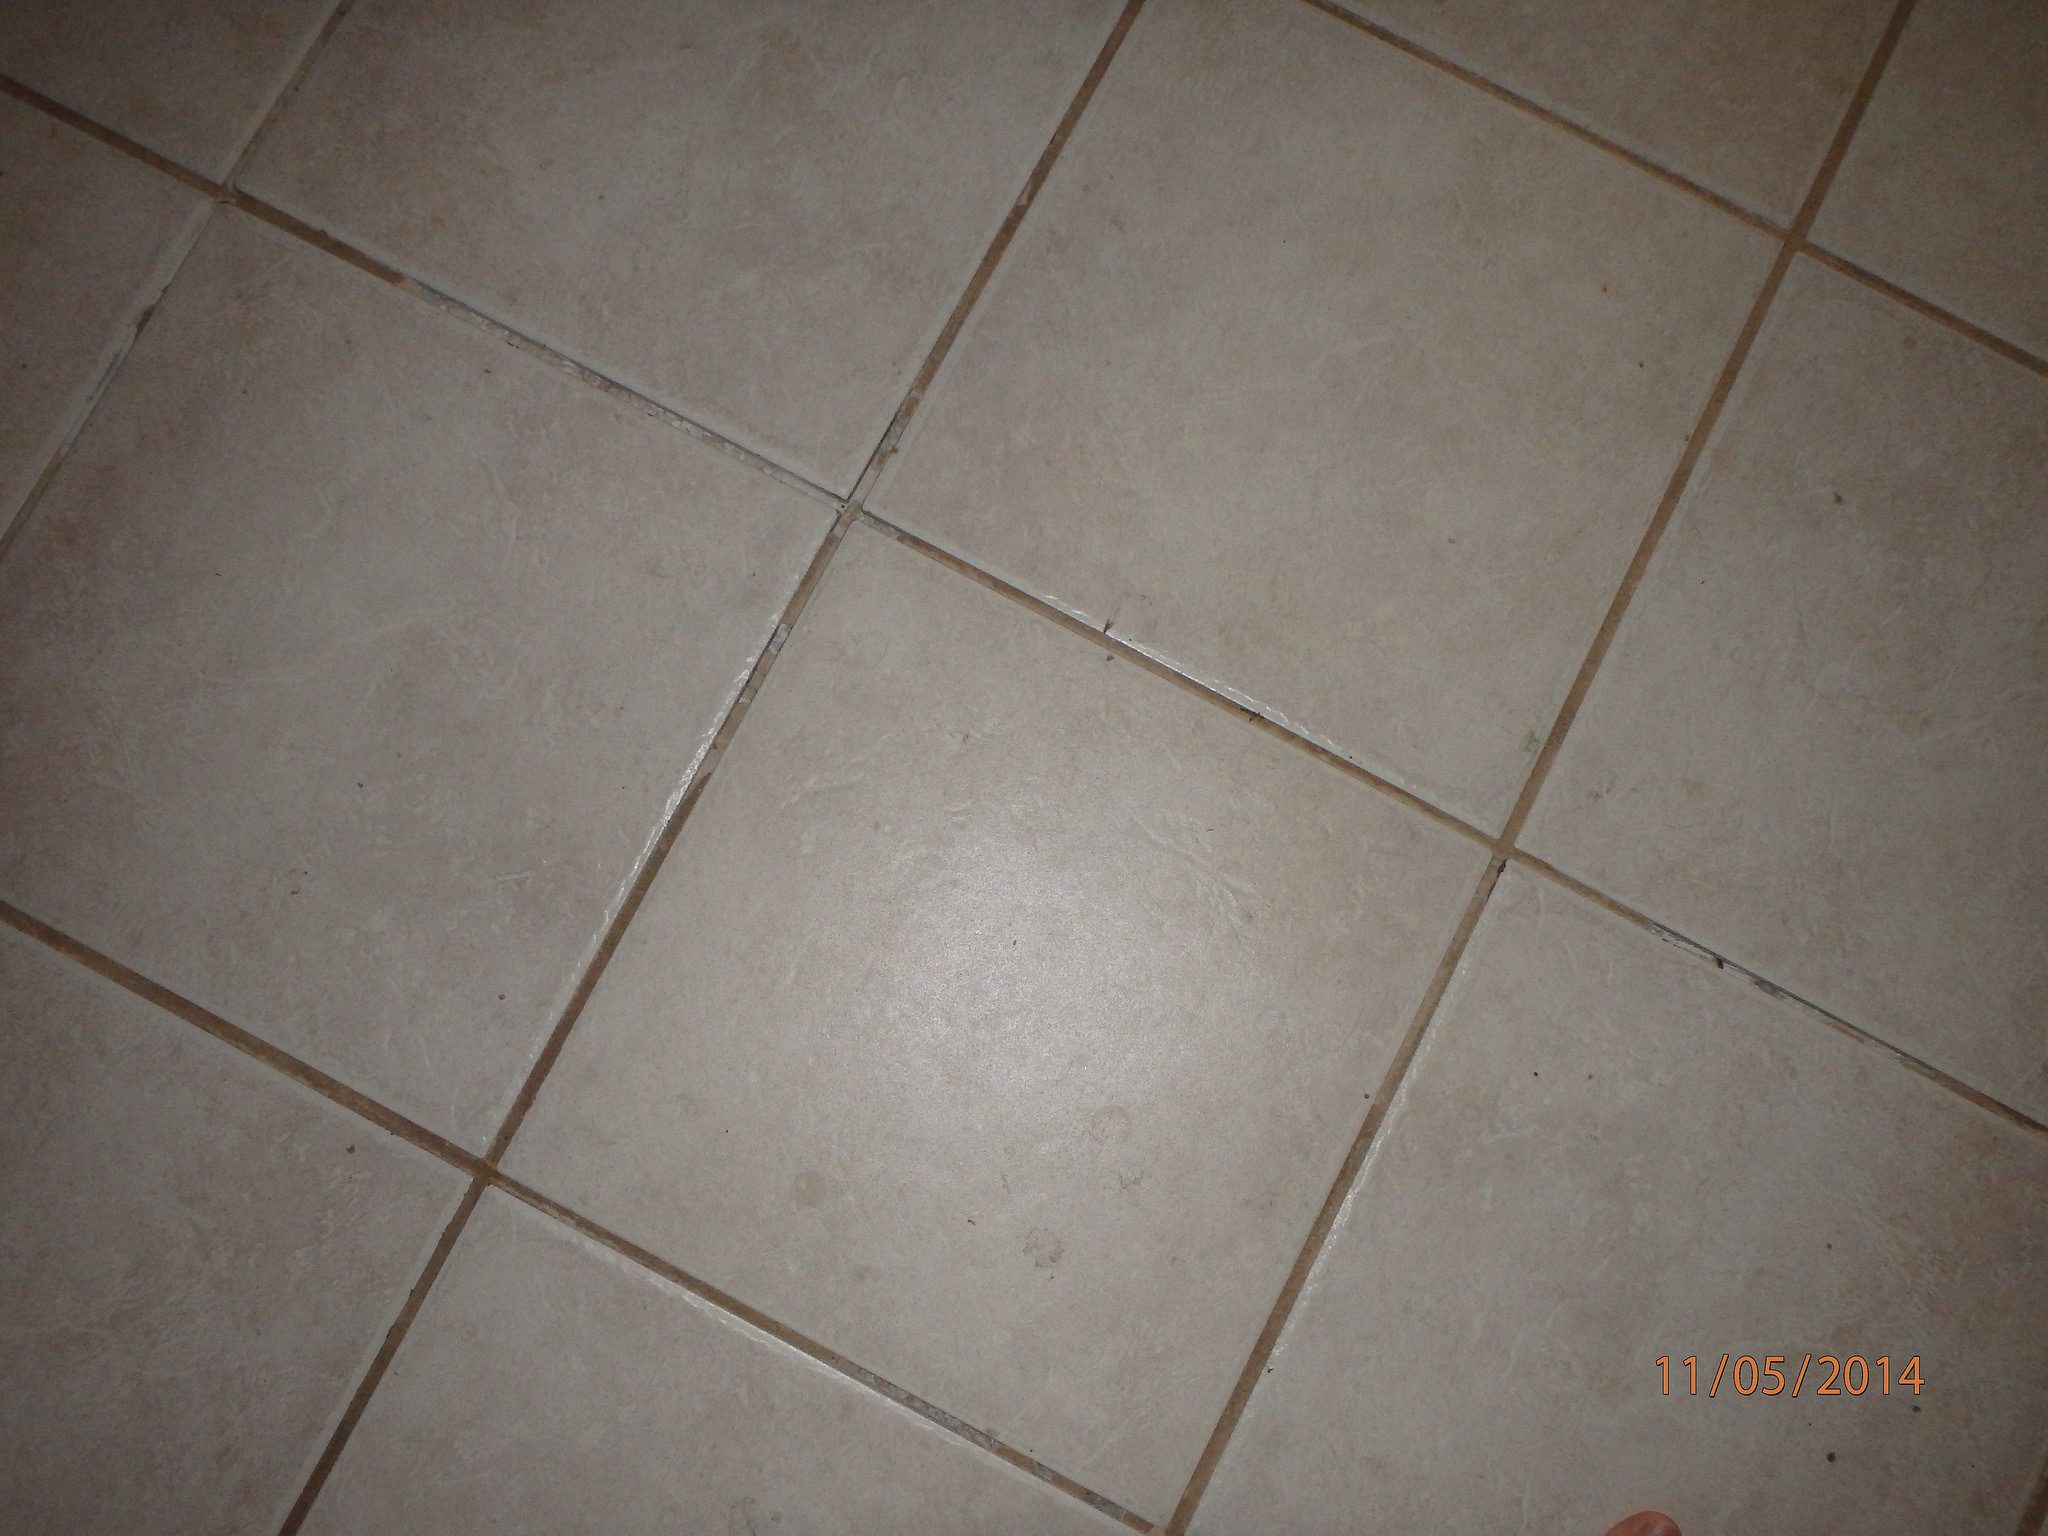
With the natural movement of foundations, environmental changes and general wear and tear, eventually one or two tiles on your walls or floors may land up cracking. You may also have removed a fixture or fitting which has left holes or a portion of the tile removed. Fortunately, its relatively easy to replace the cracked or modified tiles and it can easily be done in a morning.
If your tiles are particularly bad but you can’t face pulling them up, why not try tiling over the existing tiles? As long as your existing still are still well bedded, they make a perfect base for tiling over.
What You Will Need To Replace A Cracked Tile
- A Replacement Tile For Each Cracked Tile (These Should Be Kept From The Original Installation)
- Grout Removal Tool (Dremel Rotary Tool with Grout Removal Attachment)
- Hammer
- Chisel
- Tile Adhesive
- Grout (Same Colour As Used)
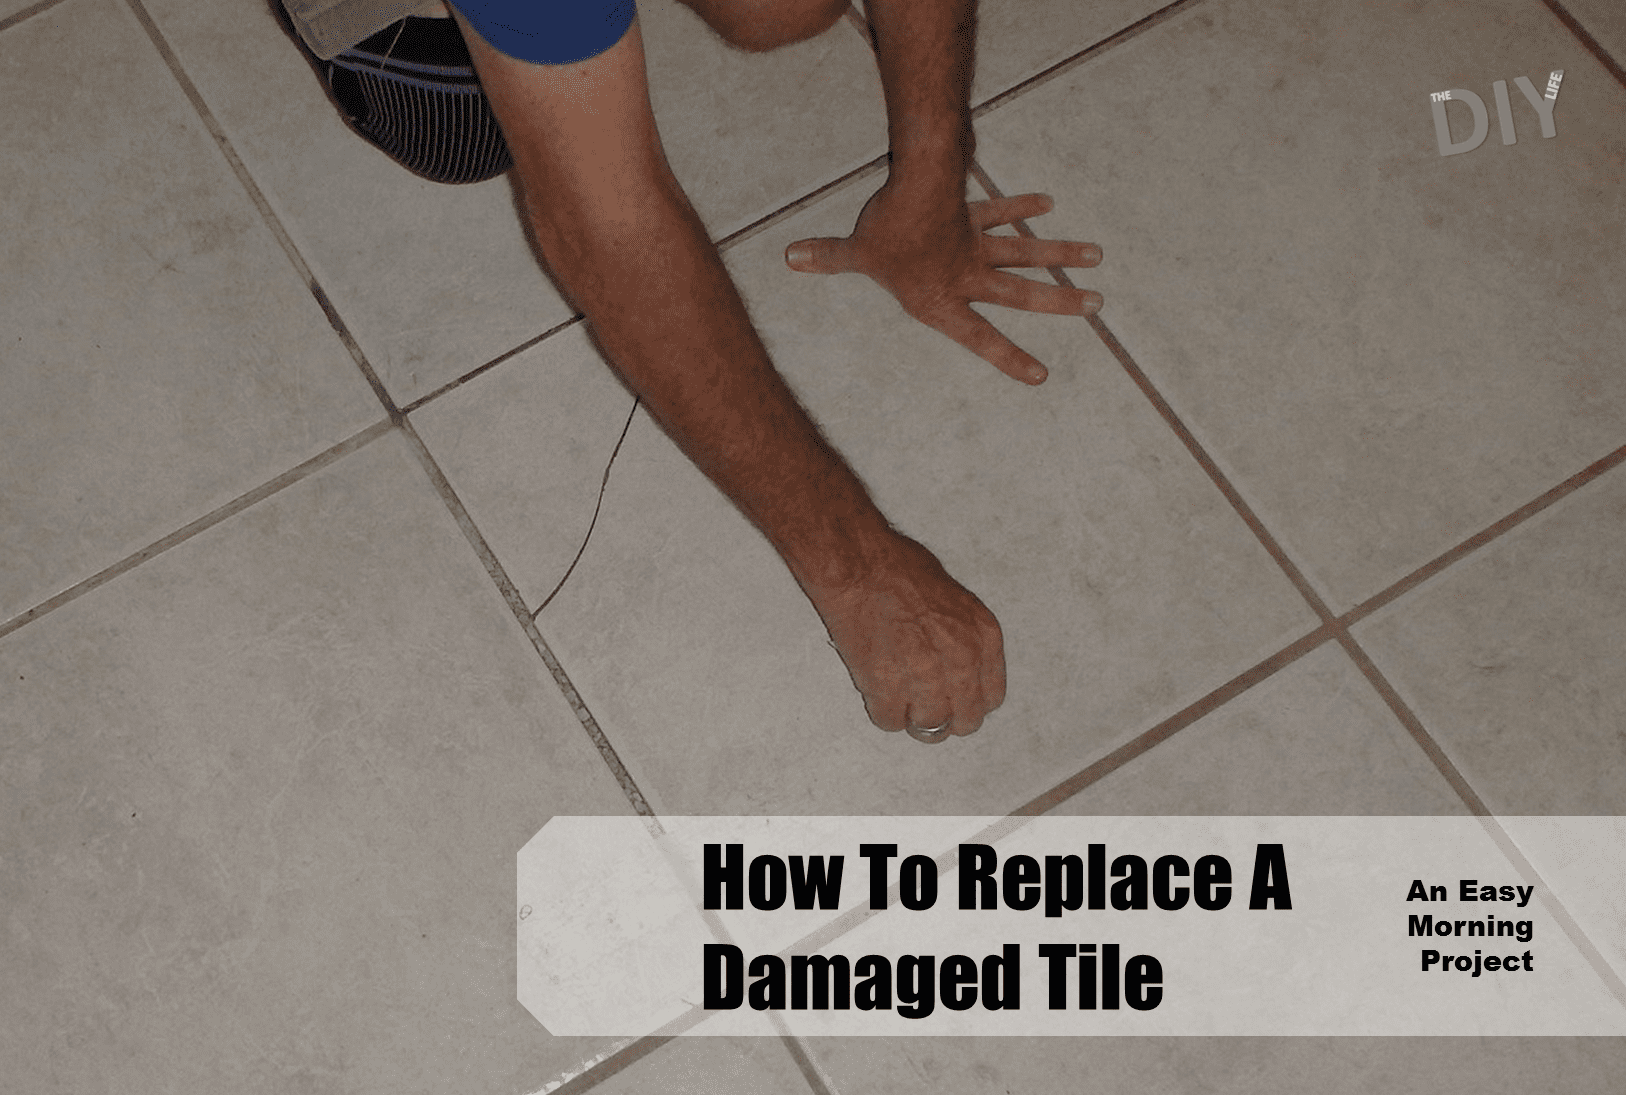
How To Replace The Cracked Tile
First you need to remove the existing tile. Start out by removing the grout the whole way around the tile using the dremel rotary tool or a grout saw. This process produces a lot of dust so a breathing mask is required.
Now break up the cracked tile in order to remove it. You will need to break it into small sections which can then be pried up with the chisel. Be careful not to damage one of the surrounding tiles when lifting the broken tile pieces, do not lean the chisel on the surrounding tiles when chipping or lifting.
Warning: Wear adequate eye protection when chipping out the old tile. Shards of the glazing can be extremely sharp.
Remove all of the old adhesive underneath the cracked tile as well, you need a clean and flat bed on which to lay the new tile. A paint scraper may be easier to use to get the last of the adhesive up.
Mix up some tile adhesive and spread it over the entire back of the tile. If you have a notched tile trowel, use this to create adhesive beads/rows for better application. Leave a 6mm (1/4″) perimeter around the tile free of adhesive so that it doesn’t push up and fill the grout joint.
Now press the tile down in place so that it is square and level with the surrounding tiles. Use a straight edge to check that it is level with all four surrounding tiles, tap down lightly with the hammer on any high spots or on the opposite side to lift any low spots.Let the adhesive set as directed on the packing, usually 6 to 12 hours before grouting.
Finally mix up some grouting and grout the joints. Use a grouting sponge or your fingers to apply the grout as it is a small area. Clean up any excess grout and then allow it to set before walking on the repair or letting it get wet (in a bathroom or shower).
The tile may stick out initially because the tile and grouting will be a little cleaner than the surrounding tiles but after a few weeks it won’t be noticeable and will certainly look better than a cracked tile.
For a more professional finish, read our tips for laying tiles like a pro.
Share This Guide:
Wow this is nice. my bf is gonna like this.