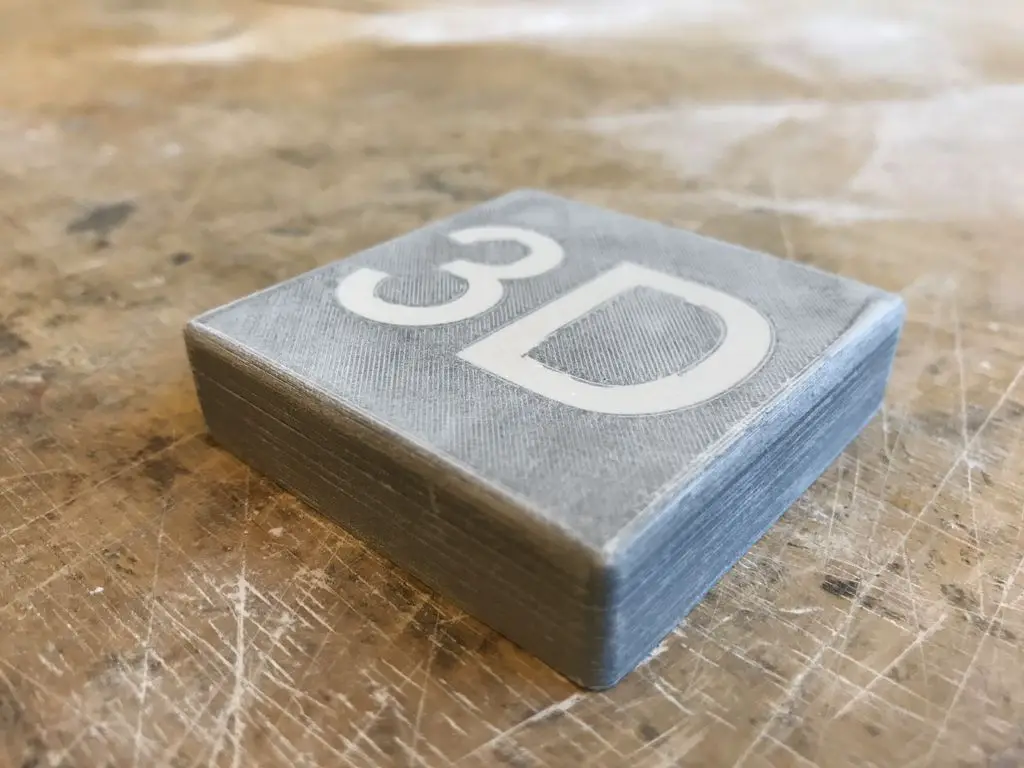
3D Printing is great for producing cheap customised plastic parts, however, the surface finish is usually quite rough due to the rounded plastic extrusion building up each layer. Here are some techniques which can be used to produce a smooth surface which can then be painted to produce a professional looking part.
What You’ll Need To Get A Smooth Surface Finish
- Sandpaper – 100, 180 and 320 grit
- Polyester body filler or putty
- Plastic Primer
- Spray Paint
3D Print Surface Finishing Techniques
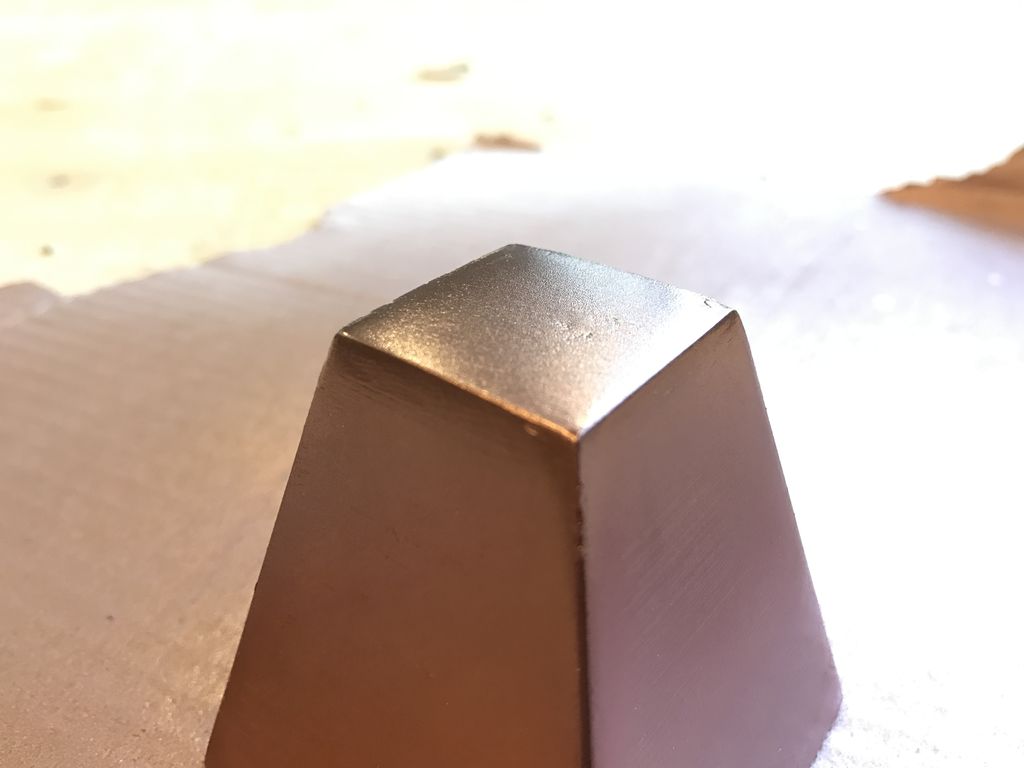
Start out by sanding the piece with the 100 grit sandpaper for 5-10 minutes.
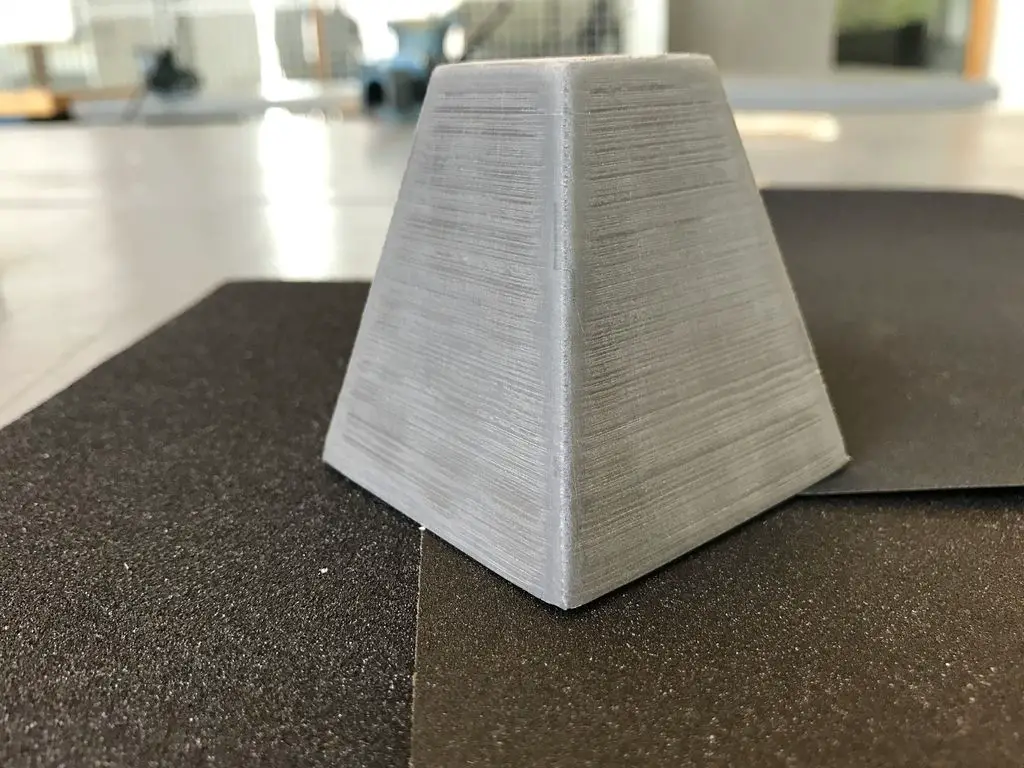
Then do the same thing but with the 180 grit sandpaper and after that, repeat the same step but with the 320 grit sandpaper. By sanding you will give your piece smooth surfaces without any imperfections or excess plastic.
If you happen to damage an edge or corner then don’t worry, you’re piece isn’t ruined yet. You can fix any imperfections easily with polyester potty.
First, take the piece of wood and mix the polyester putty.
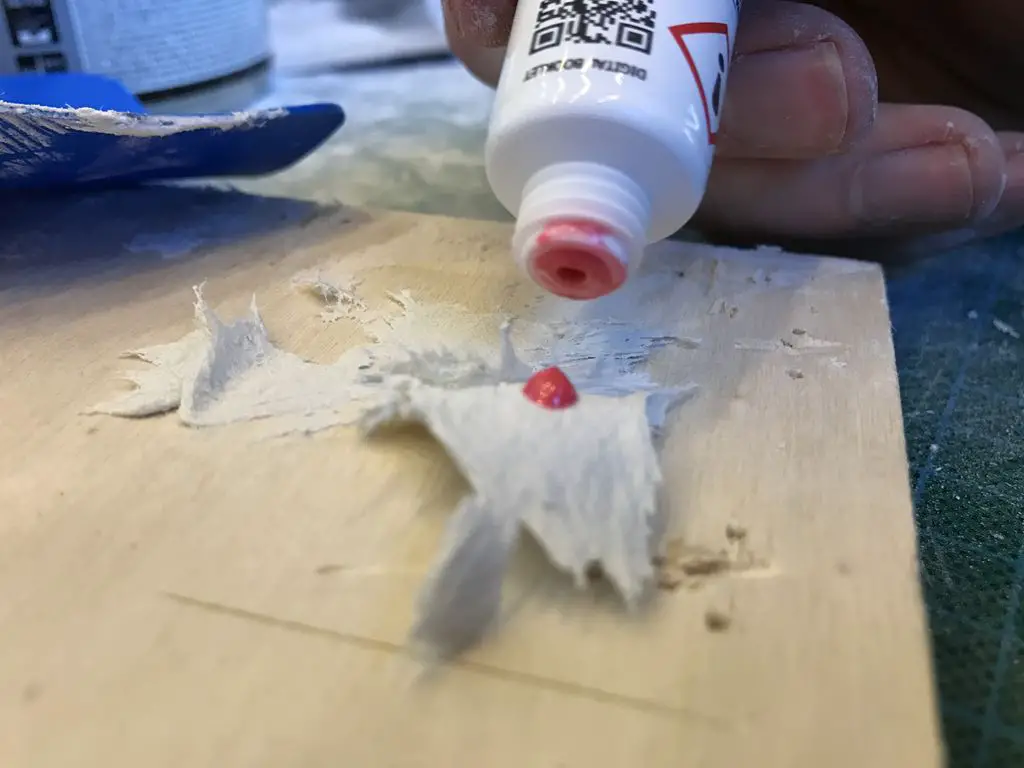
Take the plastic piece that came with your polyester putty and scoop a little bit and spread it on the damaged edge or corner. Don’t be afraid to put a lot of putty on the damaged part, the more putty the better.
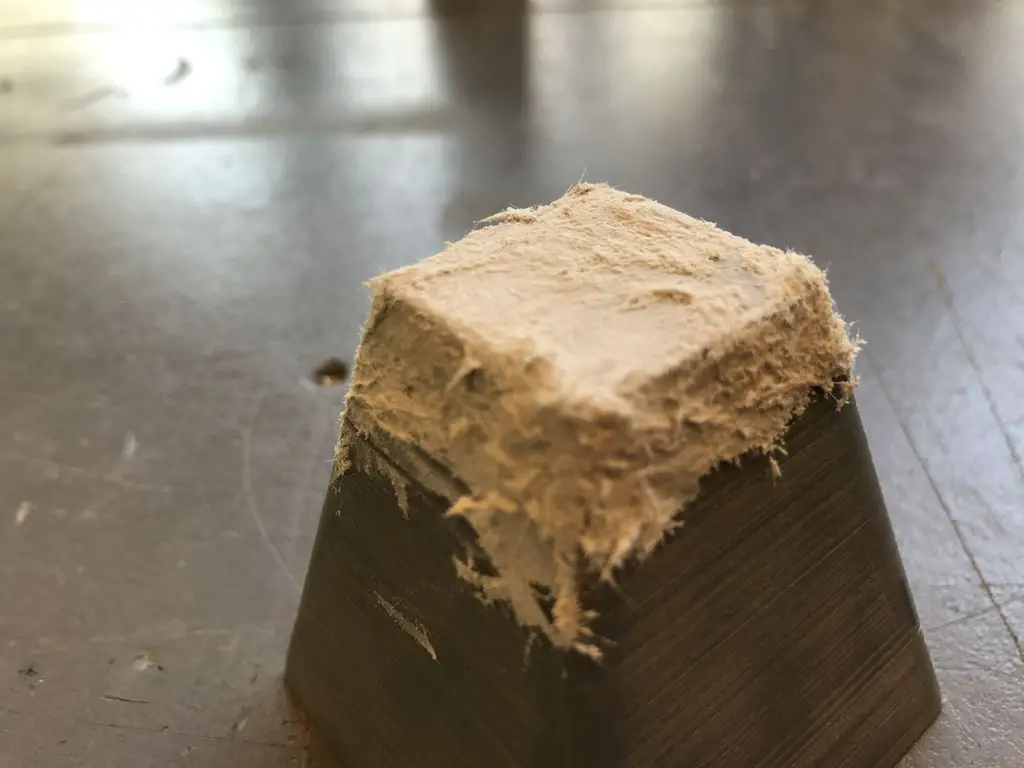
Repeat the sanding steps starting from the course grit and working to the fine grit after the putty has dried.
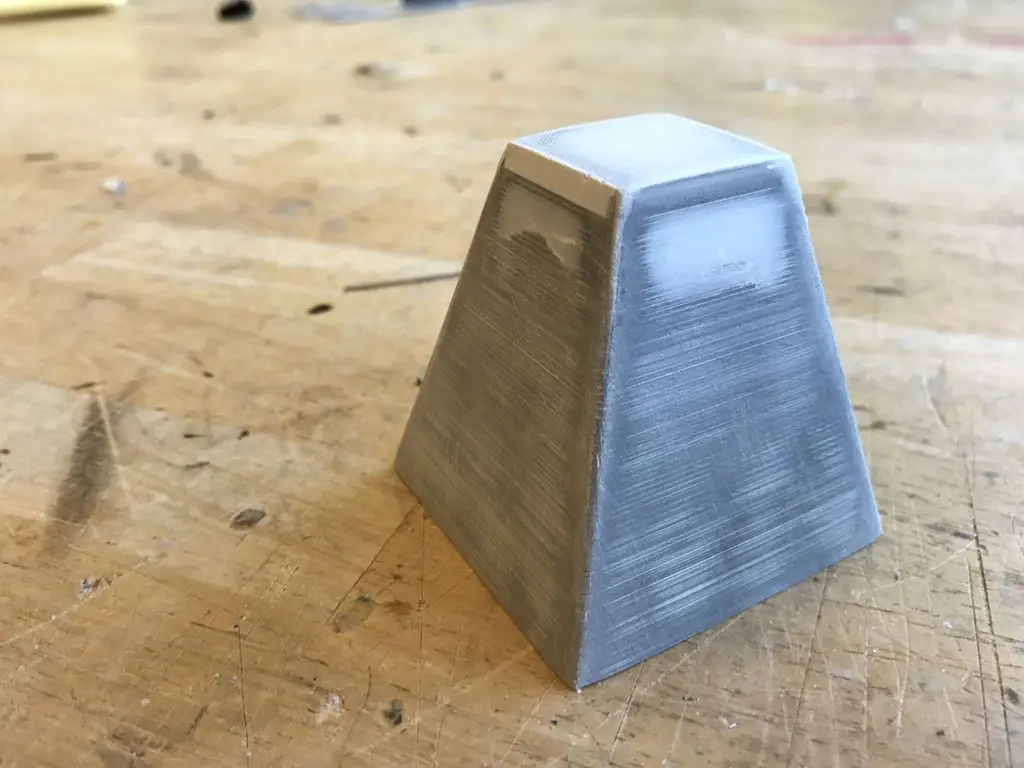
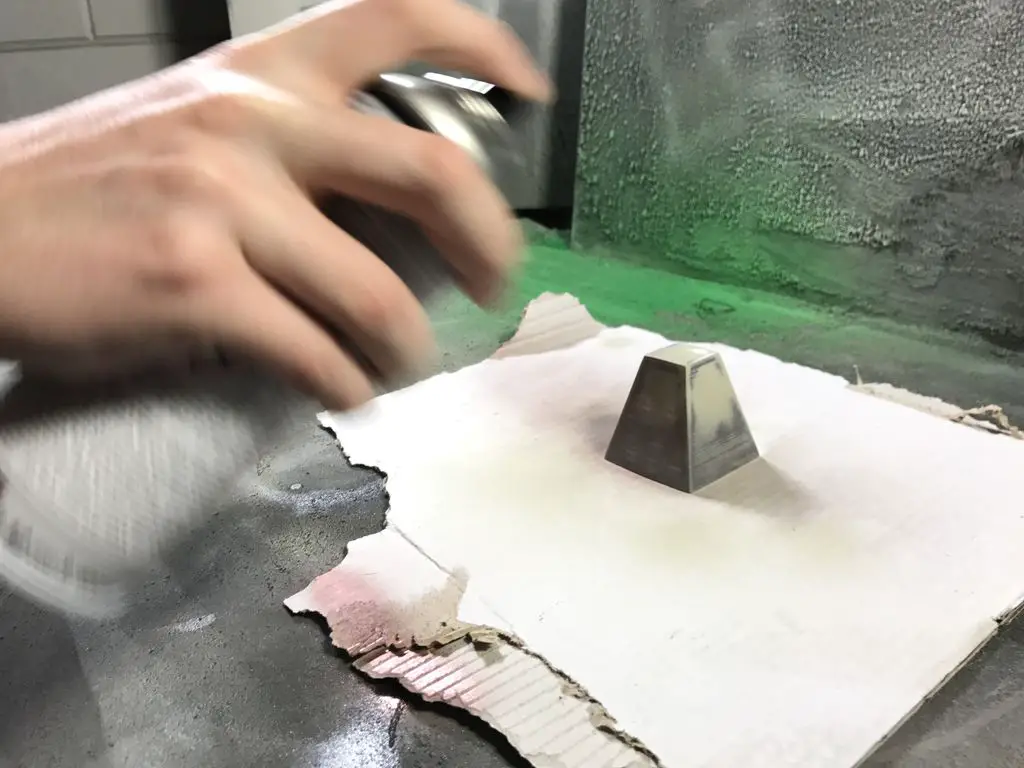
You are now ready to paint the object. In order to get good paint adhesion we will have to spray primer made for plastic surfaces on the piece we’re working on.
Clean the surface with a brush to remove any dust that may be left on the piece.
Some tips to avoid dripping:
– Spray carefully in strokes from left to right
– After applying one layer, wait 30 minutes until the primer is dry
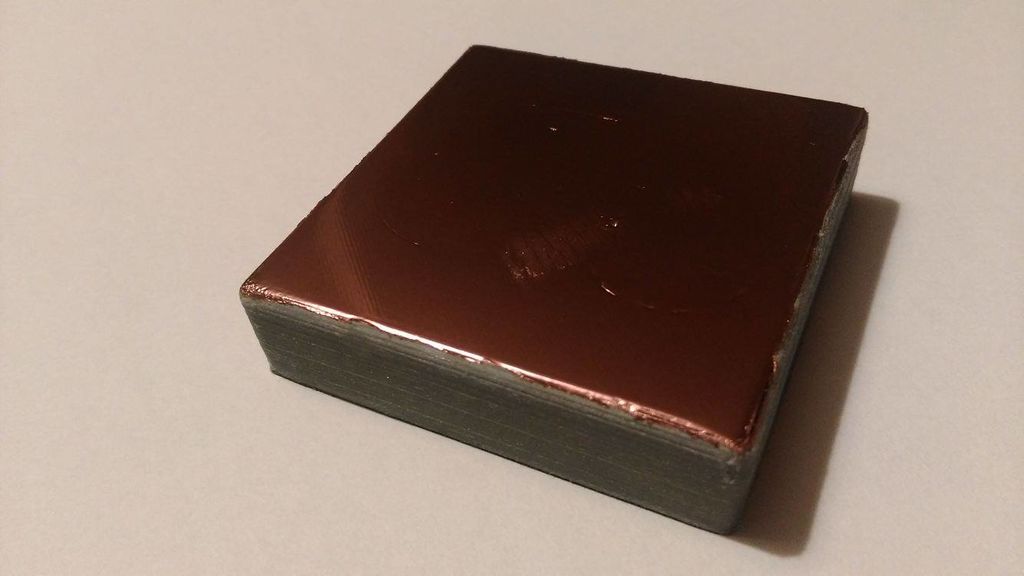
Now apply the spray paint. Give the piece a couple of layers until you reach the result you desire.
You can also use putty to fill voids in a 3D printed shape.
Apply a coat of paint to cover up the body filler.
Now you’re able to 3D print models and get a professional surface finish. Do you have any tips and tricks for finishing off your 3D printed models? Let us know in the comments section below.
This post is based on 3D Surface Finishing Techniques by robrechtv and has been used and modified under the Creative Commons license CC BY NC SA version 2.5.