Atomstack has recently launched the X30 Pro. This is their new flagship gantry-style laser engraving and cutting machine that now has a 6-core 33W laser module, which is the most powerful diode laser available on these style machines. It also comes with a fantastic air assist system to give you really clean cuts.
They sent me the X30 Pro to try out and share with you, so I’m going to be using it to make a Raspberry Pi based cyberdeck from 3mm plywood sheets. But first, let’s get it unboxed and run some tests on it to see how well it performs.
Where To Buy One?
Atomstack’s machines are available through their web store and Amazon store:
- Atomstack X30 Pro – Buy Here
- Atomstack Honeycomb Bed – Buy Here
- Atomstack Laser Enclosure – Buy Here
Some of the above parts are affiliate links. By purchasing products through the above links, you’ll be supporting my projects, at no additional cost to you.
Unboxing The Atomstack X30 Pro
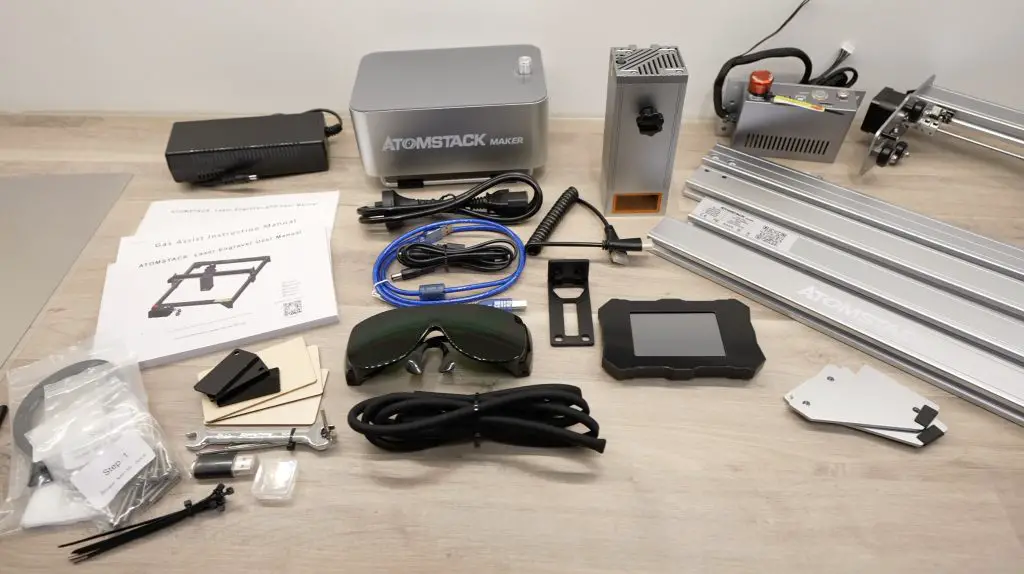
The X30 Pro arrives partially assembled, with all of the parts really well protected with individual foam trays and inserts.

They include everything you need to get set up and running, including tools, safety glasses and manuals. They also include a couple of sample plywood and acrylic pieces to test the laser on, along with software and test cutting files on a USB flash drive.
Assembly is about as easy as it can be without the machine being entirely pre-assembled. The main part of the assembly process is to assemble the aluminium extrusions that make up the y-axis frame. So you should be able to get the laser assembled and running in less than an hour.
The screws are even set out in packs that match each step in the assembly portion of the manual.

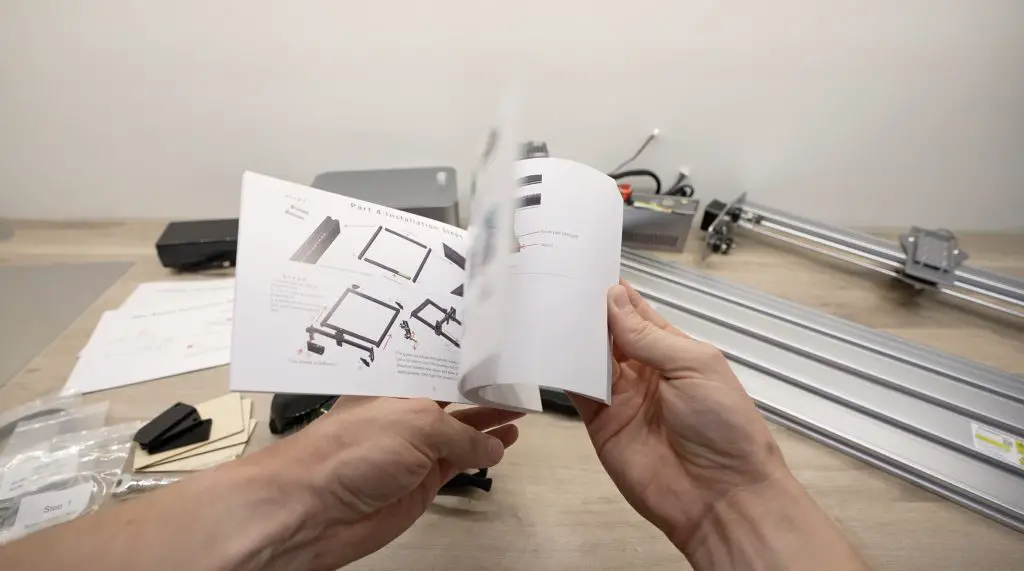
Having assembled a number of these style machines in the past, it took me around 15 minutes to get it assembled and ready to run some test cuts.
Main Selling Points Of The X30 Pro
The new 33W diode laser module combines the light produced from 6 6W lasers into a single focal point, a step up of 50% over their previous flagship, the X20 Pro.

The actual laser module itself is not all that much larger than that on the X20 Pro although you can see a bit of a size increase.
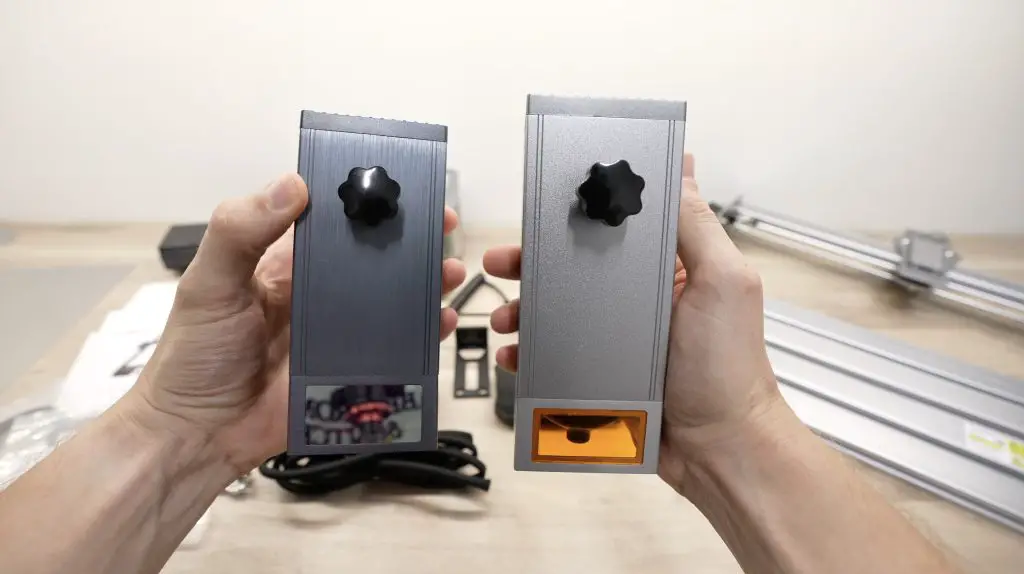
The increase in power allows you to cut through much thicker materials, or to cut thinner materials even faster. They claim it will even cut 0.1mm stainless steel sheets, so it is a really powerful machine.
There are two other things that I think set this machine apart from its competitors, besides the more powerful laser, the first is the display that allows complete offline control of the machine.
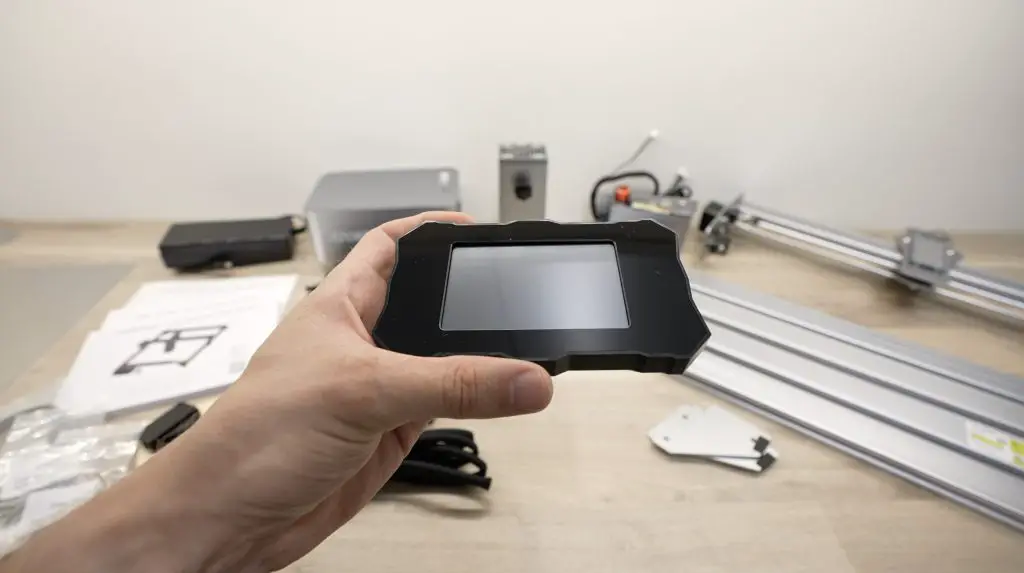
So you can plug a microSD card into the controller and then control the positioning and cutting directly on the machine without a connected computer. I actually use this quite often on the X20 Pro, it has its limitations but it works pretty well for straightforward jobs.
The second is the air assist system.

There are other machines available with air assist, but the air assist on the Atomstack machines is really good. So much so that I actually use my older X20 Pro to cut all of my plywood parts for my projects and for products in my Etsy store instead of my more powerful CO2 laser. My CO2 machine also has air assist, this one just does a better job at getting the cuts to look really clean.
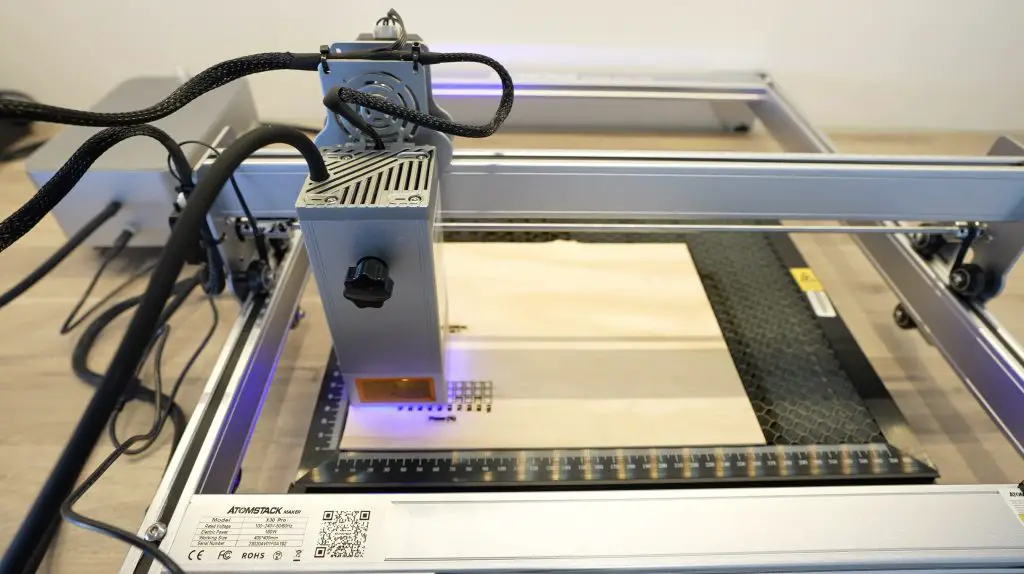
Cutting & Engraving Tests on Plywood Sheets
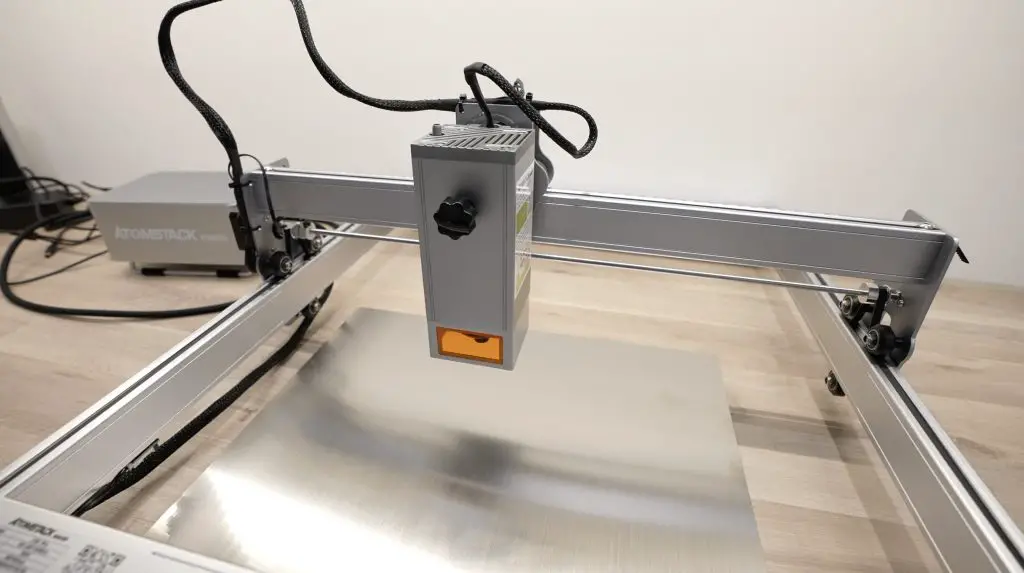
The air assist compressor is adjustable and connects to the top of the laser module where it is then directed down to a stream around the lens and onto the cutting area. It actually performs a secondary function – the stream of air around the lens keeps it clean as well.
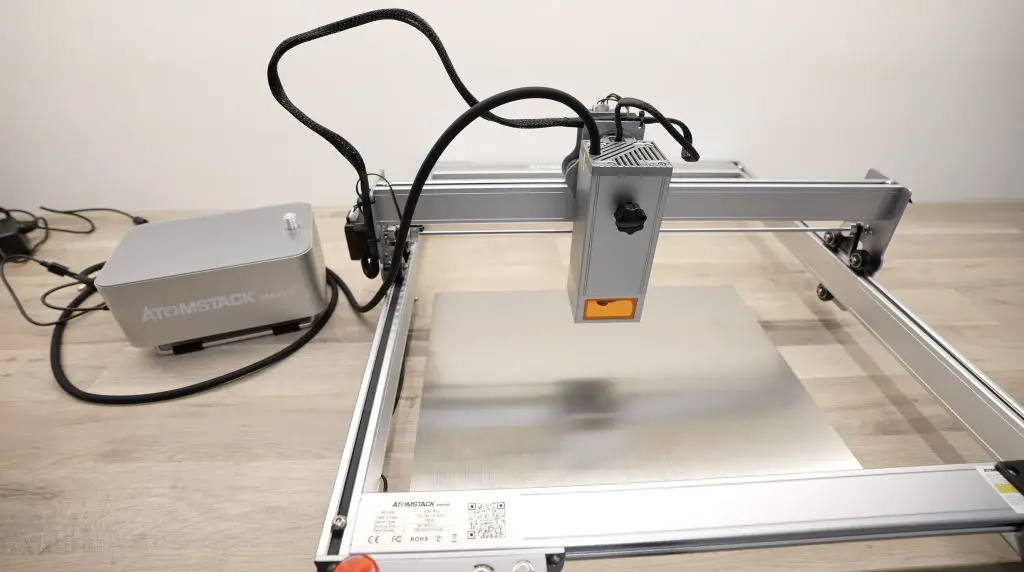
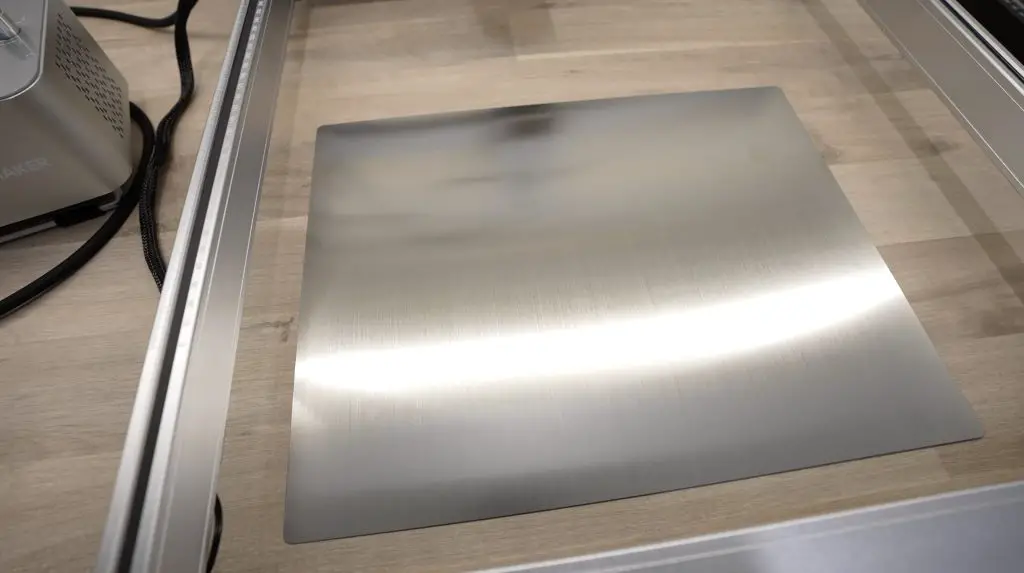
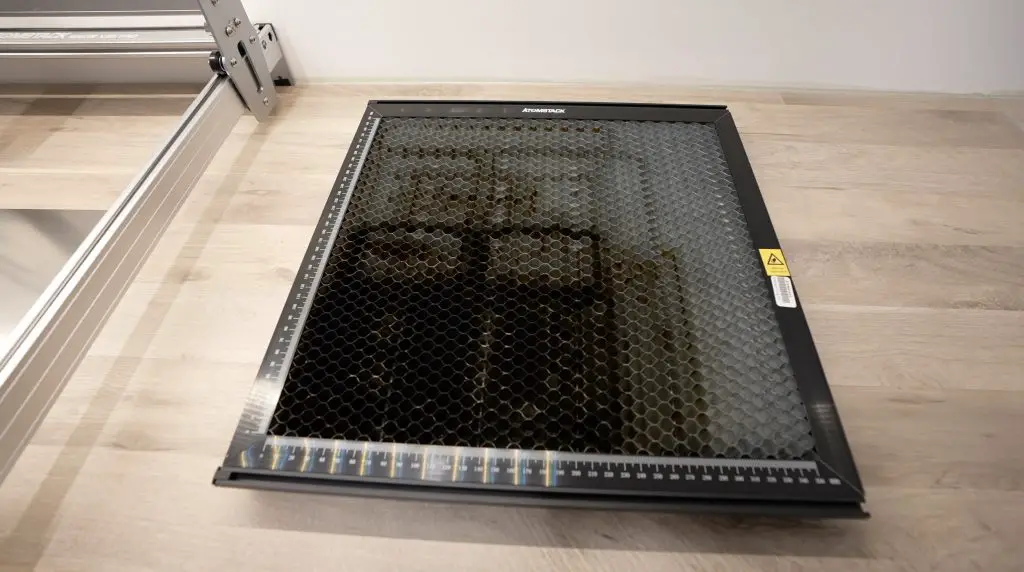
For the cutting surface, they give you a stainless steel sheet to protect your desk or work surface from the laser, but you’ll want to use some prisms or a honeycomb bed to raise the workpiece slightly when you’re cutting. This is so that you’re not charring the back of the piece and you’ve got some space for the smoke to escape. I’m using an Atomstack honeycomb surface that I bought to use with the X20 Pro.
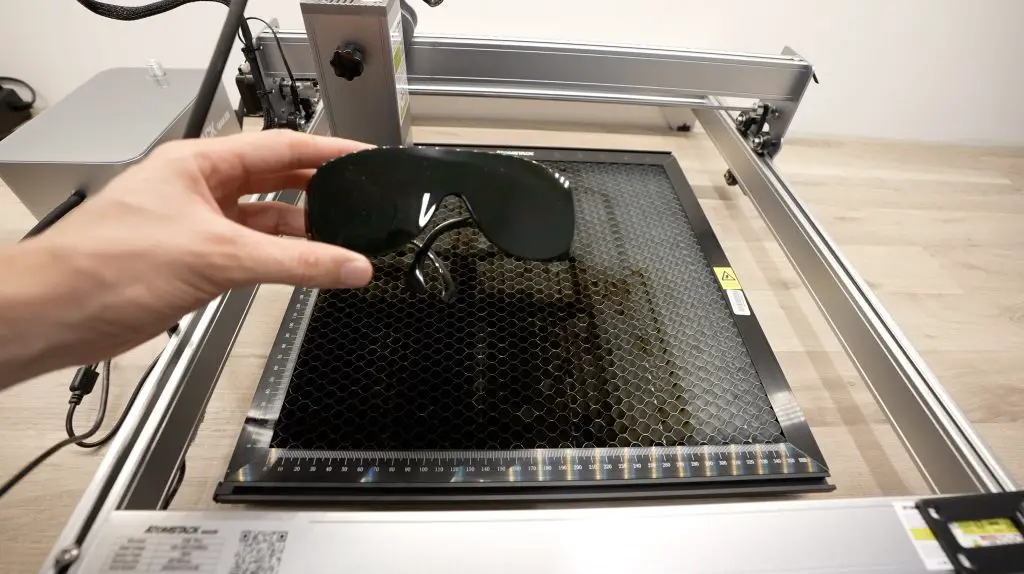
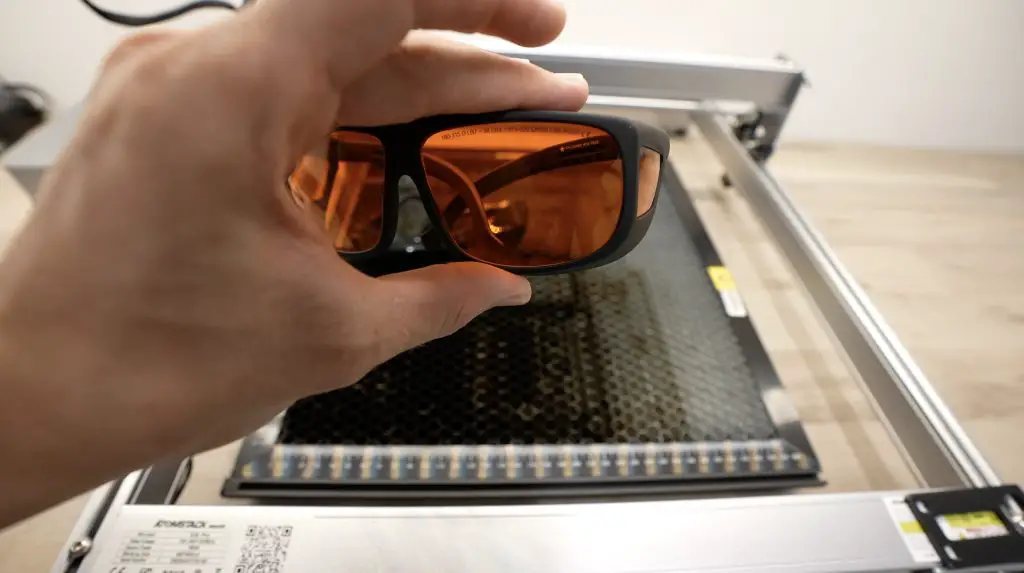
It’s really important to wear eye protection when working with these open gantry style lasers, this high-power laser can permanently damage your vision in a fraction of a second if something goes wrong. Atomstack provides a pair of safety glasses with the X30 Pro kit, but you should really get a pair of glasses from a reputable optics company that has done testing on the glasses and provides some form of certification.
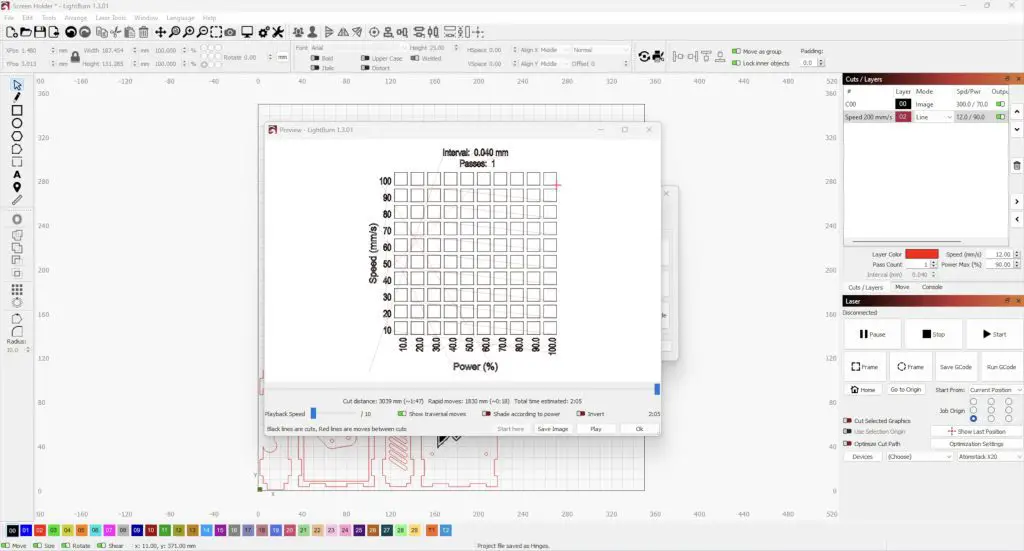
I’m going to run some cutting and engraving tests on a piece of 3mm plywood as this is the material that I’m going to be using for the Cyberdeck. I’m using Lightburn on a connected laptop to run the tests. The laser is going to cut a range of 5mm blocks at different speeds and laser powers and we’ll then be able to see which settings produce the best quality cuts.
Cutting Test
To start I’m going to do a cutting test with a range of 10 to 100mm/s for the speed and 0 to 100% power.
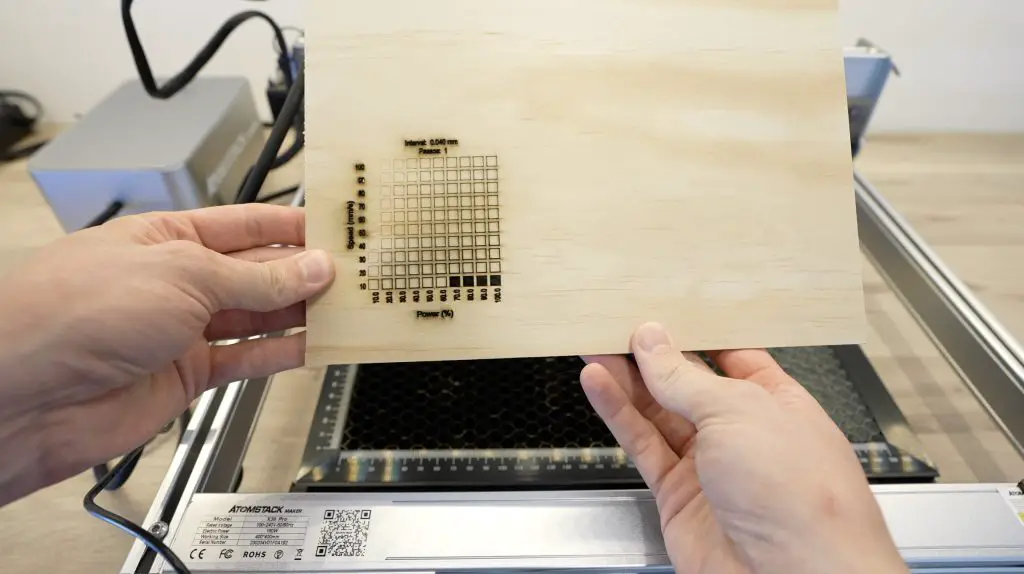
From that test, we only managed to cut through a few of the higher power settings at low speed in the bottom right corner, so I’ve set the speed up a bit too high for this material.
You’ll also notice how much cleaner the engraving looks on the numbers along the bottom of the vertical axis without the air assist off. So that’s something to keep in mind – don’t use air assist with engraving, only use it when you’re cutting.
These sheets are not the same material as the 3mm basswood sheets that are commonly available online for laser cutting, they’re a much better quality construction-grade plywood. So it takes a lot more power to cut them. Let’s turn down the speed a bit and try a second test.
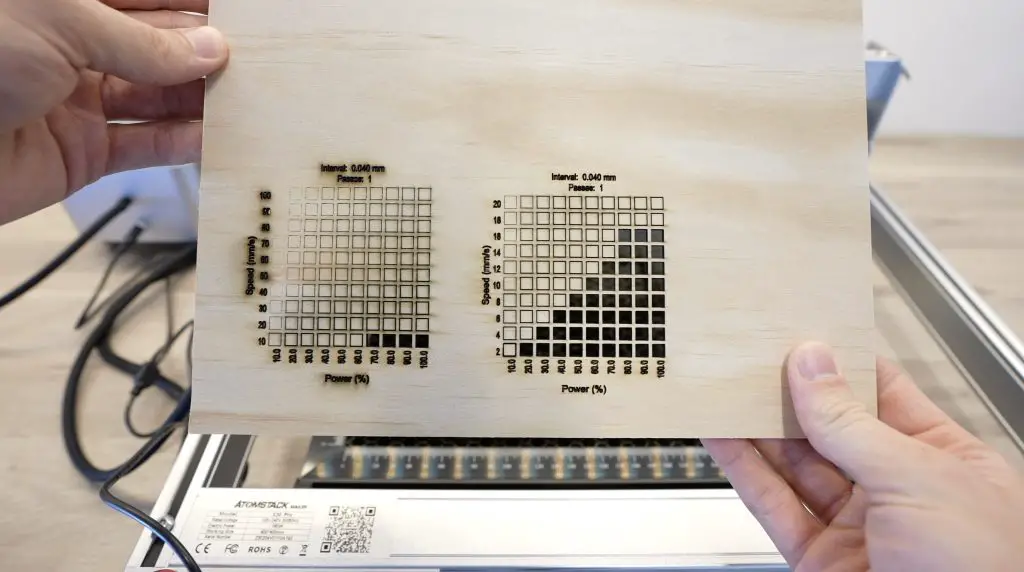
So we’ve had much better success on the second test with most of the bottom right half of the test cutting through. So that gives me a good idea of what settings I can use to get through the plywood. To cut these sheets for projects, I’m probably going to go with something around the higher end of the laser’s power – let’s go with 90% power and 15mm/s speed.
Engraving Test
Next, let’s try running an engraving test to get an idea of what settings will work to engrave a logo onto the Cyberdeck. This is quite similar to the cutting test but the laser runs back and forth across the whole area of the square to mark it.
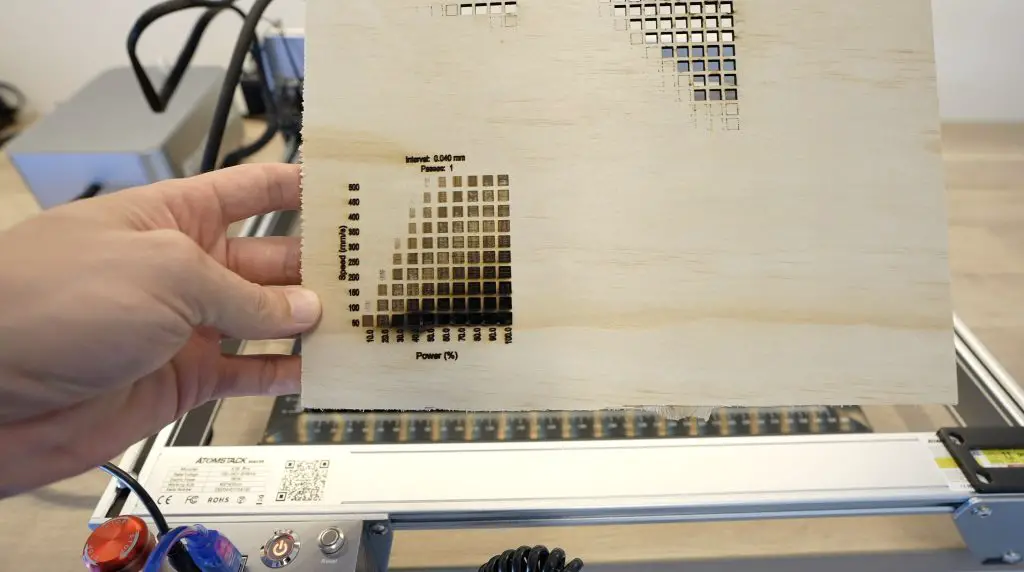
Clearly, the bottom row’s speeds are too low and just burnt through the wood entirely, but we have some good results in the middle of this range.
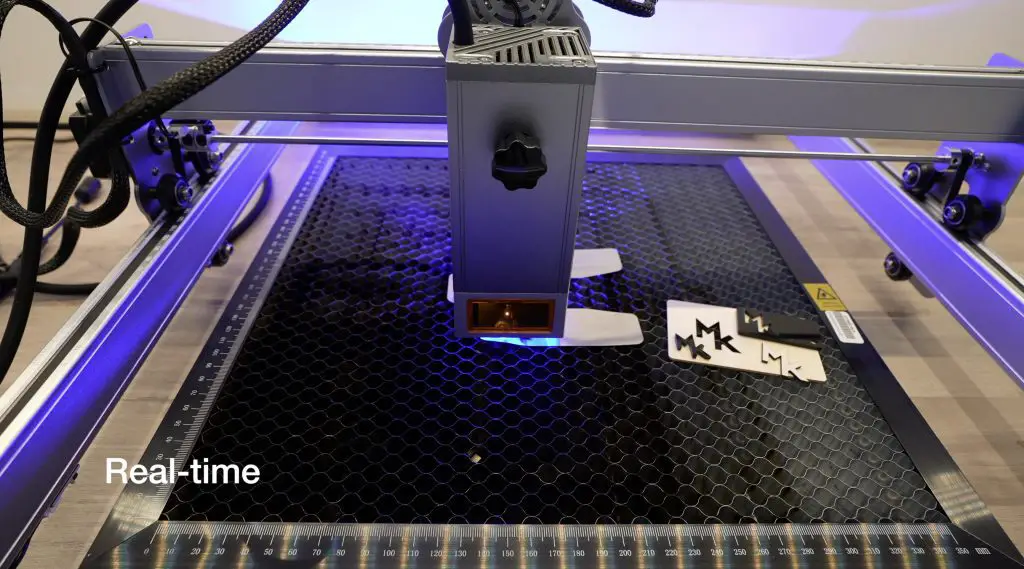
Cutting Project Components On The X30 Pro
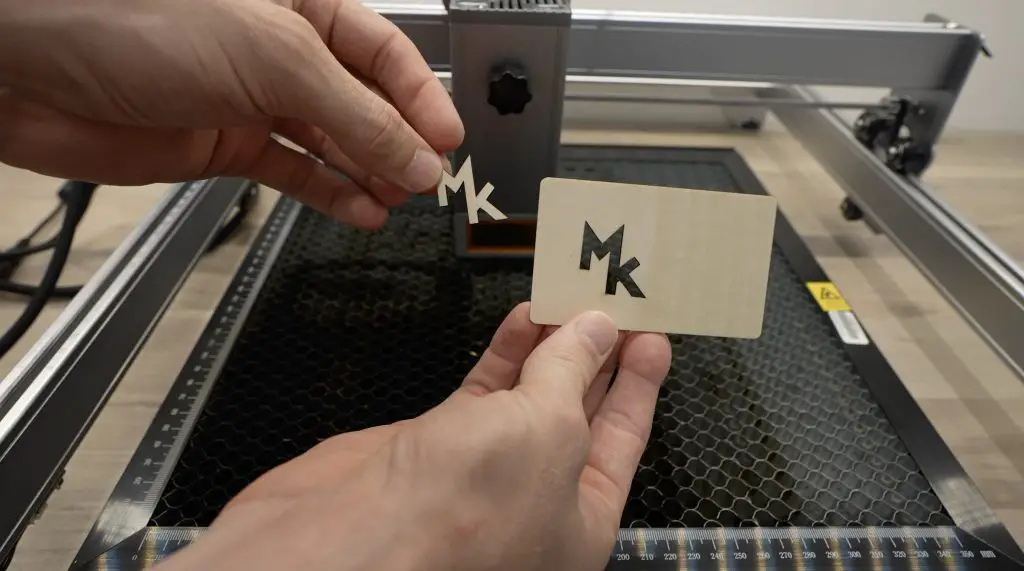
After the materials tests, I wanted to try cutting some plywood components for my cyberdeck project. I set Lightburn to engrave the logo first so that the part doesn’t shift when it is cut. I’ll leave the air assist off for the engraving and then turn it on when it starts cutting.
If you watch my video, you’ll see that the laser runs back and forth in lines, called scan lines, to mark the wood and create the logo.
Once that’s done we can turn on air assist to start the cutting.
As with any of these open-style gantry machines, one of the biggest drawbacks is that they produce a lot of smoke when cutting. There isn’t really an easy way to capture or direct it away from the work area, so you’ll need to work in a well-ventilated space.

Atomstack also sells an enclosure for the laser which makes it easier to connect up to an extraction fan, so that’s definitely something you’ll want to consider if you’re using it in a smaller space.
Taking a close look at the pieces, you can see how well the air assist works on the X30 Pro. There is virtually no charring or smoke marks on the surface of the cut.

Cutting Other Materials On The Atomstack X30 Pro
I also tried cutting a few other materials using the Atomstack X30 Pro to test its capabilities.
As I mentioned earlier, the plywood that I’ve used is much stronger than basswood sheets that are usually marketed for these machines, the X30 Pro cuts through these sheets really easily and at high speed. It’ll get through the included sheet at about 60% power at 15mm/s.
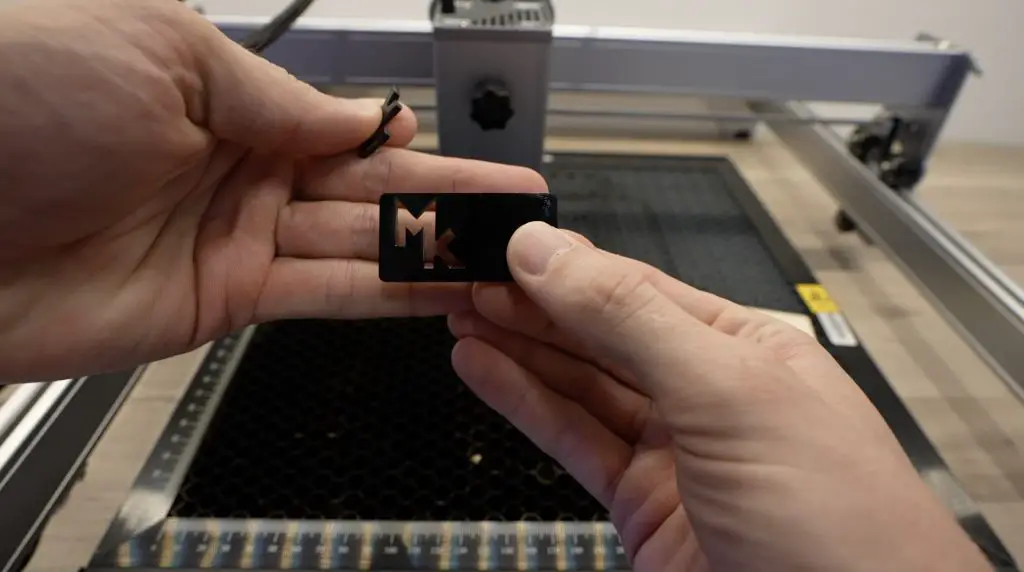
It can also cut through black or dark opaque acrylic sheets. This required a higher power, cutting through at around 80% power at 3mm/s.
Finally, I wanted to try stainless steel sheets. I have these shims which have their thicknesses etched onto them, so I tried the 0.05mm one first. Atomstack’s settings suggestion was for 16mm/s and 60% power, which I thought sounded a bit too fast and at a bit too low power, but it managed to cut through the stainless steel perfectly.
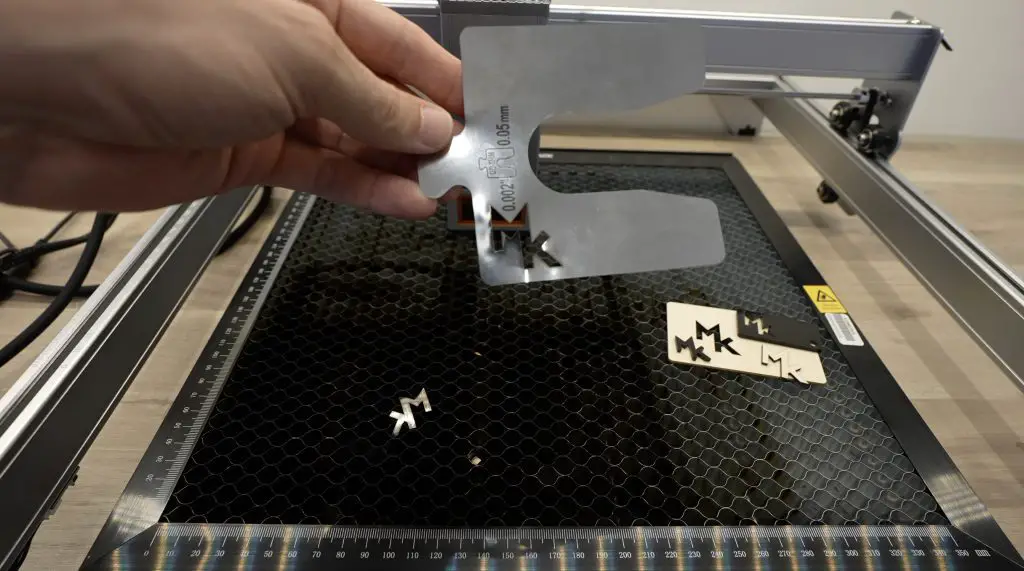
It does warp the metal slightly around the edges because of the heat, but the results were better than I expected.
I also tried with a 0.1mm sheet, which is double the thickness of the first, and I wasn’t able to get it to cut all the way through this sheet even with different settings. It got partway through some areas but I couldn’t get a full clean cutout. This is high-grade stainless steel so that may play into it as well. Honestly, I was impressed that it could make it through the 0.05mm sheet.

Final Thoughts On The X30 Pro
I was really impressed by the results of my cutting tests, the X30 Pro is a really powerful and capable machine. The increase in laser power means that I can cut plywood components around 30% faster than I could on my X20 Pro, which is a significant saving.
I can’t see myself using the machine to cut stainless steel very often, but it is impressive that it is able to.
The air assist on Atomstack machines is probably my favourite feature. As I mentioned earlier in the post, it even produces better cutting results than my CO2 laser which costs more than double the price.
It is a pricey machine, being over $1,000, but it’s the perfect workshop companion if you do a lot of sheet woodwork or you see yourself making personalised components. If you are going to be running it in a smaller workshop space or bedroom then you’ll definitely want to go with the ventilated enclosure so that you’re able to properly extract the smoke and fumes from the work surface.
Let me know what you think of it and if you have anything else you’d like to see me try out on it in the comments section below.
This Atomstack X30 Pro sounds amazing! The 6-core 33W laser module is seriously powerful. I love that it comes with an air assist for clean cuts. And the unboxing process seems super easy, even for a non-expert like me. Can’t wait to see the cyberdeck you make! Have you ever had any issues with laser engraving machines getting wonky during assembly? Also, how do you think this will compare to other similar machines on the market?