Pop rivets are useful for joining sheet metal or thin materials together. A well installed pop rivet provides a stable joint and is not easily removed. The primary advantage in using rivets is that a strong and secure joint can be made without access to the rear of the joint, unlike with a bolted joint where you would need access to the nut in order to secure the joint.
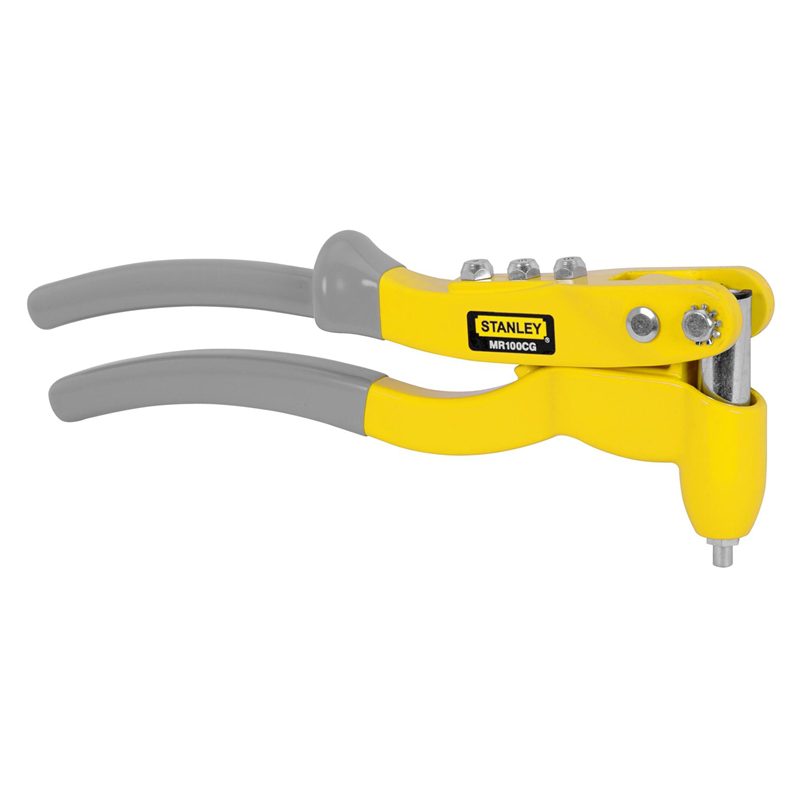
What You Need To Install Pop Rivets
How To Install Pop Rivets
There are two important dimensions to consider when choosing a pop rivet, the diameter of the rivet section and its length. The rivet should fit snugly in the drilled holes and should protrude through the materials being riveted such that the head of the pin and a small section of the rivet sticks out on the other side.
Choose a rivet with a large enough diameter to secure the load it needs to bear and one who’s length is slightly longer than the total thickness of the materials which you are going to be joining.
Once you have selected a rivet, you need to drill a hole for the rivet to seat in. Use a drill bit slightly larger than the diameter of the rivet. The rivet should freely slide into the hole but should not be loose.
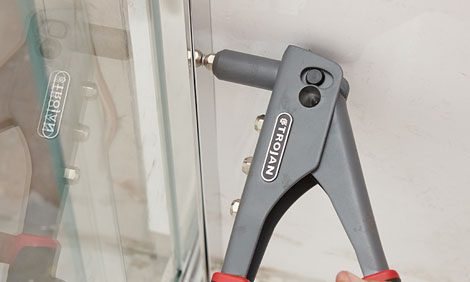
The rivet is then installed using riveting tongs.
Riveting tongs are used to pull the pin through the rivet and expand its diameter in order to secure the materials. Insert the pin of the rivet into the tongs, the handles should then be compressed until the pin breaks off inside the rivet, leaving the head of the pin in the back end.
The rivet is now installed. Provided the loading is not high enough to deform the rivet, it will remain in place and secure indefinitely. If you have trouble with rivets working loose, it is likely that they are under sized. Replace the rivets with larger diameter ones for a more secure and longer lasting installation.
How To Remove Pop Rivets
Rivets are removed by drilling them out with an electric drill and a metal drill bit. The drill bit should be slightly smaller in diameter than the hole in which the rivet is secured. You only need to drill the head off the rivet, after which the back end of the rivet can be pushed out of the back of the hole.