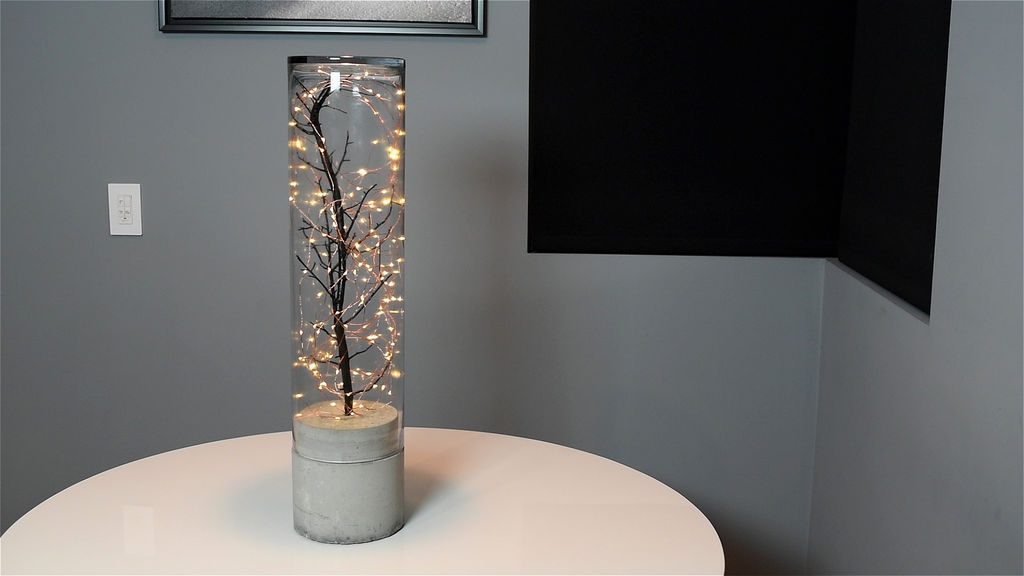
This LED concrete lamp looks amazing both indoors and outdoors. They provide the perfect amount of ambient light and can be colour and brightness controlled if you buy an LED string with a controller and remote. Make these as a gift for a friend or loved one and they are sure to be impressed with your DIY skills. This is the perfect weekend project and is great way to get started working with concrete.
If this project seems a bit too complicated and you’d still like to try out a project with concrete, have a look at our guide on making mini concrete planters.
What You’ll Need To Make A Concrete Lamp
- Led String Light – Buy Here
- Cement – Buy Here
- Large Cylinder Vase – Buy Here
- Felt Sheet – Buy Here
- Small Tree Branch
- Black Spray Paint – Buy Here
- Metal Flashing – Buy Here
- A Packaging Foam Sheet
How To Make The Concrete Lamp
The instructions are broken up into three sections, making the mould and casting the concrete base, preparing the tree branch and installing it on the base and finally installing the LED lights.
Making The Concrete Base
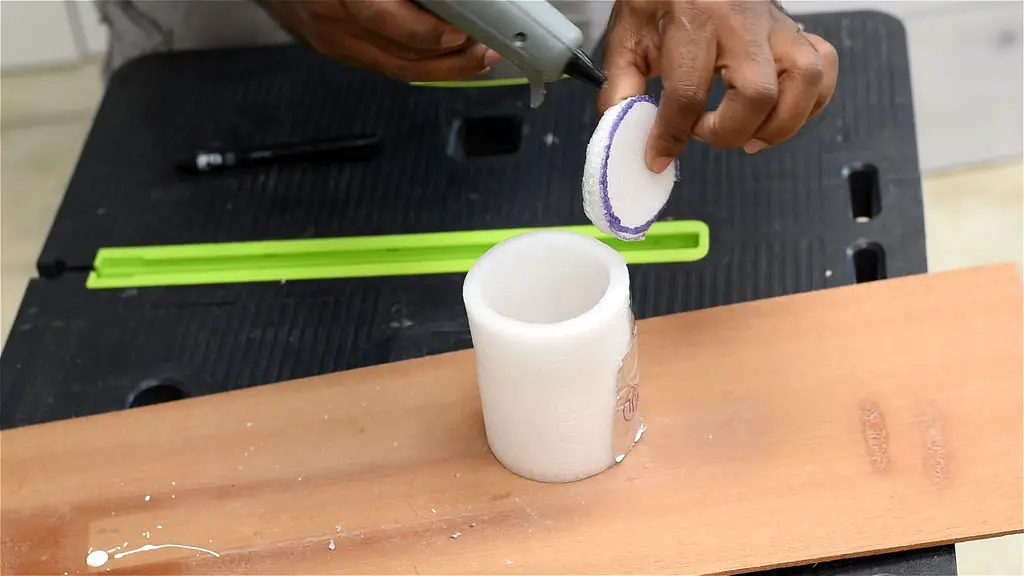
First you need to make the housing for the electronics for the LED string. Take a piece of foam from a shipping package and cut it to create a cylinder.
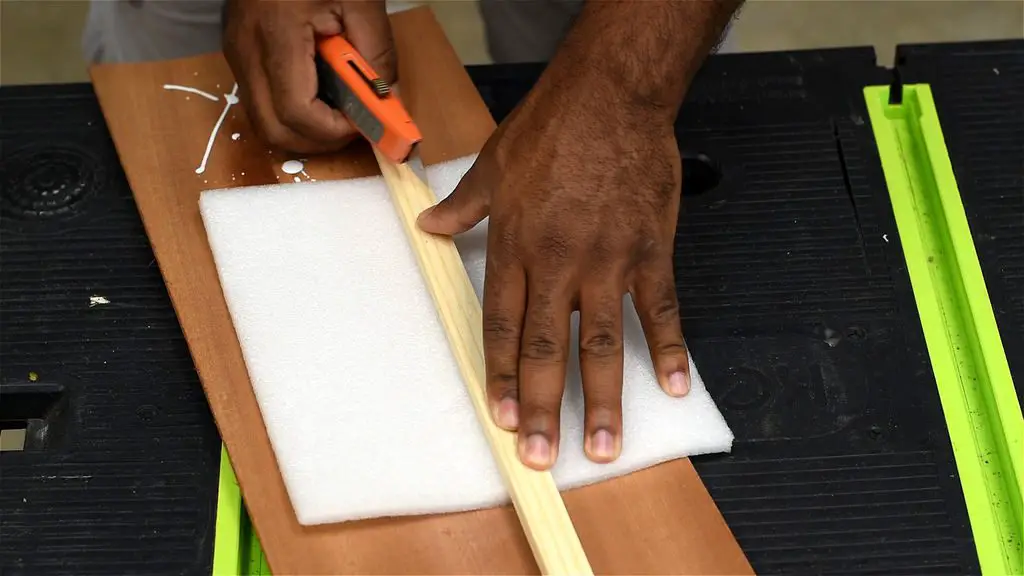
Close it by taping the side and then cut out a circle to close off one end. A paper cup would work as well.
Now you need to make the outside of the concrete mould using a piece of metal flashing. First mark the metal flashing for the bottom of the form, 12 centimeters or 5 inches tall. Next, mark 5 centimeters or 2 inches above the first line. At this point, you will have two parallel lines.
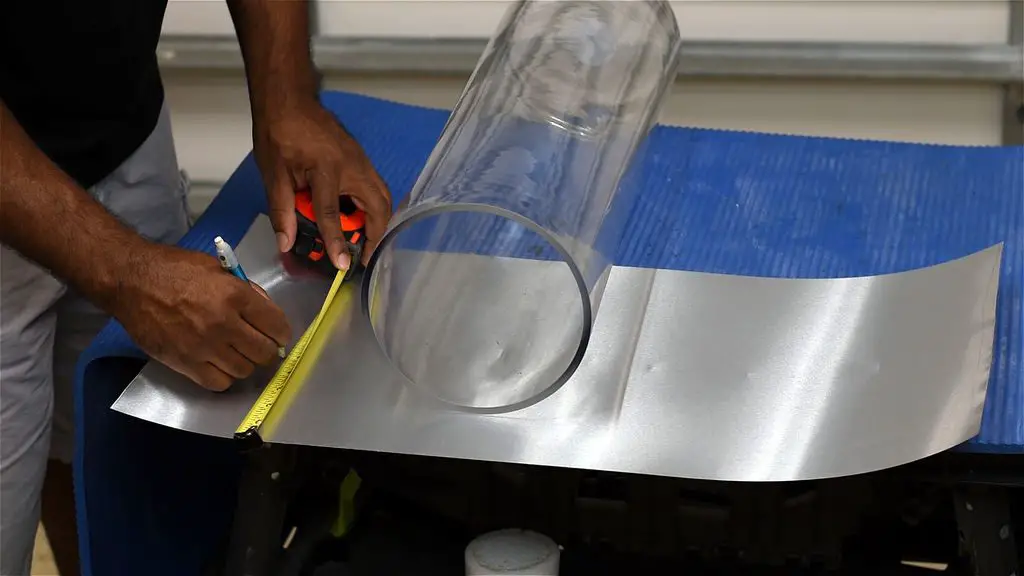
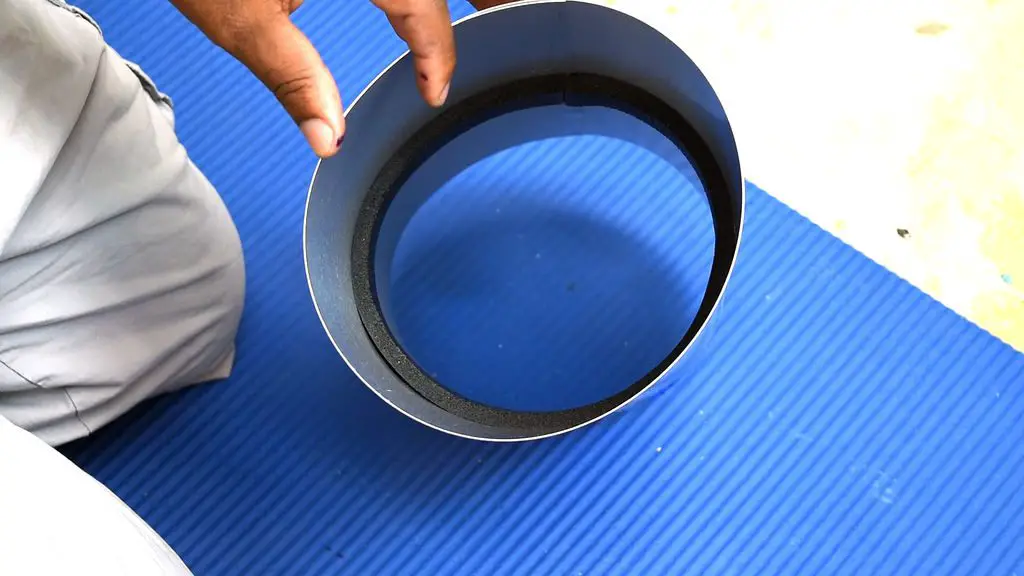
Now wrap the metal flashing around the vase. Close the flashing by taping the loose end. Next, take two 2.5 centimeter or 1 inch rubber seals and follow the line going around the interior. Do this twice to give yourself a two-inch path around the interior of the flashing. This part will shrink the interior, which will make the glass fit over the concrete base.
Take a piece of aluminum foil, place it down on a flat surface. Then trace the vase and then the foam cup as shown.

Use hot glue to secure the cup then the flashing to the marking.
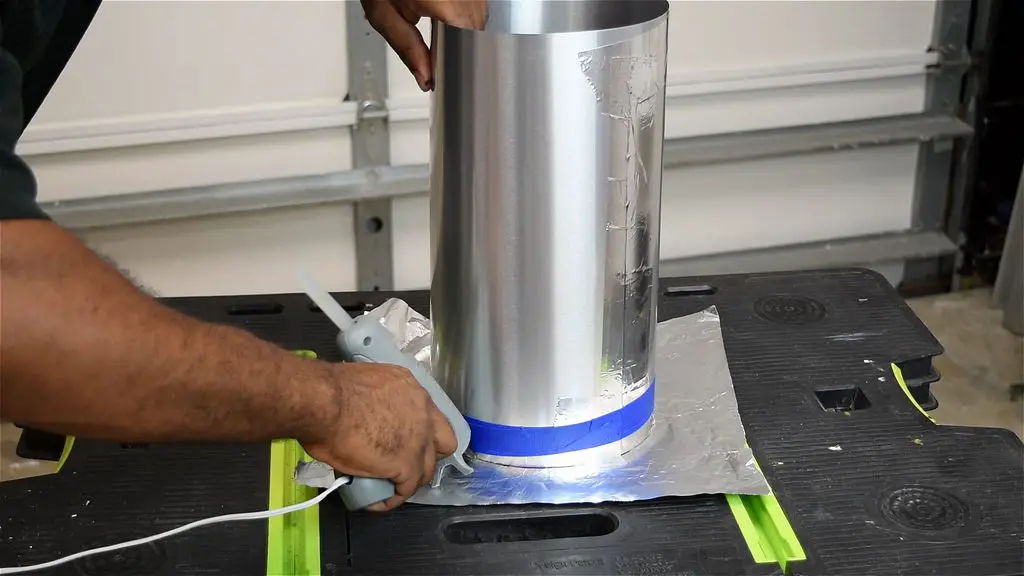
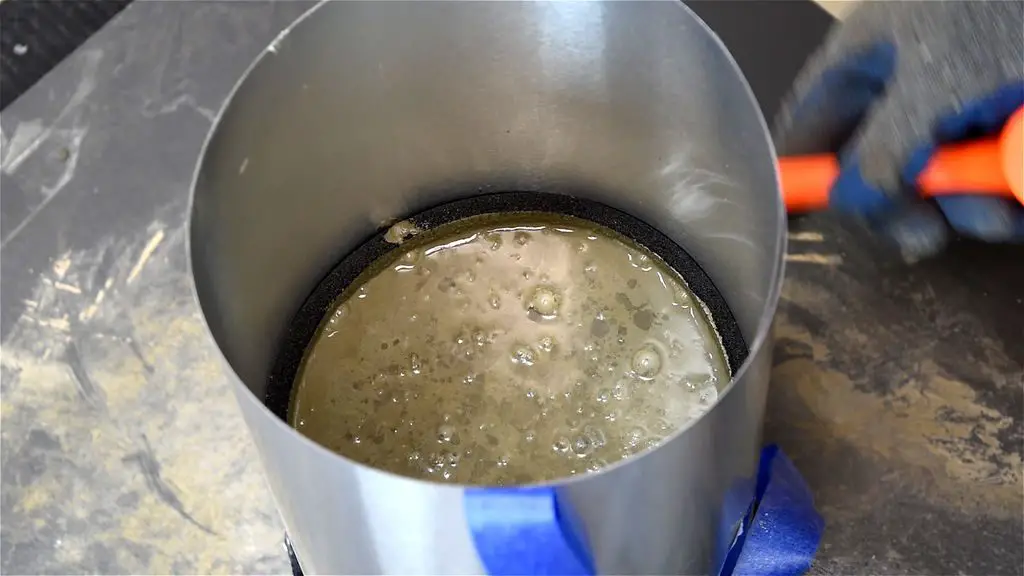
Mix concrete and pour it in the form.
After a few days remove the flashing and rubber seal.
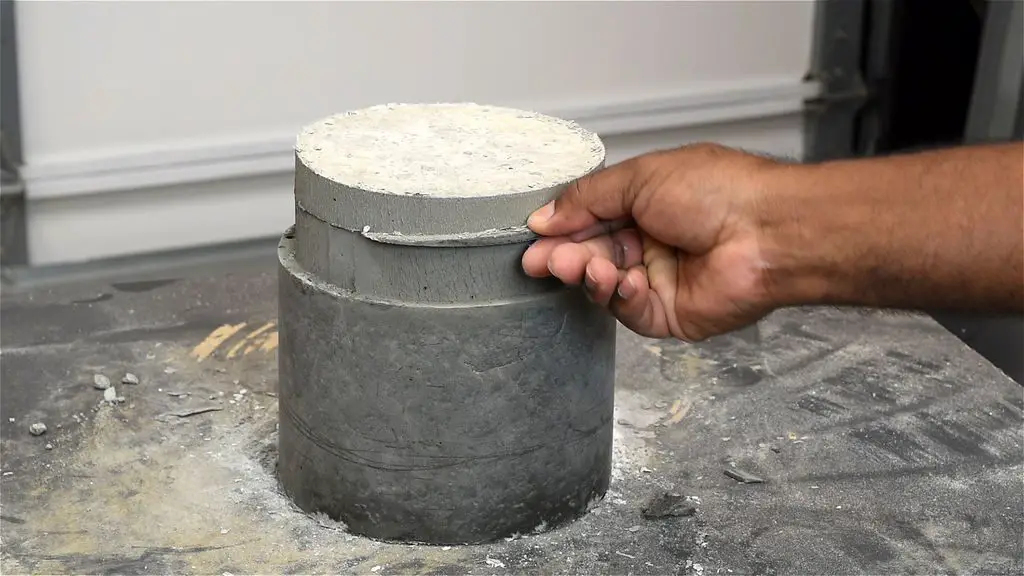
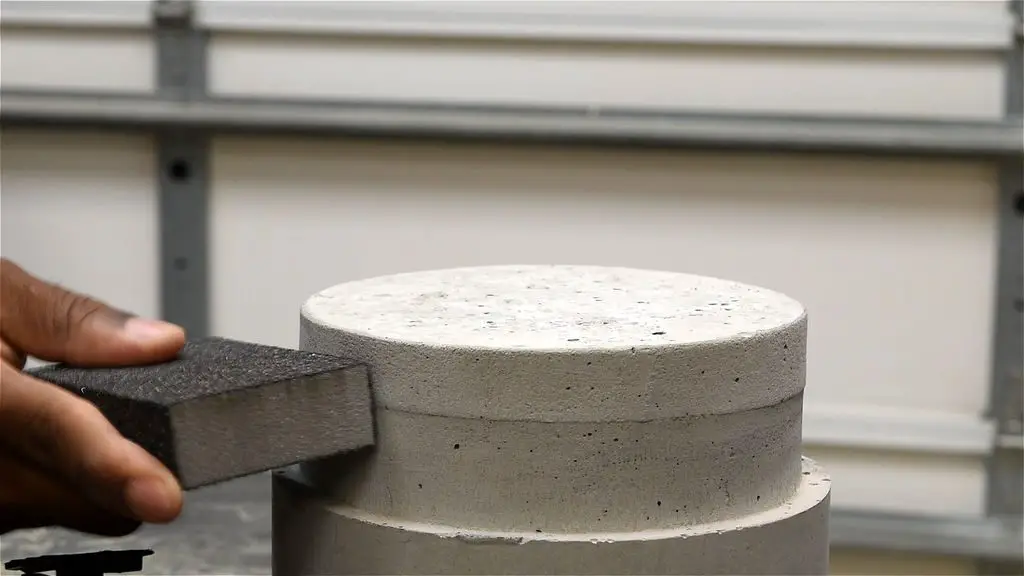
The bottom should be smooth but you will need to sand the top.
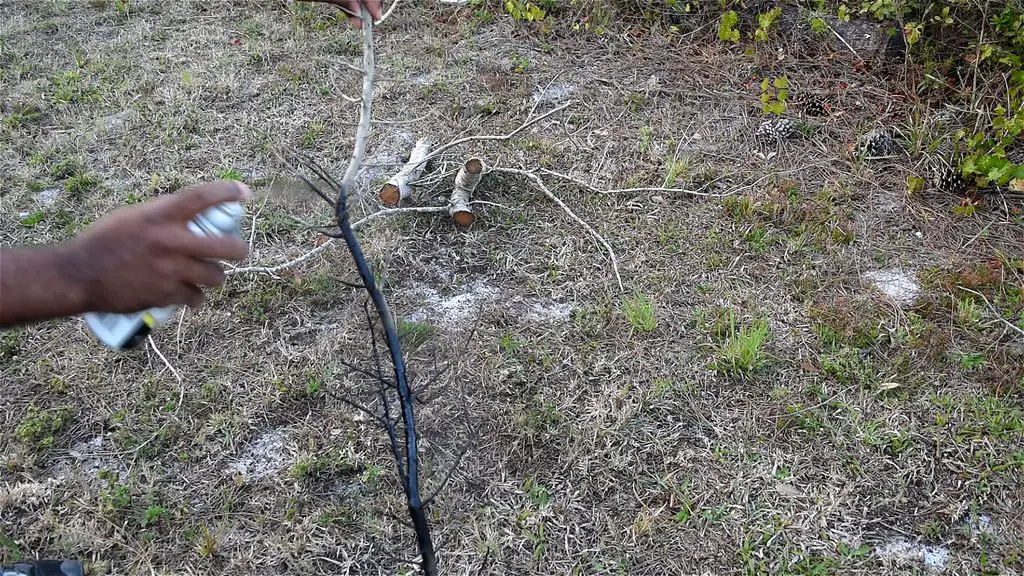
Preparing The Tree Branch
Choose a suitably size tree branch to fit into your vase, then spray it with black spray paint. Allow time to dry between coats until it is uniform and not blotchy.
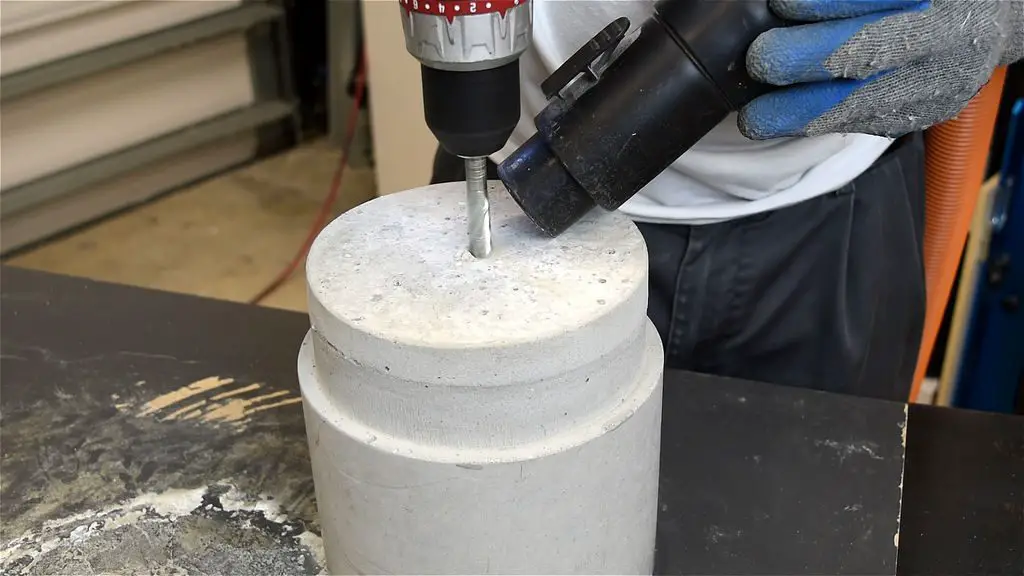
Depending on the size of tree branch you chose, use the appropriate size masonry bit to drill a hole for the branch into the concrete. A 12mm or 1/2 inch bit was used here to drill down into the foam cup.
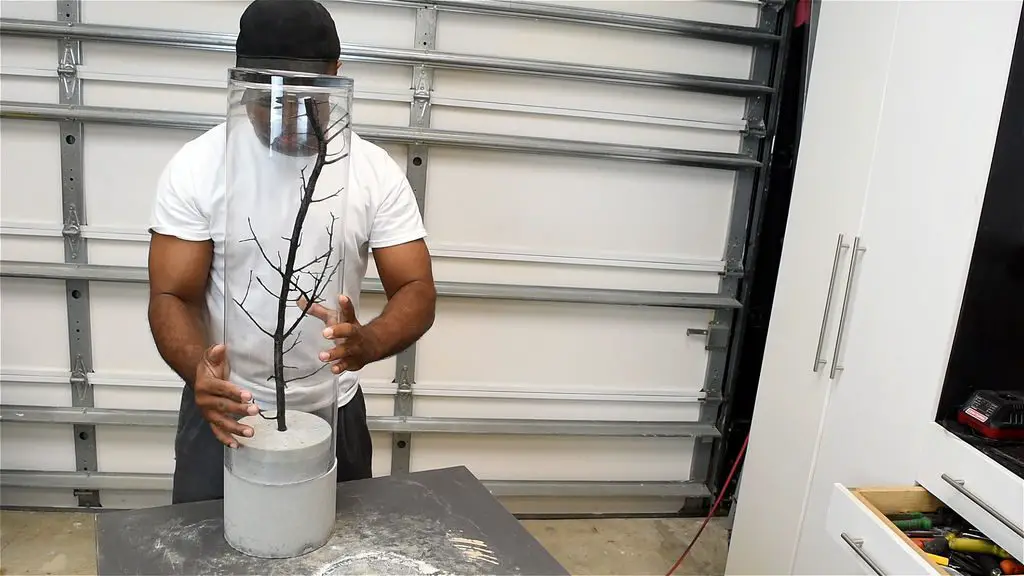
Test that everything fits nicely.
Install The LED Lights
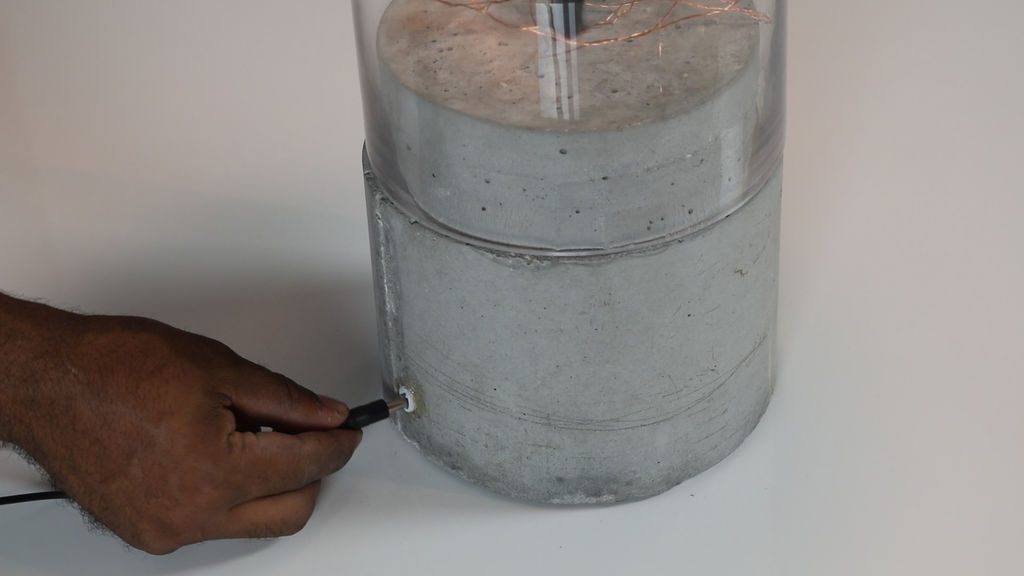
Drill a hole in the lower part of the concrete base for the LED power plug to pass through. Next, use hot glue to hold the plug in place.

Pass the Led String light power end down through top then connect to the power cable.
Next, feed a few feet of the led into the vase.
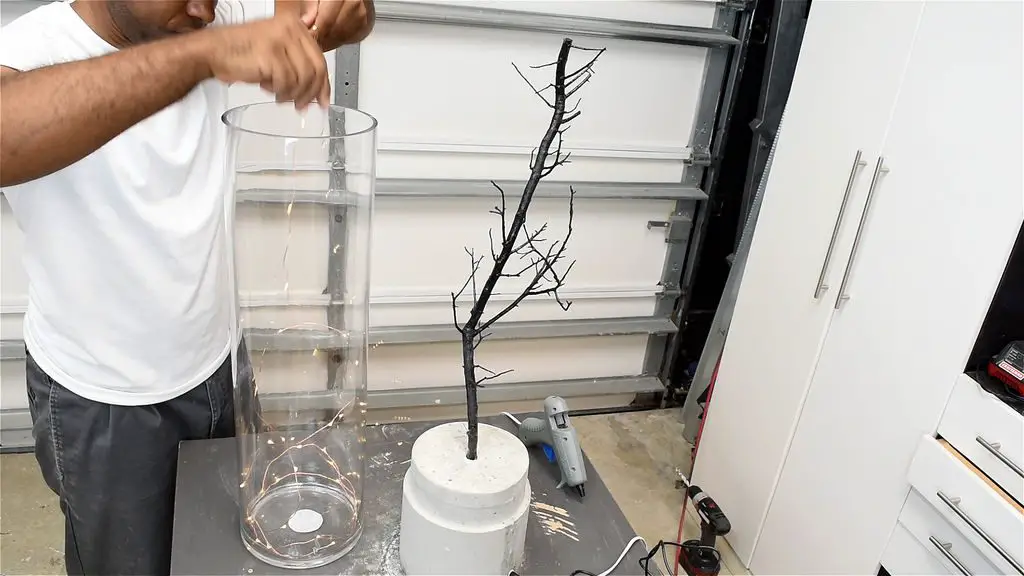
Then place the branch in the vase and feed more led as you proceed.
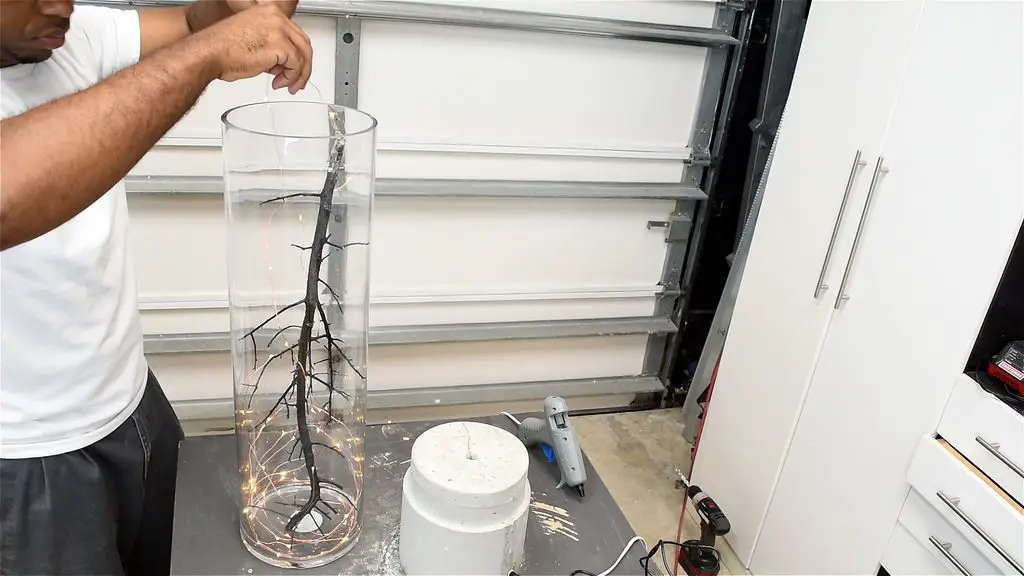
Now sit the vase on top of the concrete.
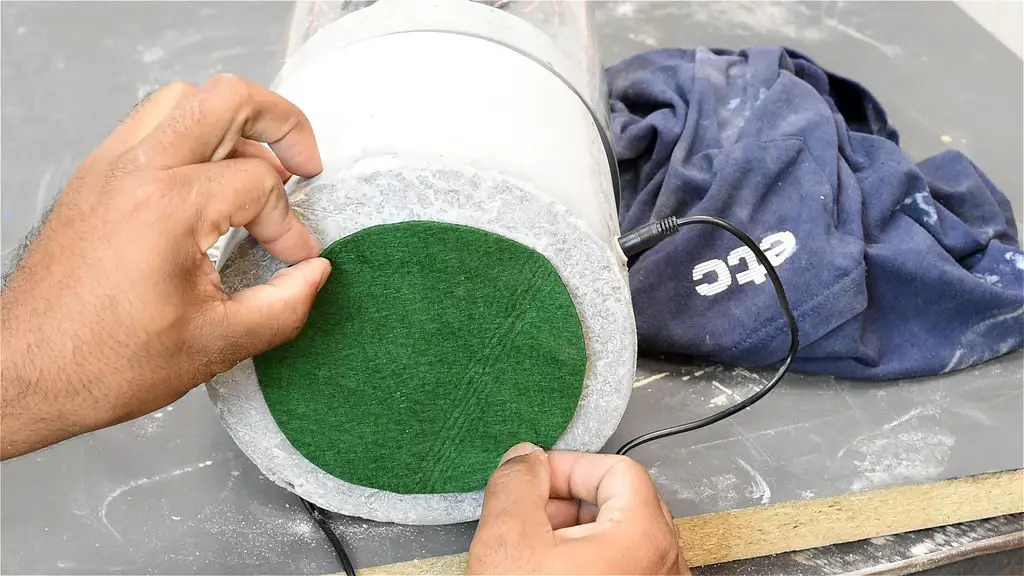
Cut out a felt pad and stick it onto the bottom to protect the surface it stands on as the concrete base is heavy and rough.
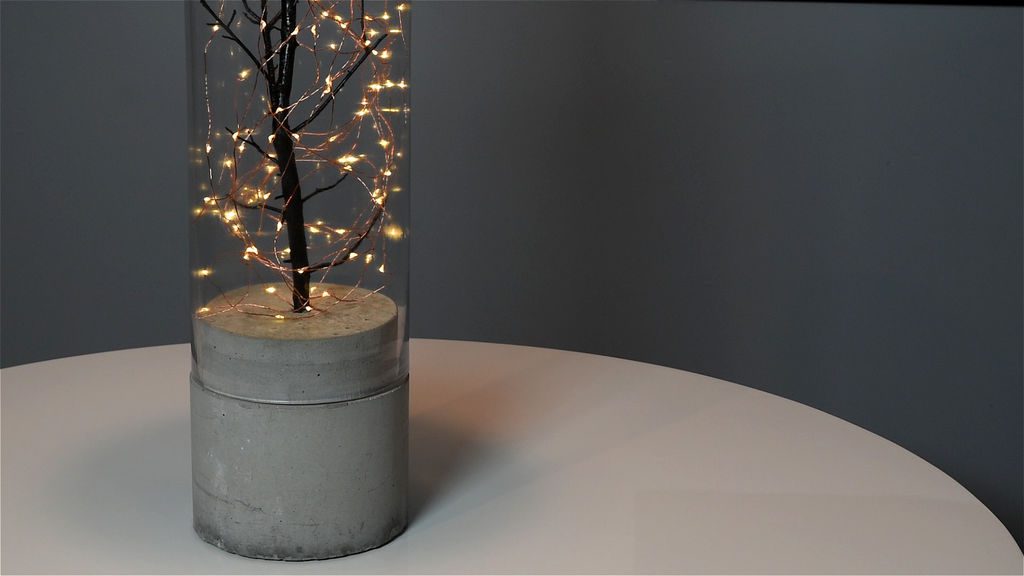
Your lamp is now completed and can be plugged in.
The Completed Lamp
This post is based upon DIY Indoor Outdoor Concrete Lamp 2 by diycreators and has been modified and used under the Creative Commons license CC-BY-NC-SA.