In this tutorial, we’ll work through setting up a Raspberry Pi 4 to boot from a USB connected SSD or other USB storage media. There is quite a bit of information on this online already, but I’ve had a lot of questions recently about how to do this, so I thought I’d share my method.
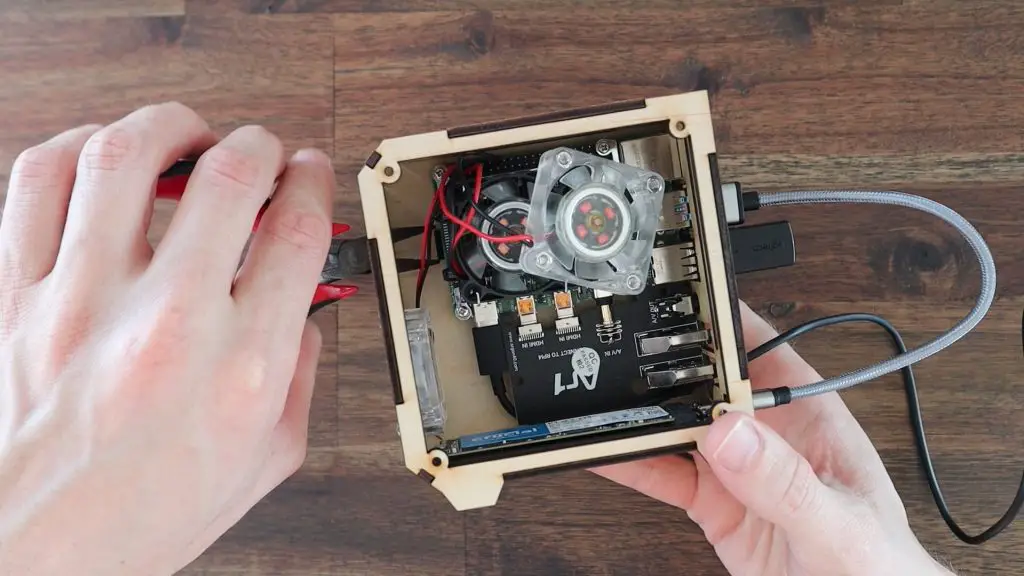
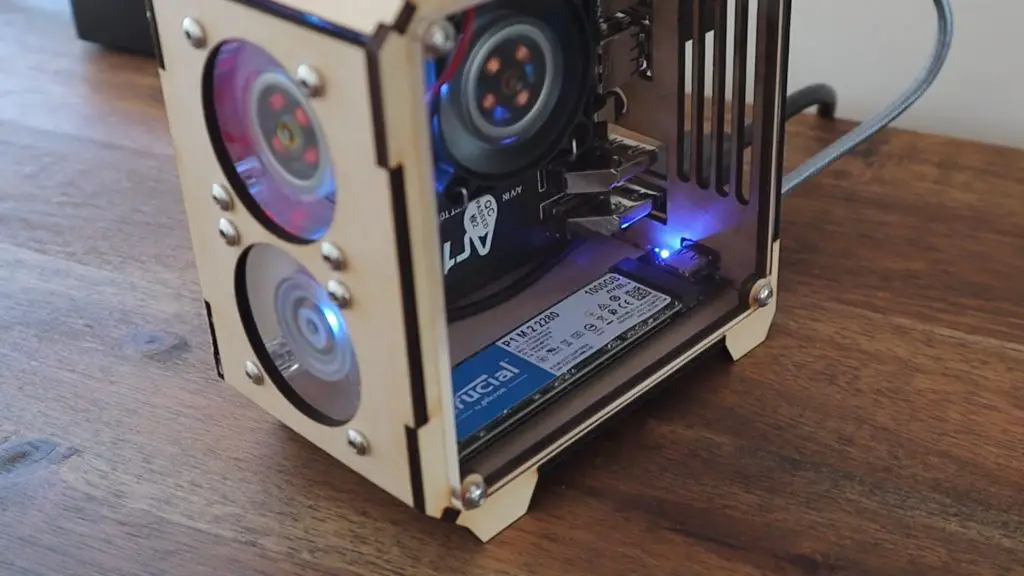
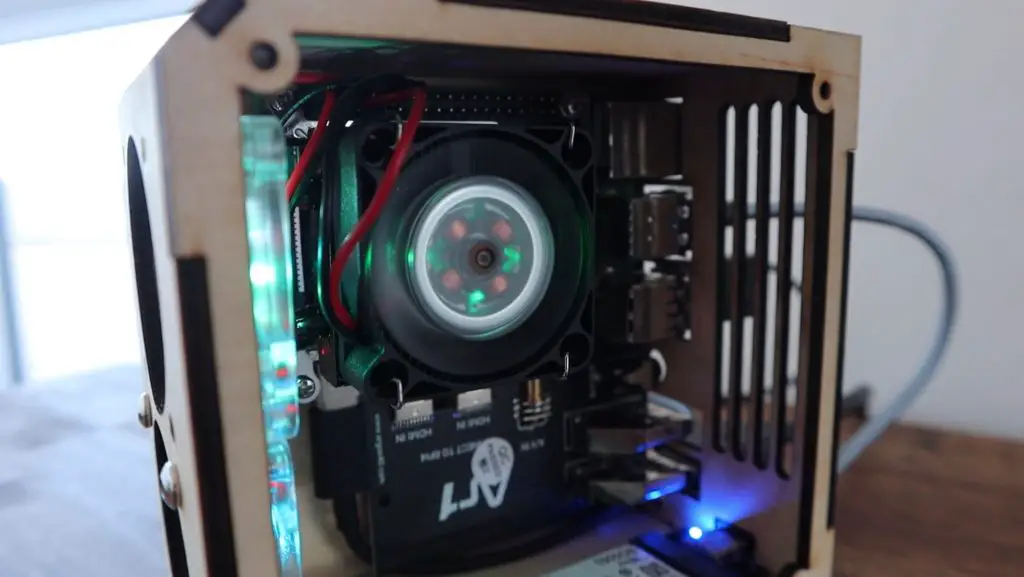
I’m going to be doing this on my latest plywood Pi case build with an M.2 NVME drive, but the process is the same for any USB attached solid-state, flash or disk drive. It also doesn’t matter what type of SSD you’ve got, as long as you’ve got an adaptor to convert the SSD interface to a USB interface, then you should be able to get your Raspberry Pi 4 to boot off of it.
Here’s my video tutorial if you’d prefer:
What You Need For This Tutorial
- Raspberry Pi 4B – Buy Here
- 1TB NVME Drive – Buy Here
- NVME Drive USB C Adaptor – Buy Here
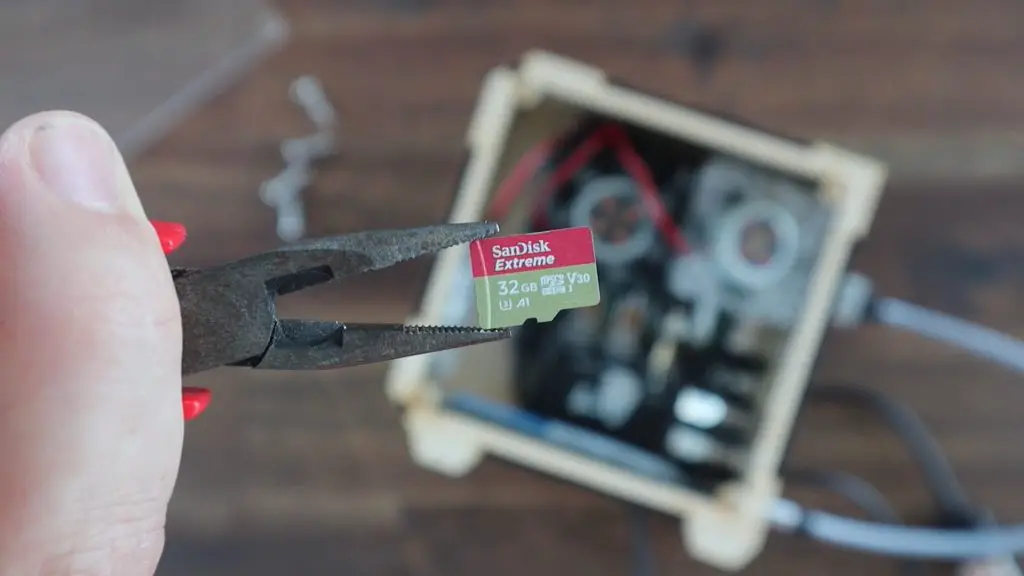
- Sandisk Extreme MicroSD Card 32GB – Buy Here
Preparing Your SD Card
To make it easier for beginners to follow, I’m going to assume that we’re starting from scratch. If you’ve already got your Pi running on a microSD card then skip past this first section.
I’m using a 32GB SanDisk Extreme microSD card, but you can use a smaller 16GB card if that’s what you have available.
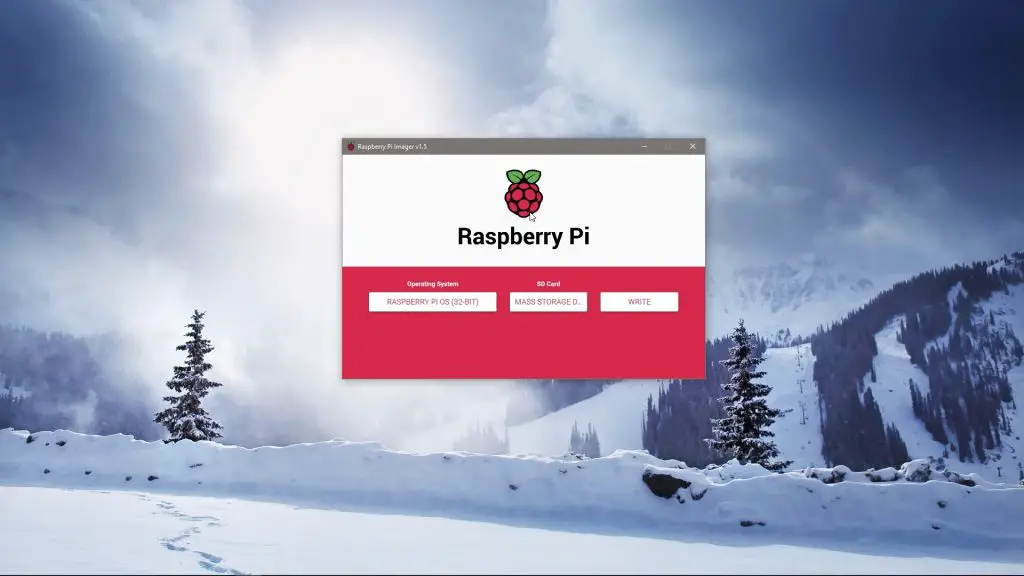
We’re going to start out by using Raspberry Pi Imager to flash the Raspberry Pi OS image to our SD card. This is done by selecting the operating system, which in our case is going to be the 32bit version of Raspberry Pi OS. We’ll then choose our target, which is our SD card, and then click on write. This will then download the operating image and flash it to your SD card. So, depending on your internet speed, this may take around 5 to 20 minutes to complete.
When it is complete, plug the SD card into your Pi. Don’t close up any covers on your case yet as you’ll want to remove it again once your Pi is booting from the SSD.
Format Your SSD
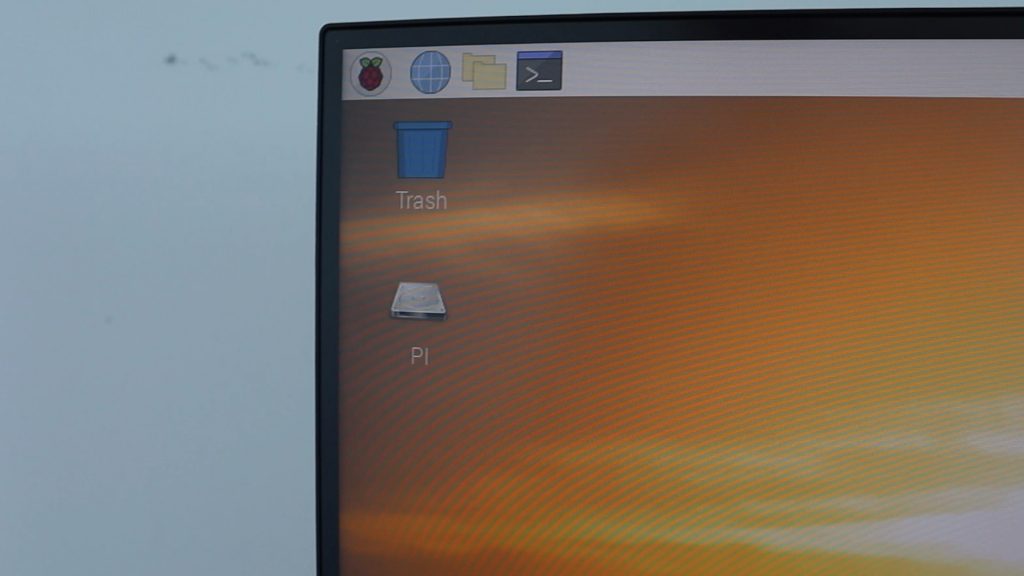
The next step may or may not be required, depending on what filesystem your SSD has been formatted in. If you’re unsure, try plugging the drive into your Pi when it has booted up and see if the drive icon appears on your desktop.
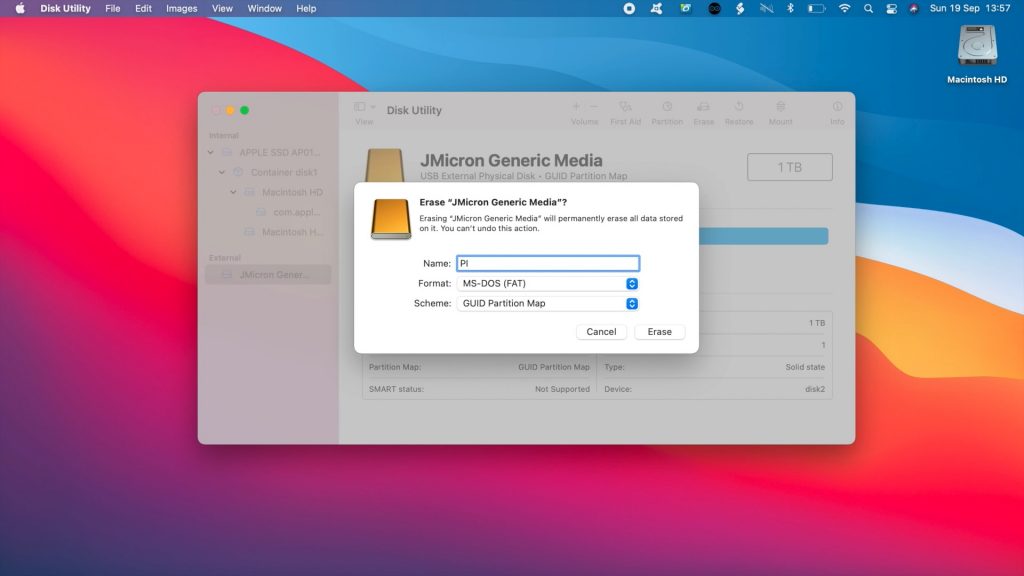
If it doesn’t appear, you’ll need to reformat the drive to use the FAT32 file system. This is easily done in windows by right-clicking on the drive and selecting format, or on a Mac by using the disk utility and selecting MS-DOS (FAT) and the default scheme.
Once this is done, you can plug in your SSD and boot up your Pi if you haven’t done so already. Remember to plug the SSD into one of your USB 3.0 ports, which are the blue ones in the middle.
Your SSD should then appear on your desktop after a few seconds. If it doesn’t appear then it is likely using an incompatible filesystem and should be reformatted to FAT32. If you have done this and it still isn’t showing up then check your USB adaptor and ensure that the drive is properly inserted into the holder/plug.
Configuring Your Pi To Boot From The SSD
Now that you’ve got your Pi booting off your SD card and your SSD is being seen by your Pi, we can move on to configuring the Pi to rather boot from the SSD.
First, open up a new terminal window and, as usual, it is best to start out by making sure that your Pi’s software is up to date. Do this by entering the following commands:
sudo apt update
sudo apt full-upgrade
Once this is done, run the following command to update your Pi’s firmware.
sudo rpi-updateEnter y when prompted.
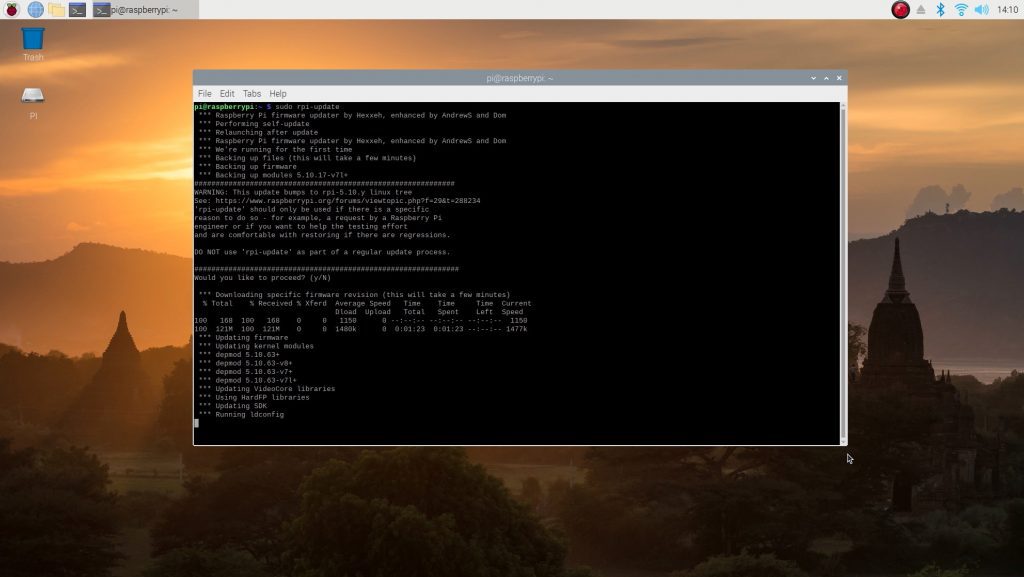
Once the firmware update has been completed, you’ll need to reboot your Pi.
sudo reboot nowWhen you’re back on your desktop, go to your menu, then accessories and then SD Card Copier. This will open a simple window with a from and a to dropdown list. Select your SD card as the “from” target and your SSD as your “to” target. Then click on Start and Yes to continue.
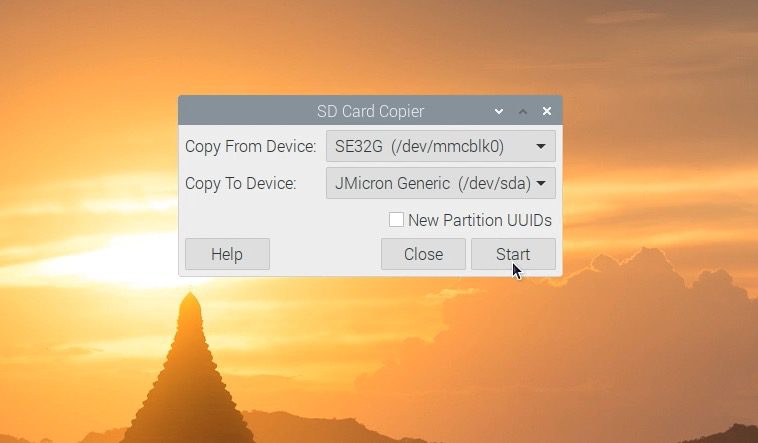
This will partition your SSD and copy the contents of your SD card to each partition.
Now we just have to tell the Pi to boot from the SSD instead of the SD card.
Open up a new terminal window and enter the following command to make sure that you’ve got the latest boot loader.
sudo rpi-eeprom-update -d -a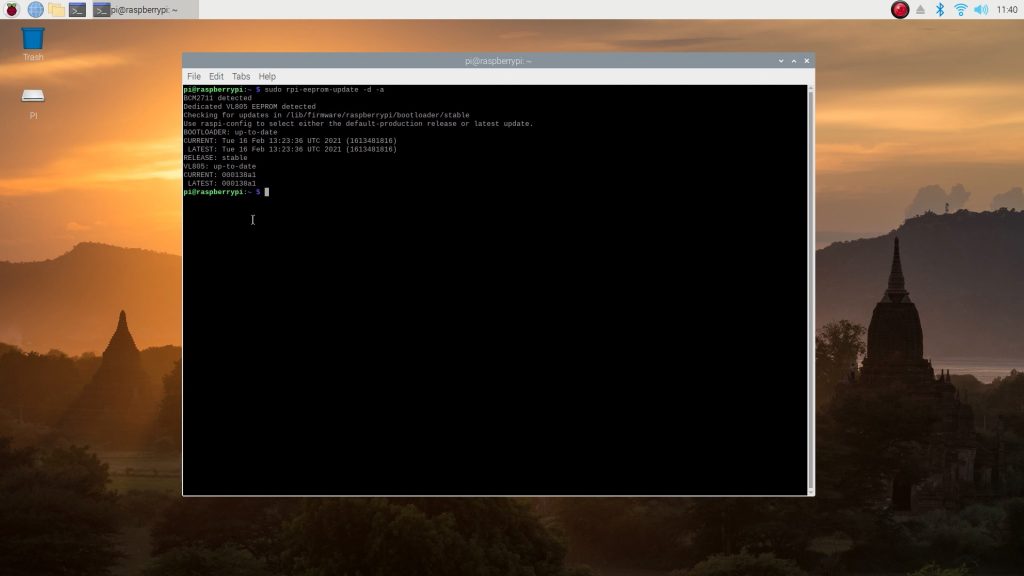
Mine looks like it is already up to date.
Next, open up the configuration tool by entering the following command:
sudo raspi-configThen go to 6 Advanced Options and then A7 Bootloader Version. Select the first option E1 Latest Use the latest version boot ROM software to use the latest software, then select Ok and then No so that it doesn’t revert to defaults.
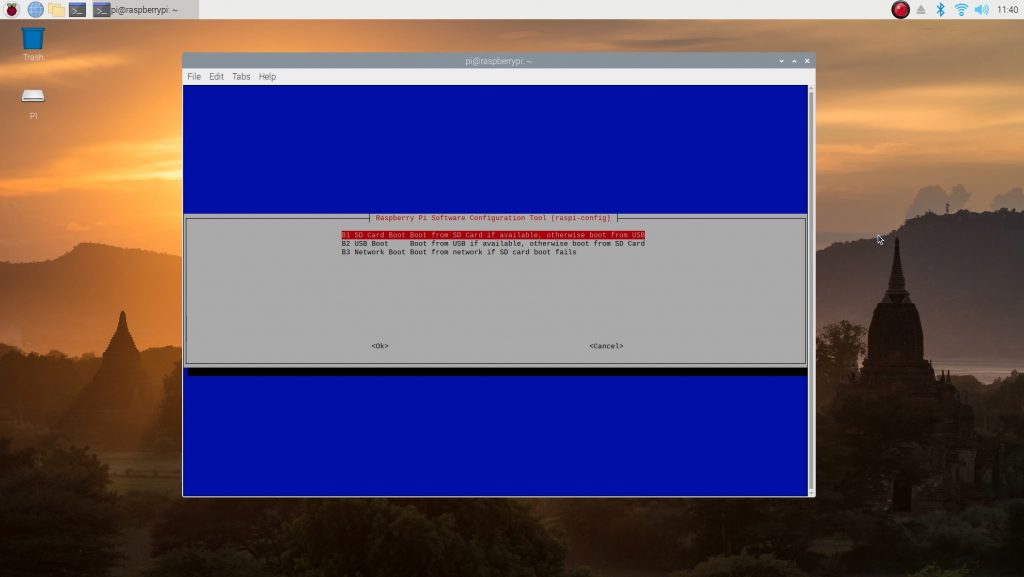
Next, go back to 6 Advanced Options and select A6 Boot Order. Select the second option B2 USB Boot Boot from USB if available, otherwise boot from SD card.
You can then Finish and then select No when asked if you would like to reboot. Then rather shutdown your Pi.
Once your Pi has shut down. Remove the power cable and then the SD card.
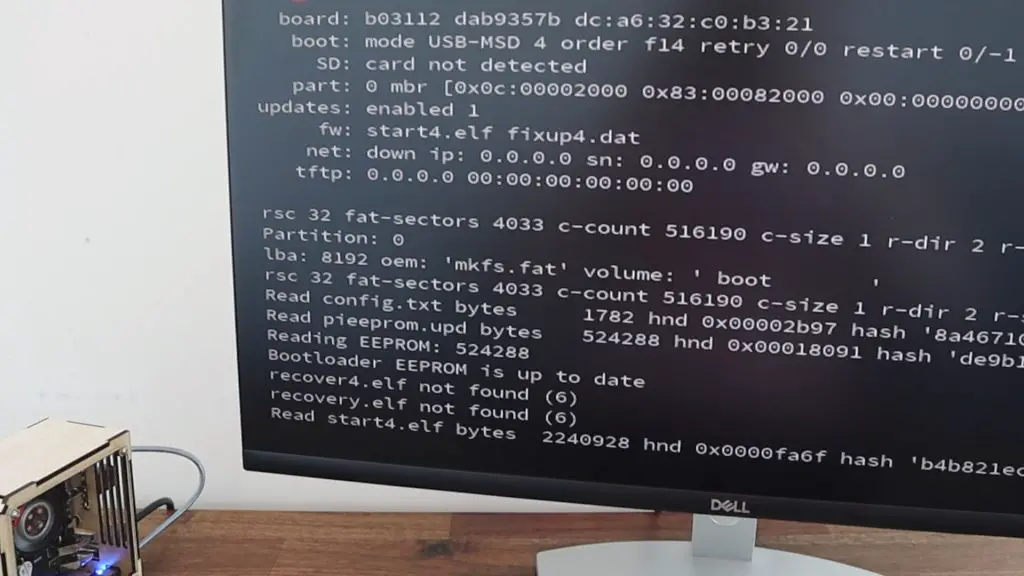
Our Pi should now boot up from the SSD, so let’s power it up and see.
You’ll notice right at the top when booting that it says that the boot mode is now USB-MSD and that no SD card is detected.
When your desktop loads, you’ll also notice that you no longer have the SSD mounted as an external drive, so you won’t have an icon for it on the desktop anymore.
Running A Quick Speed Test On Our SSD
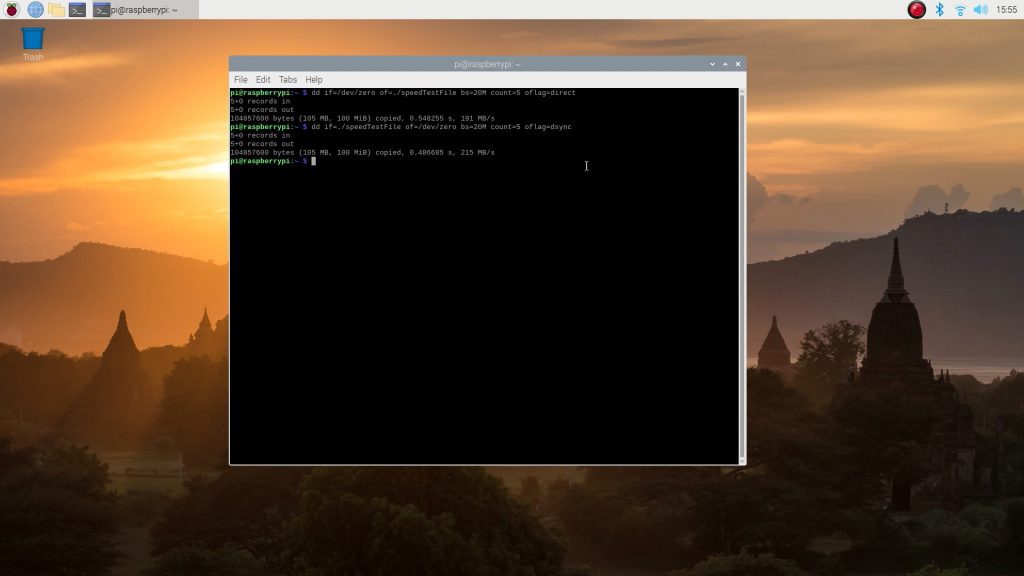
We can do a quick and basic write test by opening up our terminal and entering the following command to write a 100mb file:
dd if=/dev/zero of=./speedTestFile bs=20M count=5 oflag=directOur file took just over half a second to write at a speed of 190 megabytes per second
Next we’ll try reading the same file with the following command:
dd if=./speedTestFile of=/dev/zero bs=20M count=5 oflag=dsyncThis takes a little under half a second, with a read speed of 215 megabytes per second.
This is a very basic indication of the speed increase you get from an SSD. There is a lot more to the speed of a drive than simply writing or reading a single large file. Here are two good drive speed comparisons, one by Jeff Geerling and one by leepspvideo
Let me know in the comments section below if you’ve got your Pi booting from an SSD and if there is anything you do differently when setting it up.
If you’re interested in putting together your own plywood Pi case like mine, you can buy a kit from my Etsy store.
Hi Michael, thanks for the tutorial. I followed the above guide using msata SSD. However on the SD copying part seems its working fine preparing to copy and some progress bar showed looks like on the finalize stage then i got this message “Drives changed – cancelling . . . ” and it hangs, i waited more than 30 minutes and nothing change still showing same error message. I query drive on my terminal and it shows mmcblk0 underneath there’s other 2; mmcblk0p1 part/boot <– this is my SSD connected by USB 3.1 cable; mmcblk0p2 part / <– my SD card. When tried to reboot to USB which followed above guide, cannot boot from USB.
This seems likely to be either a power supply issue (try powering the drive externally and see if that helps) or a corruption issue with the drive. Do you have another drive to test?
Hi Michael, tried many procedures before but never succeeded. So I gave yours a try and after a few attempts got it to work. The only thing I skipped was the kernel update. System froze when I did that. Thx
That’s great to hear!
Hi Michael,
Thank you so much for this. It was easy to follow and I’ve got my Pi4 booting on a 110GB SSD – first time! With no hassles.
Great article.
Yes it worked for me but it only got me 30MB / second. I assume it was the crap cable I was running it on. I think it’s USB 2 to USB C. I’ll try again with a better one. Thanks for the tutorial. Very worthwhile..
Yeah, that sounds like a USB 2 connection. Hopefully a better cable will solve the issue.
Greatly enjoyed your video…Thank you.
I attempted the speed test and got the error :
dd: failed to open ‘./speedtestfile’ :No such file or directory
Not too sure what I messed up but the SSD drive boots and it is a definite improvement vs the SD card.
Thank you once again for teaching an old dog some new tricks.
Probably a silly question and I suspect the answer must be yes, but is it a good idea to add any additional software that I need to the SD card before copying to the SDD? I want to be able to use the updated SD card as a template for a number of Pis with SDD and some of the sofware that I need takes a long time to configure.
Yes, if you use the same software or configuration settings on multiple Pis then its a good idea to install these and make the changes before copying the card – that way it will all be done already.
Thank you Michael! Very nice of you to share this resource. I very easily got my pi running on an SSD now following your tutorial.
Keep up the great work!
Bob
Great post.
Already knew how to do it, but wanted to be sure.
Some update commands were new for me.
Thanks
Thanks,
did not copy the sd card.
pi is now booting from sd and installig a new version. just what i wanted!
Starting with a vanila BULLSEYE version. 🙂
That did not work,
so trying again…….. by copying the sd card.
will also change the setting to boot from ssd the sd card.
copied the sd card.
all now ok
thanks!
The pi crashed, have to rebuild – drat!!
Had to plug the ssd hard disk into a black connector.
now running as slow as a wet week!
dd if=/dev/zero of=./speedTestFile bs=20M count=5 oflag=direct
104857600 bytes (105 MB, 100 MiB) copied, 86.0507 s, 1.2 MB/s
dd if=./speedTestFile of=/dev/zero bs=20M count=5 oflag=dsync
5+0 records in
5+0 records out
104857600 bytes (105 MB, 100 MiB) copied, 33.858 s, 3.1 MB/s
should i be looking else where???
Hi Michael, thank you for the post.
This might be a naive question.
How are you charging the pi4 when the ssd is connected via usb-c?