I recently reviewed the Ortur Laser Master 2 Pro, but rather than just engrave and cut a range of test pieces, I thought I could use the laser to make something useful. I decided to make up a Plywood Raspberry Pi Case, which is loosely based on my 3D printable Raspberry Pi Desktop Case.
Here is my video of the unboxing and setup of the laser along with the build of the case. Read on for the full written instructions.
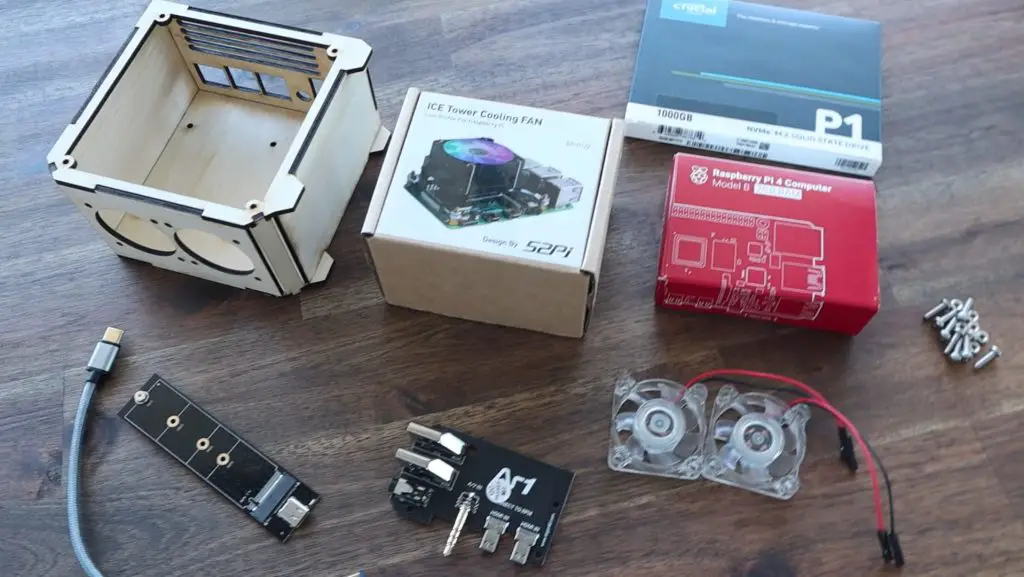
What You Need To Make Your Own Plywood Raspberry Pi Case
- Raspberry Pi Plywood Case Kit – Buy Here
- Or 3mm Plywood – Buy Here
- Raspberry Pi 4B – Buy Here
- Low Profile Ice Tower – Buy Here
- 1TB NVME Drive – Buy Here
- NVME Drive USB C Adaptor – Buy Here
- Argon Case Adaptor – Buy Here
How To Assemble Your Case
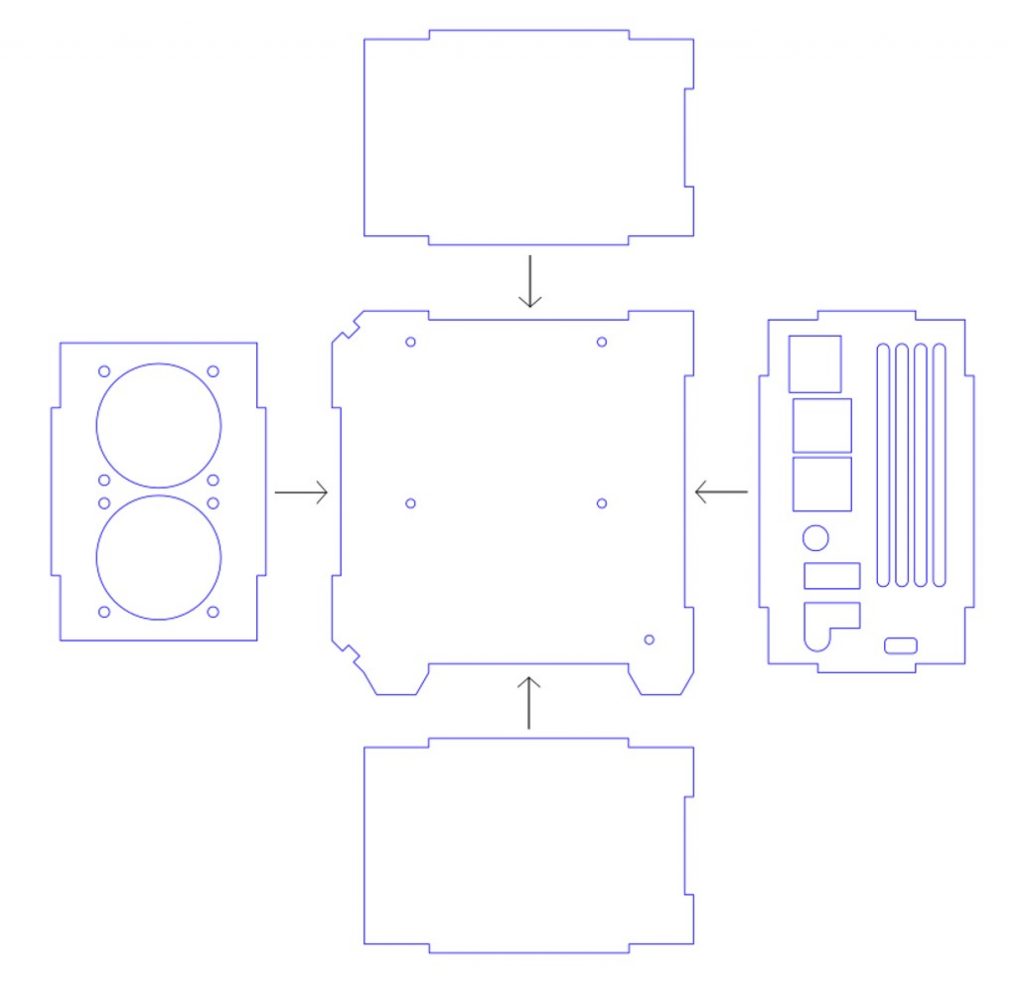
I started out by drawing up an interlocking case, similar to my other desktop cases in Inkscape. This one is designed to hold my Raspberry Pi with an Argon case port adaptor to direct the ports to the rear of the case and hold two 40mm fans on the front.
Take a look at my video on how to design your own Pi cases in Inkscape.
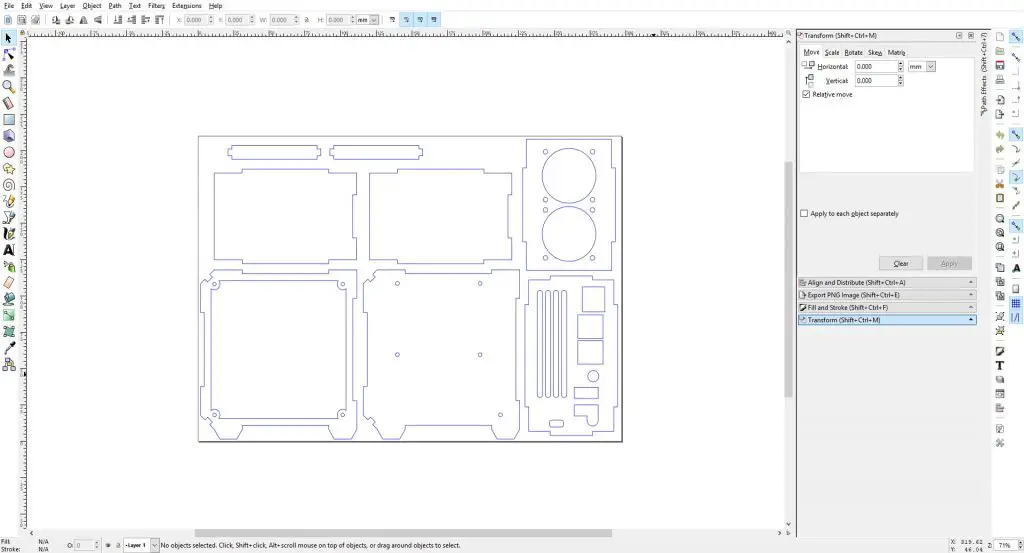
If you’ve got your own laser cutter, you can download the files to cut your own case, or you can buy a pre-cut kit that includes the plywood sides and screws as well as the acrylic cover panel.
I loaded the files into LaserGRBL and tried cutting them with the recommended settings for 3mm plywood.
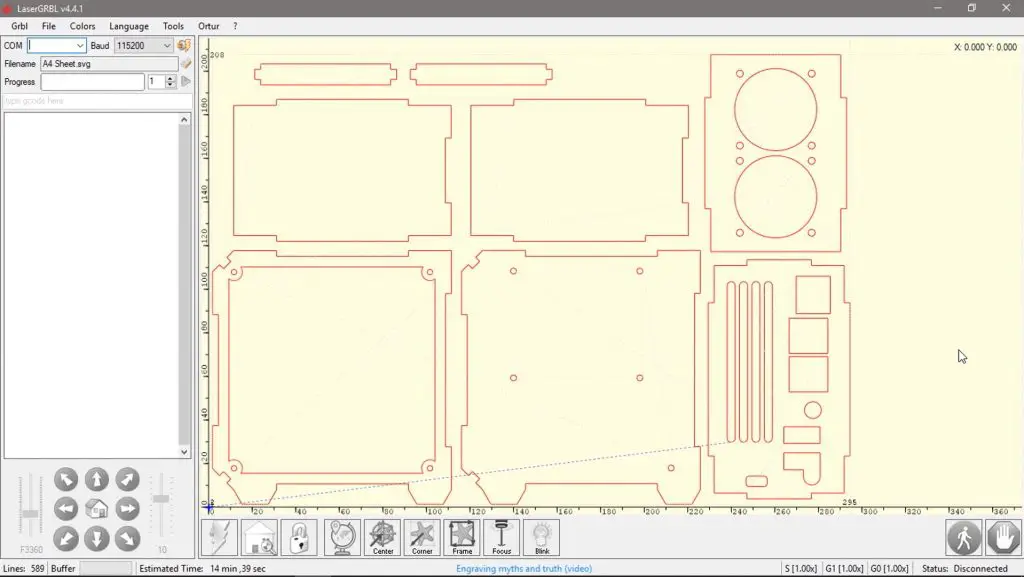
Cutting on the Laser Master 2 Pro took a bit of experimenting to get right. I had to play around with speeds and the number of passes until I found something that worked well with my 3mm plywood. In the end, I found that two passes at 250mm/minute seemed to work the best.
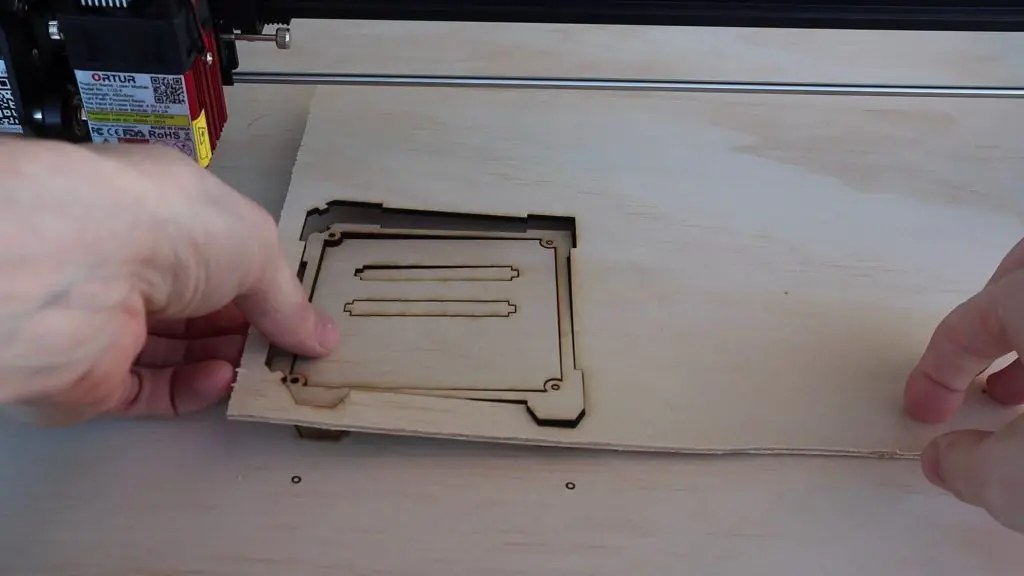
Once the parts were cut, we need to glue them together with some PVA wood glue. You could also use epoxy adhesive, but wood glue works best and leaves the best finish.
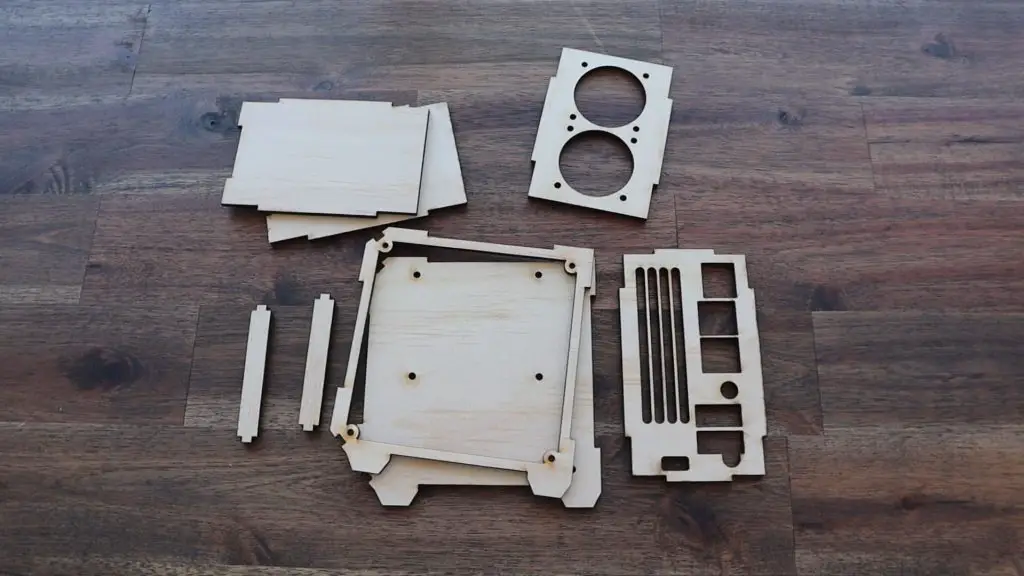
I’ve tried to make the design as easy as possible to assemble, so the top and bottom are interchangeable and these two, along with the front panel can also be installed with either side facing inside or outside.
To start, lay the large side with the 5 holes in it down on a flat surface. Glue the four side panels into place as shown below, remembering to glue the edges to the large section and to the adjacent sections as well.
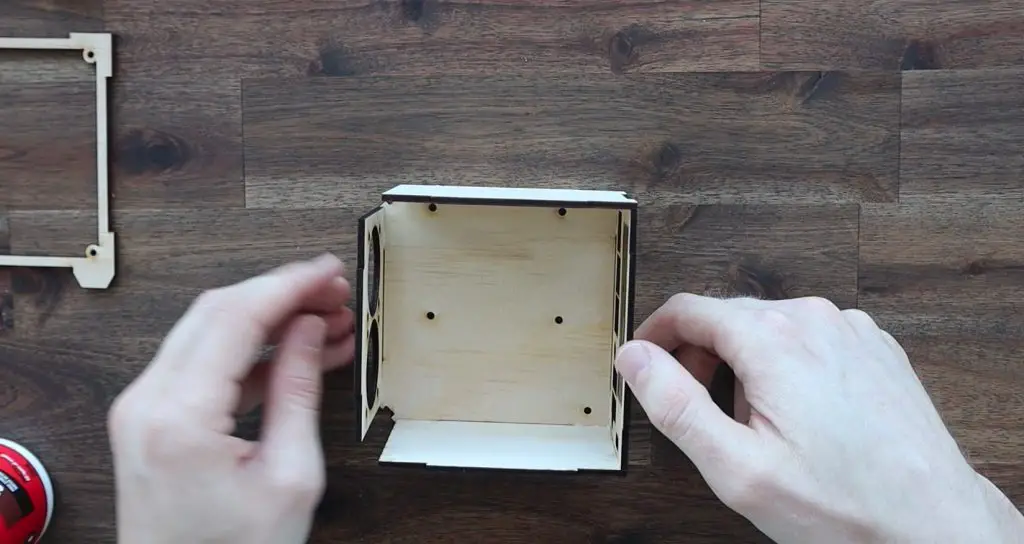
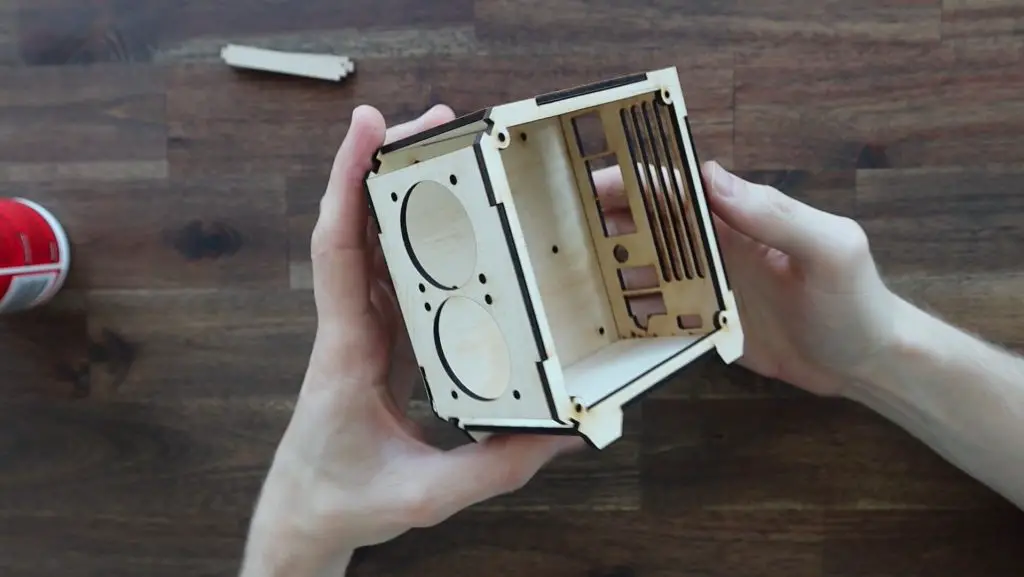
Once the four sides are in place, glue the second large section into place on top of the four sides.
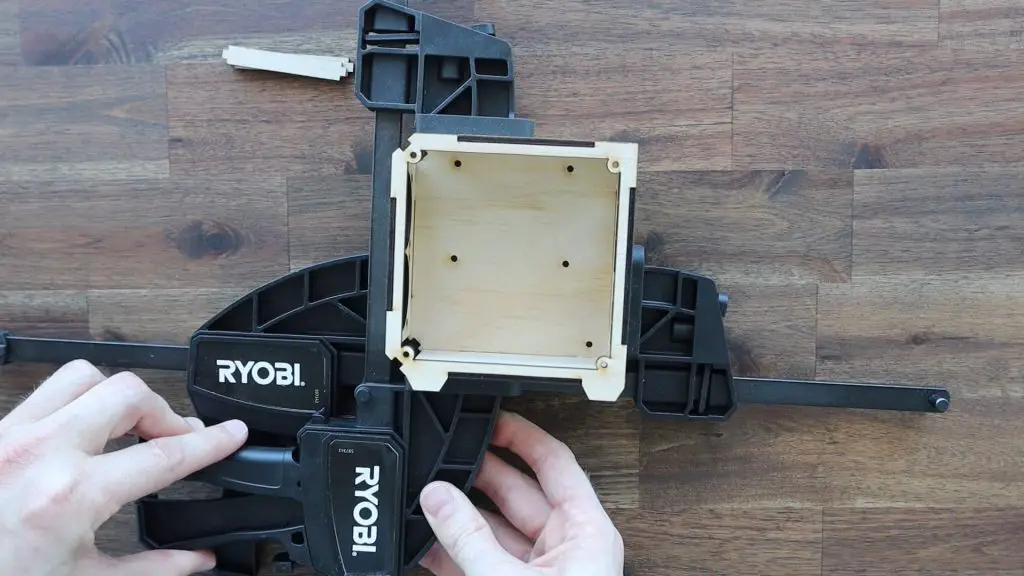
If you’ve got some large clamps handy then clamp the sides to keep them in place while the glue dries. Don’t clamp them too tightly or the wood will bend/distort and may dry this way.
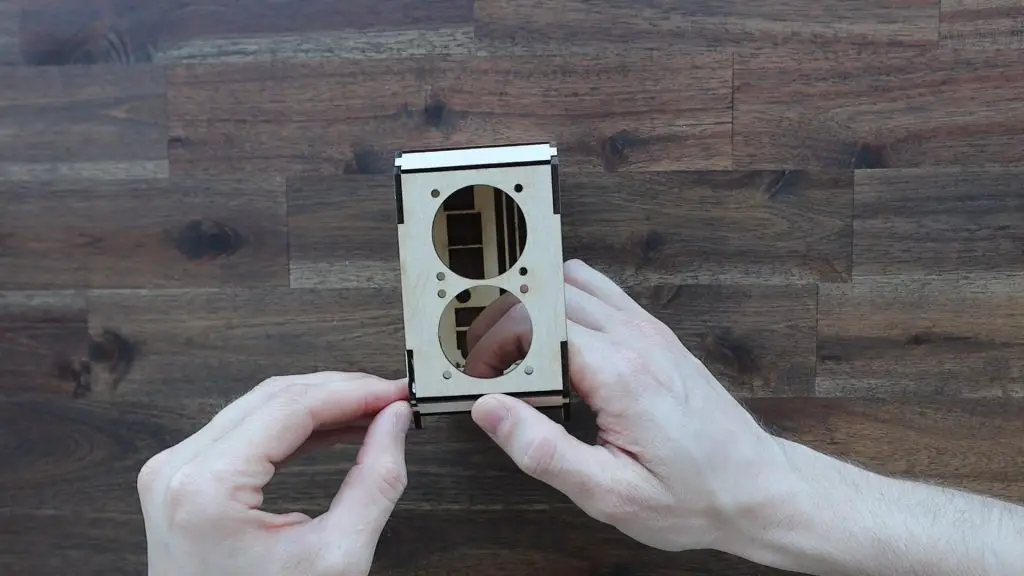
Once the glue has dried, glue in the two small pieces to close up the gaps along the top and bottom front edges.
Allow the last bit of glue to dry and we can then start installing the components. I’m using a 2GB Raspberry Pi 4B with a low-profile Ice Tower for cooling.
If you’d like to protect the plywood and not leave it bare, now is a good time to give it a coat of clear lacquer or varnish. You could also paint or stain it in a colour of your choice if you’d prefer that to the bare wood look.
I’ve also added a 1TB M.2 NVME drive with a USB adaptor, two 40mm fans for the front to pull air into the case, and an adaptor from an Argon case to move the ports to the back of the case. If you don’t have an Argon case adaptor, try looking on eBay for someone selling a spare or use a 90-degree micro HDMI cable for your display.
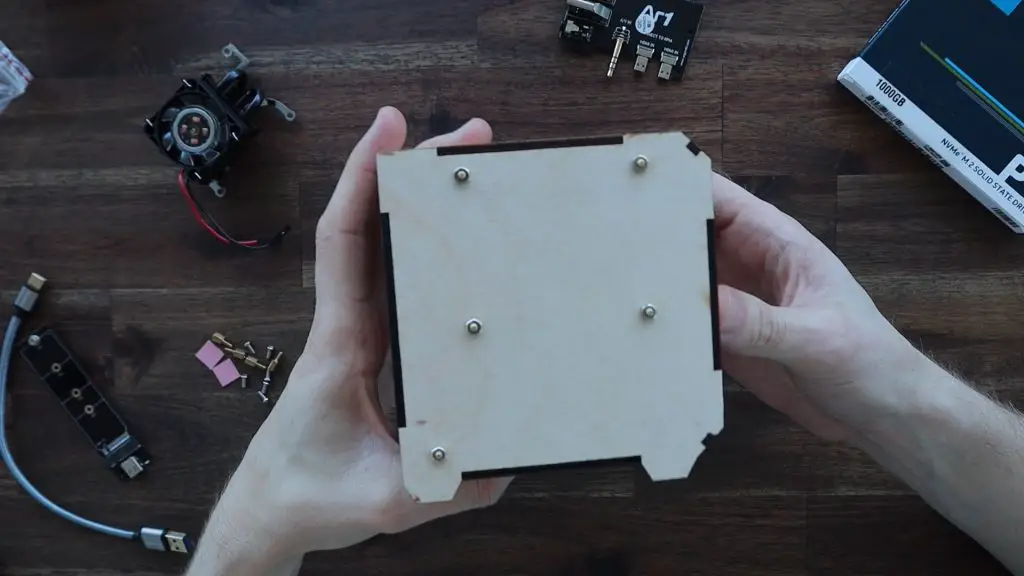
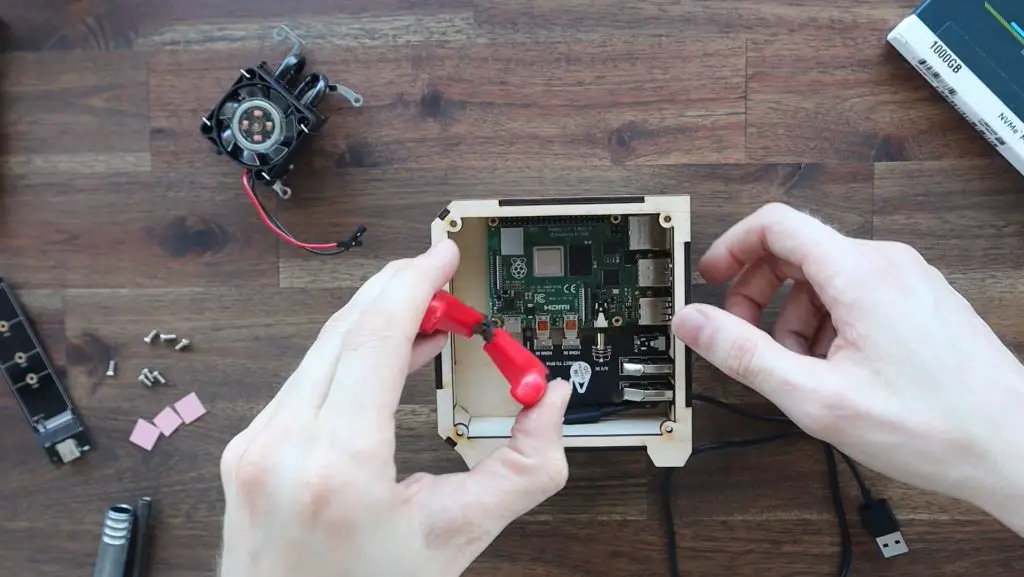
Start off by pushing five standoffs through the case and hold them in place with a nut on the back of each. The standoffs and the nuts are all included in the Ice Tower kit.
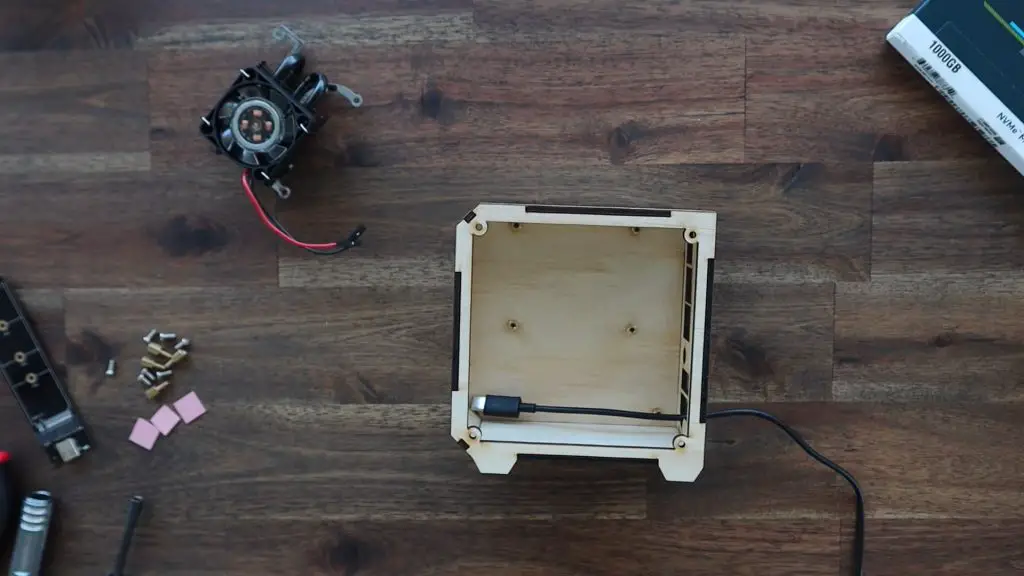
We then need to add our USB power cable while the port cutouts are still open. I trimmed one side of a USB C cable down to fit into the Pi alongside the Argon adaptor as the adaptor comes very close to the USB C port. Push it through the HDMI port cutout before installing the Pi.
We can push the Argon adaptor onto the ports on the Pi and then position the Pi on the standoffs. The Pi is then held in place with a second brass standoff on each. Tighten these gently using needle-nose pliers.
If you haven’t remembered to install your SD card (if you haven’t already set up your Pi to boot from your SSD), the SD card can be inserted through the fan hole. We won’t need to remove or replace the SD card afterward as we’re going to be booting off the SSD once it is set up.
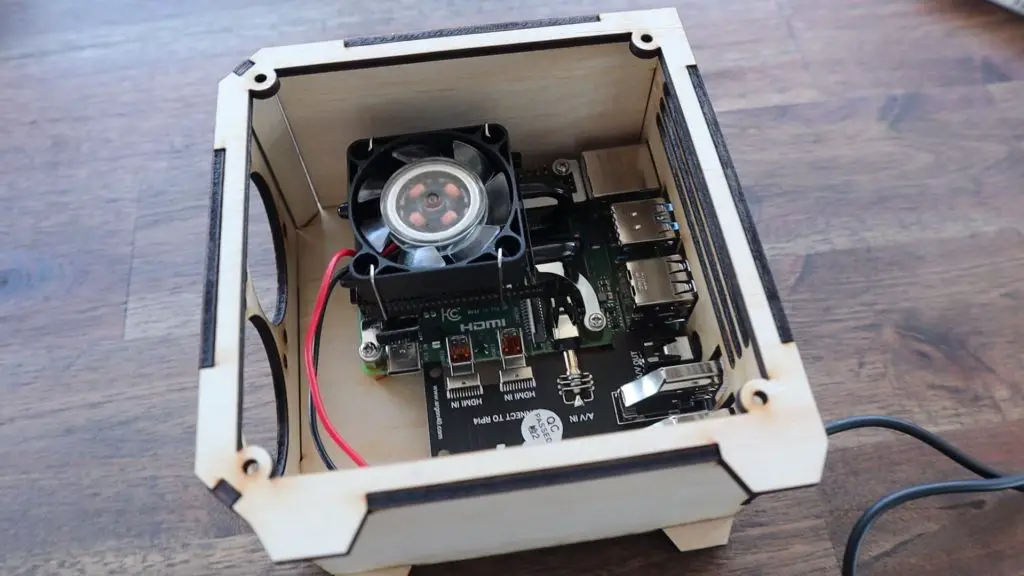
I then installed the Ice Tower and held it in place with the 4 included screws. A fifth screw holds the Argon adaptor in place using the 5th standoff. This is not critical, but provides a bit of extra support when plugging in and removing the HDMI cables.
We can then plug in the USB power cable.
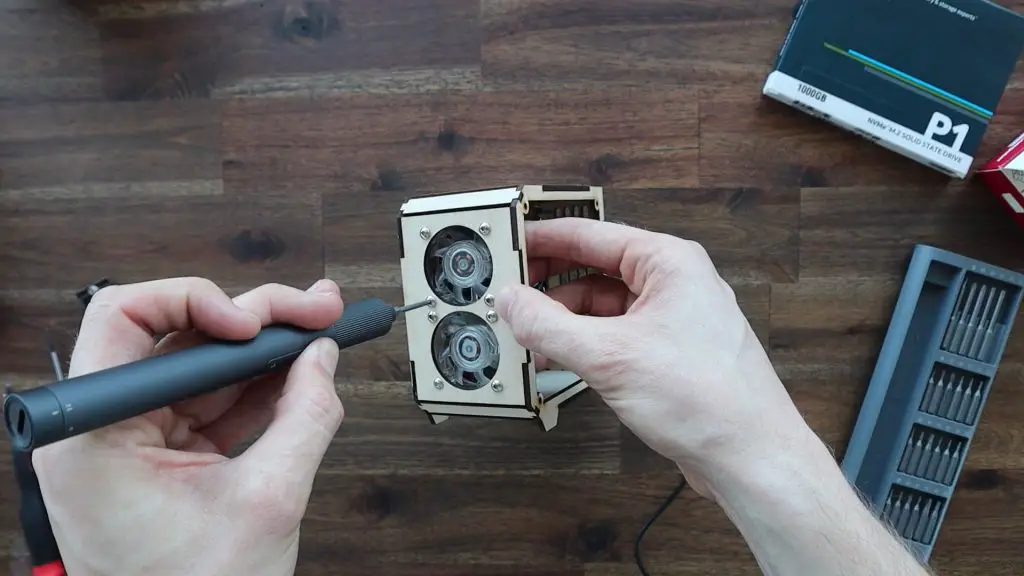
Once that is done, we can install the fans. I pushed M3 nuts into each of the pockets in the fans to screw into. This is easiest done by placing a nut on a hard surface and then pushing the fan pocket down onto the nut. The nuts go on the wood side of the fan, so the screws do not extend all the way through the fan and each fan is supported by the press-fit of the four nuts.
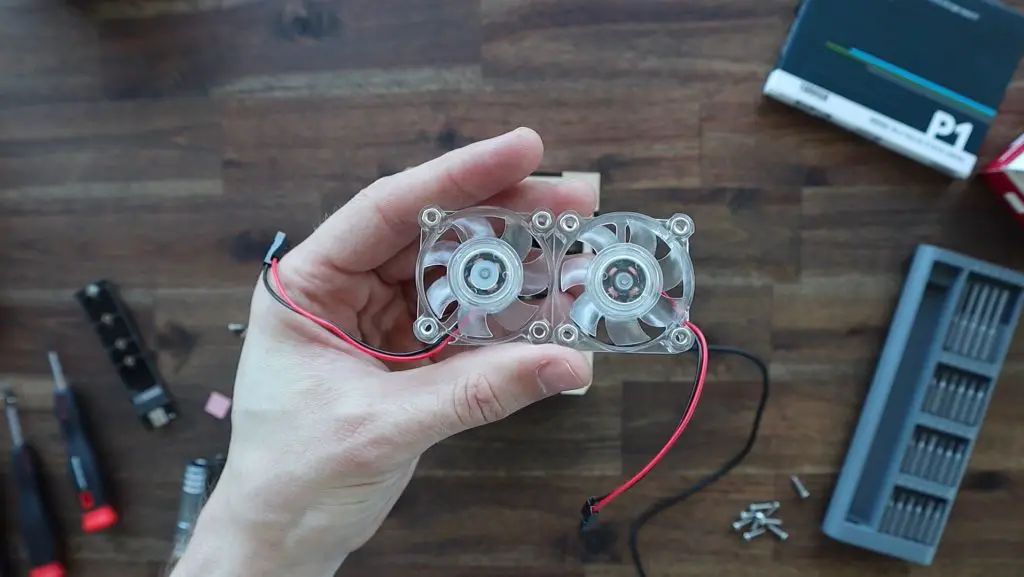
When you install the fans, pay attention to which side the cable is on. Make sure that you have got enough length to reach your Pi’s GPIO pins. The fans are then secured with eight M3x8mm screws.
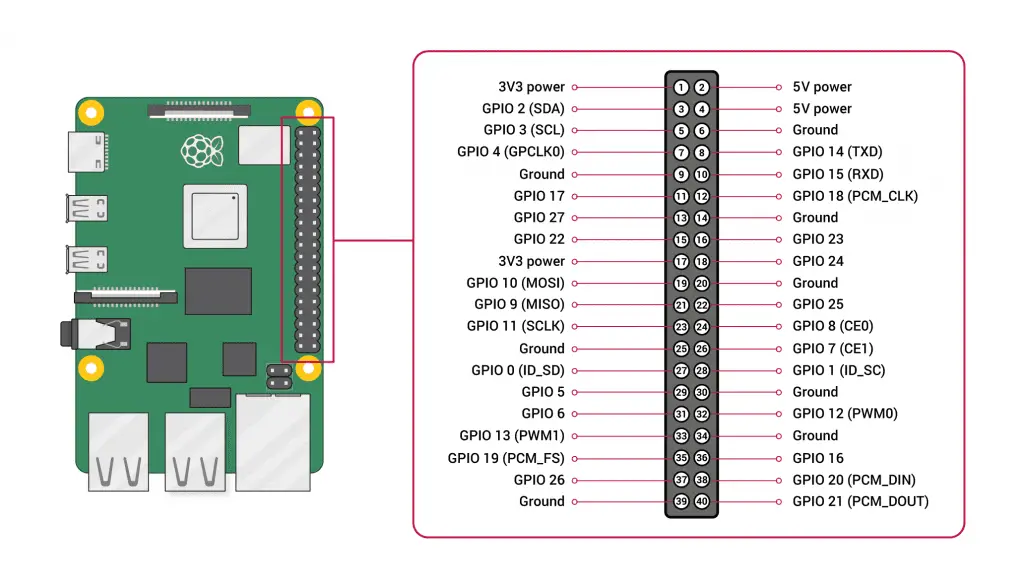
We can then plug the fans into the power pins on the Pi. I used 5V pins for the front two fans and a 3.3V pin for the Ice Tower fan.
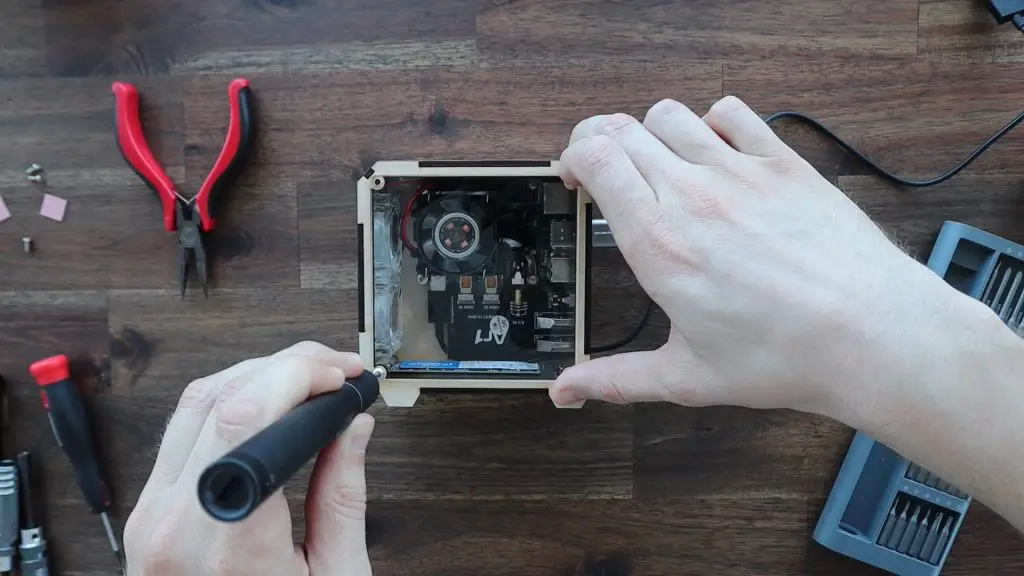
Next, we’ll install the NVME drive into the USB adaptor and then into our case. Your USB adaptor may vary, this is one that I found on eBay, but they are generally similarly sized though.
I used a strip of thick double-sided tape to hold it in place on the underside.

Now we can install the clear side panel. It’s worth mentioning that I had to cut this on my CO2 laser cutter as diode lasers can’t cut clear acrylic. Acrylic can also just be cut by hand using a fine tooth saw or jigsaw.
The cover is held in place with some M3x8mm screws.
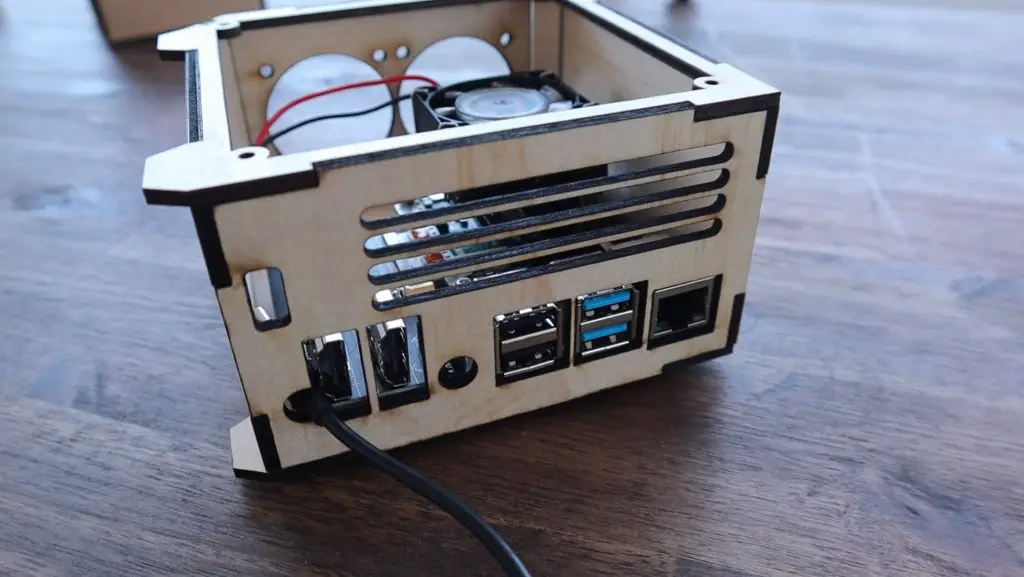
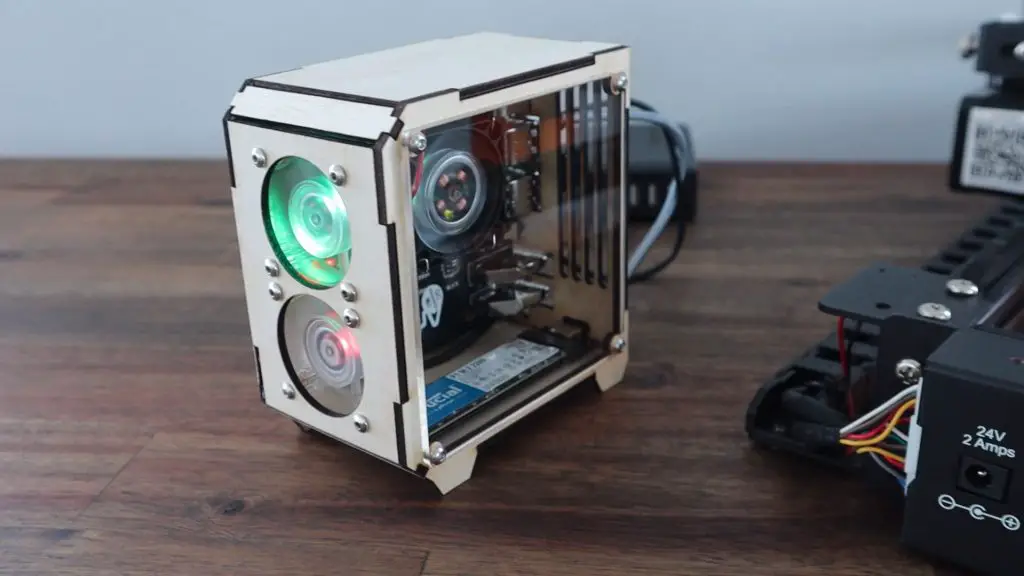
With that done, the case finished. So let’s power it on and try it out.
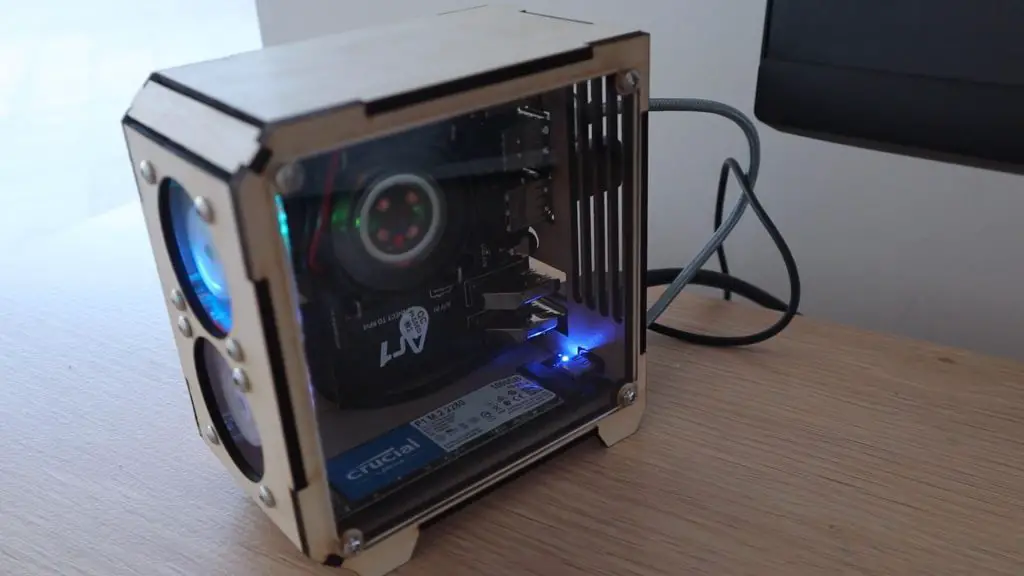
With three fans, the case is quite noisy, but it looks pretty cool as a mini desktop computer. I also noticed that one of the LEDs on my bottom front fan is faulty, which is a bit disappointing. But I don’t have another one spare at the moment.
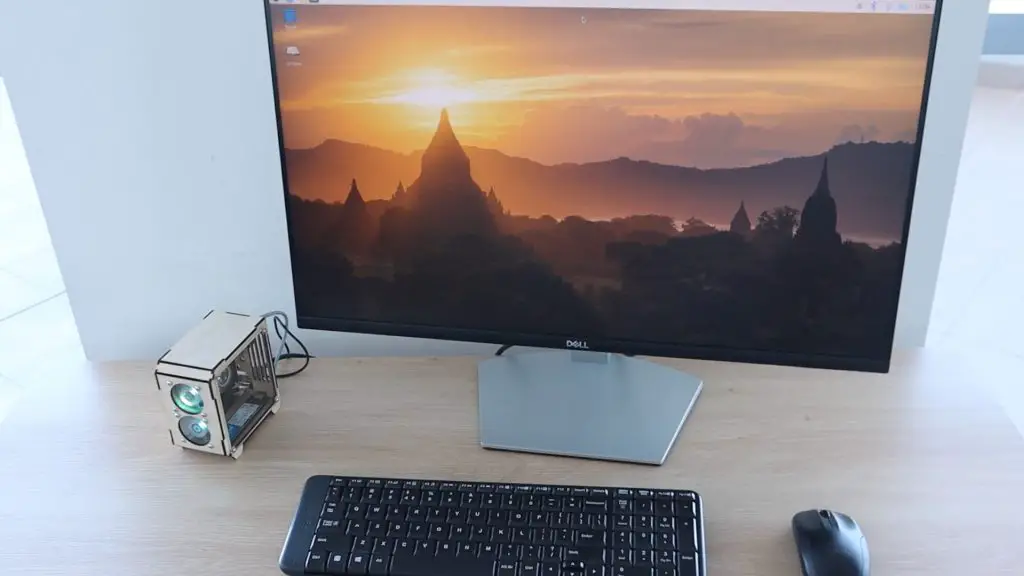
I really like the RGB legs in the fans and the clear side panel to see the internals. Let me know what you think of it in the comments section below.
Hi,
interesting work, do you sell the case?
Thanks
Sorry, I didn’t notice the link to buy the kit.
What 40mm fans did you use?