I’ve recently watched a few videos where people have been experimenting with Dream Studio’s AI image generator. So, I thought I’d try giving it a few prompts to generate interesting desktop computer case designs that I could turn into a new case for my Raspberry Pi.
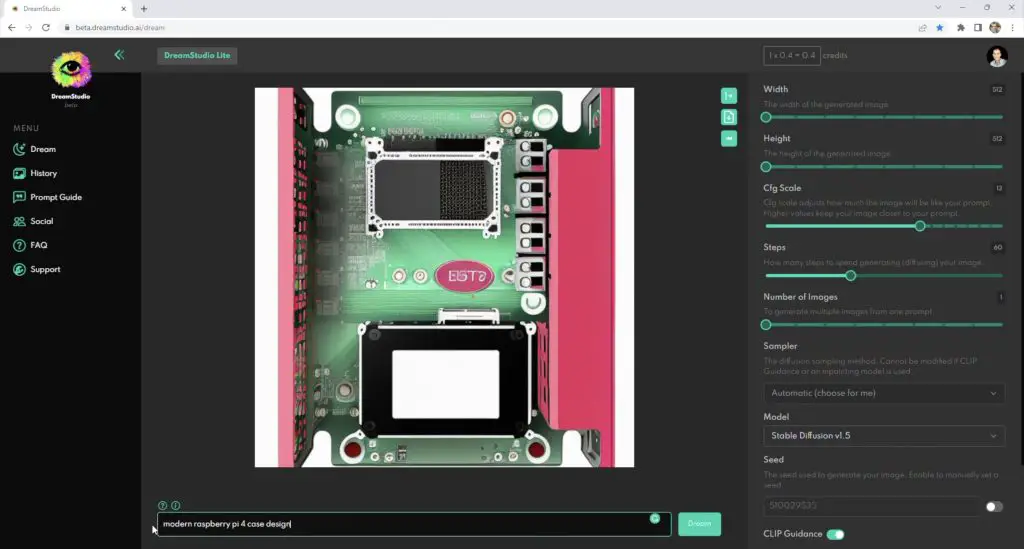
Like with any software package, there was a bit of a learning curve in getting meaningful results out of it. I quickly discovered that putting the words “Raspberry Pi” into the prompt typically resulted in some sort of green PCB showing up in the image – which didn’t resemble a Raspberry Pi at all and wasn’t all that useful for an enclosure.
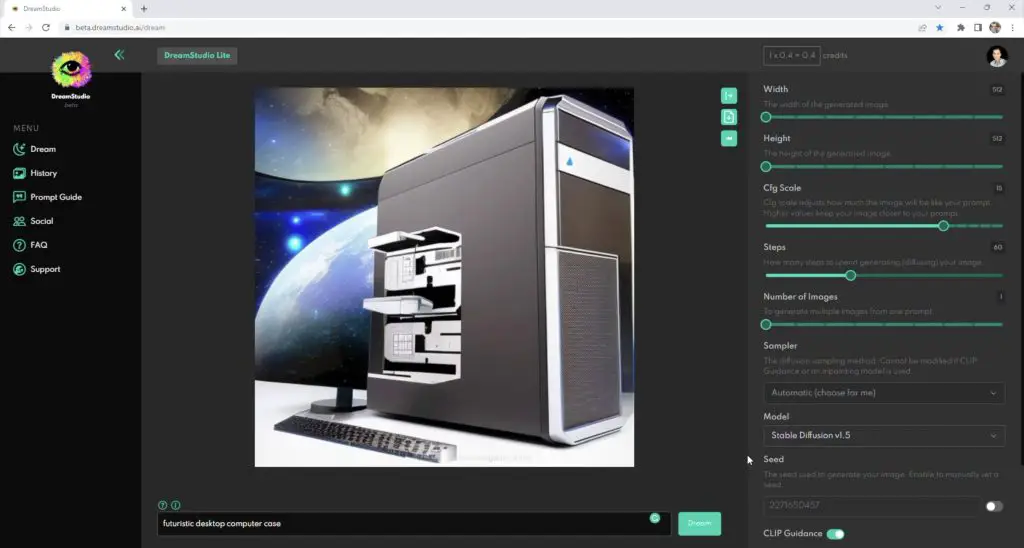
I had better success using prompts along the lines of “desktop computer case” or “mini desktop computer” with words like “modern”, “futuristic” or “high tech”.
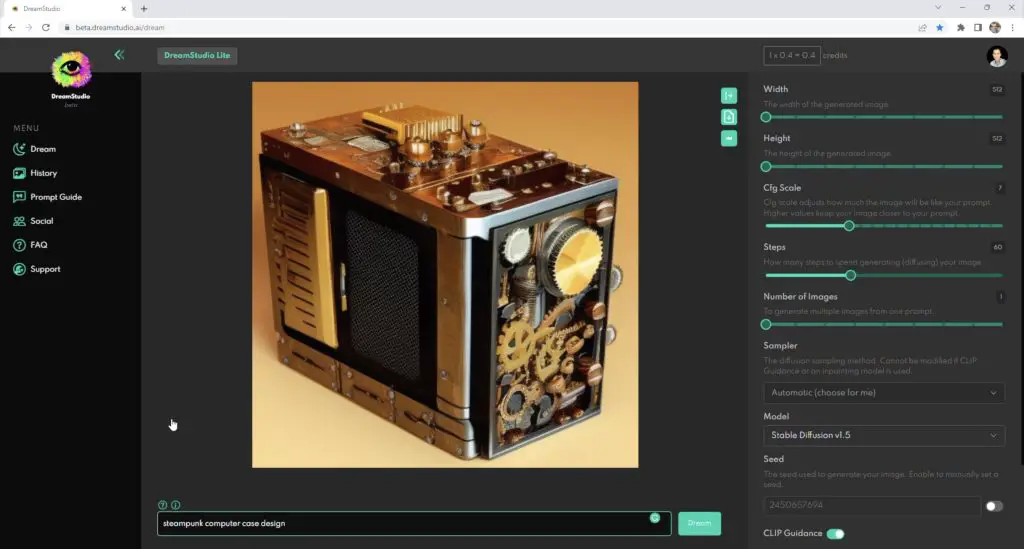
Steampunk designs came up with some interesting results as well. I quite like this design that came up and might try to turn this into the case as a future project – this might be a project to get my resin printer out for.
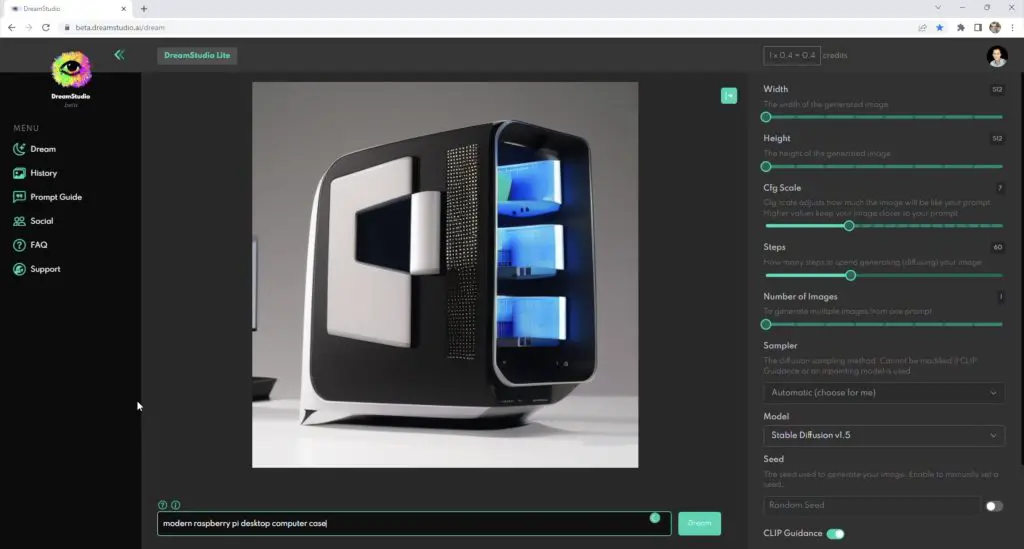
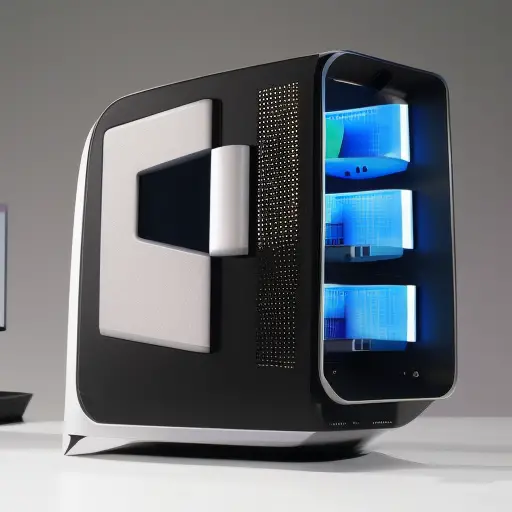
After an hour or so of generating images, I eventually got a few images that looked like they could be used for a case design, and this is the design that best caught my eye. So, I’m going to try to model this design and then adapt it to house my Raspberry Pi.
Here’s my video of the project, read on for the written guide:
What You Need For This Project
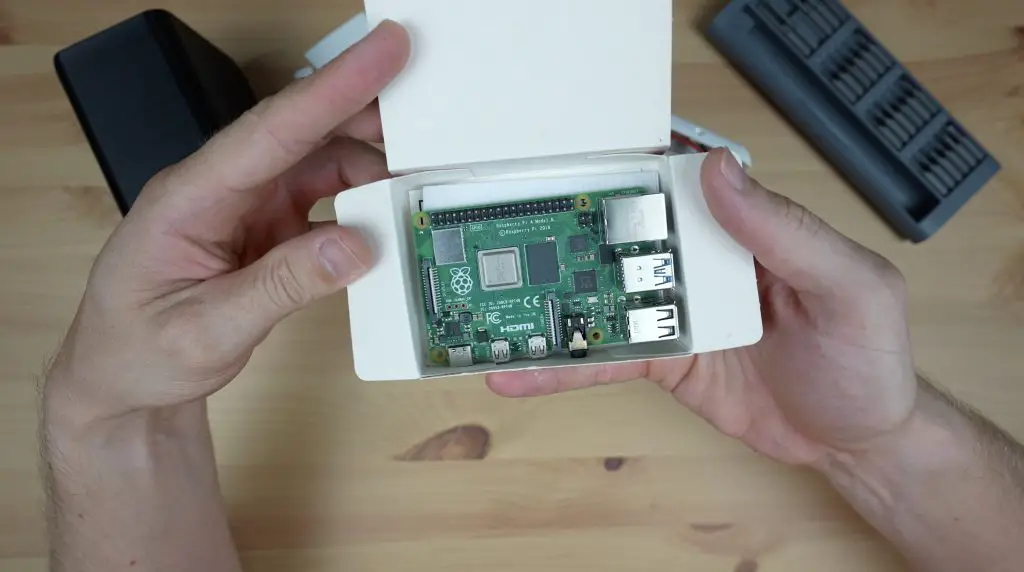
- Raspberry Pi 4B – Buy Here
- 40mm RGB Fan – Buy Here
- EZ Fan 2 Module – Buy Here
- 40mm Fan Mesh Cover – Buy Here
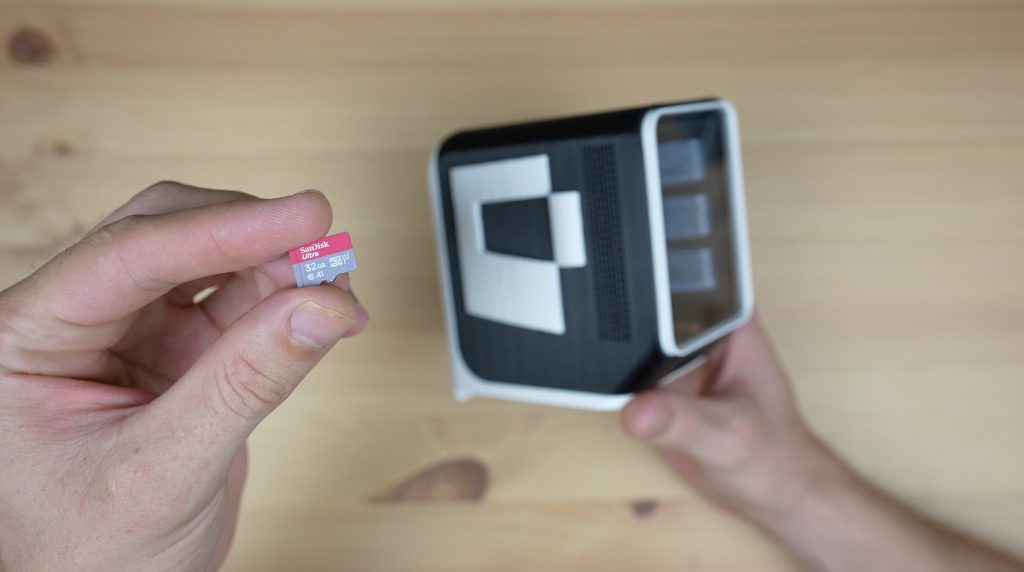
- 32GB Sandisk Ultra MicroSD Card – Buy Here
- M2.5 Brass Inserts – Buy Here
- M2.5 Button Head Screws – Buy Here
- 5mm Blue LEDs – Buy Here
Tool & Equipment Used:
- Creality Ender-3 S1 Pro – Buy Here
- Gweike Cloud Laser – Buy Here
- Use my discount code MK200 on checkout to get $200 off
- Electric Screwdriver – Buy Here
- TS100 Soldering Iron – Buy Here
- Knipex Wire Strippers – Buy Here
Some of the above parts are affiliate links. By purchasing products through the above links, you’ll be supporting my projects, at no additional cost to you.
Modelling The AI Case Design
The AI design looked simple enough to 3D print but there are a couple of issues that I’ll have to work through. I’m not really sure what’s going on at the base of the case, it seems like part of the case is touching the desk at the front but then looks like it’s elevated at the back. So I have to work through these when modelling the case.
To draw up a 3D model of the design, I used Autodesk’s Fusion360.
I started off getting the general shape looking like the AI image. I then hollowed it out, and added the exterior features and a window at the front. I then dropped the Raspberry Pi in and made the port cutouts on the back and sides.
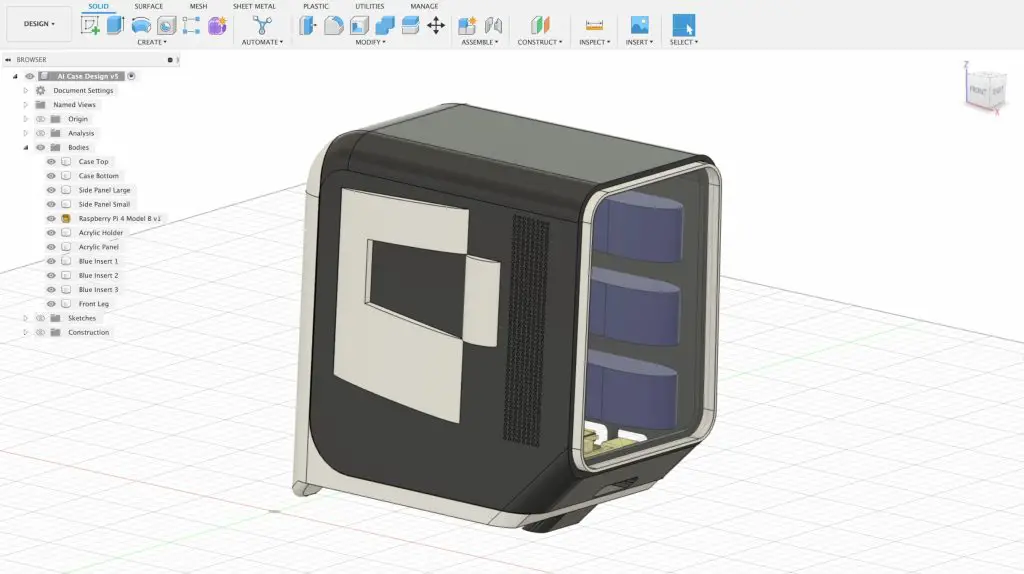
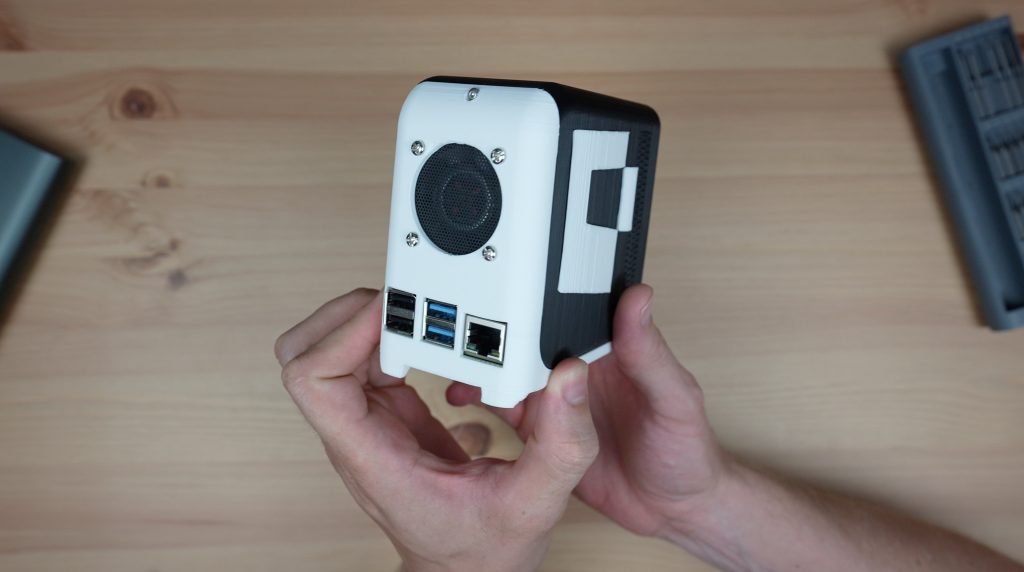
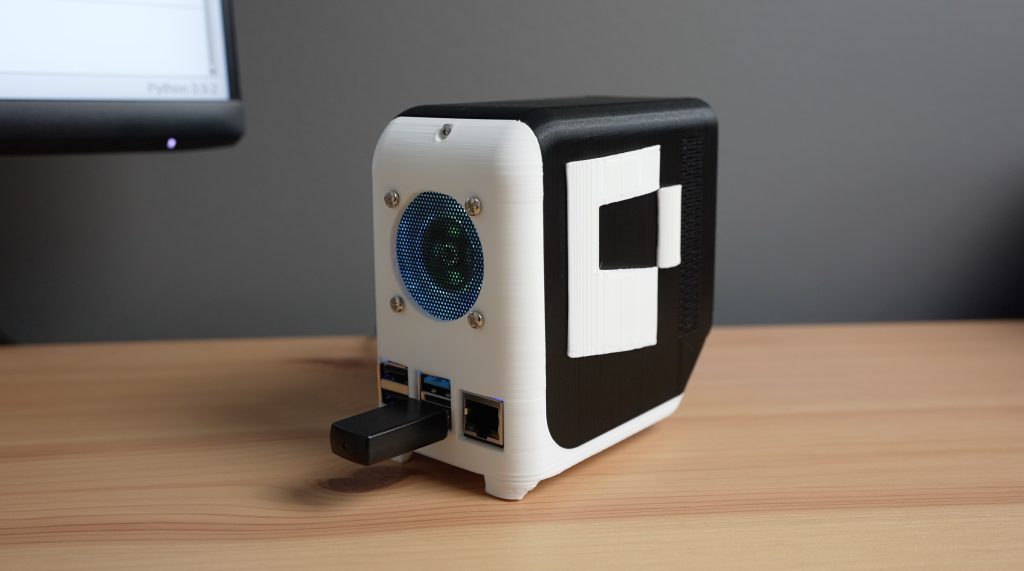
To cool the Pi, I added a cutout to mount a 40mm fan onto the back of the case. This will push cool air into the case and it will then exhaust through the fine vents on the side and the gaps around the ports.

Download The CAD Files – Pi Case CAD Files
I’m not sure what the blue things inside the case are intended to be, but I’m going to cut those from some blue acrylic and stick them inside the case along with some small LEDs to light them up.
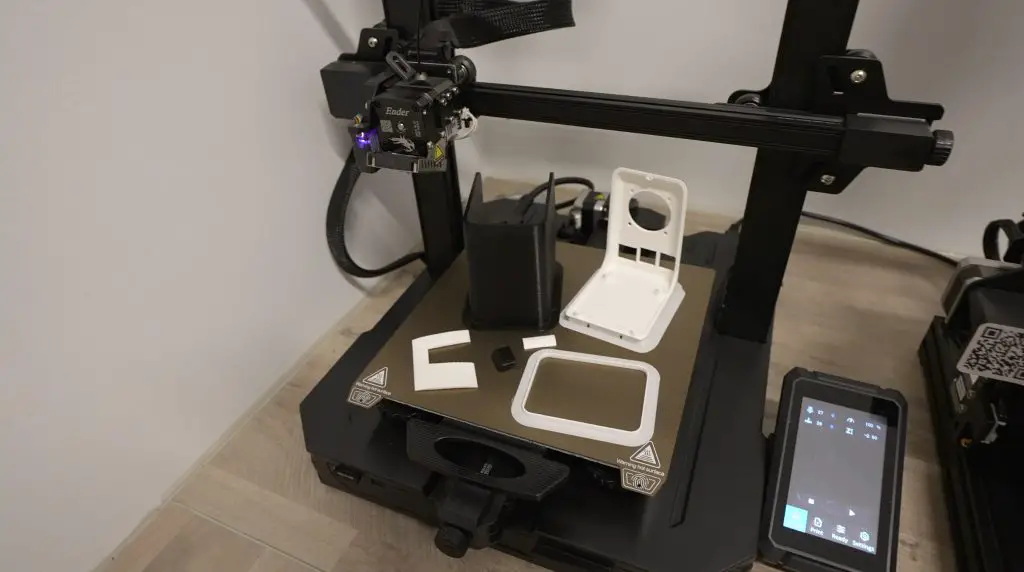
I’ve split the design up into a few different parts so that I can print them in black and white separately as I don’t have a dual extruder printer.
Making Up The AI Case Components
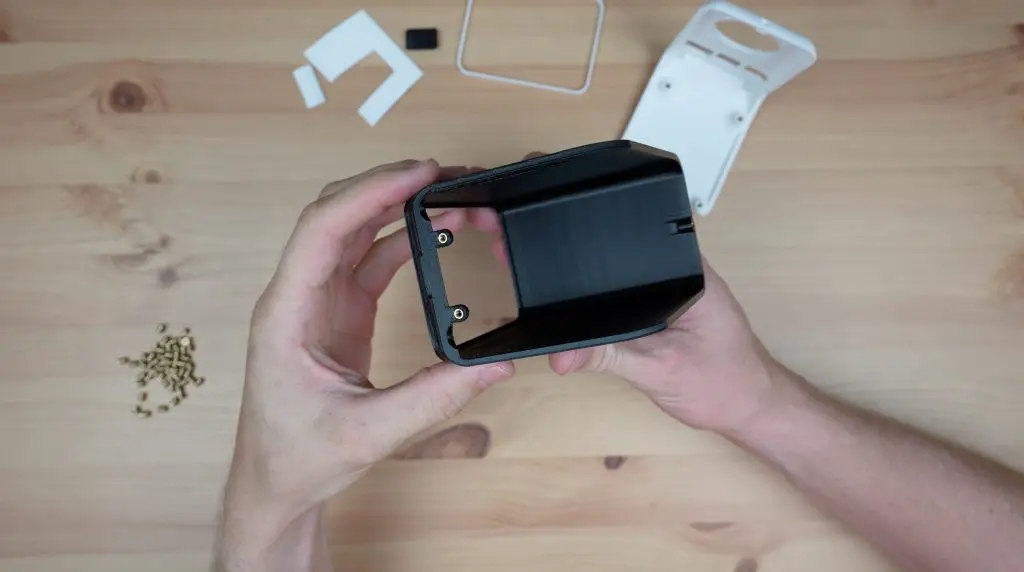
I printed the case components out individually in either black or white PLA. The bottom half of the case was a bit of a challenge to print with the small legs at the back. I tried a couple of orientations but eventually printed it upright with printed supports along the whole base.
The 3D printed parts need a few M2.5 threaded brass inserts to hold the Pi in place and to hold the two main case components together. We’ll just melt these into place in the prepared holes using a soldering iron.
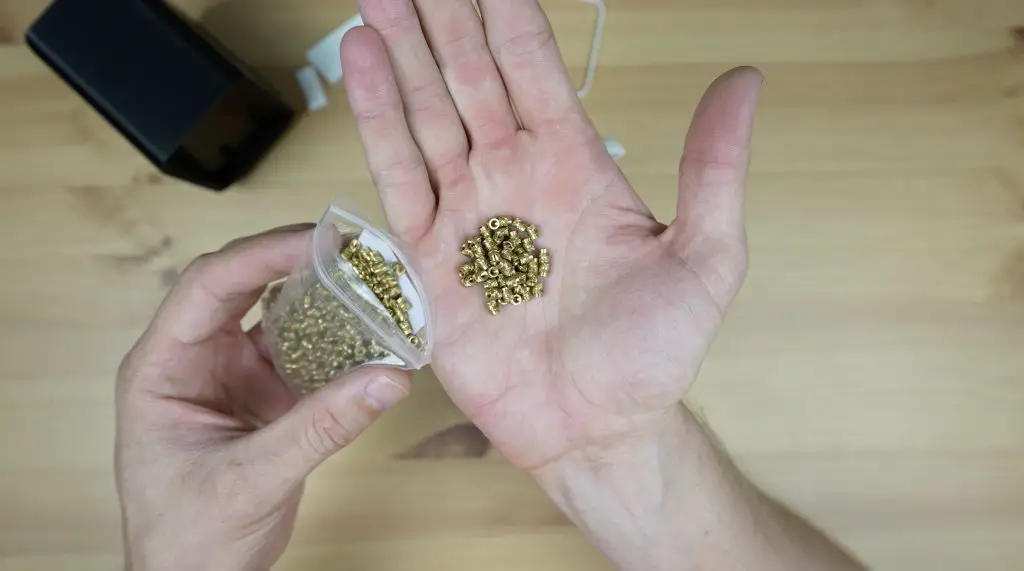
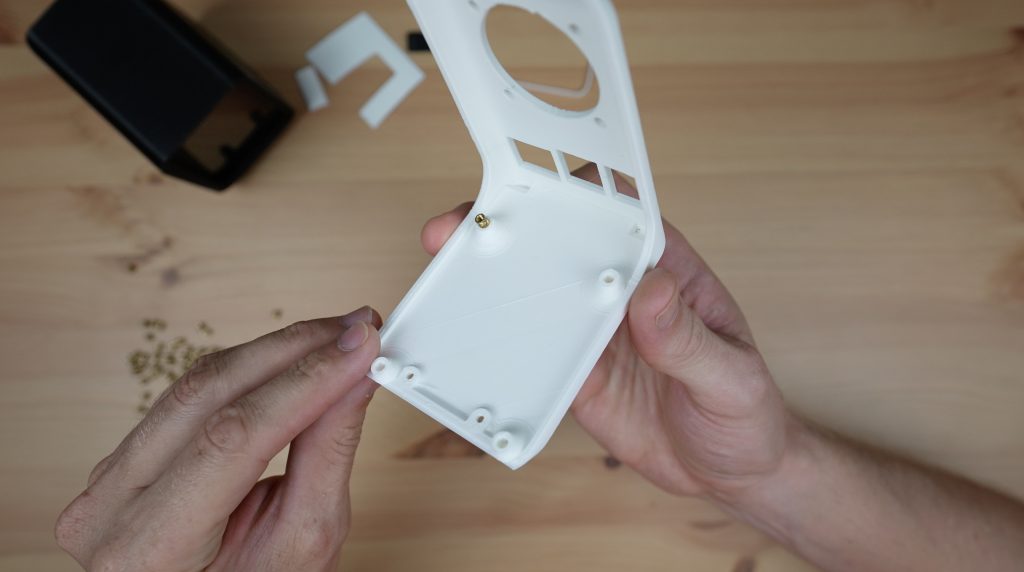
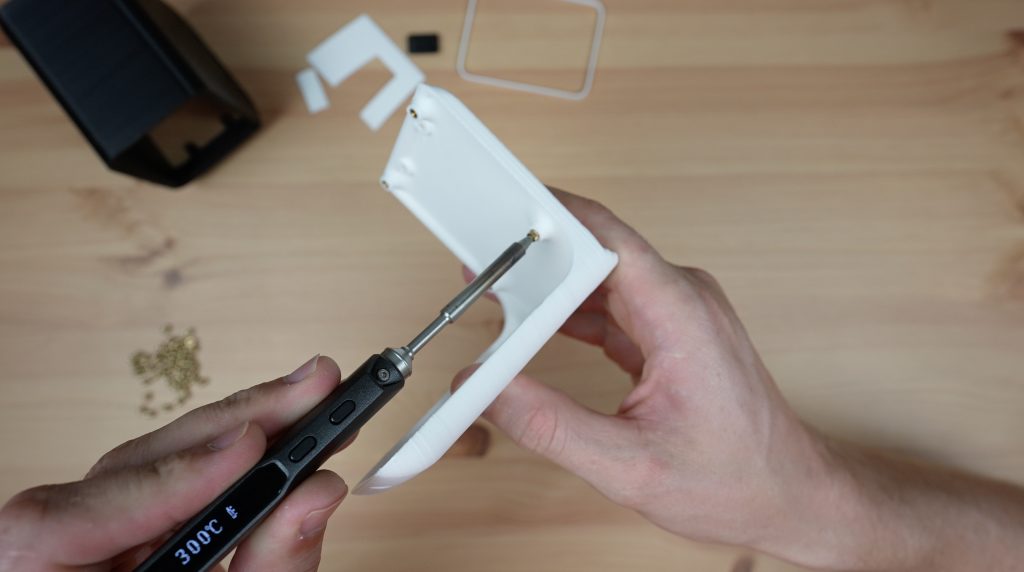
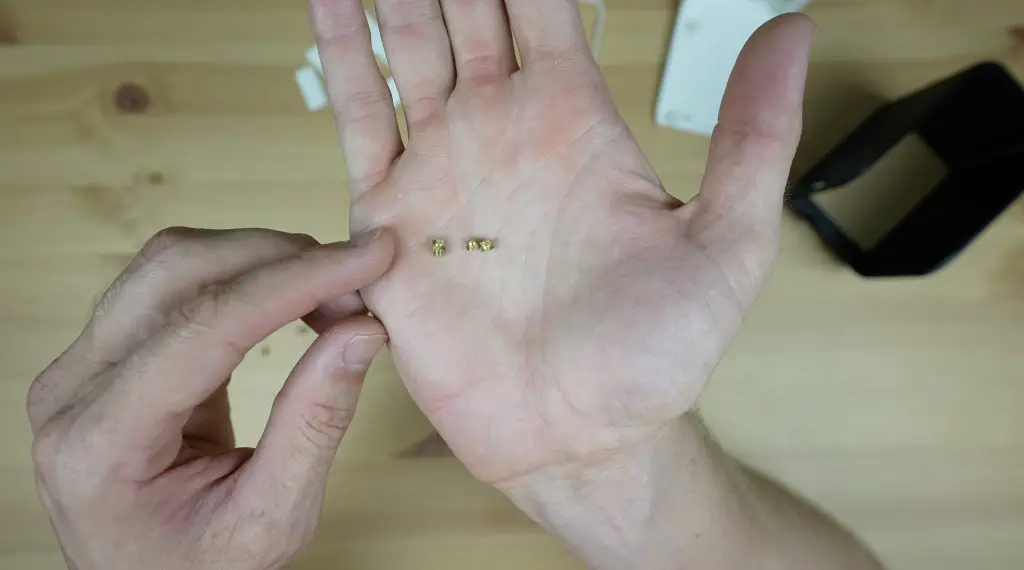
I’ve ground two of the inserts down a bit for the lower profile arms on the front of the AI case that need to slot in underneath the Pi.
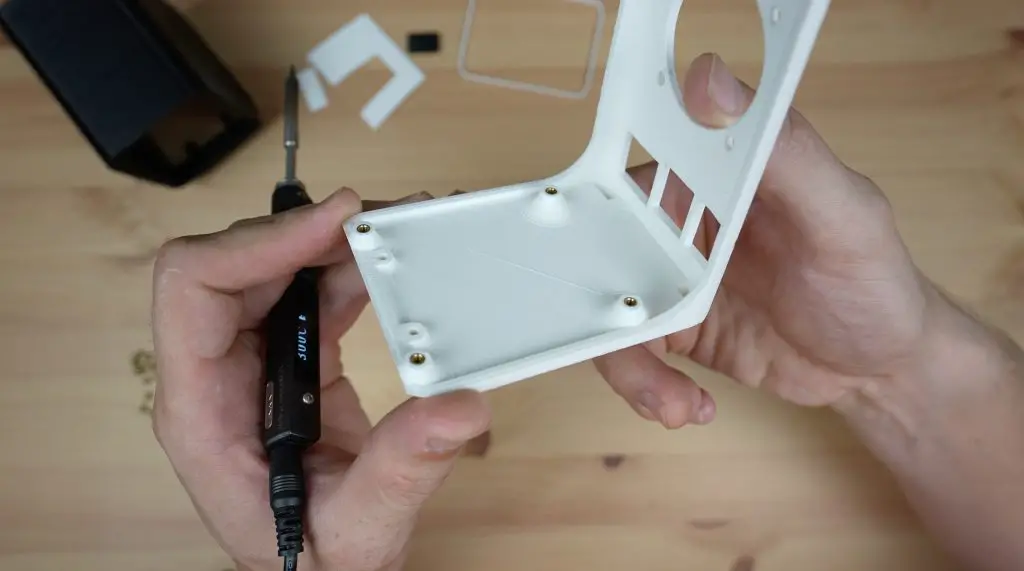
With the brass inserts all in place, the case components are complete and we can start installing the Pi and fan components.
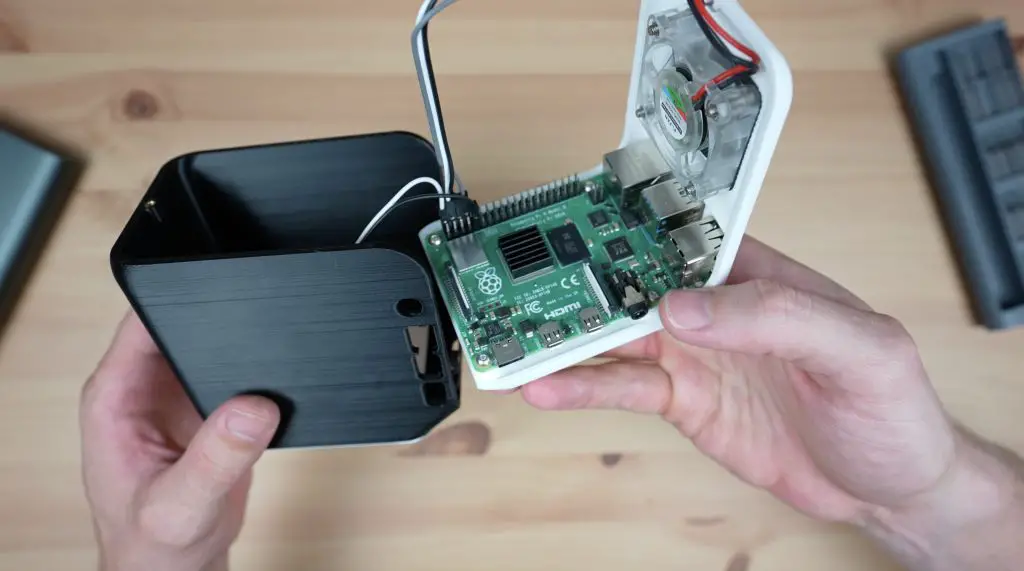
Installing The Raspberry Pi and Fan
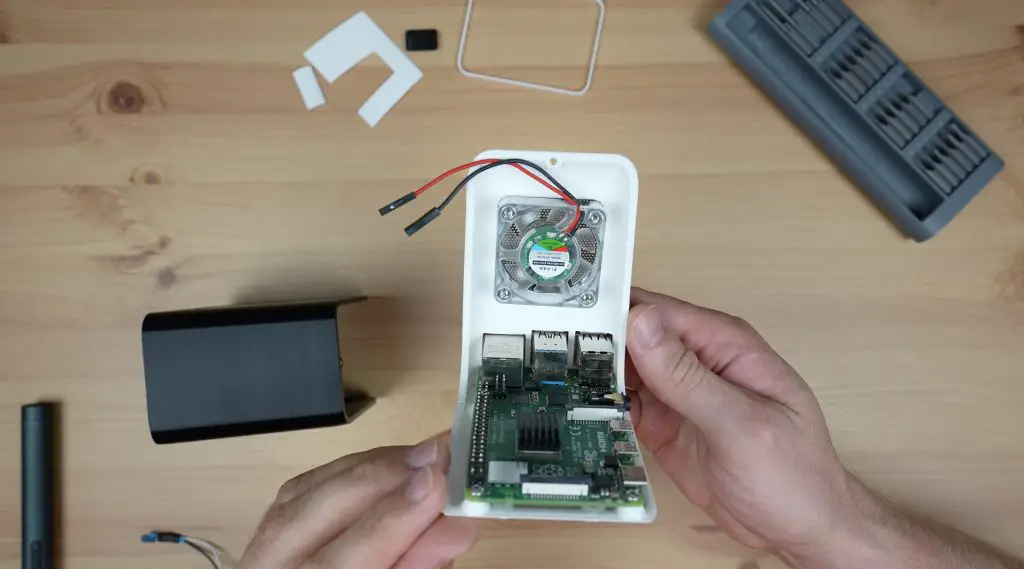
For cooling, I’ve got a 40mm RGB fan which I’ve salvaged from my stash of fans on my only fans Pi case.
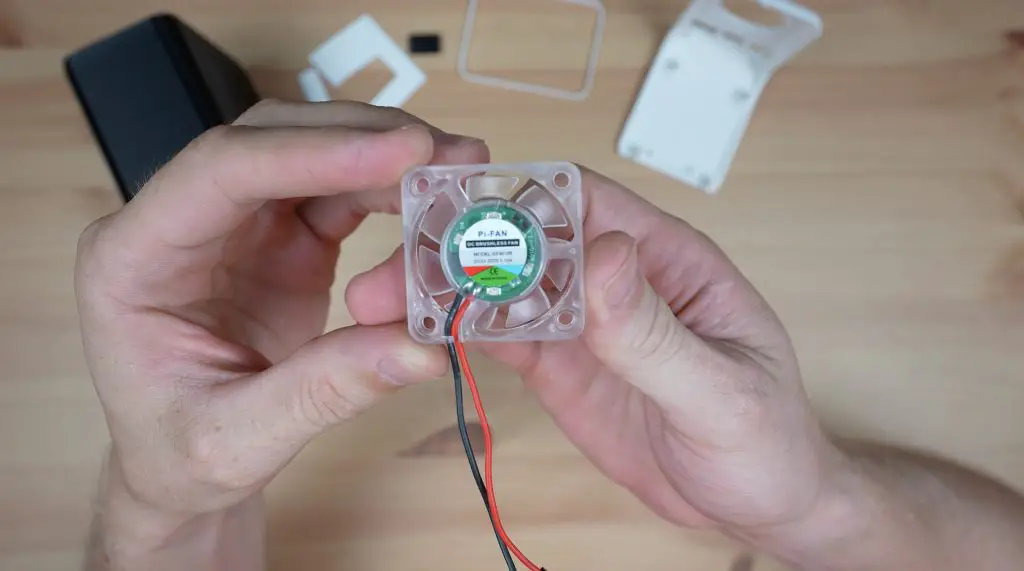
I’m going to install a mesh cover over it as I think this will fit in well with the look of the vented side panel on the AI case.
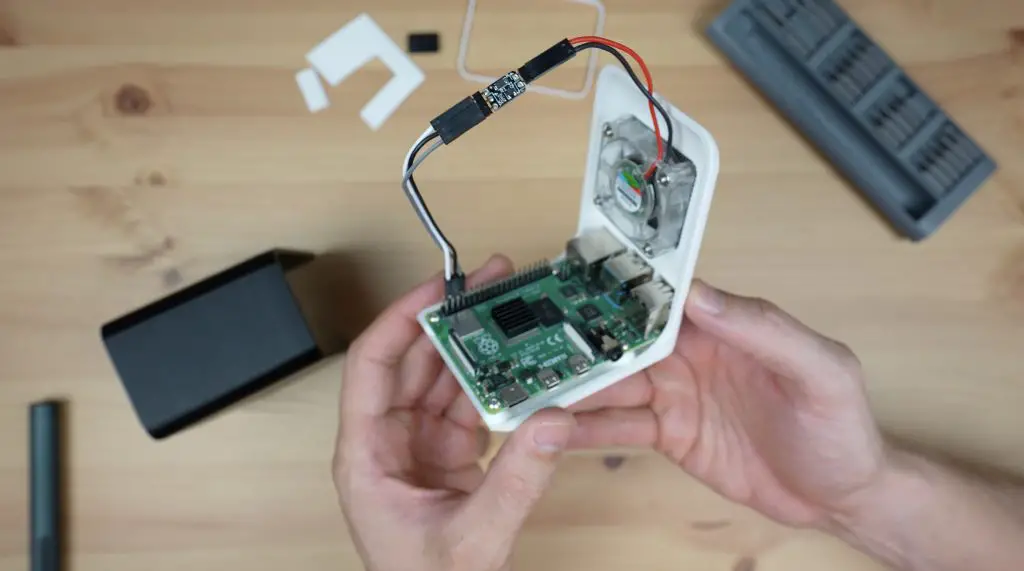
The fan is held in place with the M3 screws and nuts that came with it. I’ve installed the fan with the hub facing outwards so that it pulls air into the case.
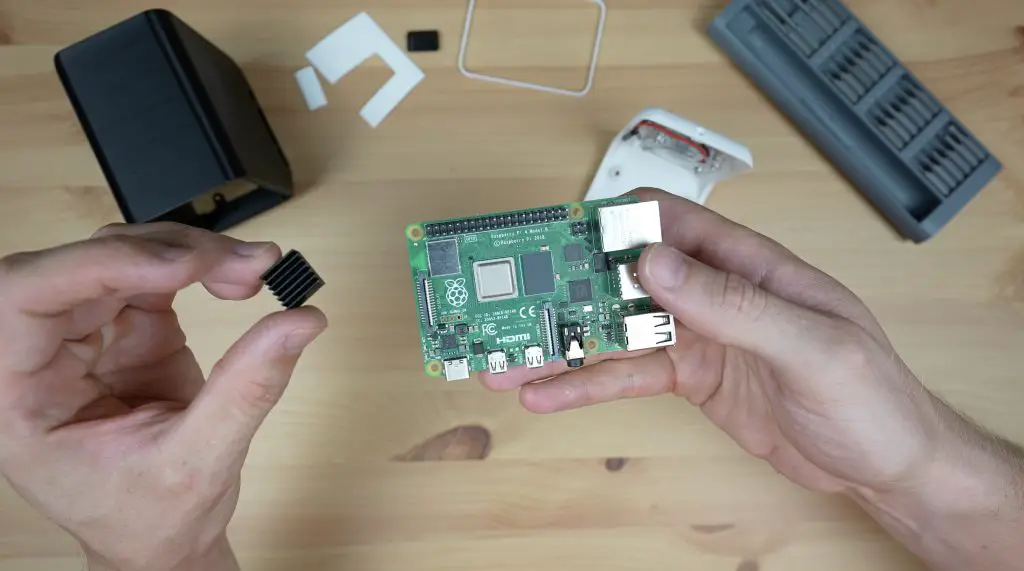
Next let’s mount the Raspberry Pi. I’m using a 2GB Raspberry Pi 4 and I’m going to add a small heatsink onto the CPU to help with cooling. There is probably enough space within the case to fit in an Ice Tower cooler but I’d like to keep it as open as possible so that the blue acrylic pieces and fan are visible.
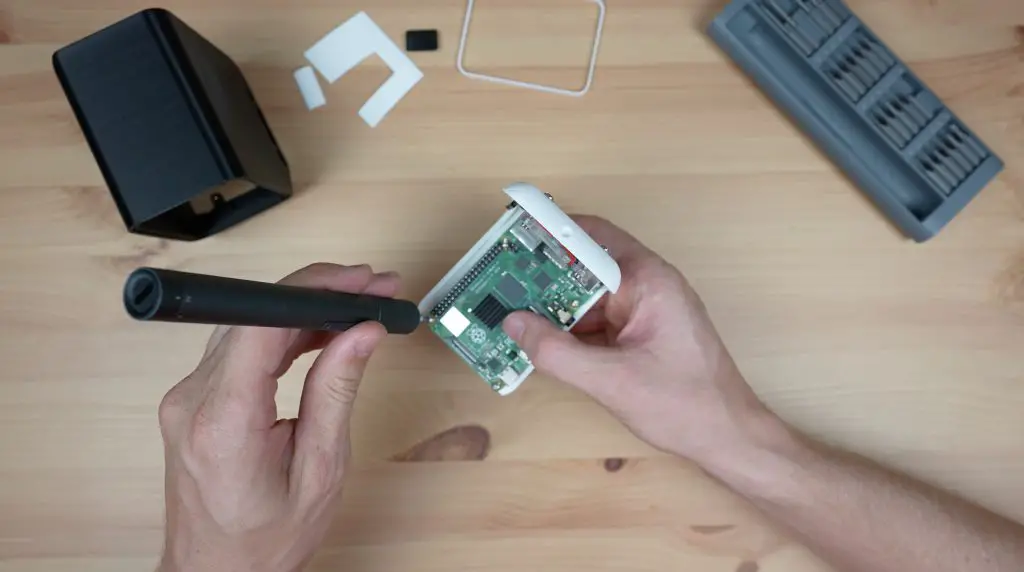
To hold the Pi in place, I’m using four M2.5 x 6mm button head screws which screw into the brass inserts that we’ve melted into the base.
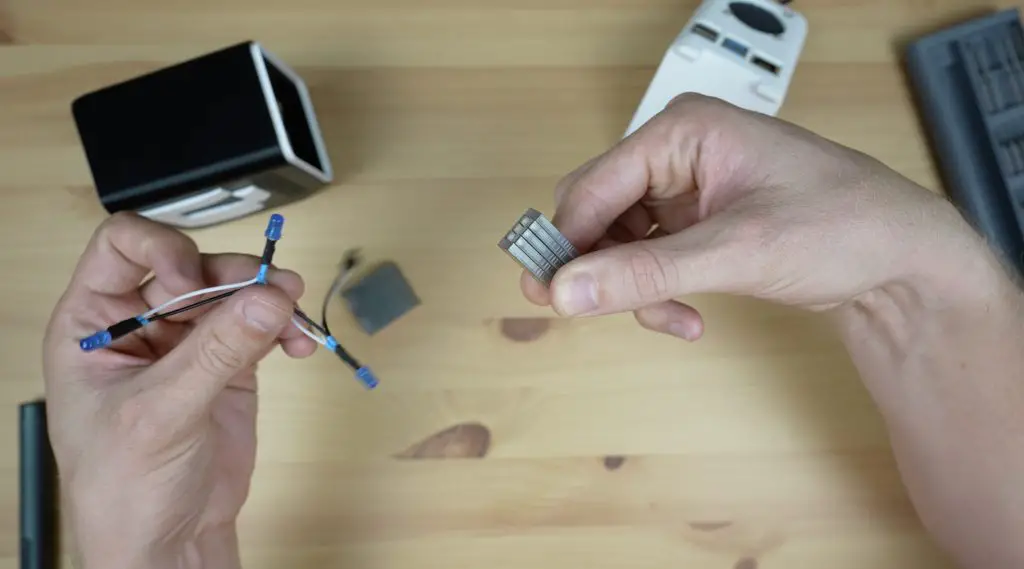
This fan isn’t a PWM fan and I’d like to be able to turn it on or off depending on the CPU temperature, so I’m going to use one of these EZ Fan 2 modules designed by Jeremy Cook. This tiny module allows you to use a 2-wire fan like a 3-wire fan so that you can turn the fan on or off using one of the Pi’s GPIO pins. These are also great if you’ve got an older 5V Noctua fan that doesn’t have PWM control.
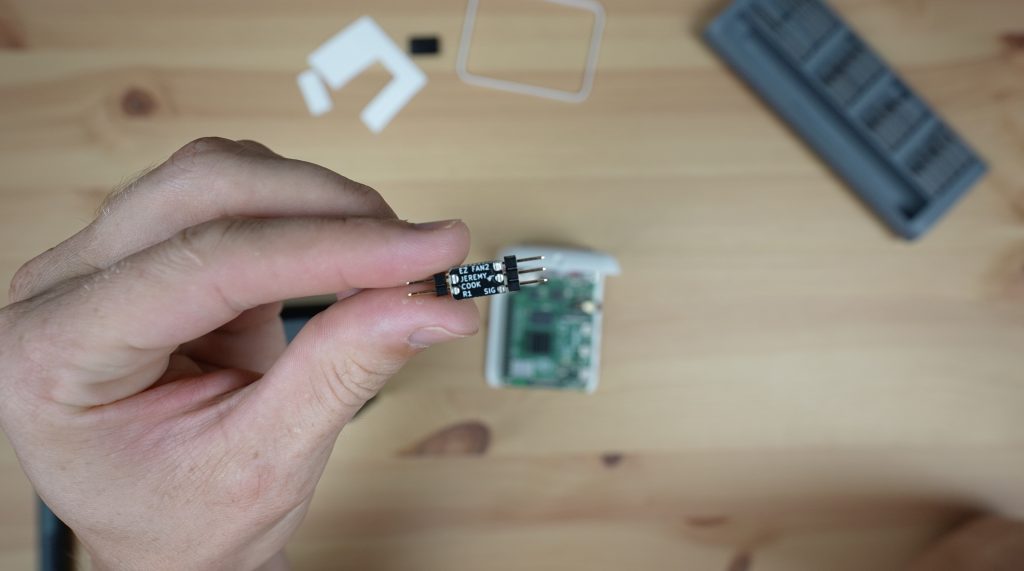
I’m plugging the fan into 5V, GND and GPIO14 with a short set of jumpers that I made up.
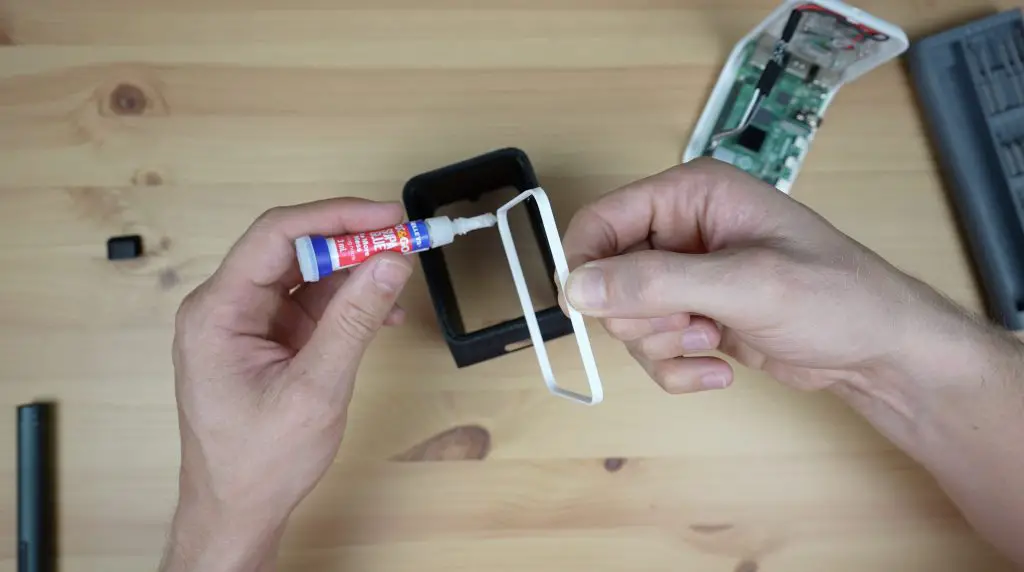
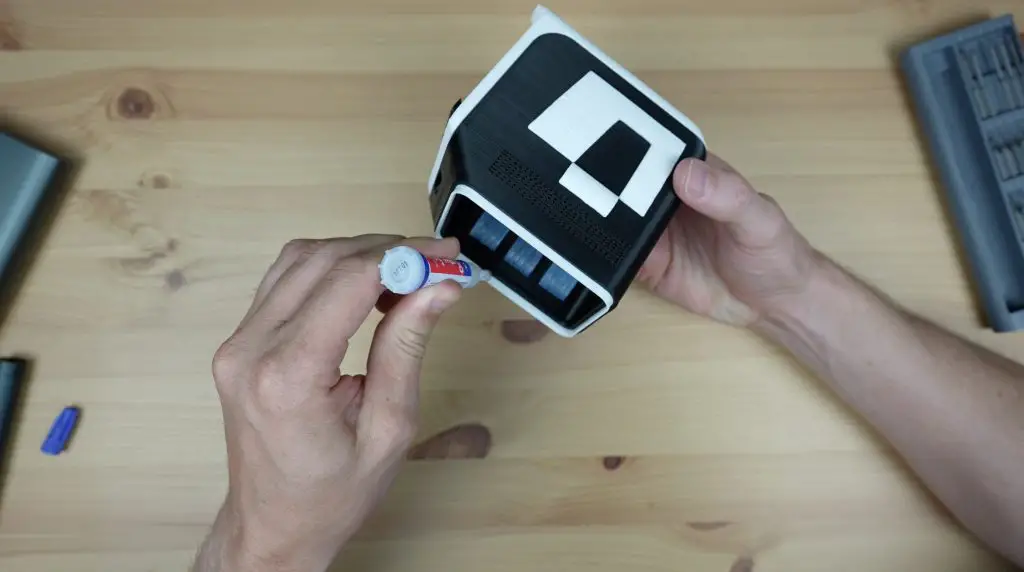
Lastly, we need to glue the small front leg onto the underside of this case section. I’m just going to use some super glue to hold it in place.
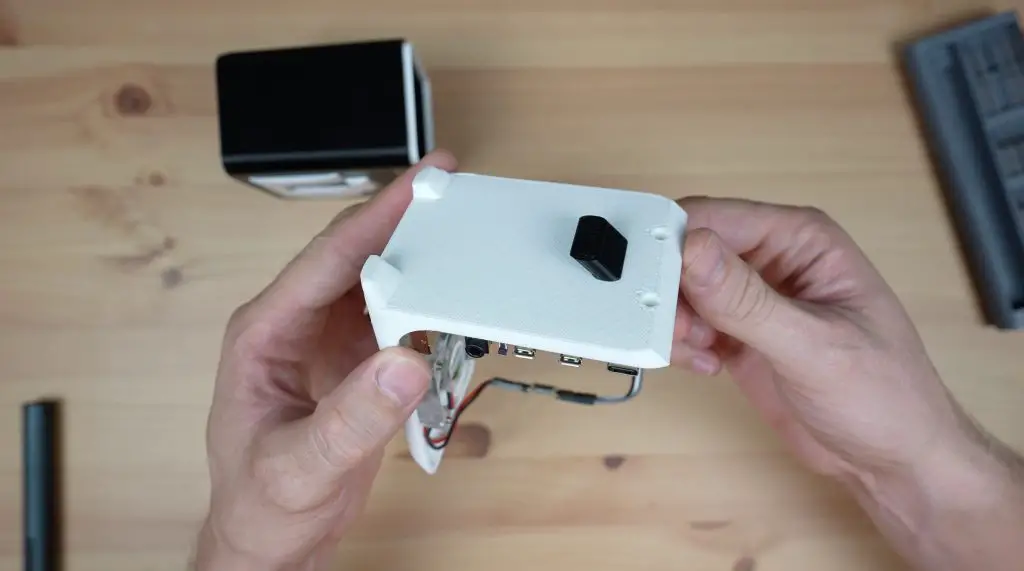
That’s the bottom half of the case down, now let’s finish off the top half.
Completing The Top AI Case Half
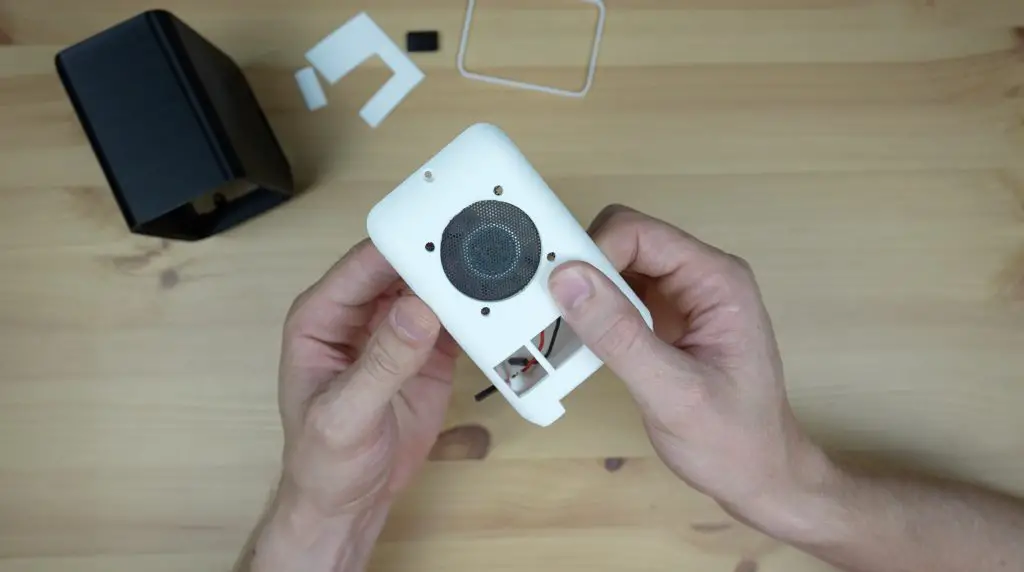
To finish off the top half, we first need to stick these white accent pieces onto the side of the case. I’m going to use some superglue on these as well.
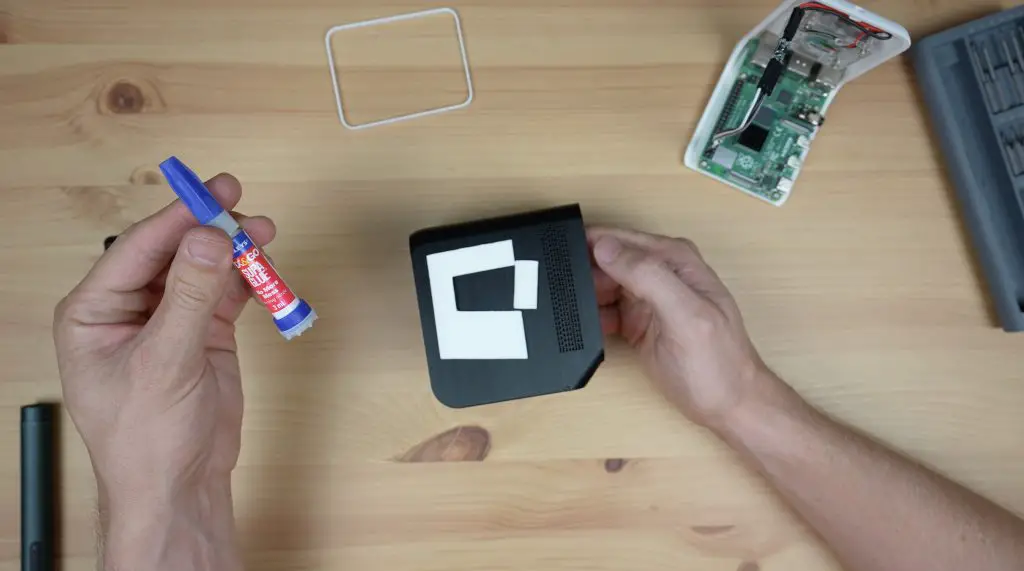
We can also stick the front bezel onto the AI case while we’ve got the super glue out.
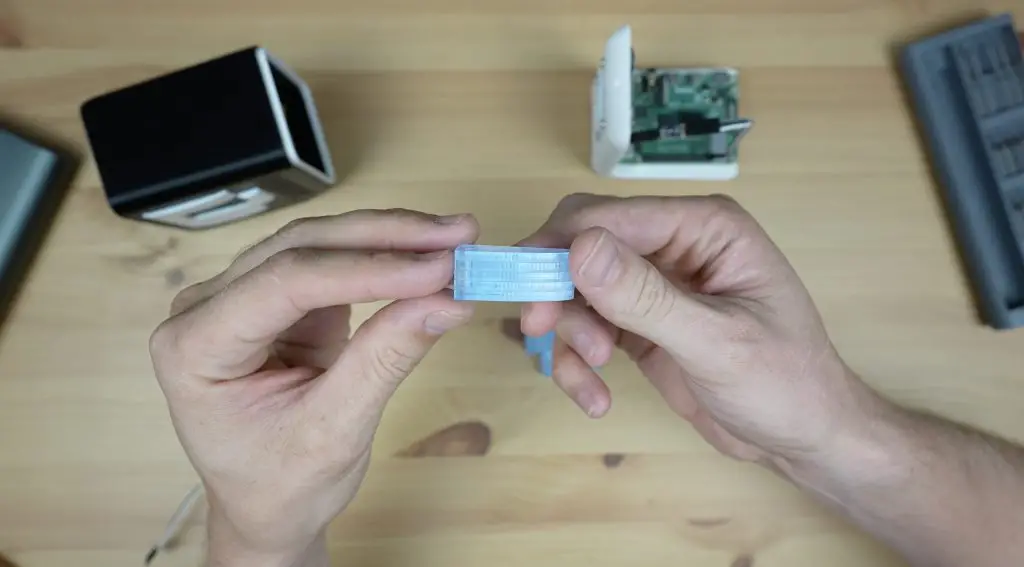
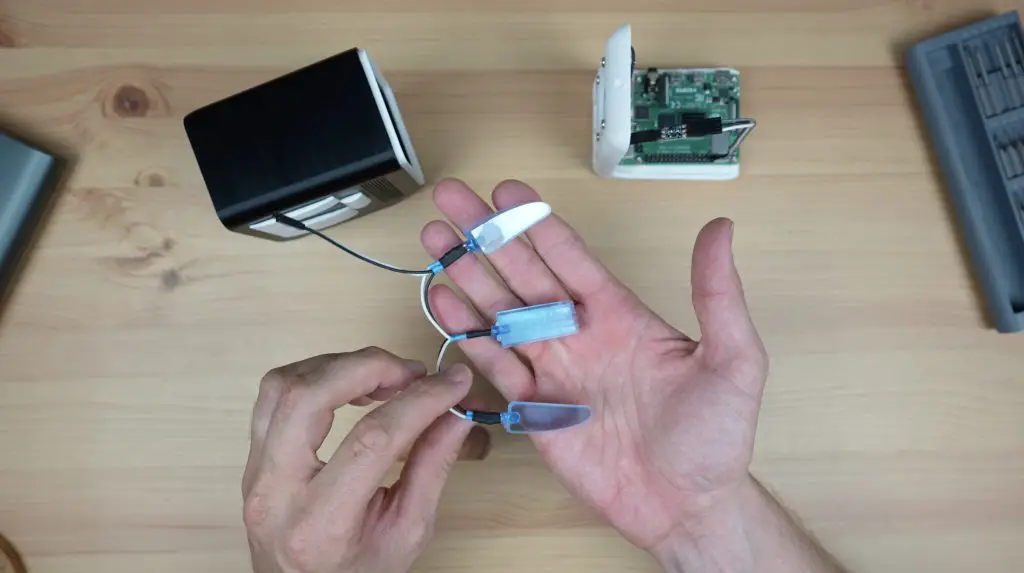
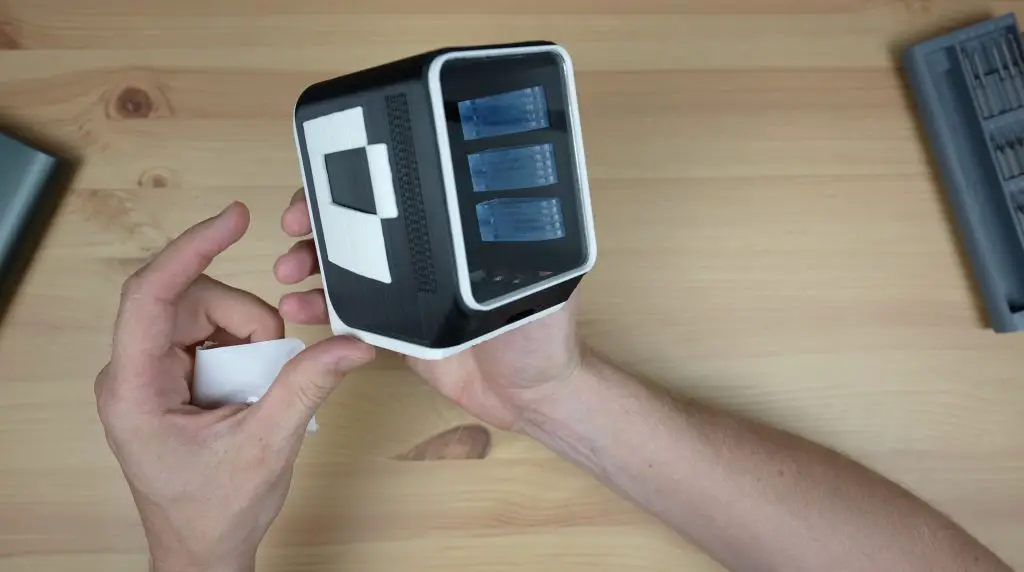
Now let’s make up the blue acrylic pieces. I laser cut these from 3mm fluorescent blue acrylic which I’ll stack together to form each of the three main pieces.
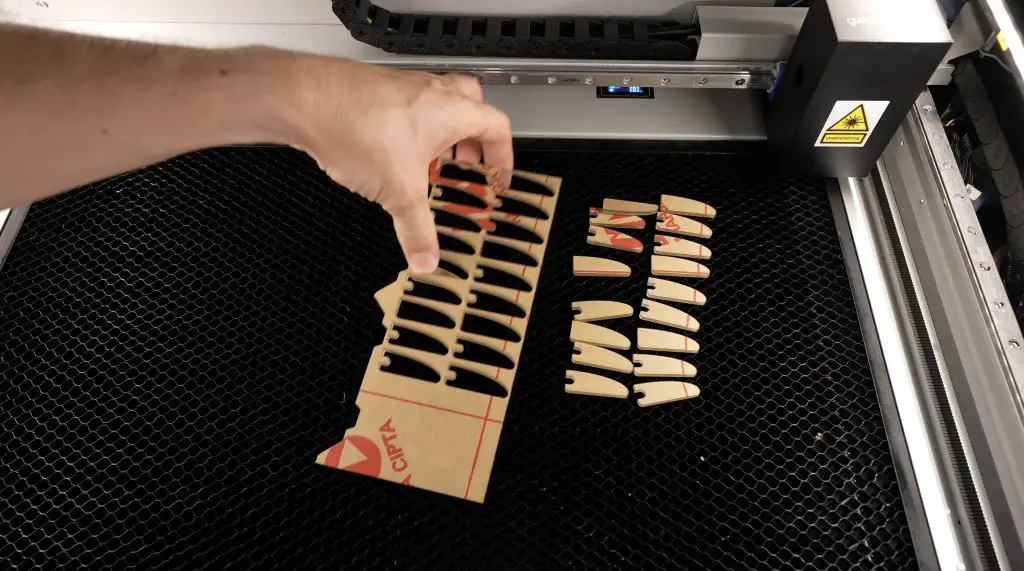
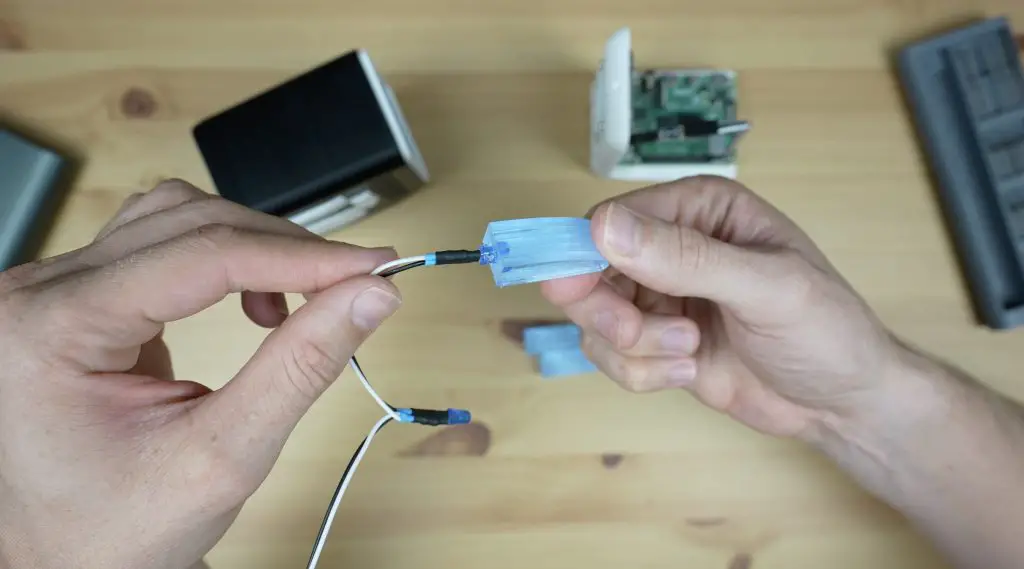
I’ve made up a string of three 5mm blue LEDs and the three middle pieces have an extra cutout at the back for the LED to light them up.
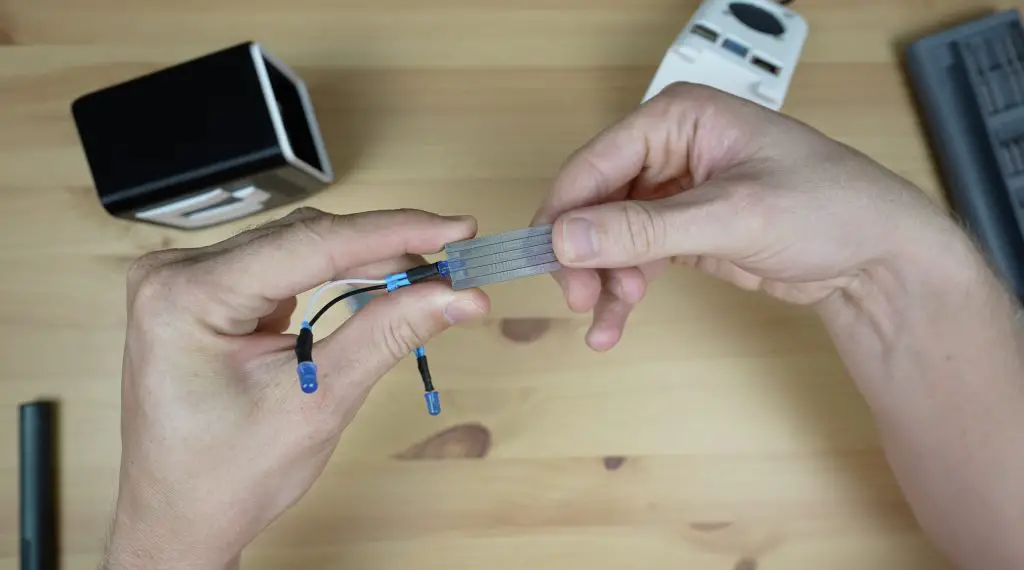
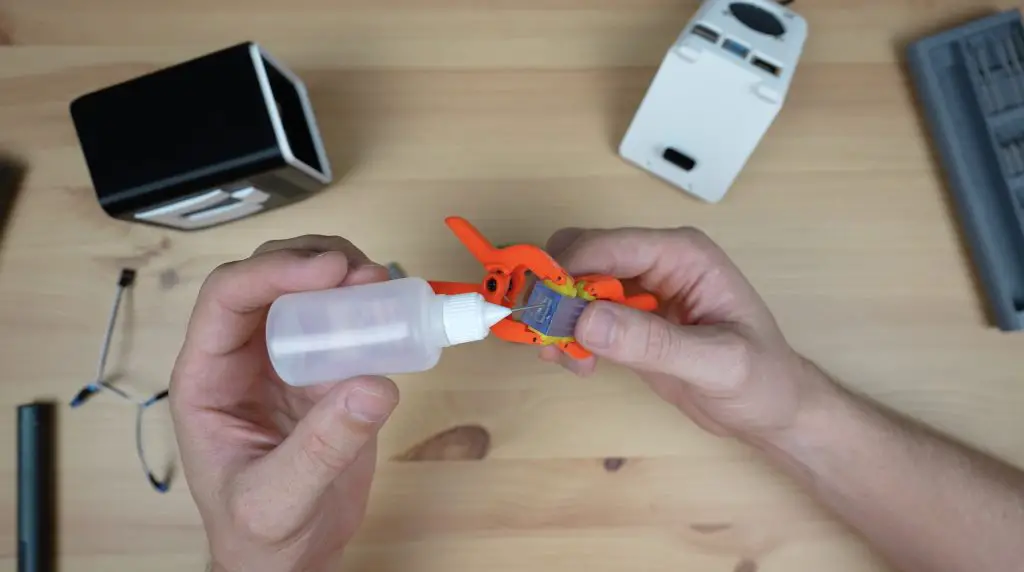
To make each one up, we need to peel off the protective film, then clamp the stack of five pieces together, and finally add a few drops of acrylic adhesive to the cutout to seep in between the layers to glue them together.
Then we just need to do that two more times to make up three in total. I’ve also glued a white strip onto the base of each one to lighten them up a bit more when they’re stuck onto the black case surface.
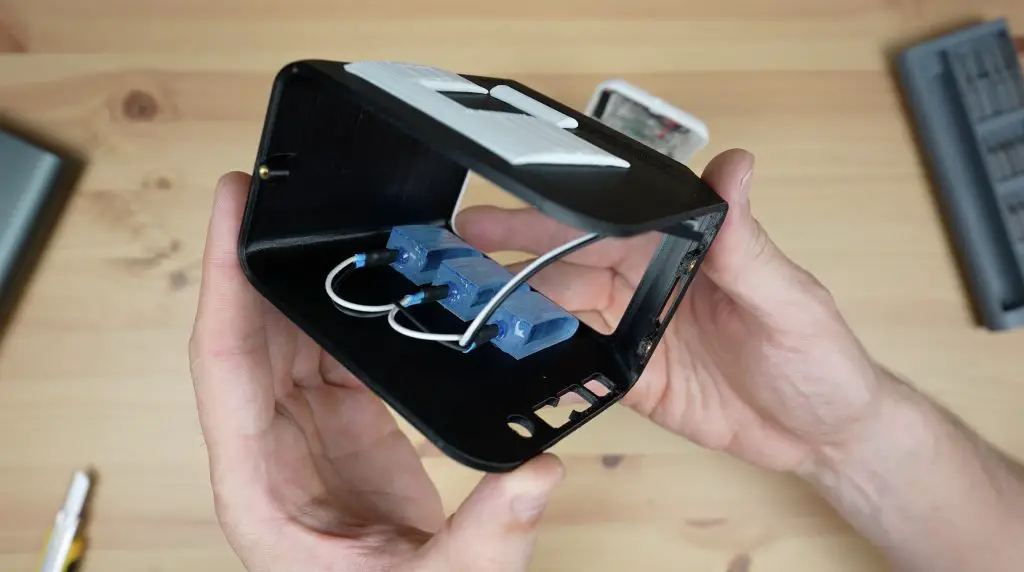
We can then glue the LEDs into place in each acrylic piece using some hot glue.
And then glue the pieces into place on the inside of the case.

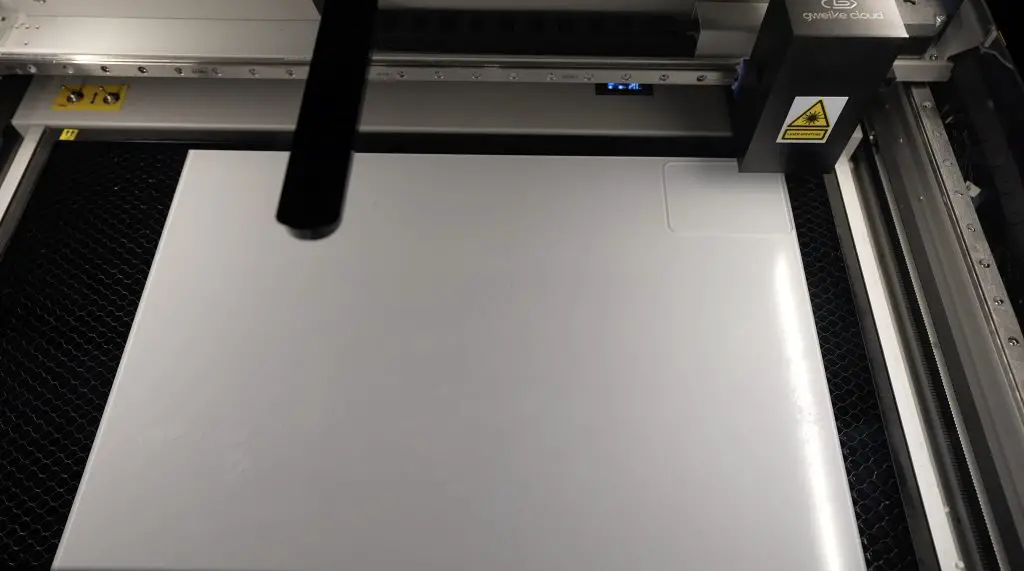
To finish off the top of the AI case, we just need to add an acrylic panel to the front. I laser cut the front panel from a sheet of 2mm clear acrylic.
I’m also going to stick this into place within the bezel using some super glue as we shouldn’t need to remove it.
Now we just need to plug the blue LEDs into the Raspberry Pi – I’m connecting them to 5V and GND.
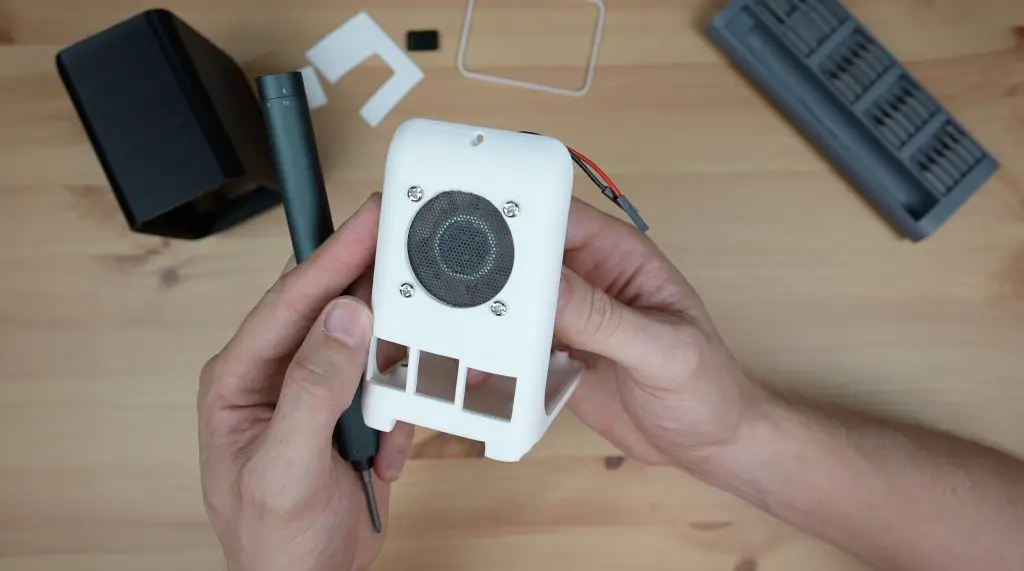
Then we can close the case up with three M2.5 x 6mm button head screws and peel the protective film off of the front panel.
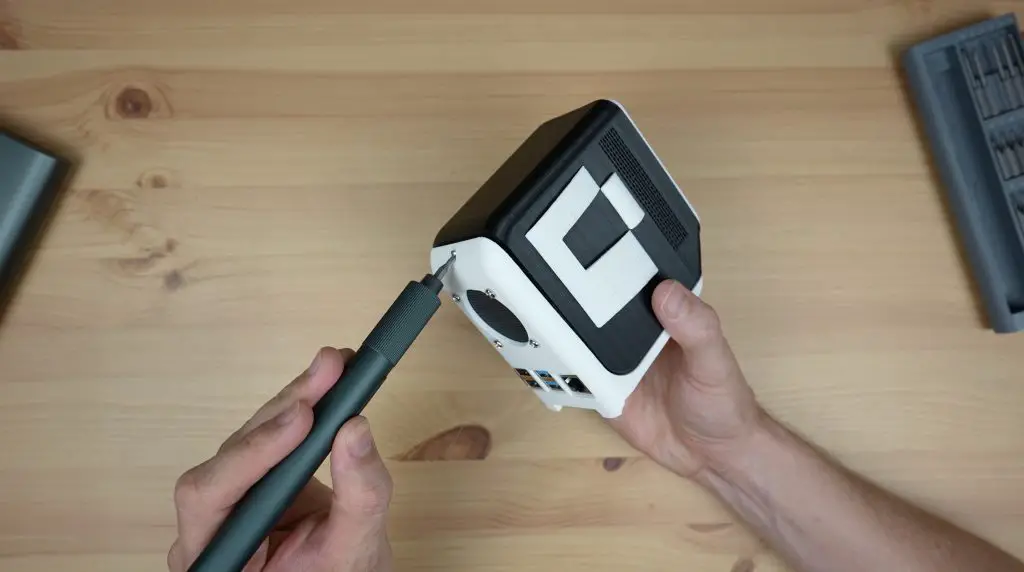
I really like how the back fan has come out with the black mesh over it.
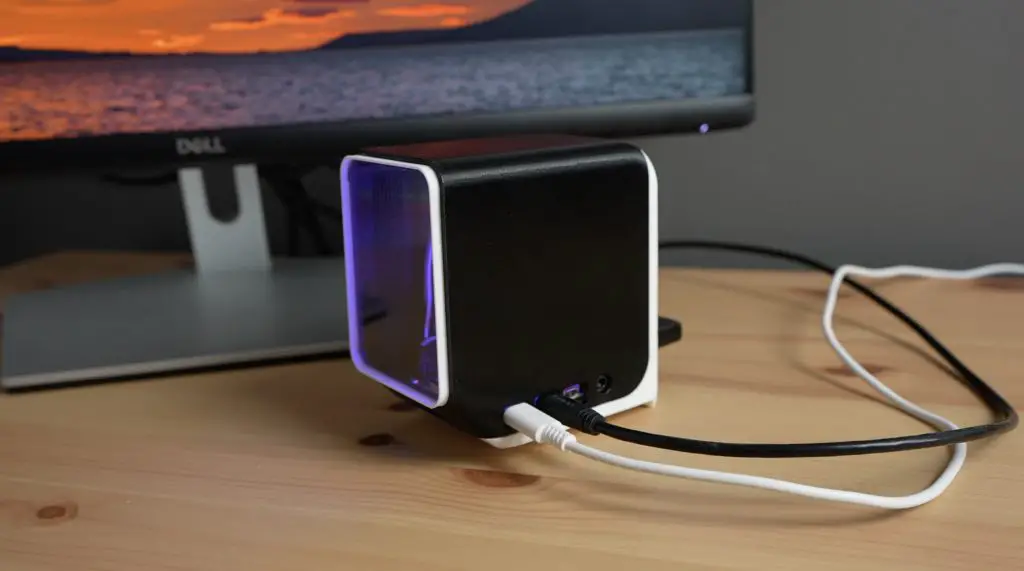
First Boot Of The AI Case & Powering The LEDs
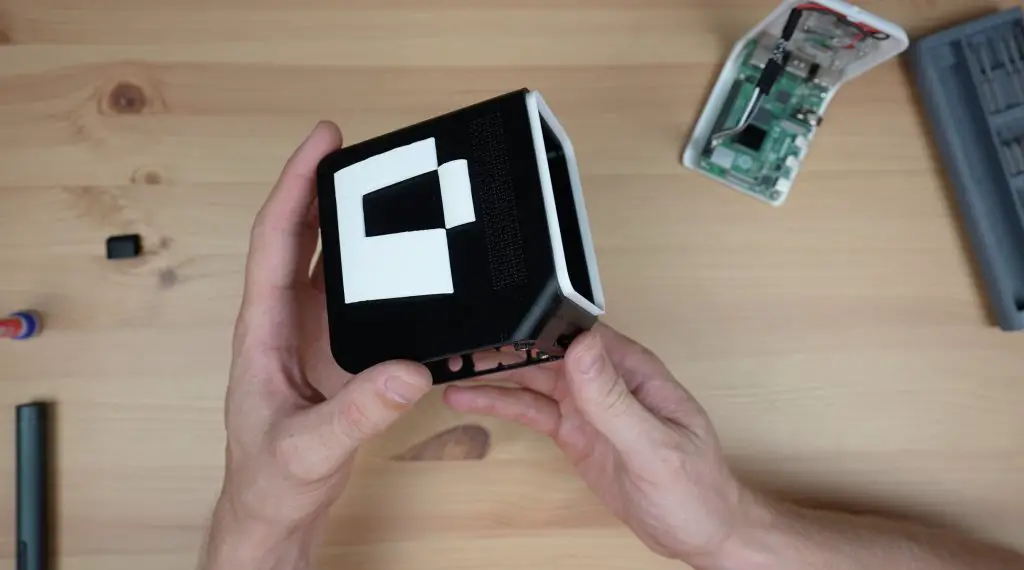
Now that the case is complete, we just need to add a microSD card through the slot in the front and we can then try boot it up and see what it looks like.
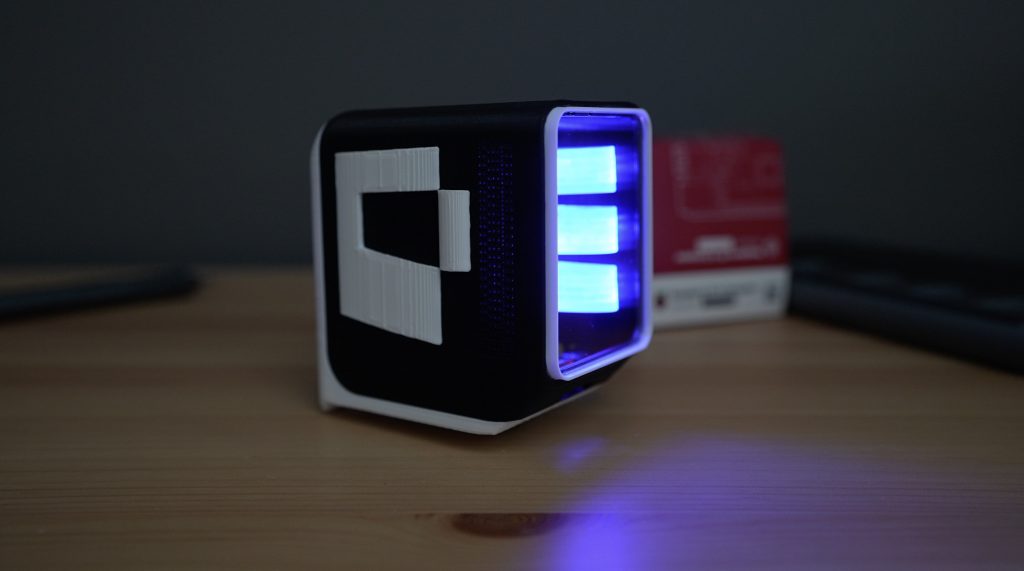
The light-up blue inserts have come out really well and give the AI case a really unique look. The design is probably not all that practical but it definitely looks cool.
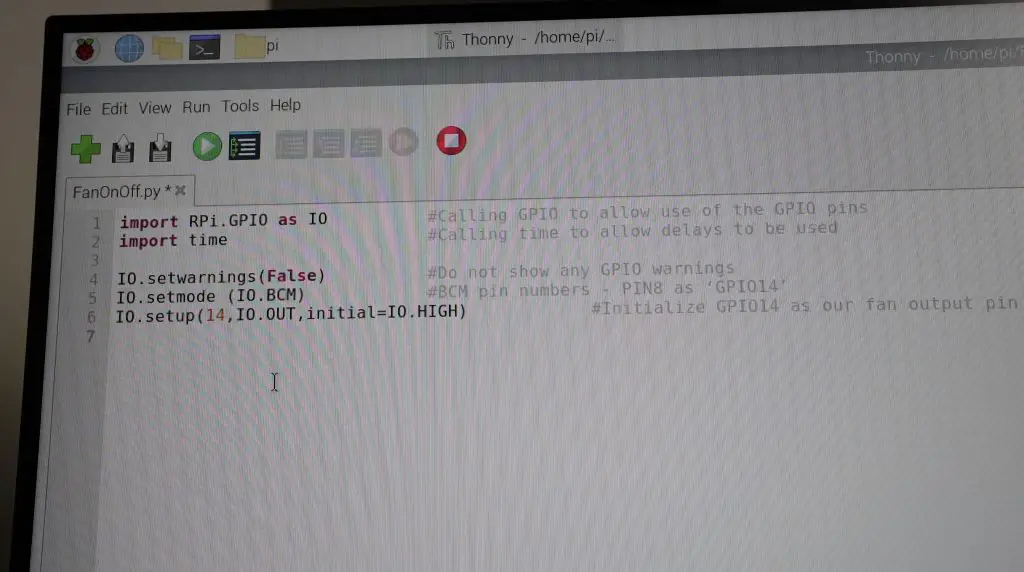
Using a simple script to set GPIO pin 14 high or low, we can also turn the fan on or off. I’ll probably adapt my PWM fan script that I use on my SSD case to simple on/off control for this, but at least the functionality is here and the Ez Fan 2 module is working correctly.
Overall I’m really happy with how this design turned out and I think I managed to get it looking closer to the AI image than I was expecting to be able to.

Let me know what you think of it in the comments section below, and also let me know if you think I should try making up one of the steampunk case designs that the AI generator came up with.
This sounds like a super cool project! I love how you’re using AI to come up with unique case designs. It’s funny that just typing “Raspberry Pi” didn’t work well. I once tried to use AI for a different DIY project and had a similar learning curve. Can’t wait to see how your resin printer turns that steampunk design into a real case. Do you think you’ll add more LED lights to the final product? And how will you ensure the fit for the Raspberry Pi is perfect?