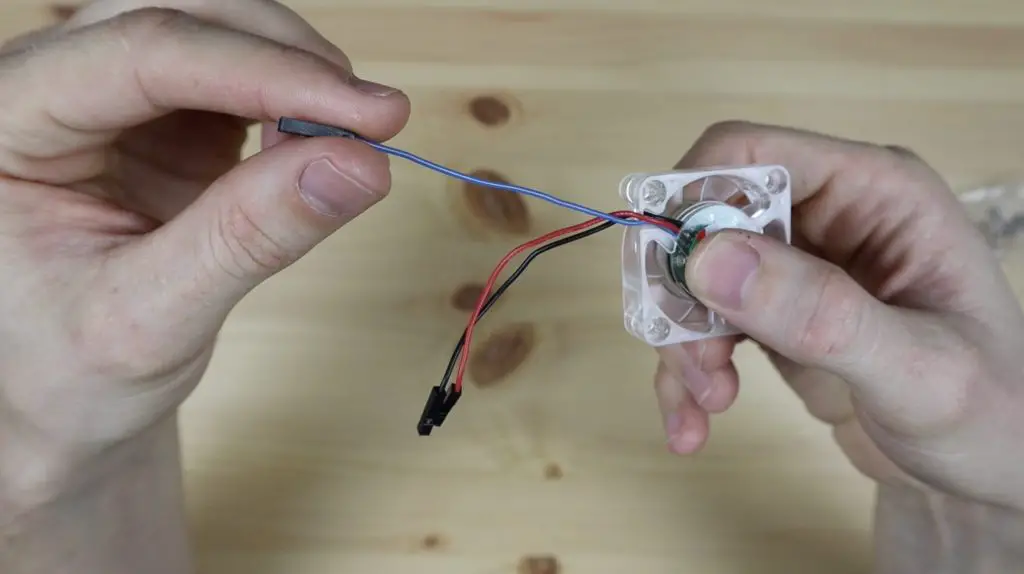
A month or two ago I got a 40mm RGB fan with a cooler. In addition to the usual black and red power input leads, it had a third blue lead for PWM input. This seemed like quite a nice idea, slow down the fan when the Pi doesn’t need it and I’d have a much quieter setup.
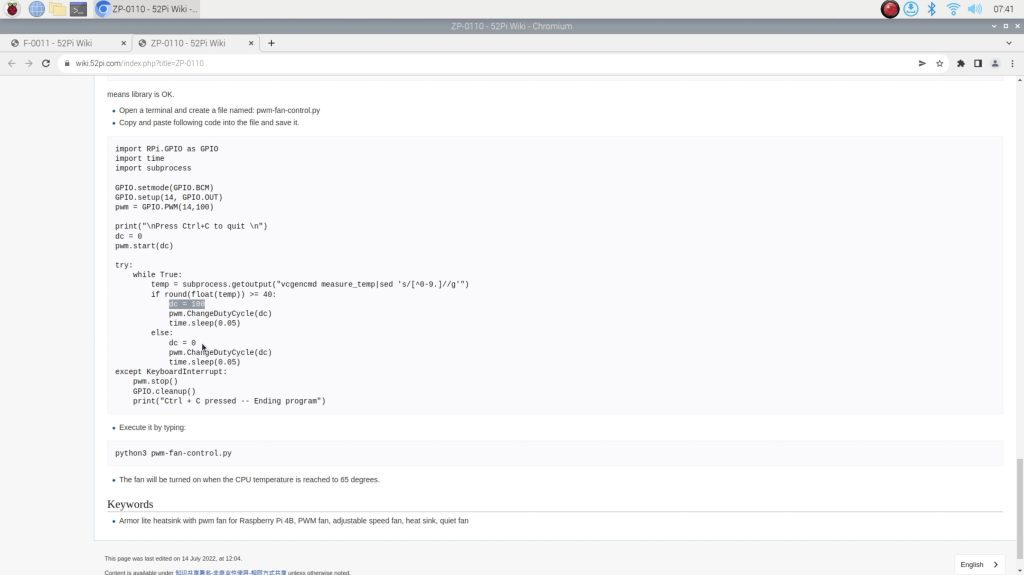
So I plugged the lead into the nominated GPIO pin, downloaded the supplier’s script and ran it, only it didn’t do what I thought it would. The script just turned the fan on at full speed above a certain temperature (I think this was 55°C) and turned it off completely below this temperature.
A bit puzzled by this odd use of the PWM control pin, I then searched for some other scripts and all of the ones I found had some variant of turning the fan on or off at a certain temperature. Some did this through a python script and some used Raspberry Pi OS’s built-in fan control setting.
This solution obviously has some benefits as the fan is only running when it needs to be. But it isn’t really using PWM control. In fact with the 5-6mA current draw that these fans typically have, you could probably just plug the 5V supply lead into one of the GPIO pins and turn it off directly, you don’t even need a PWM fan. I wouldn’t suggest doing this permanently as there is a higher start-up current and you’ll probably run into issues if you add multiple fans.
So in this tutorial, we’ll fix that and write a script to make proper use of our fan’s PWM input.
Here’s my video trying out the scripts and testing the fan noise, read on for the written instructions:
What You Need For This Tutorial
- Raspberry Pi 4B (This will work on any Raspberry Pi model) – Buy Here
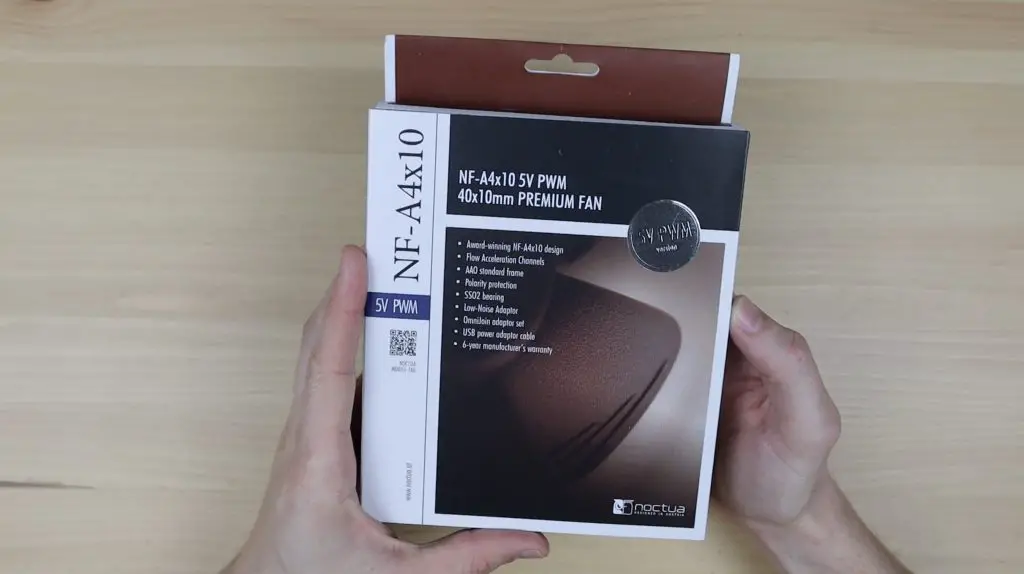
- 40mm 5V Noctua PWM Fan (Preferred) – Buy Here
- or
- 40mm 5V RGB Fan (Not as quiet) – Buy Here
- Jumper Leads (For Noctua Fan) – Buy Here
- Raspberry Pi SSD Desktop Case – Buy Here
Some of the above parts are affiliate links. By purchasing products through the above links, you’ll be supporting this channel, at no additional cost to you.
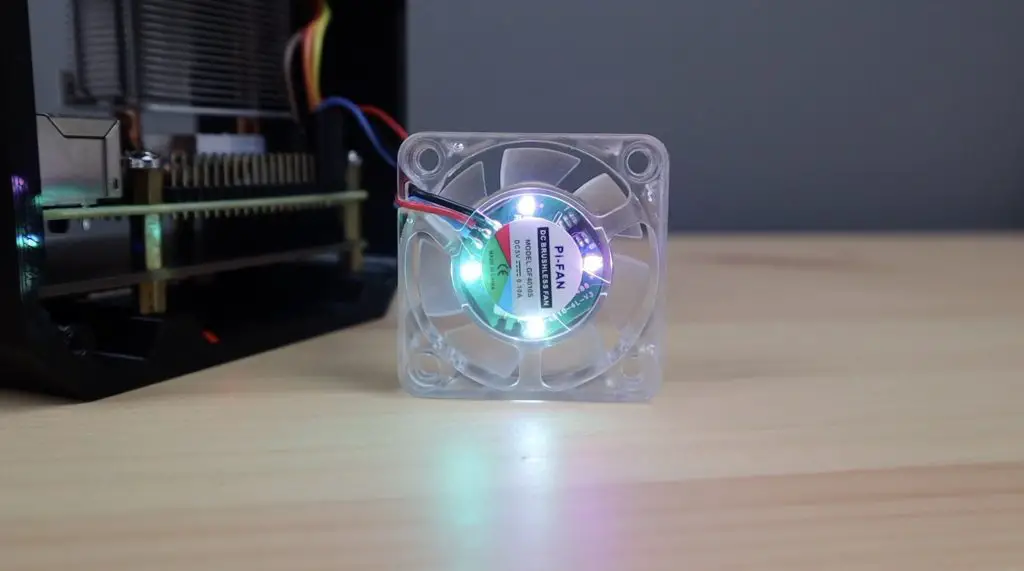
Testing The 40mm 5V RGB FAN
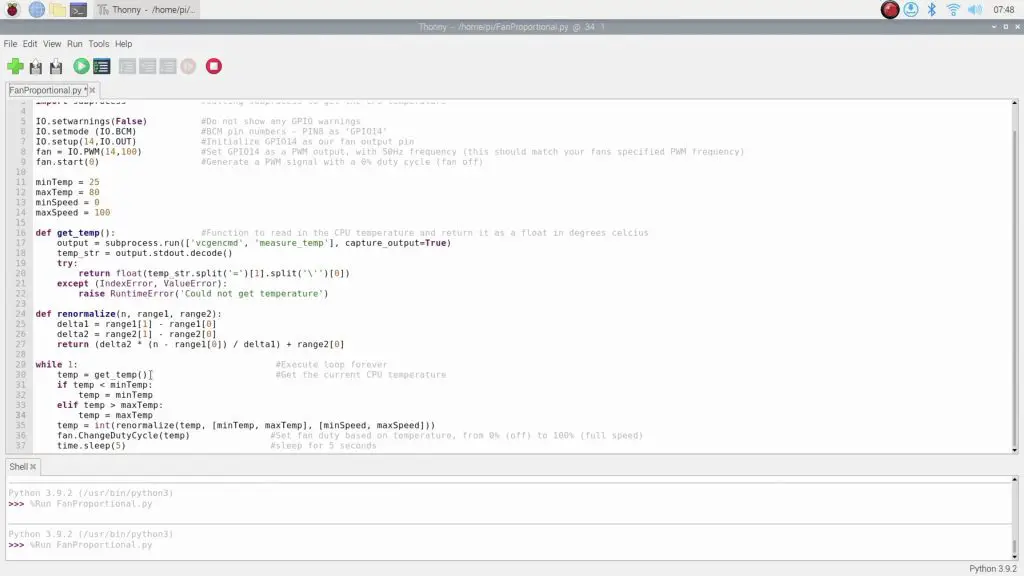
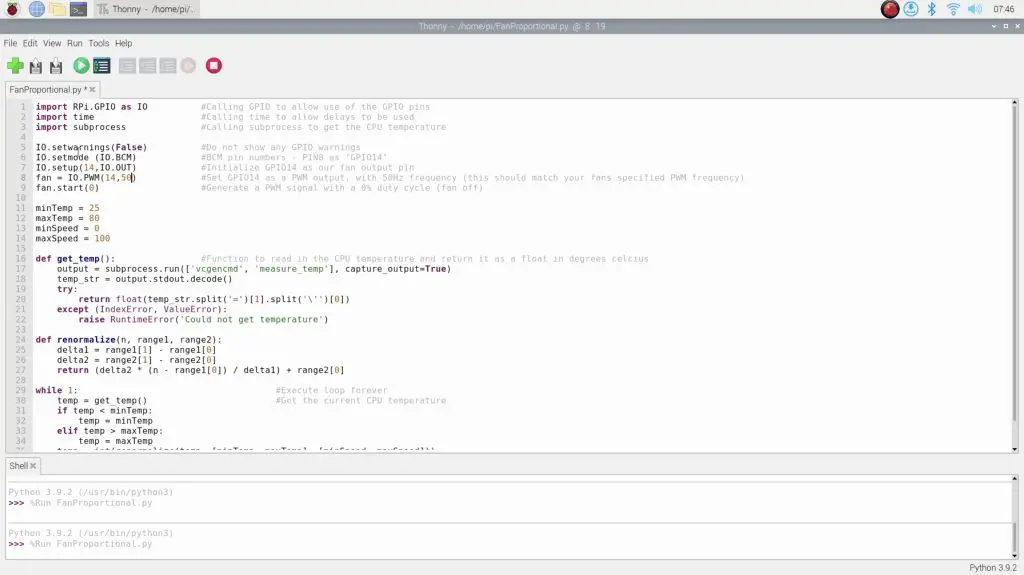
I started out by writing my own PWM script that actually uses a varying PWM output to control the speed of the fan, not just turn it on or off. The script fetches the CPU temperature, then scales the temperature from a range of between 25 and 80 degrees and turns it into a fan speed between 0 and 100, then sets this as the PWM fan speed.
You can download the script from my Github repository. I’ve included instructions further along on installing this script and configuring it to automatically run on startup.
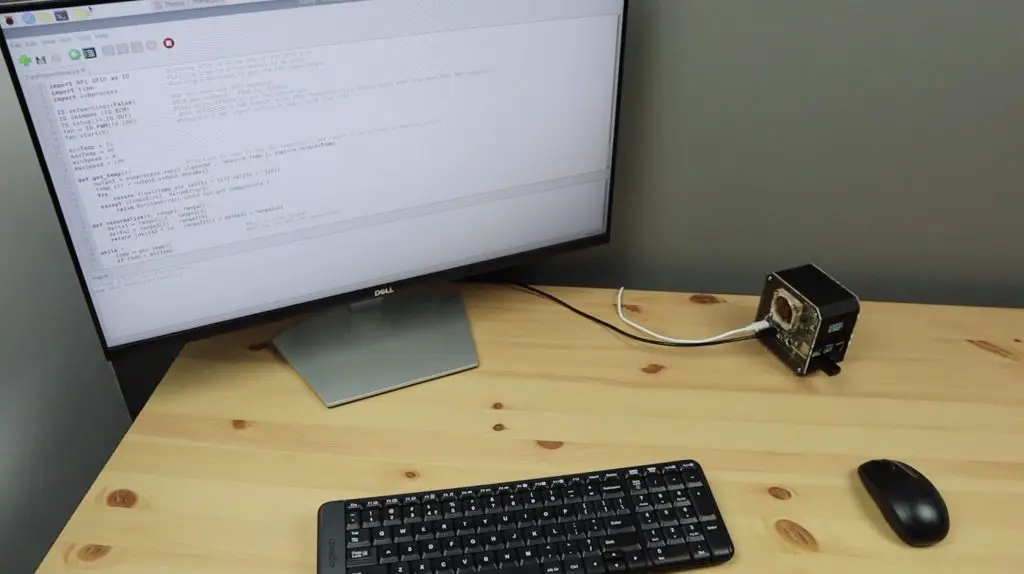
I plugged the fan into 5V, GND and GPIO pin 14.
Then I hit run to try it out.
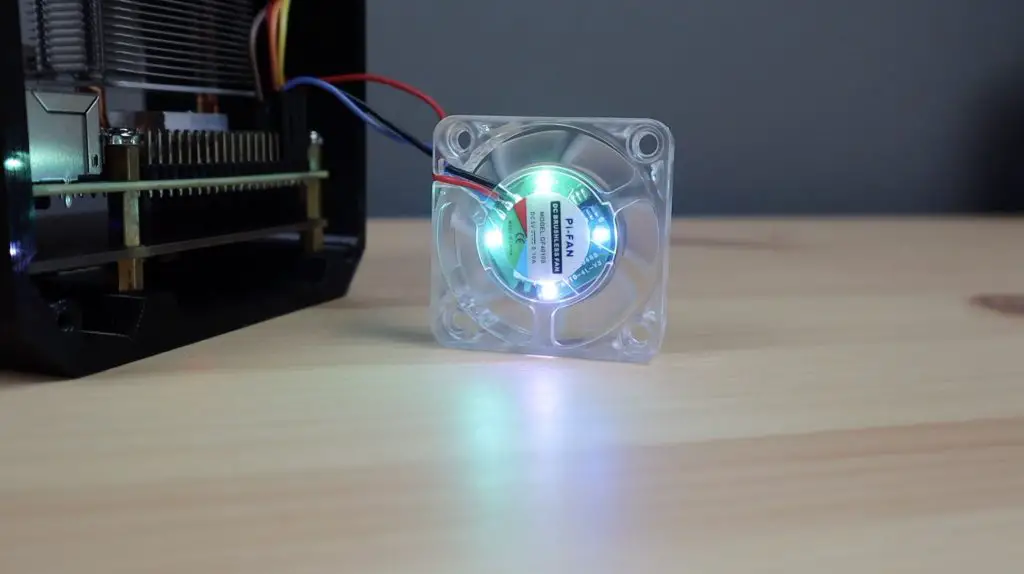
This is when I figured out why these scripts all just use 100% on or off as their so-called PWM control. These fans sound horrible if you actually try varying their speed. Running at any level of reduced speed, they’re way louder than they are when running at full speed, so there really is no point in reducing their speed.
I thought that this might be related to the PWM frequency. I had this initially set at 100Hz, as this is what was in the other scripts, but I tried reducing it to 50Hz, and increasing it to 120Hz. This made very little difference, it just changed the frequency of the noise that the fan produced.
And this wasn’t just a bad fan, I literally tested this on over 10 different fans and from different suppliers. Some were a little better or worse than others but they were all noisy to the point where it was quieter to just run the fan at full speed all the time.

Testing The 40mm 5V Noctua Fan
I then recalled buying a Noctua PWM fan for a build a while ago that I had never gotten around to using. This has a four-pin connector as it provides RPM feedback as well as PWM control, but we’ll just leave the RPM feedback disconnected for now.
You’ll need to replace the MOLEX connector or use some male-to-female jumpers to pick up on the pins to connect it to your Pi.

Like with the RGB fan, I plugged this fan into 5V, GND and GPIO pin 14 and tried out the same script.
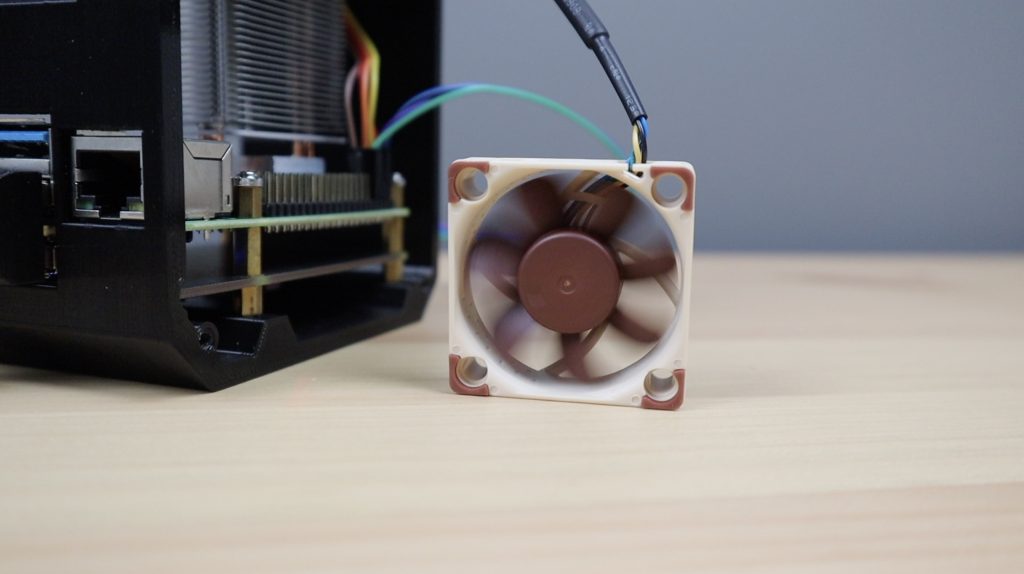
This time it ran perfectly. Noctua fans are known for being quiet, and being a small 40mm fan you can still hear some fan noise at full speed, but anything under 50% is practically silent. You can also actually slow the fan down to almost zero without any issues or weird noises coming from it – something the RGB fan struggled with.
Installing And Using The PWM Fan Control Script
When I was happy with the way in which the fan control worked, I then cleaned up the script. I actually landed up making two versions of it.
The first is the one that I used for my testing. It turns the fan on when a minimum temperature has been reached and then ramps the speed up sequentially to full speed at the Pi’s thermal throttling temperature of 80 degrees.
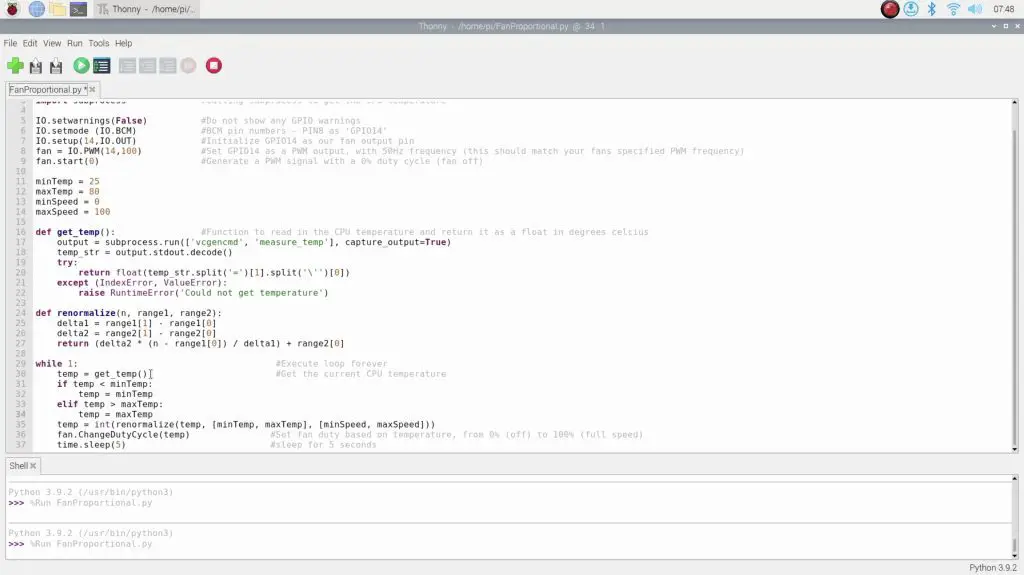
This is fine for the Noctua fan, but if you use a fan that produces any noise or frequency hum then it gets annoying having the pitch of the sound constantly changing. So the second script addresses this.
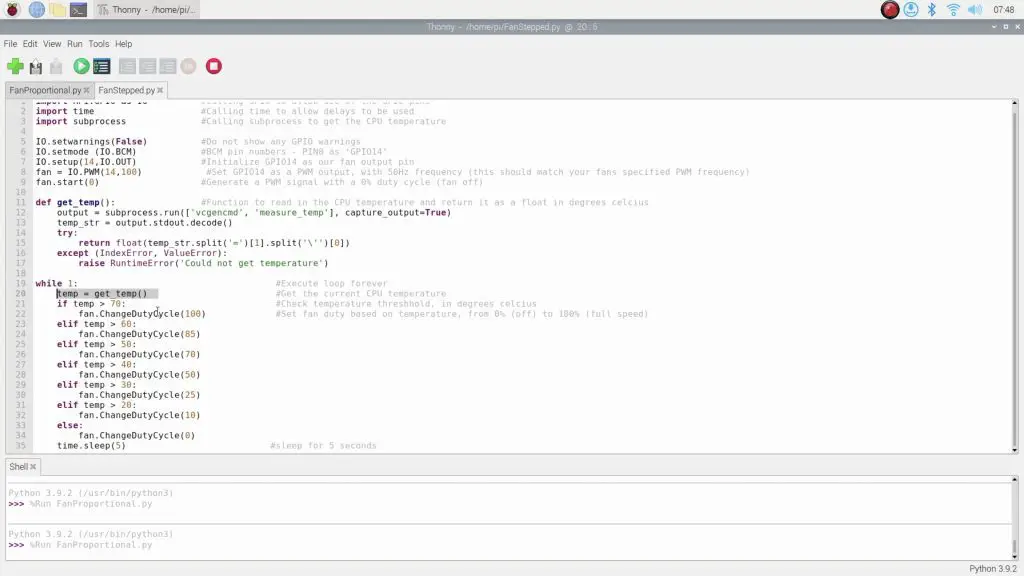
The second script ramps up the fan speed in steps rather. So anything over 25 degrees is 25% on and this then increases in steps with each temperature band. This means that the fan operates at a fixed speed for a given temperature range, so the pitch of the sound it makes doesn’t change that often.
To install the scripts from my Github repository and get them to run automatically on startup, use the following commands.
Update your Raspberry Pi’s software and reboot the Pi:
$ sudo apt-get update
$ sudo apt-get full-upgrade
$ sudo reboot
Download the fan script from Github:
$ git clone https://github.com/mklements/PWMFanControl.git
$ cd PWMFanControl
$ cp FanProportional.py ~/FanProportional.py
$ cp FanStepped.py ~/FanStepped.py
Set up crontab to run the script automatically on startup:
$ crontab -eAdd one of these lines to the end of the crontab file, depending on which script you’d like to use:
@reboot python3 /home/pi/FanProportional.py &or
@reboot python3 /home/pi/FanStepped.py &You can then remove the downloaded folder and reboot your Pi to test it:
$ sudo rm -rf PWMFanControl
$ sudo reboot
If a quieter fan is something you’d like to try, then I definitely recommend getting the 40mm 5V Noctua fan that you can actually PWM control without increasing the fan’s sound. It’s obviously a lot more expensive than the clear RGB ones shipped with most cases and coolers ($15 vs $5.50 at the time of writing), but it might be worth it if you value silence.
I’m interested to see if anyone has had any luck with getting the clear RGB fans to run quietly under PWM control, if you have please let me know what you did in the comments section below.
Hello,
Thanks for this tutorial, how can you stop the fan spinning when the raspberry is off ?
thanks !!!
Doesn’t it do that already?
my PI speeds up i have to disconnect to power cord to fully shut the Pi down.
changed hats (nvme)
changed operating systems
changed pcie cable
idk
Dear Mr. Klemens
I am working on a project to use the over power from my little PV unit.
At the moment a have a measurement ESP on the Grid Meter and an ESP with PWM at the heater.
Between is a Raspberry PI zero W.
The controlling is done by IObrocker and a little Blocky program.
The Hole structure is not fail save.
Because if the IObrocker sent no data (Communication is lost) to the ESP, the ESP is in his last status und also the over temperature is no longer a security protection because it is all controlled by the blocky program on the IObrocker.
The Blocky program controlled the power of the water heater by PWM of the Tasmota ESP. If the temperature ist more than 60 Grad Celsius than the power will stop.
So my idea was to eliminate the ESP at the water heater und use only the PI with its GPIOś.
Therefore it would be fine to use an IO Broker Adapter with PI GPIO PWM is integrated.
Please is it possible to integrate one PI GPIO with PWM funktion as in Tasmota?
If you have a solution super perfect.
I am willing to pay for the integrated a fee.
If you are willing I am also happy if you can realize my project of PV to heat.
I will sent you all information of my system.
Please sent me the cost of thatch a Software.
I am a newcomer in Software therefore it is not sufficient to do it by my one.
Best Regards
Freddy
Try to acitvate I2C.
Not able to get the script to work? Running Noctua 40mm PWM, RPI4 2GB, Ubuntu 23.04 desktop.
I saved the .py to /home/ I did not save it to /home/pi/ so I used the former when editing crontab. Since its a new install it asked me to select an editor after crontab -e I selected 1. and hit enter. when I edited the file I just scrolled to the bottom and added
@reboot python3 /home/FanStepped.py &
Then closed -> it asked if I wanted to save I said y and enter then since the file was a temp I specified the target location to be /var/spool/cron then rebooted that didn’t work so I also tried /var/spool/cron/crontabs rebooted and that didn’t work either.
I installed python3 and GPIO as I think they are dependancies for this to work what am I doing wrong or are there other dependencies that need to be installed.
Versuchen Sie i2C zu aktivieren.
Having some trouble getting this .py script to run.
System setup: RPI4 2GB, ubuntu 23.04 desktop, noctua 40mm pwm fan.
Fan turns on with power until ubuntu loads then turns off.
Not sure all dependancies that need to be installed for the script to work but installed python3 and GPIO.
I also saved the FanStepped.py file to /home/ not /home/pi/
So when editing crontab -e since new install opened up in a temp folder
I added:
@reboot python3 /home/FanStepped.py &
when saving instead to temp I tried to save to /var/spool/cron as well as /var/spool/cron/crontabs none of this seems to allow the script to run?
crontab -e loads the cron table from a copy that gets saved in tmp. When the editor is closed, the saved file is automagically updated to the correct location and the (ana)cron process updated to know about the changes. If you edit the file directly FROM /var/spool/cron, you would need to manually perform the update
Nice tutorial. Can you send me images exactly how you connected the cables to GPIO pins ?
GPIO14 is a software PWM pin, not great, thus the noise. Switch to GPIO 12,13,18 or 19, hardware PWM, and your problem with frequency noise should be resolved. May still have to play with frequency, but 100 worked for me with a no-name 3pin fan. Also to anyone trying this, test the fan while not mounted as the frequency can cause physical buzzing through the fan frame or wires.
Hi Michael, I was very pleased to find this tutorial. I’ve got a Pi4 with a DAC HAT in a HighPi case to run OSMC media centre software. The Pi idles around 53-55C but reaches 65C or more when playing audio files and I wanted to see if I could bring this down a bit. The case can hold a HighPi 5V 3-wire fan, which I started set up so that it just comes on 100% at 70C – this obviously does a job but is quite noisy. Testing the fan separately on another Pi, I find that it runs quite well using your “stepped” code and is pretty quiet when running at 15-25%. Hoping I can now get this running properly on the Pi4 but I’ve had problems with the GPIO Python library which gives an error message “Not running on a Raspberry Pi” – clearly not true!
Hi Phil,
Happy to hear your found this helpful. Yeah, running a good quality PWM fan at below 50% speed makes it near silent and you still get a fair amount of cooling out of it.
Hi Michael,
Thank you for your work on this – it inspired me to dive into the topic further and apply it to my system.
My fan was also on the cheaper side and testing your scripts I could reproduce the “clicking” noise when running at anything below full speed. However, this was only true at frequencies of ~100Hz. Without being able to confirm the specs of my specific fan, I have found some sources, including in the comments of your youtube video, that a frequency of 25kHz would be more common for these fans. Indeed, changing the frequency to 25kHz made the noise go away completely at reduced speeds. Perhaps worth noting is that for my setup is that I am using GPIO12 since it has a hardware PWM that I control with the pigpio library.
:bow:
Hi Michael,
Your Script runs perfectly on my RPi4 Cluster, but with the new RPi5 It doesnt seem to work. Maybe you could give a little advice how to get it running?
Thanks in advance and keep up the good work !
Some problem with my Pi5 – maybe @Michael you know why and have a solution?
Thanks!
Hi Michael,
your Script works perfectly for my rpi4 Cluster, but it seems that it doesnt work with the rpi5. maybe you could give me a little advice how to run it on them?
Thanks in advance and keep up the good work!
I also installed on PI5 with Noctua fan. The fan rotates always at 100% 🙁
Fantastic work! Thanks for the script and the tutorial! I 3D printed an enclosure, which allows for an 80mm fan and paired it with a 5v Noctua. This setup is completely silent and stays under 40c.
Would this work with the nf-a4x10-5v (the one that has no pwm, but has 3 wires)?
Or is the 3rd pin only for RPM reading?
Nice tutorial Michael, Your YT channel is amazing, you are one of the better DIYers out there. This fan control if updated would work great with the Radxa mini SATA SSD NAS Hat.
Thank you for sharing.
Raspberry pi 3 B+ model could also be good to run this script with like an Argon Mini PWM fan?
My only propblem is I cannot find a fan control mode of performance menu under raspi-config. Therefore the fan is working connected onto the GPIO pins with always “ON” mode. But “PWM” mode no really.
Also put the config.txt part at boot, but nothing happens.
Might be the raspberry pi the problem?
Hi, I just released a rust based service controlling fan speed: https://github.com/zazabe/rpi-fan-controller
Tested on RPi4B with Noctua NF-A4x10 5V PWM
Great, thanks for sharing!