Installing crown molding or cornicing is an easy an inexpensive way to drastically improve the appearance of a room and add value to your home. This is the perfect weekend project to upgrade a plain room into an elegant living space. Modern polystyrene molding is cheap, light and can simply be glued in place with molding adhesive or contractor’s acrylic. Alternatively, wood or plaster crown molding is also easy to install although it is a little heavier and usually requires nailing to install.
What You Will Need
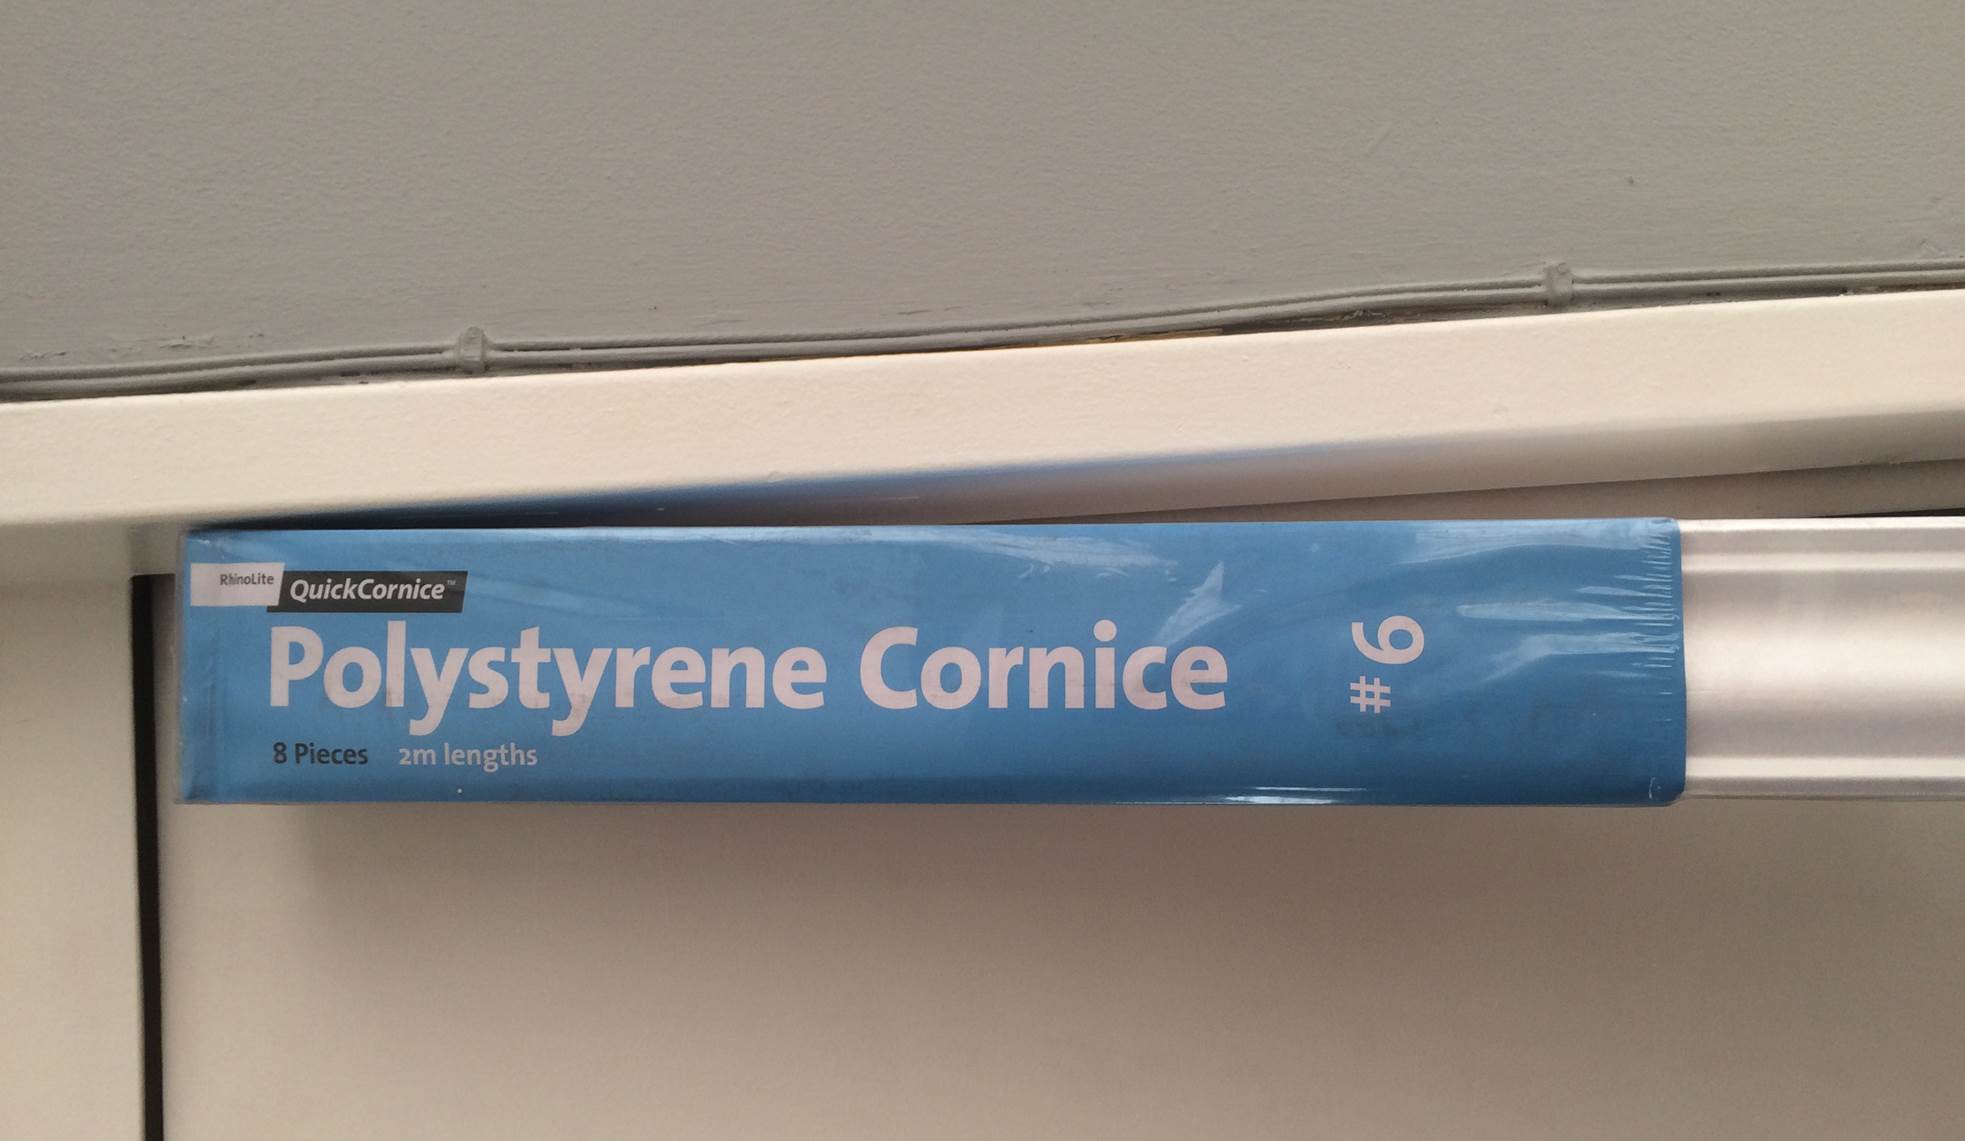
- Crown Molding or Cornicing (10% More Than The Perimeter You Need To Cover)
- Molding Adhesive (1 Canister Usually Does About 10m)
- Caulking Gun
- Mitre Box
- Craft Knife
- White Acrylic Paint
- Paint Brush
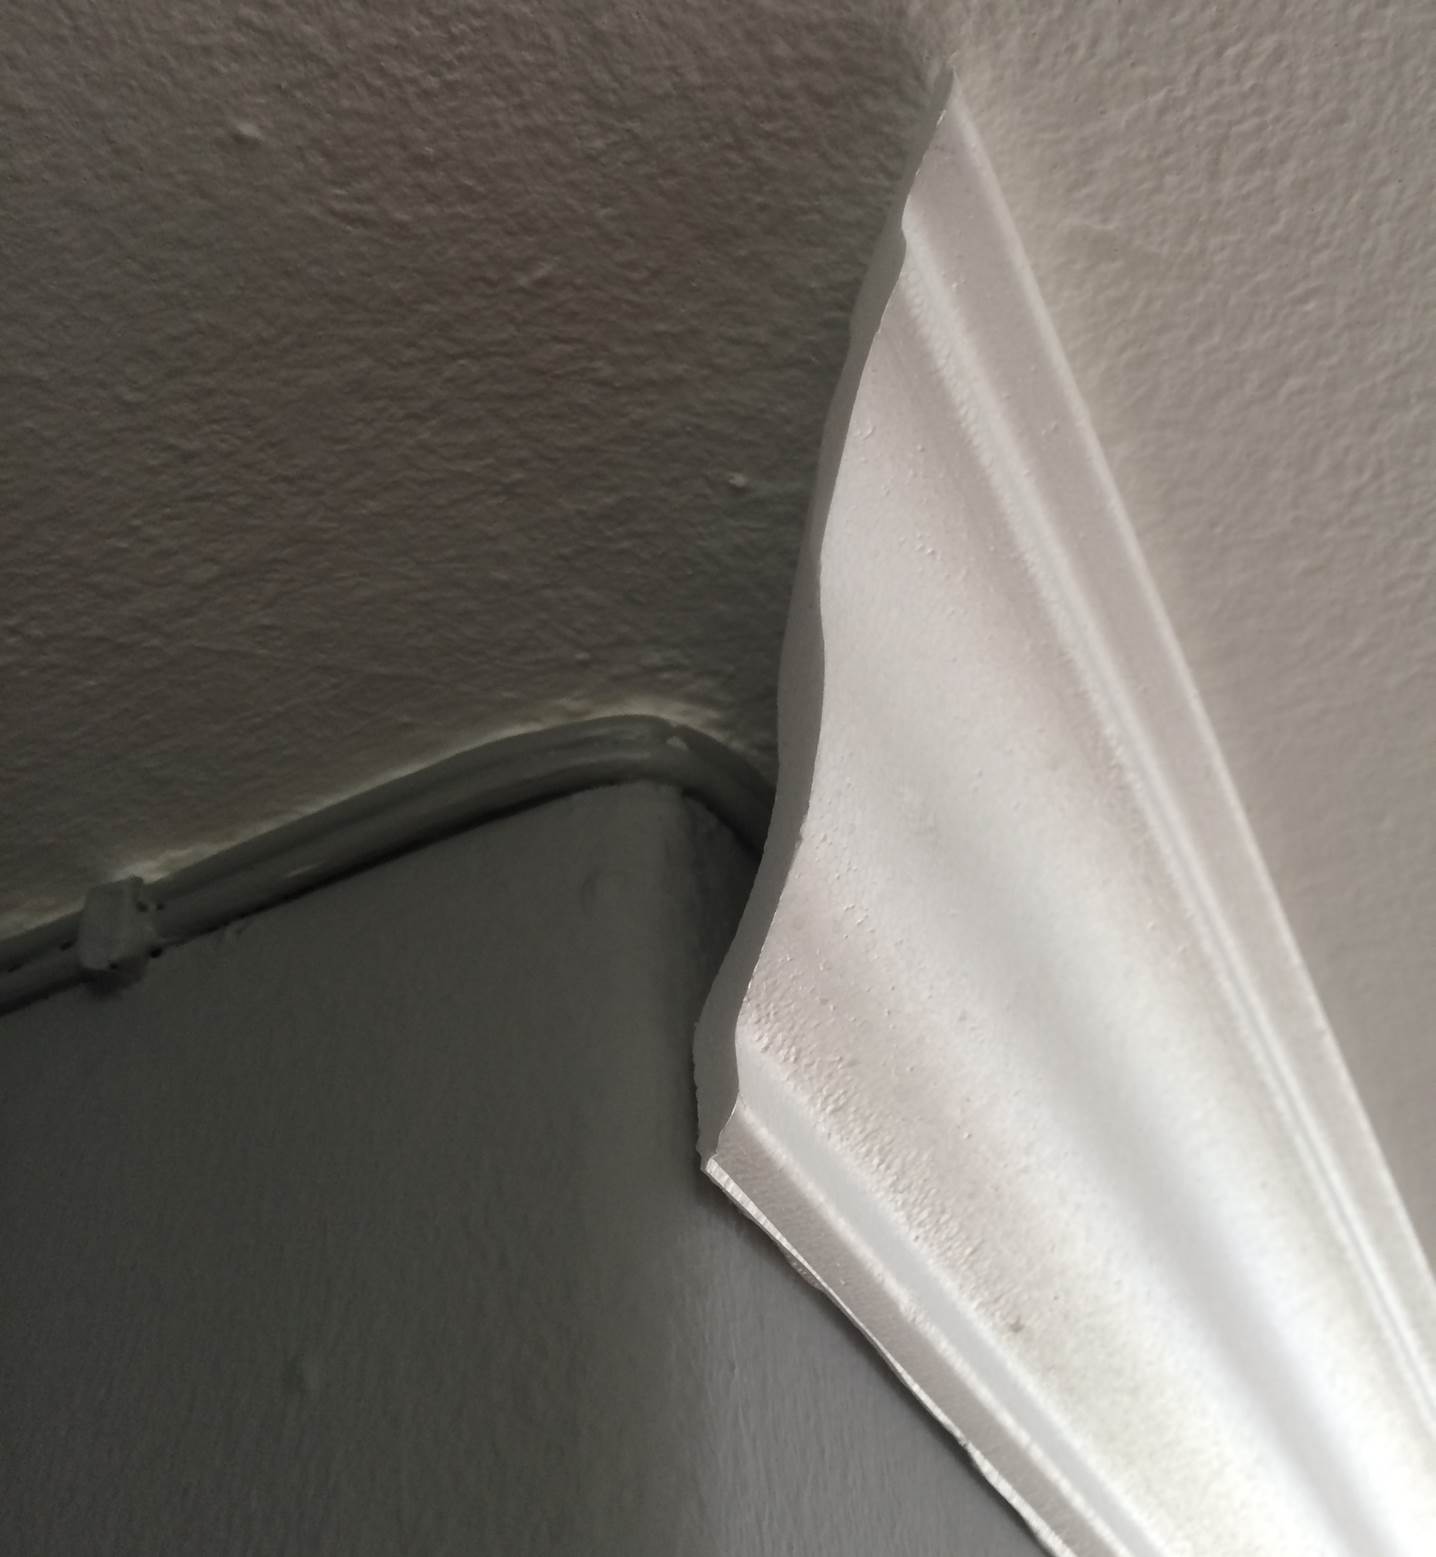
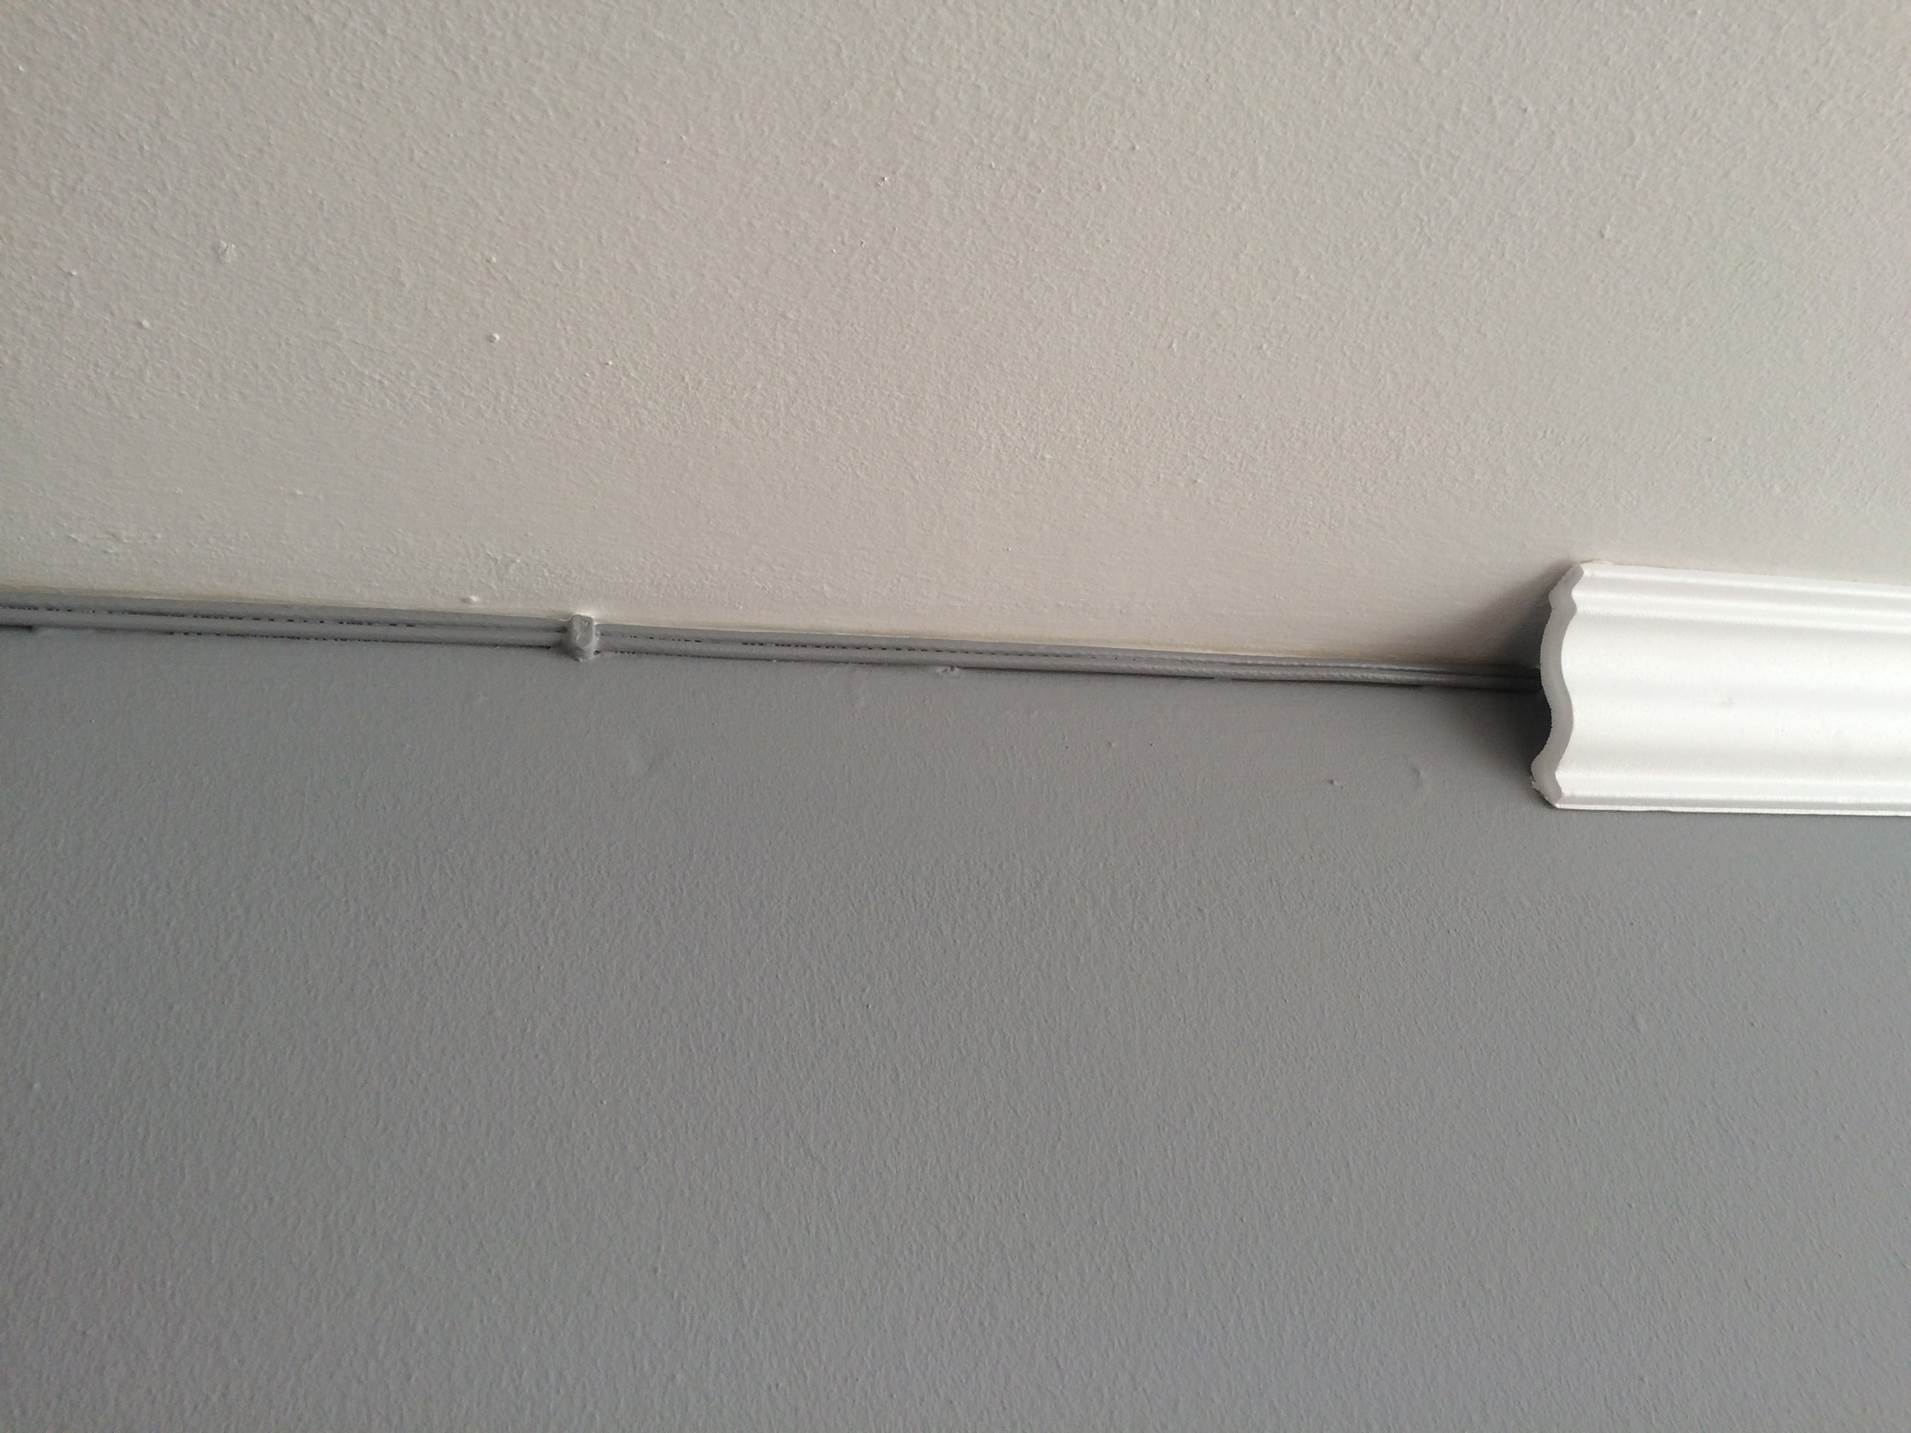
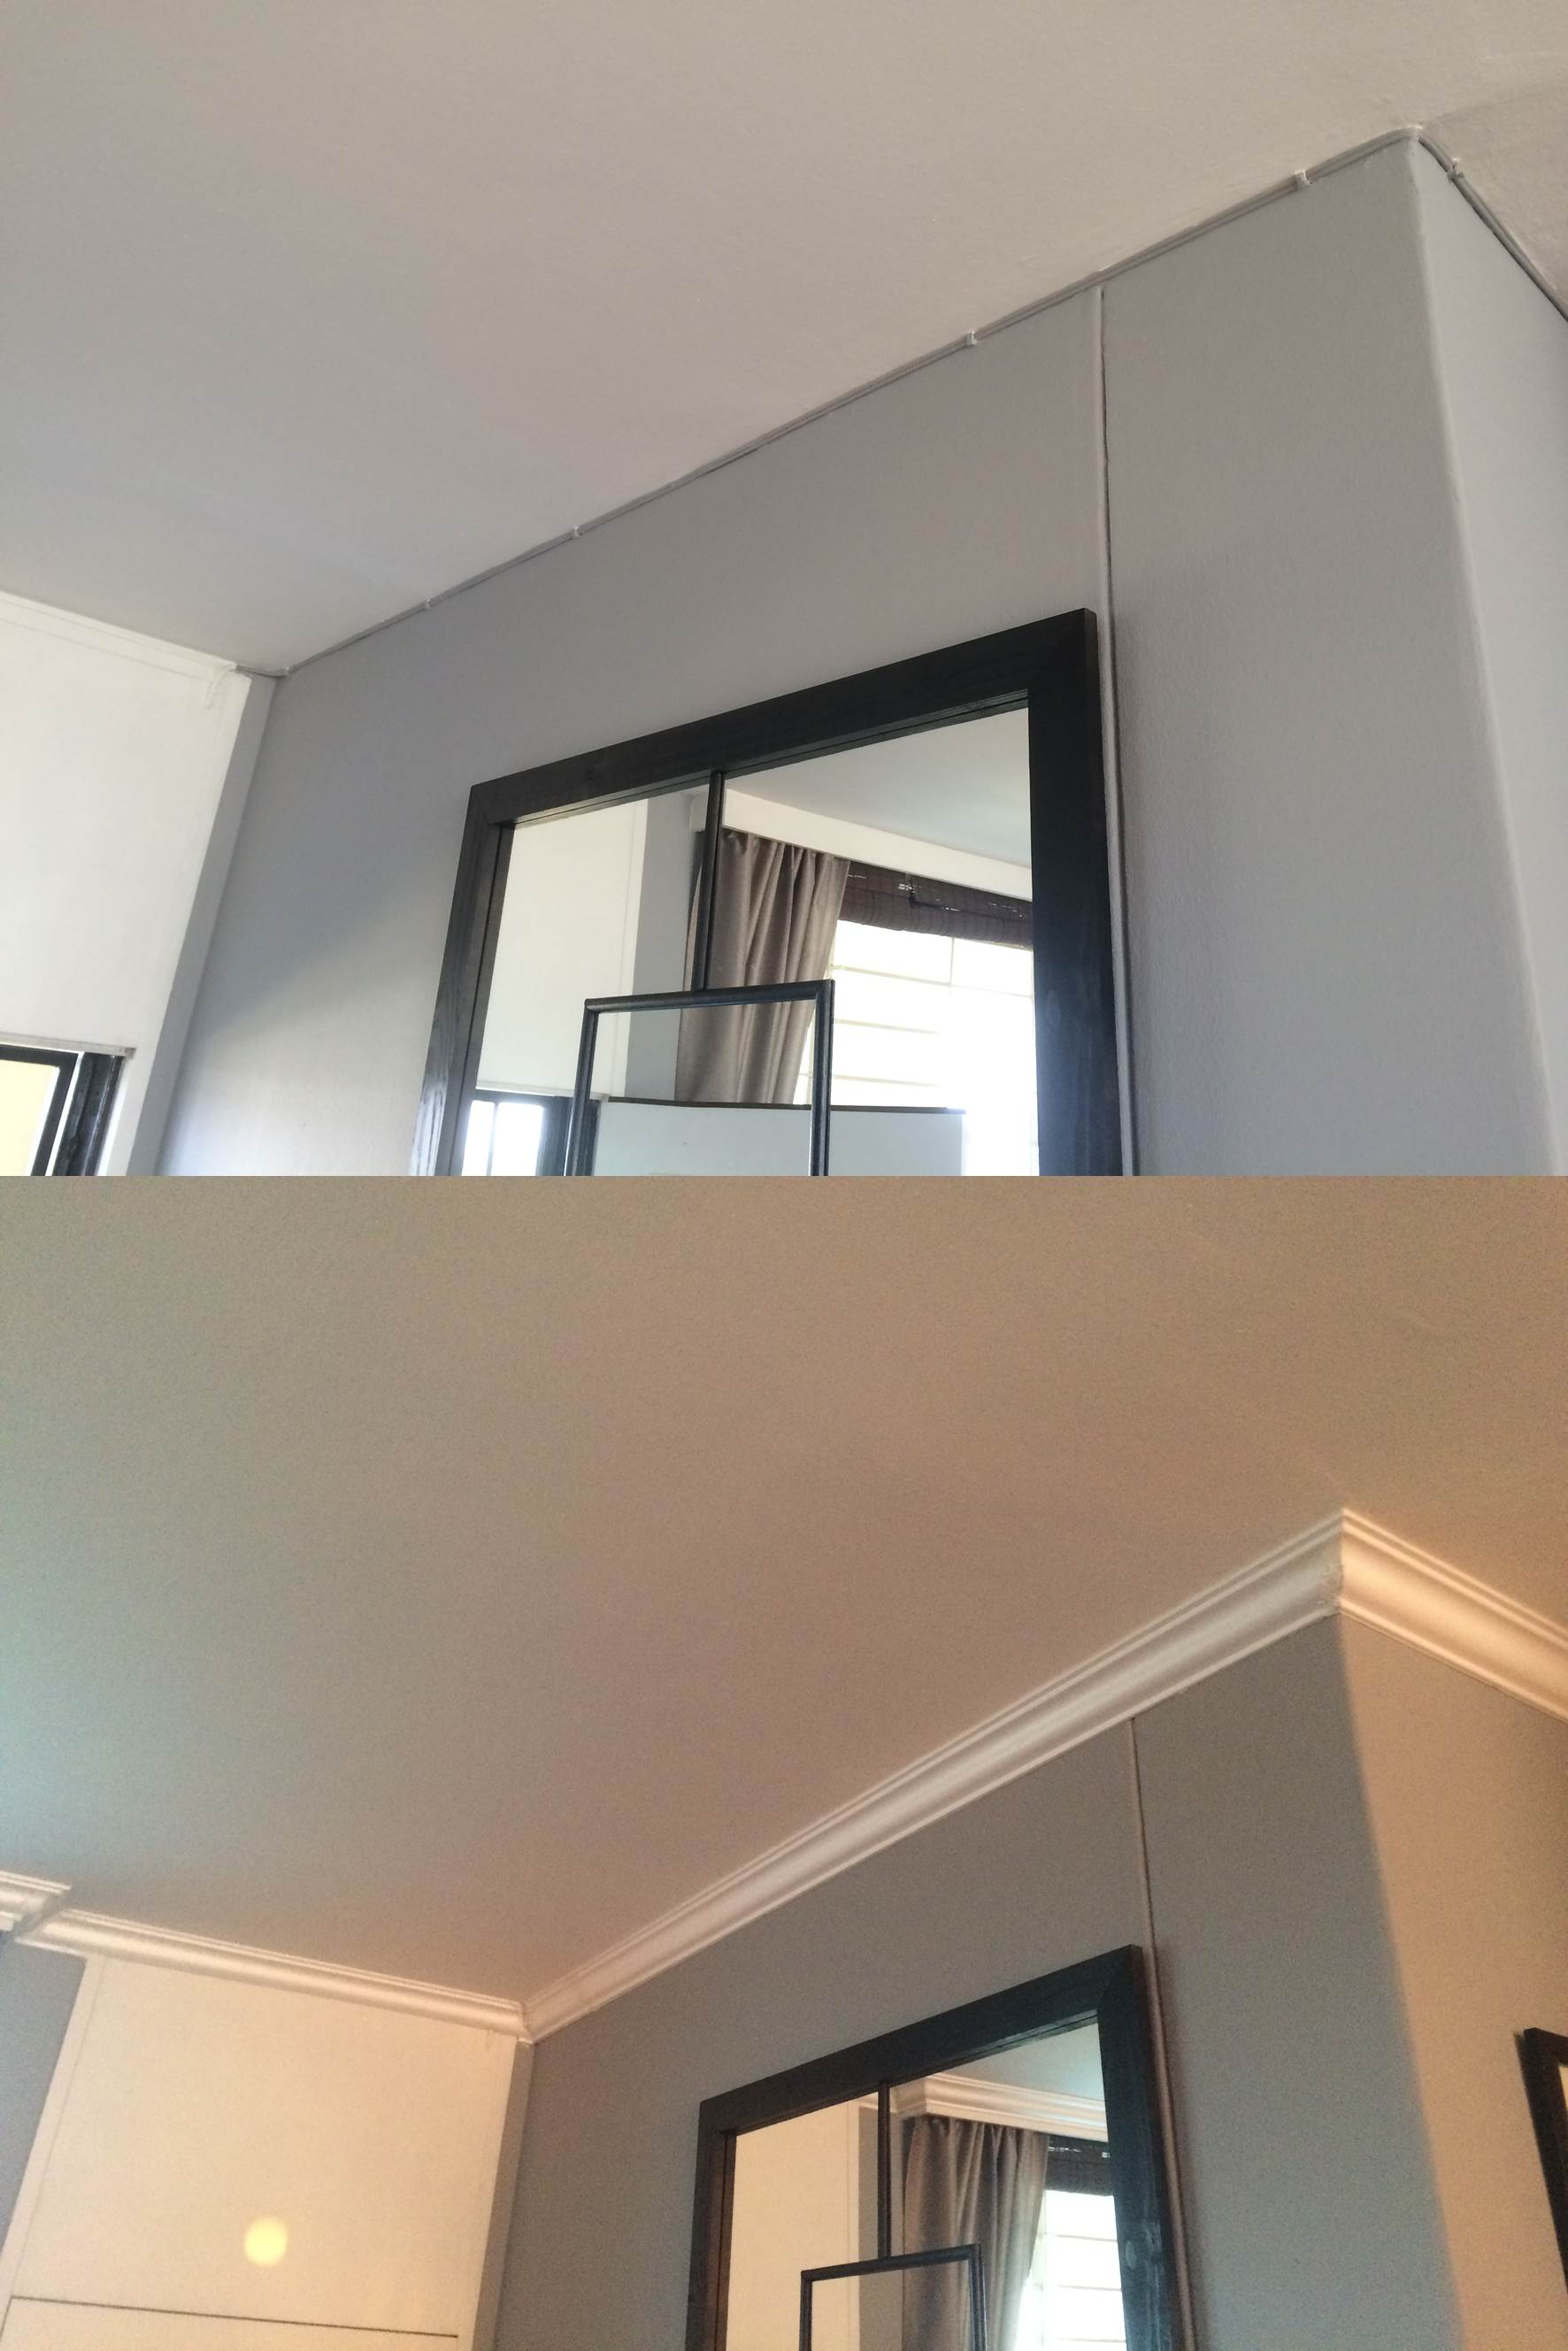
Start in a corner of the longest length of the room so that you get some practice installing the easier straight sections first. Cut the molding to fit the corner as per the instructions below. Now apply a continuous bead of adhesive to the top and bottom flat faces of the inside of the molding. Align the molding to the ceiling and wall joint and gently press it into place starting at the corner end and working your way across. Continue adhering straight sections one against the other until the next corner is reached.
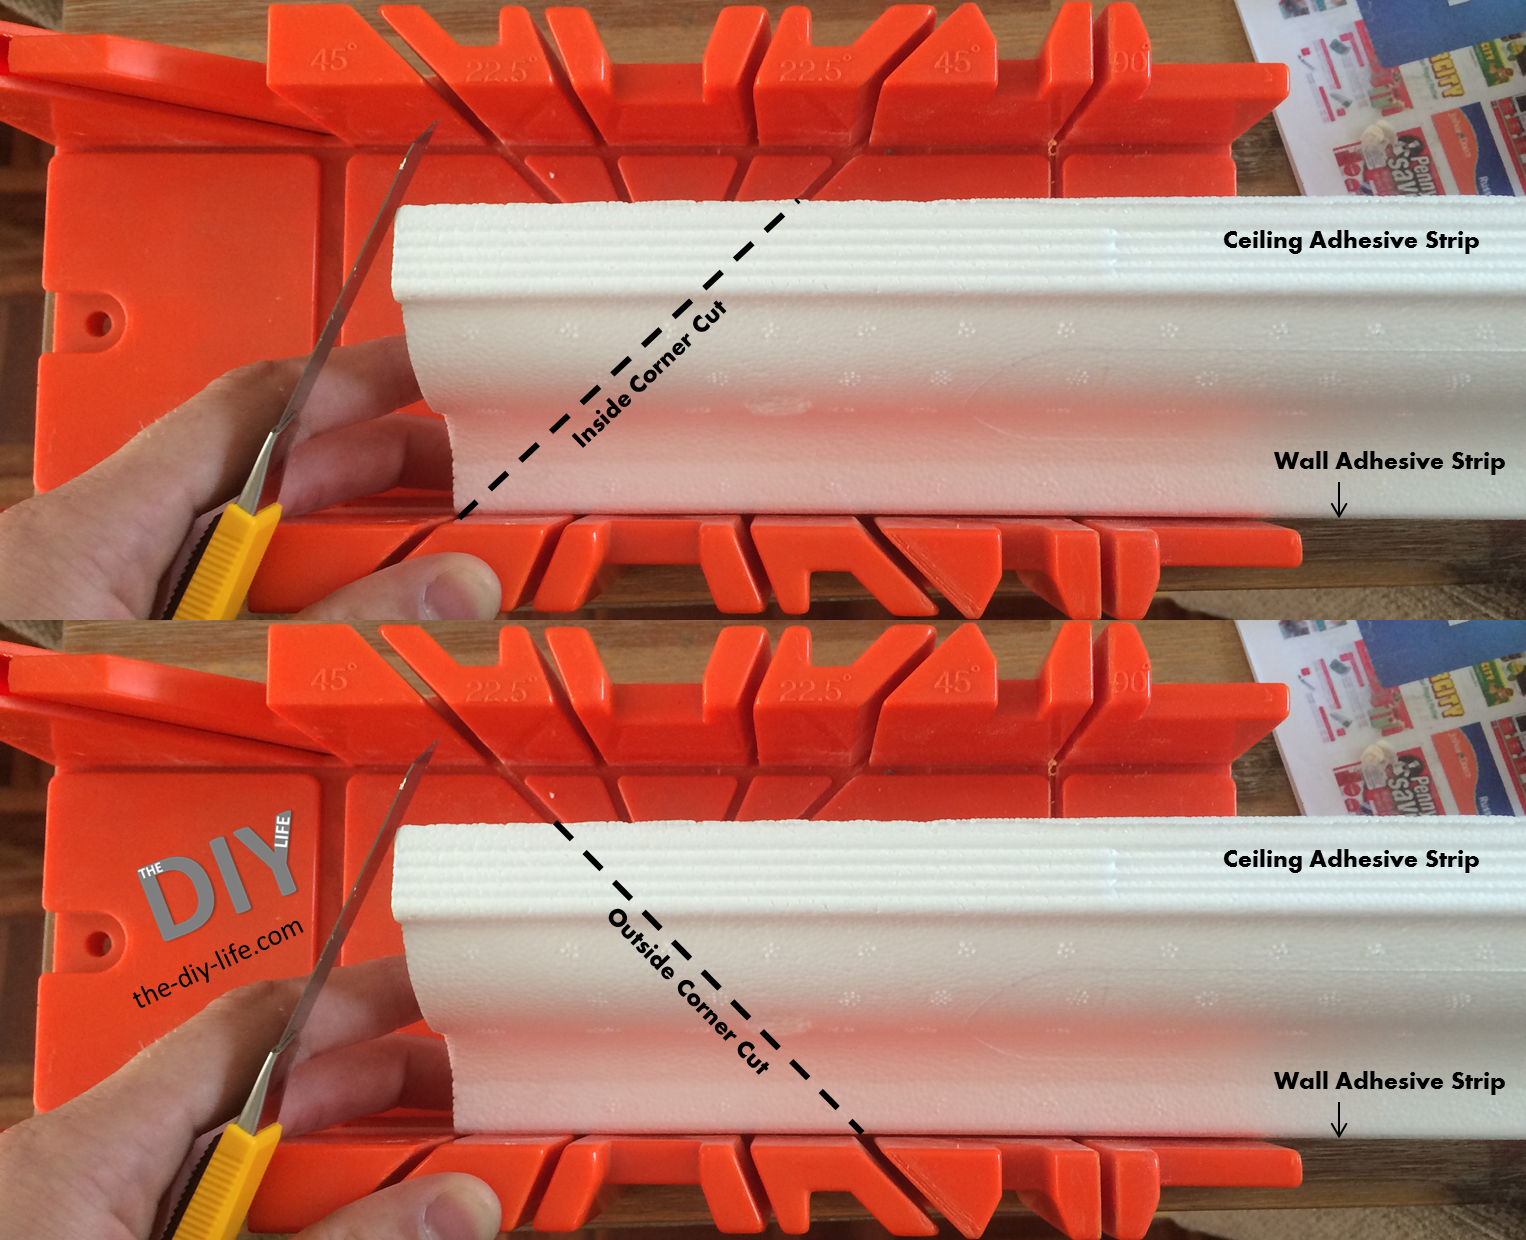
The corners are the only tricky part and it is mainly due to the cutting angle. Fortunately, there is an easy way to beat frustration and get perfect corners every time. To cut molding for an inside or outside corner, the technique is similar. Place the molding in a mitre box with the wall side flat edge on the side of the box as it would be installed on the wall. Cut along the 45° angle line straight down. Polystyrene molding can be cut with a hand hacksaw, hot wire cutter or with a sharp craft knife. For wood molding, use an electric mitre saw or handheld mitre saw.
For an inside corner, the top part of the molding will be the shorter side and for an outside corner, the bottom part of the molding will be the shorter side.
Crown molding is also an ideal way to conceal cables. Run cables along the ceiling edge before installing the molding to hide them.
Once the trim is in place and the corners are complete, you will need to fill in any gaps with acrylic or crack filler. If you are using crack filler then slightly overfill the gaps so that when the filler is dry they can be sanded down to size. Allow the acrylic or crack filler to dry and then sand it down to a neat finish.
Once you have filled and sanded all of the gaps, the molding needs to be painted. Molding is usually painted white to match the ceiling but can also be painted to match the baseboards or as an accent. Paint the molding with a water based, solvent free paint which is polystyrene friendly. Spray paints and solvent based paints will eat into the polystyrene and damage the surface finished. Allow the first coat to dry and apply a second coat to get an even finish.
What are your experiences with this project? Please share your comments, tips and advice with us in the comments section below, we would love to hear from you.