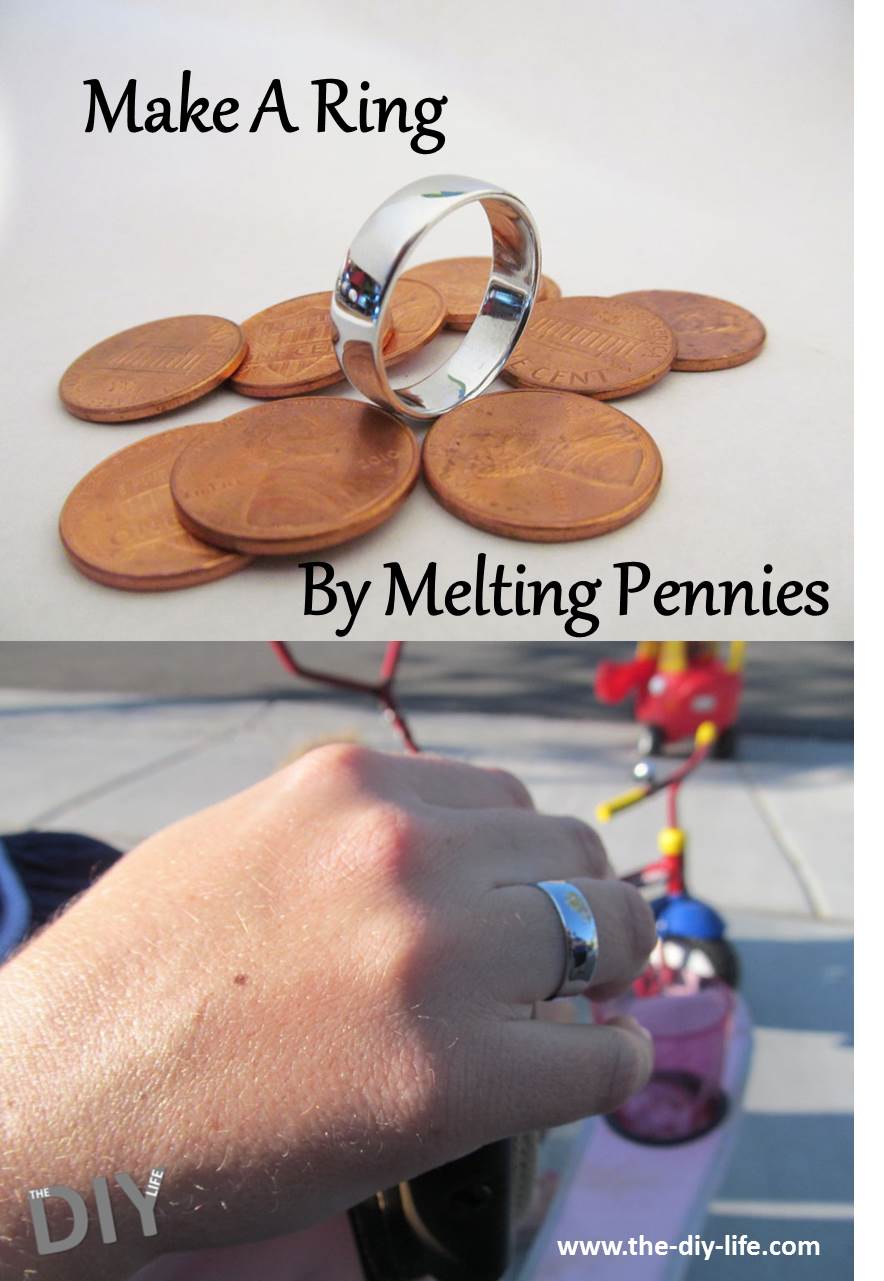
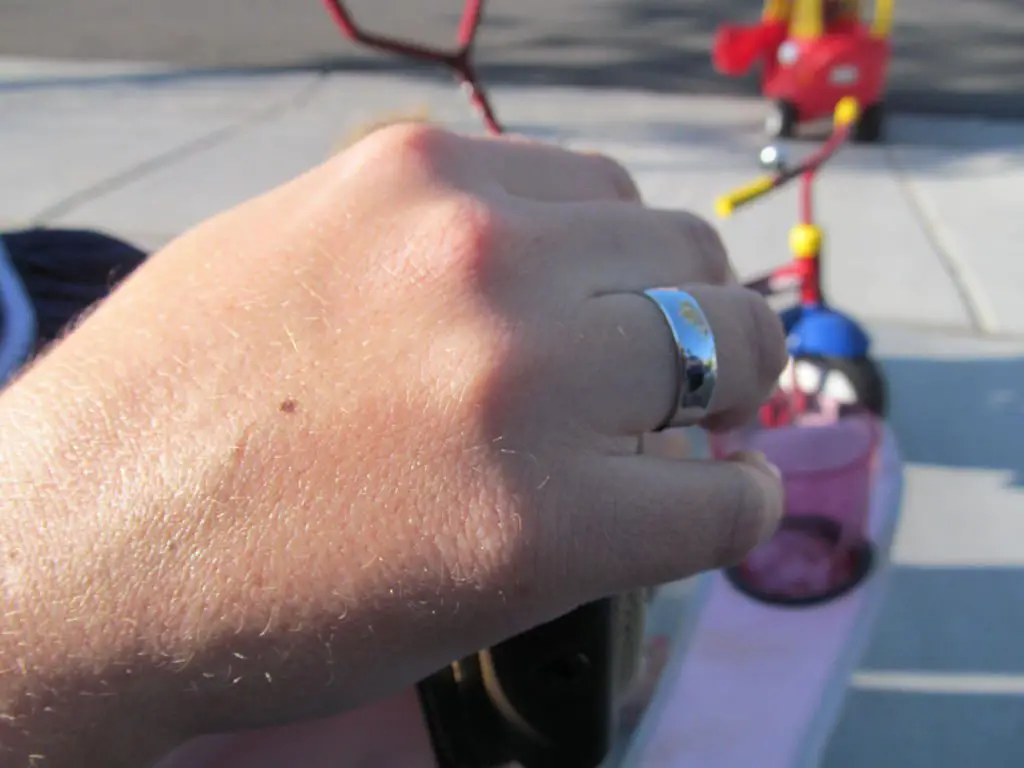
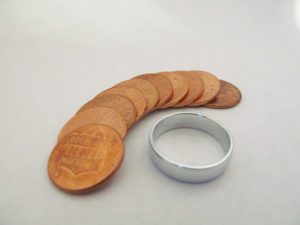
Make this zinc based ring, which can be given as a gift or even used as a wedding band by melting a couple of pennies. Pennies minted after 1983 are made from zinc with a copper coating. The copper can easily be smelted off using a propane torch.
While a lathe helps with the shaping of the ring, it is not completely necessary. You can use a rotary tool or a couple of files to shape the ring by hand if you don’t have a lathe.
Caution: Melting pennies releases Zinc Oxide fumes which cause flu-like symptoms including fever, chills, nausea, headache, fatigue, muscle aches, joint pains, shortness of breath, chest pain, and cough. Use a well ventilated area with power assisted ventilation to avoid breathing these fumes.
What You’ll Need To Make A Ring From Pennies
- About 10 Pennies Depending on the Ring Size
- Steel Spoon
- Propane Torch
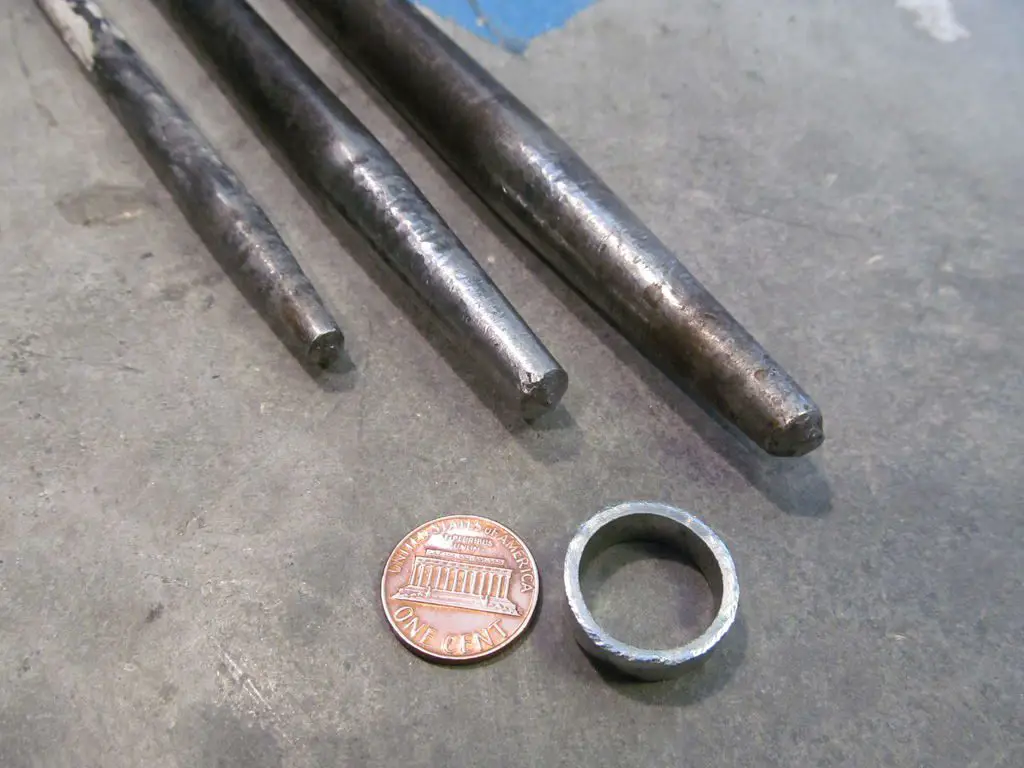
- 1/2″ Pipe Section – As A Mould
How To Make The Ring From Pennies
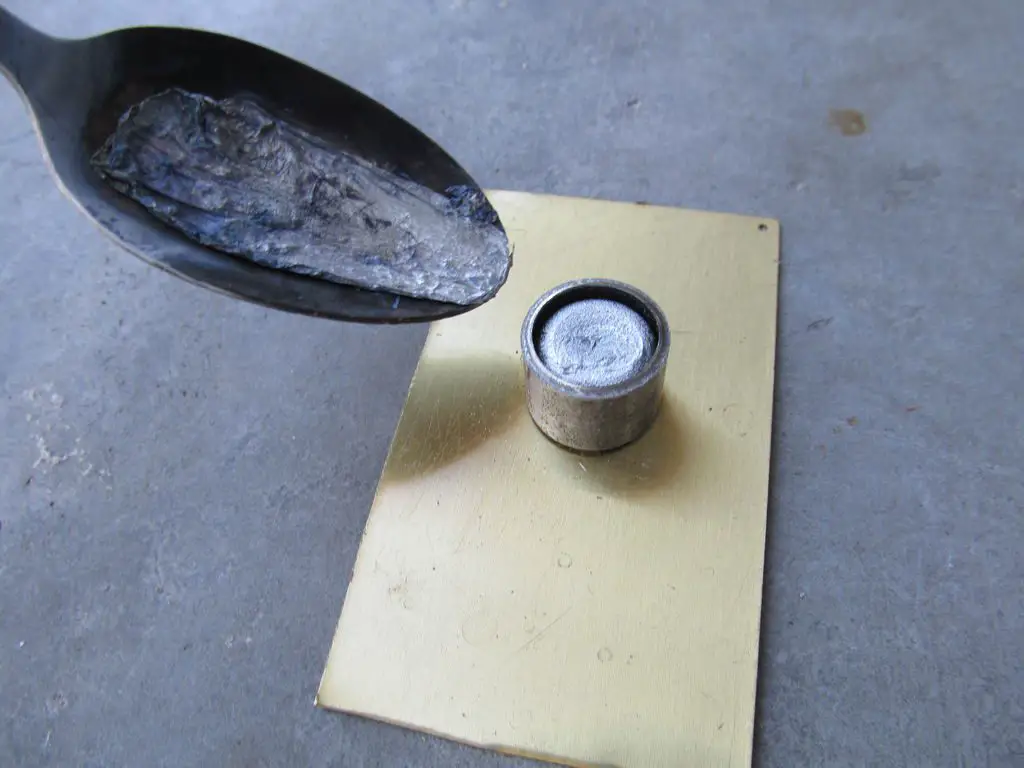
Place the 10 pennies onto a spoon and heat them with a propane torch. Hold the spoon with locking pliers or a clamp of some sort as it will become extremely hot. After a while, the pennies will start to liquefy, you can then use a metal probe to separate the copper from the zinc.
Now pour the molten zinc into the 1/2″ tubing to form a zinc ingot.
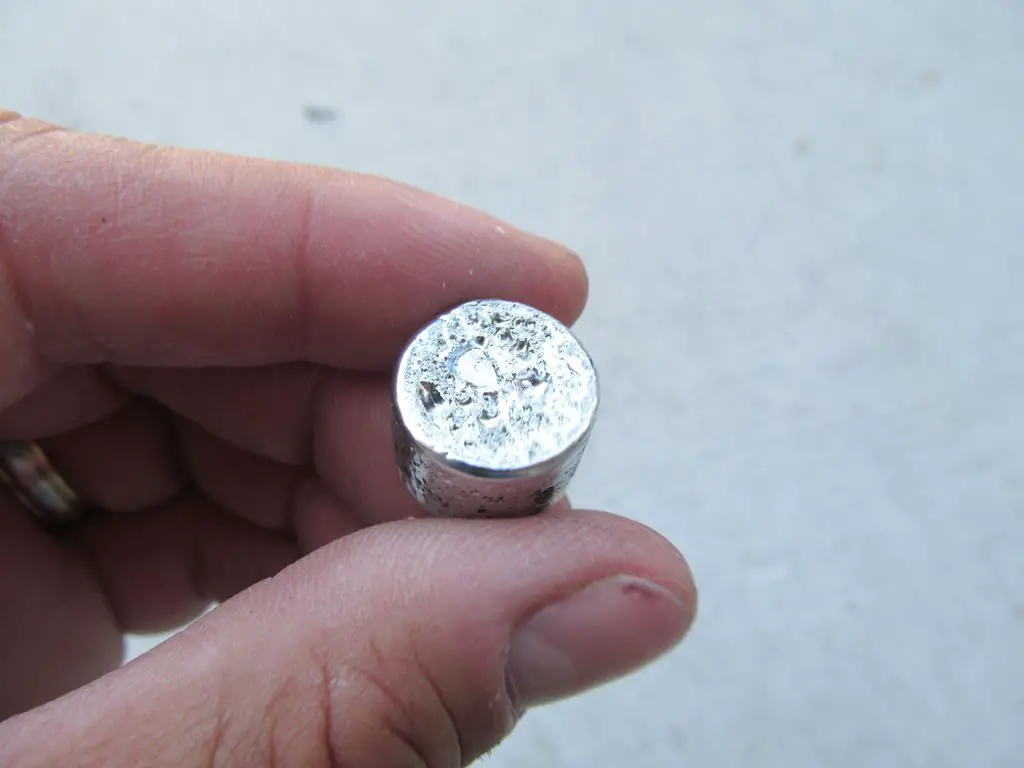
Allow the metal to cool down for about a half hour, it should then come out of the mould quite easily.
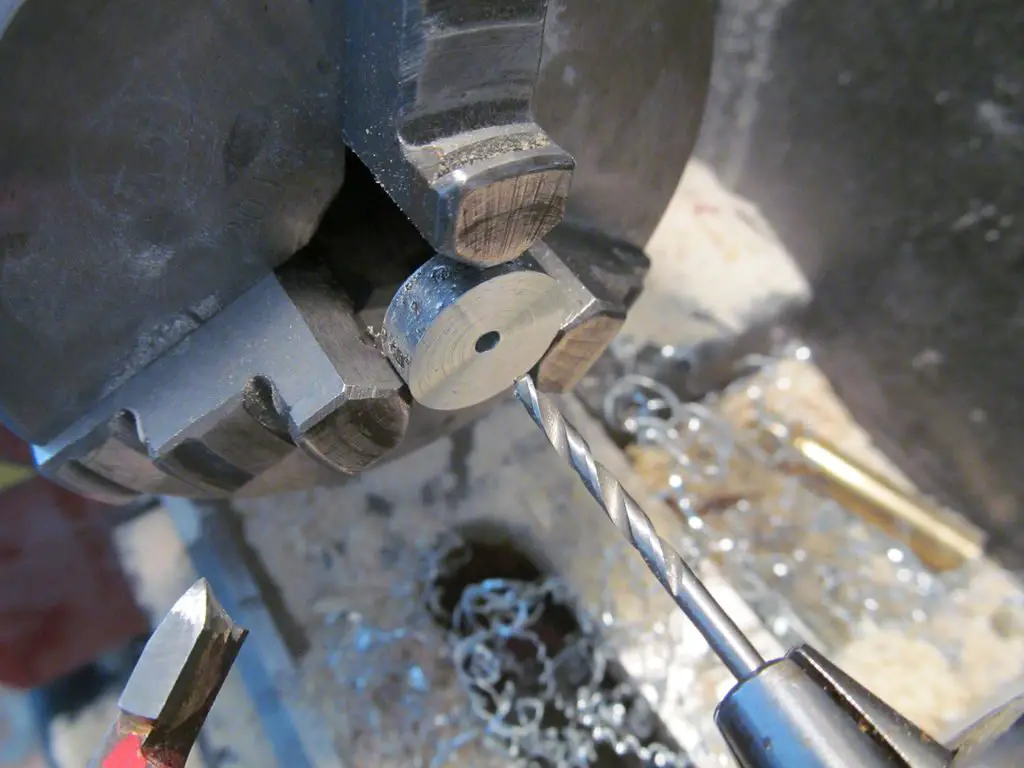
You’ll now need to work the ingot into the shape for your ring. Start off by rough shaping the outside, rounding the edges and removing any rough spots. You can do this with a lathe or a rotary tool. Once you’ve shaped the outside, drill a hole in the centre which is large enough to fit over the smallest section of your pry bar.
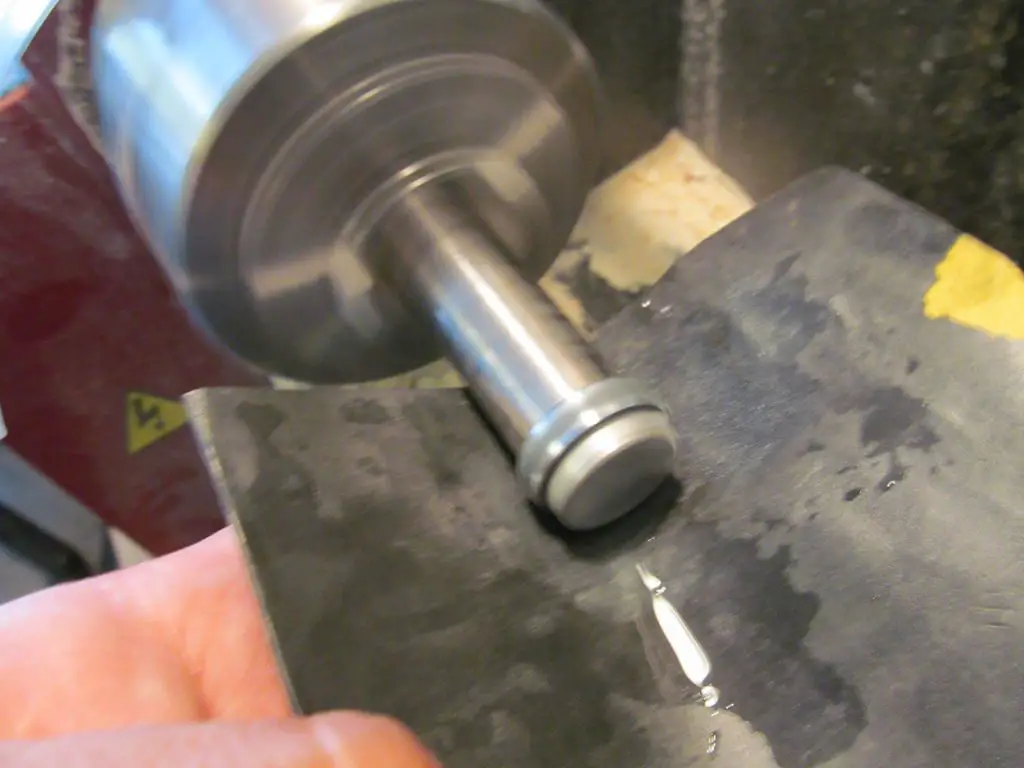
To expand the hole, gently hammer the ring over your pry bars, starting out with a small bar and moving up in size as the ring expands. Be careful not to increase the size too quickly as you may tear the metal. Keep hammering until the ring is the right size for your finger.
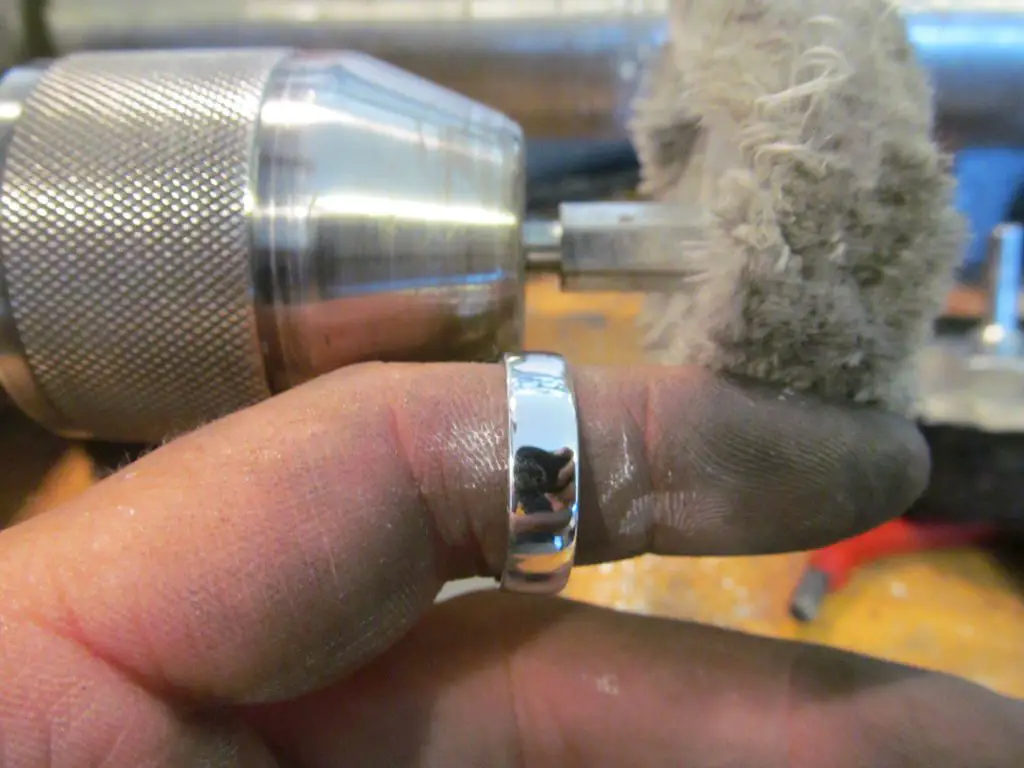
Once you’re happy with the size, you can start with the final shaping. Use a rough sandpaper to shape the inside and outside edges of the ring, round the edges and remove and blemishes.
A lathe helps with the sanding process but a rotary tool works fine and you can also do it by hand.
Finally, finish the ring off by polishing the surface with a light abrasive metal polish and a buffing wheel.
Have you made a ring from commonly available materials? Let us know your tips and tricks in the comments section below.

Share This Guide