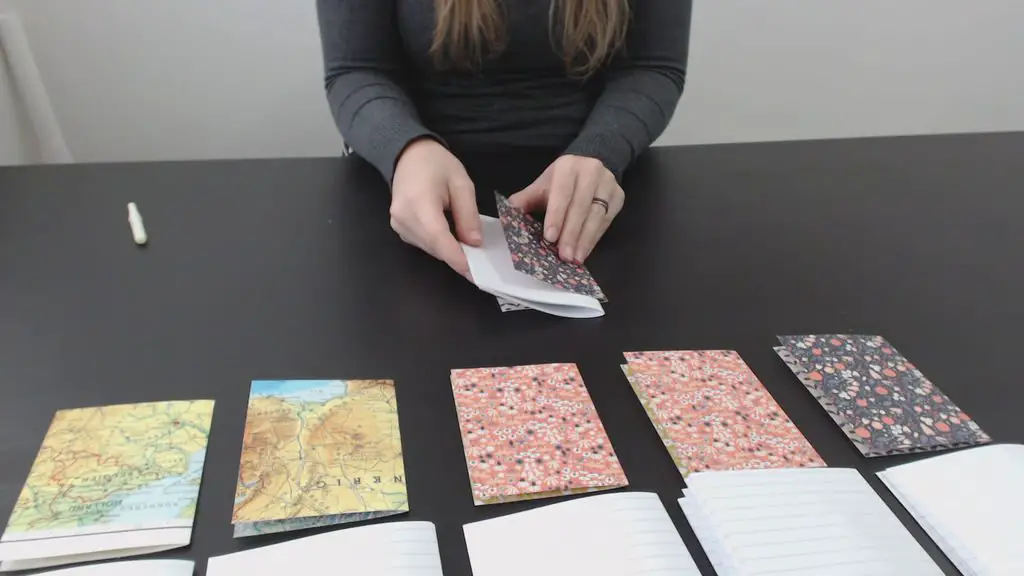
If you’re a fan of pretty notebooks and use a lot of them, here’s a guide to learn how to make your own stitched pocket notebook for next to nothing! Now you’ll never run out and there are loads of options for cool covers. Think about using atlas pages, old sheet music and comic books as well!
What You’ll Need To Make A Stitched Pocket Notebook
- Thick paper or thin cardboard for the cover
- Lined or blank paper for the inside
- Paper cutter or Exacto knife, cutting mat and ruler
- Awl, old seam ripper, or other sharp, thin tool
- Sewing needle
- Sewing thread
- Scissors
How To Make Your Own Stitched Pocket Notebook
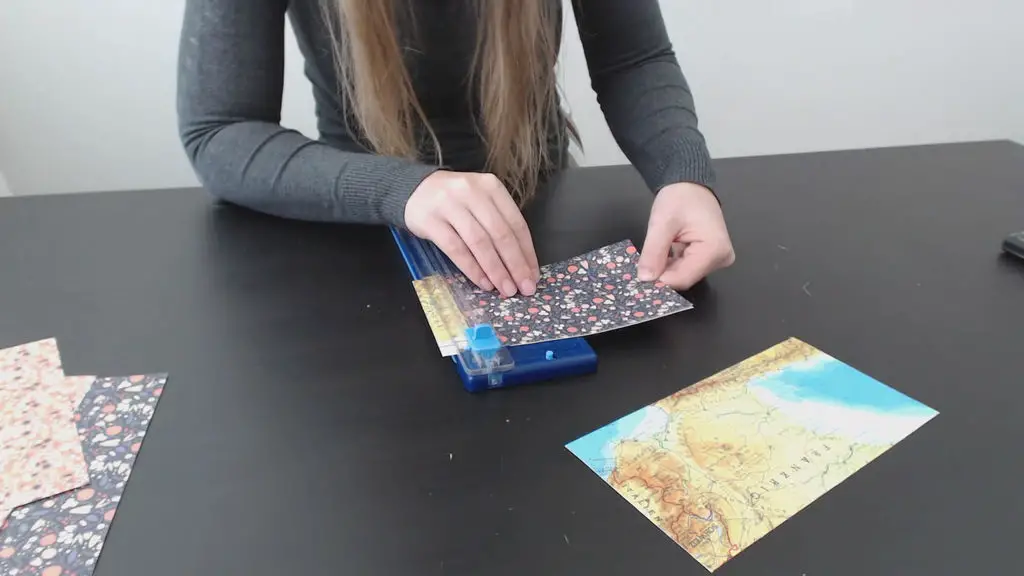
First, cut the cover to size. Try using thick paper with a nice double-sided print on it. You can use lots of different types of thick paper or thin cardboard, just make sure that it is thick enough to hold its shape, but still thin enough to fold nicely.
Cut pieces of about 18 by 12 centimeters (7 by 5 inch) for each cover. This results in a finished notebook of 9 by 12 centimeters (3,5 by 5 inch), which is a good size to fit in your back pocket. But of course you can make any size that you like.
Next, cut the paper to fill the notebook. We are using an A4 (letter size) notepad with lined paper and taking 6 sheets of paper for each notebook. But you can also use blank paper or grid paper, and use more or less sheets.
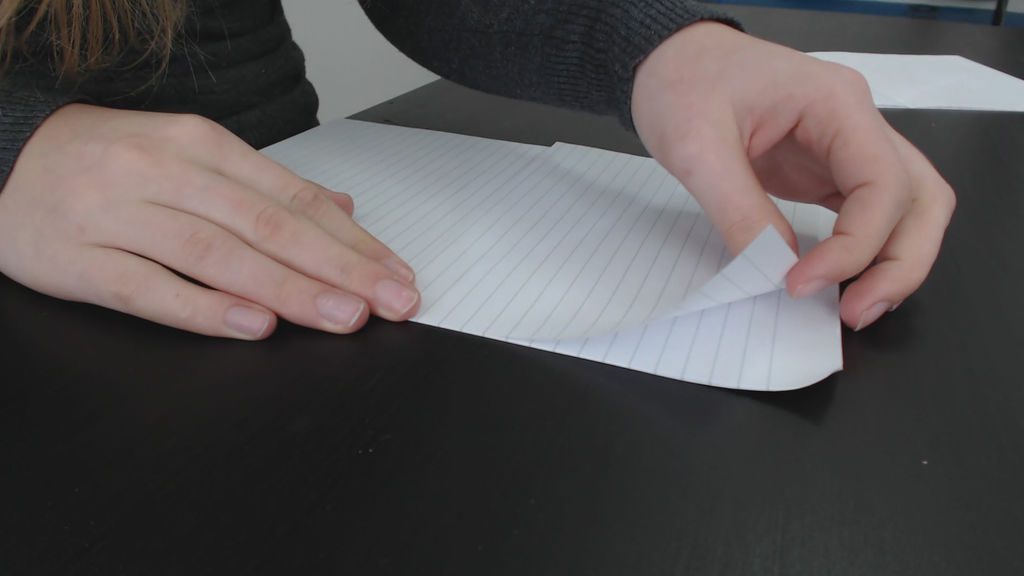
Fold the top sheet in half to mark the center, making sure to line up the lines. Then cut the stack of 6 sheets in half so that you end up with 12 sheets. Make sure to cut the paper right on that fold, in between two lines, so that the lines on the paper will line up when I put the two stacks together.
Leave the sheets the size they are, which is too big for the cover, so that you can cut them to the exact right size once you assemble the notebook.
Fold all the sheets in half, taking 3 or 4 sheets at a time. With the12 sheets of paper, you’ll end up with 24 pages in your notebook, meaning you have 48 sides to write on.
Fold the cover in half as well.
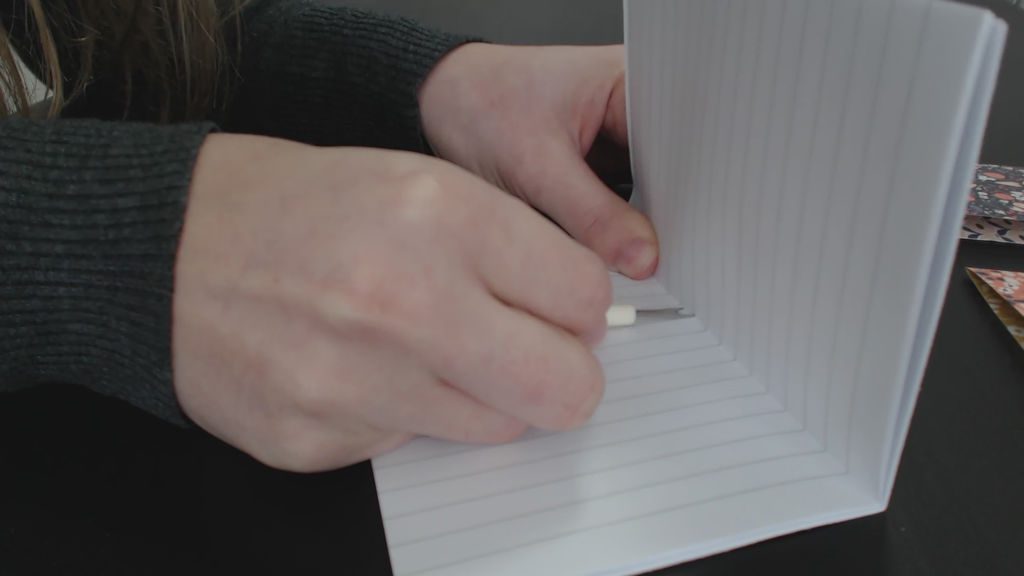
To prepare for the stitching, make holes in the back of the notebook, through all the layers of paper. This will make the stitching a lot easier.
We’re using the sharp point of an old seam ripper to do this, but you can also use an awl if you have one, or another sharp and thin tool. Start in the middle and work your way out, making the holes on top of the lines to make sure they are nicely spaced. Make an uneven number of holes for the best stitching results.
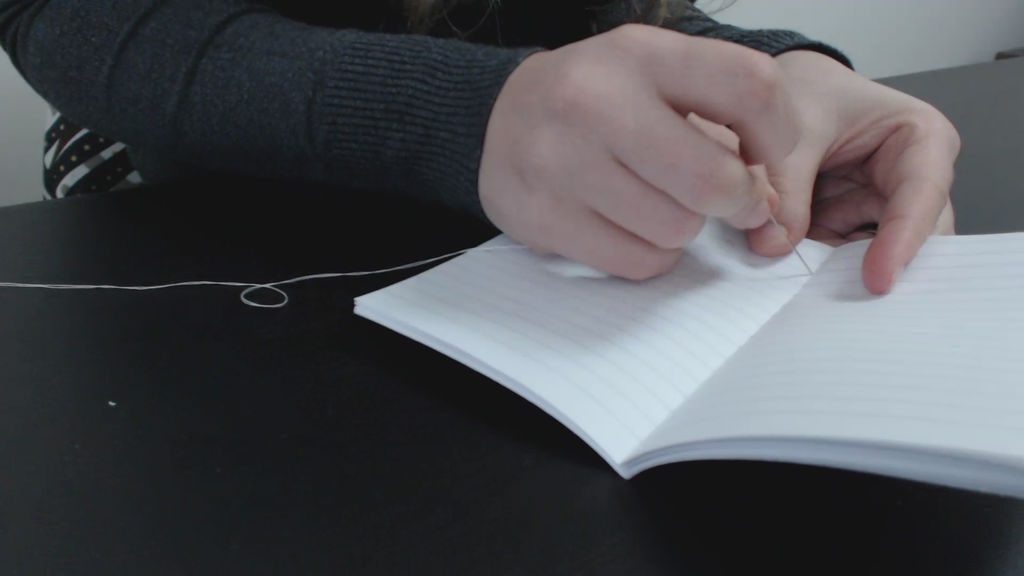
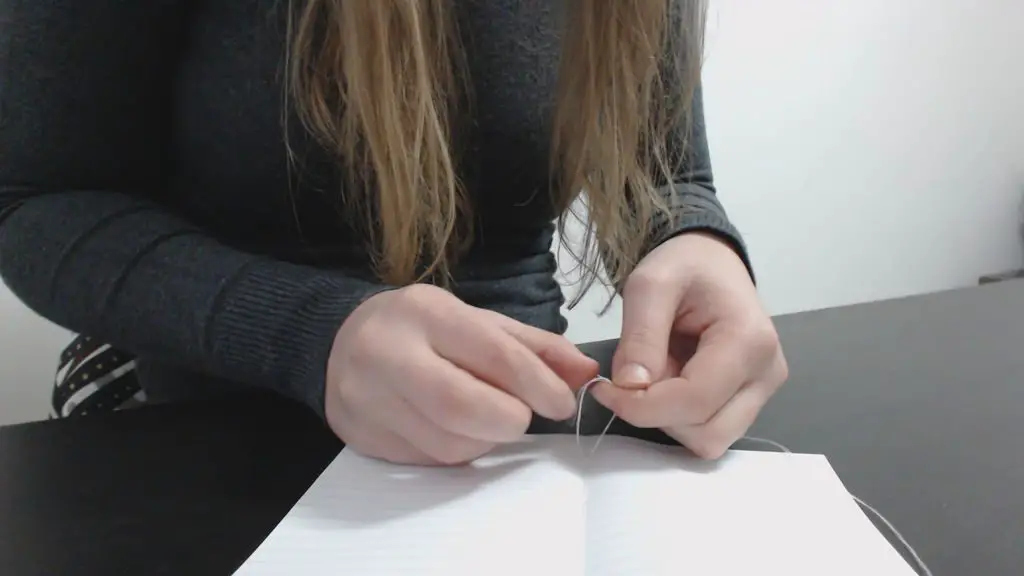
Thread your needle with normal sewing thread and double it up. Start on the inside of the notebook, at what will be the bottom side, and go out through the first hole. Go into the second hole and tie a double knot with the tail. Don’t cut the tail off yet, because you’ll need it later.
While you’ve got your needle and cotton out, you may want to have a look at our 10 minute pillow covers. They’re the perfect craft to practice your sewing skills.
Continue by going out through the third hole, into the fourth, out through the fifth, etcetera. When you come to the top, work your way back down, passing the sections you have not covered yet.
When you reach the bottom again, you’ll end up at the same hole as the tail. Tie another double knot with the tail, and cut off the ends.
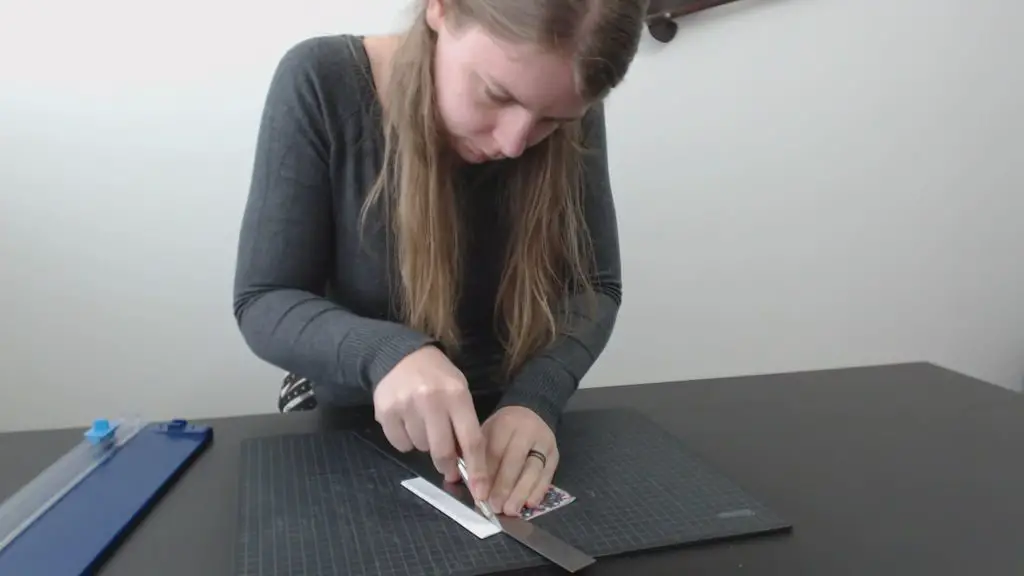
With the notebook folded open, cut the top and bottom of the paper to size. You can use a paper cutter or an exacto knife and a ruler will work just as well.
Next, cut the sides to size. Close the notebook first, because if you do this while the notebook is still open, the edges won’t line up when you close it.
And that’s all there’s to it! This is a pretty quick and easy project, and if you set up a little assembly line you can very quickly whip up a whole bunch of these.
How about making your own soap, try out our beer soap recipe as a perfect gift for a father or special man in your life.
This post is based on Pocket Notebooks by Crafts with Ellen and is modified and used under the Creative Commons license CC BY NC SA.


Great Site. Really enjoyed reading.