Glass cutting is a fascinating skill that a lot of people try, but quickly give up on. Here is a complete guide to cutting glass along with some helpful hints. The best way to learn to cut glass is through practice.
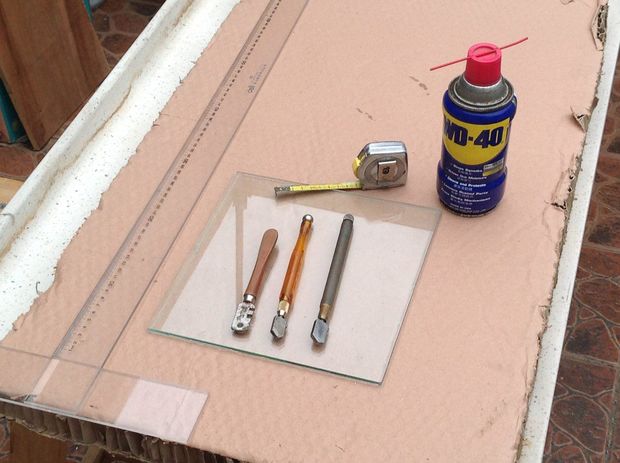
What You Need To Cut Glass
- Glass (4-6mm / 1/6″ To Start With)
- Good Quality Glass Cutter – Buy Here
- Oil/Lubricant (WD40 Works Well) – Buy Here
- Flat Surface
- Square/Straight Edge – Buy Here
- Measuring Tape
How To Cut The Glass
It is always best to practice on a few smaller scraps before trying your main cut, especially if you are cutting a large sheet which could be costly to replace if you crack it.
The first step is to measure. If you are cutting a piece for a frame, window or a mirror then you probably don’t need to be extremely accurate but it helps to be within a couple of millimeters (1/10″ or so). An important thing to keep in mind when you are using your cutter up against a straight edge is that the cutting wheel is about 1 or 2mm from the edge of the cutter. If your cuts need to be accurate then you’ll need to take this into account when lining up your edge and your measurement markings.
Once you have marked your glass and your edge is lined up for the cut you wish to make, you need to lubricate the line. Spray some WD40 into the cap or a small cup, you can also use any thin type of workshop oil, then use a small brush to brush some along the line you are going to be cutting. You don’t need a lot but it should run the length of the line.
Wear safety glasses when scoring the glass. Although unlikely, there is a possibility that tiny shards are shot up by the cutting wheel which may damage your eyes.
To demonstrate the importance of oil, the below image shows a few cuts made with and without oil. The line on the far left was made without oil, the middle one with oil brushed before cutting and the last (far right) by a cutter with a built in oil dispenser.
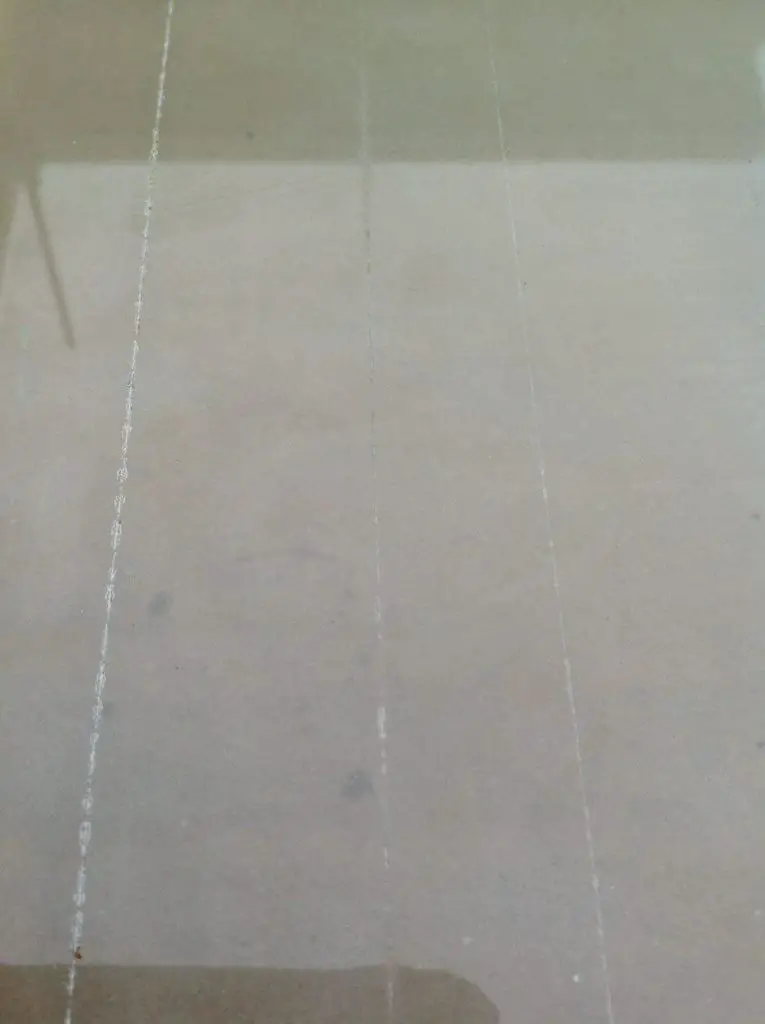
If you do a dry cut on thick glass, you’ll actually hear it crackling as the cutter moves over the surface. It also throws up tiny chips and leaves a rough line.
Once you have lubricated the line, its time to score the glass with the cutter. Keep the edge of the cutter pressed up against the straight edge, slight pressure on the tip, the cutter tilted slightly towards you and run down the length of the line in a single stroke.
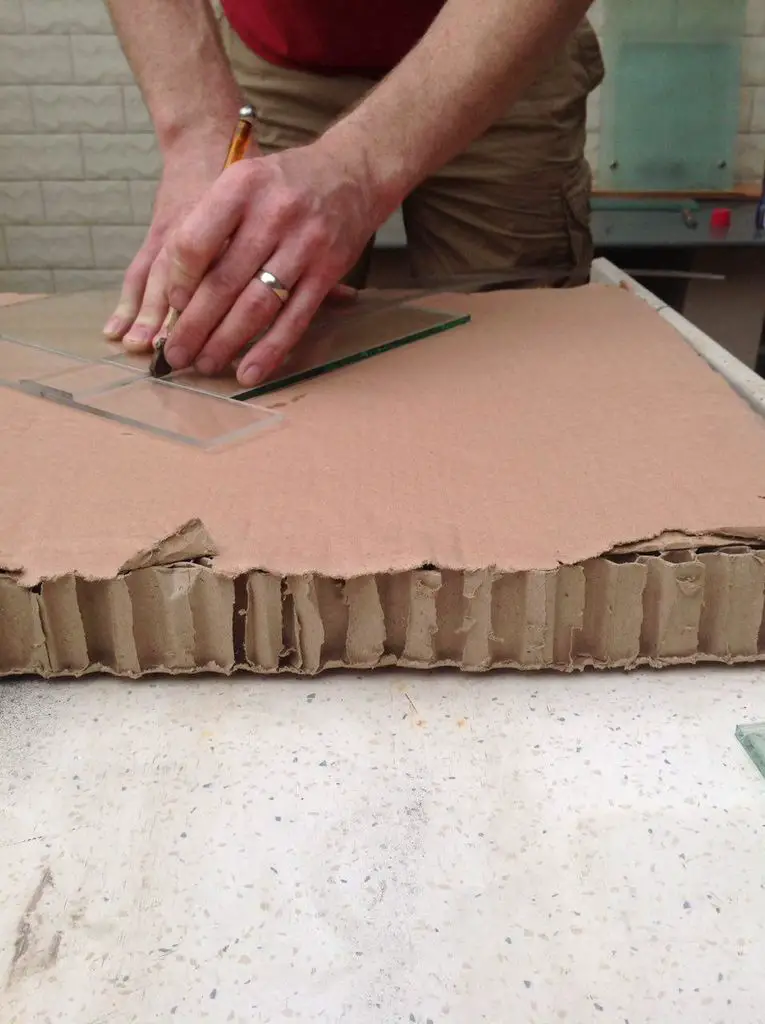
If by some chance a portion of the line has not been made, you can try to run over that part again but ideally it should be done in one move. Any portion that is run over again is a potential place for the cut to run astray from your cutting line.
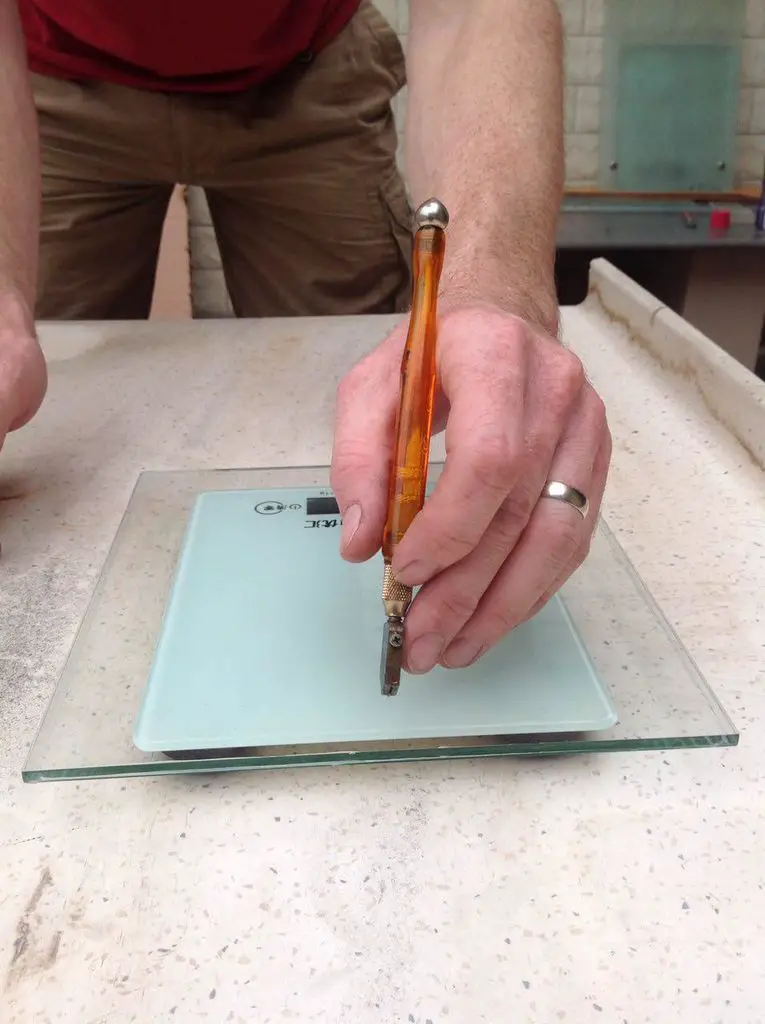
To get a good feel for the amount of pressure you should be putting on the tip of the cutter, place a small scrap sheet on a digital scale and zero it. Now press the cutter down onto the centre of the glass until the scale reads around 2800 grams (100oz). Try to keep this amount of pressure on the cutter throughout the cut.
If you’ve done the above steps correctly, you should now have a nice clean score and breaking the glass will be easy. If you haven’t cut glass before, this step can be a bit intimidating so you may want to practice on a smaller section.
If you are not confident in your glass cutting abilities yet, you may want to wear leather gloves to avoid cutting your hands.
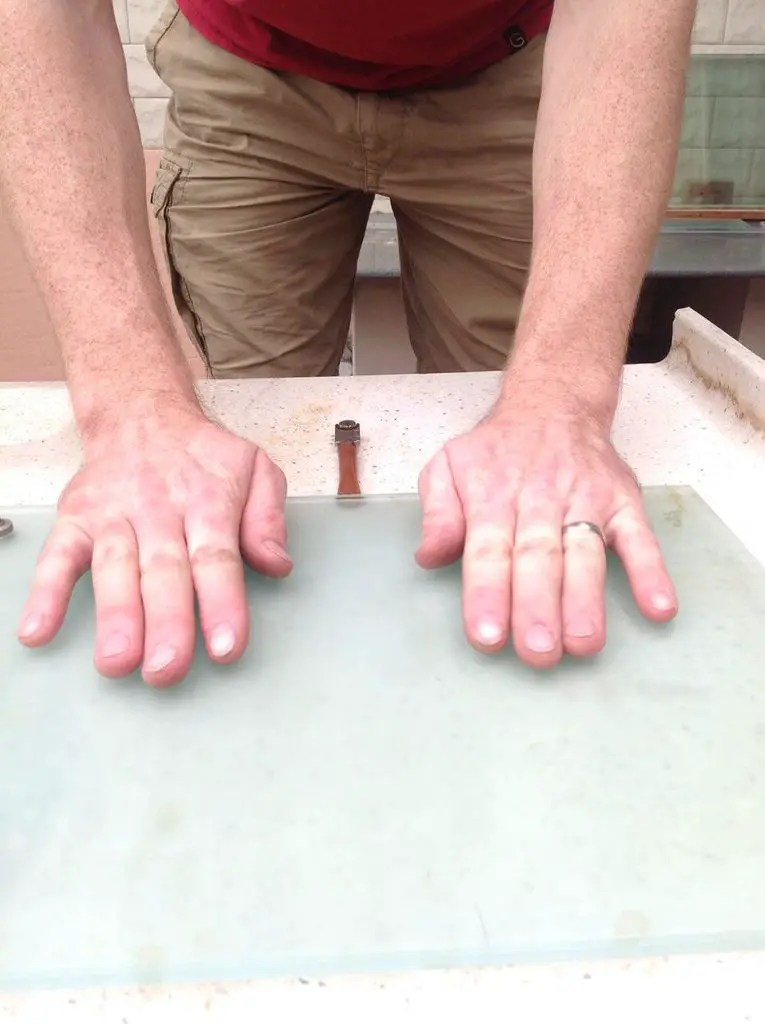
The easiest and safest way to “break” the sheet along the cut is to place the handle of your cutter (or another thin roundish object) directly underneath the score mark near the edge.
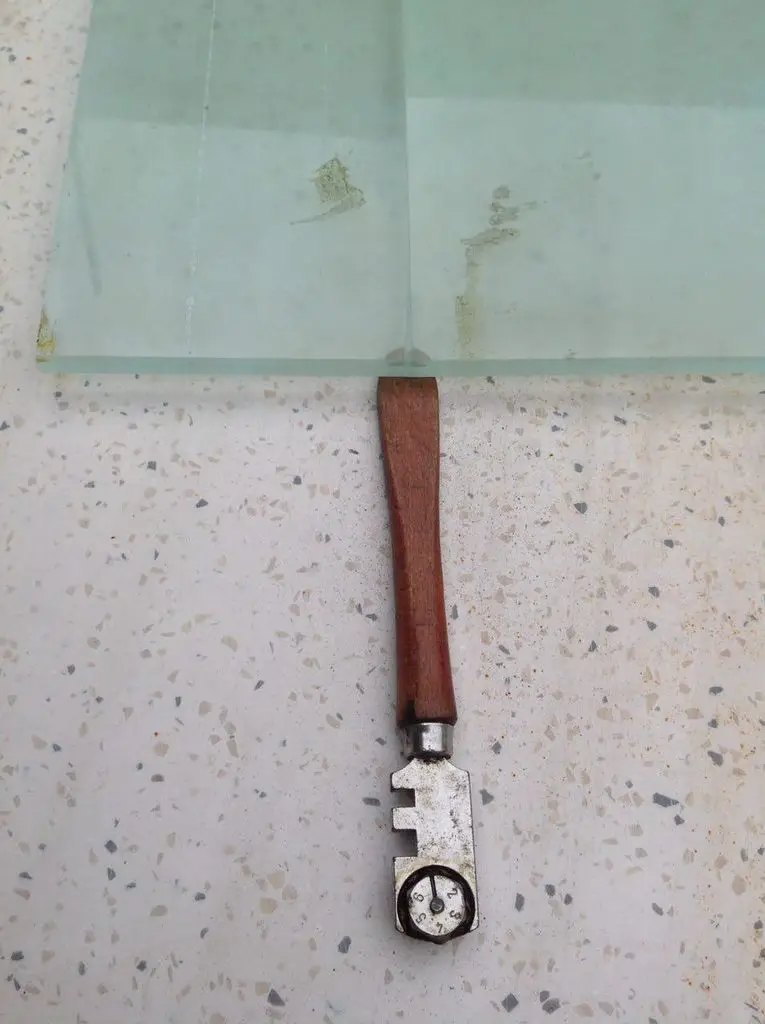
Place a palm on the glass on each side of the cutter and then push firmly downwards until the glass pops apart. With practice, this should happen with only a small amount of pressure.
Be careful of the newly cut edge as it will be extremely sharp! If you are not immediately mounting the glass into a window frame or picture frame, run over the edges with an electric sander to smooth the sharp edges.
Good luck and happy cutting.
If you’d like to try out your new cutting skills on a project, have a look at this DIY designer mirror to instantly upgrade your lounge or dining room.
This post is based on How to Cut Glass by Duplo for Daddies and is modified and used under the Creative Commons license CC BY NC SA.
Keep up the great work! Thank you so much for sharing a great posts.