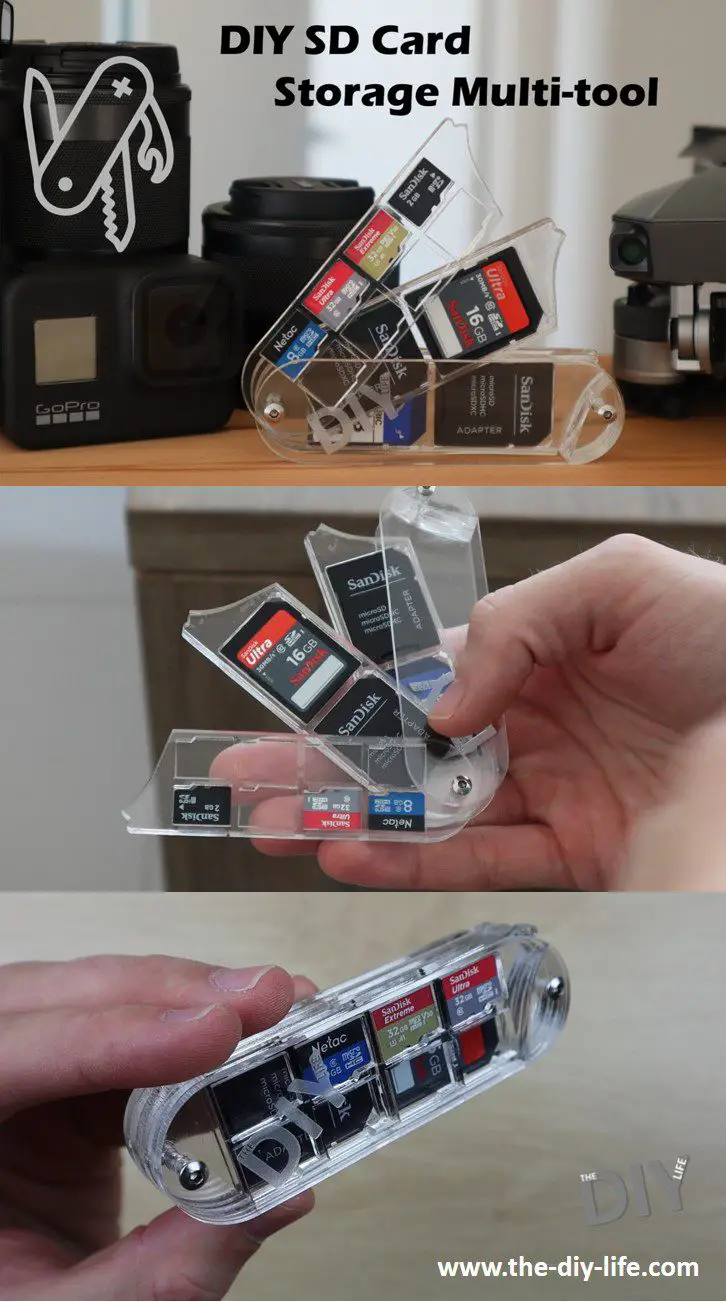
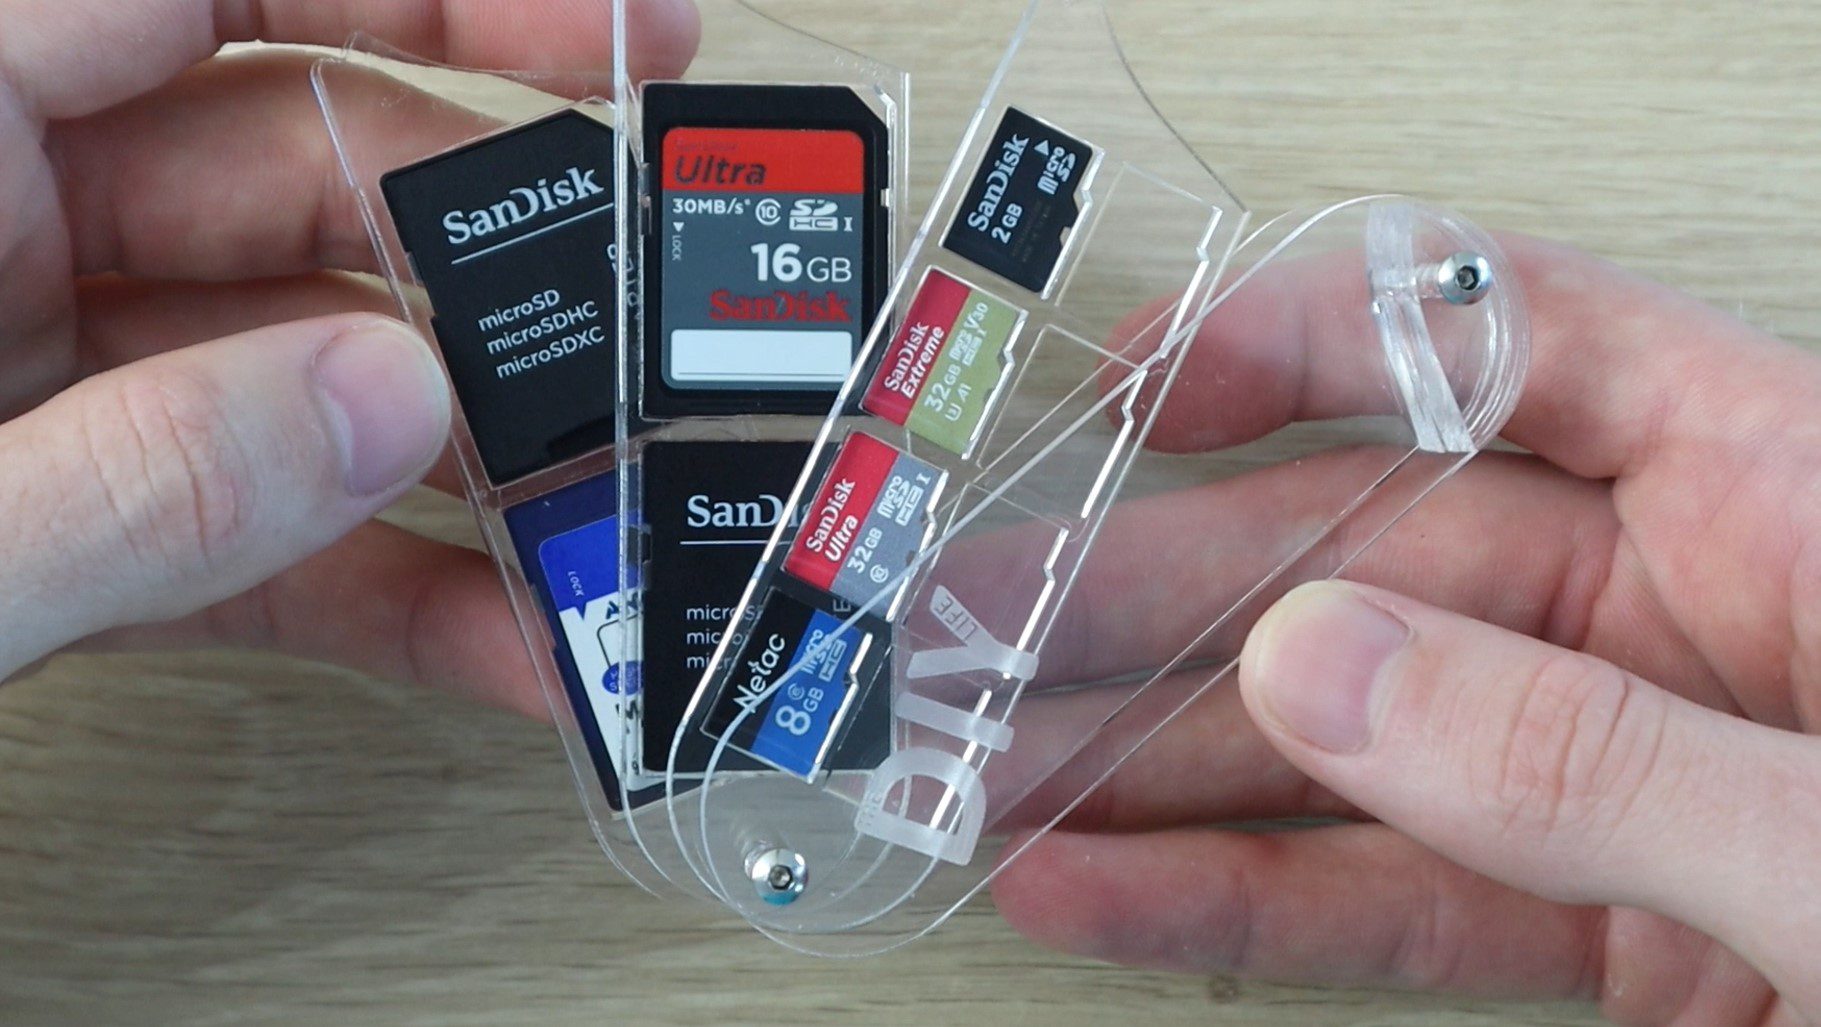
In this project, I’ll be showing you how to make your own DIY SD card storage multi-tool from clear or tinted acrylic. This is a great pocket or camera bag companion to keep all of your SD and micro SD cards organised and easily accessible. It’s fully customisable, you can add or remove trays as you need or add different coloured or tinted trays to distinguish between full and empty SD cards so that you always know which is which. It also doesn’t need to be limited to three trays like the one I’ve made, you could add 5 or 8 trays if you’d like, it’ll just be a bit bulkier. You could also just go with one micro SD card tray if you prefer something more compact.
Watch the video below for the build and to see the completed product or read on for the step by step instructions.
What You Need To Make Your Own SD Card Storage Multi-tool
- 2mm A4 Acrylic Sheet – Buy Here
- 3mm A4 Acrylic Sheet – Buy Here
- You won’t need full sheets. If you’ve got some scrap acrylic lying around, you can probably use it.
- M3 x 22mm Screws – Buy Here
- M3 Nuts – Buy Here
- UV GLue – Buy Here
- Acrylic Glue Alternative – Buy Here
I used a K40 laser cutter to cut the parts. If you don’t have a laser cutter, there are loads of online cutting services available to cut your parts for you and deliver them to your door.
- K40 Laser Cutter Used – Buy Here
How To Make The Multi-tool
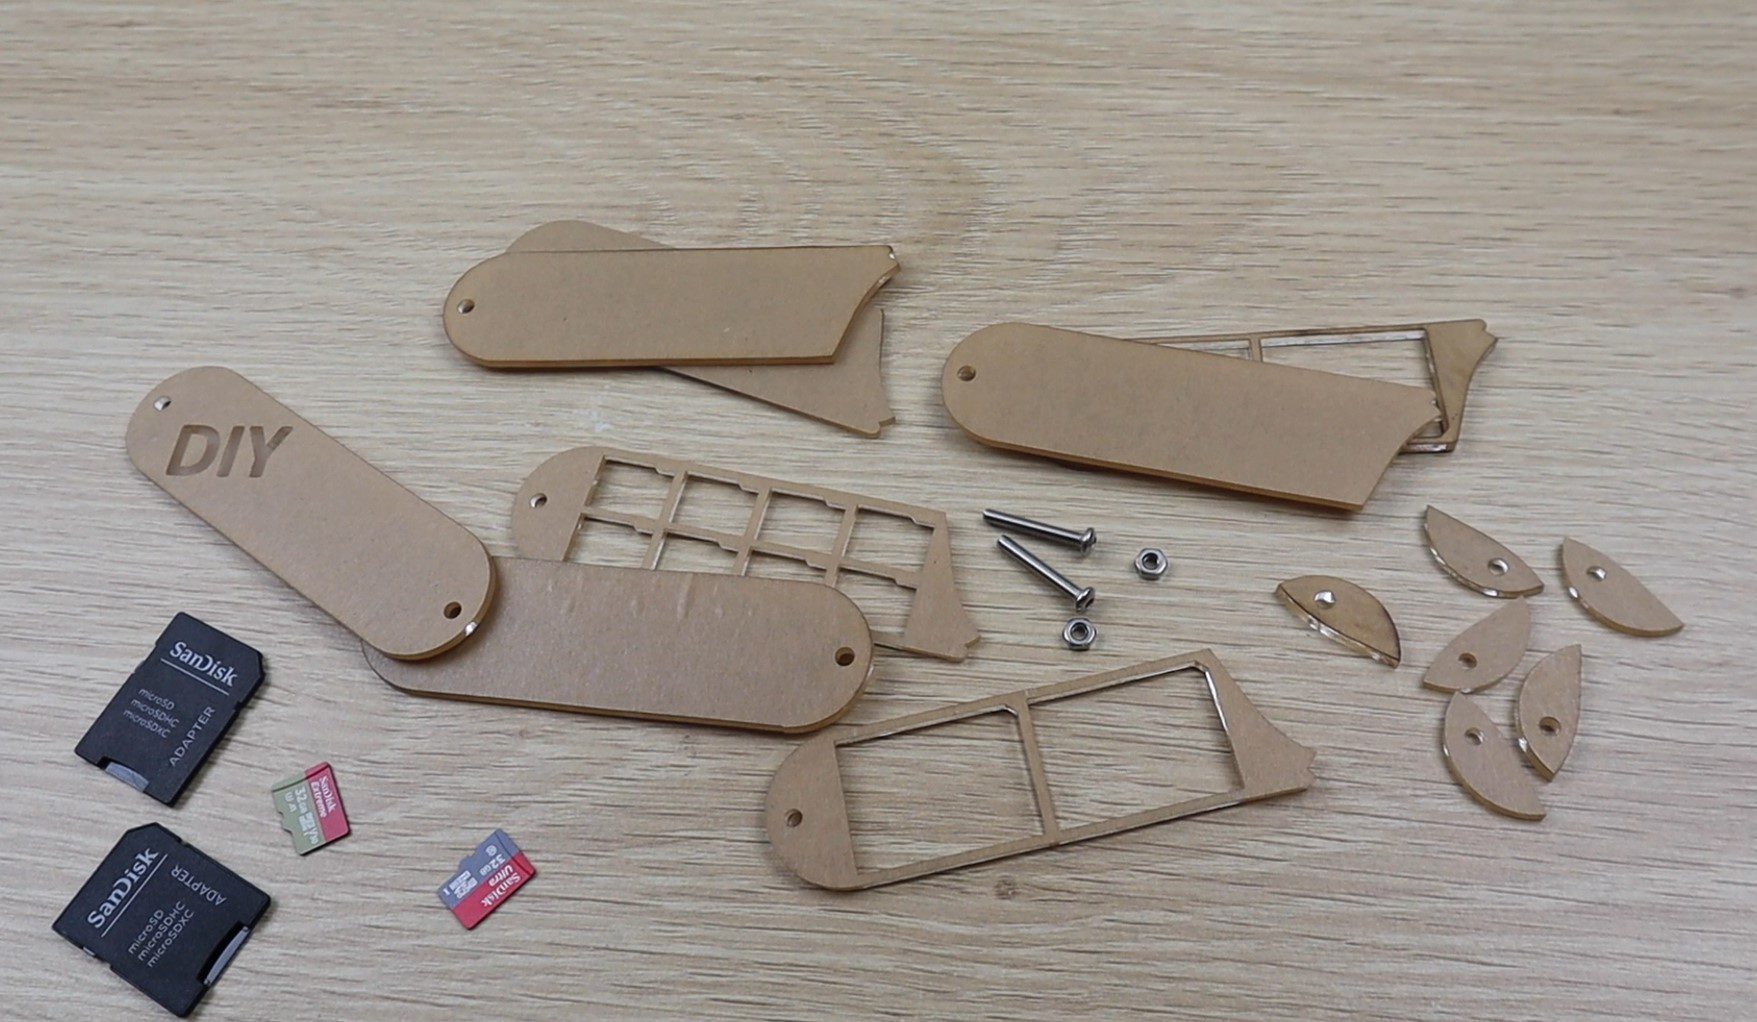
The layers of the multitool are all laser cut from 2mm or 3mm acrylic sheets. I designed the cutouts in Inkscape to fit both micro SD cards and full-sized SD cards..
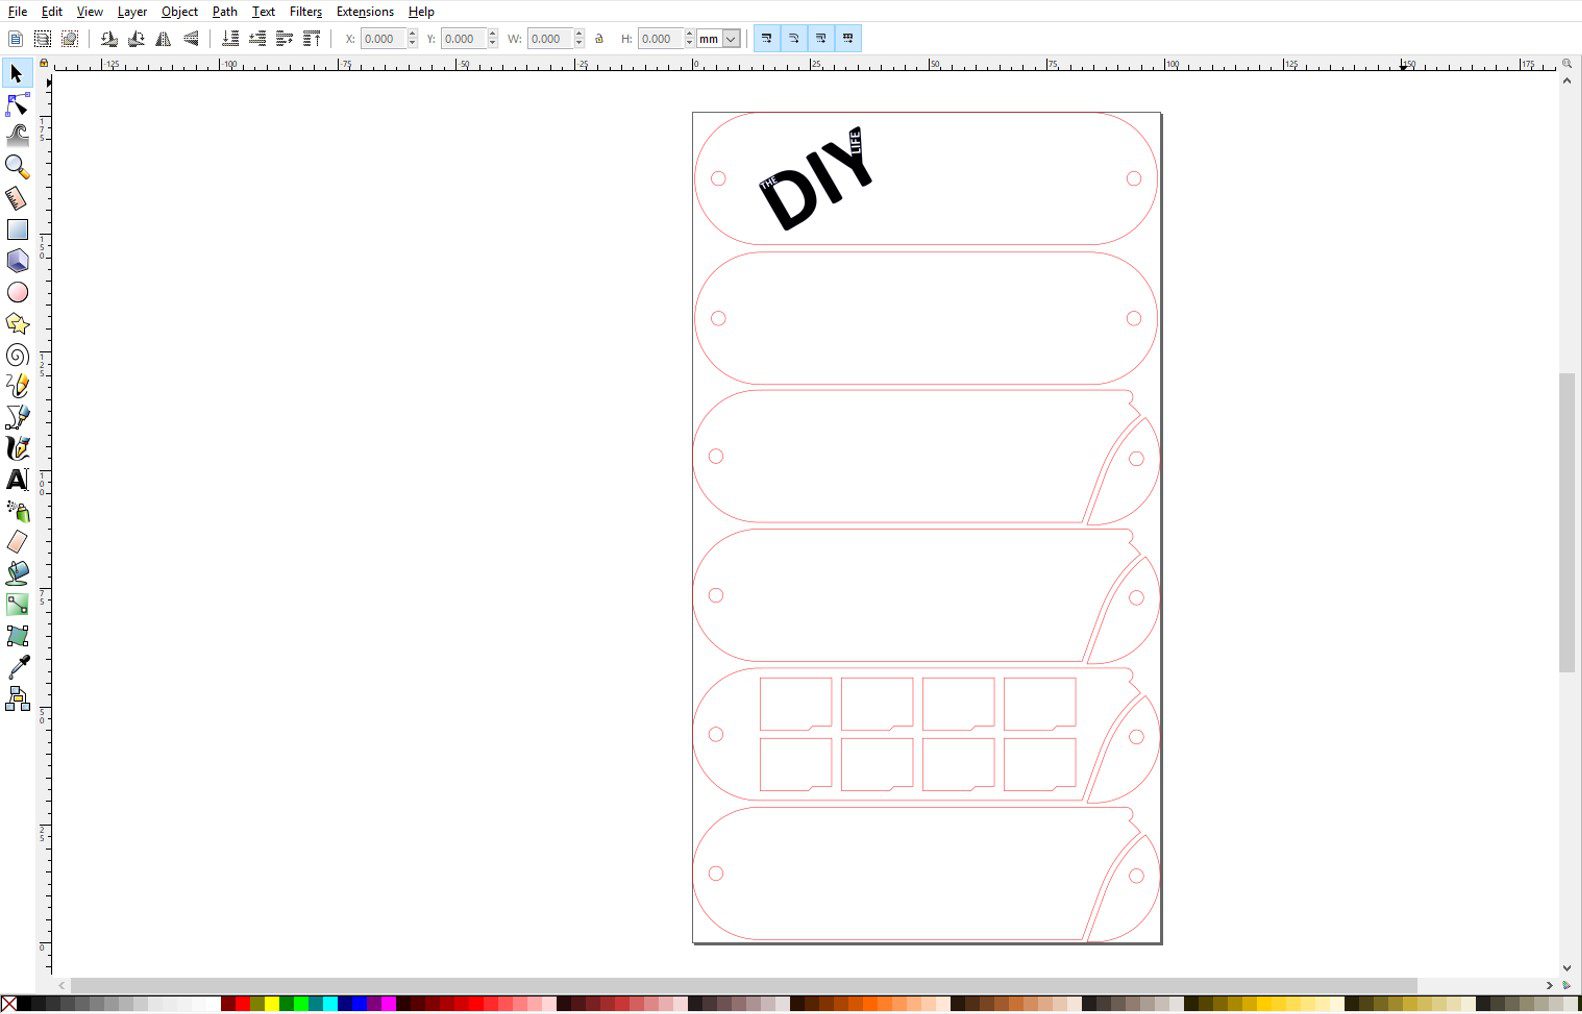
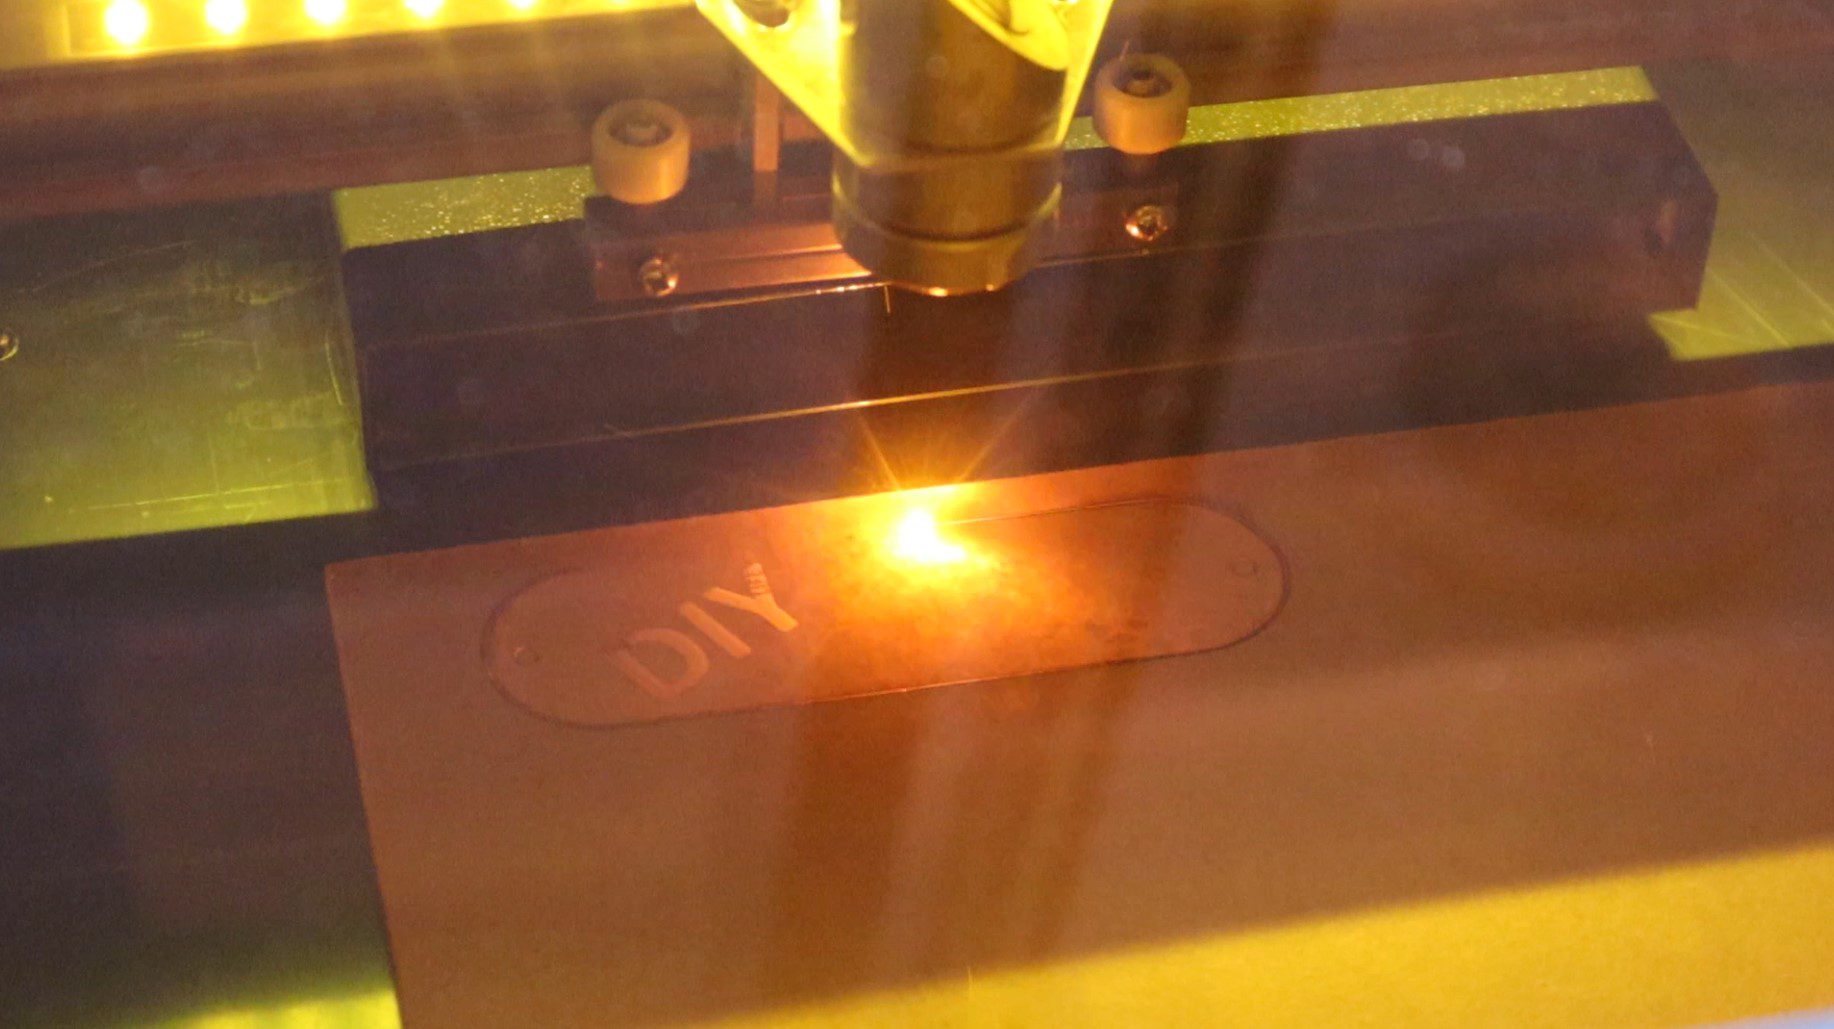
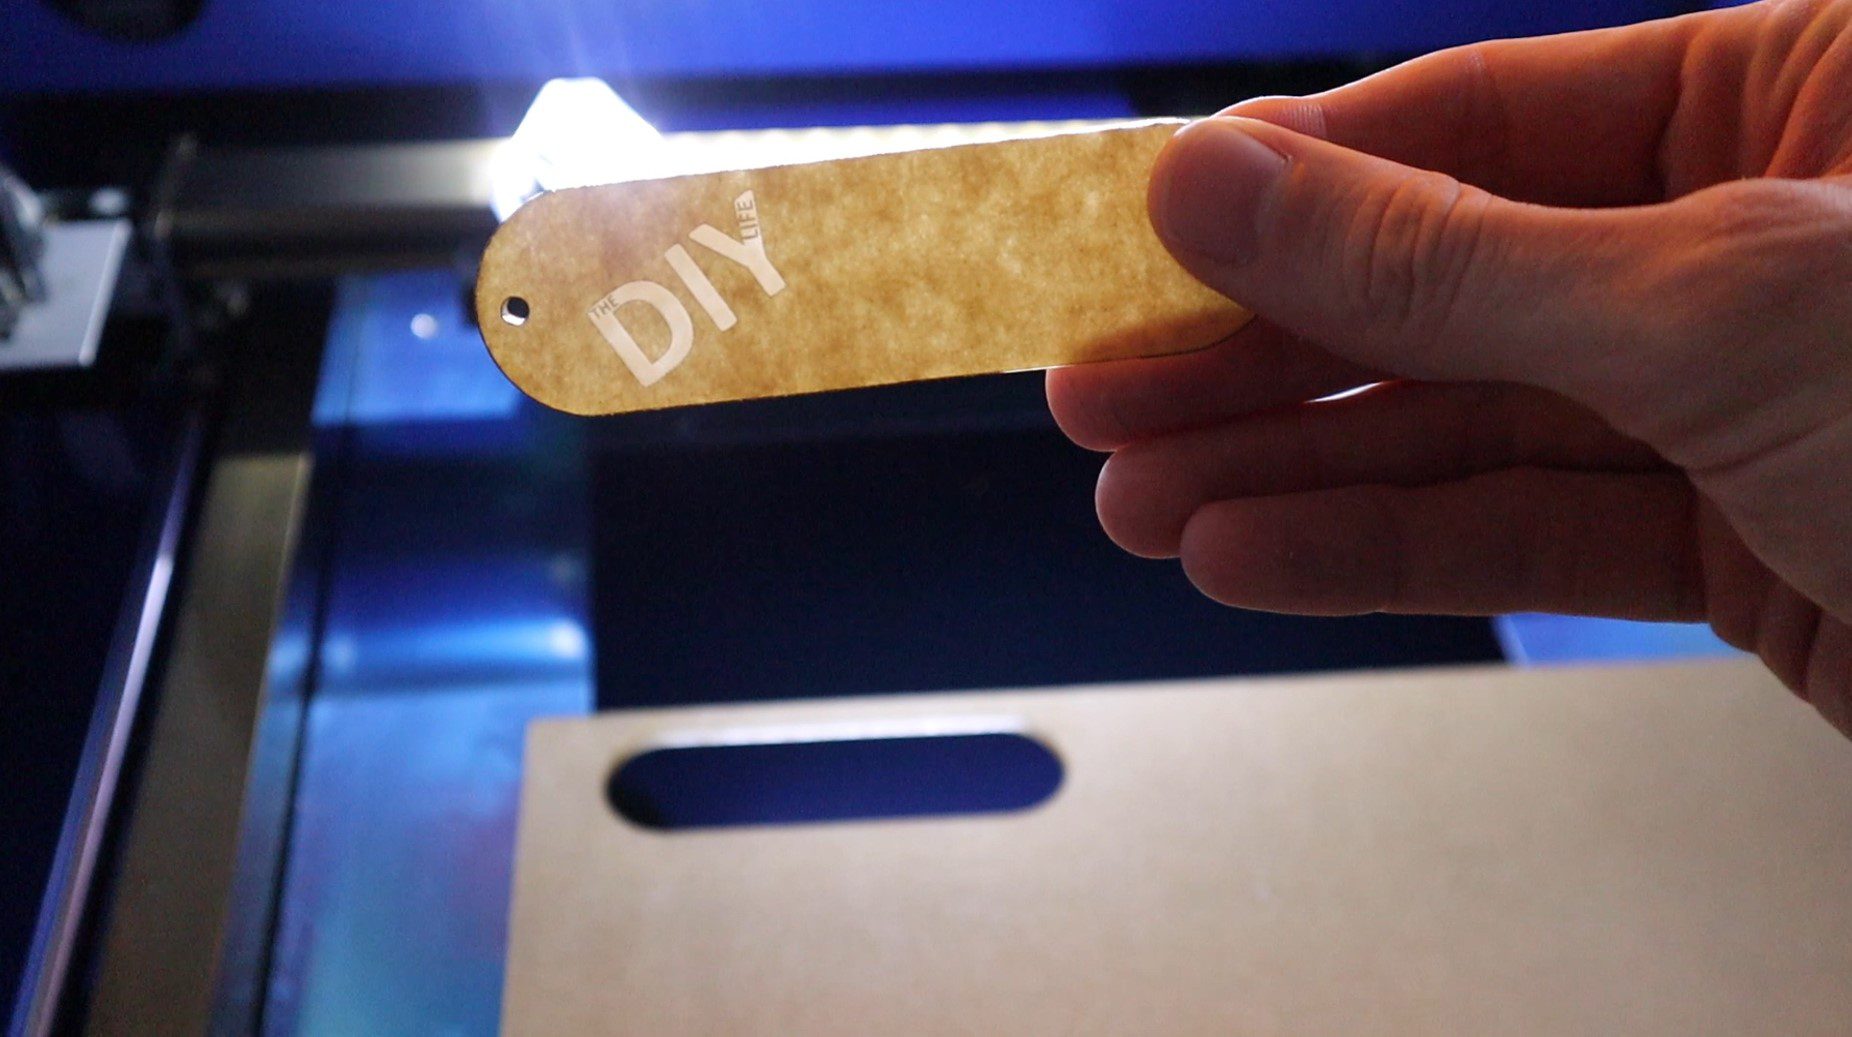
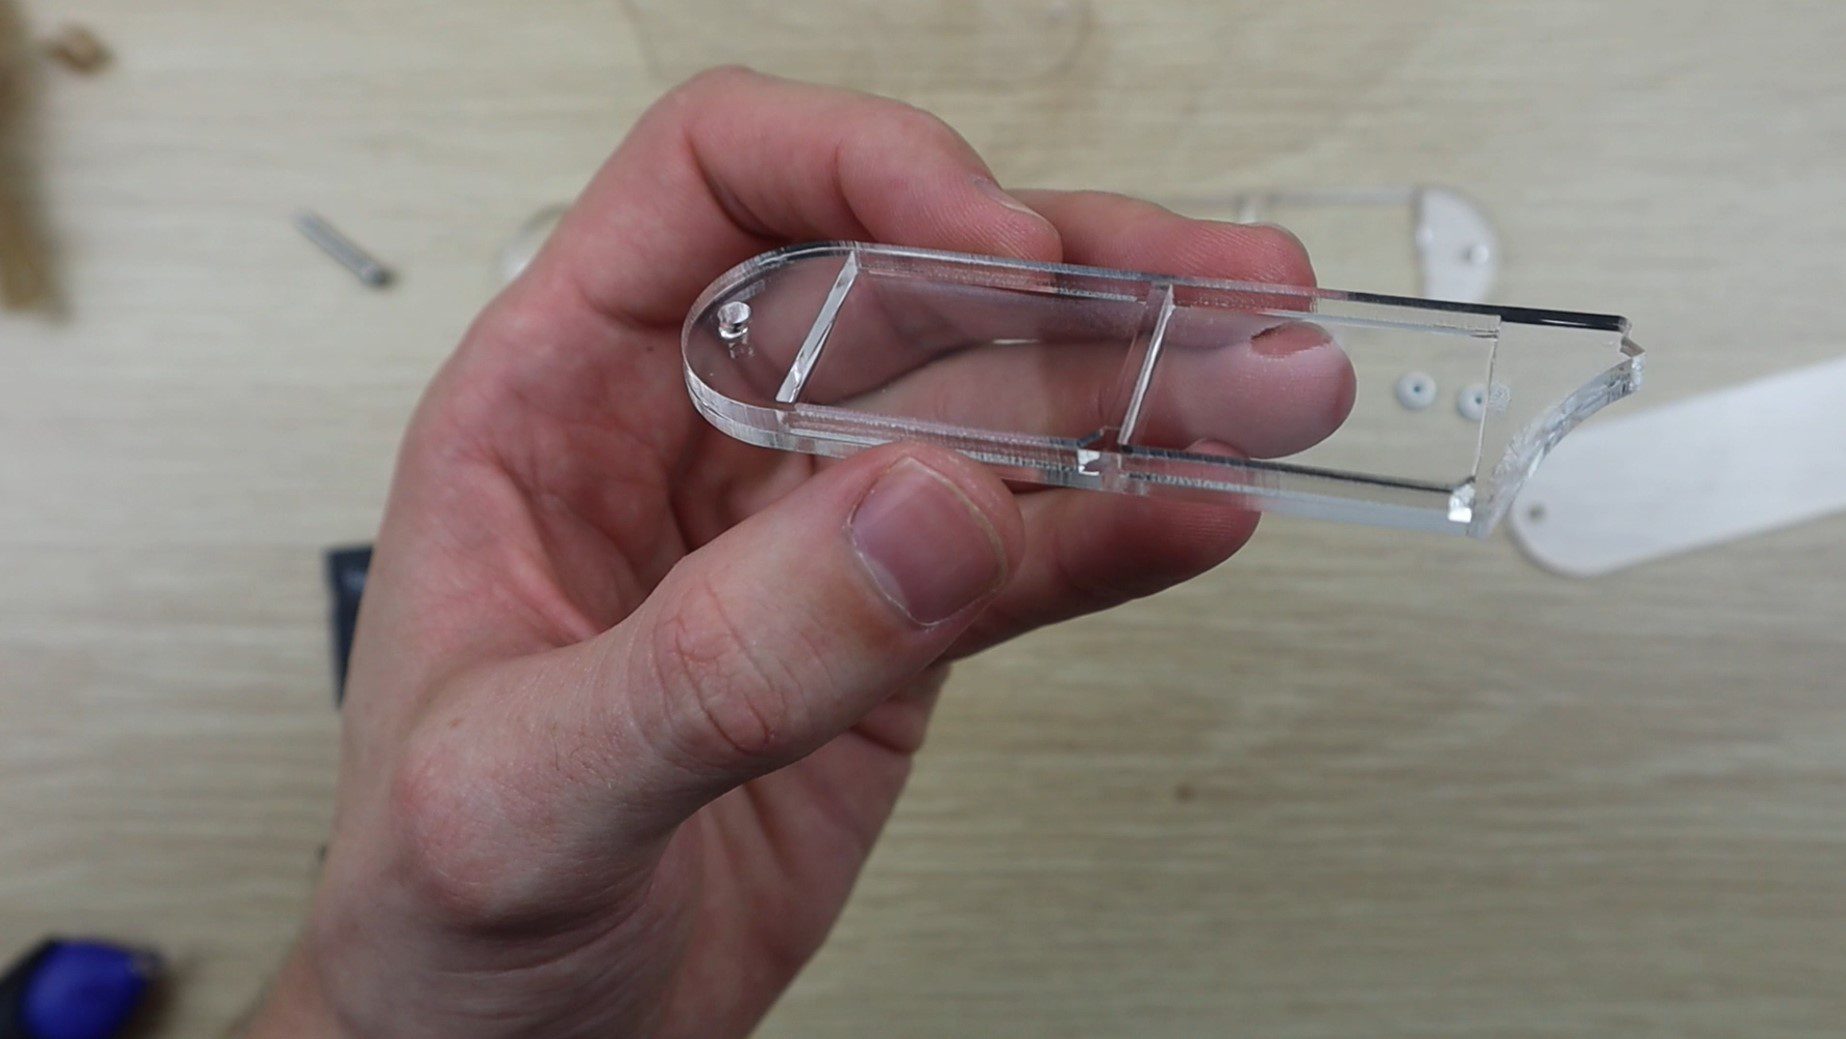
The first two cutouts are the top and bottom layers of the multitool, on the top layer I’ve included a logo to be engraved, you can replace this with your name, your business name or logo.
We’ve then got the tray bottoms. Each tray is made up of two layers which are glued together. The bottom layer is the base of the tray and is solid with no cutout sections and the top layer has the cutouts for the sd cards. The trays all have a corresponding fixed portion which is glued to the stationary housing and then a moving portion with a pullout tab.
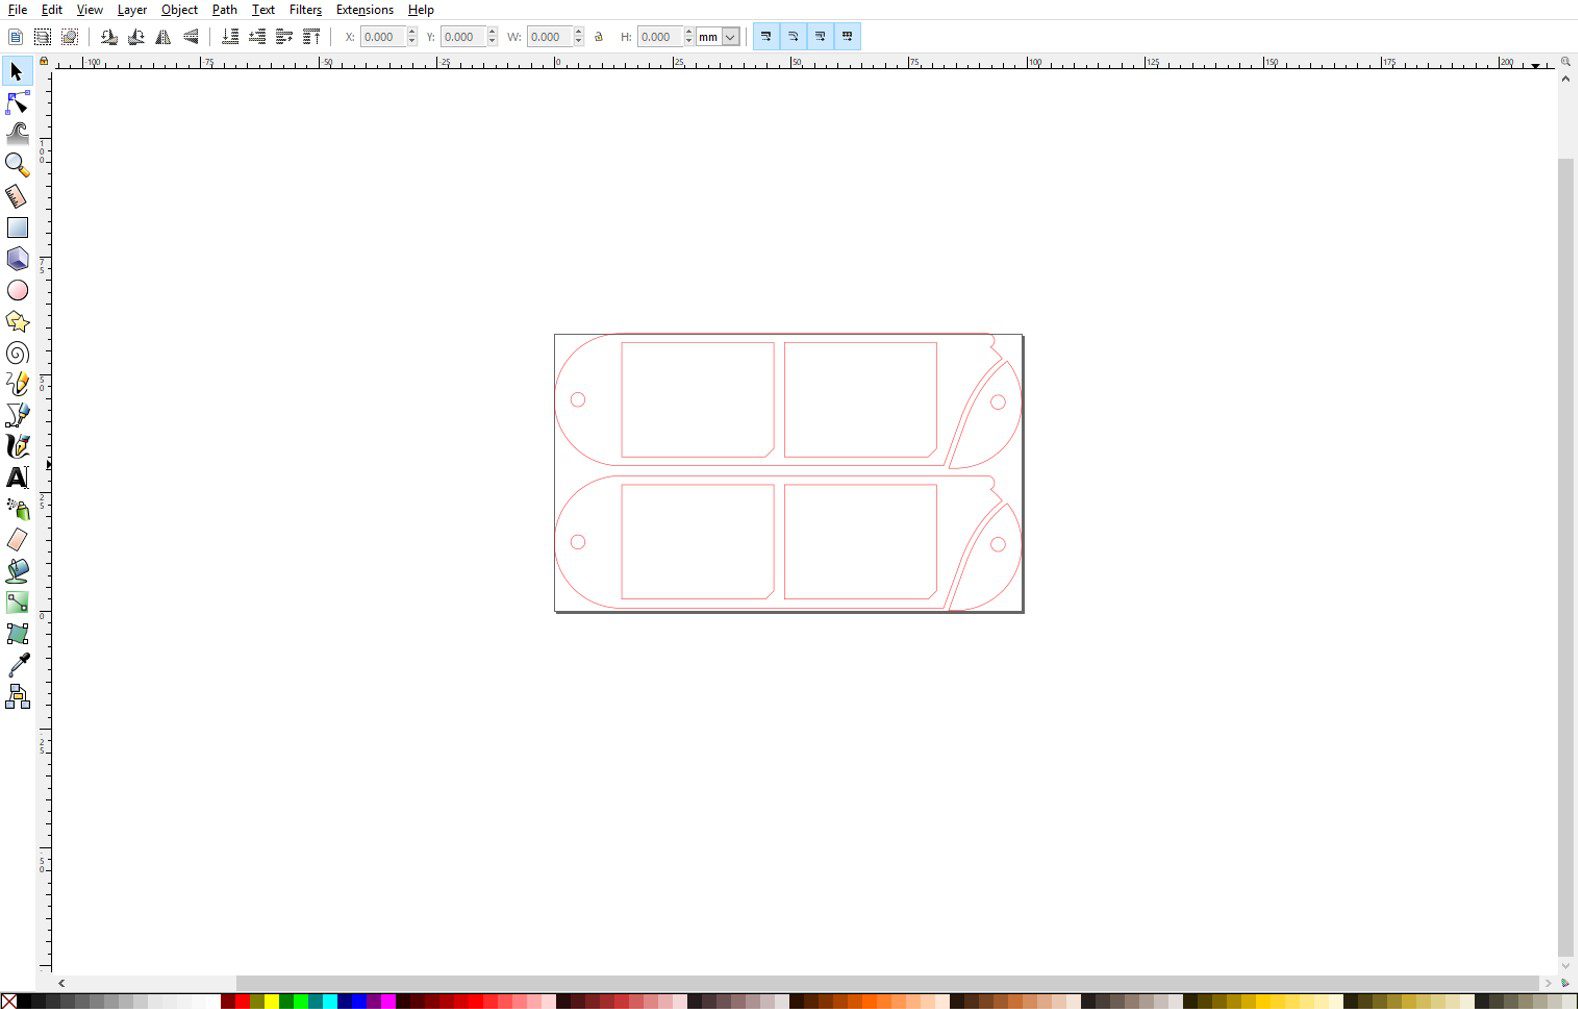
I’ve used two tray designs, one for eight micro SD cards and one for two full-sized SD cards. All of the pieces are cut out of 2mm acrylic except for the tray tops, and corresponding stationary pieces, with full-sized SD card cutouts, these are cut from 3mm acrylic.
The files can be downloaded here – Cutting Files
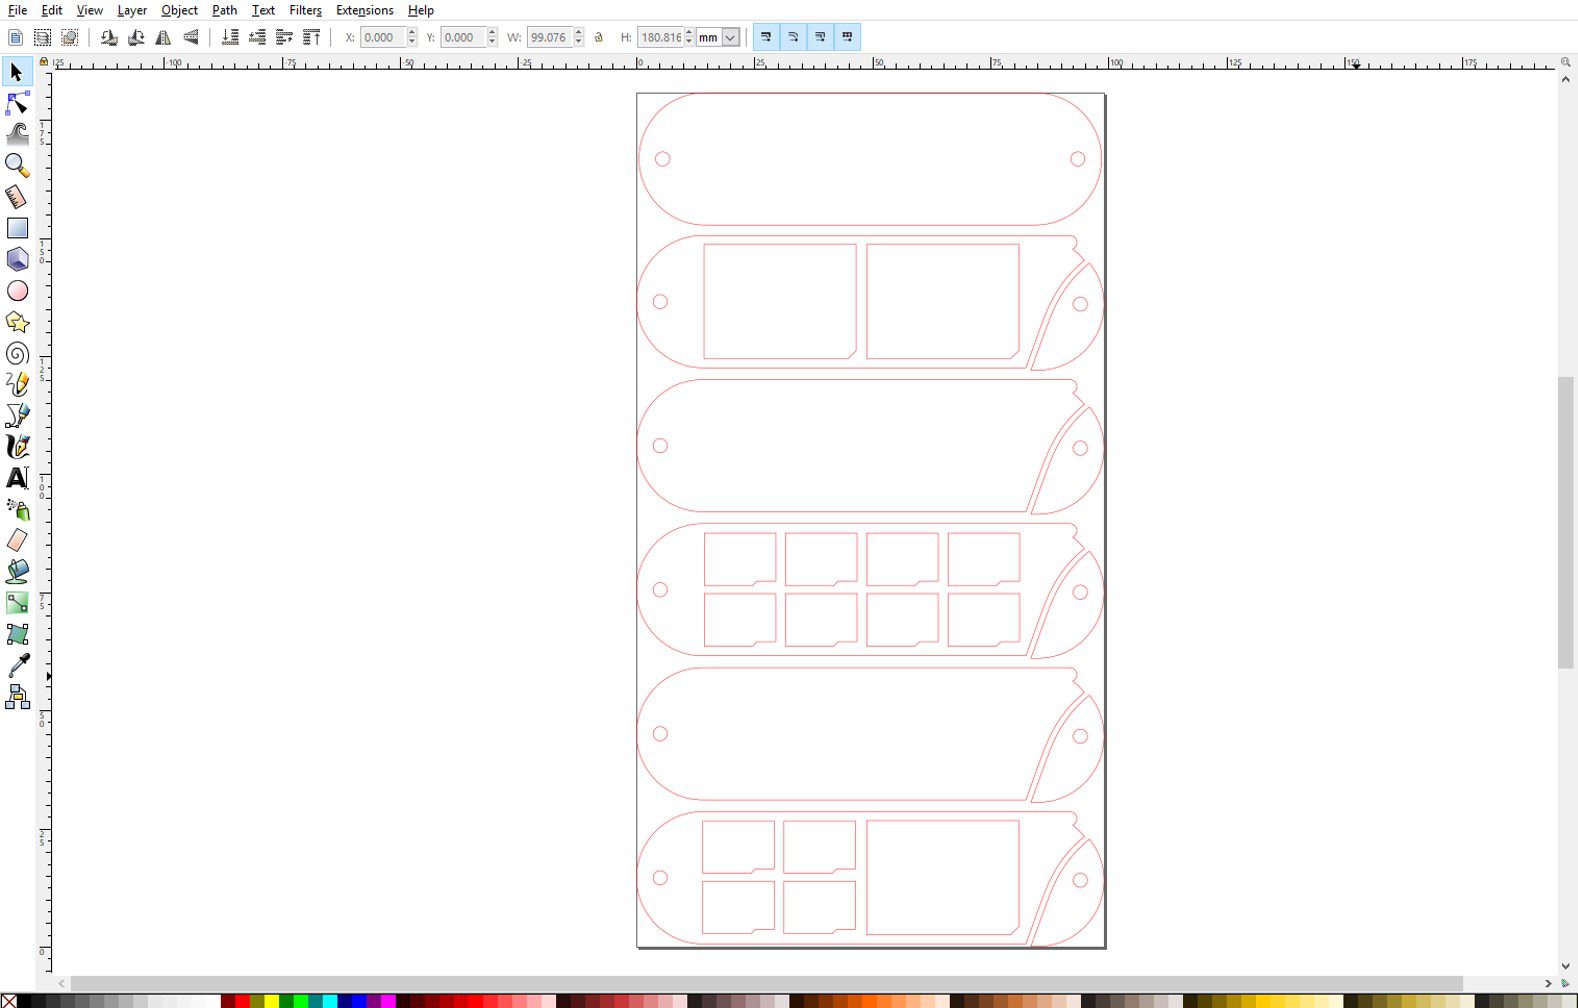
I’ve also included a design for one with four micro SD cards and one full-sized SD card. Remember to cut the ones with full-sized SD cards from 3mm acrylic.
I cut the pieces and engraved the logo using a K40 laser cutter.
If you don’t have a laser cutter, you could either make use of an online laser cutting service or you can trace them onto your acrylic and cut them out using a band or scroll saw. Acrylic is quite workable with hand tools, it’ll just be time-consuming.
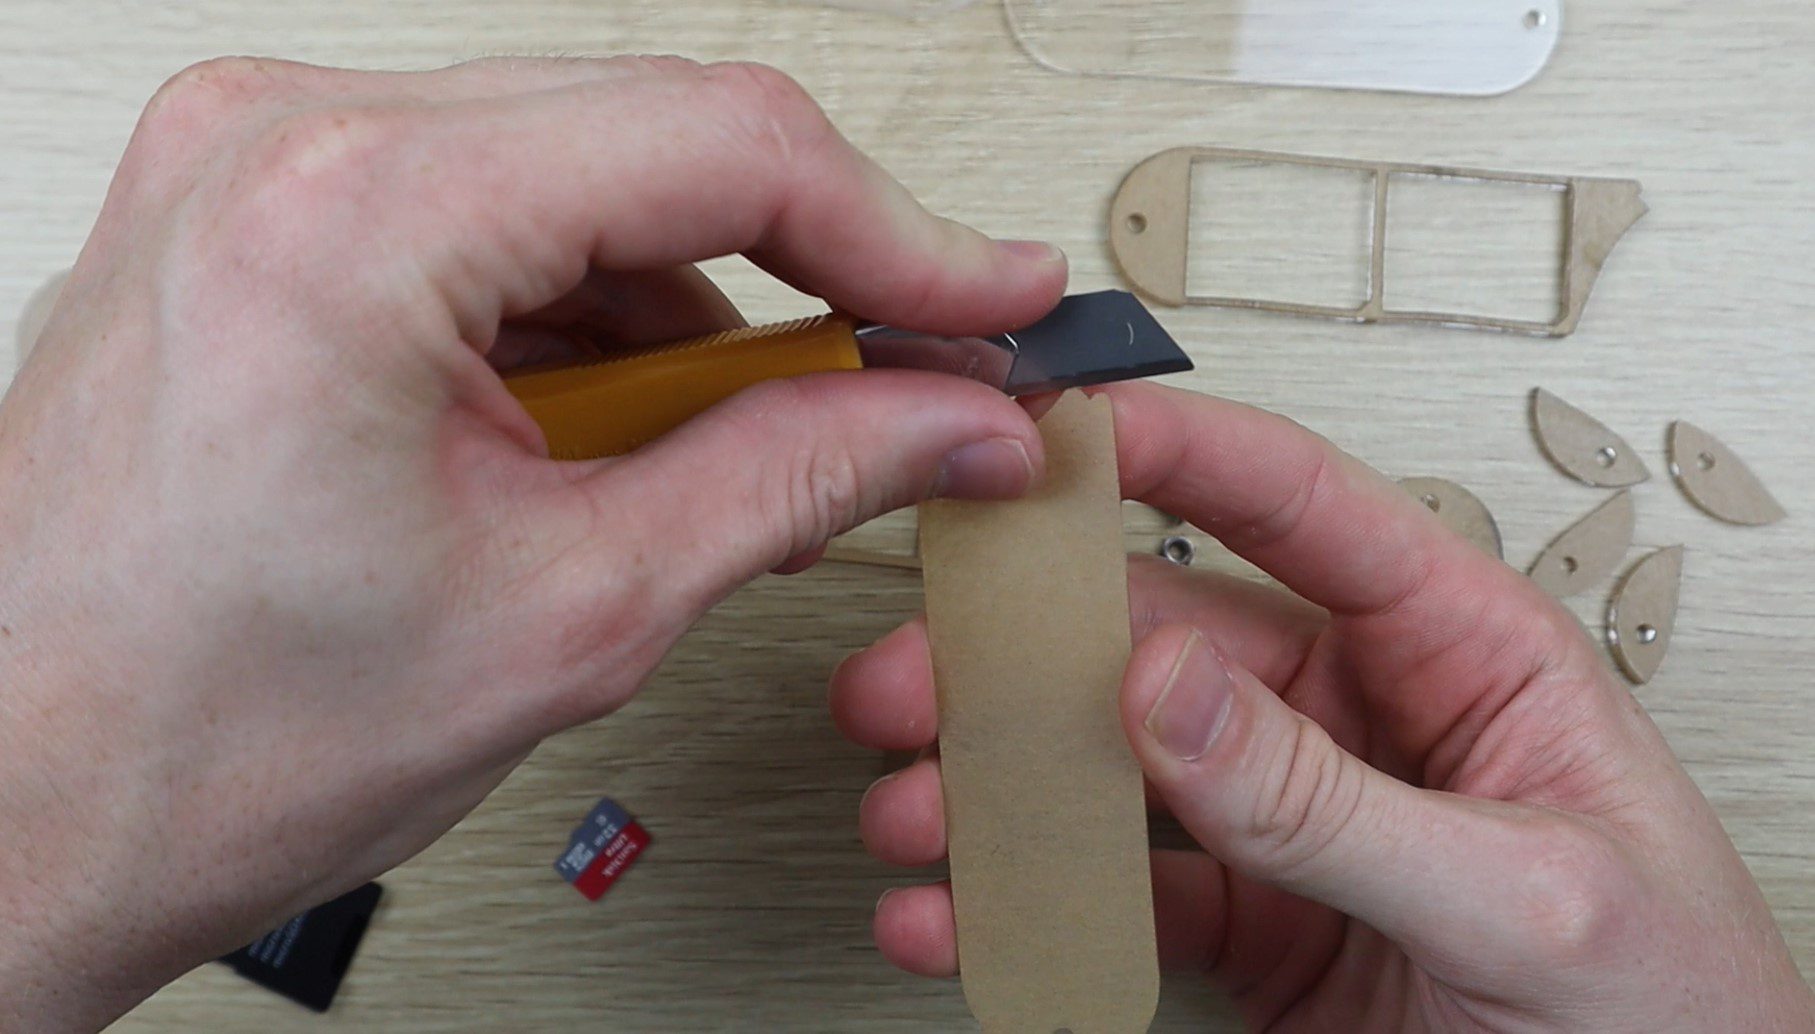
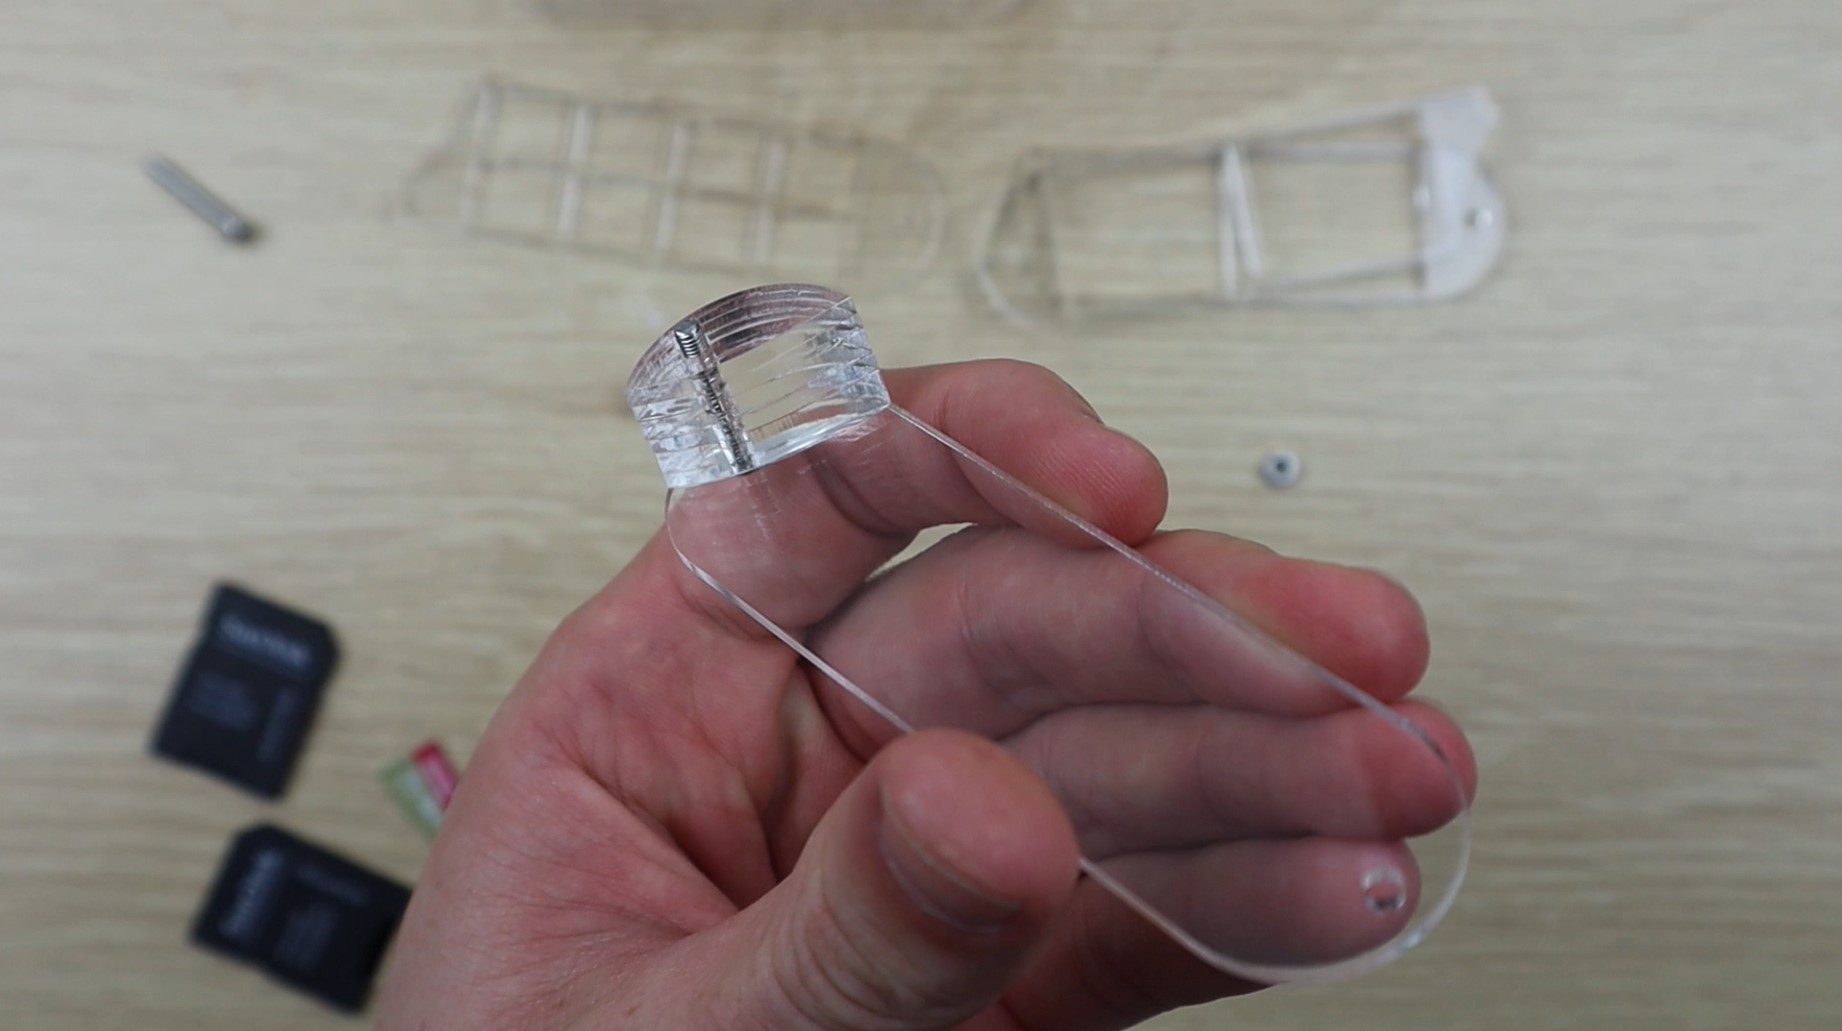
Once your pieces are all cut, you’ll need to peel off the protective film.
I glued the acrylic layers together using this quick fix UV light glue because it’s clear when cured and doesn’t damage the acrylic. You can use any acrylic safe glue you’d like, preferably one which dries/cures clear so that you can still see through the layers.
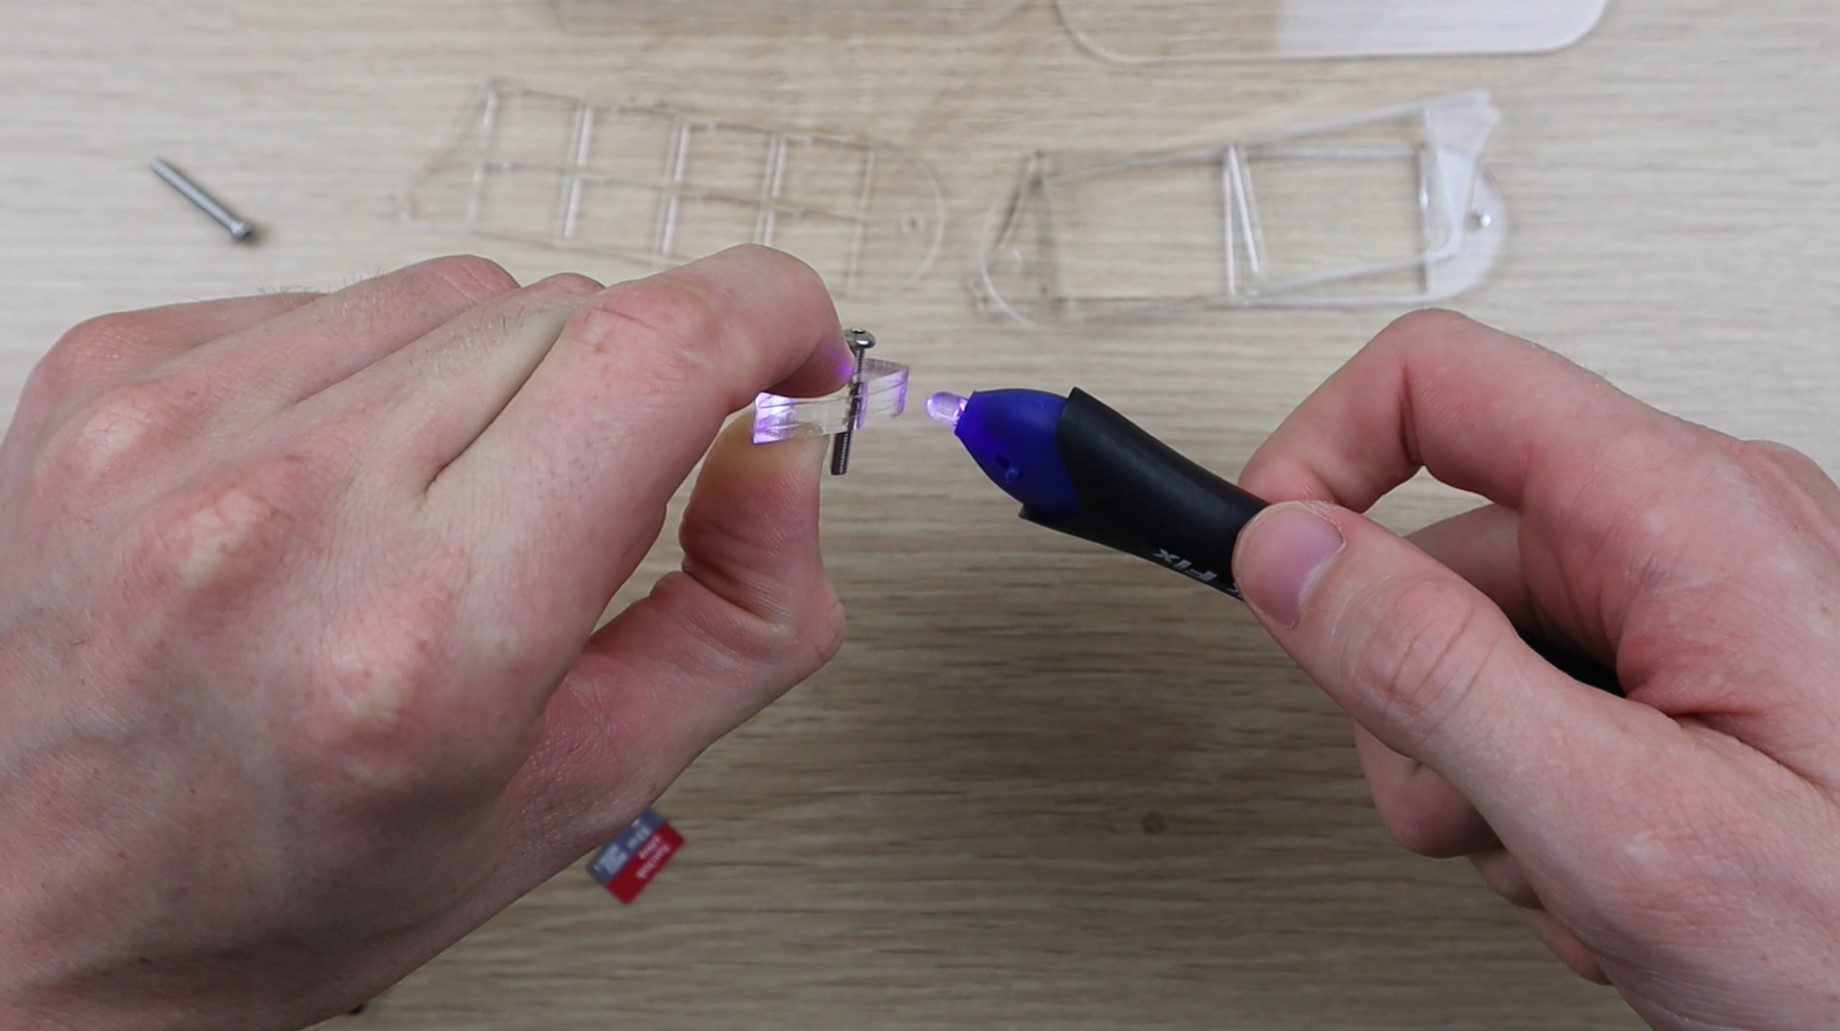
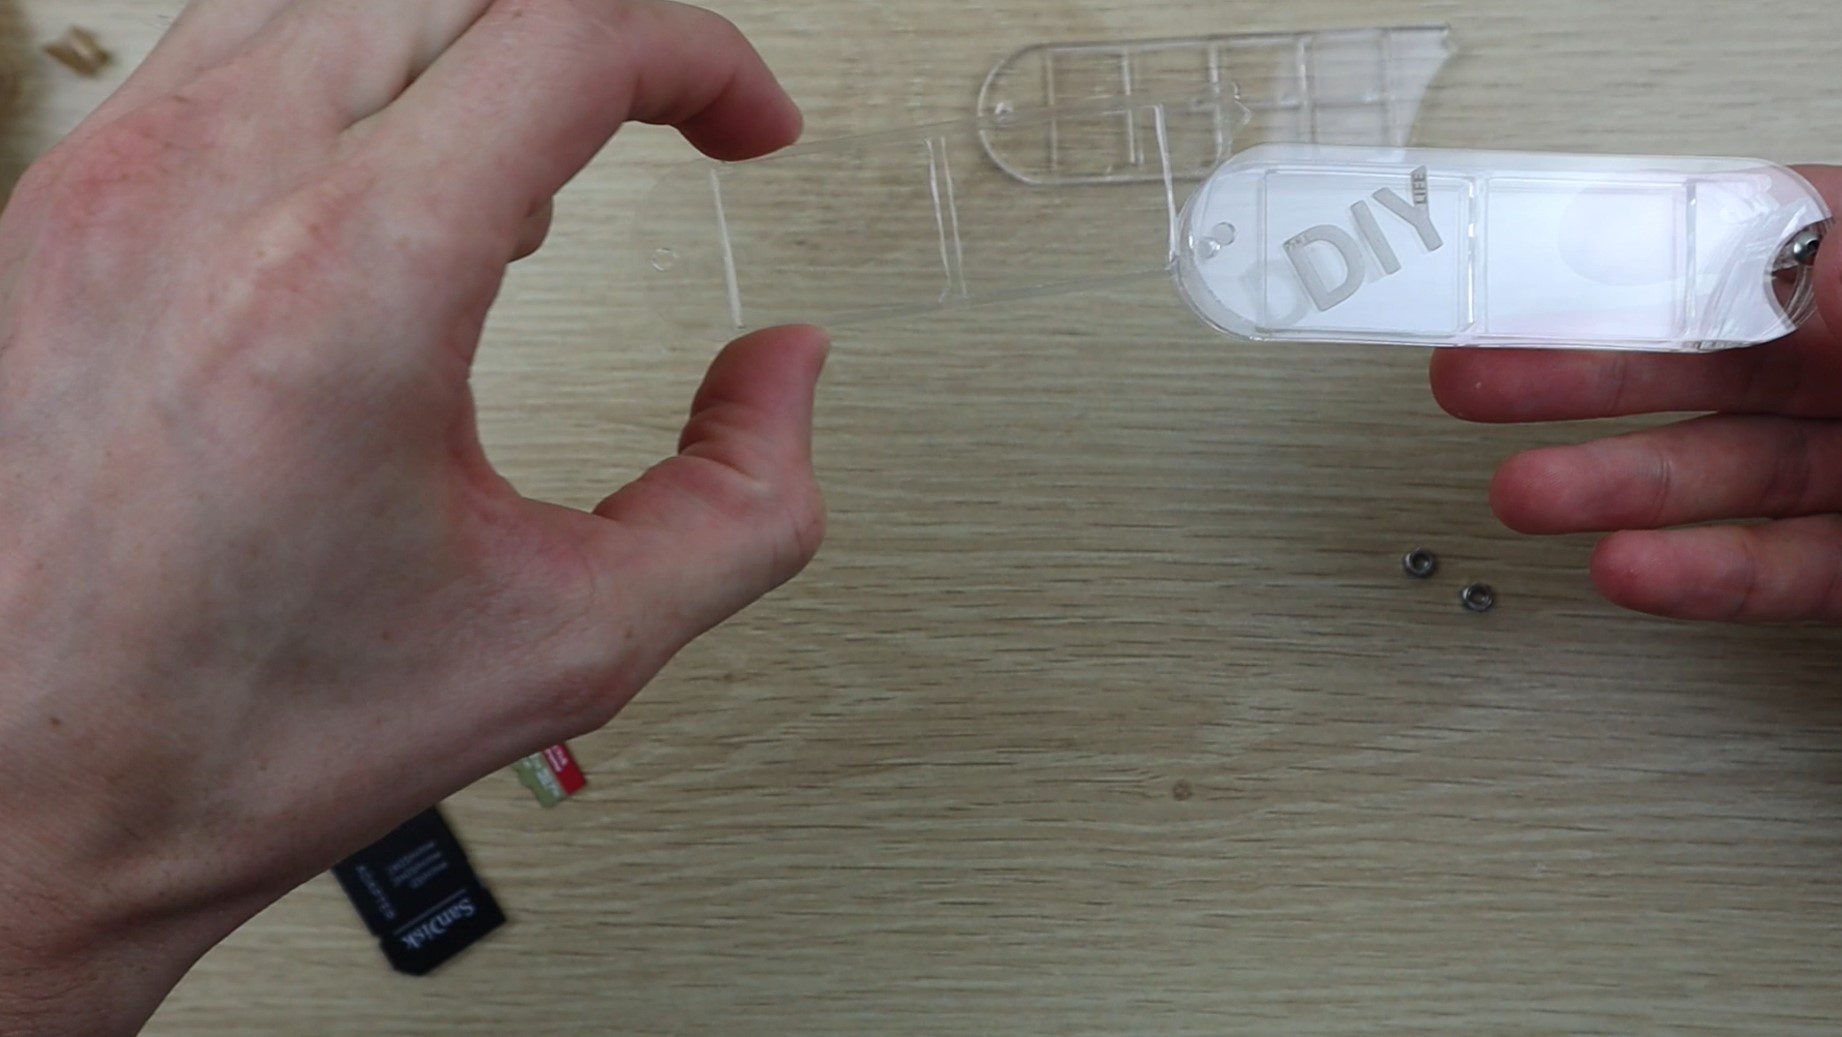
I started by assembling the smaller pieces to the top and bottom layer to form the multitool body. It’s not critical that they’re in the correct layer order, but it does look neater when you’re done if you keep them in order as per the tray layers. You can use one of the screws as a guide to line up the pieces, just don’t get glue on it so that you can’t remove it.
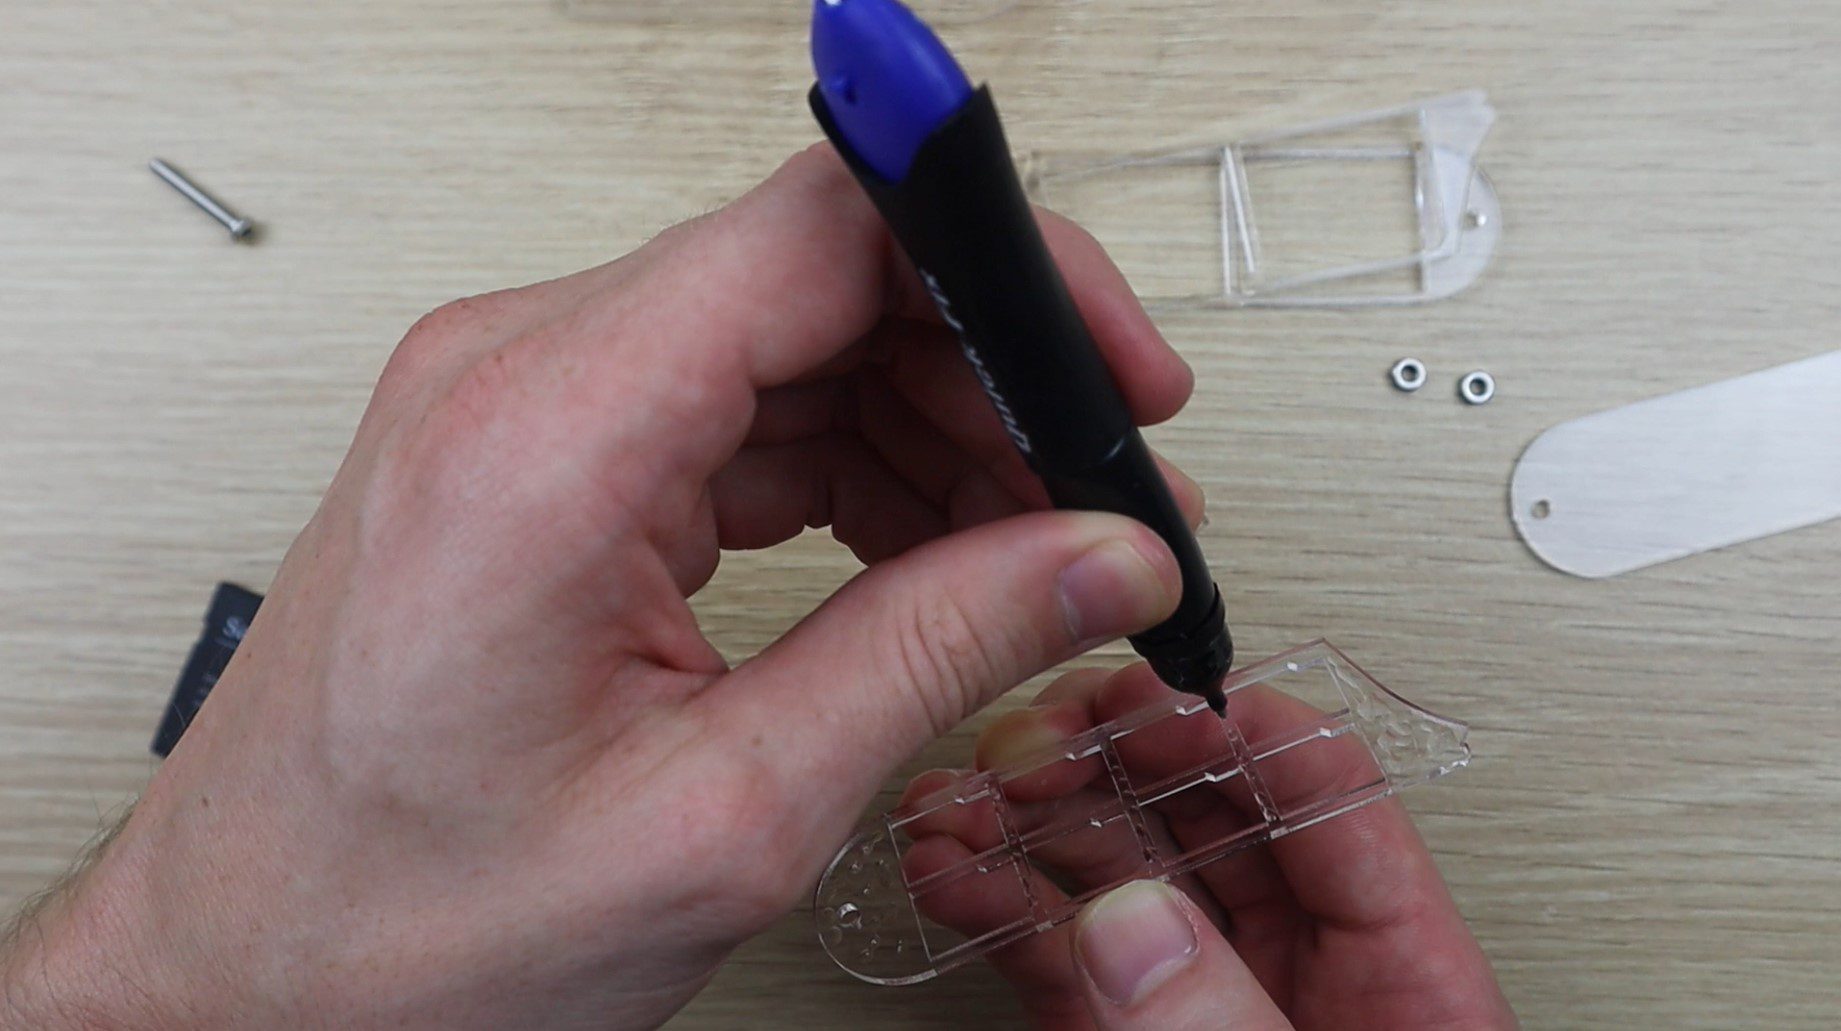
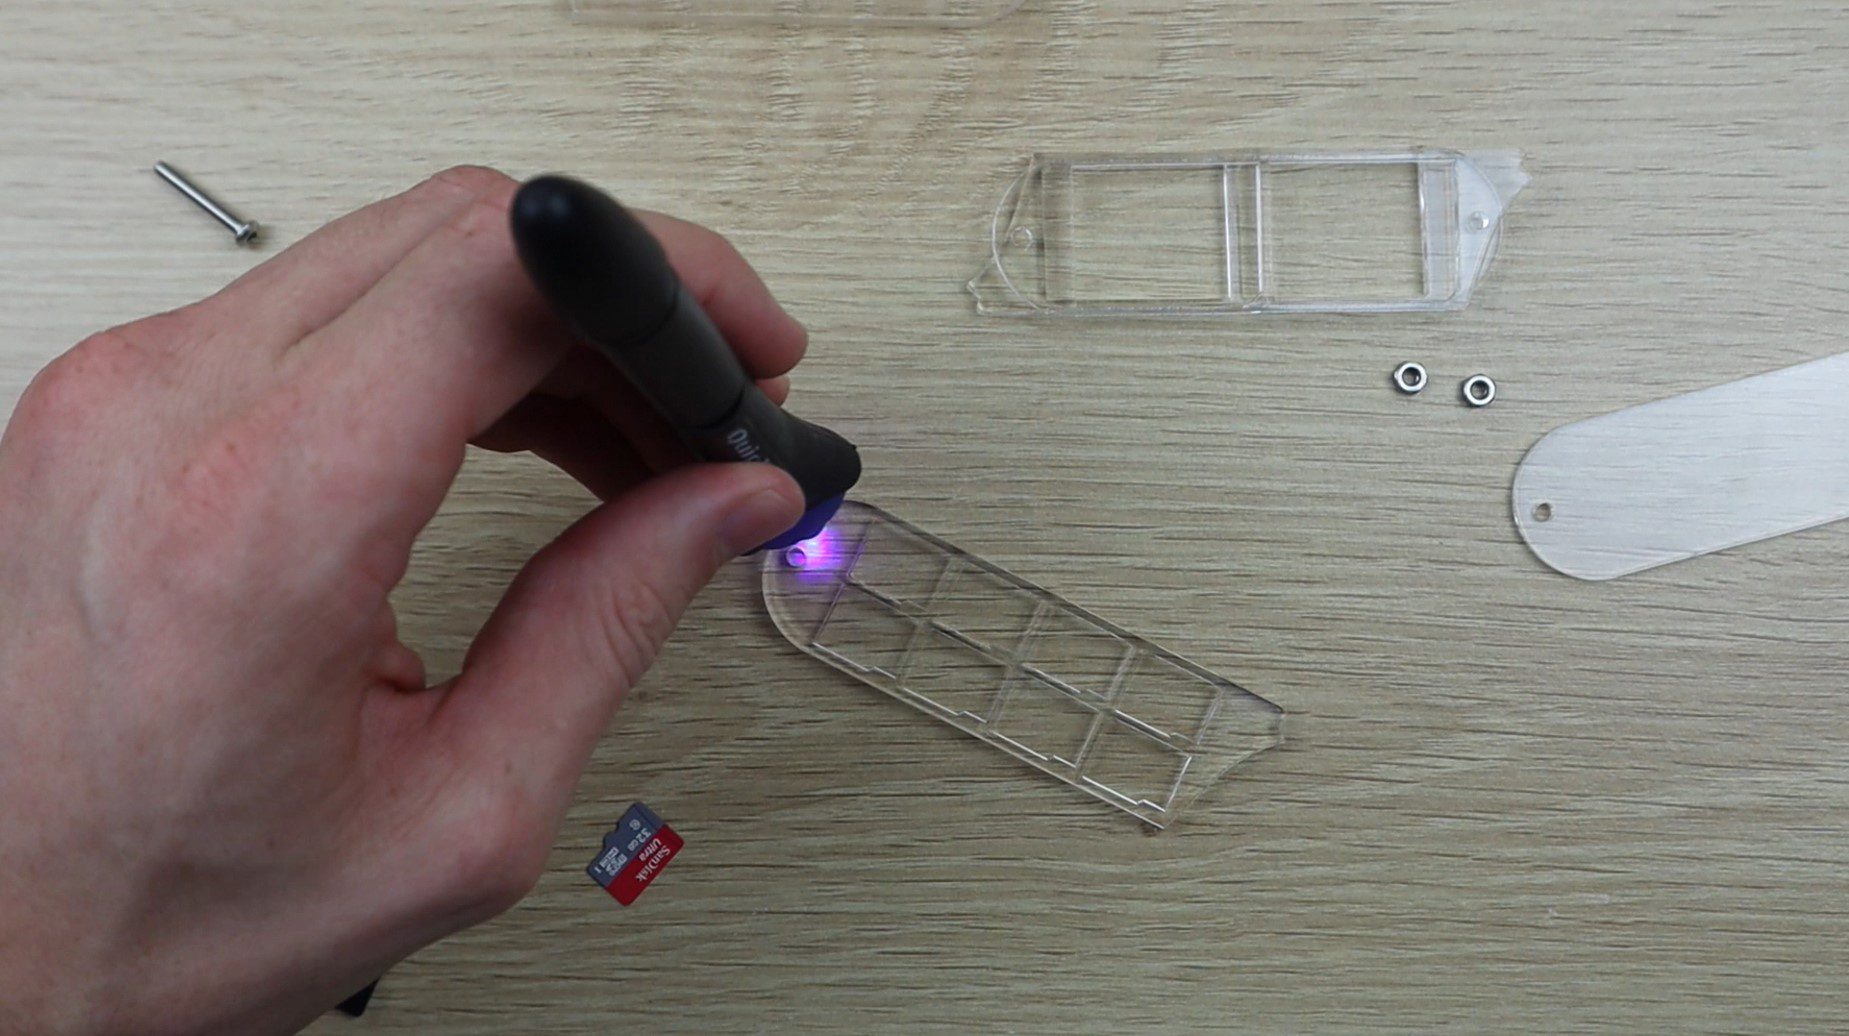
To make the trays, you need to glue the upper cutout tray piece onto a bottom tray piece and then cure the glue. I didn’t use glue on all of the edges, just on the two ends and a bit around the middle section.
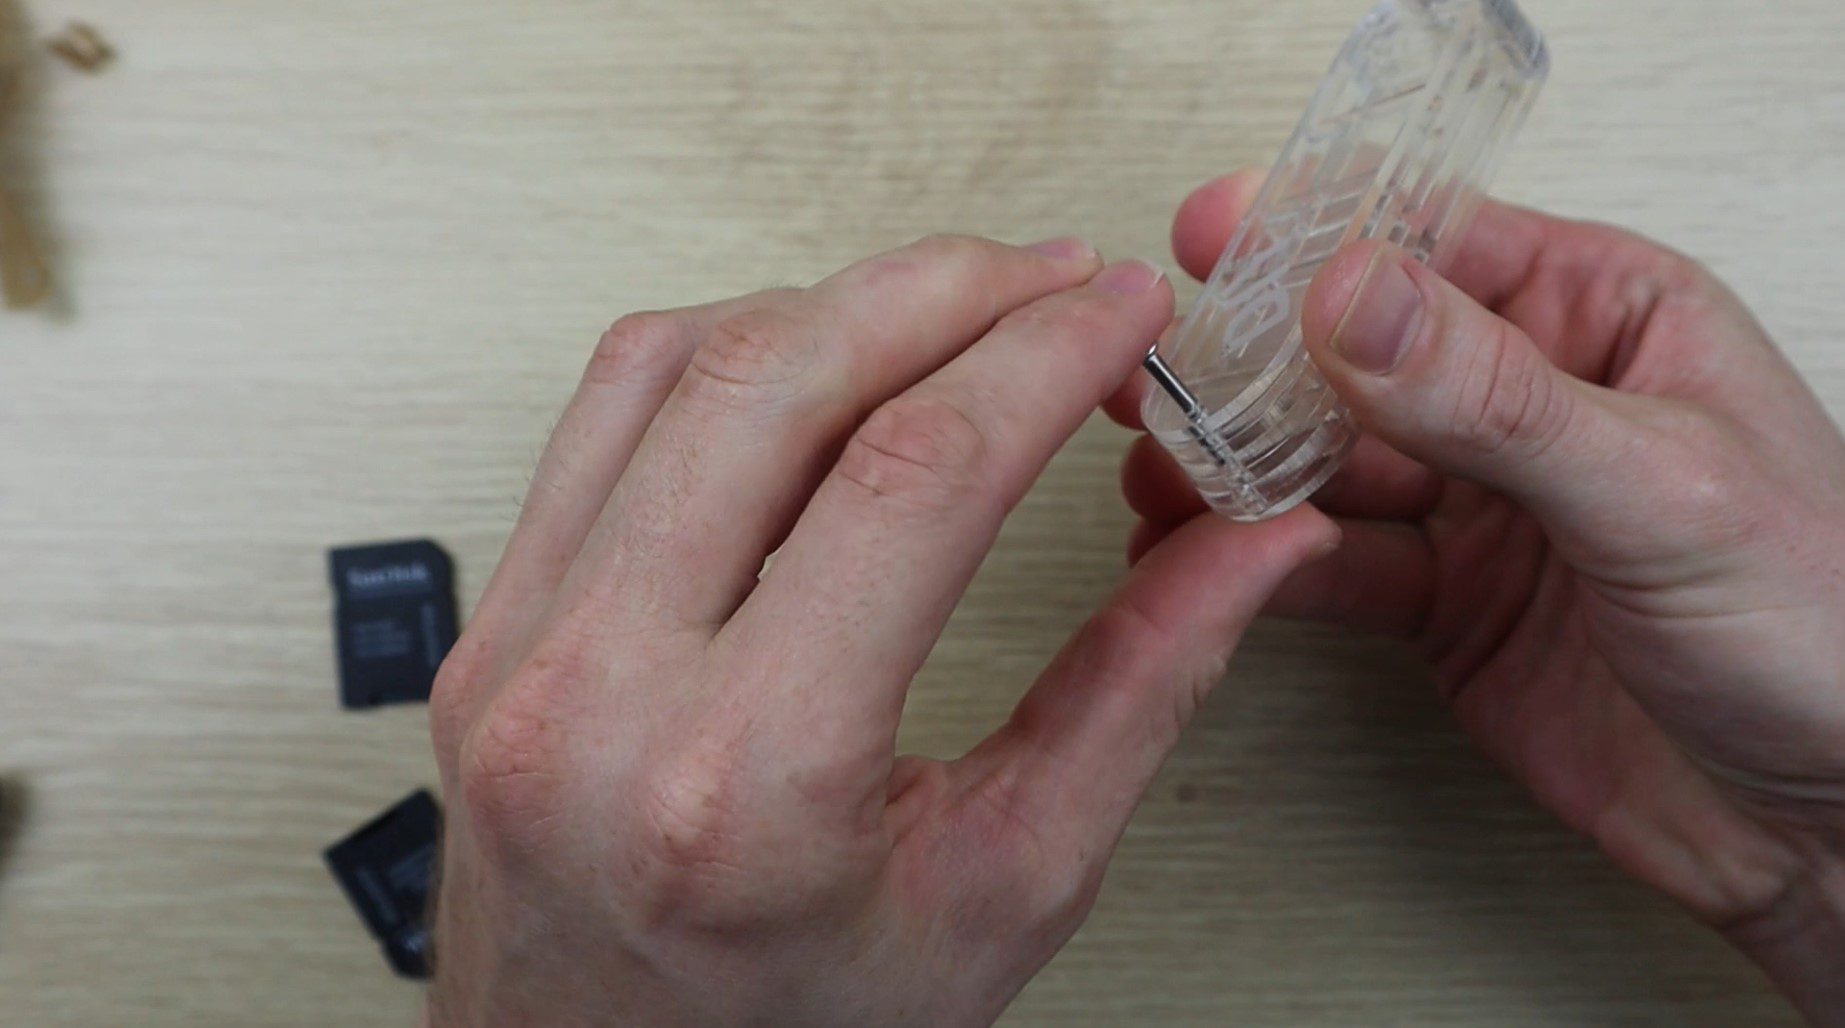
I’ve used M3 x 20mm button head screws and undersized the holes on the bottom layer slightly so that I didn’t need to use the nuts. You may need different length screws if you’ve used a different combination of trays. The nuts on the end of the screws are a more durable solution if you’re going to be keeping this in your camera bag, make sure you use a drop of lock tight on the nuts so they don’t work loose.
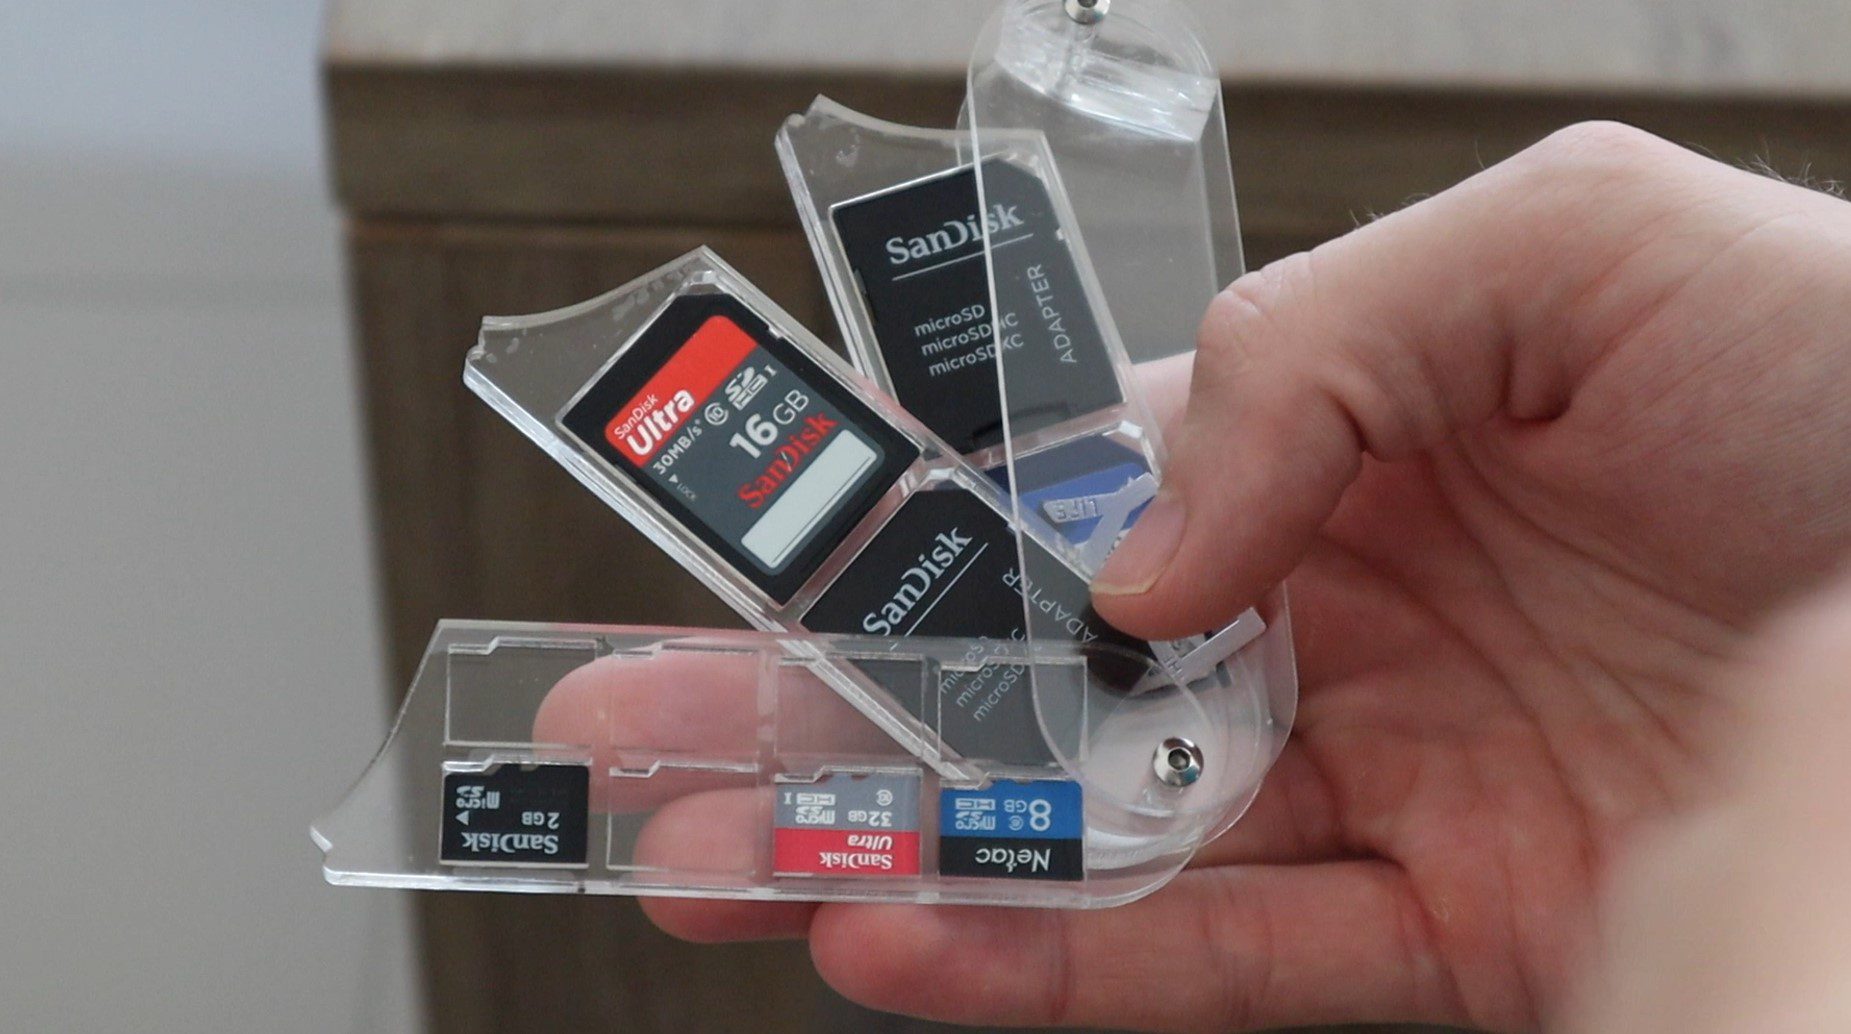
Once your trays are done, slide them into your multitool in the order you’d like them to be in and then push the second screw into the end to hold them together and act as a hinge. This screw is critical to the functioning of your multitool, you want it to be tight enough so that the trays are not loose and don’t fall out by themselves but not too tight that its difficult to open. Tighten it until you’re happy with the feel and then use a drop of lock tight on the nut or end of the screw to secure it.
Your SD card storage multitool is now complete.
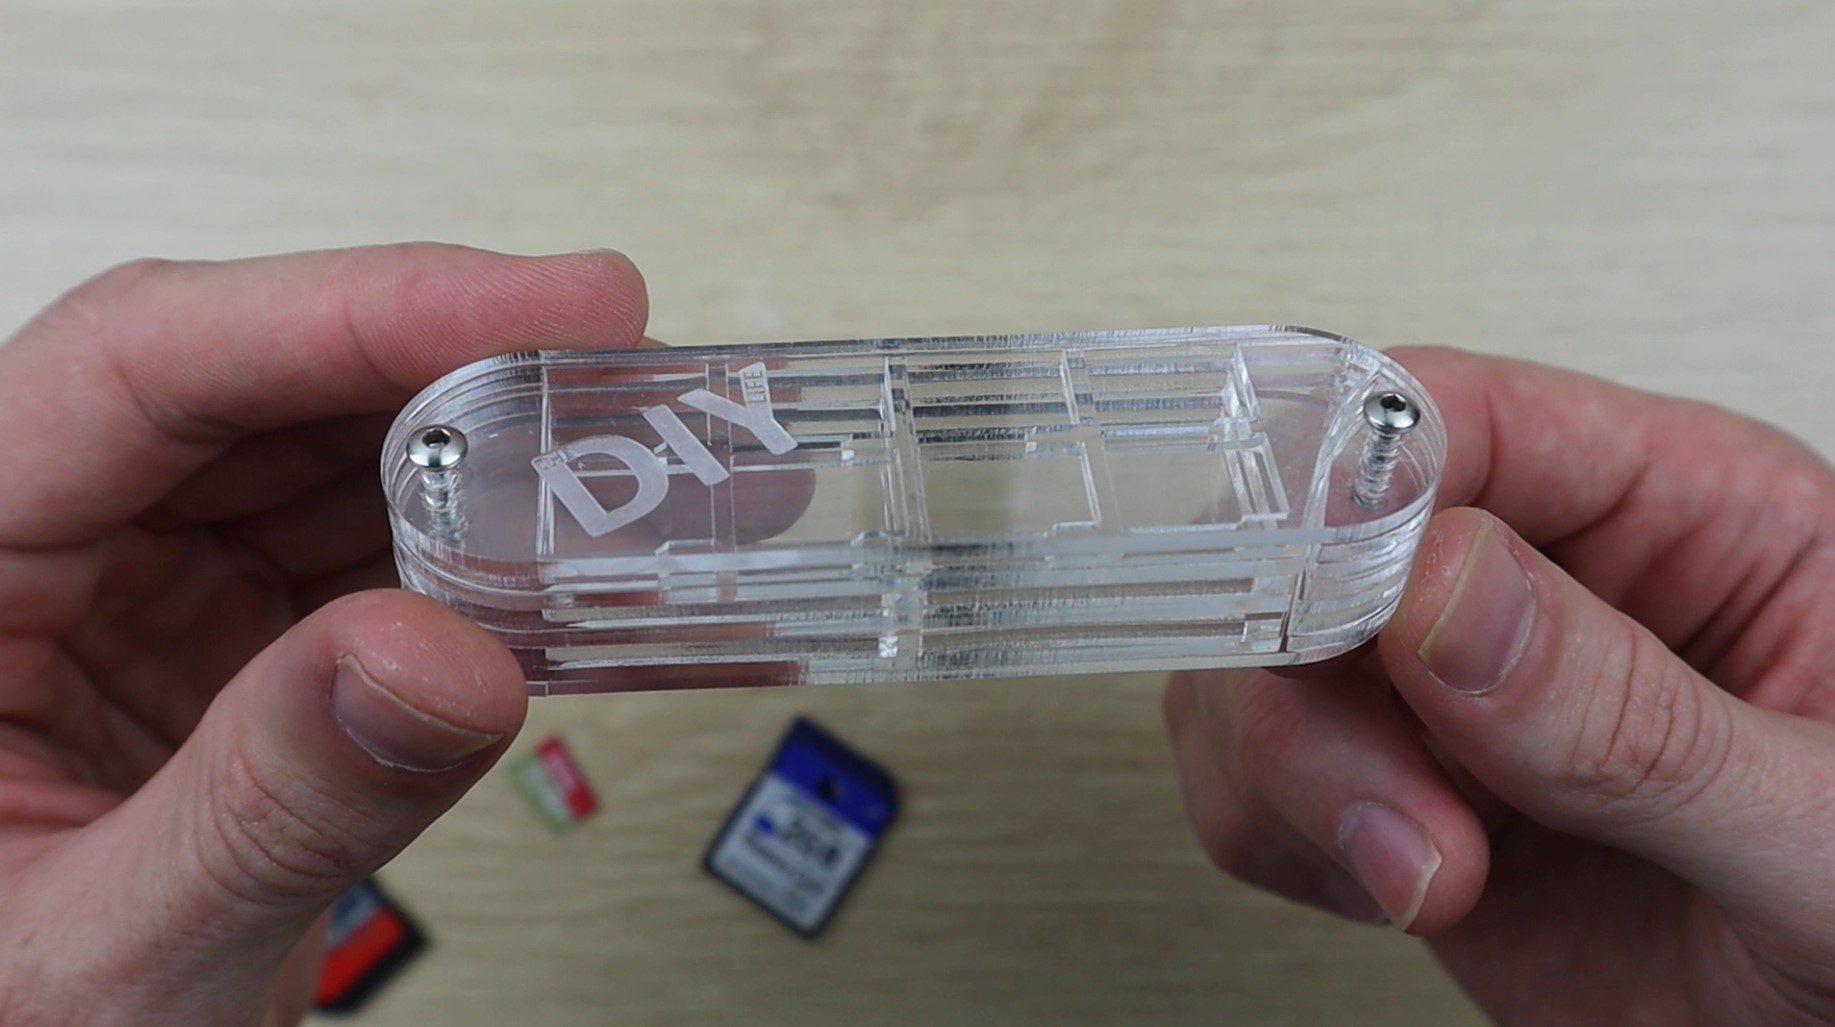
Make sure that all of the glue is cured and then start adding your SD cards.
This also doesn’t have to be limited to SD cards. If you use different types of memory cards or you’d like a space for a flash driver or adaptor, it’s really easy to make an additional tray and expand upon your multitool’s functionality.
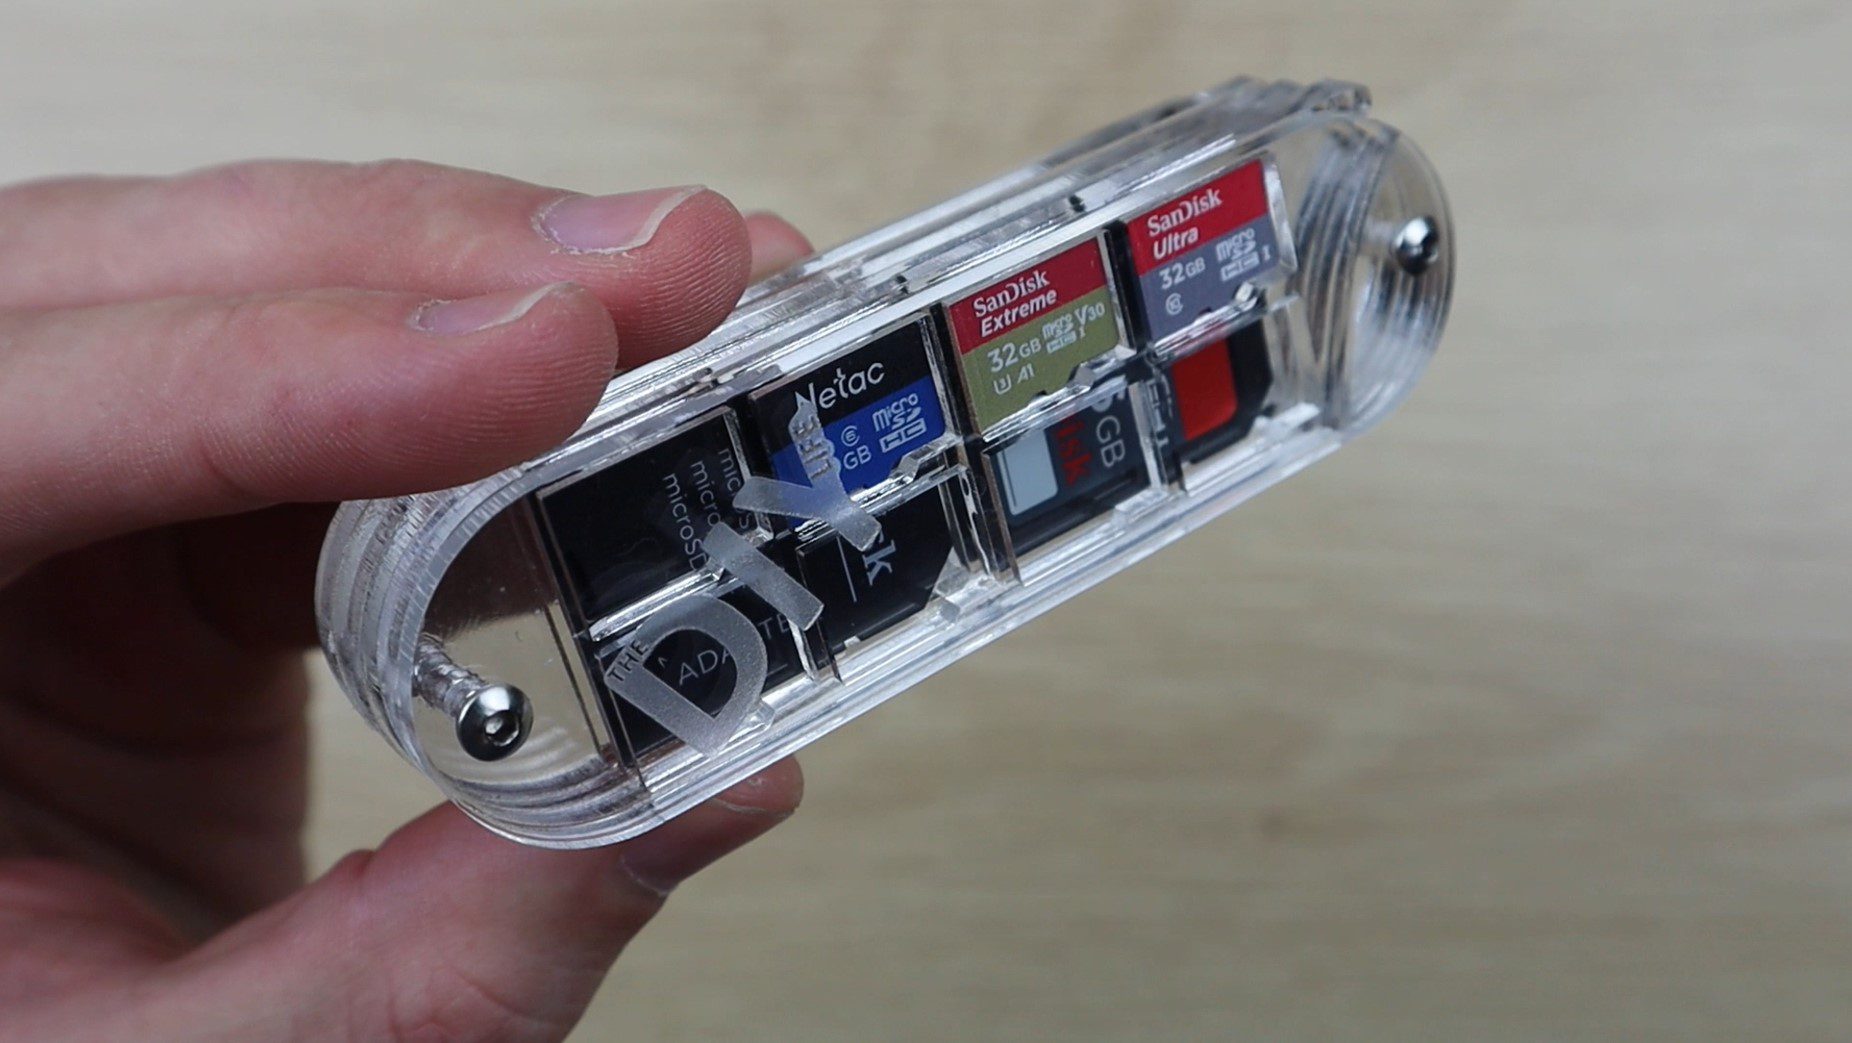
It also looks really cool in clear acrylic so that you can see all of the cards inside it.
Let me know in the comments section below what combination of trays you’re going to be using in your SD card storage multi-tool. Do you use more micro SD cards, SD cards or other memory cards?
Share This Guide