Compost is one of the best supplements you can give to your garden to get it to thrive. The best part is that it can easily be made at home, so it’s essentially free. It’s also a natural, chemical-free way to get your garden beds and grass looking healthier.
Choosing Or Making A Composter
For small scale home composting, there are a number of options for you to choose from, or make your own:
- Tumbler Composter – Like This
- A tumbler composter is definitely the best and most efficient way to produce good quality compost from your household waste in minimal time. They elevate it off of the ground, keeping it away from pests, and being able to frequently turn the compost means that the microbes are kept aerated and active. Some tumblers even have paddles or spikes built into them to assist with aerating the compost as it is turned.
- Standard Compost Bin – Like This
- Most home hardware stores and garden centres have a few different compost bin designs. They’re usually quite simple and great to get started. The one downside over a tumbler is that its difficult to turn, so it generally takes a lot longer than a tumbler to produce – up to 6 months.
- DIY Compost Bin – Like This
- This is probably going to be the least expensive way to get into composting, but it does require a bit more effort. Buy a large container or heavy-duty garbage can, one with a clip-on lid works best. Then get a larger diameter drill, around 10-15mm and drill holes in rows, roughly 20cm spaced apart all around the container/can, even along the bottom. Getting a round garbage can makes the occasional turning of the compost a bit easier as you can put it on its side and roll it around.
- Food Waste Digester – Like This
- This variety of composter is typically kept indoors and grinds and dehydrates the food waste rather than “composting” it. It’s still great for the garden and is certainly a good way to produce compost-like nutrients for your garden.
Find The Right Place To Make Your Compost
You need a nice shaded place, preferably outdoors so that you don’t get any smells wafting into the house. Too much sun may dry your compost out and kill the microbes helping to make the compost.
A lot of people make the mistake of trying to keep their composter close to the kitchen or in their workshop or garage. You don’t want a pile of waste to be near any of your home’s windows or doors, much less your kitchen. The best spot for it is in the far end of your garden or in an alleyway on the side of your home. Rather keep a small bucket or bin to collect scraps in your kitchen and get into a habit of emptying it every couple of days.
If you’re looking to get your garden looking fuller and greener, have a look at these 5 Gardening Tips & Tricks That Everone Should Know.
Mix Your First Batch Together
To start your first batch, you’ll need either a bag of organic compost (like this) or compost starter (like this). This introduces the microscopic organisms into your composter to keep breaking down the scraps and waste you add in order to produce more. It is possible to start composting without these but it usually takes a lot longer. You also only need them for your first batch. In subsequent batches, you’ll leave a little in the composter from the last batch in order to kick start the process.
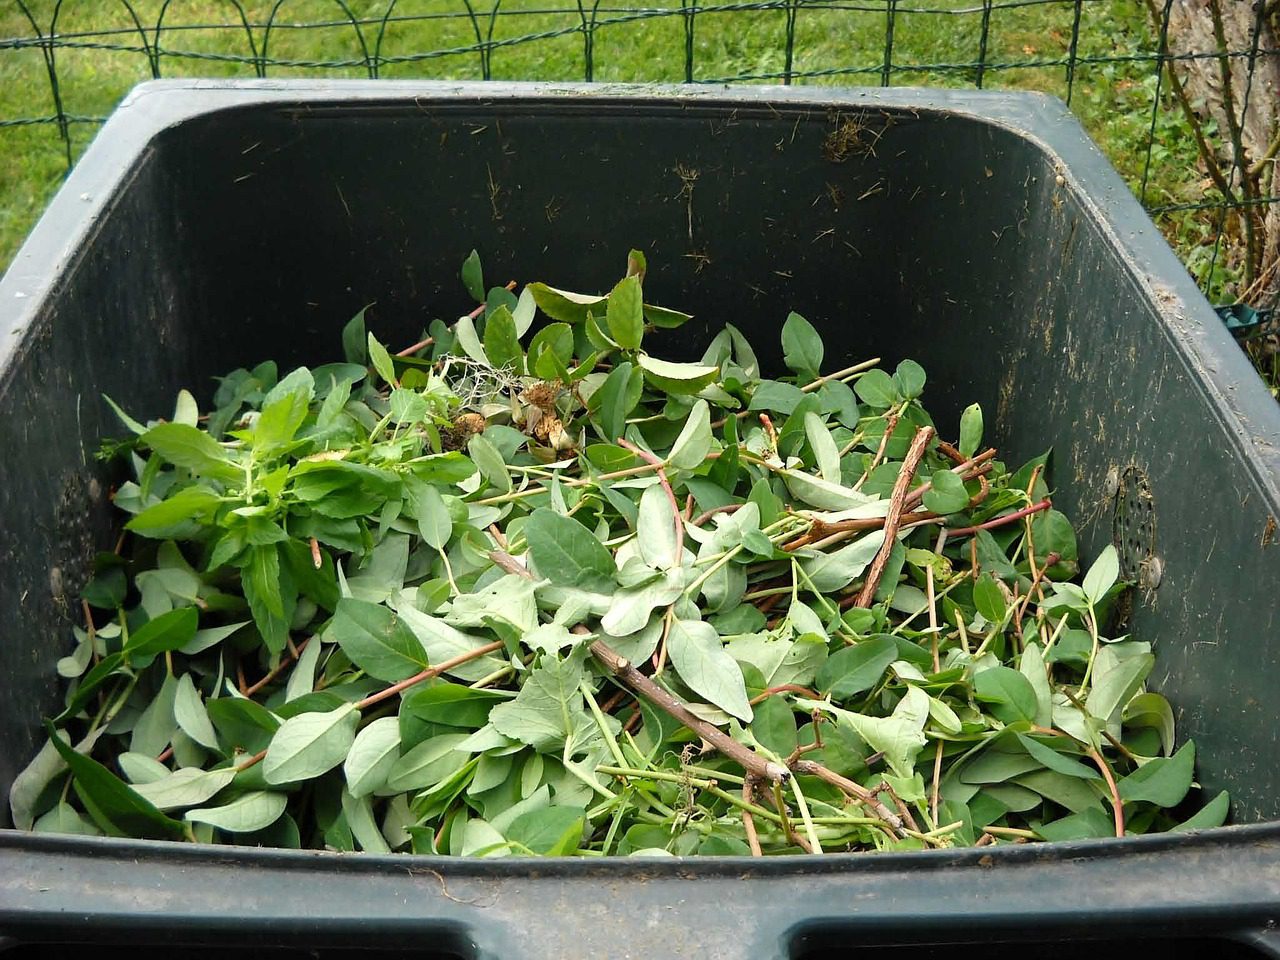
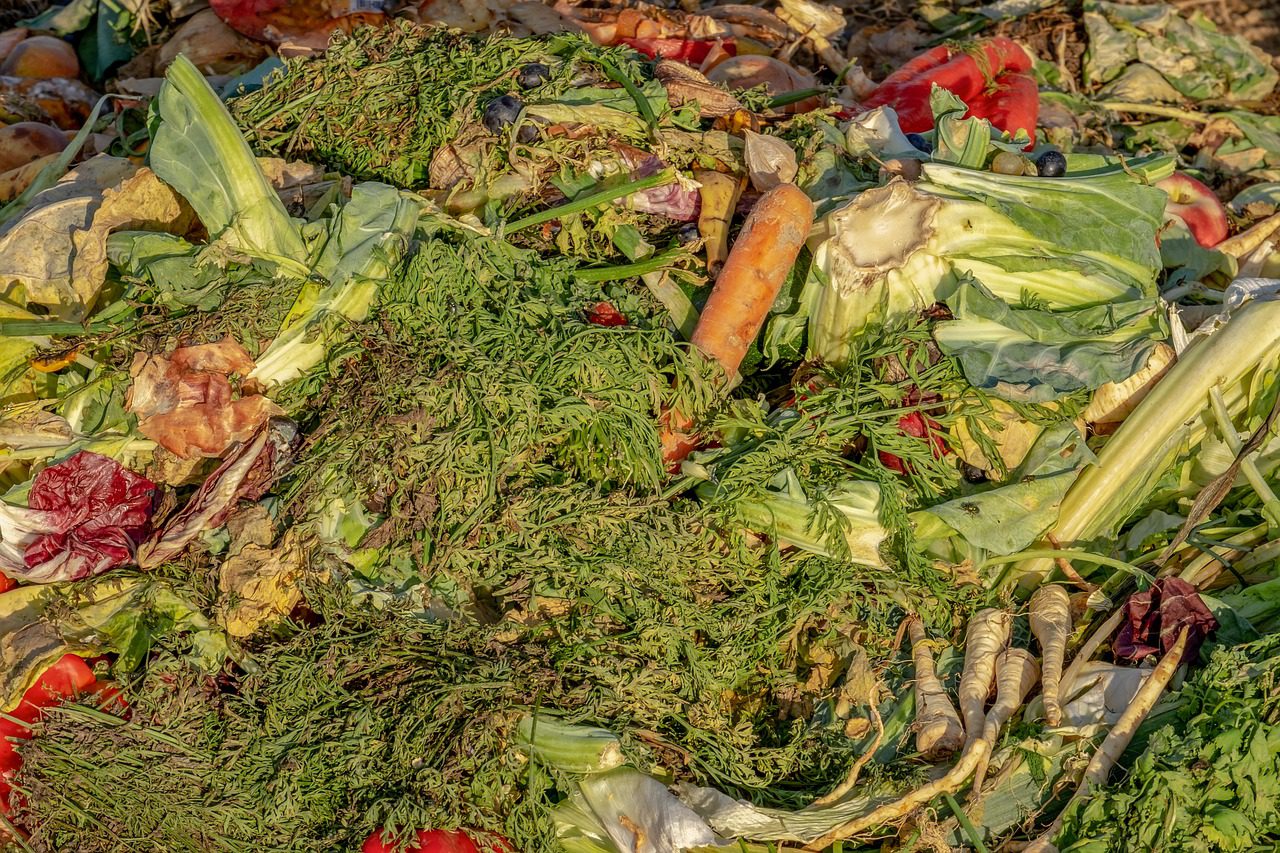
Add your compost or compost starter and then start adding your compost waste, making sure that you have an good ratio of brown and green waste. The best ratio is around 2/3 brown waste to 1/3 green waste, and you should never exceed a 1:1 ratio; meaning you should never have more green waste than brown waste. Brown waste is waste which has a high carbon content, such as paper, egg cartons, cardboard, straw, branches, sawdust, wood chips, coffee grounds, leaves etc.. Did you know that you can use your coffee grounds in the garden? Green waste is waste which has a high nitrogen content such as lawn clippings, fruit and vegetable scraps and other garden plant trimmings.
In order to speed up the composting process, always chop your waste up into smaller pieces. The larger the pieces going in, the longer it’s going to take to turn them into compost.
If you’re using a stationary composter or bin then you’ll need to layer or mix the waste together so that it’s evenly distributed around the vessel. If you’re using a tumbler composter then you’re job is a bit easier and you can mix it all afterwards.
It’s best to turn or aerate your compost every week or two. This is where a tumbler composter makes things a bit easier. If you’re using a bin, you’ll need to use a garden fork or shovel and gently turn it so that it doesn’t become too compact.
Your compost is done when it starts to look like soil and has an earthy smell to it.
Things You Should Never Put In Your Composter
There are a few products which should never go into a composter, they generate a large amount of bacteria and will likely cause foul odours and your compost to fail:
- Any meat products including red meat, chicken or fish.
- Dog or cat faeces.
- Diseased or decaying plant material.
- Weeds (as you may spread seeds throughout your garden through the compost)
- Liquids.
Have you tried making your own compost? Let us know what method you used and how it went for you in the comments section below.