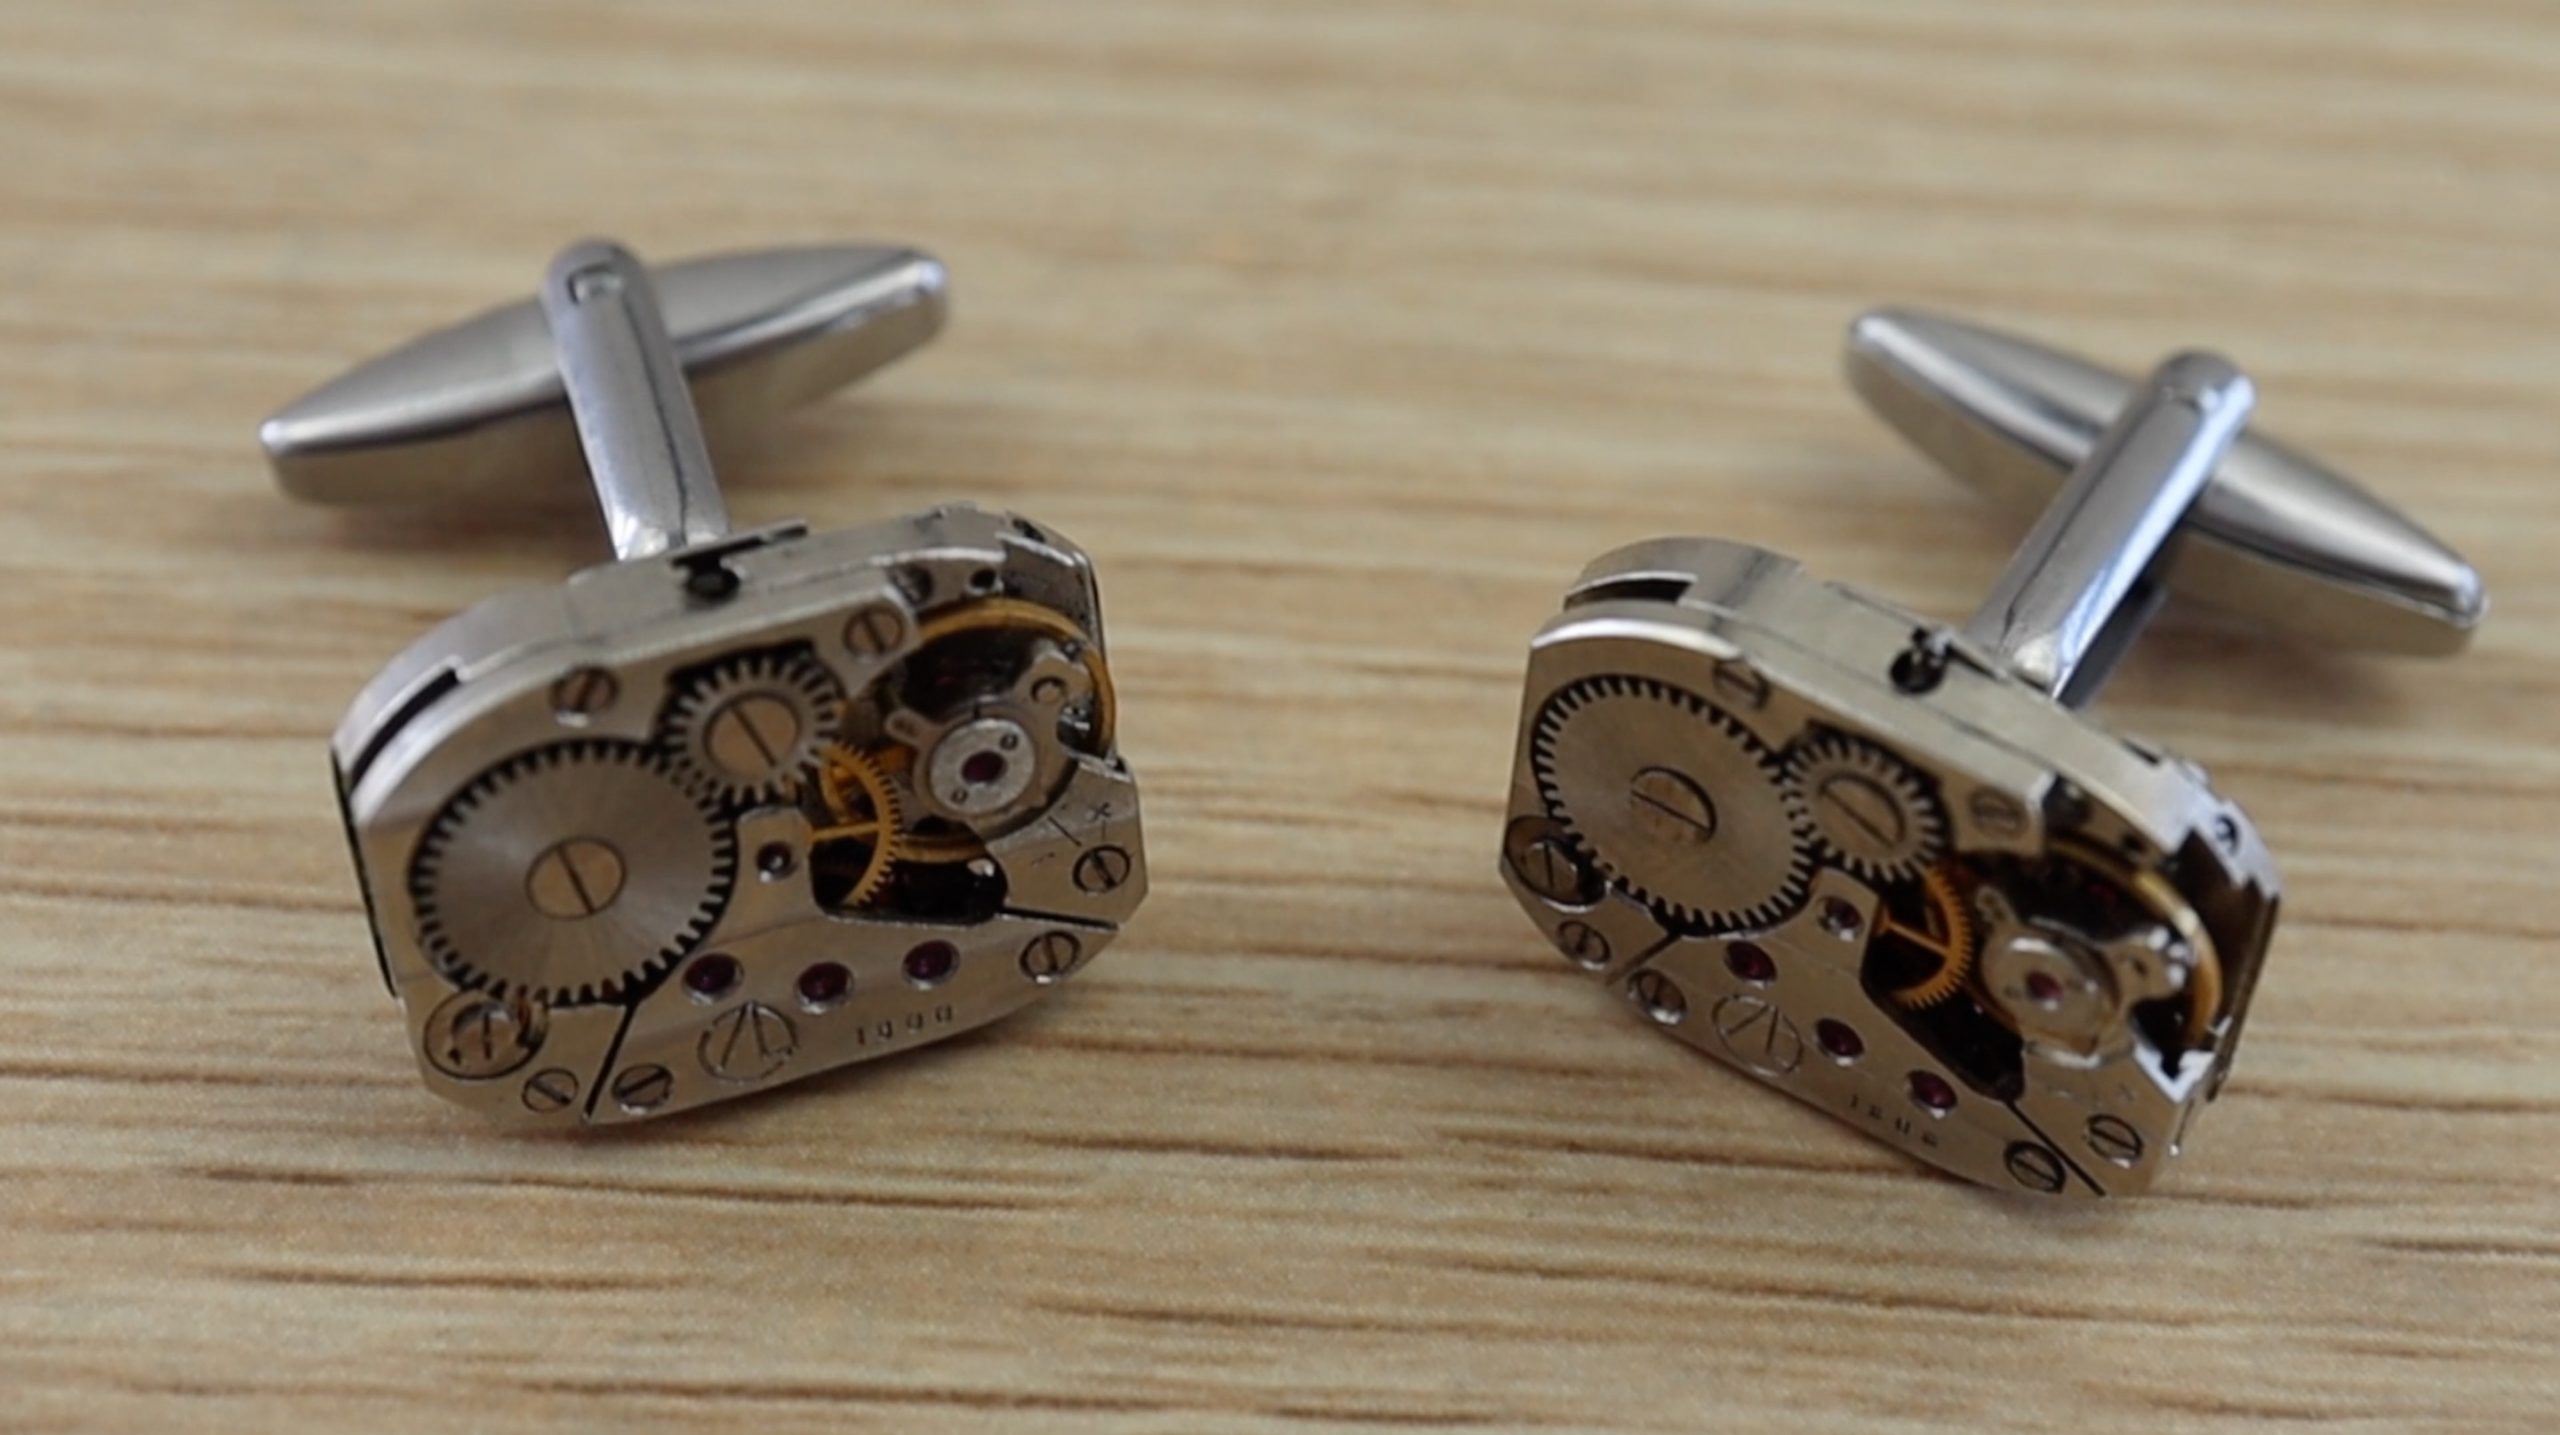
In this project, I’ll be showing you how to make your own watch movement cufflinks using the mechanical watch movements from two old watches. There are loads of watch movement lookalike cufflinks available online, but these ones are made using real vintage watch movements taken out of an actual watch.
To start off, you’ll need to find two old mechanical movement, wind-up watches with identical mechanisms. A good place to start looking is to go down to your local watch repair shop or jeweller and ask them if they have any old movements or watches lying around. They don’t need to be working anymore, so they’ll likely be ones that the jeweller couldn’t repair and they will usually be happy to give you a few or sell them quite cheaply. You can also buy old damaged movements online from sites like e-bay.
Here’s a video of the assembly process, read on for detailed step by step instructions:
What You Need For This Project
- 2 x Mechanical Watches, Movements or Inners
- 2 x Cufflink Blanks – Buy Here
- Gel Super Glue – Buy Here
- Cufflink Gift Box (Optional) – Buy Here
How To Make Your Watch Movement Cufflinks
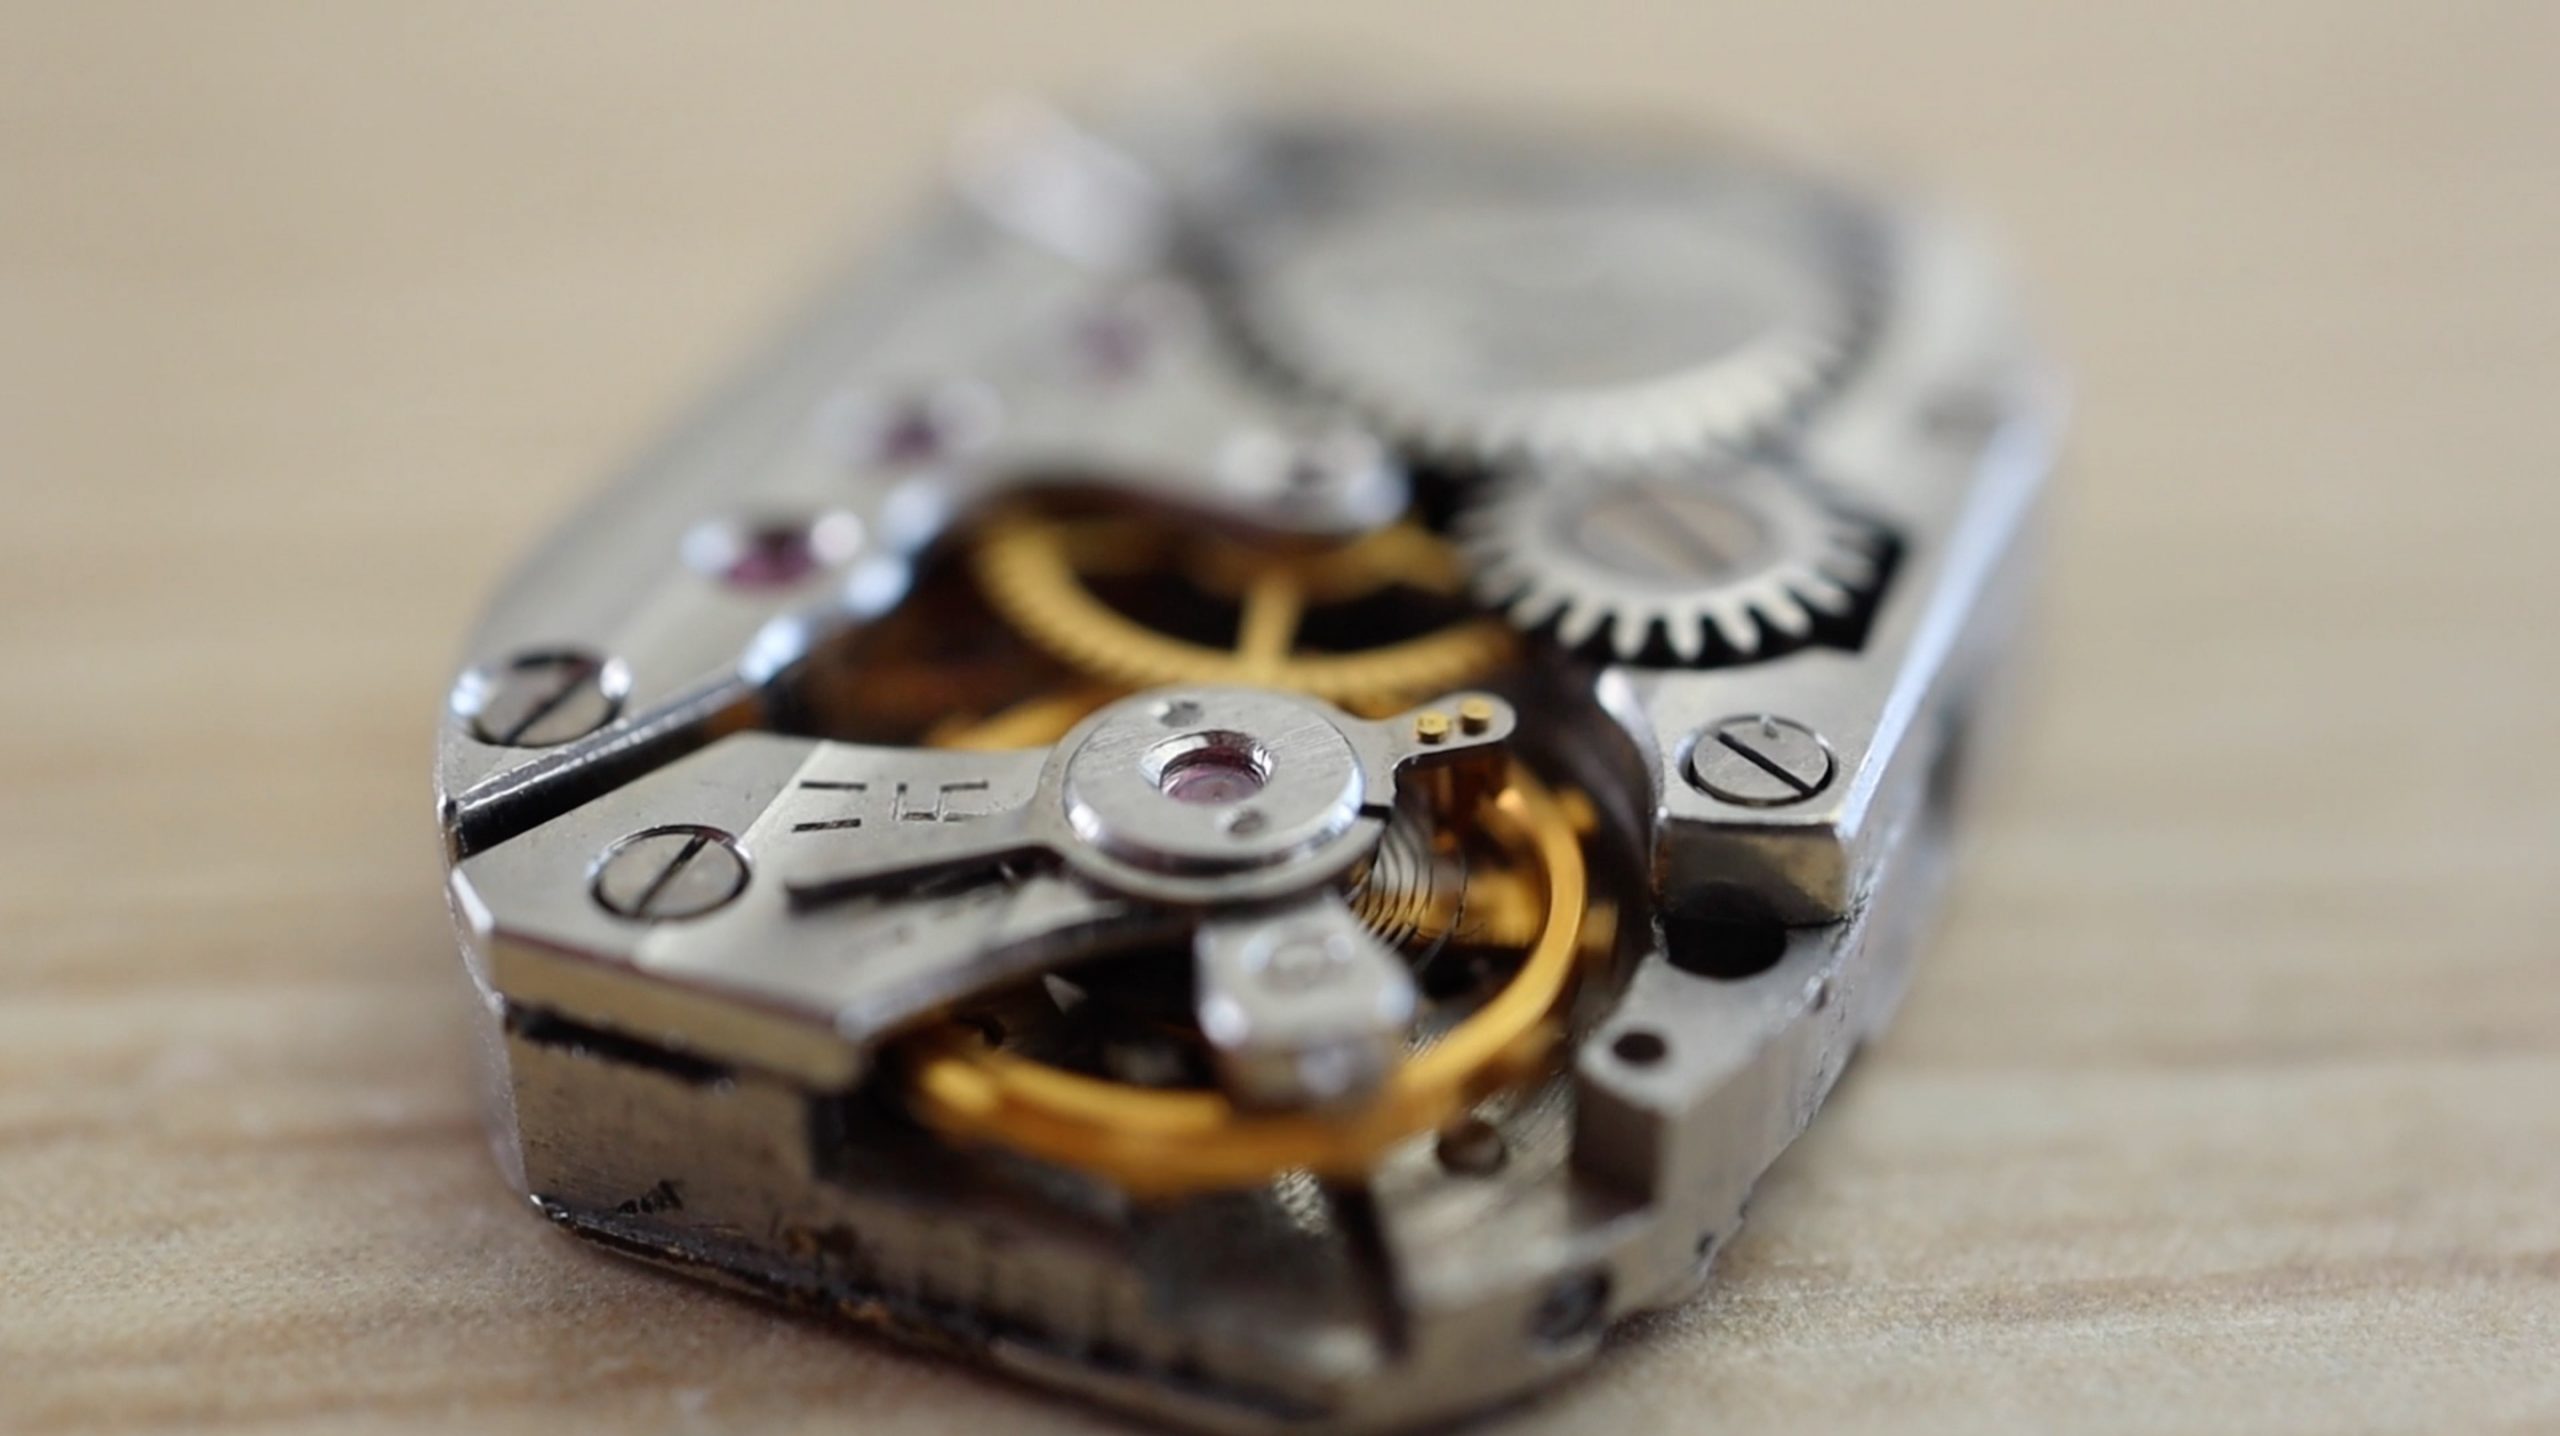
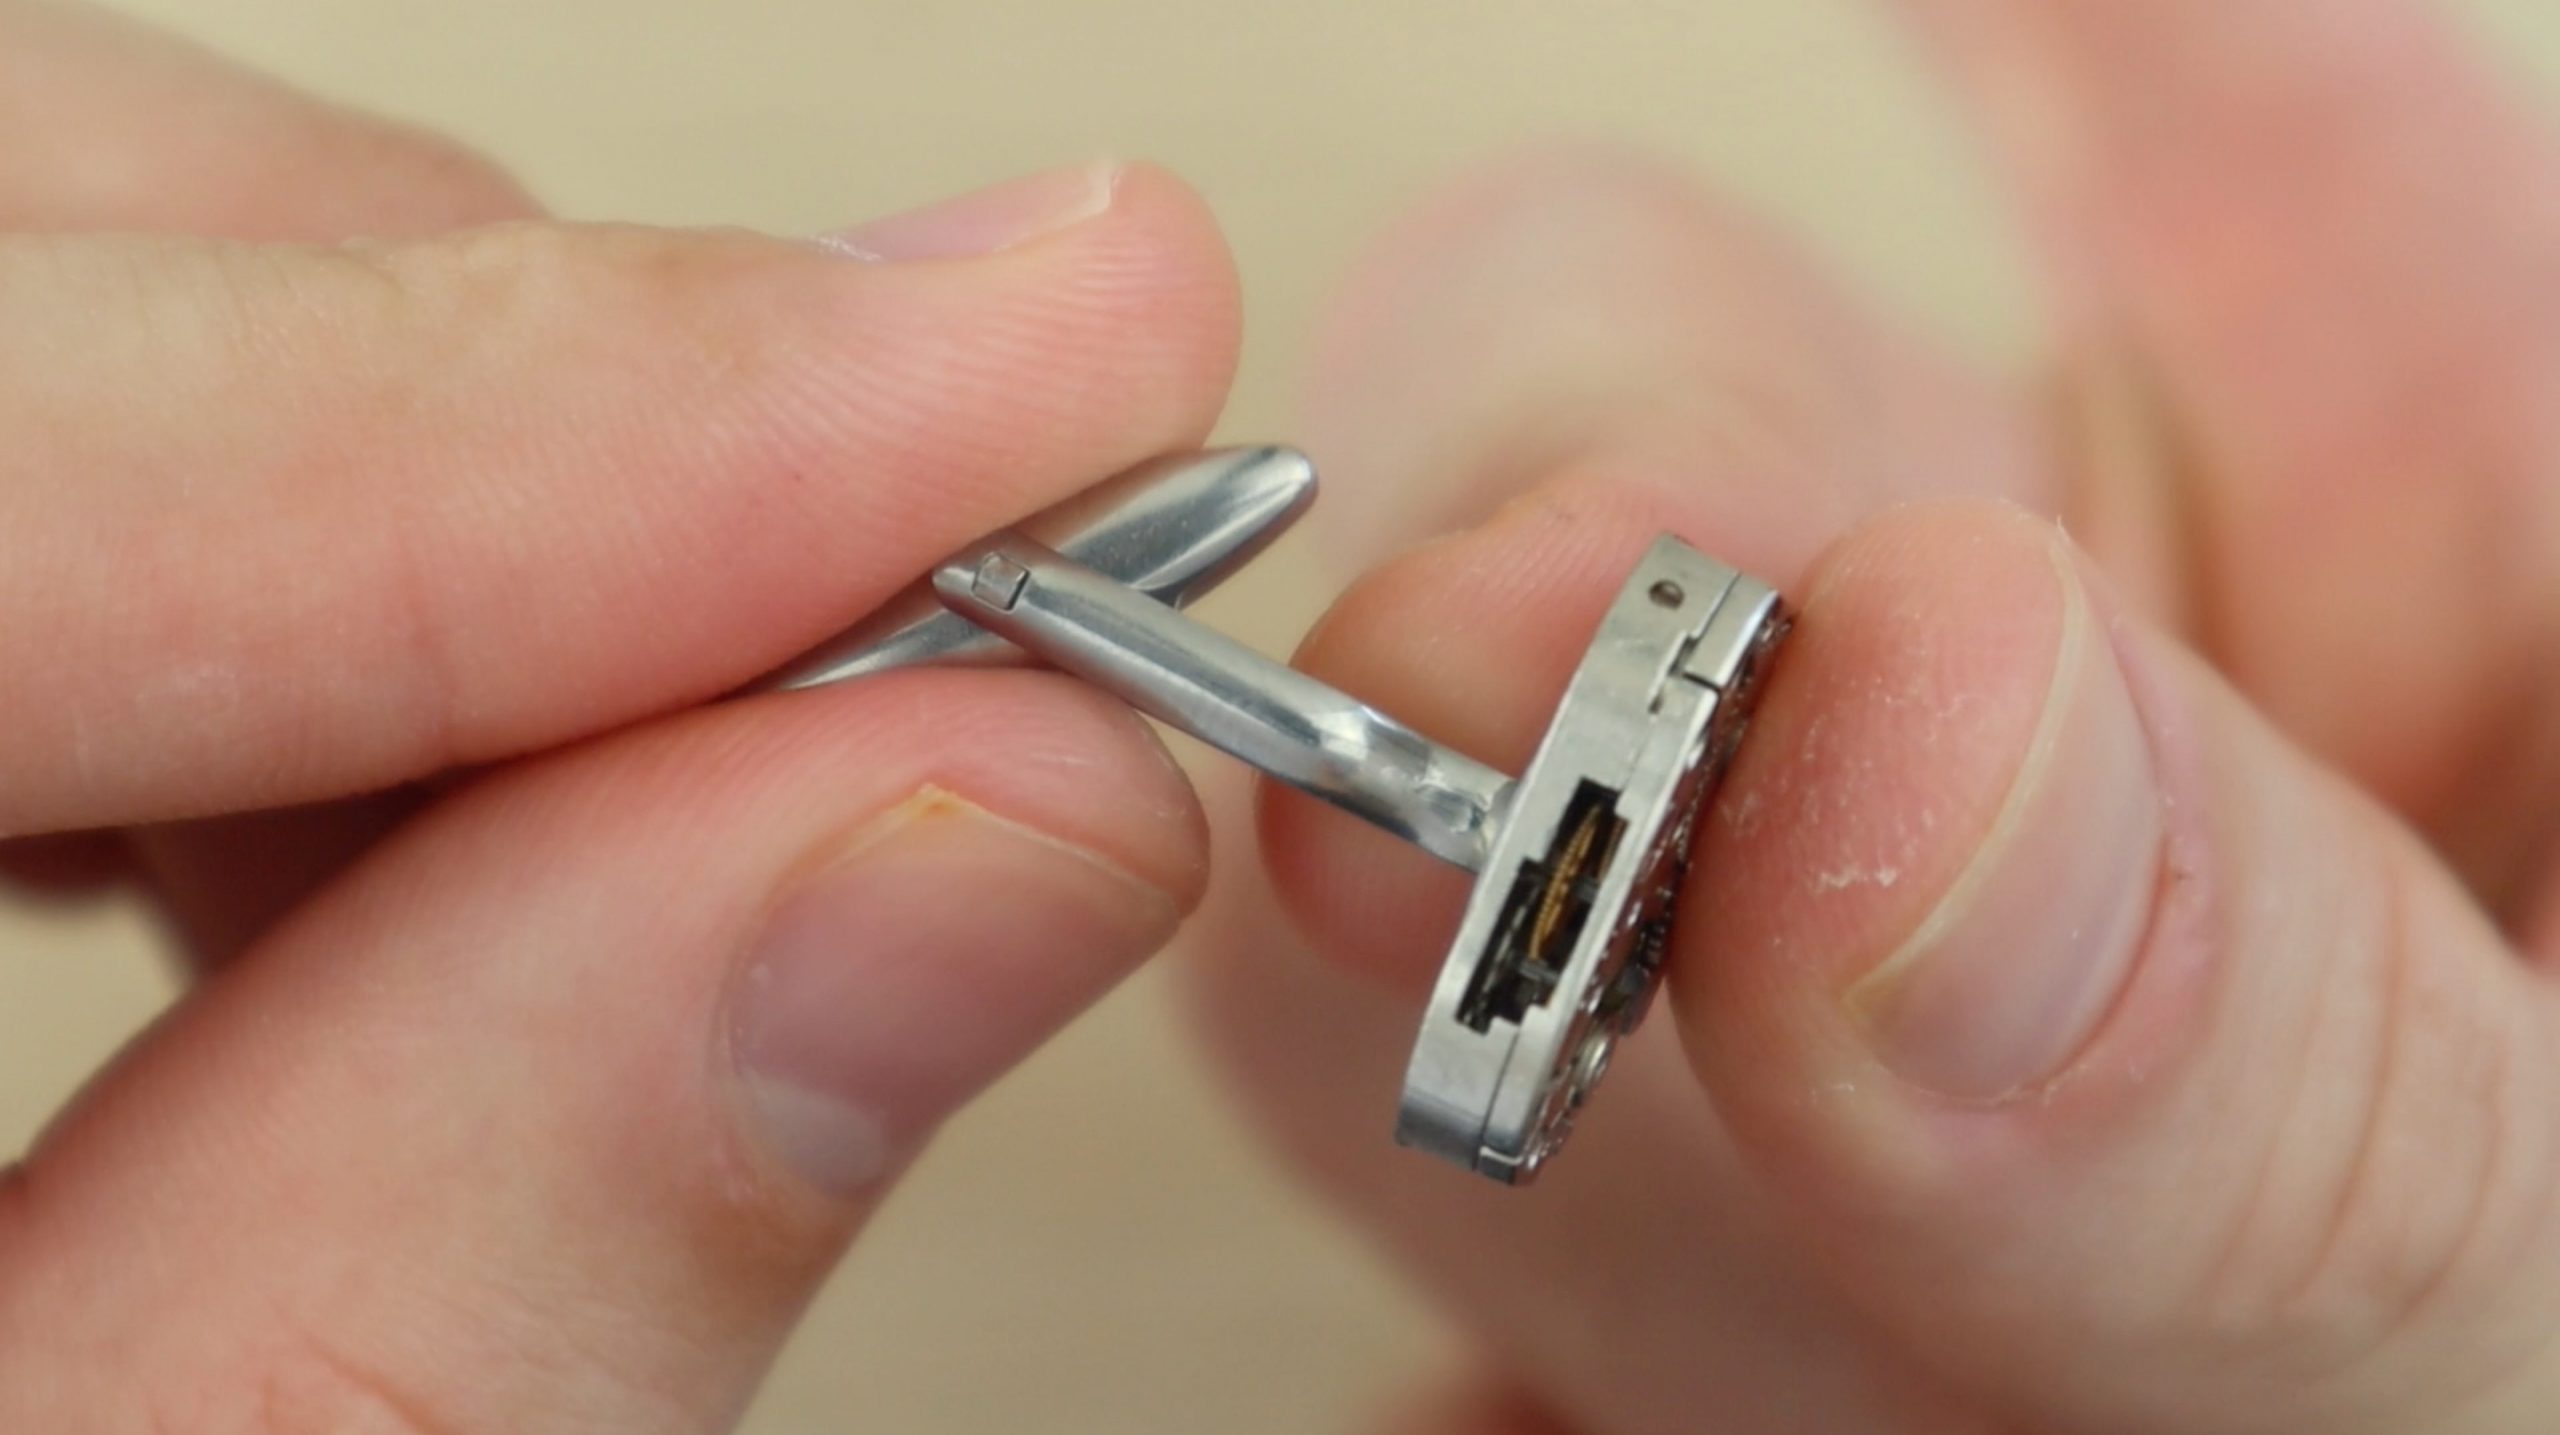
If the movements haven’t already been removed, you’ll need to take the movement, along with the face out of the watch. This is usually done through the back cover of the watch. Open up the cover and use a screw driver to pry the mechanism out. These old mechanisms are usually quite strong around the edges but be careful that you don’t scratch them.
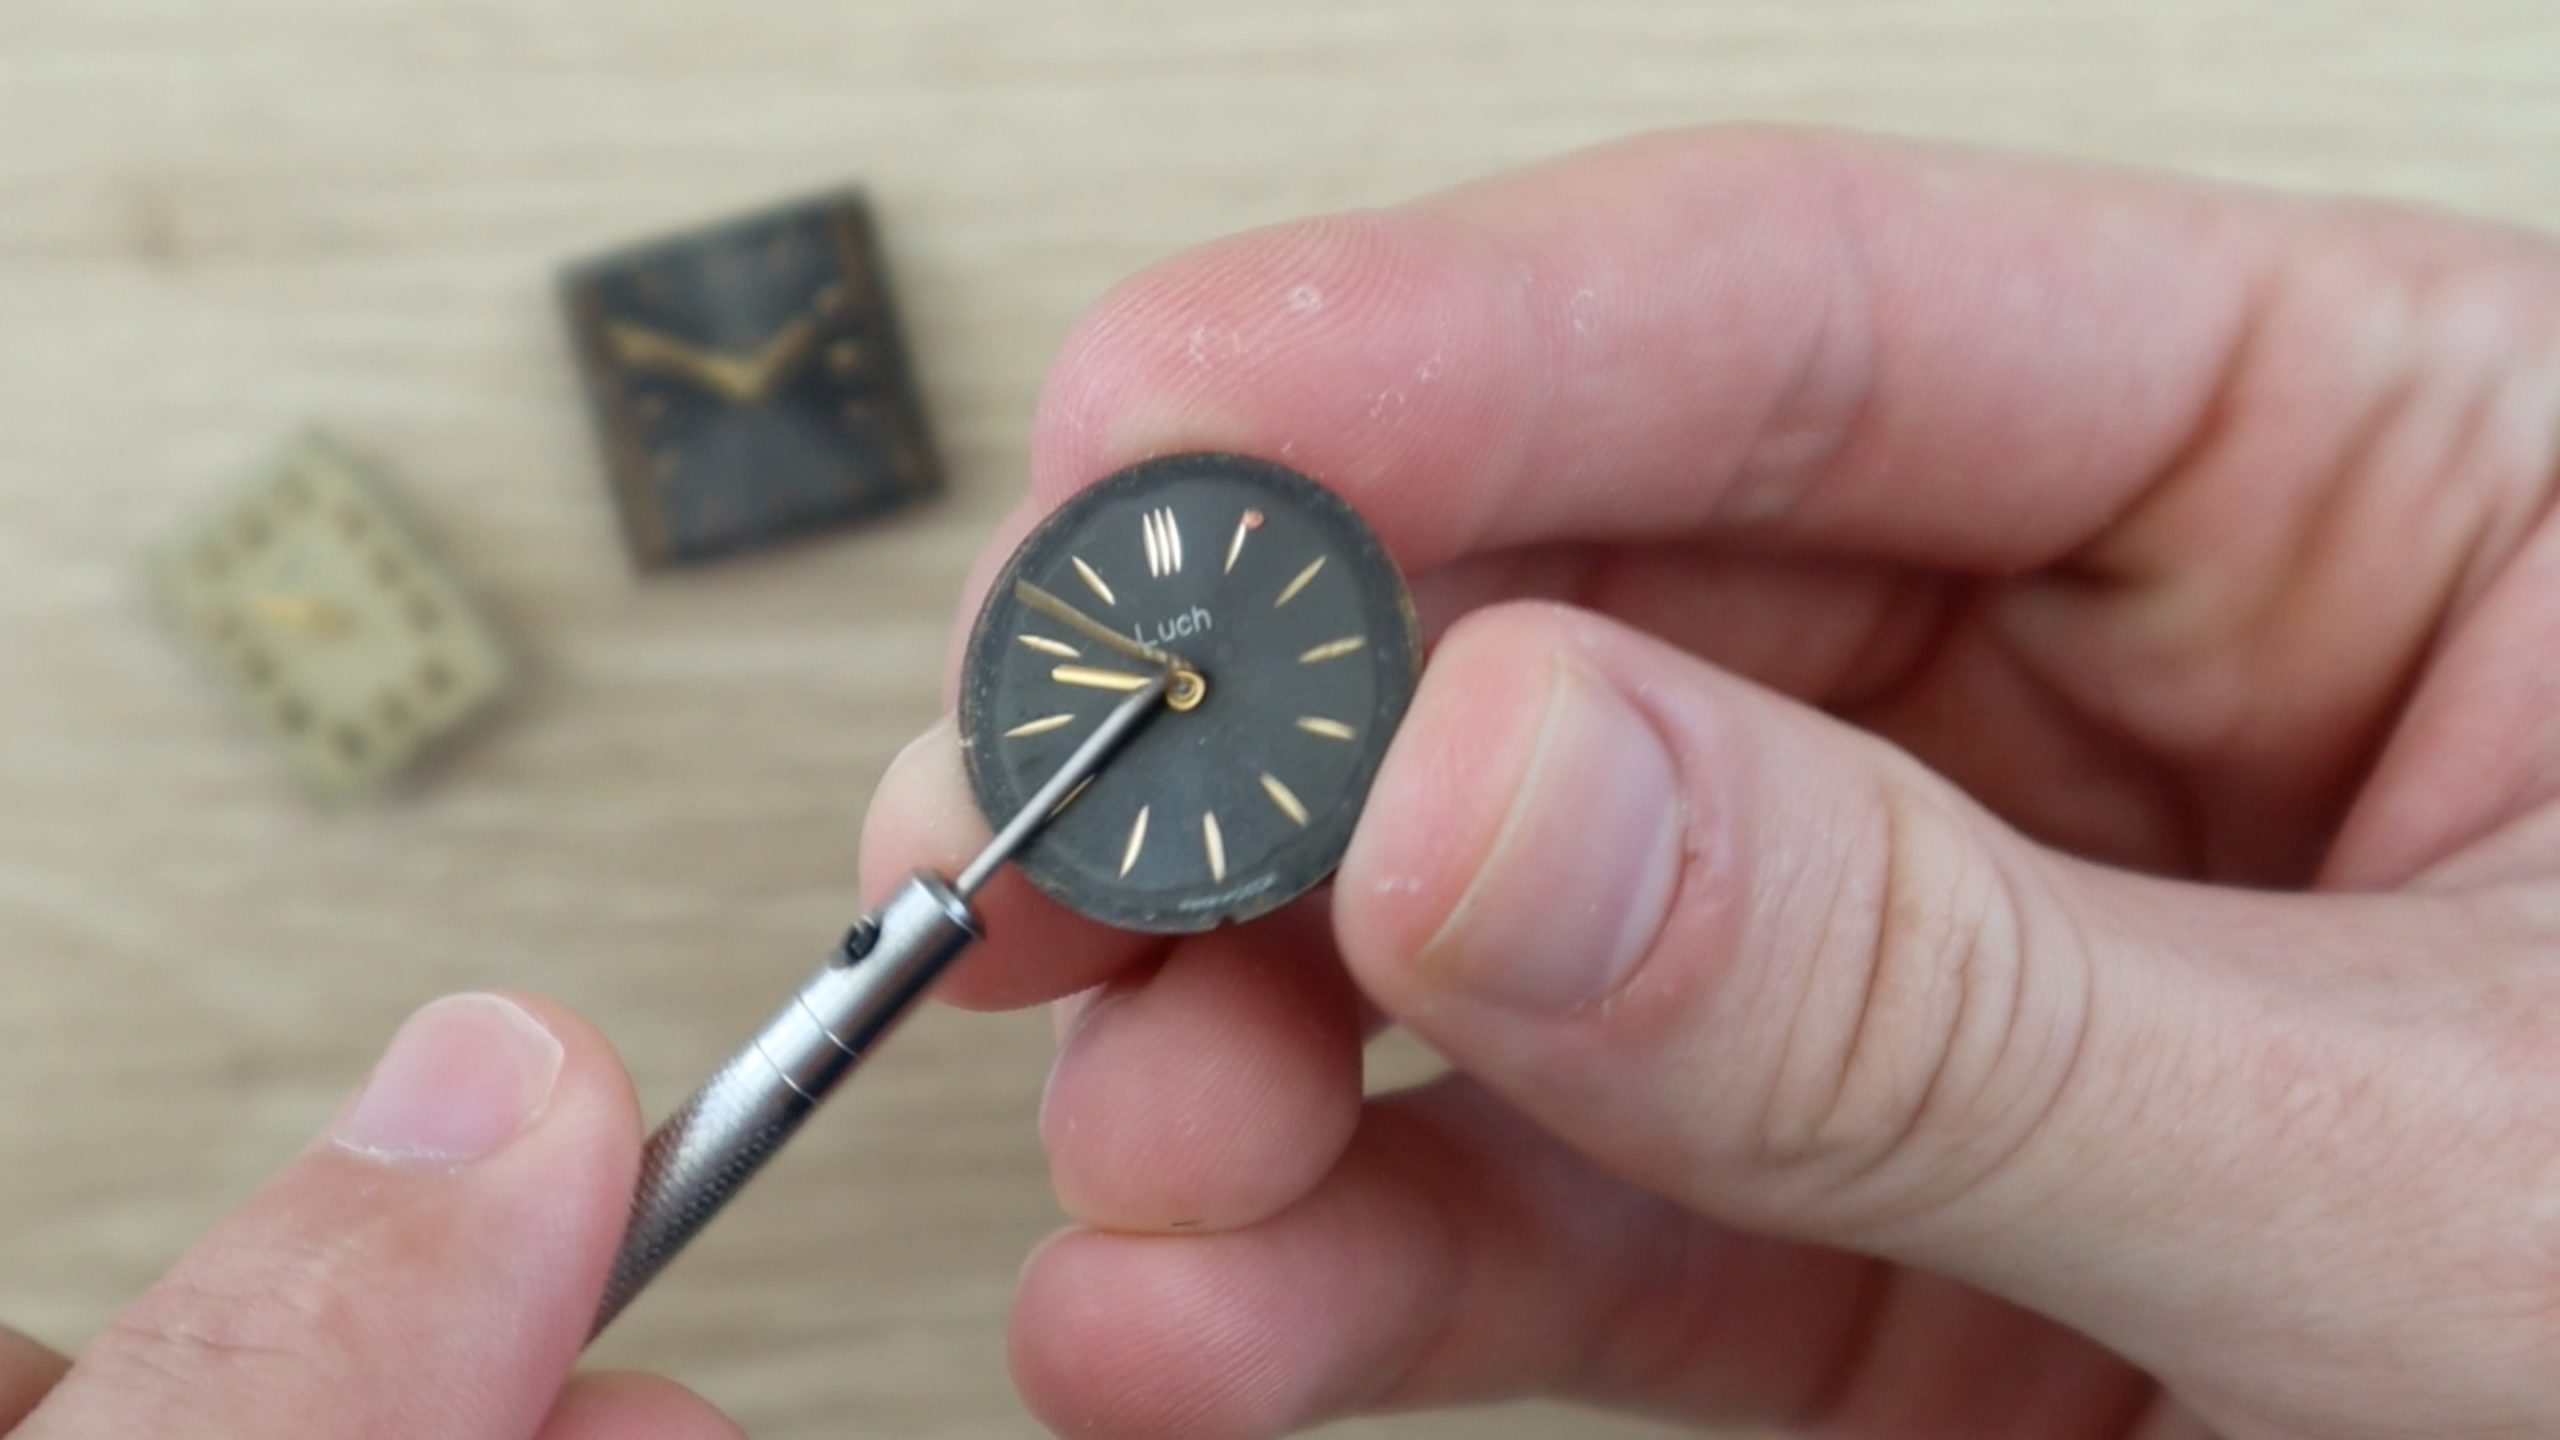
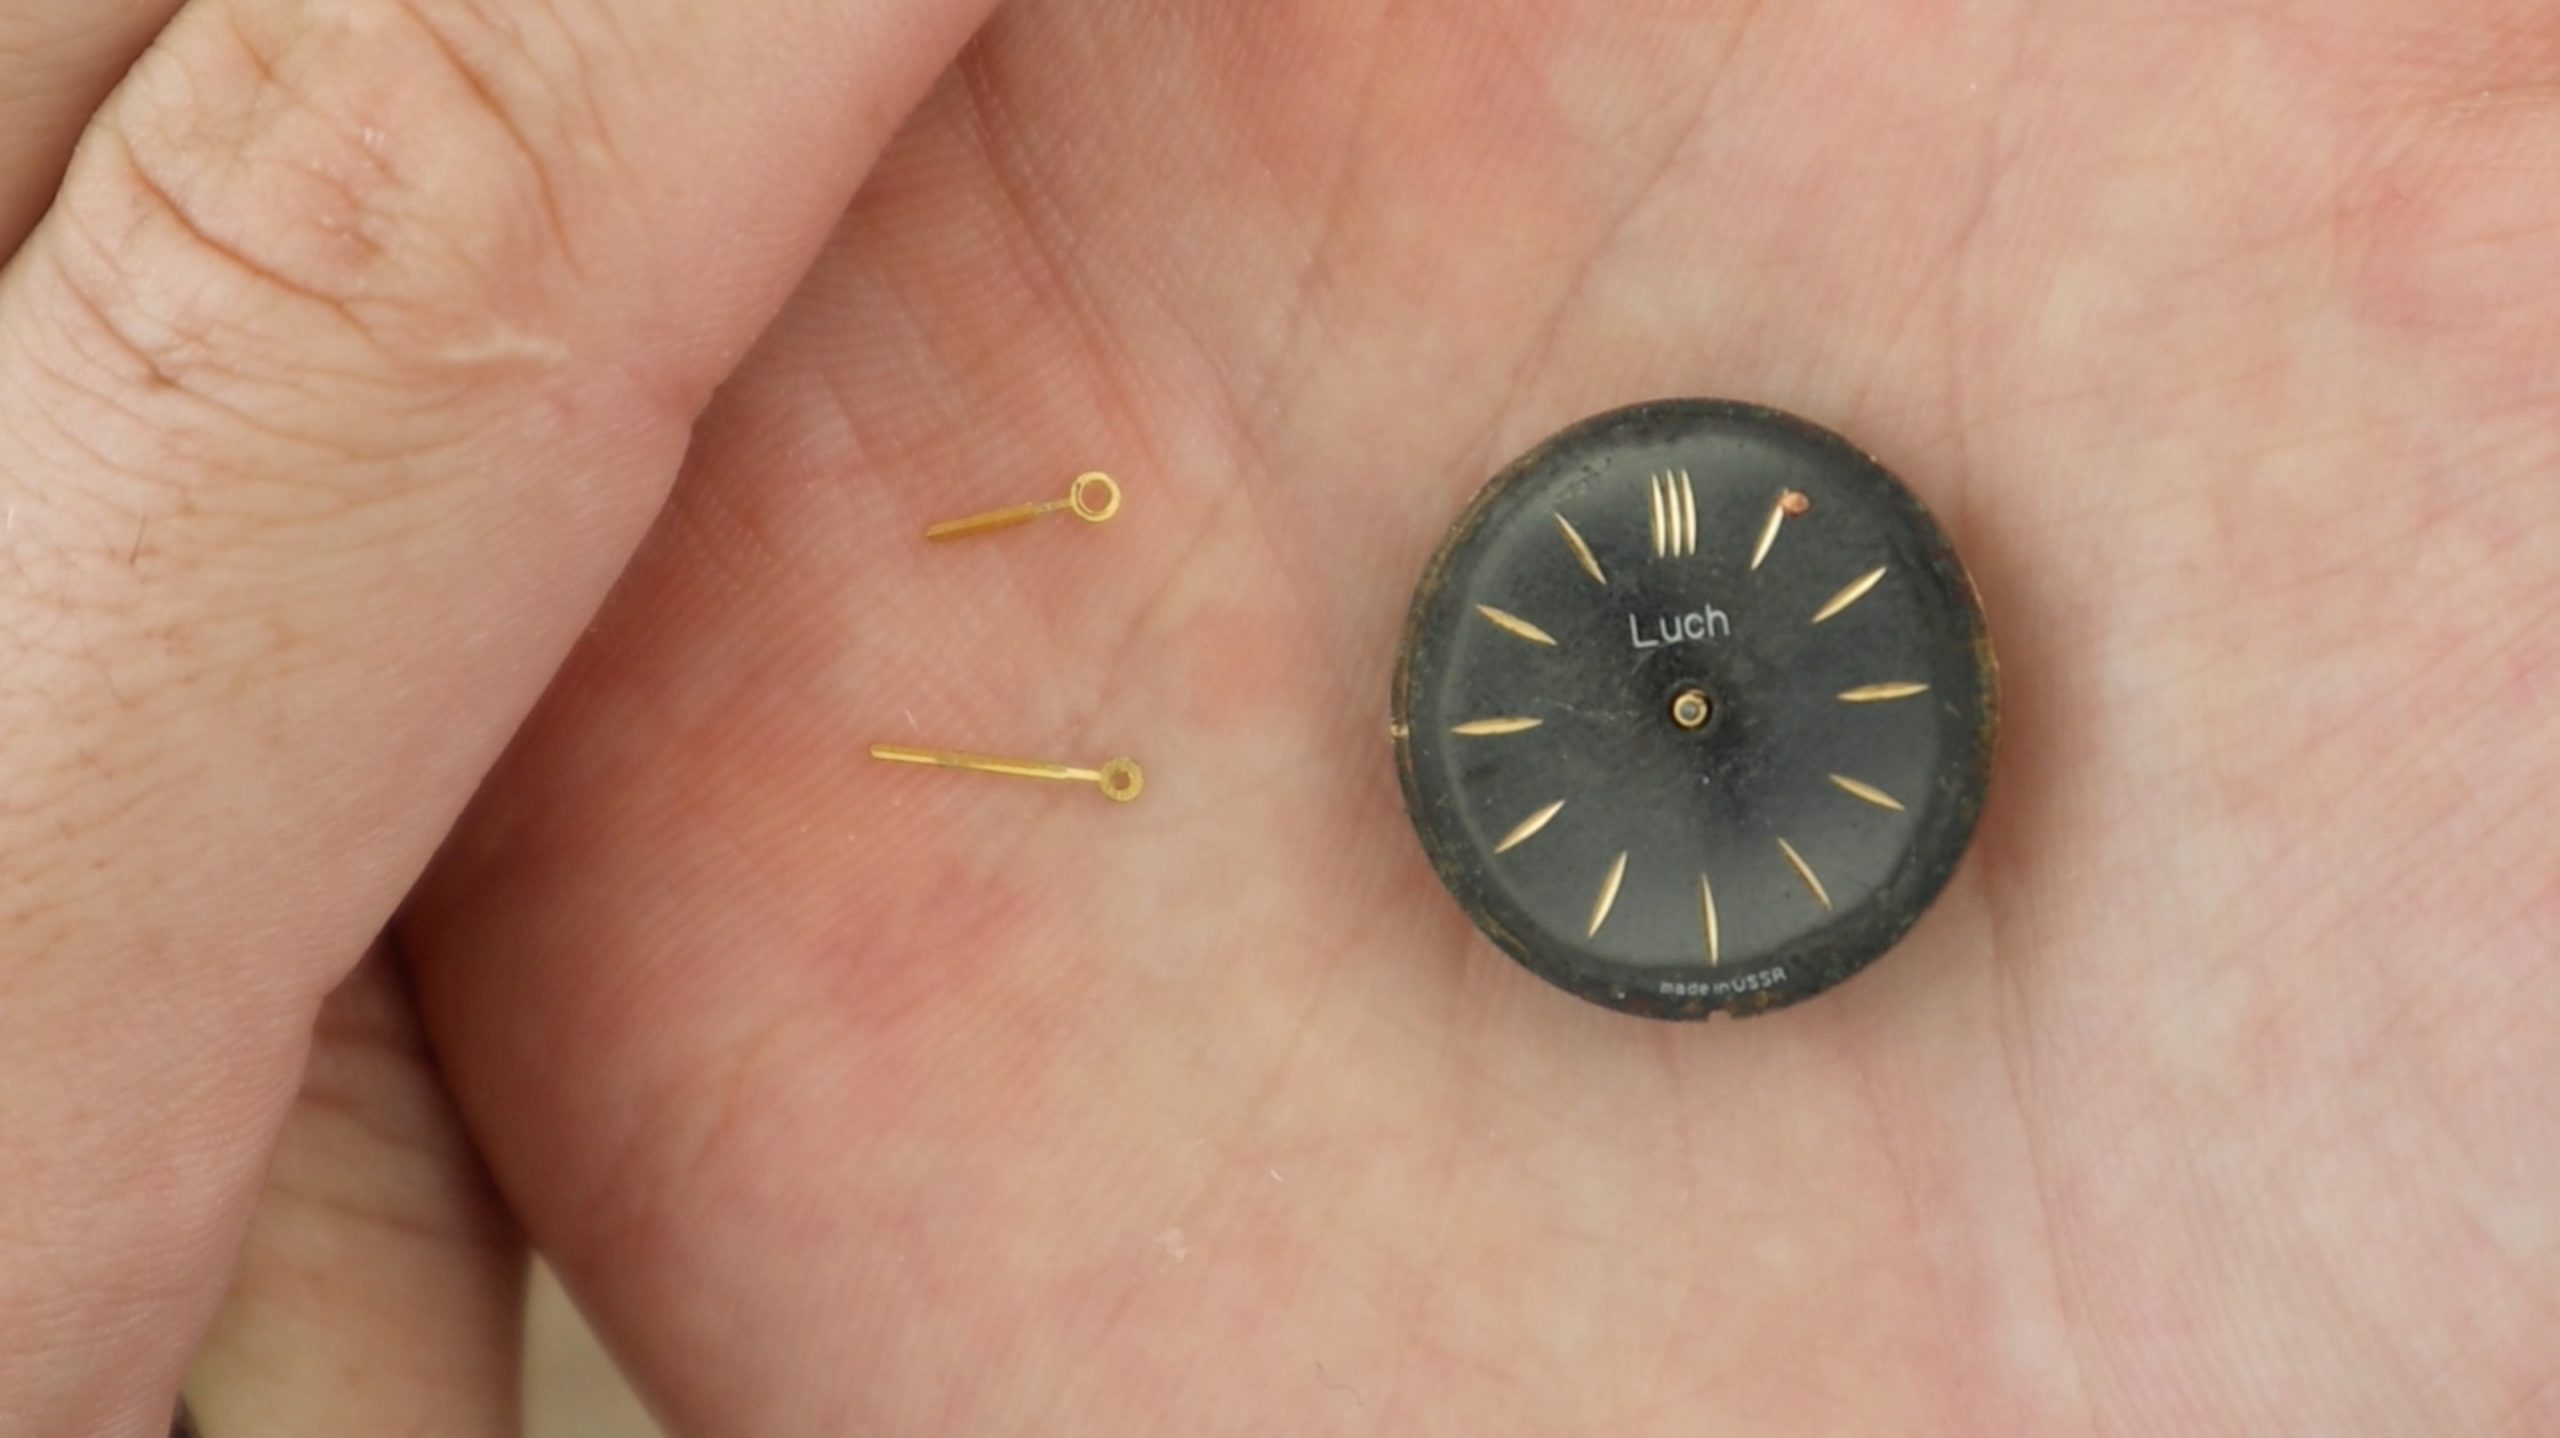
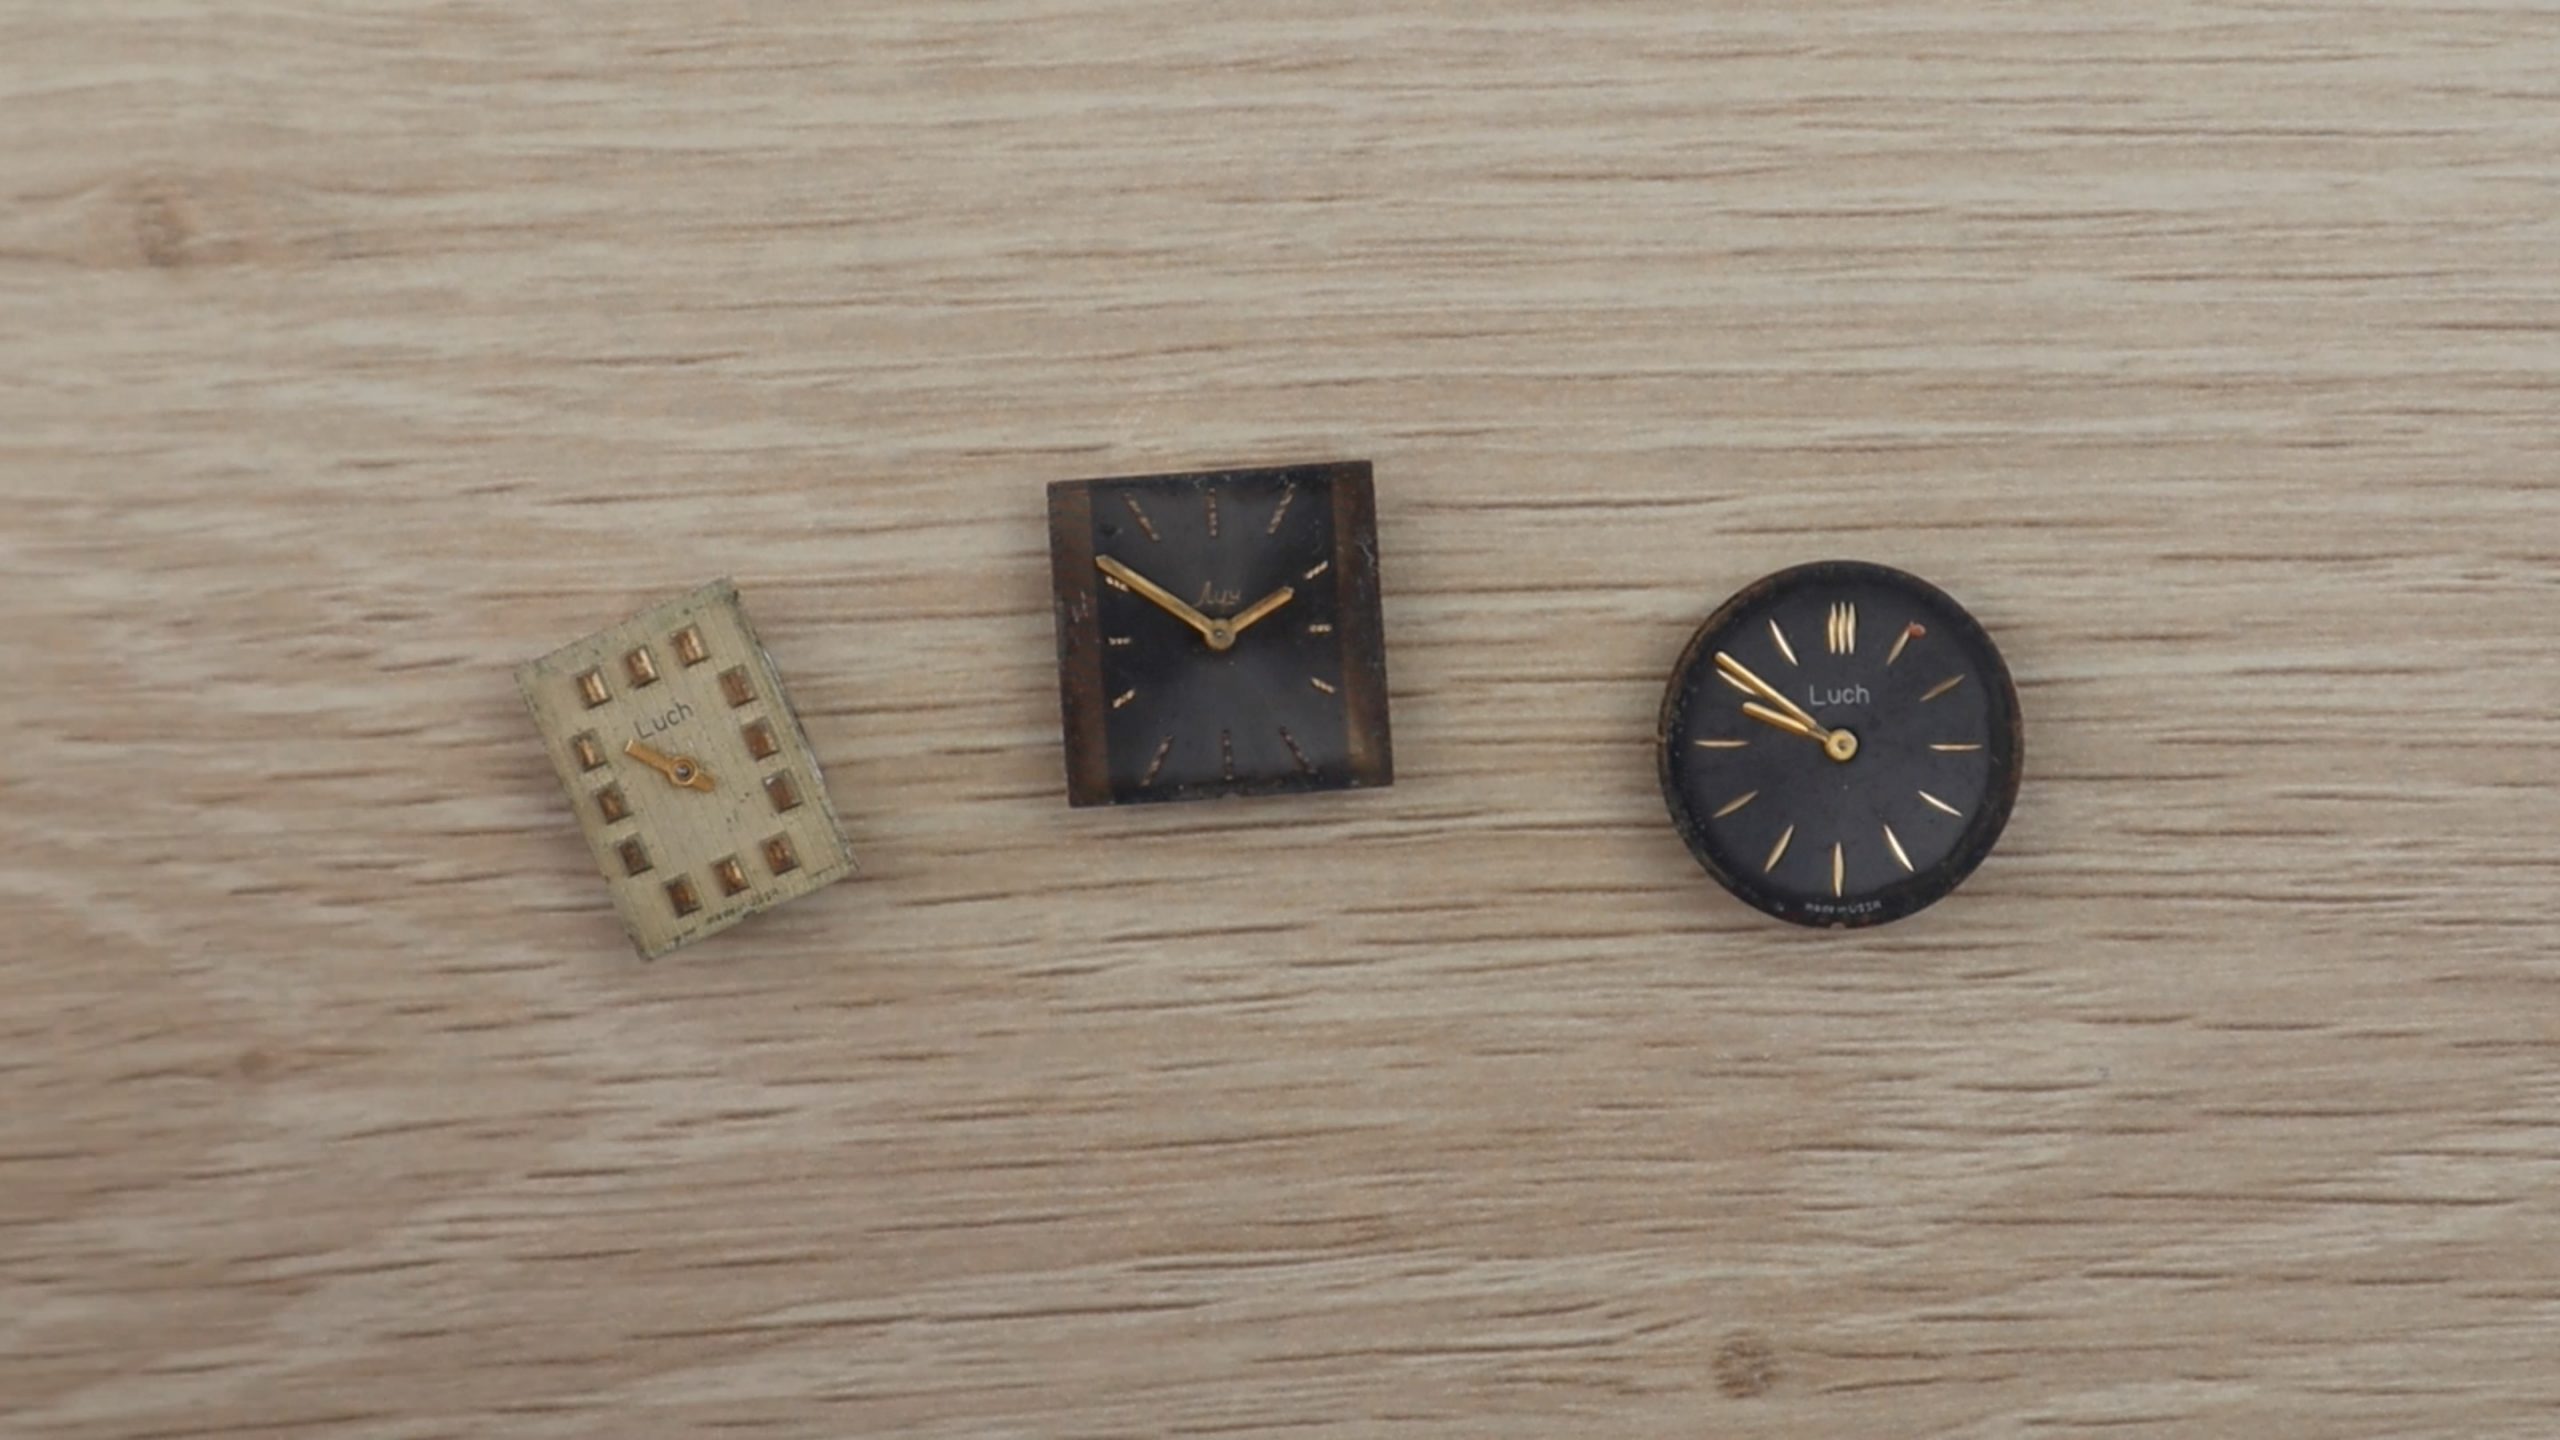
Next use a flat tipped screwdriver or tweezers to remove the hour and minute hands from the face of the watch. These usually just pop off.
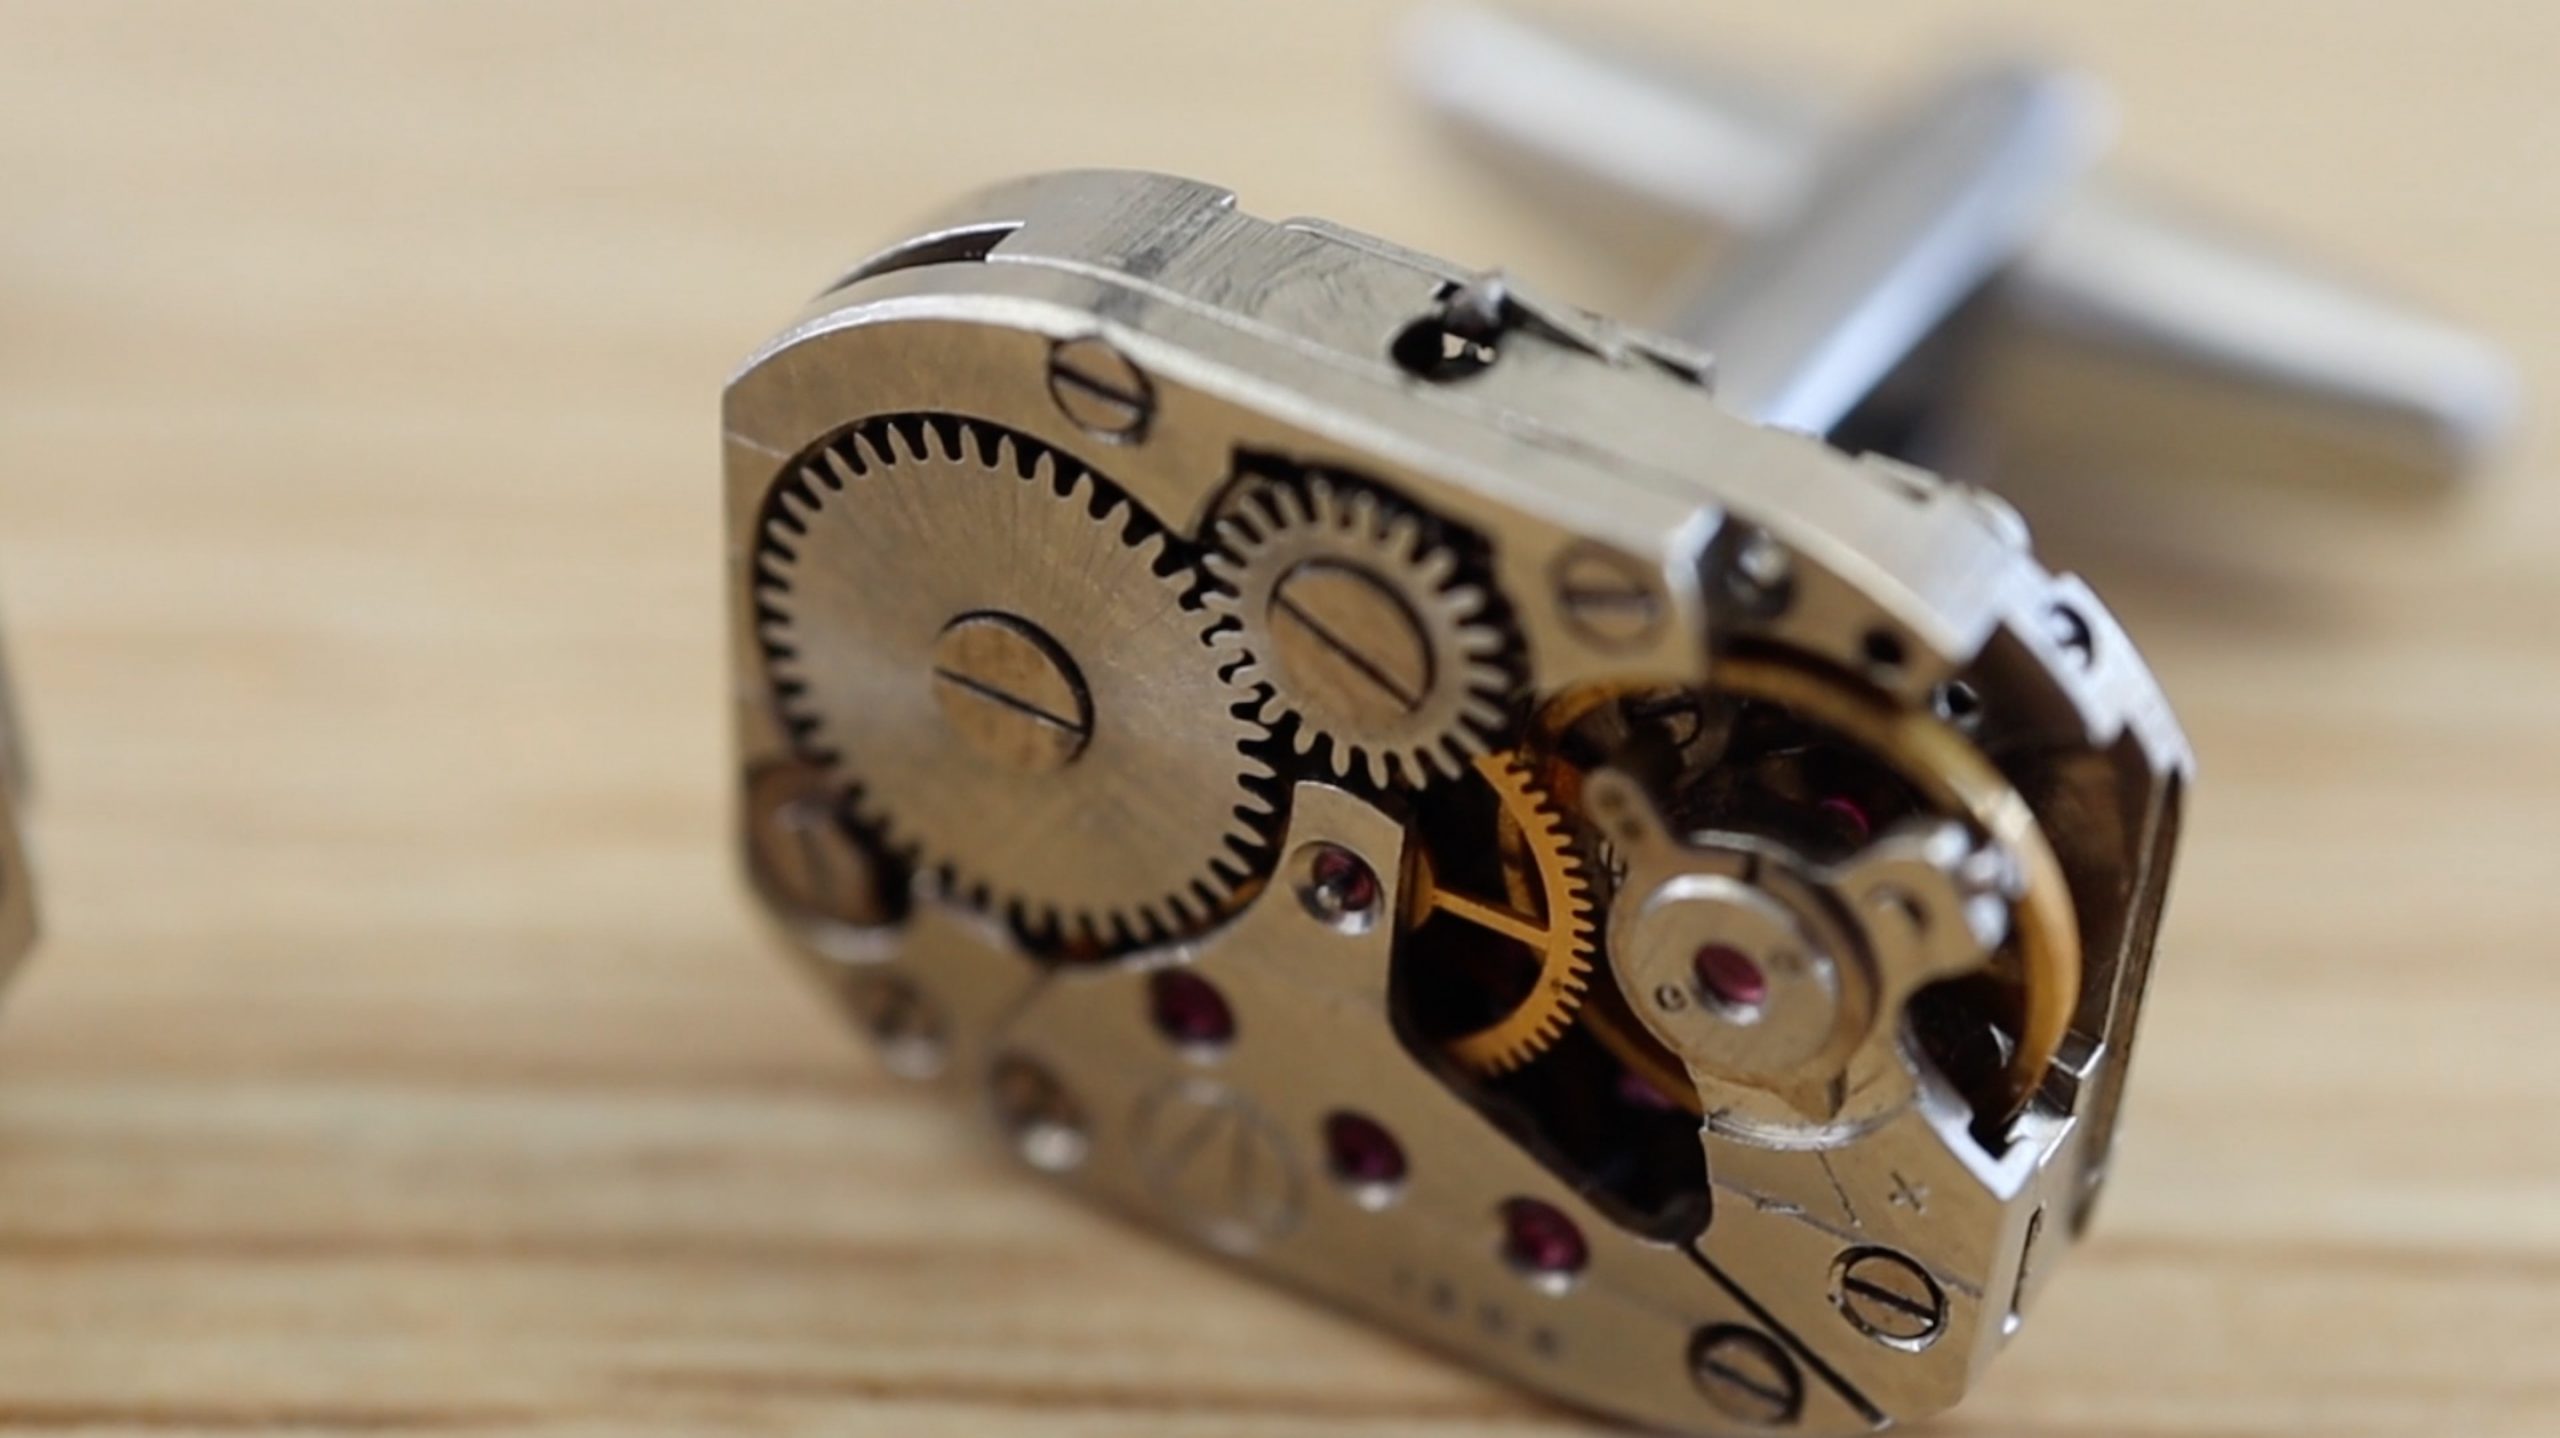
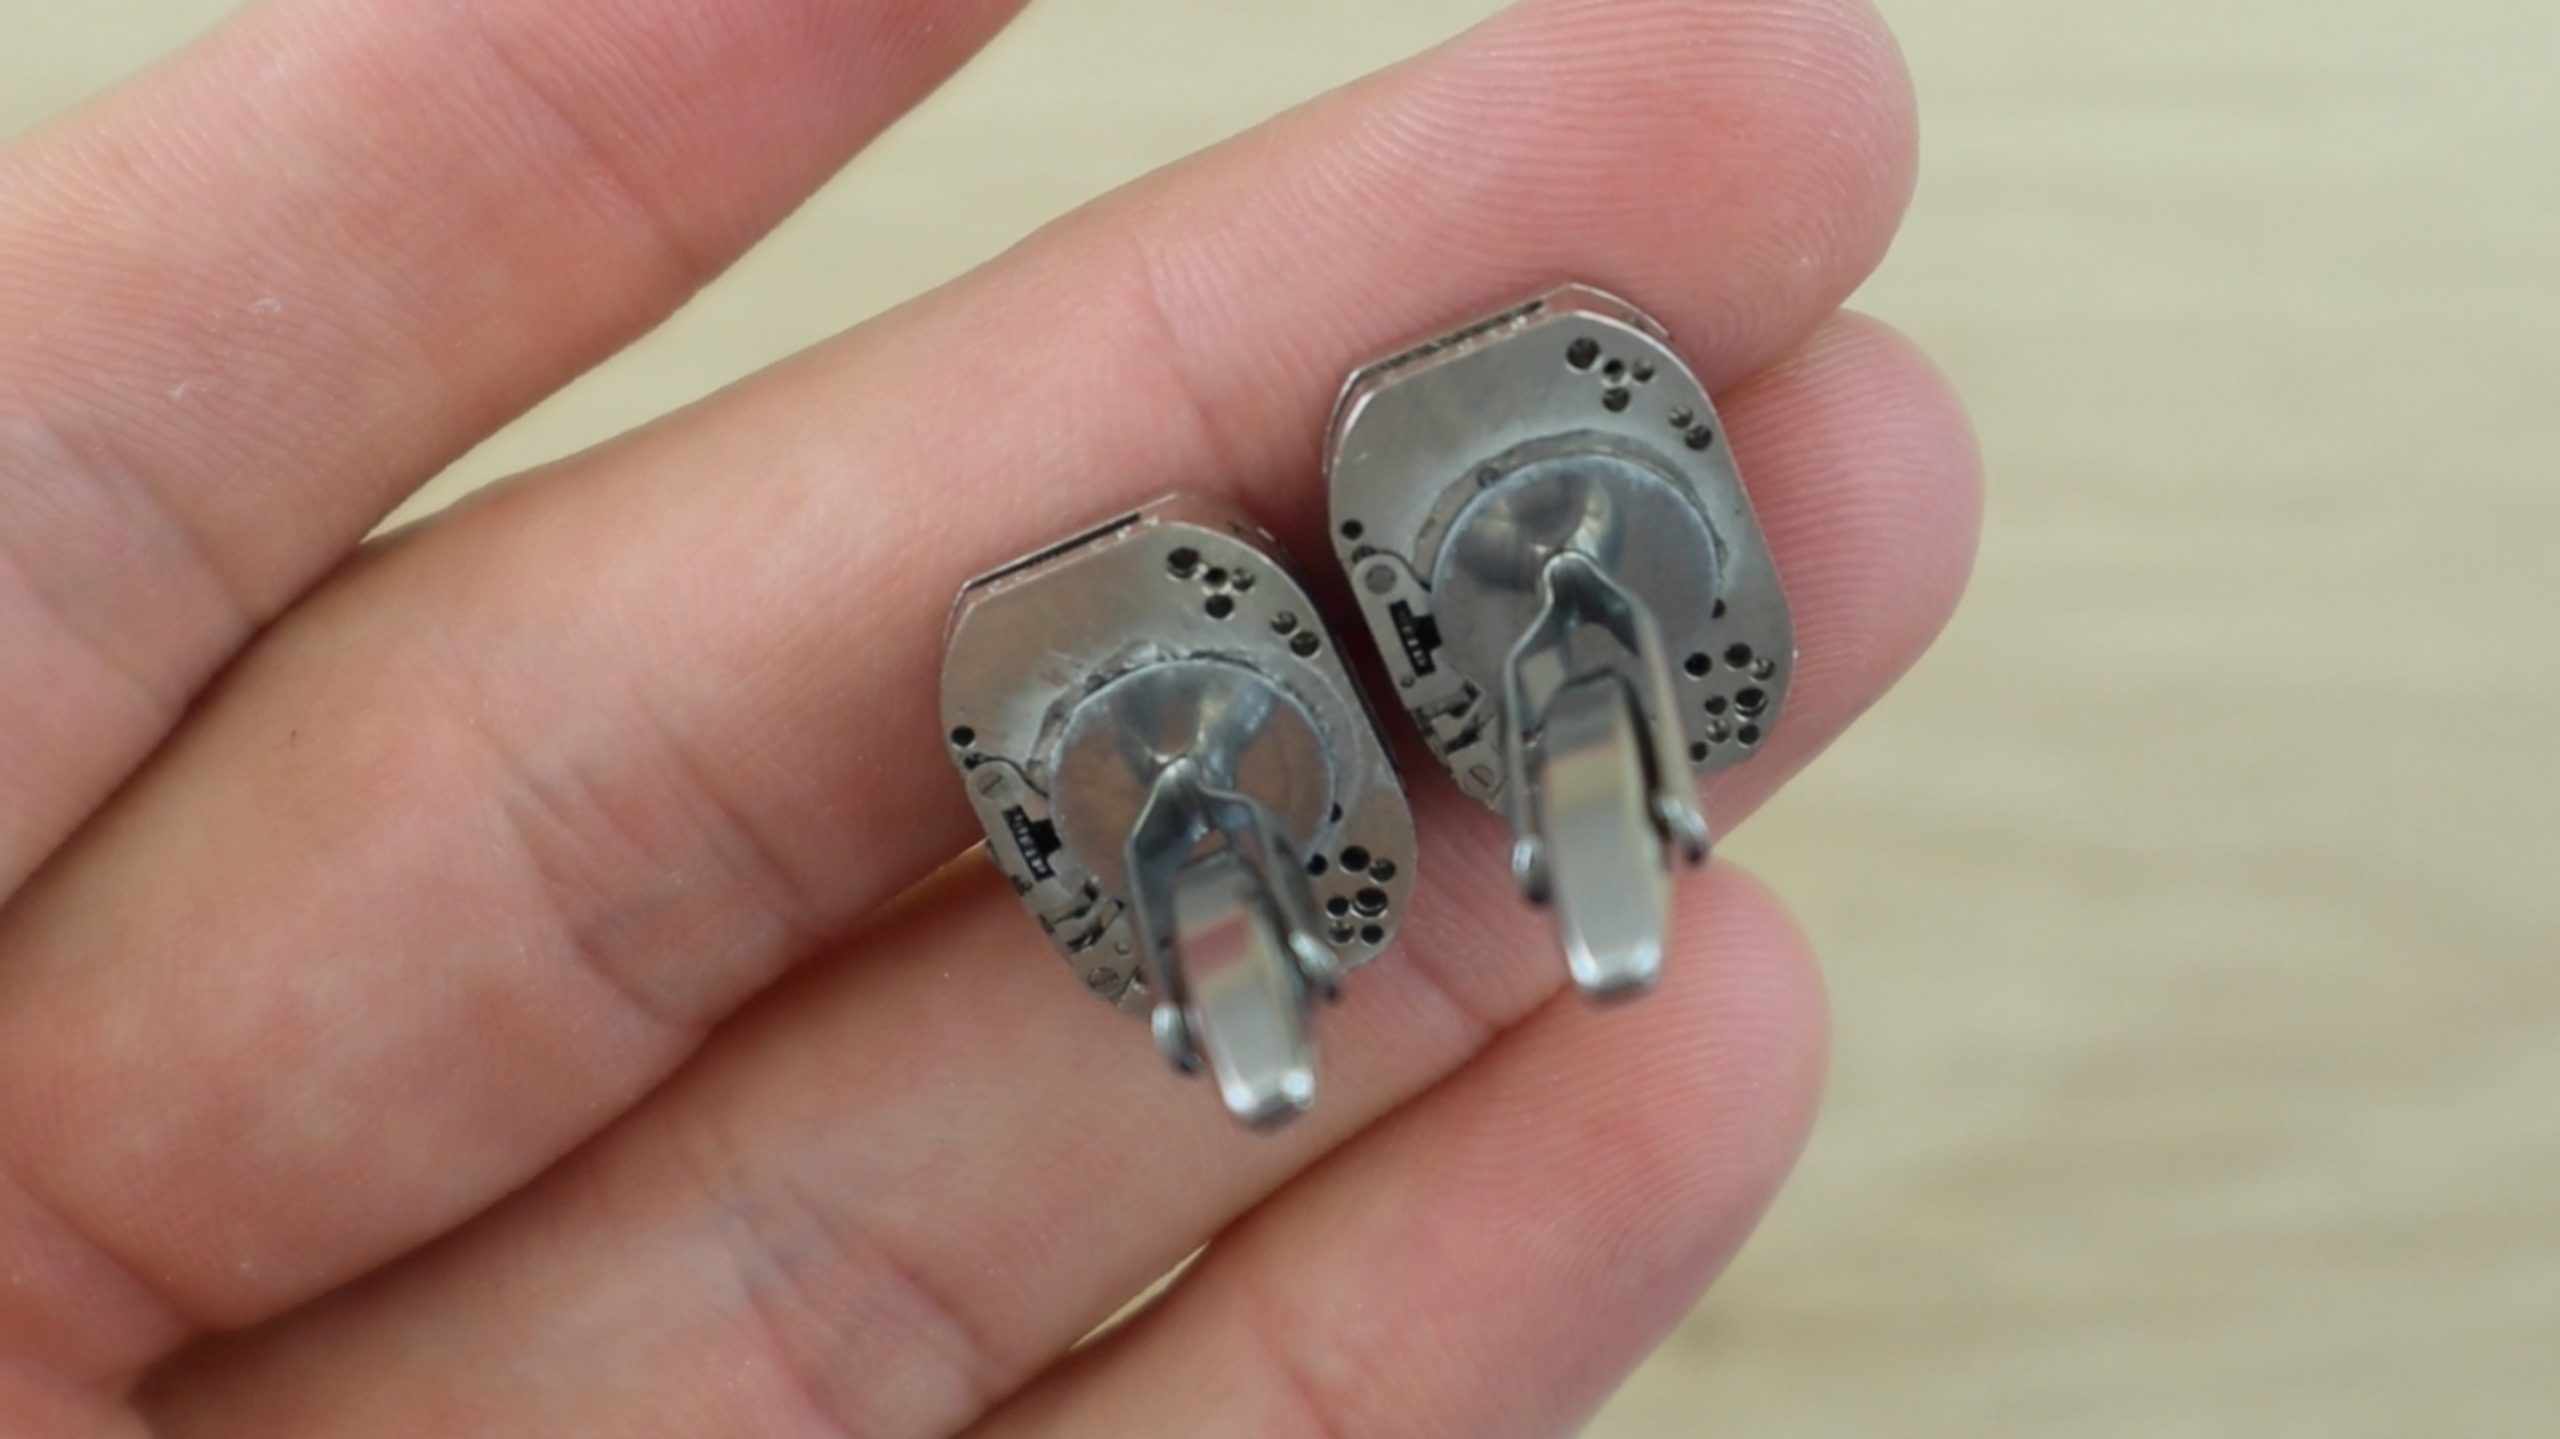
Now insert your screwdriver between the mechanism and face and gently pry the face away from the mechanism. It doesn’t really matter if you damage the face or part of the mechanism as you won’t be using the face, and this part of the mechanism is the back side of the cufflink.
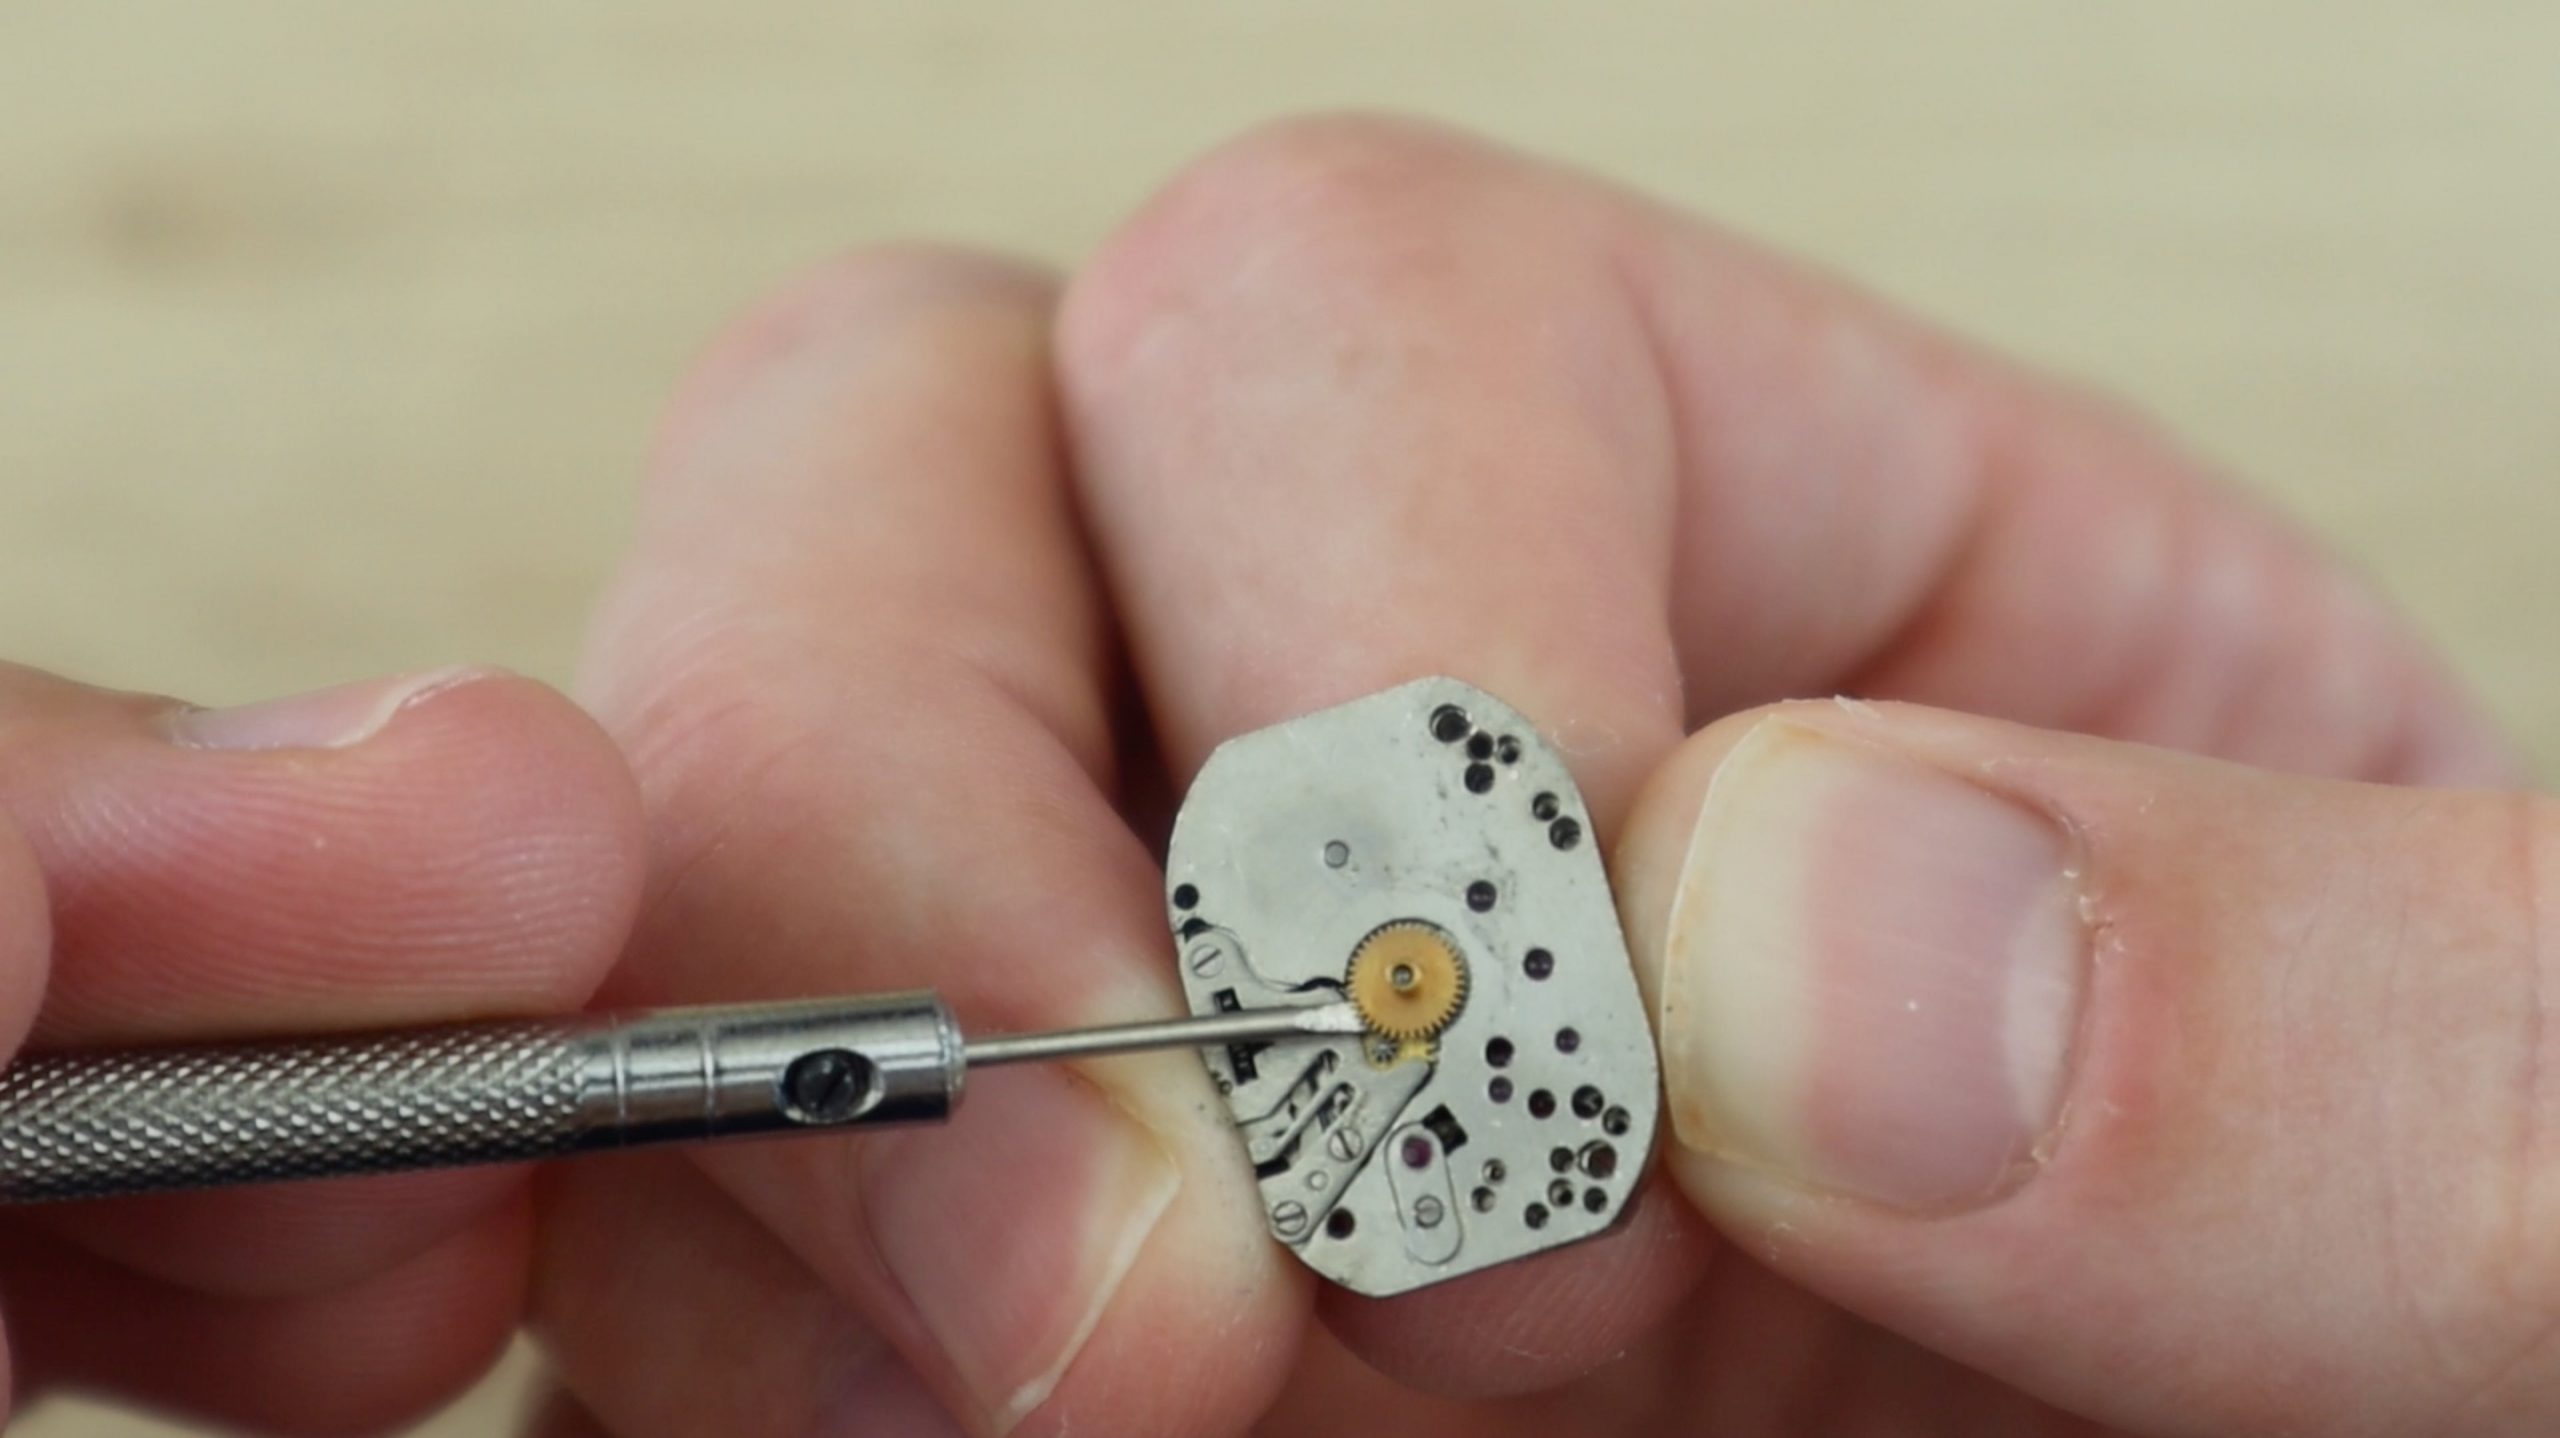
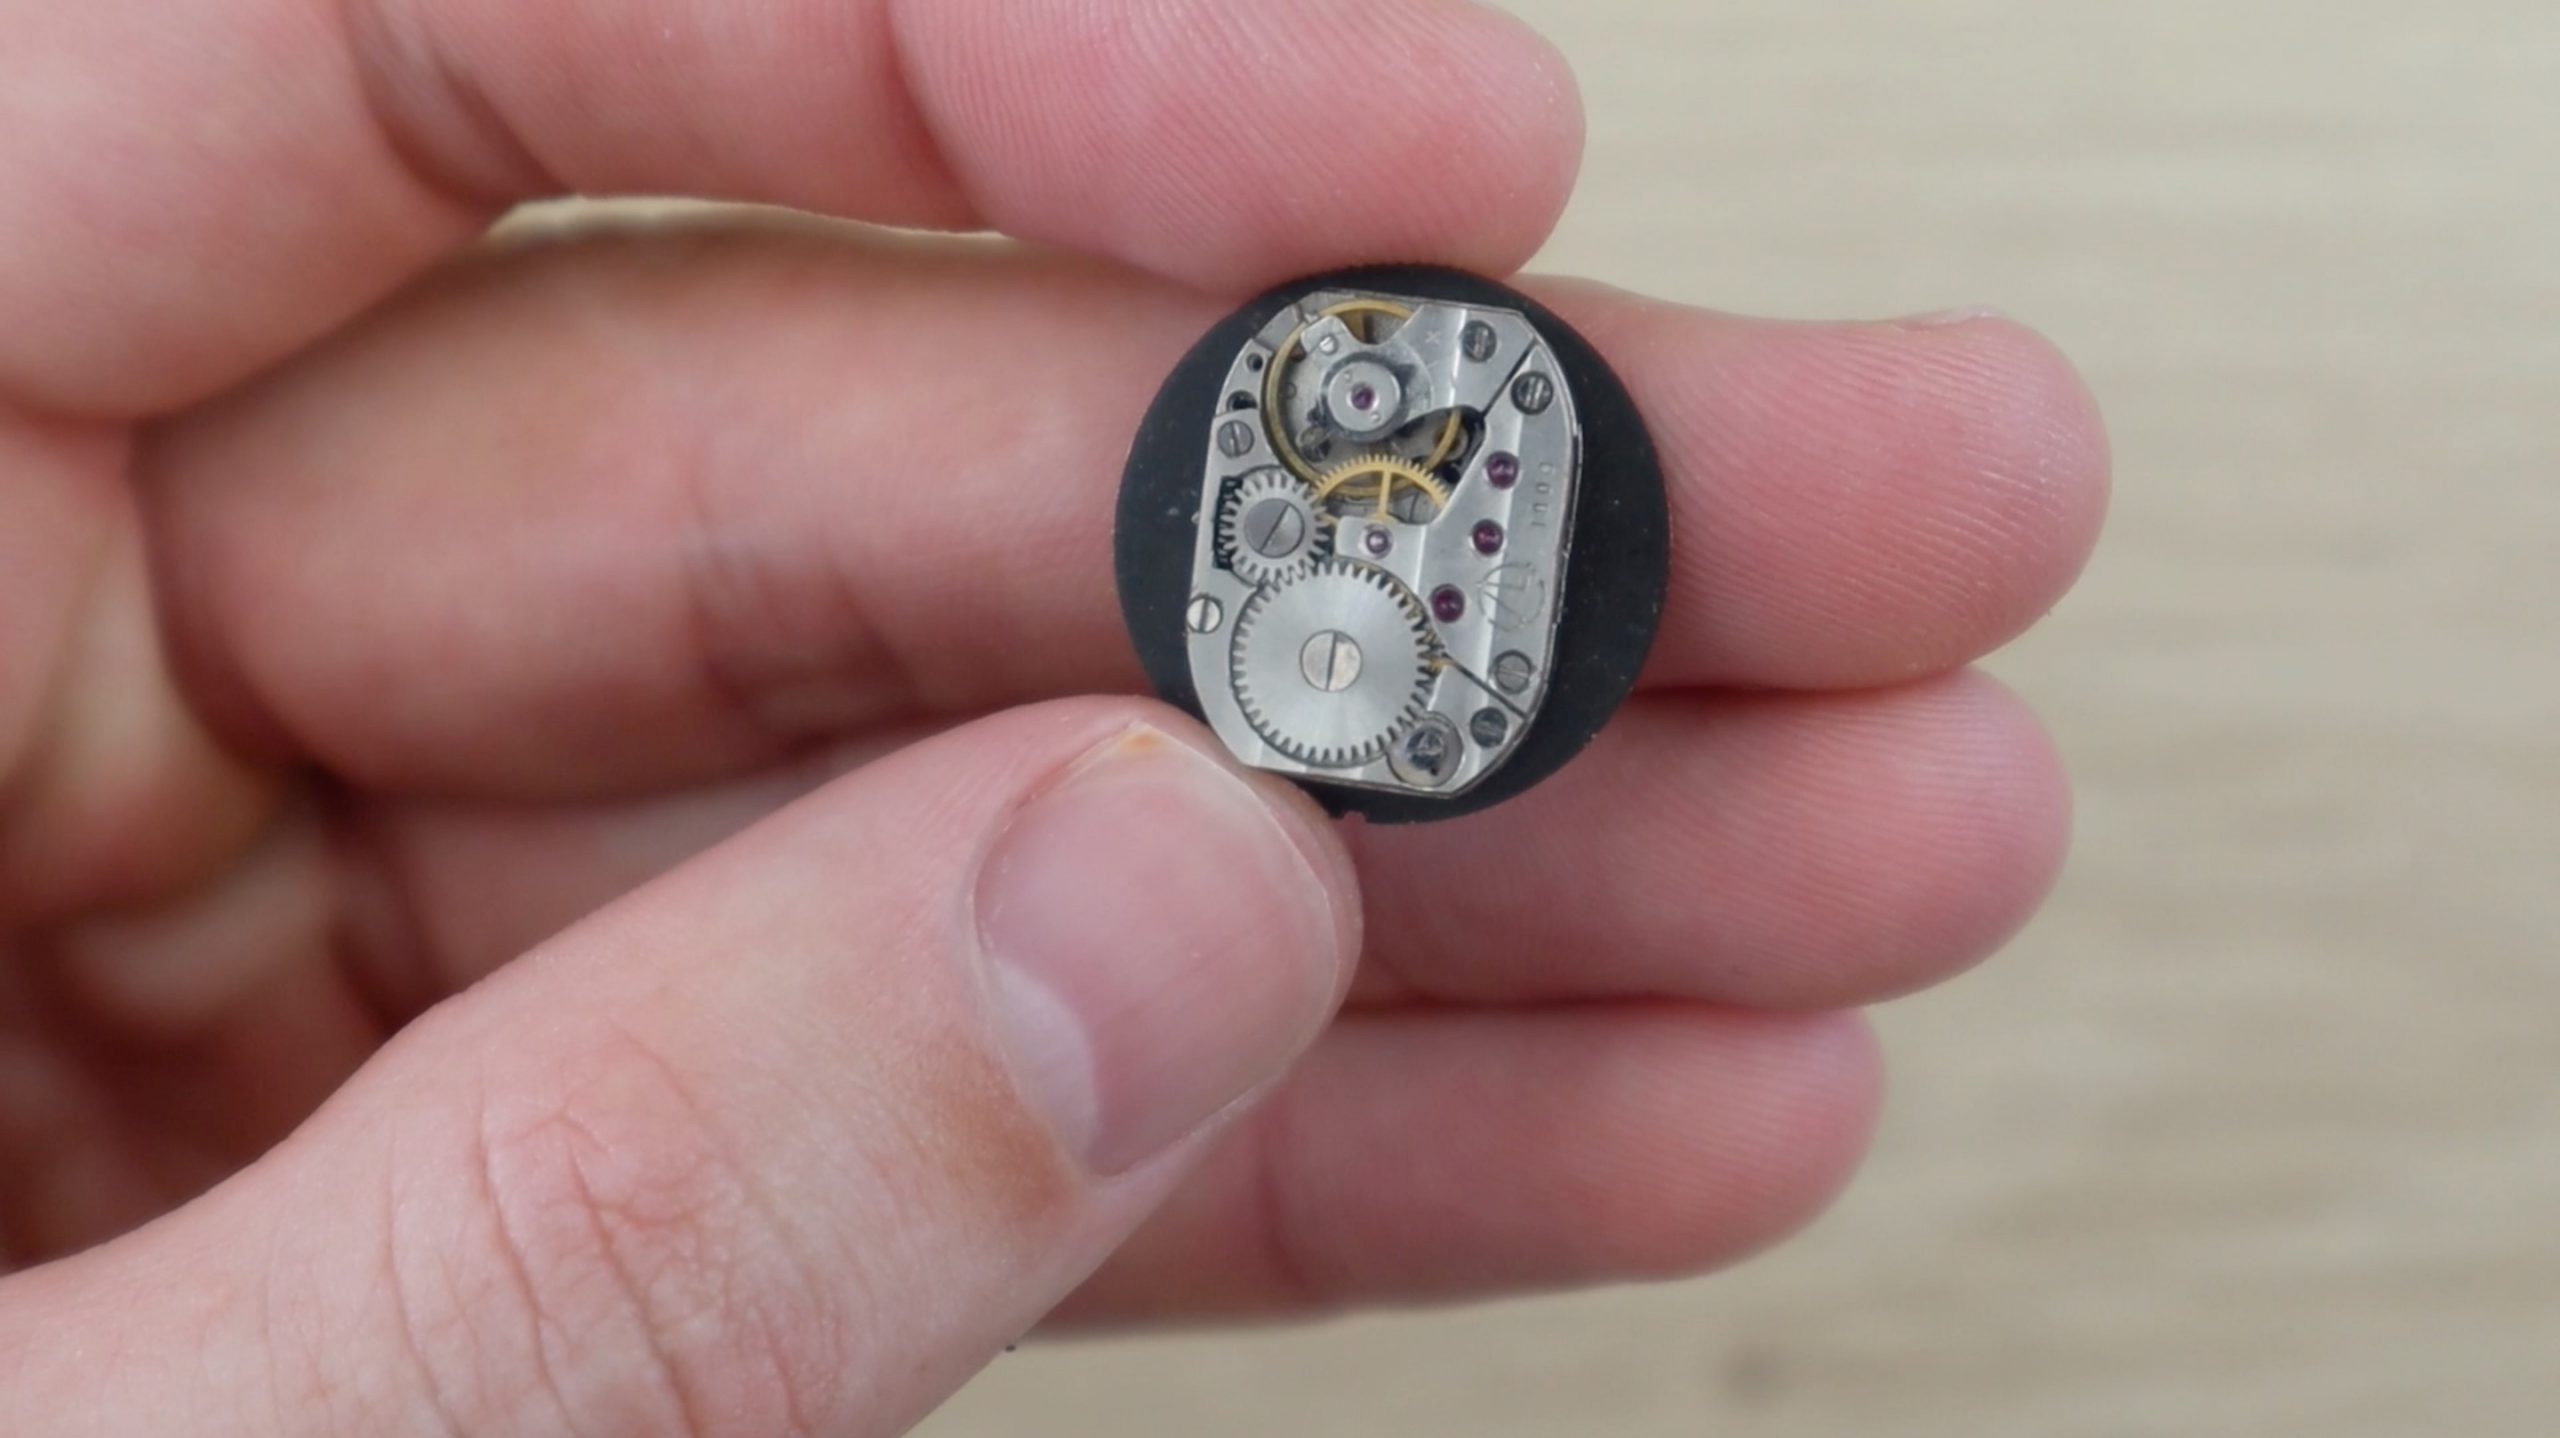
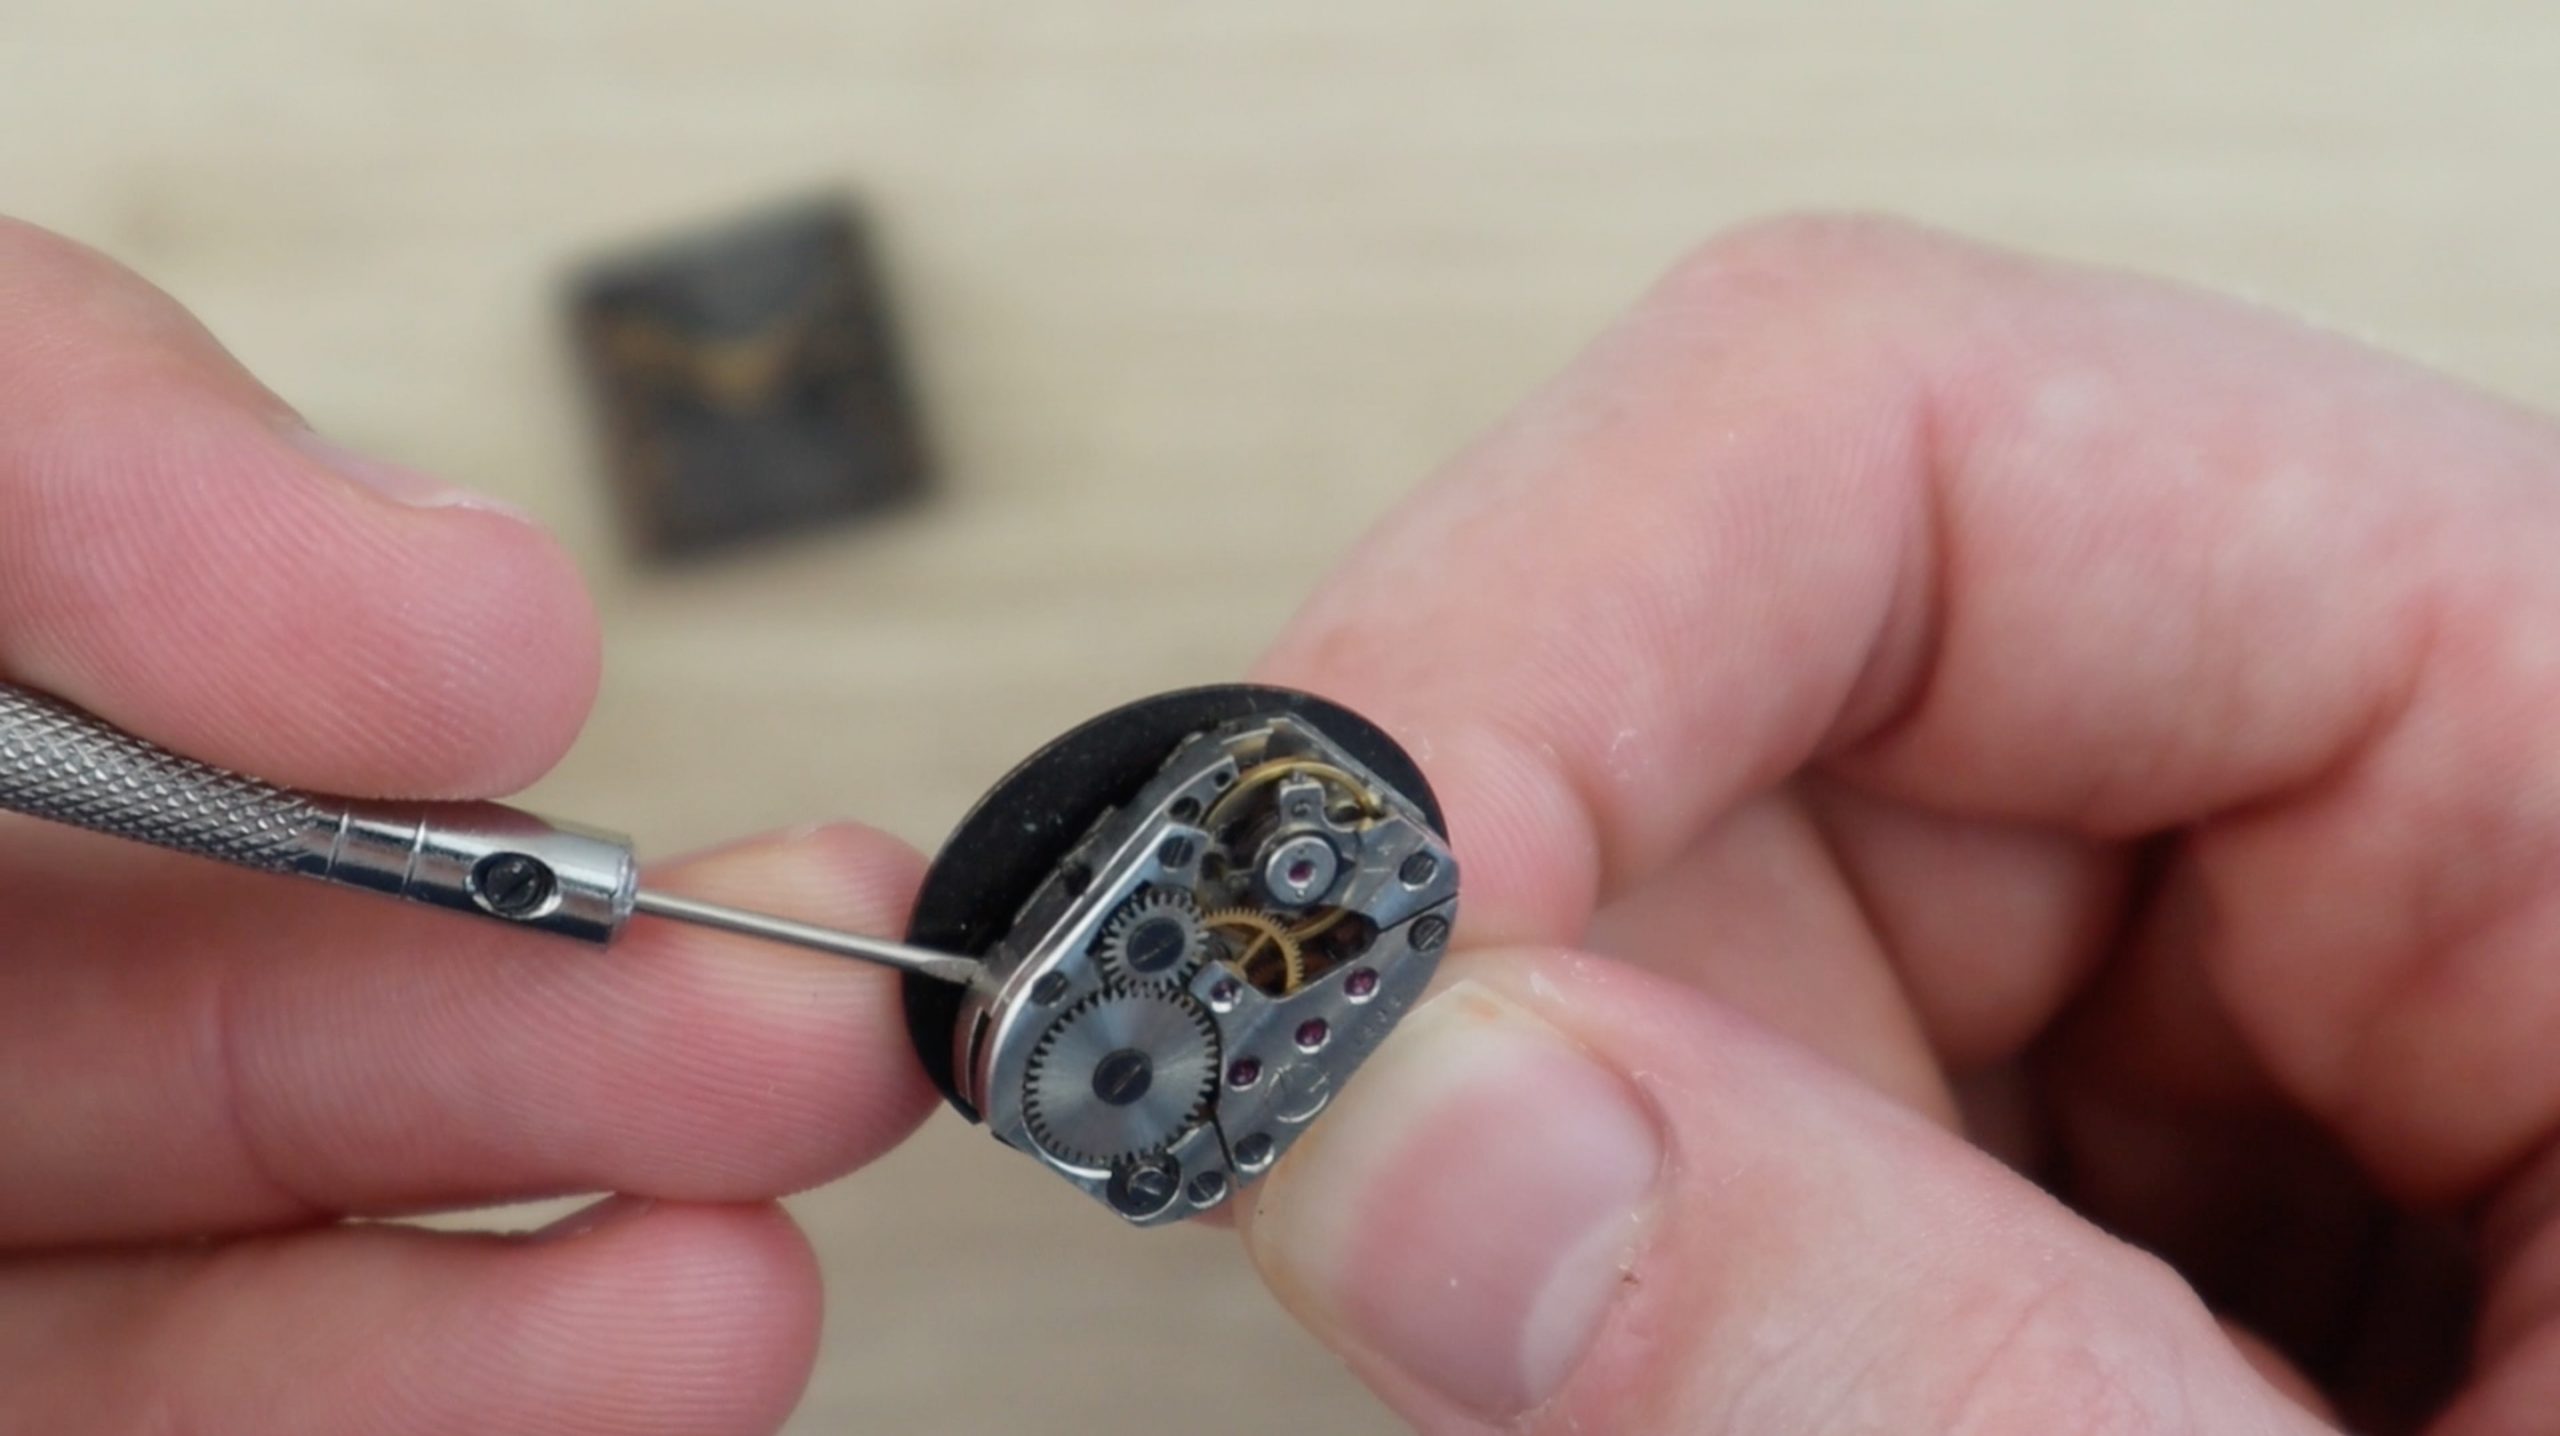
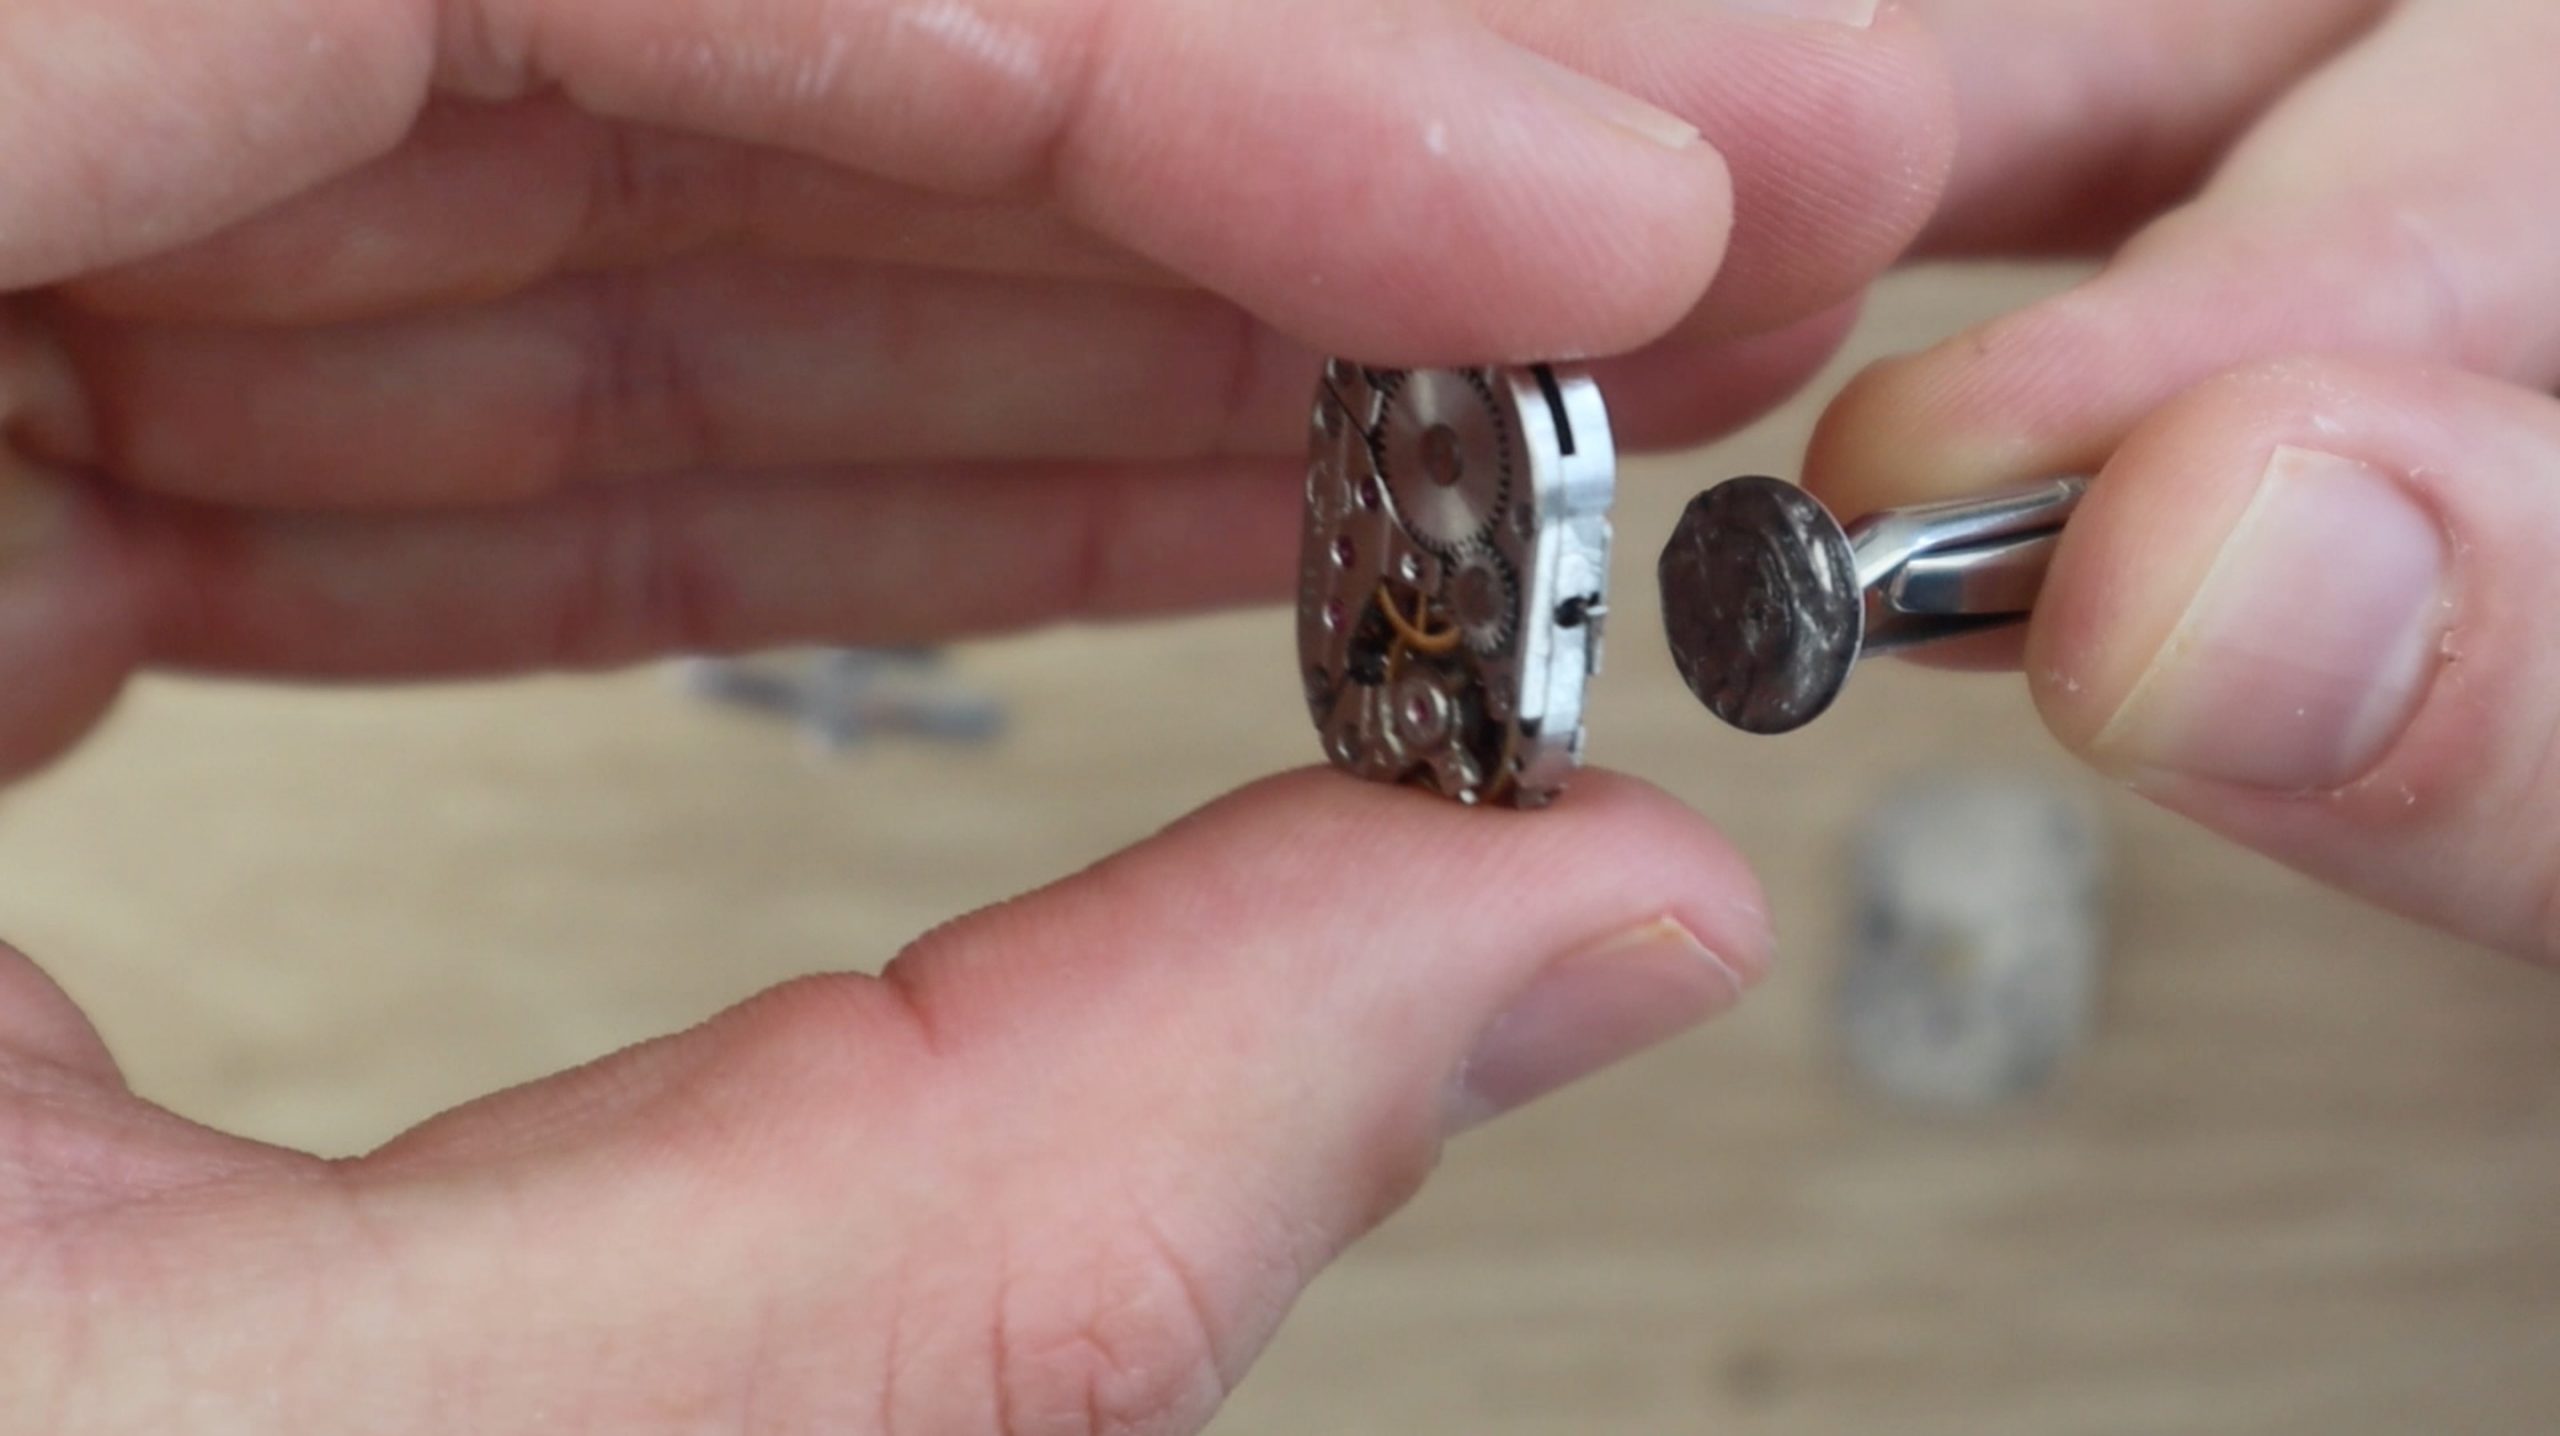
Once the mechanism is free, you’ll need to make the back face flat by removing the hour hand cog and the shaft which drove the minute hand. Pry the cog off with your screwdriver or tweezers and then use side cutters or clippers to cut the shaft off flush with the back face.
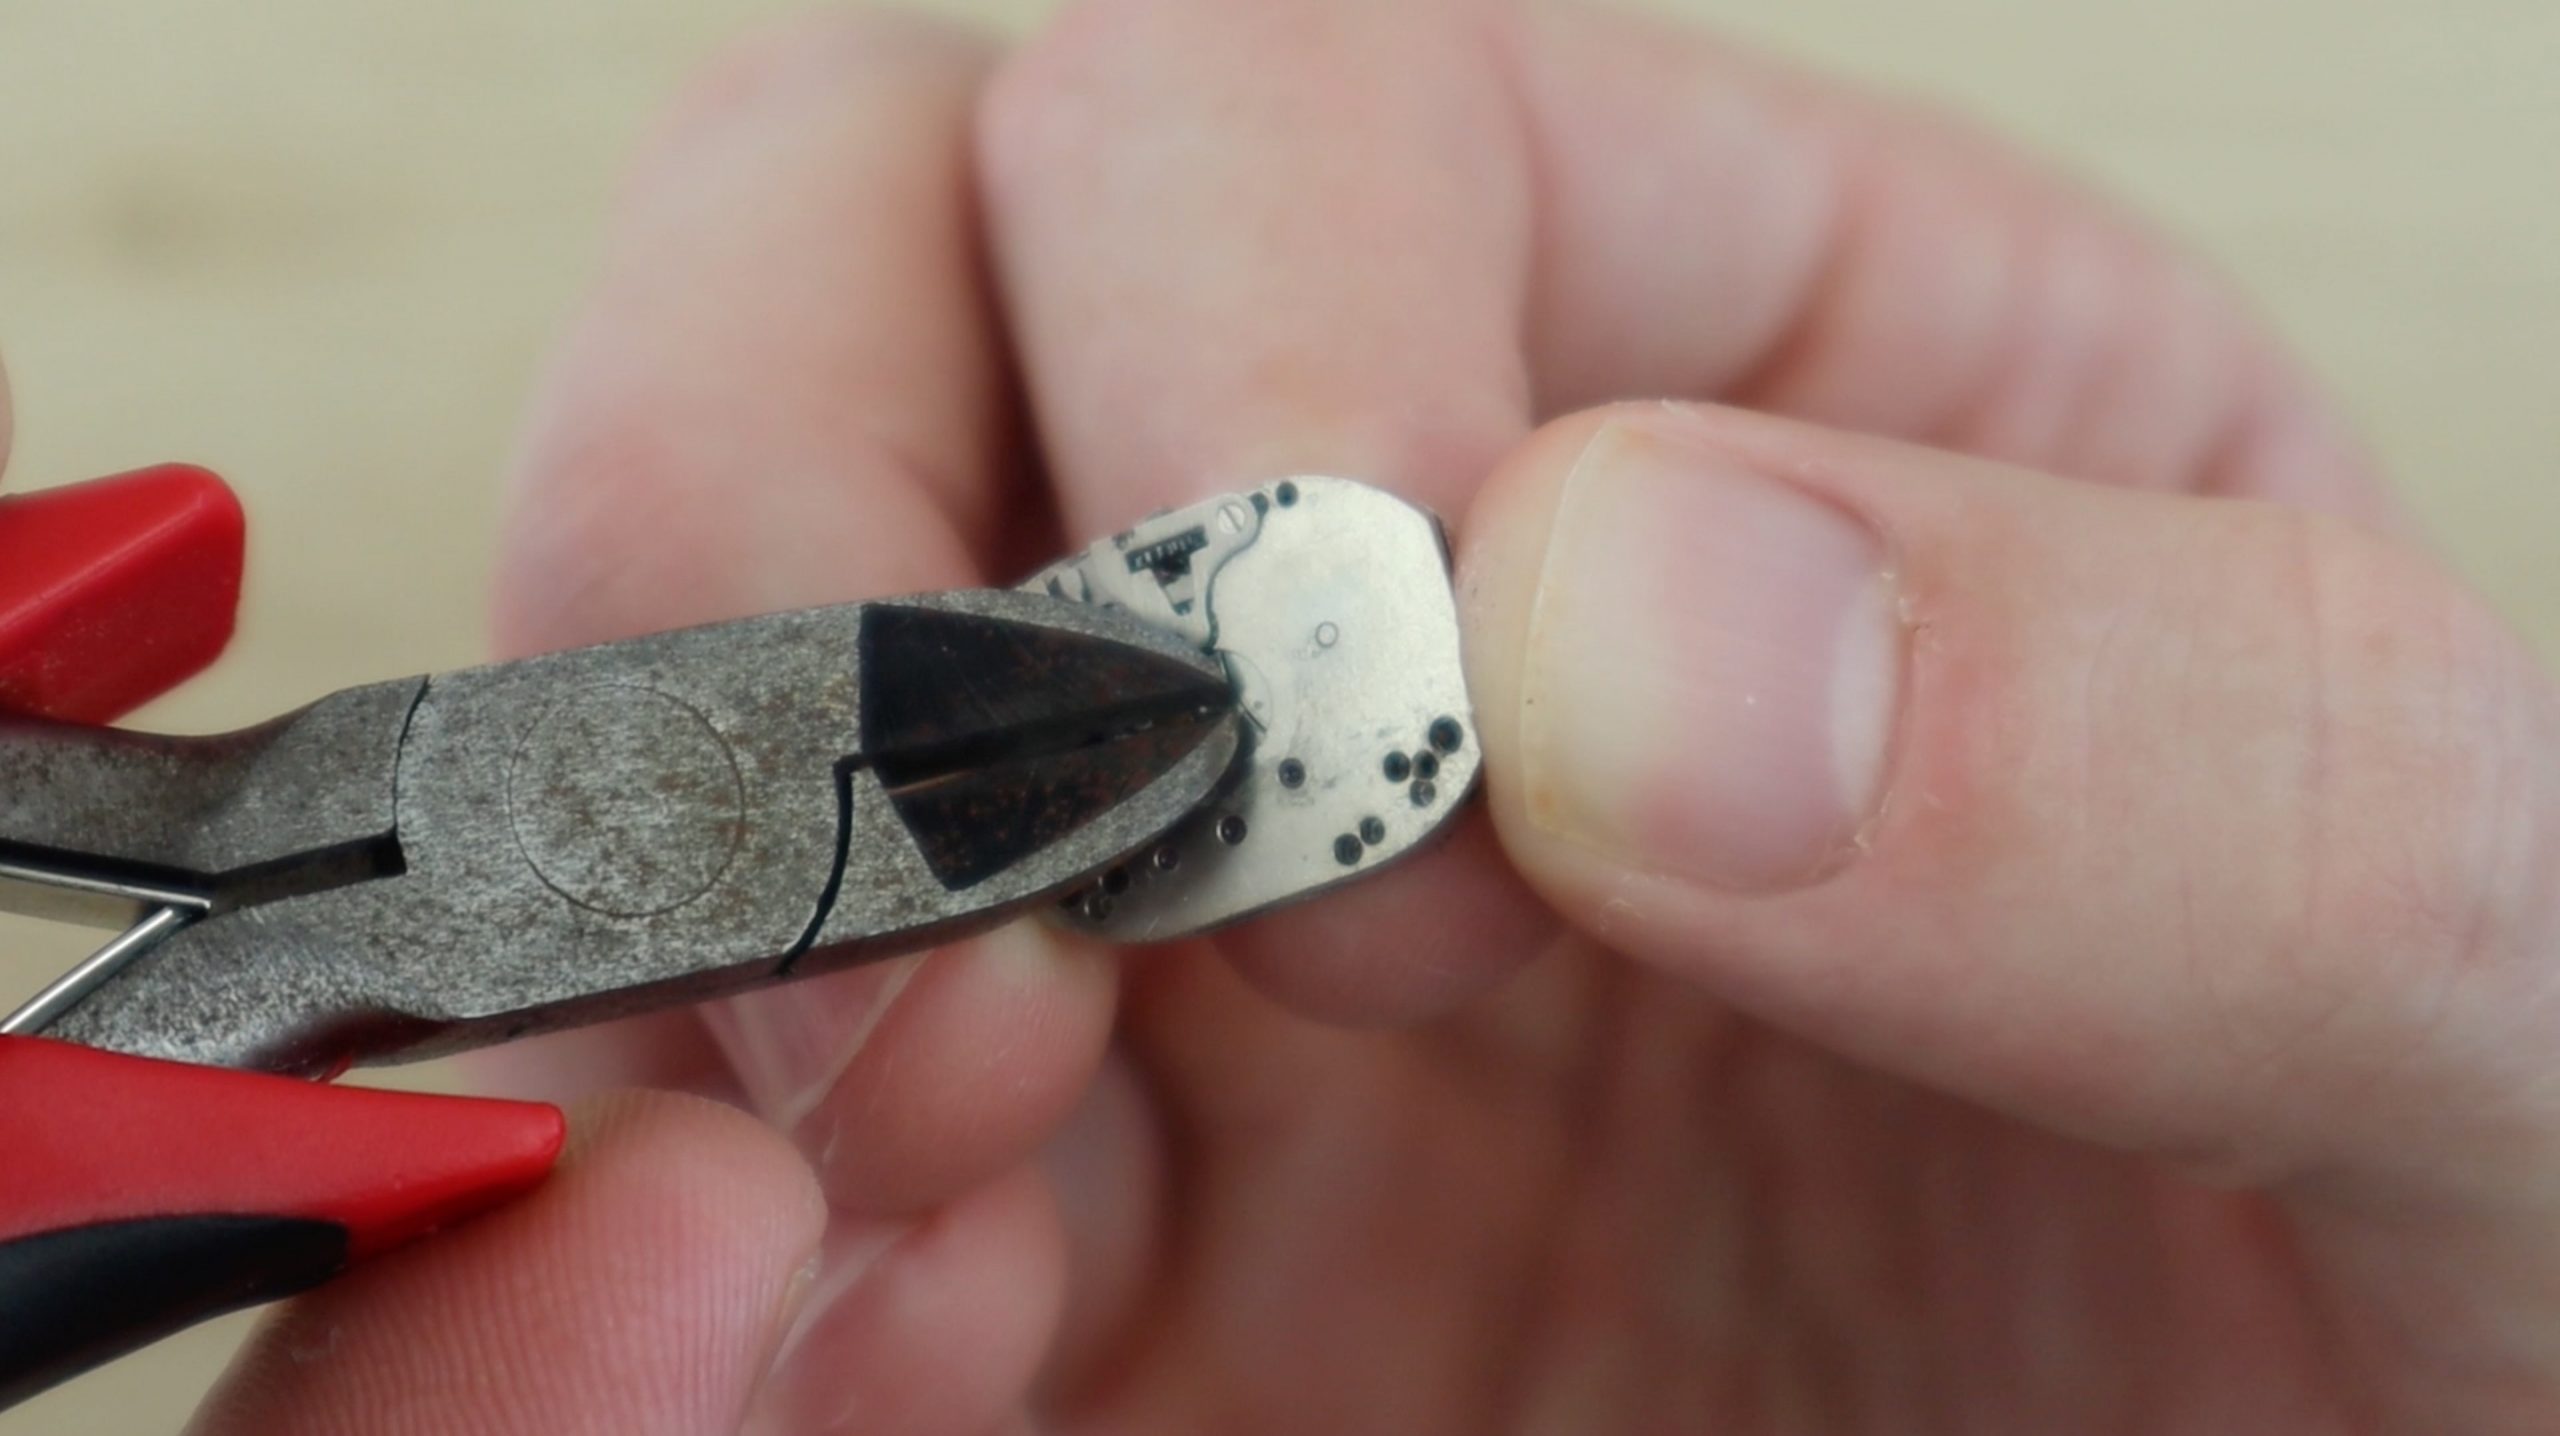
Feel the surface of the mechanism and make sure that it is completely flat so that the blank cufflink disc is able to be glued flat onto the mechanism.
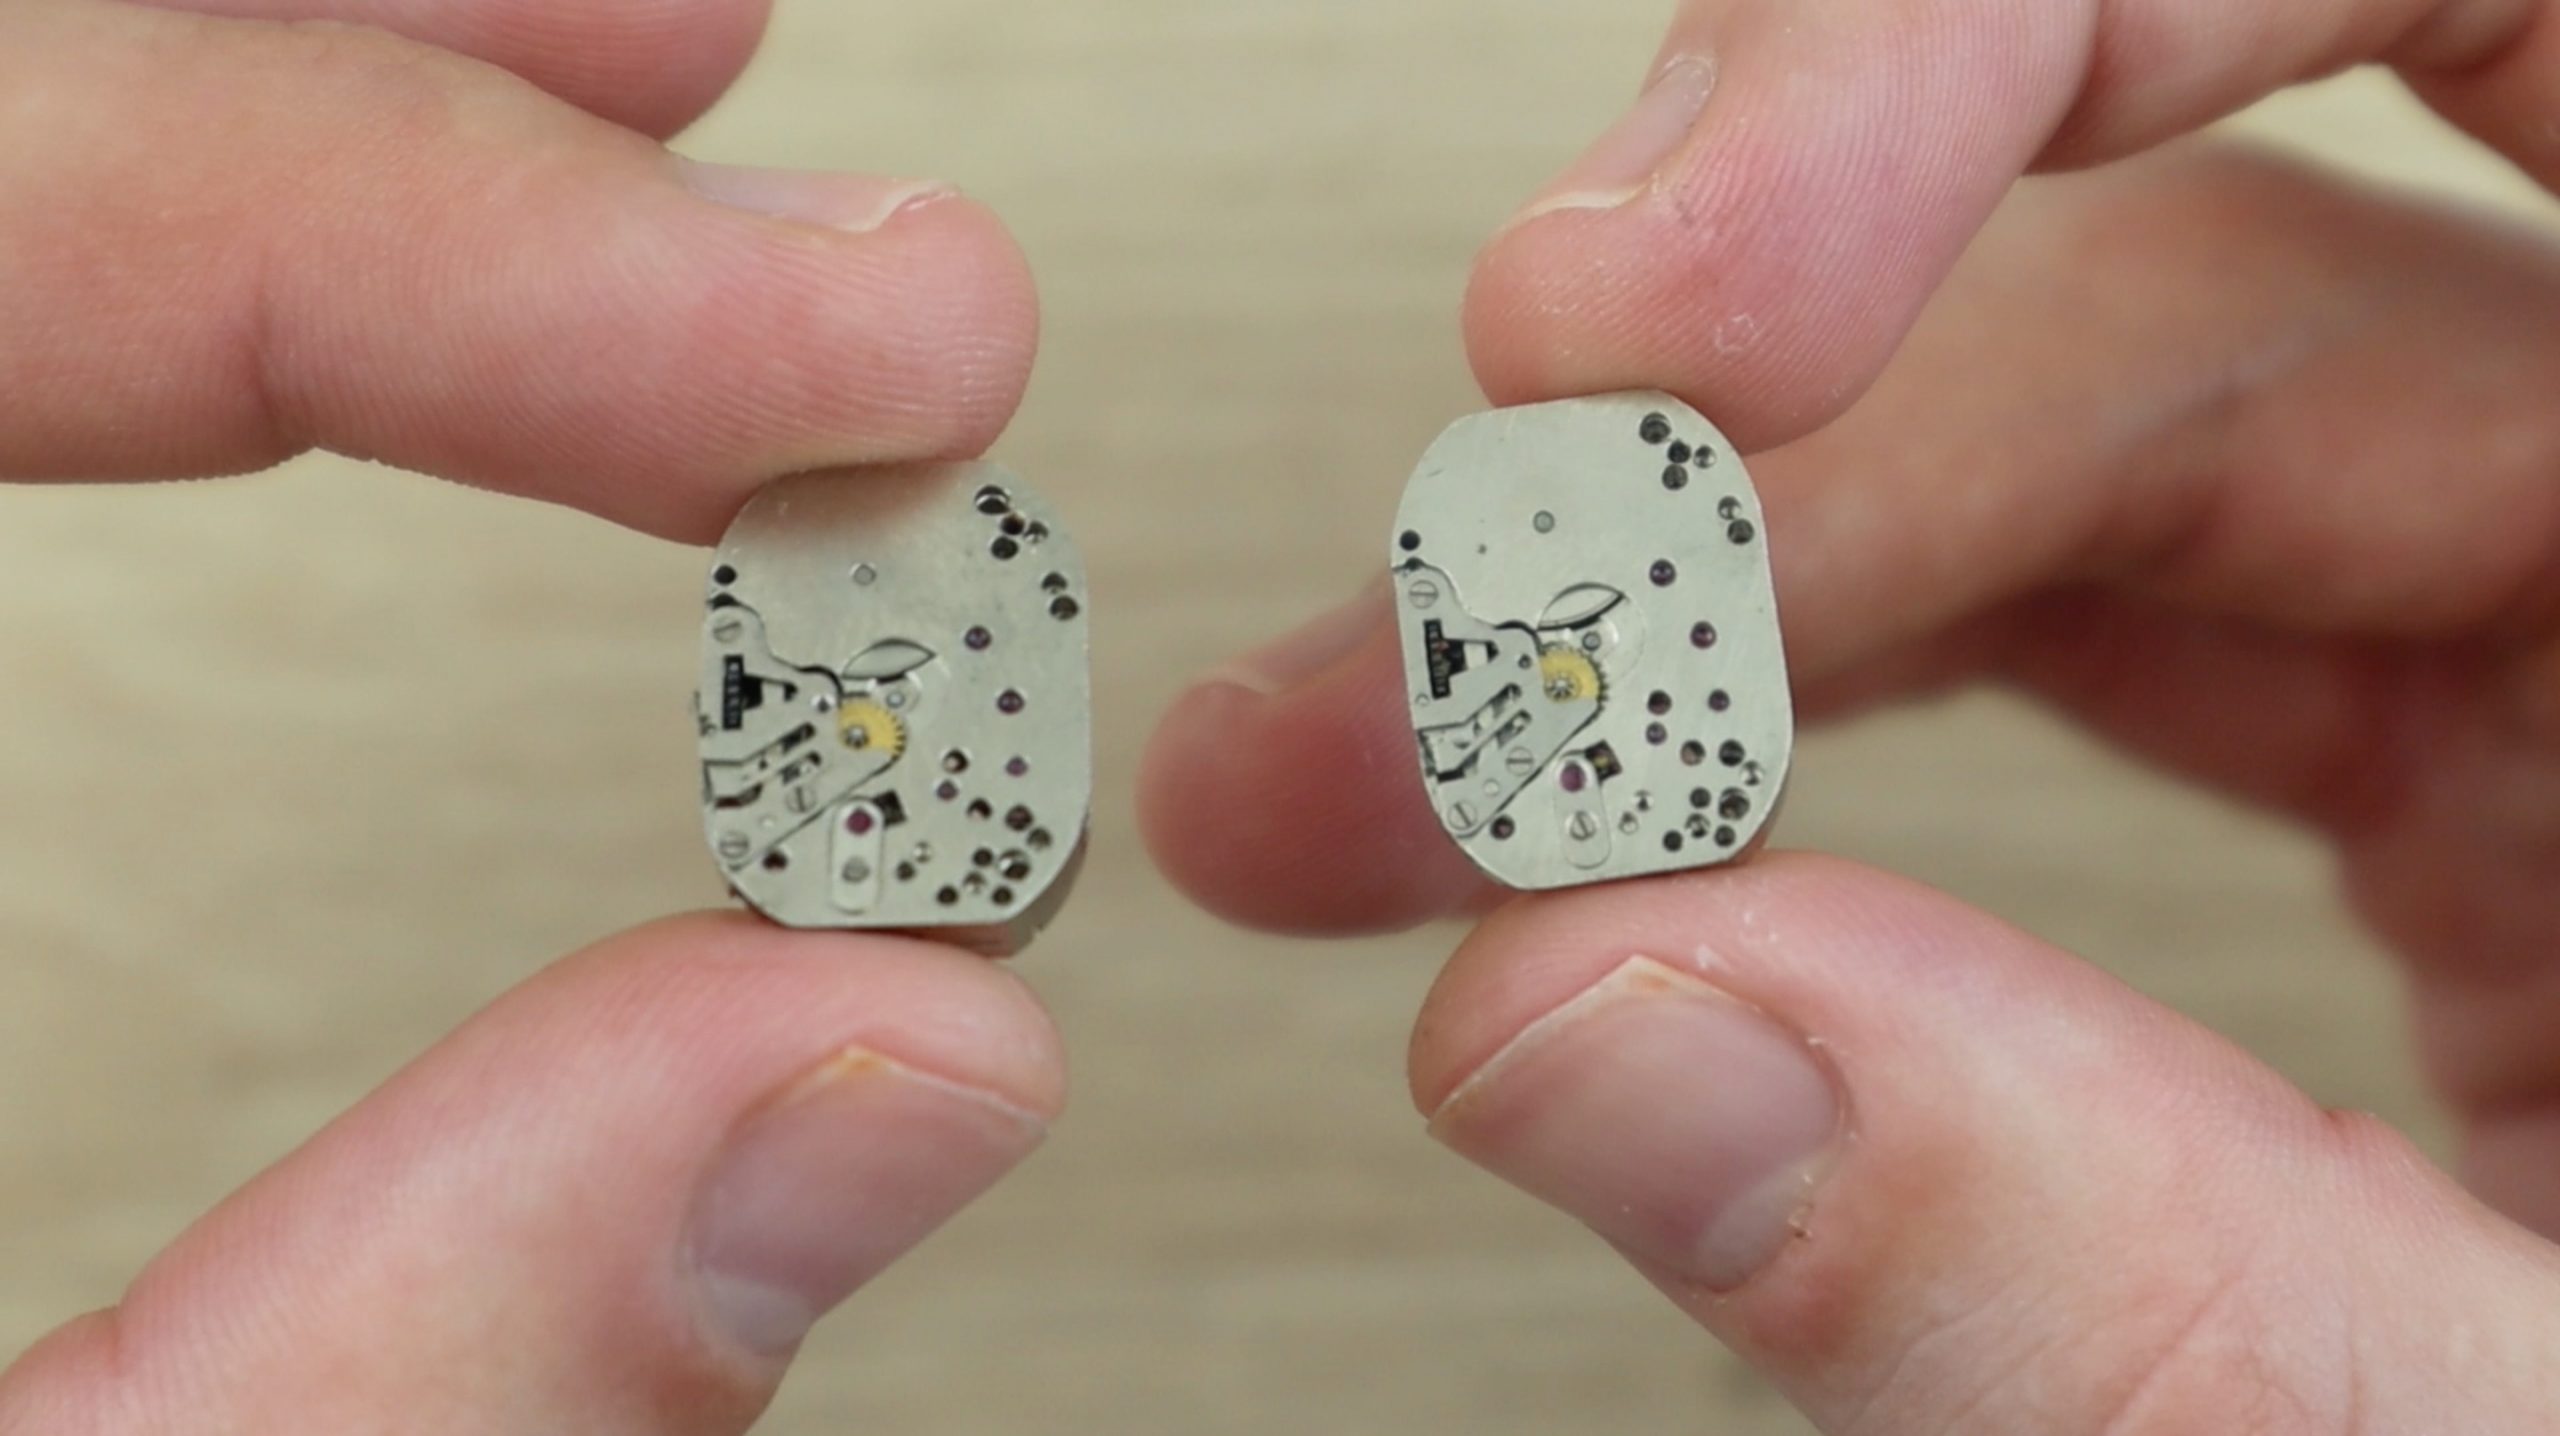
Repeat this process for the second watch mechanism so that you have two identical mechanisms which are free of any protruding shafts, pegs or adjustment screws.
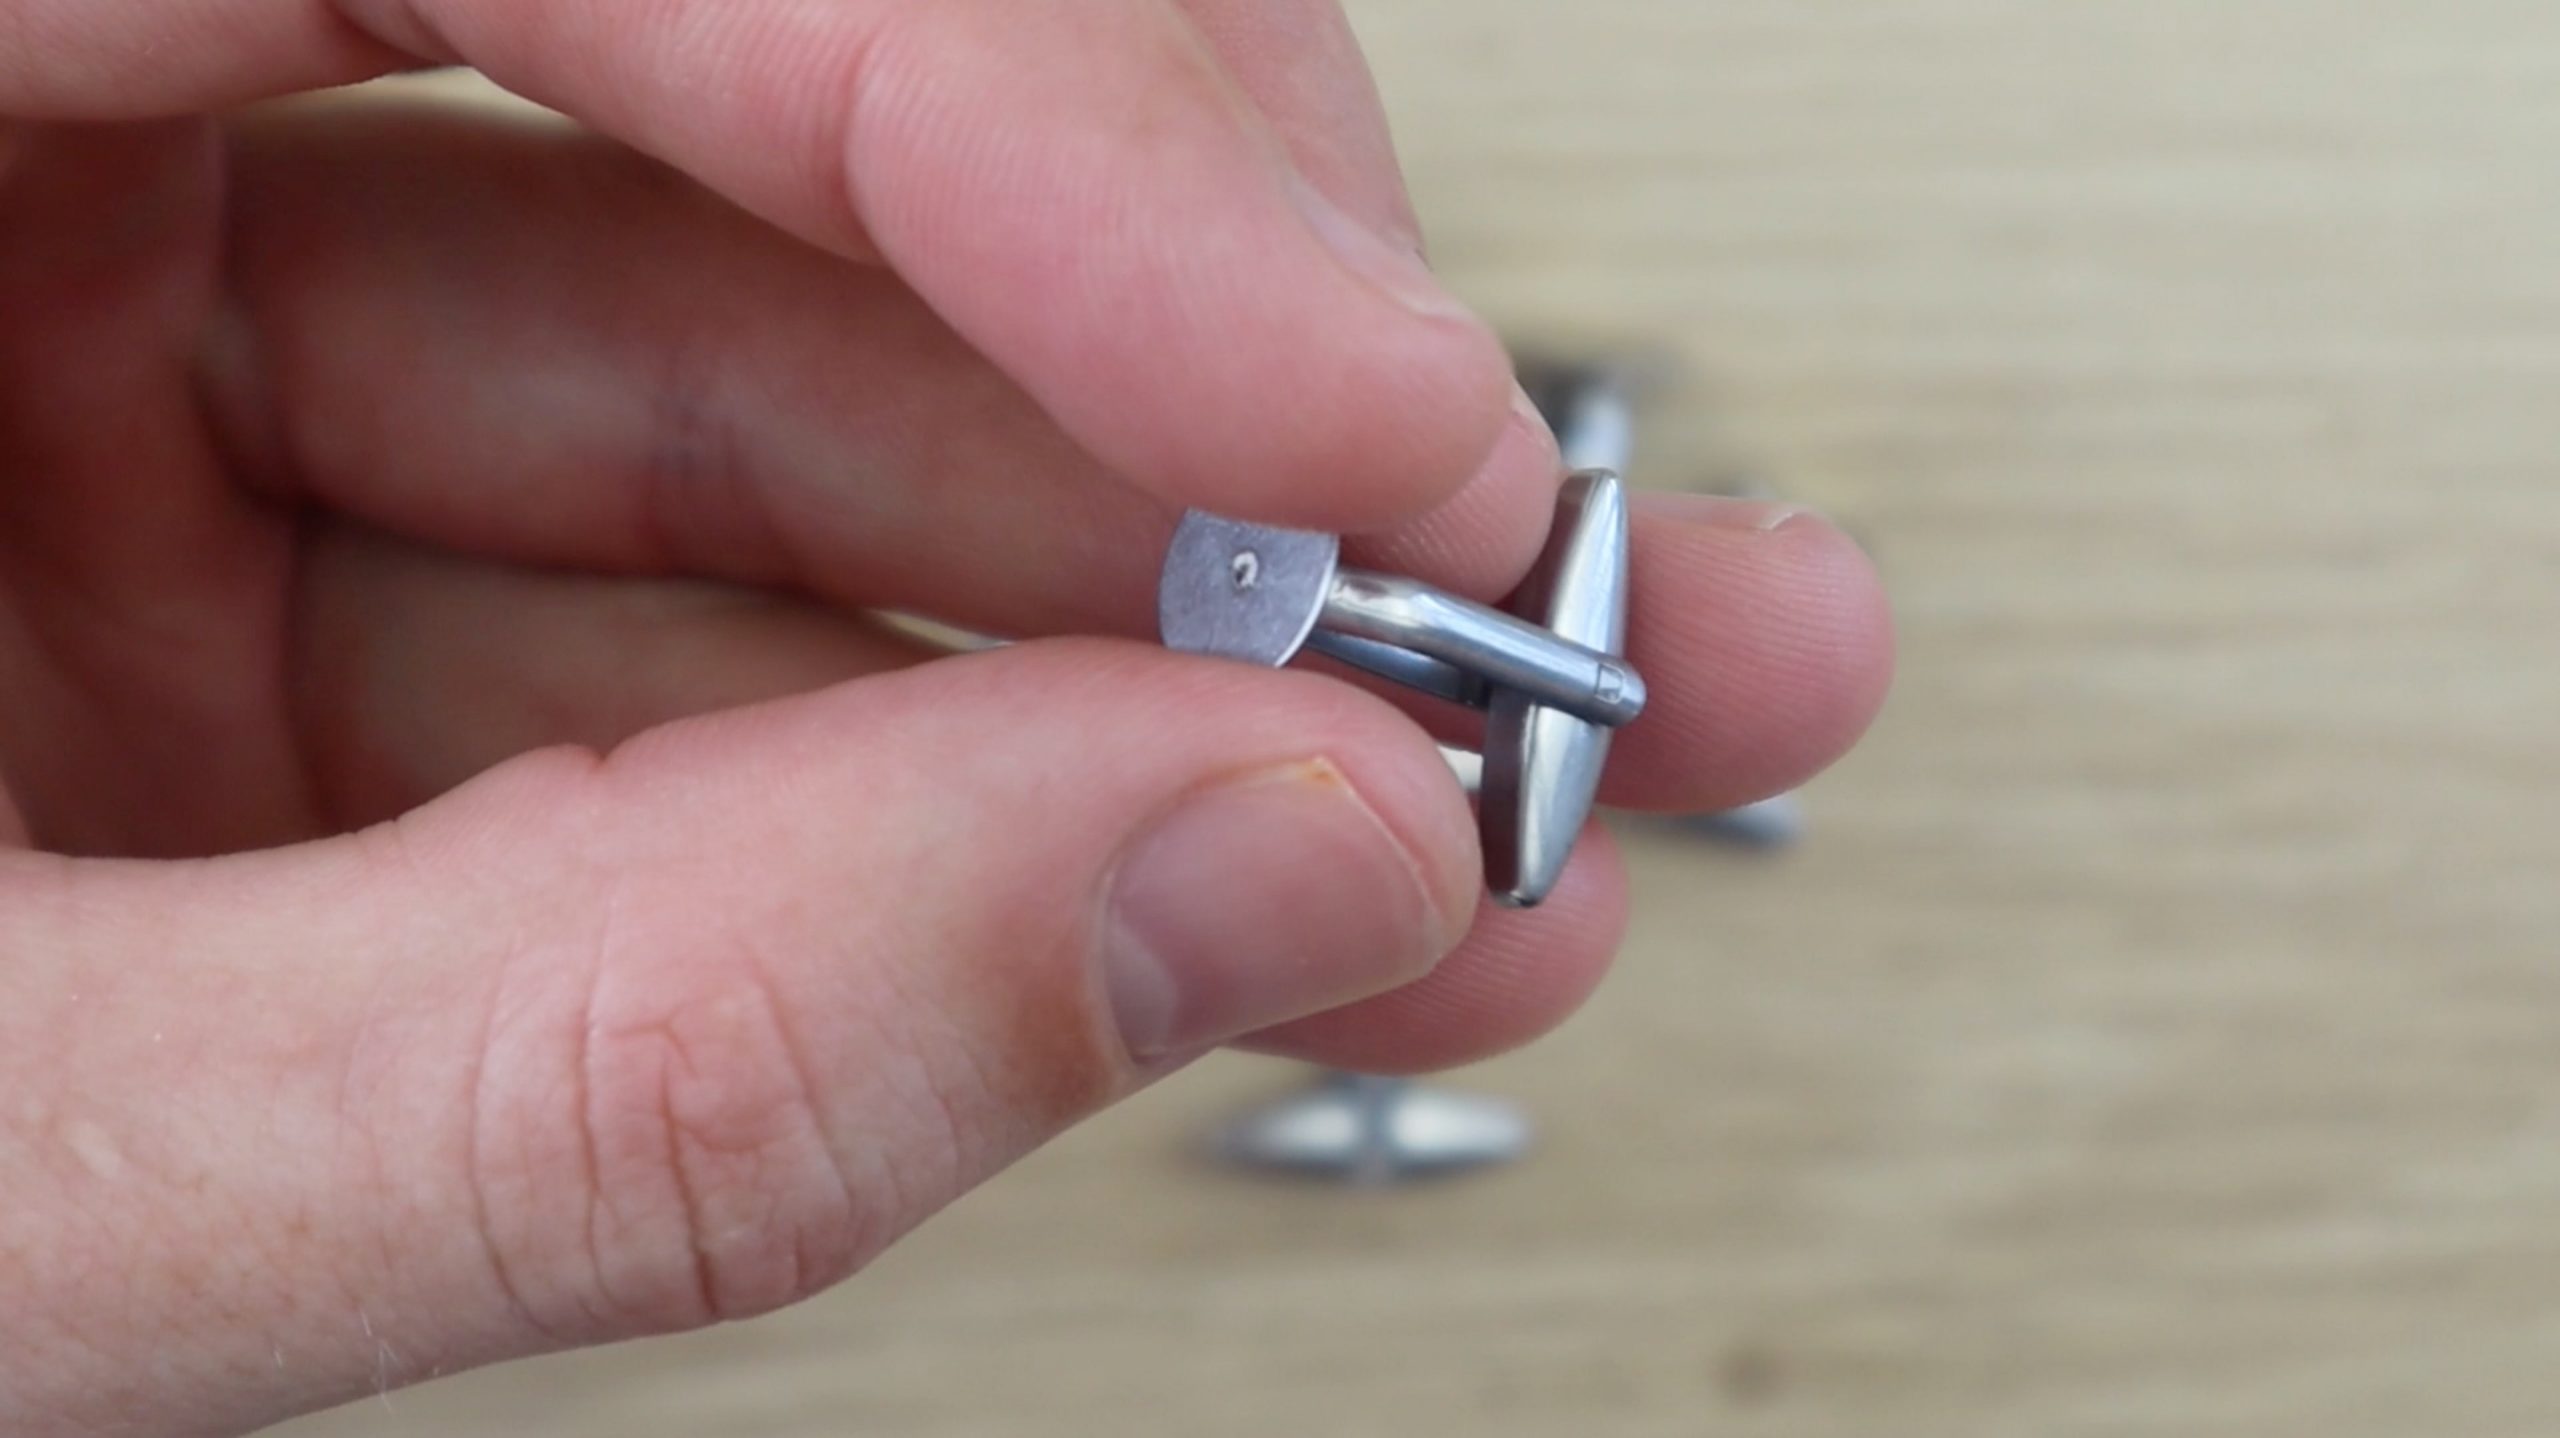
Next you’ll need to get some blank cufflinks. These are also widely available online. You’ll need a pair with at least a 6mm diameter blank plate although 10mm to 16mm ones work best to glue onto the mechanism. Try to find good quality ones and they’ll last a long time.
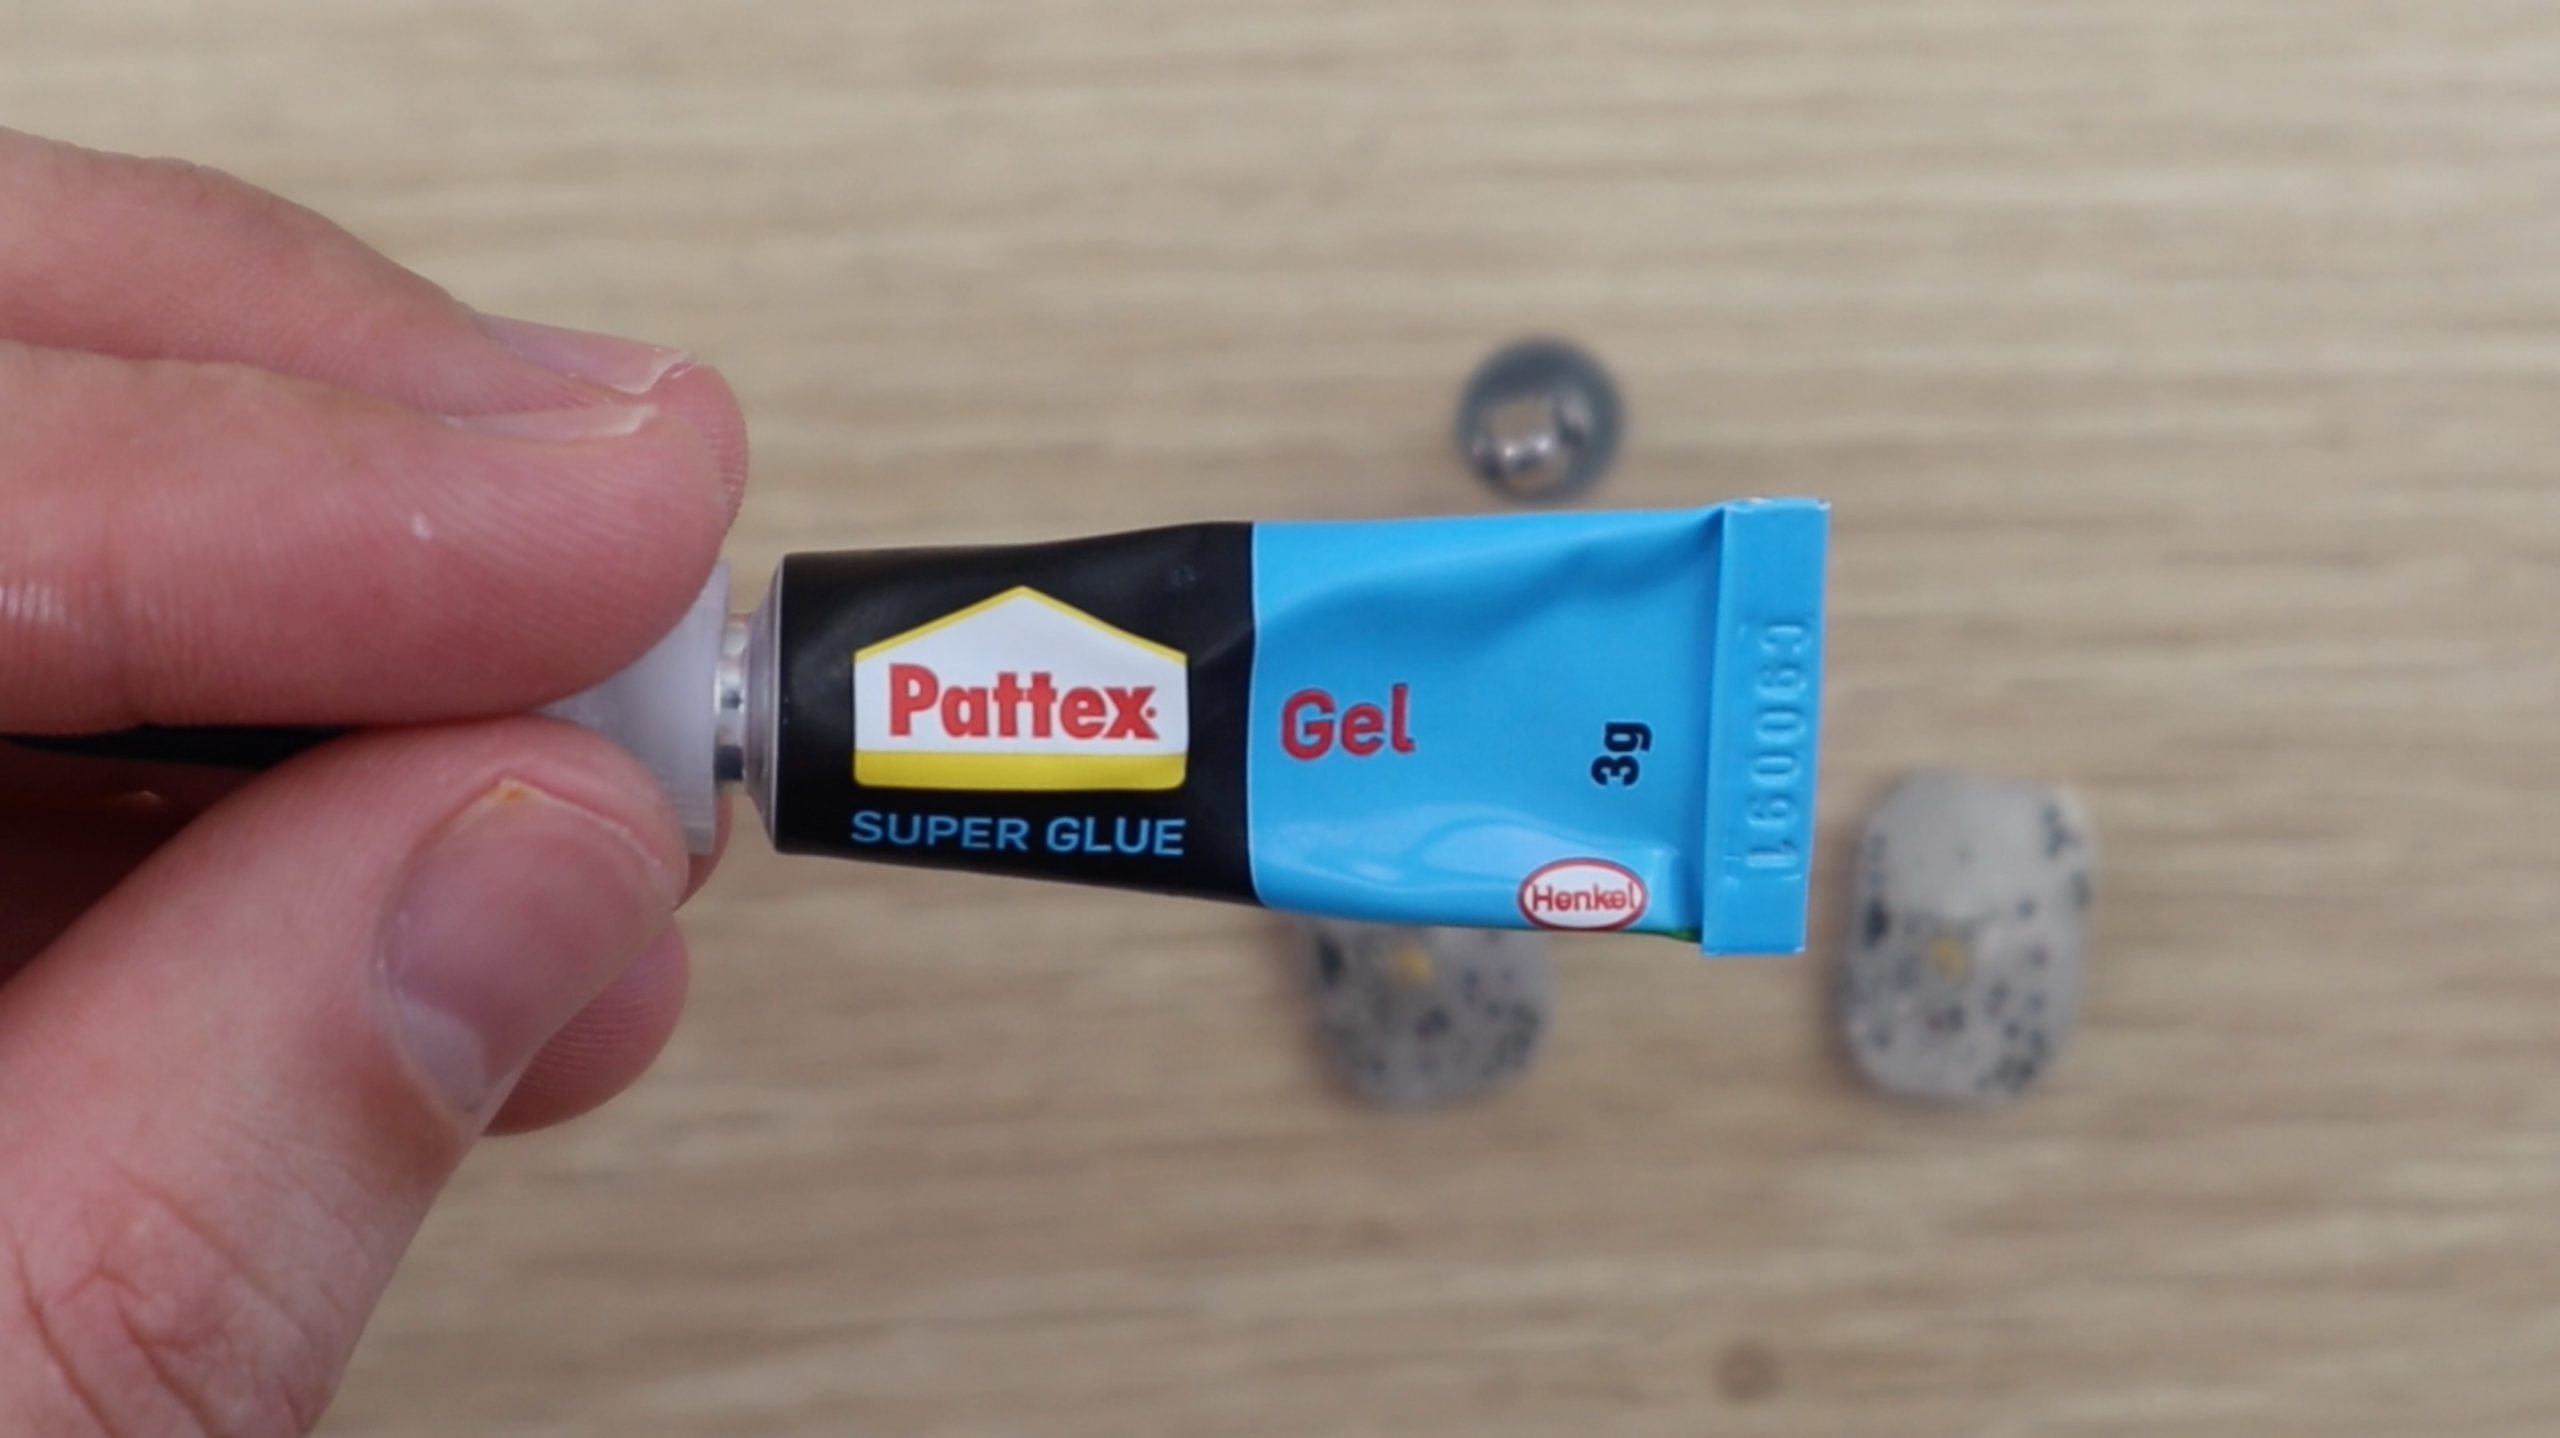

Use superglue or epoxy to glue the blank cufflink onto the back of the mechanism. Apply a generous amount of glue and make sure that you choose an unobstructed flat surface on the back of the mechanism to glue it to in order to reduce the risk of it coming off. Glue both into the same area on each mechanism and make sure that they are the same orientation.
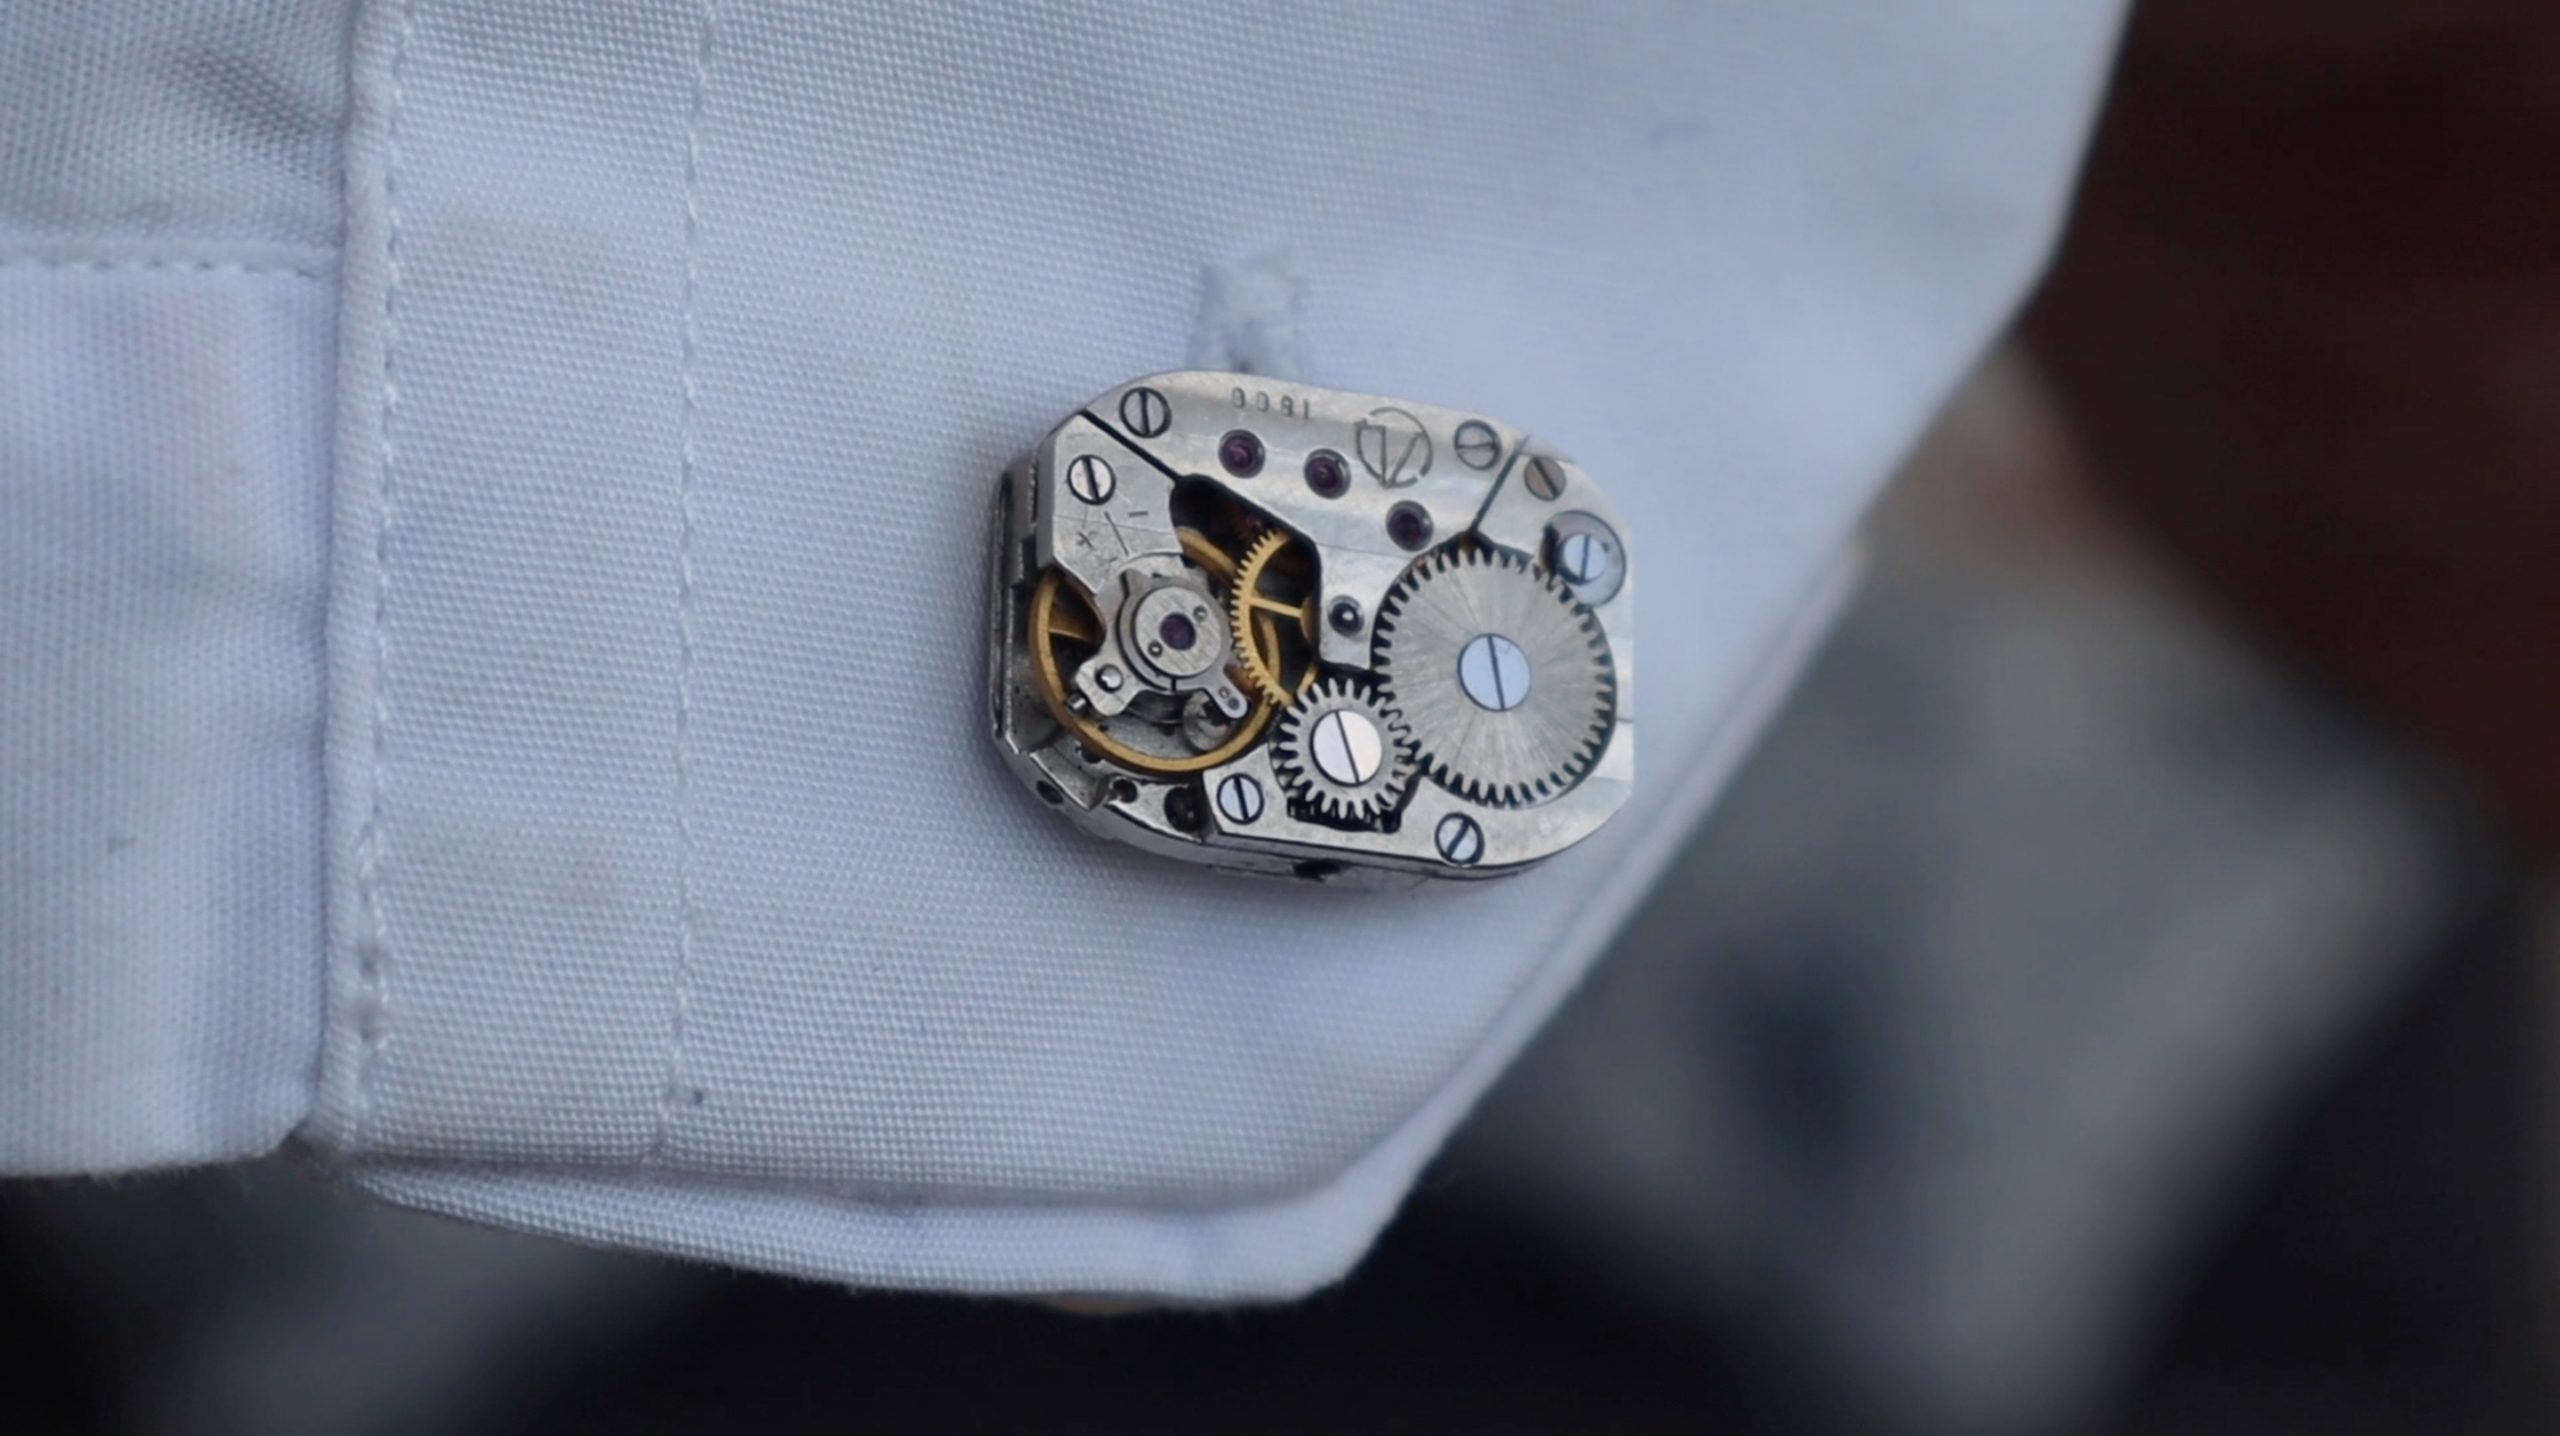
Allow the glue to dry or cure and your cufflinks are now ready to wear.
They also make a great gift, which you can complete by putting into a small cufflink jewellery box. Small wooden boxes are great and are often able to be laser engraved to personalise them.