My current file storage system is a bit of a mess. I save my current video editing libraries on an SSD, I dump the archived libraries along with photos and documents onto a larger capacity hard drive and I have a few other smaller drives for on-the-go use and some backups. Mixed in with some cloud storage, it’s difficult to keep track of what lives where and when last it was backed up.

So I could really do with a NAS or Network Attached Storage device. A NAS is essentially a small computer that is hooked up to one or more storage drives to act as a sort of file server on your network, allowing you to access your files from any device. It can also be set up to manage and automate backups, so you’ll be at much lower risk of data loss.

A Raspberry Pi can be used as that computer, so for this project, I’m going to see if I can build my own NAS that performs as well as a purpose-built NAS that I could buy online.
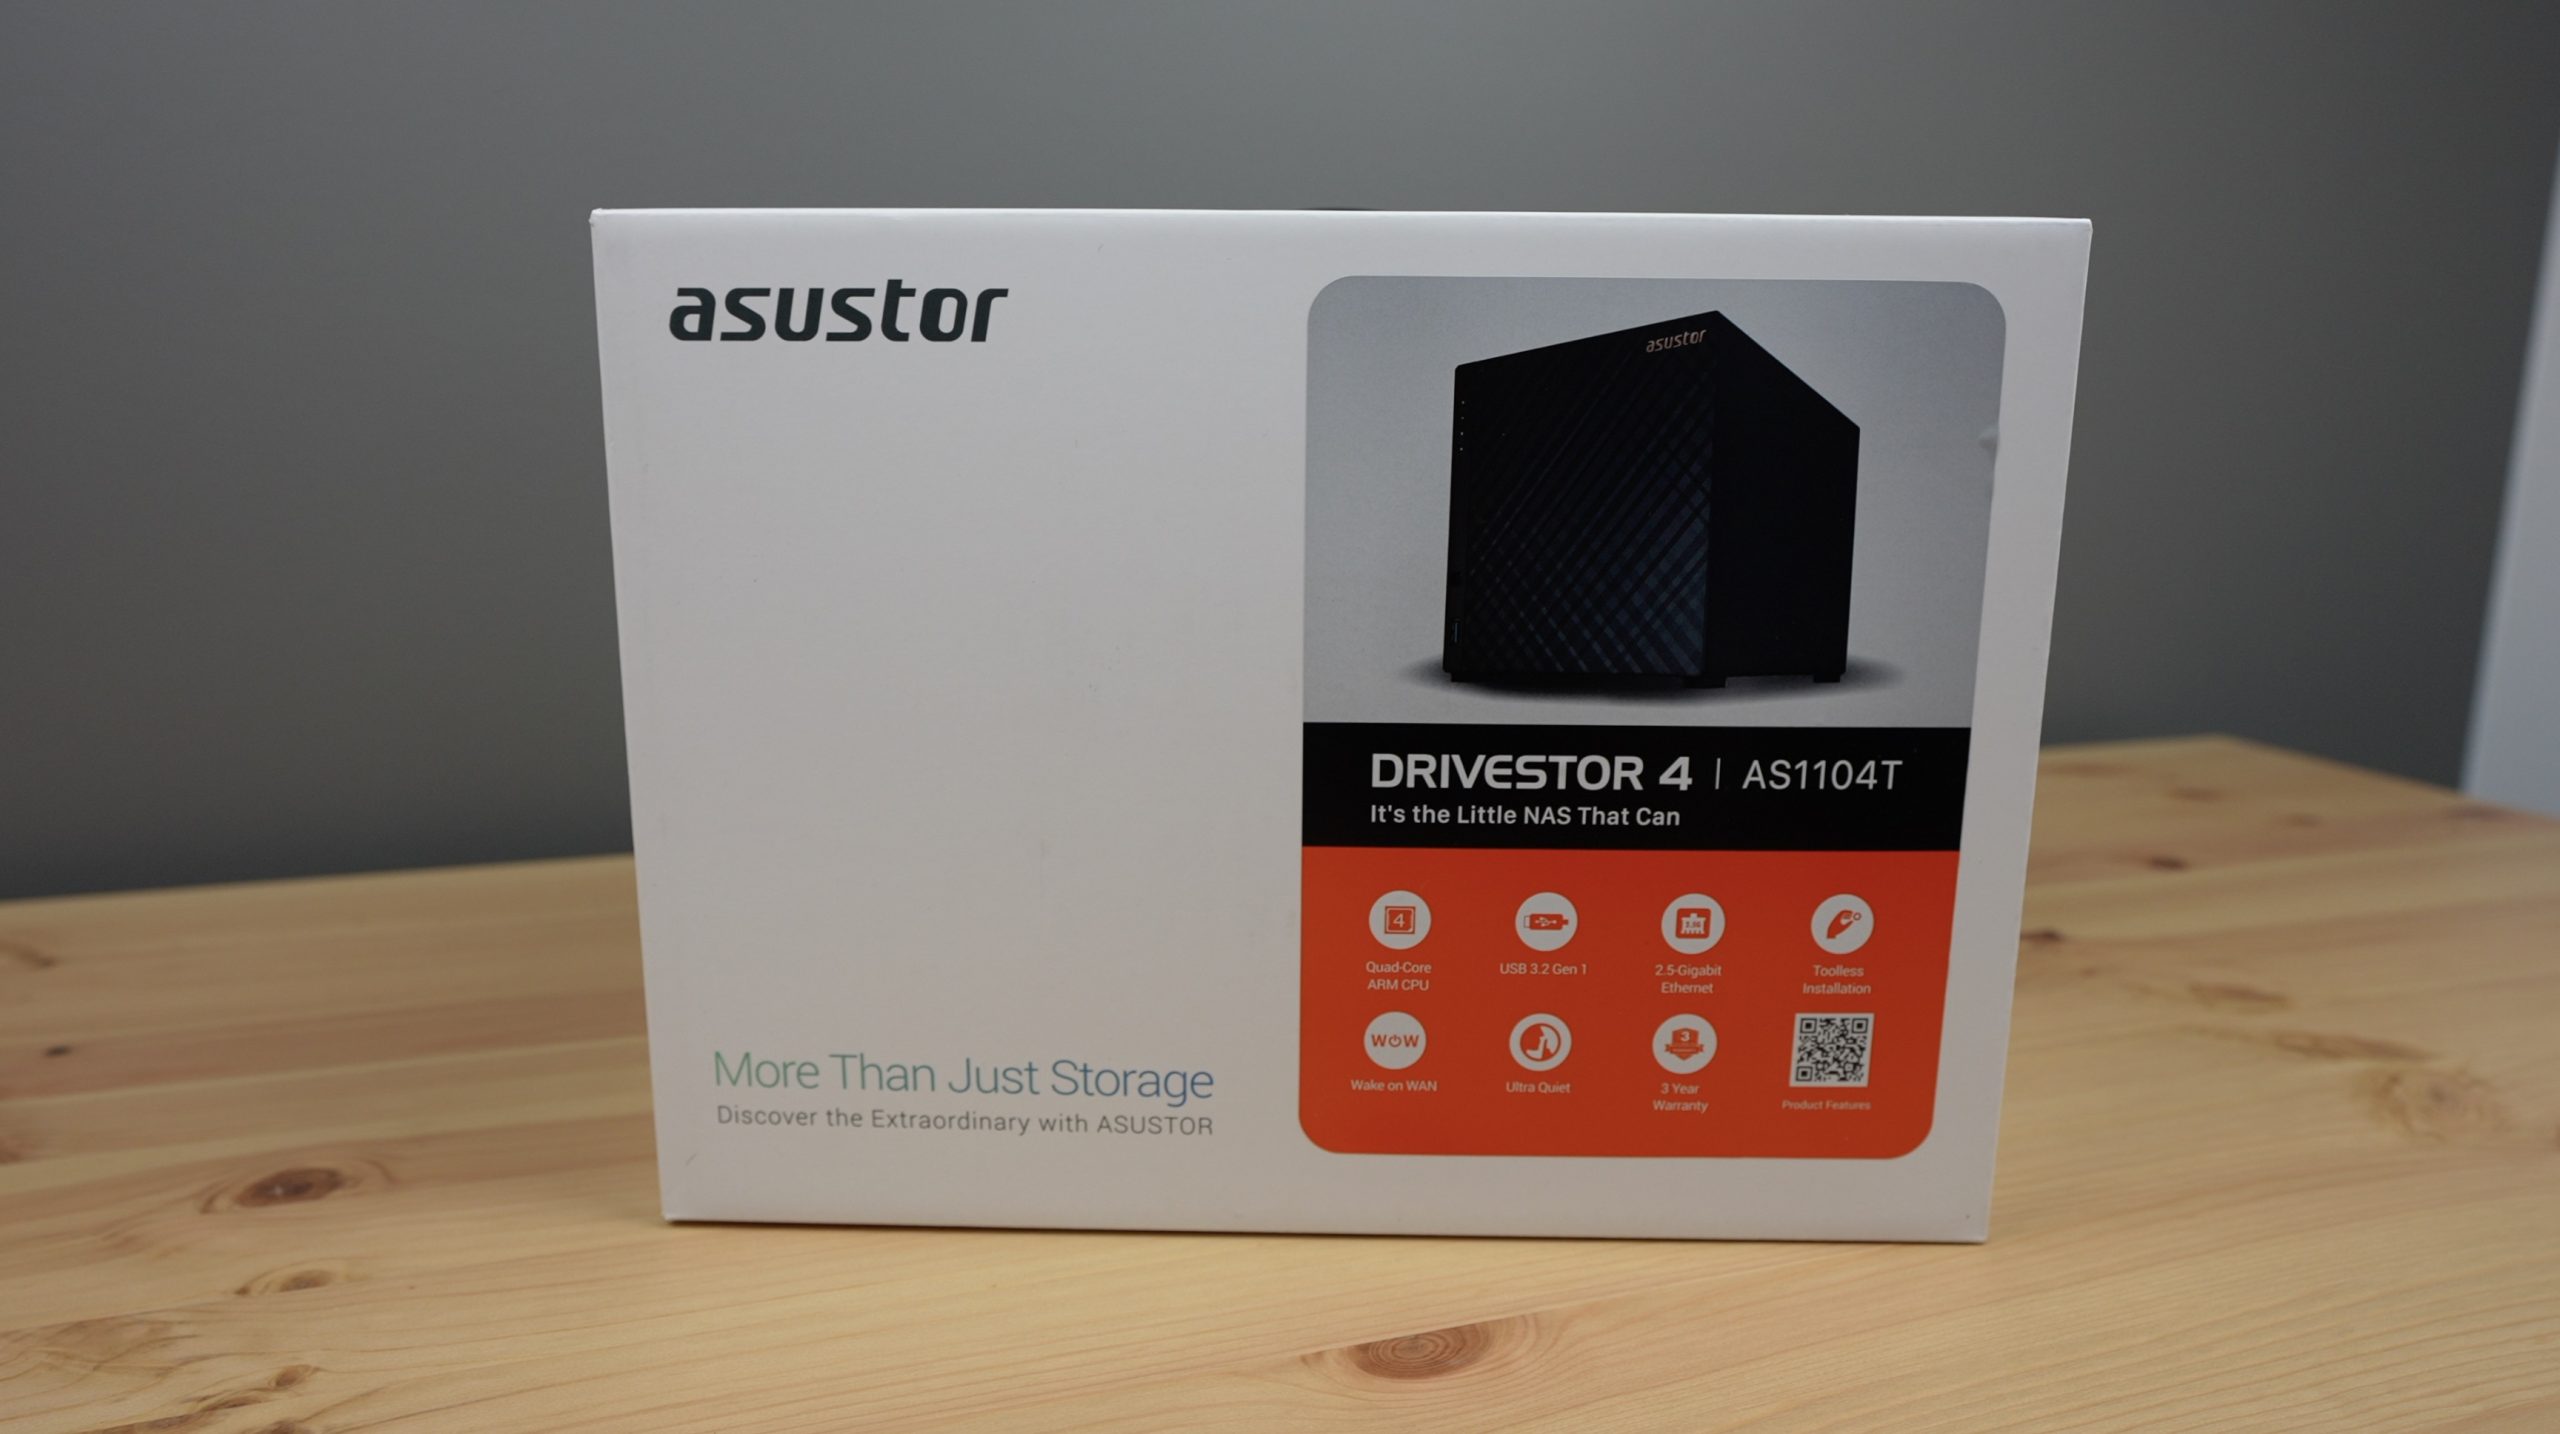
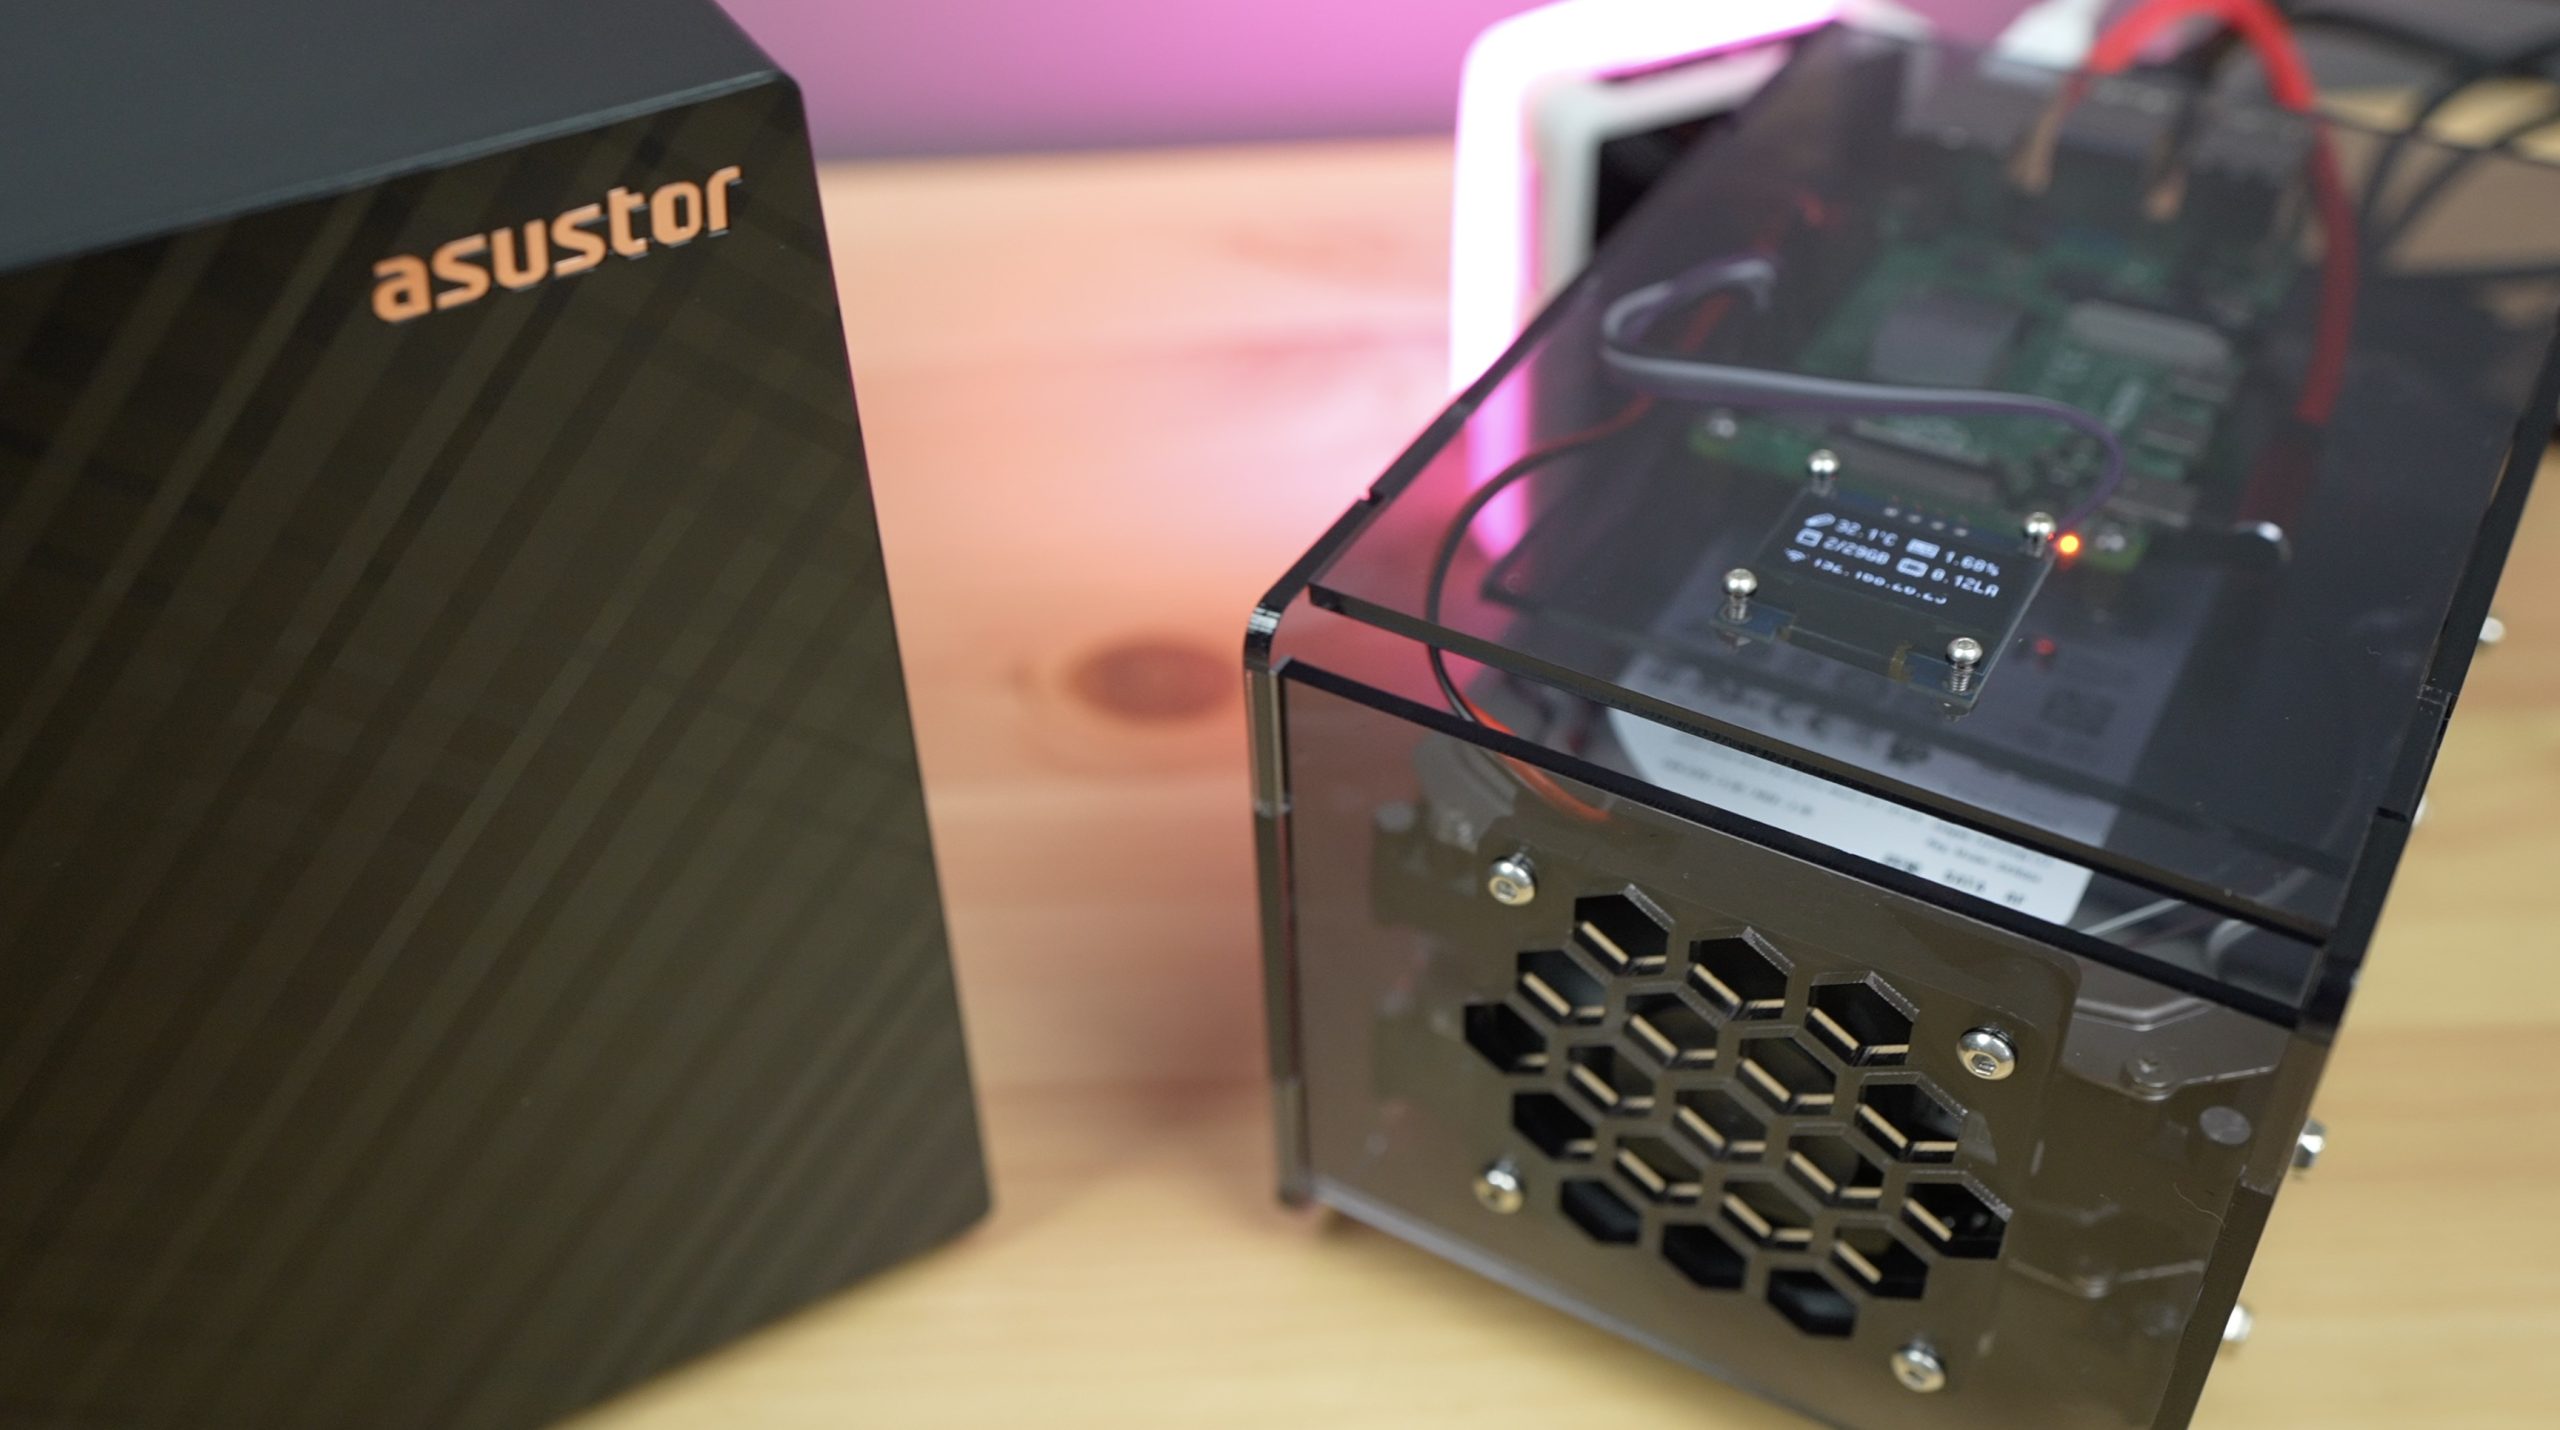
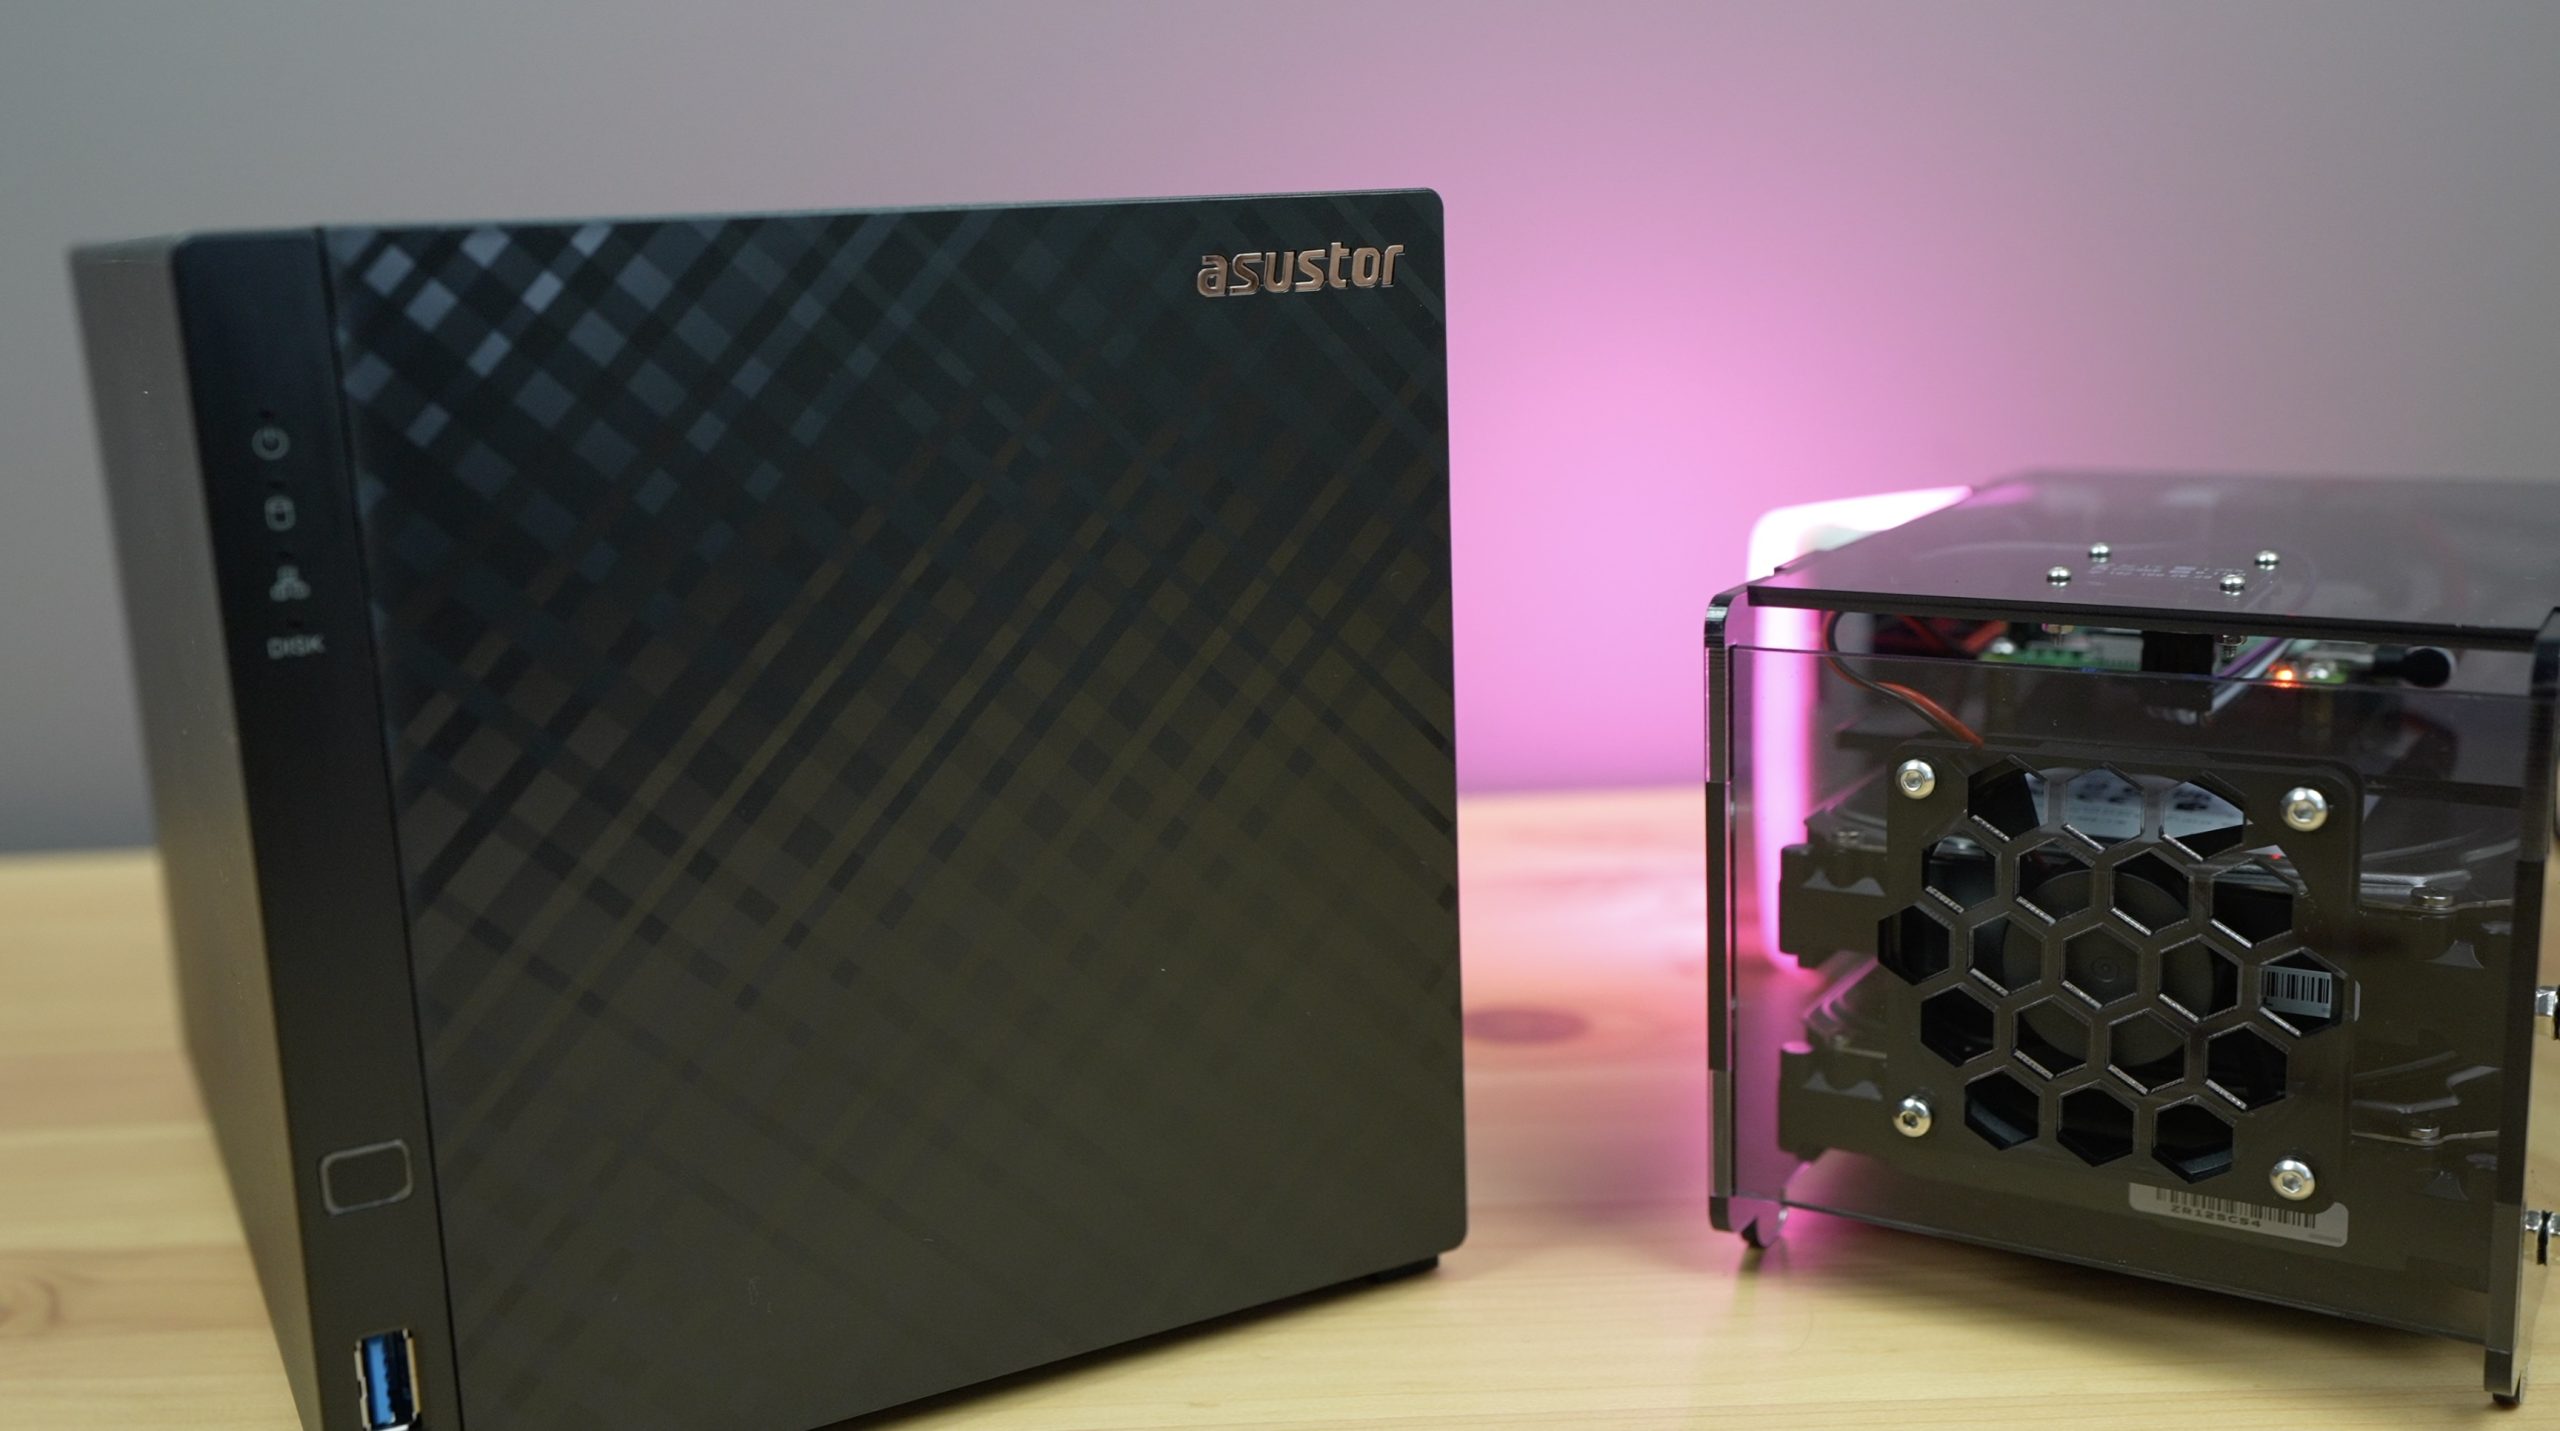
Asustor recently reached out and asked if I’d be interested in trying out one of their Drivestor NAS devices for a video. So we’re going to see how my Raspberry Pi NAS stacks up against their Drivestor 4.
Here’s my video of the build and comparison, read on for the write-up:
What You Need To Build Your Own NAS
Asustor Drivestor 4 NAS – Pre-built Option
- Drivestor 4 – Buy Here
Or
Raspberry Pi NAS – DIY Option
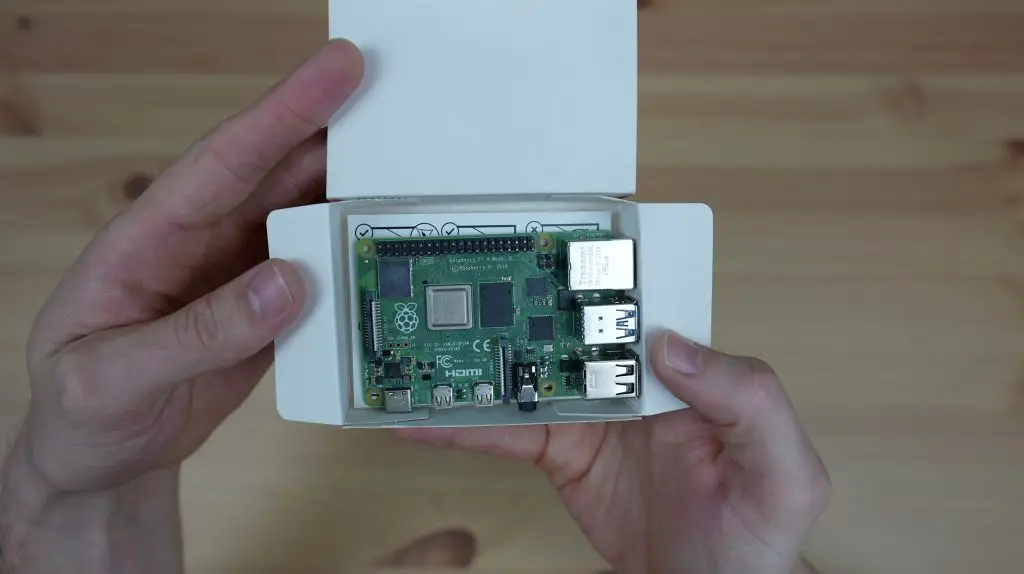
- Raspberry Pi 4B – Buy Here
- 2 x 6TB Seagate Ironwolf NAS Drives – Buy Here
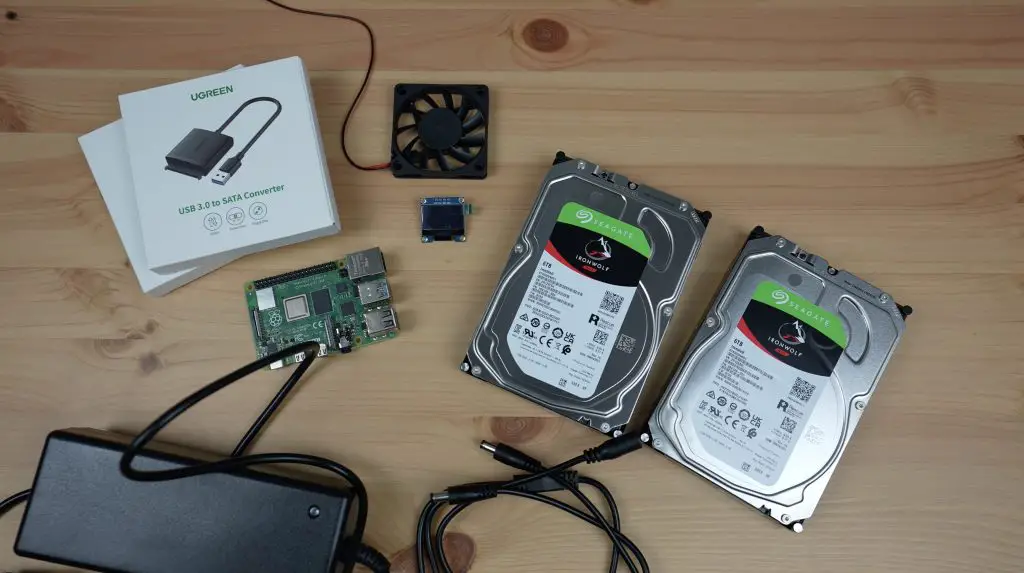
- 2 x USB 3.0 to SATA Adaptors – Buy Here
- 32GB MicroSD Card – Buy Here
- 5V Raspberry Pi Power Supply – Buy Here
- 12V 5A Power Supply – Buy Here
- 12V Barrel Jack Splitter – Buy Here
- 60mm Fan – Buy Here
- Aluminium Heatsink – Buy Here
- 0.96” I2C OLED Display – Buy Here
- 4 Wire Jumper Cable – Buy Here
- 3mm Tinted Acrylic Sheets – Buy Here
- M3 Screw Set – Buy Here
- M2.5 Screw Set – Buy Here
- M2.5 x 6mm Brass Standoffs – Buy Here
- M2 Screw Set – Buy Here
- #6-32 UNC Screws – Buy Here
Equipment Used
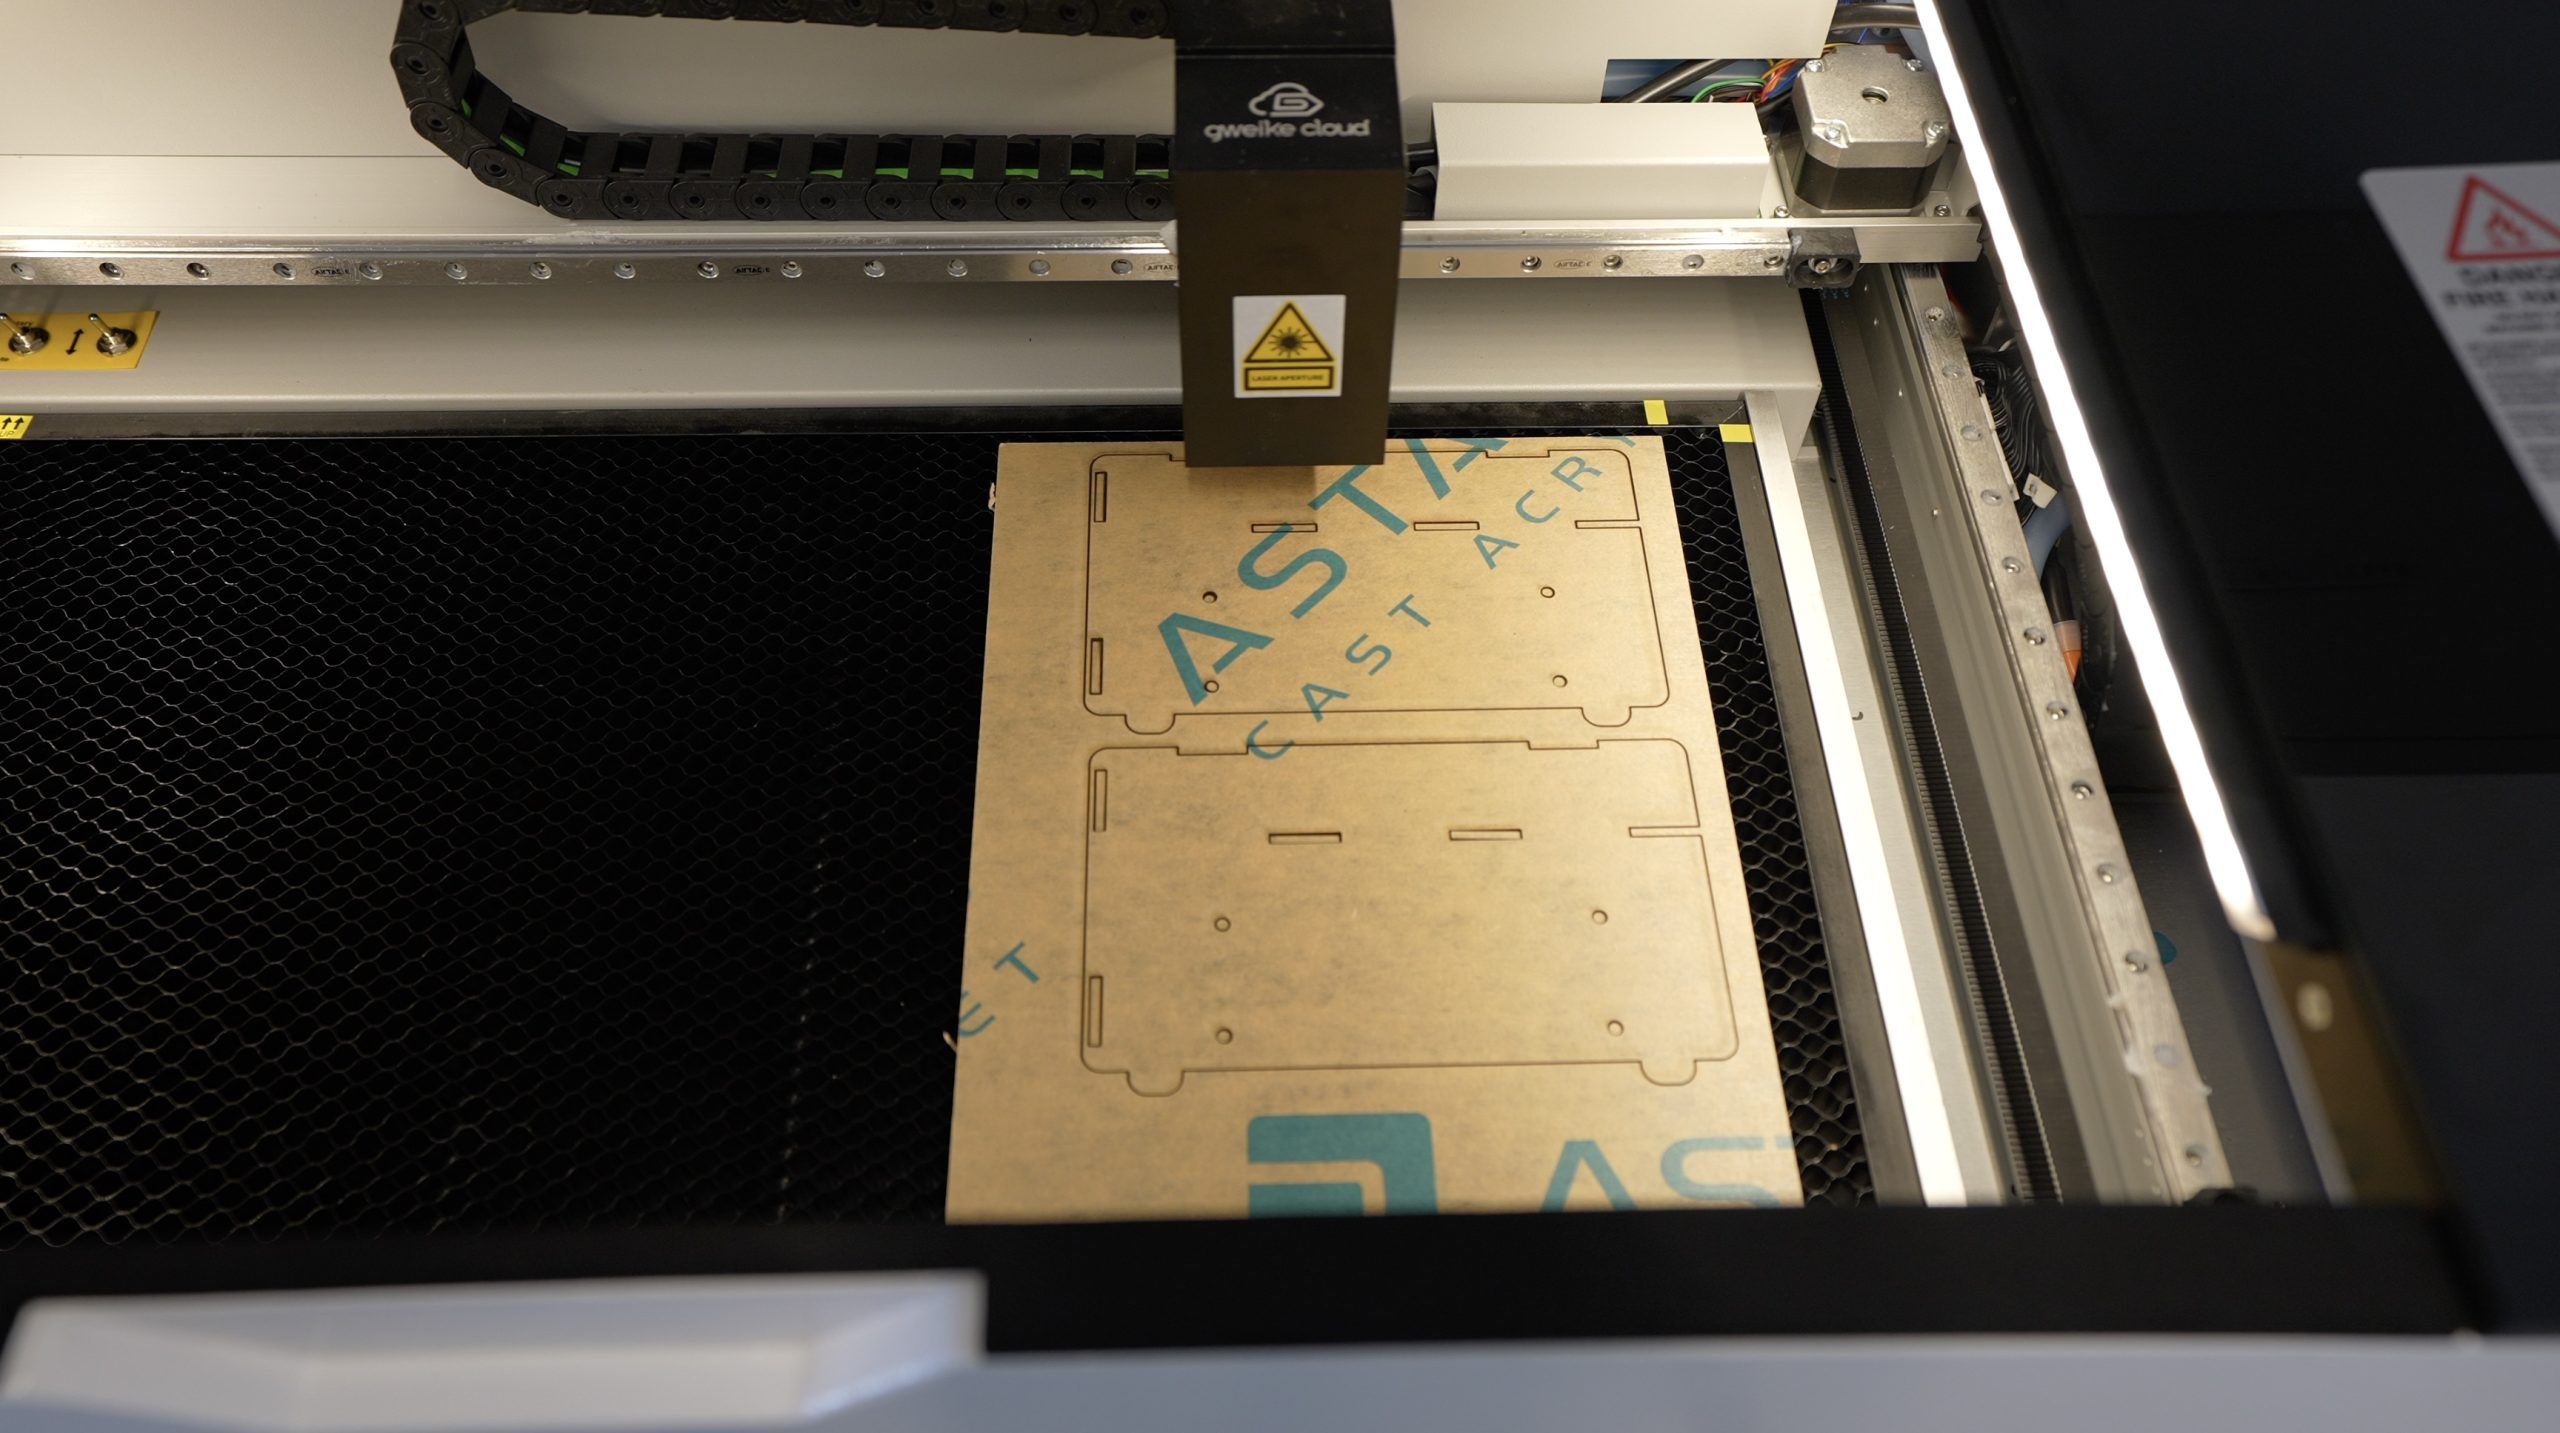
- Gweike Cloud Laser Cutter – Buy Here
- Get $100 off the Gweike Cloud Laser by entering MK100 on checkout
- QNAP Q5W 2.5G Switch – Buy Here
- 2.5G Ethernet Adaptor – Buy Here
- USB C Screwdriver Set – Buy Here
- Power Meter – Buy Here
Some of the above parts are affiliate links. By purchasing products through the above links, you’ll be supporting this channel, at no additional cost to you.
Let’s Take A Look At The Two Contenders
So we already know that we’re going to be comparing an Asustor Drivestor with a Raspberry Pi NAS, but let’s take a look at the details of each and what criteria we’re going to be using to compare them.
Their Drivestore 4 NAS is available in two versions, a standard version and a pro version. The standard version has a Realtek Quad-Core 1.4Ghz ARM64 CPU, 1GB of DDR4 RAM and 8GB of eMMC storage. It’s got 4 drive bays for 3.5″ SATA drives, 2 USB 3.2 Gen 1 ports and 2.5 gig Ethernet. The pro version has the same CPU and eMMC storage but with an extra 1GB of RAM, an extra USB 3.2 Gen 1 port and support for 2.5″ SATA drives as well – so you could use it with SSDs if you’d like to.
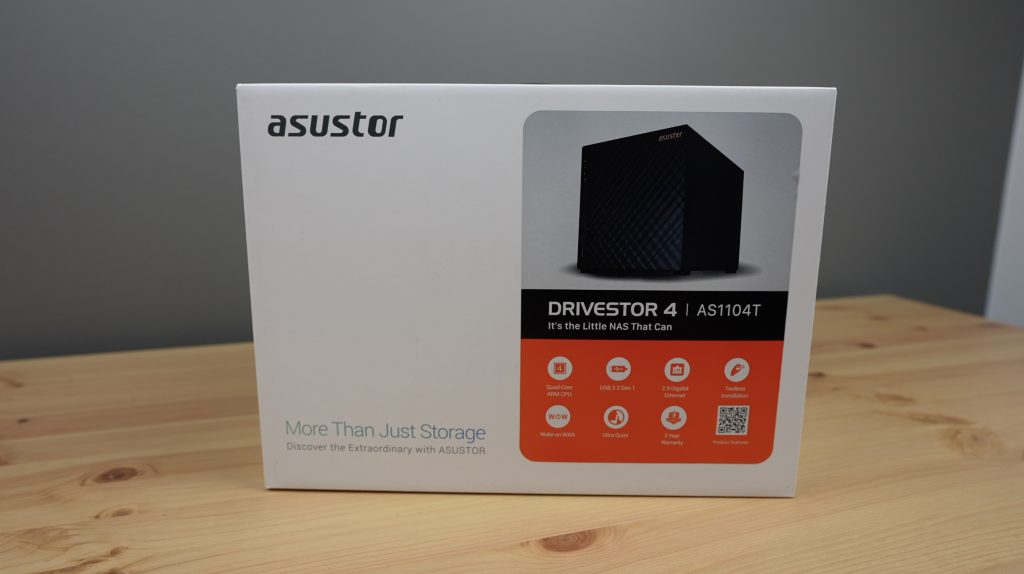
I’ve gone with the standard version as a more fair comparison with the Raspberry Pi NAS as it’s closer in price to the Pi hardware, being a little under $300.
For the drives, Seagate were kind enough to send through four of their 6TB Ironwolf NAS drives to try out.
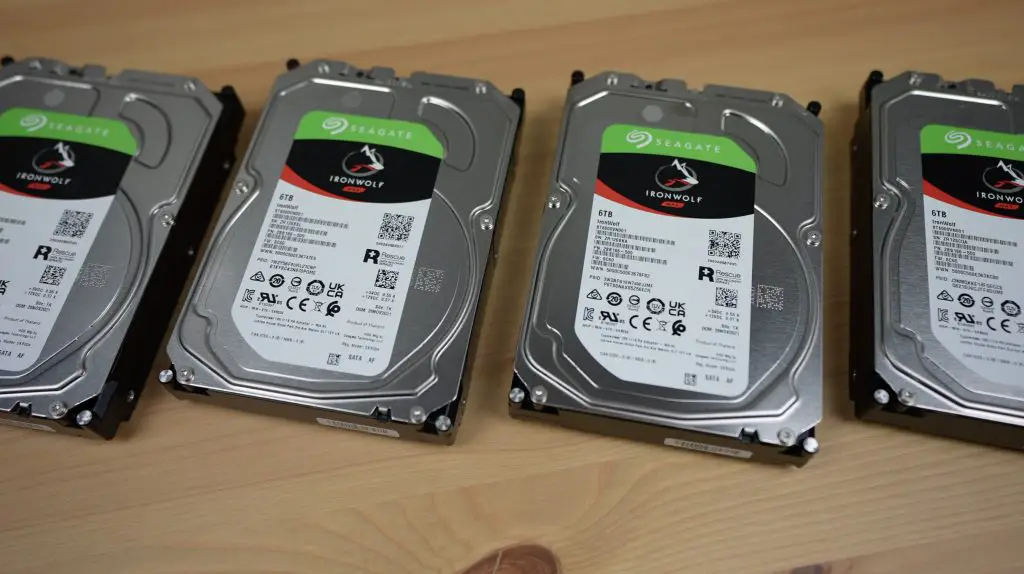
One thing that is quite important for a long-term NAS build is making sure that you’re using the correct storage hardware. Drives are usually a significant part of the cost of a NAS, so you might be tempted to go with lower-cost standard desktop drives, but there are important differences between the two. NAS drives are designed to run continuously, 24 hours a day 7 days a week, with a higher workload rate and a higher Mean Time Between Failures (MTBF). For example, desktop drives are typically designed for an average workload of around 55TB/yr, whereas these Ironwolf drives have an average workload of 180TB/year. They also have an MTBF of one million hours, a figure that isn’t usually even shown for desktop drives. In addition to this, NAS drives are designed to be nested closely together, so they resist heat and vibration better than standard desktop drives. So it’s well worth spending the extra money for purpose-built NAS drives to suit the application.
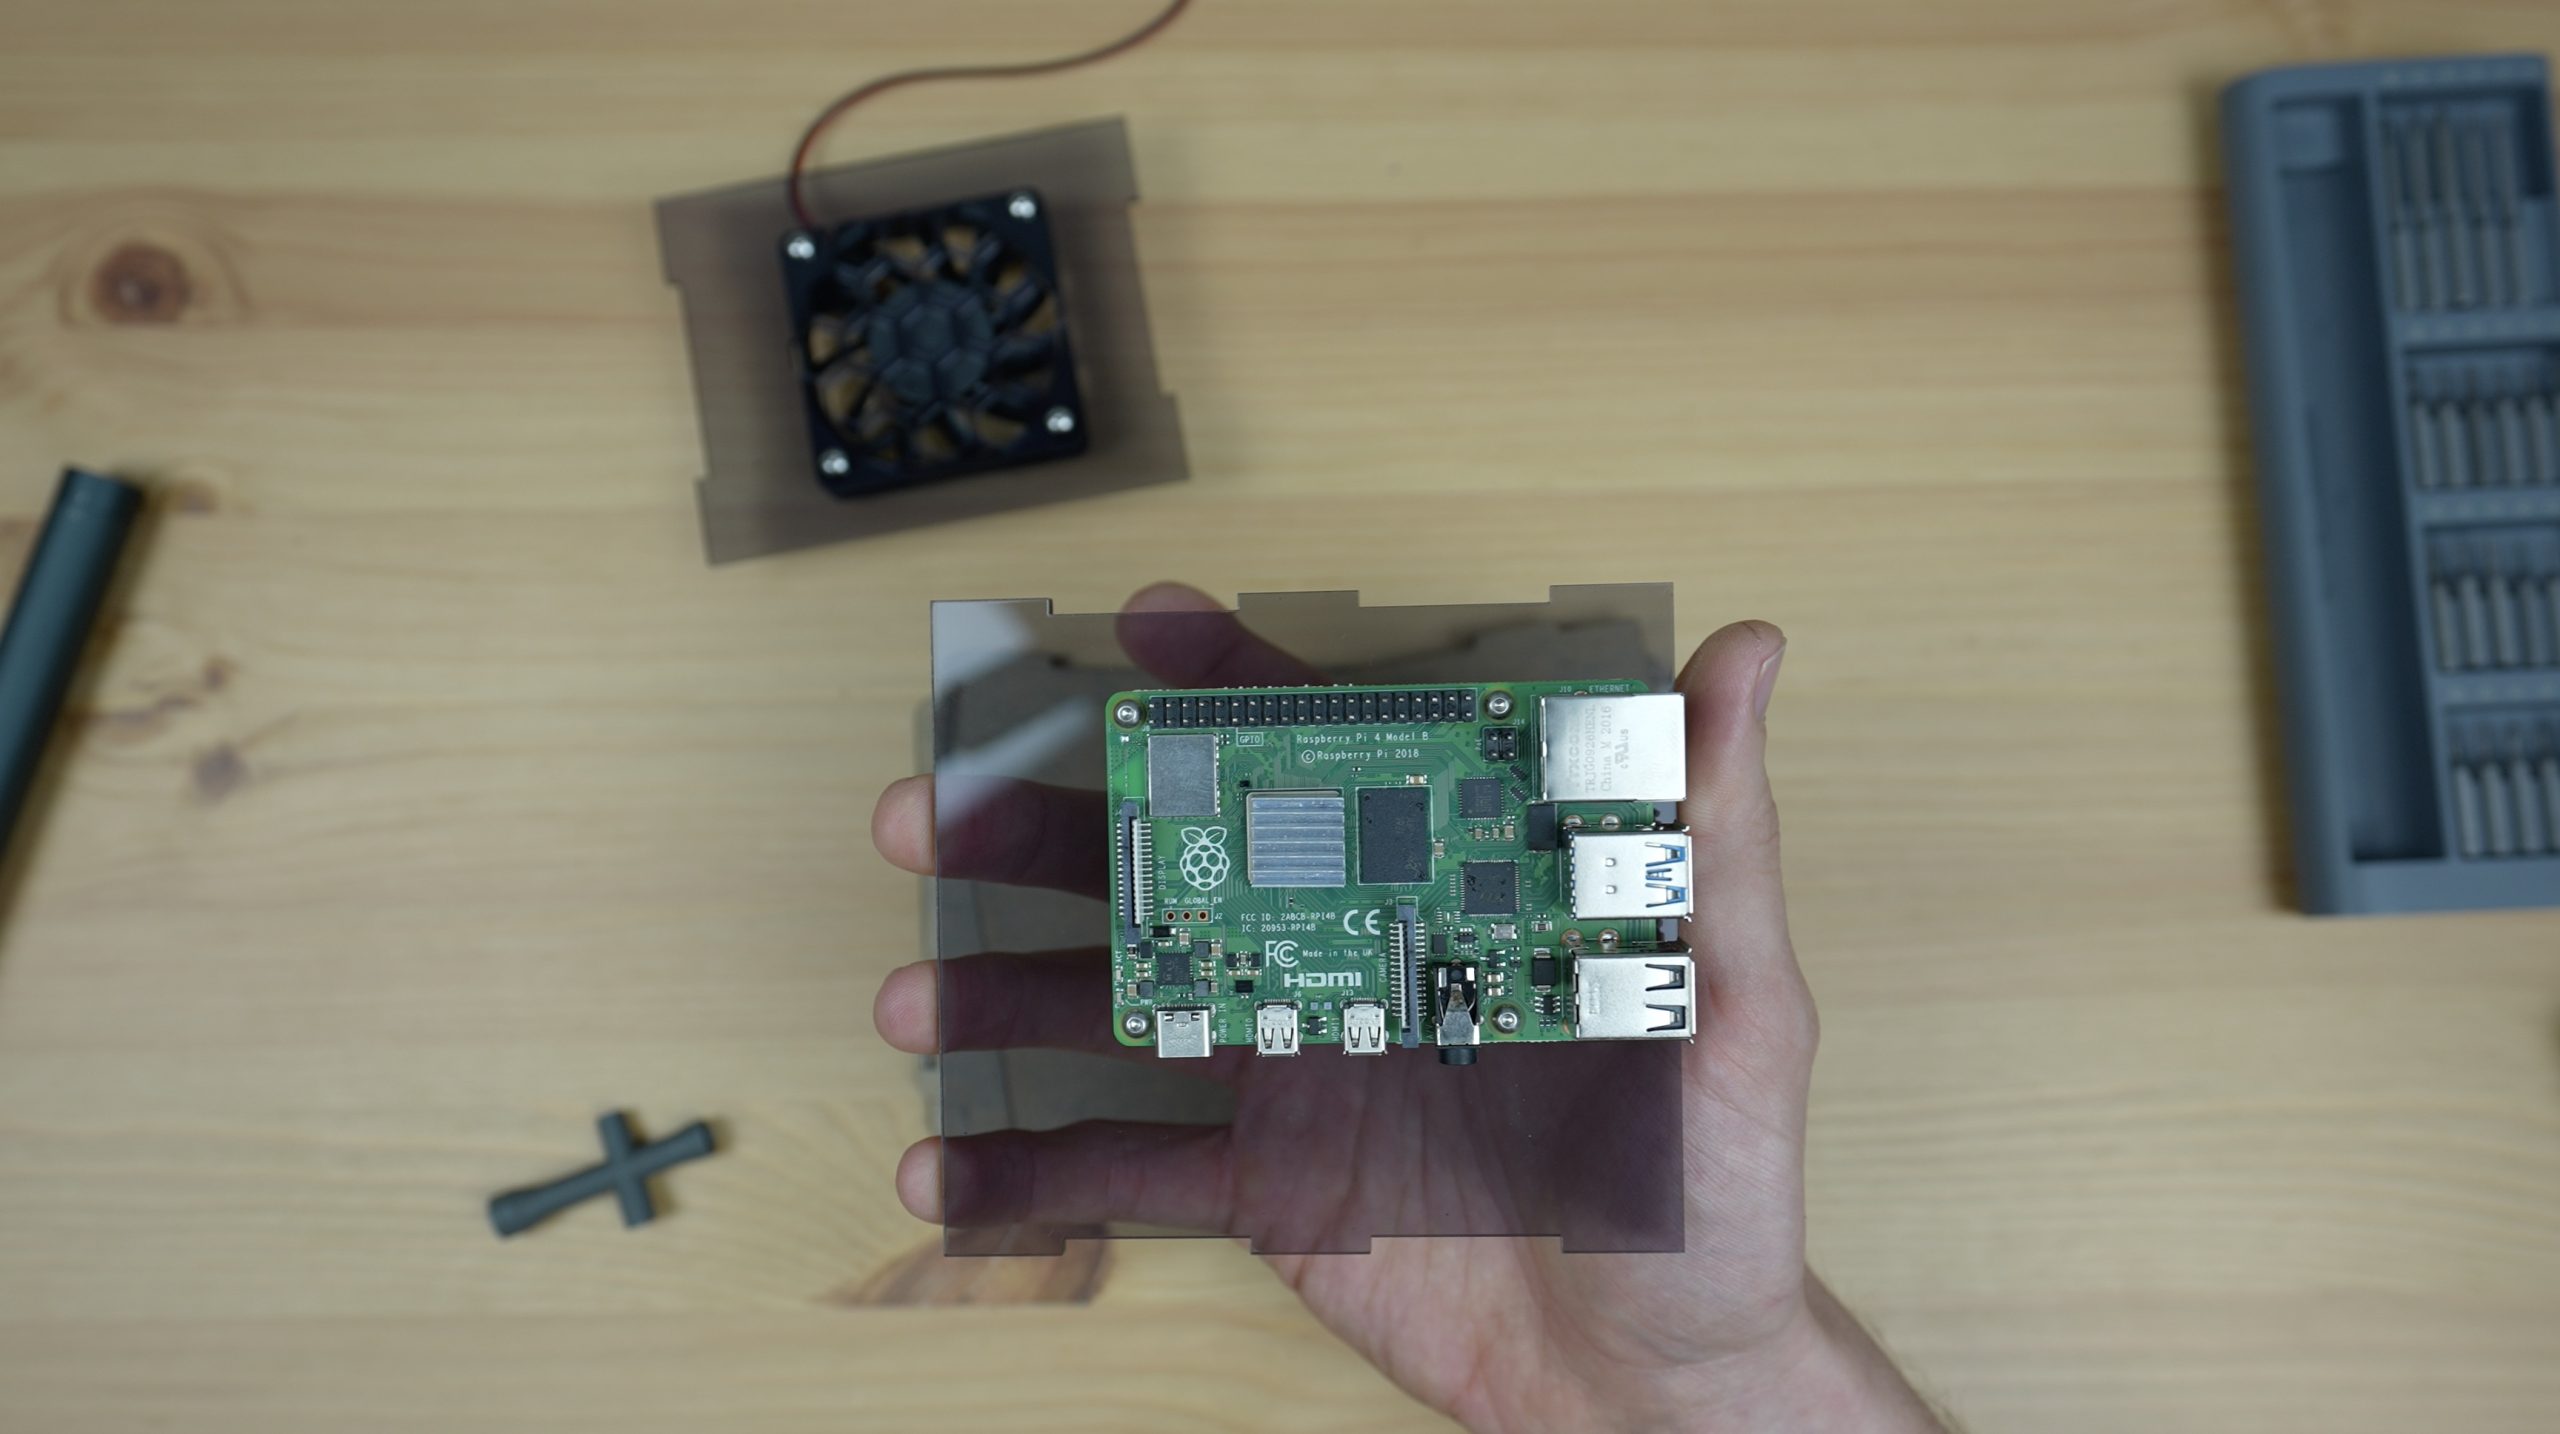
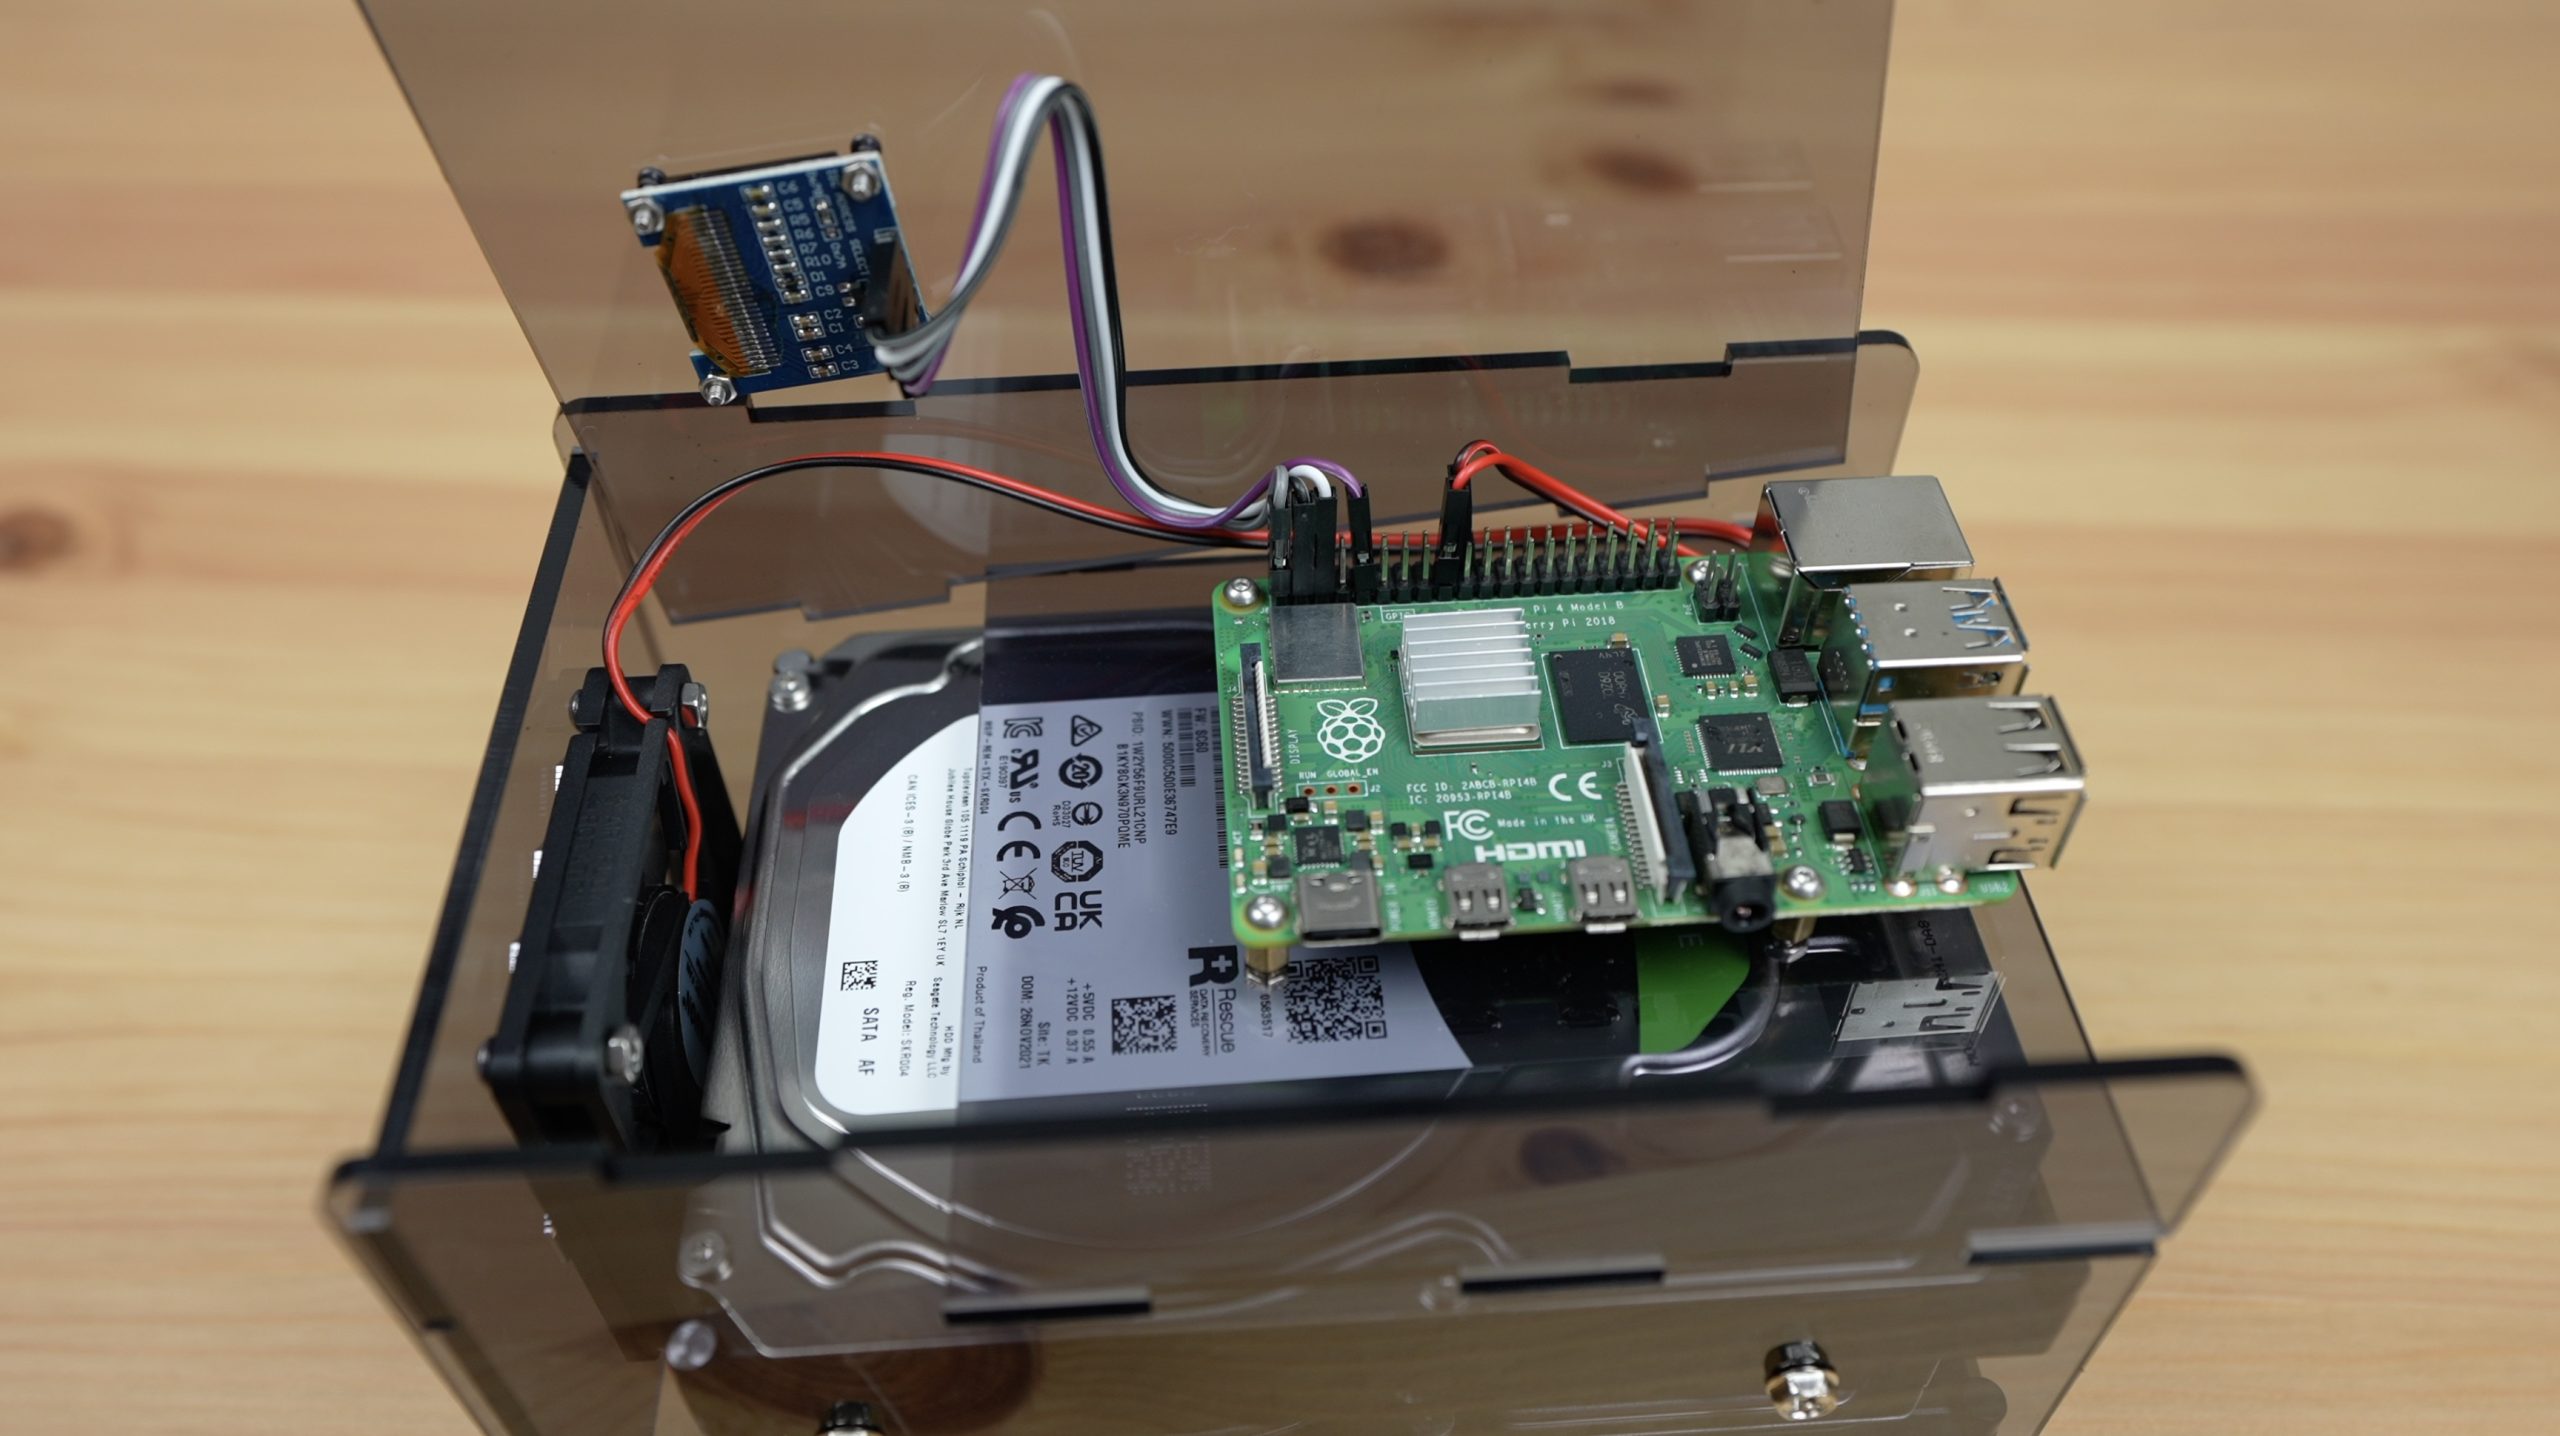
For my Raspberry Pi NAS, I’m going to be using an 8GB Raspberry Pi 4B. This has a 1.5Ghz quad-core ARM Cortex-A72 CPU, 8GB of DDR4 RAM and 32GB of storage through a microSD card. It’s also got 2 USB 3.0 ports which we’ll be able to connect our drives to, 2 USB 2.0 ports for slower devices, and gigabit Ethernet.
Because we’ve only got two USB 3.0 ports on the Raspberry Pi, I’m only going to connect two drives to it. Alternately we could also use a USB hub as the ports on the Pi all share a PCIe lane anyway, but we’d still be limited to the maximum bandwidth of this lane, which I think is 4 Gbps.

I’m going to use two USB 3.0 to SATA adaptors to connect the drives to my Pi and we’ll need to provide external power to them using a 12V adaptor and a barrel jack splitter. I’ll also need another power supply for the Pi as this runs on 5V. I could power the Pi from the 12V supply as well, but I’d need to add another splitter and a step-down converter from 12V to 5V. I’m going to add a small OLED display which will be used to display some metrics and the NAS’ IP address. And finally, to cool the Pi and drives I’m going to use a 60mm fan which I’ll power from the Pi’s GPIO pins.
How Are We Going To Compare Them?
In order to decide which NAS is better at the end, we need to establish some criteria to asses them against. I decided on five criteria based on how a NAS would typically be bought and used for a home or small office application – the overall cost, ease of use, reliability, power consumption and performance.
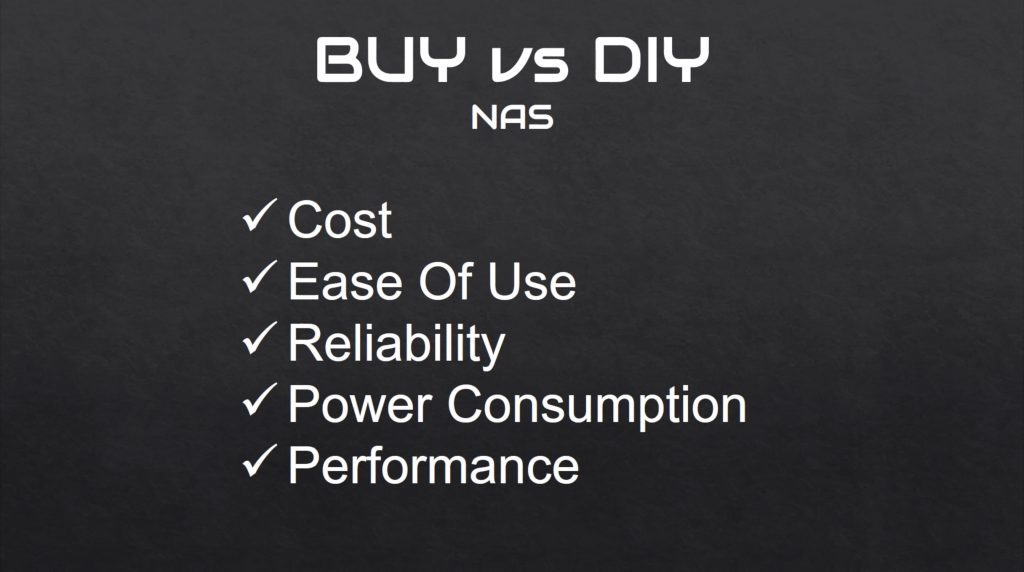
At the end of the build, I’ll compare the two solutions against these criteria to see which is the better solution.
Building The Raspberry Pi NAS
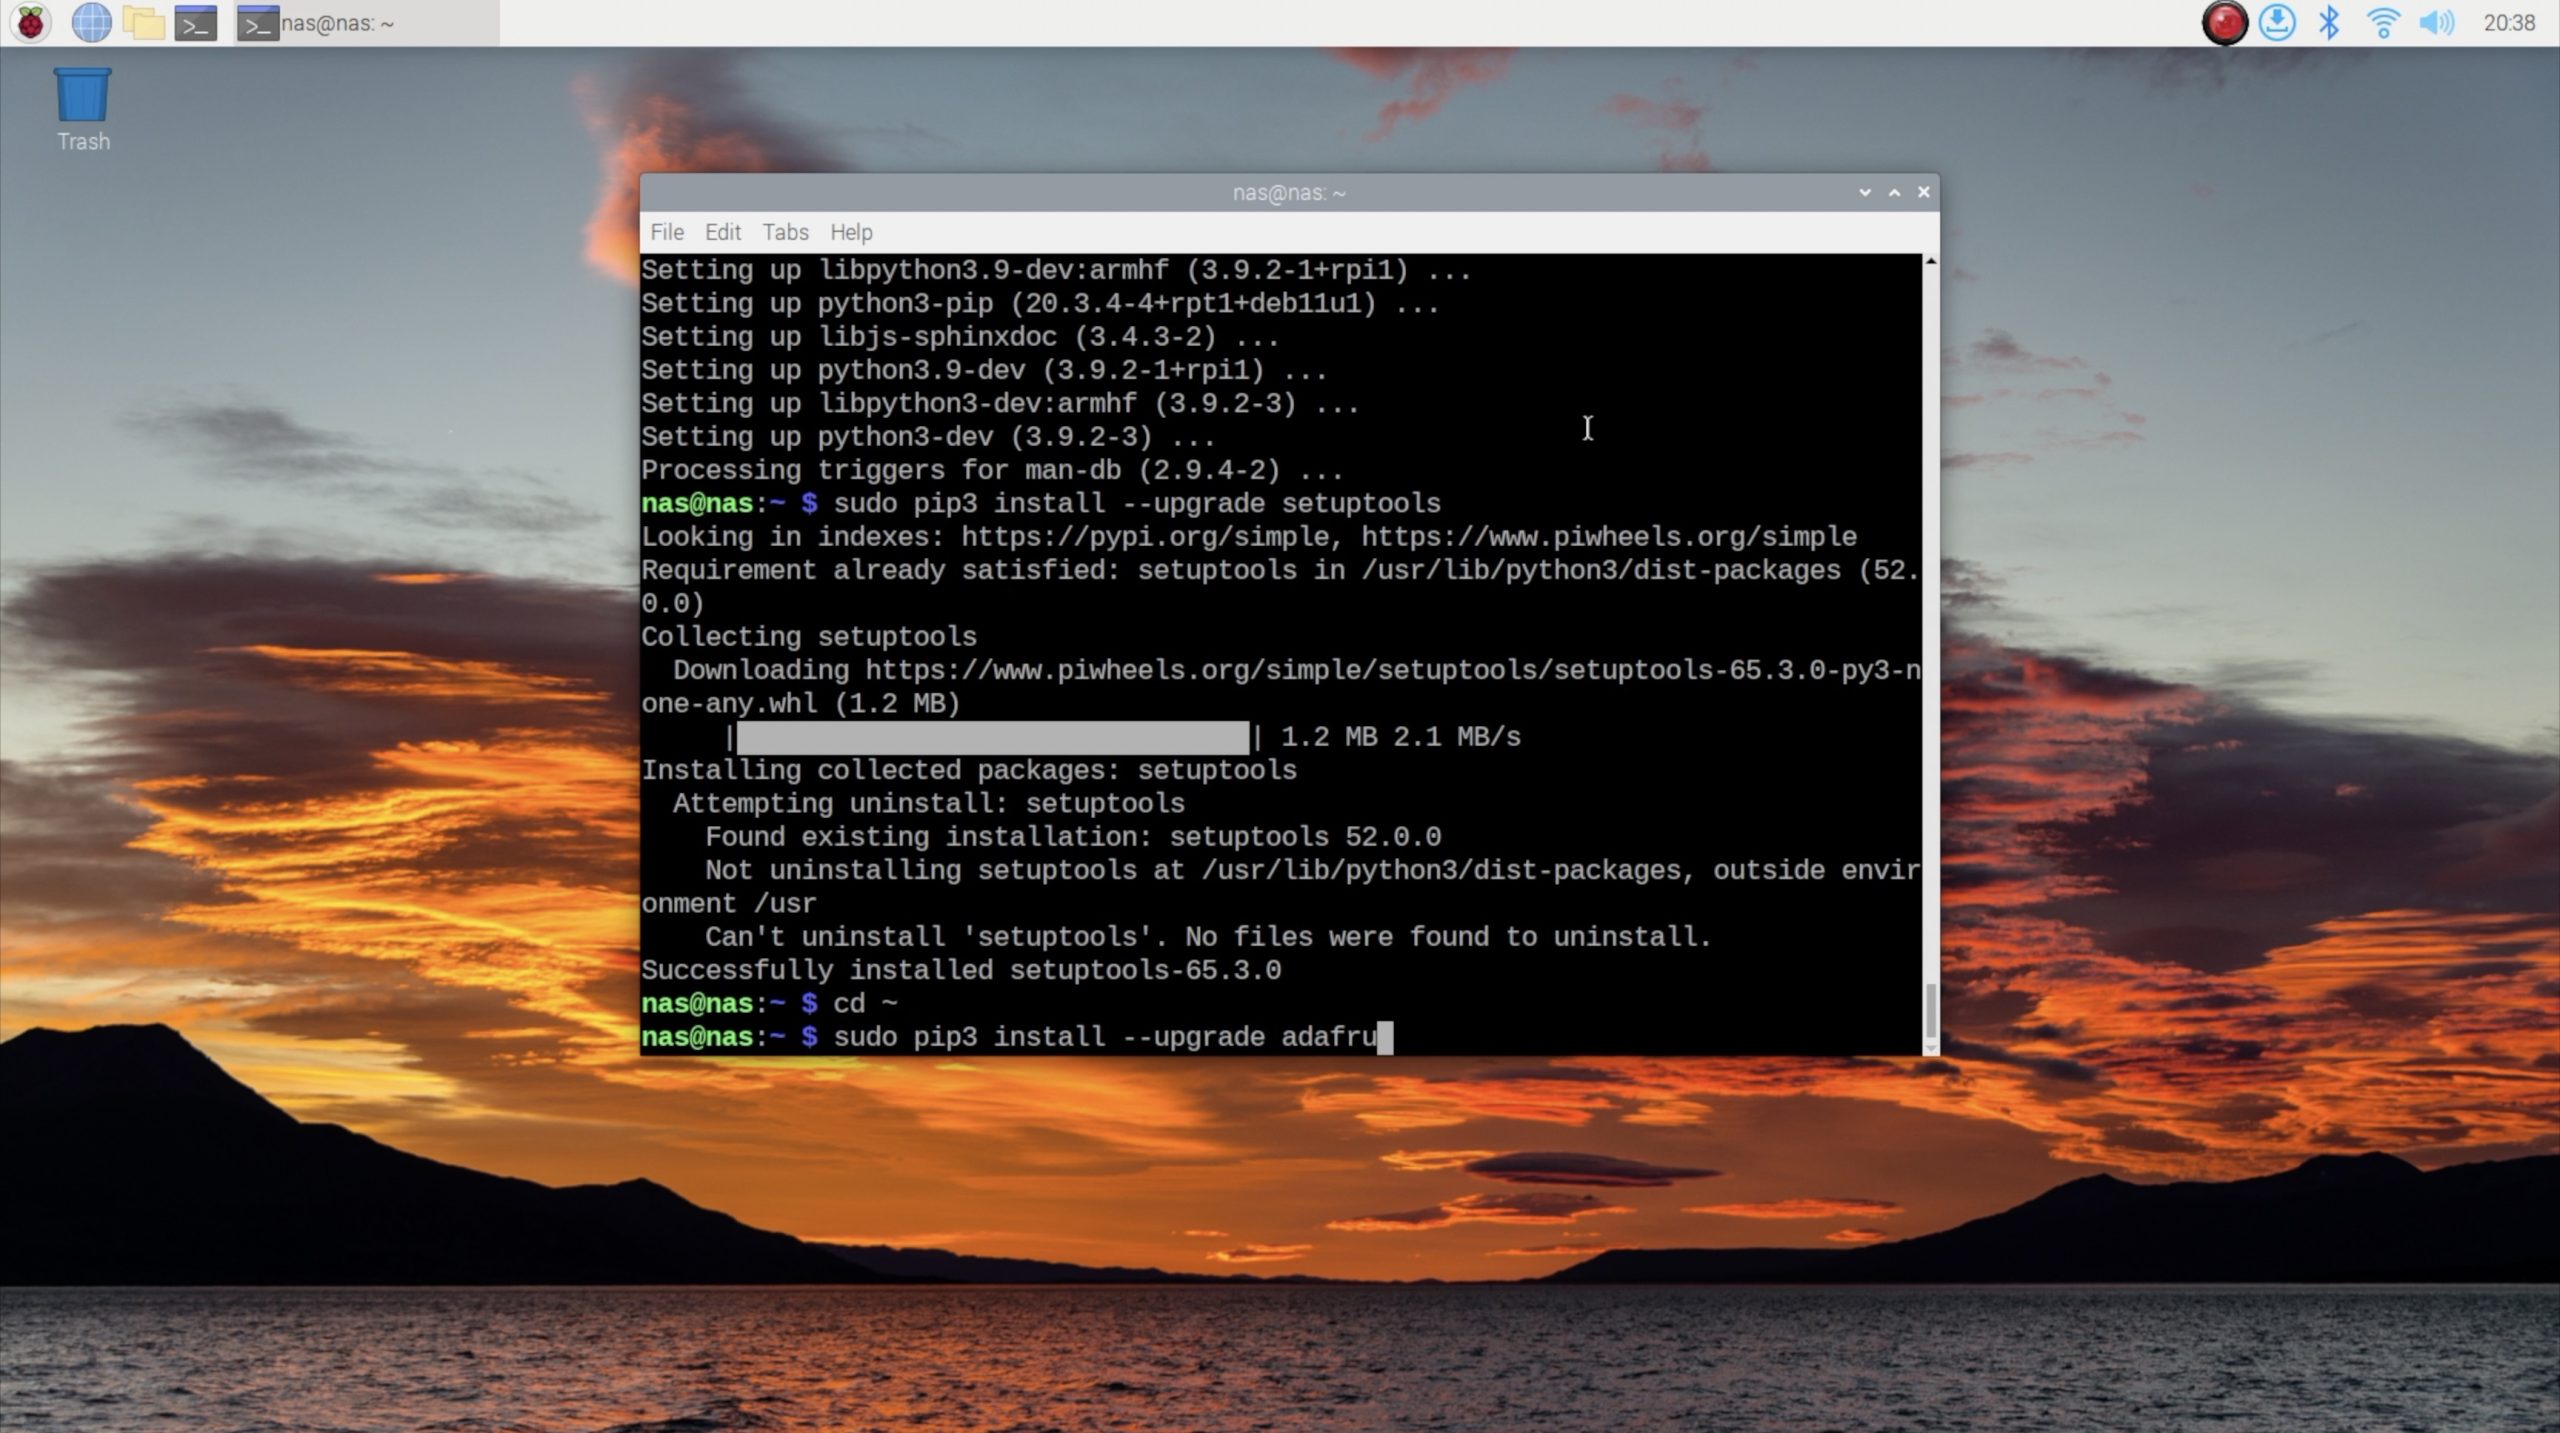
Building the Raspberry Pi NAS was quite a lengthy process in itself, so rather than extend the length of this comparison, I have separated the build guide. This allows me to include more detail in the guide so that you can easily follow along and build your own NAS if you’d like to.
The build essentially involved designing an enclosure, mounting the previously listed hardware into it and then installing Open Media Vault (OMV).

Testing The Raspberry Pi NAS
I’ve prepared three test files to use on both NAS setups, a 11.7GB video, a 1GB disk image and a 1GB folder of saved Arduino code with 4000 smaller files in 1300 folders. For each file, I’ll test the time taken to write the file to the NAS and then to read it from the NAS, and I’ll do this three times for each and take the average.
Copying the single large video file across to the NAS, I got an average write speed of 80.3 MBps. Copying the same file from the NAS, I get an average read speed of 94.5 MBps.
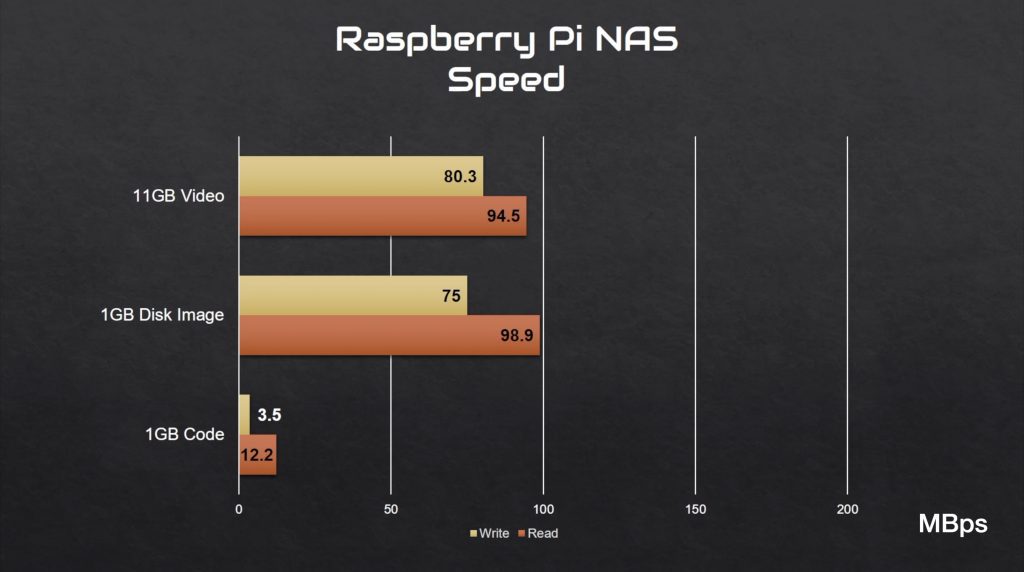
For the disk image, I got a slightly slower write speed, but a faster read speed. For the Arduino code, I got substantially slower read and write speeds.
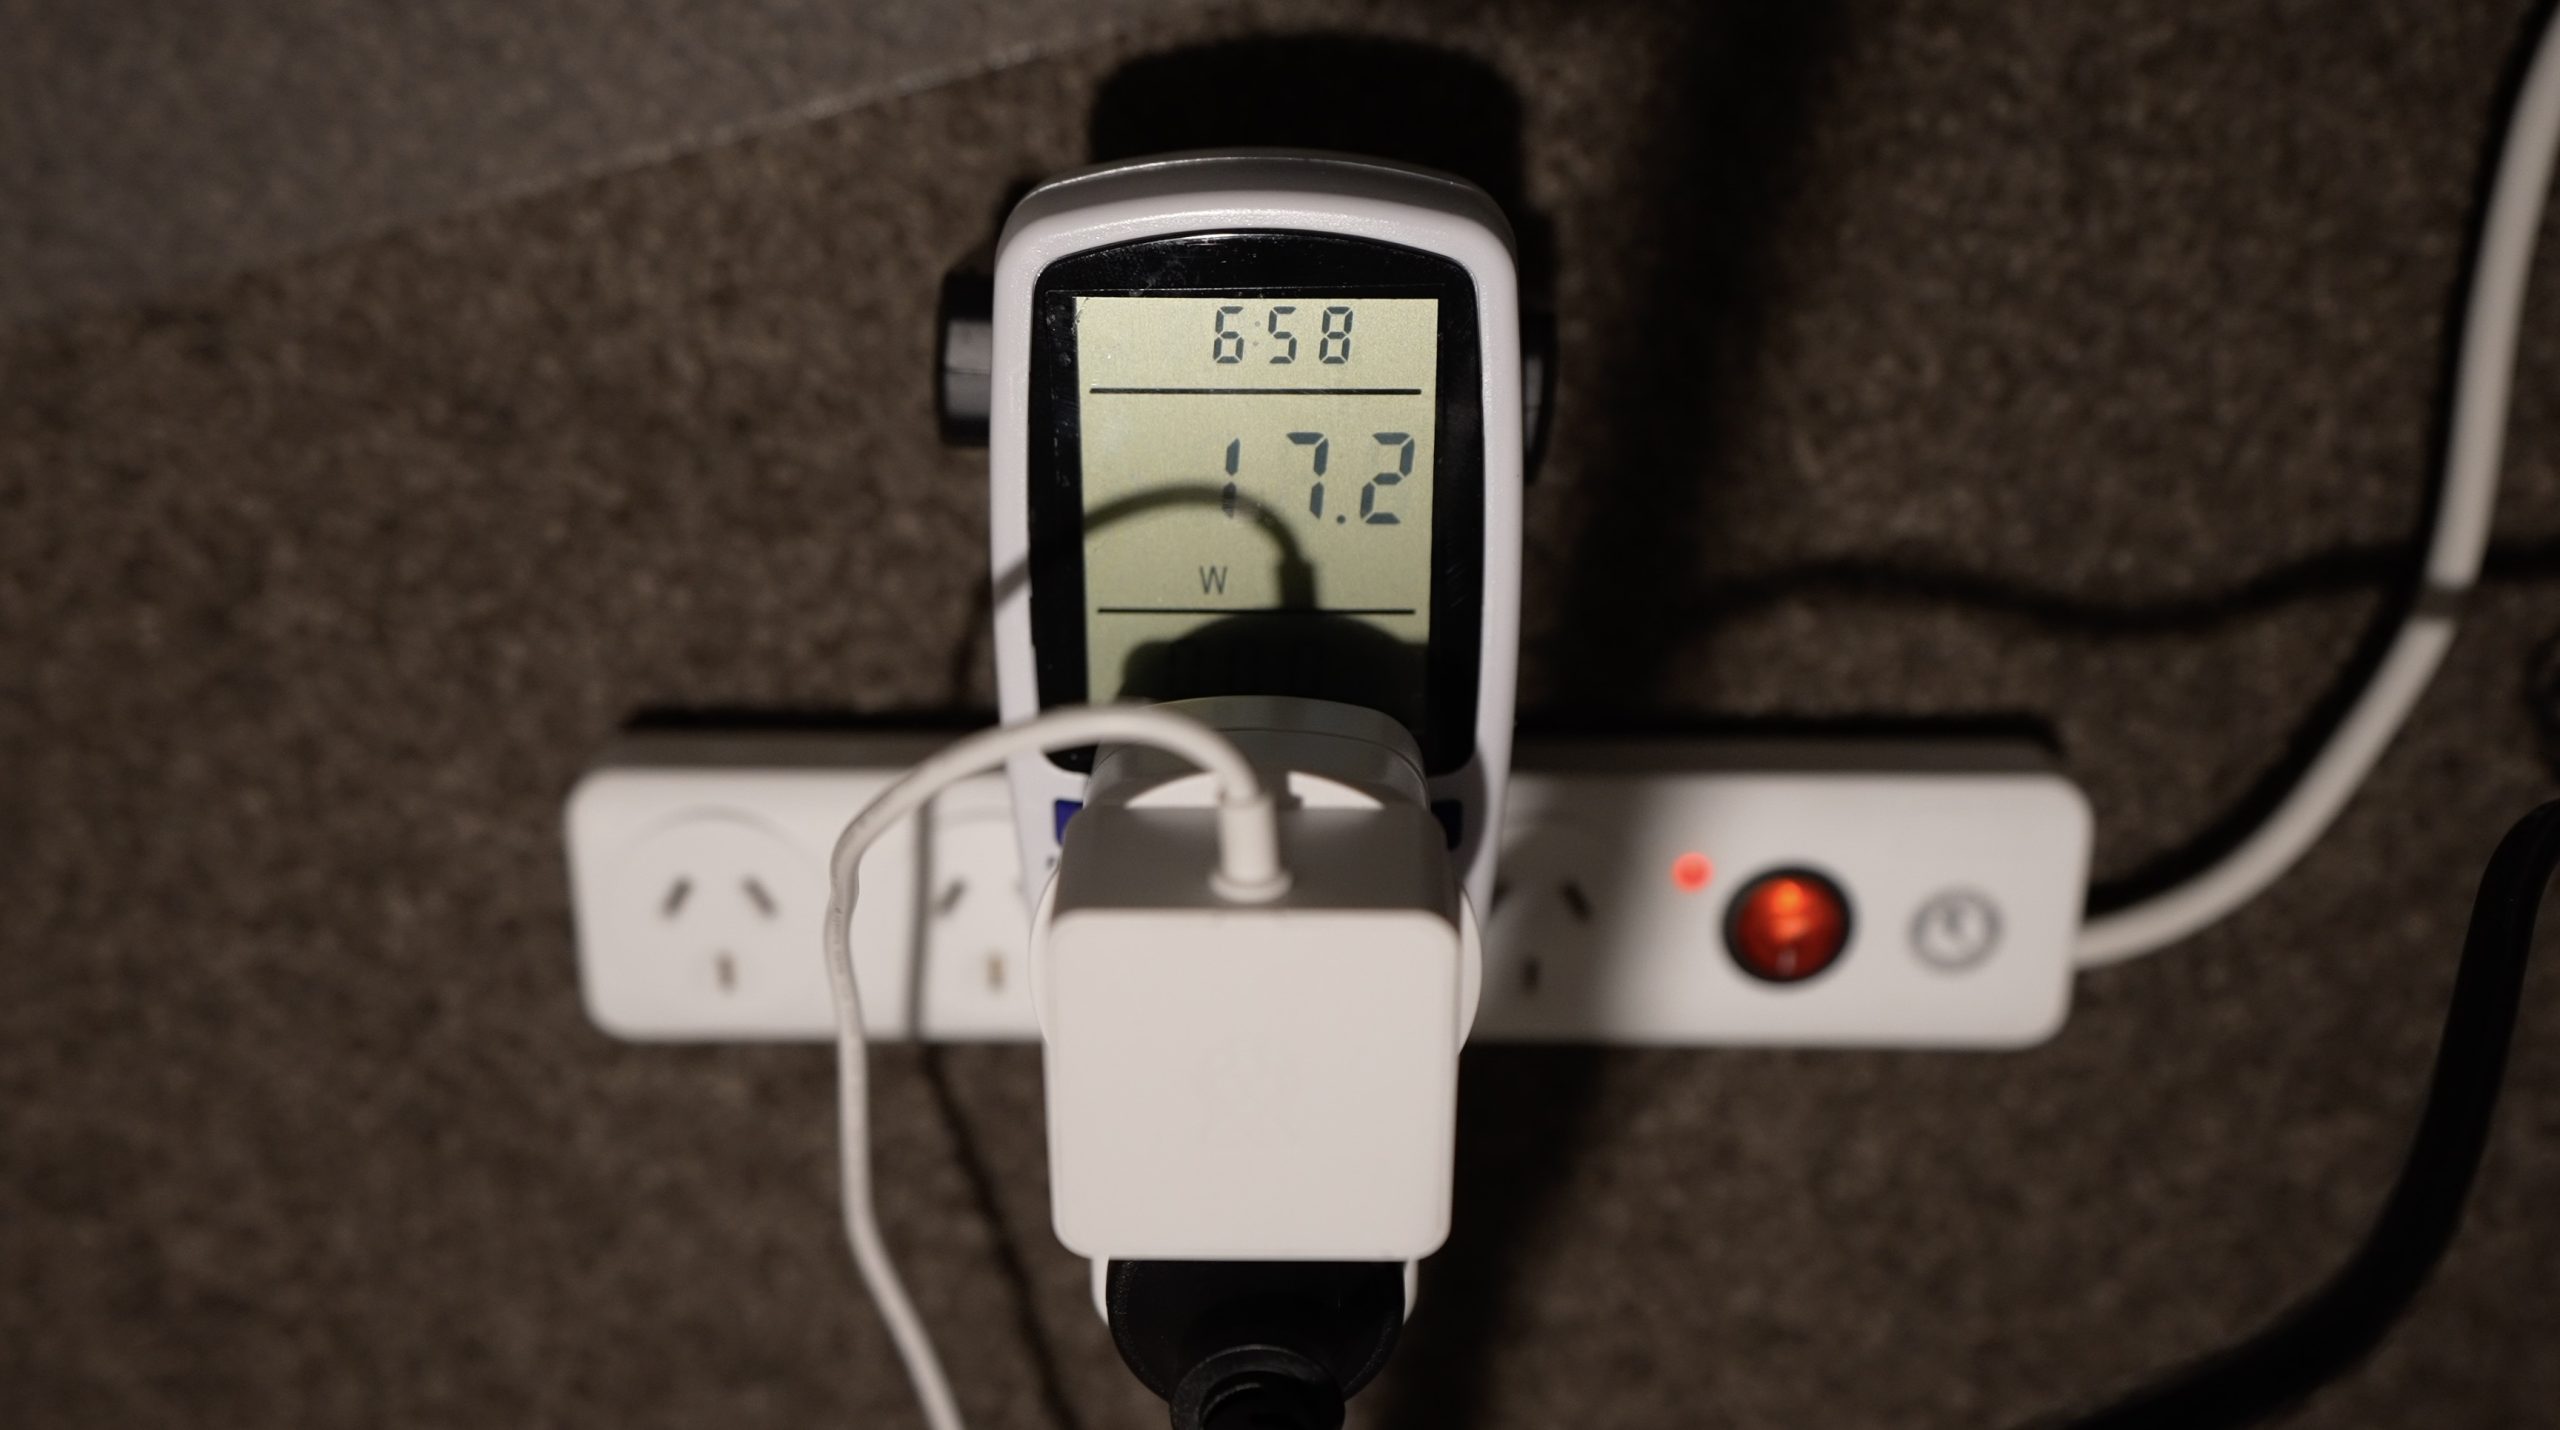
As far as power consumption goes, the Pi 4 NAS uses around 25W when booting up and spinning up the drives, and this settles at around 17W during use. The adaptors do spin the drives down when they’re not in use, so power consumption then goes down to around 6W.

So those are our benchmarks to beat, now let’s see what the Drivestor 4 can do.
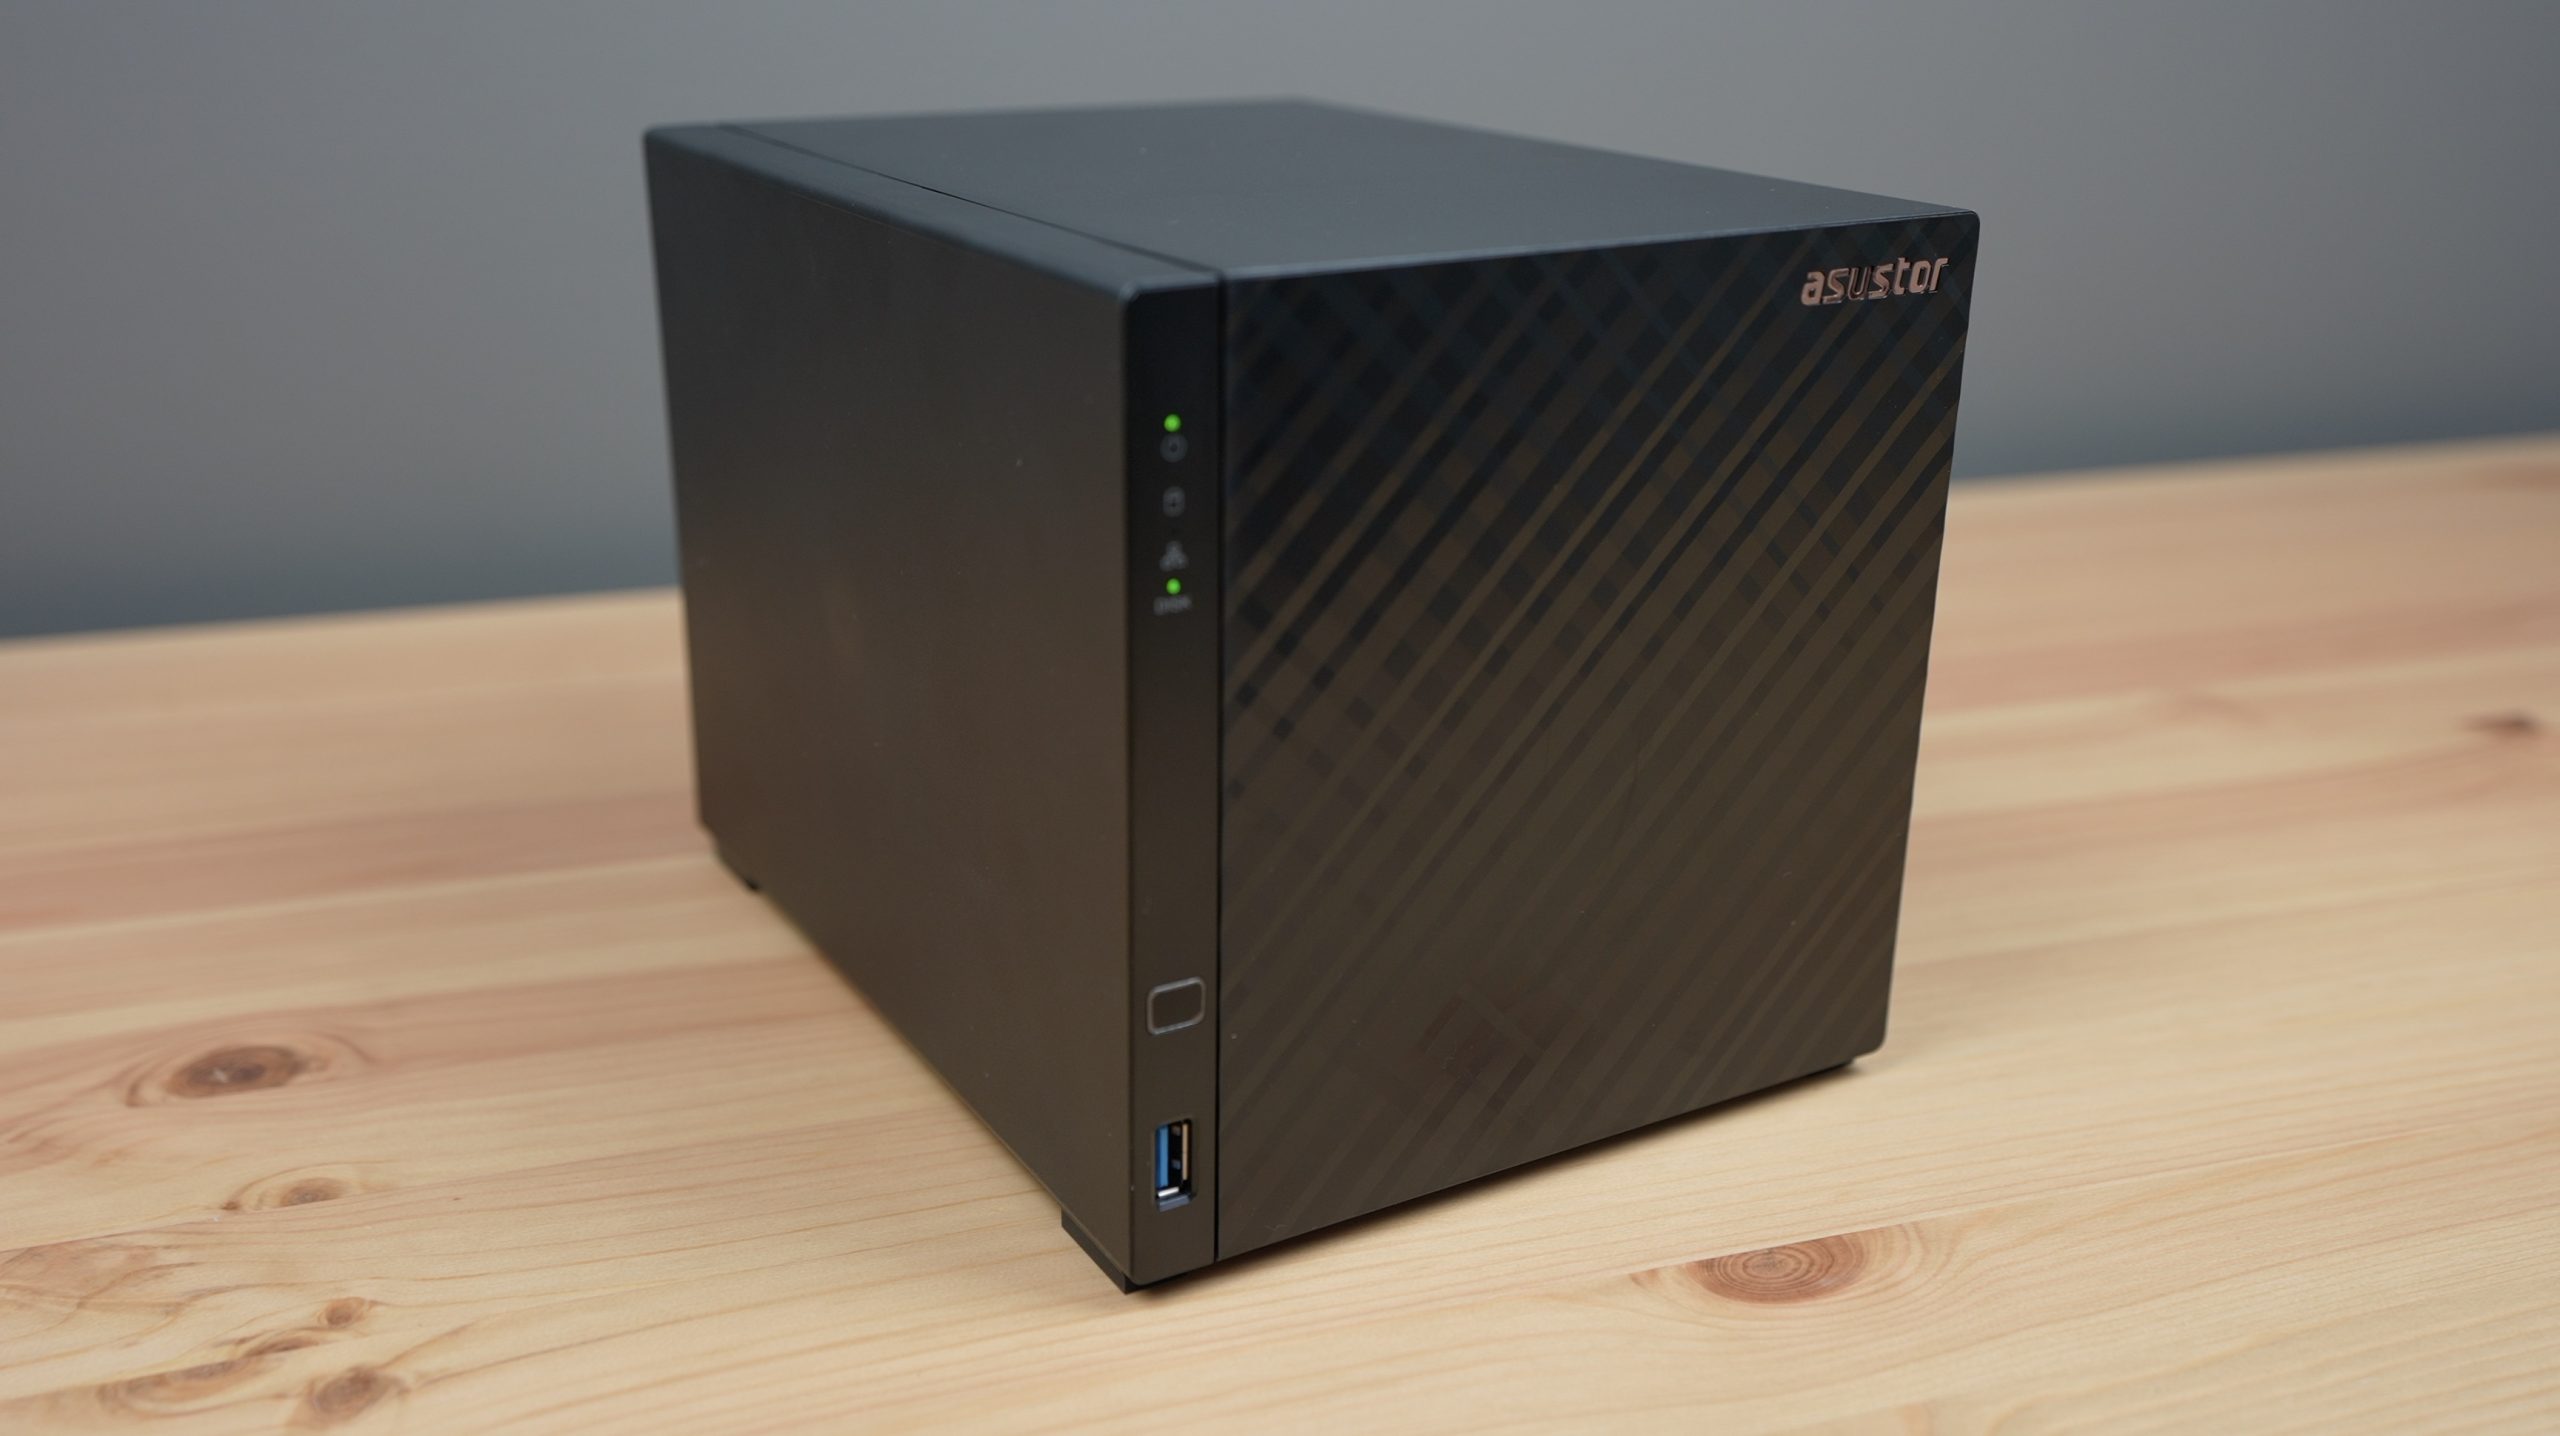
Assembling & Setting Up The Drivestor 4 NAS
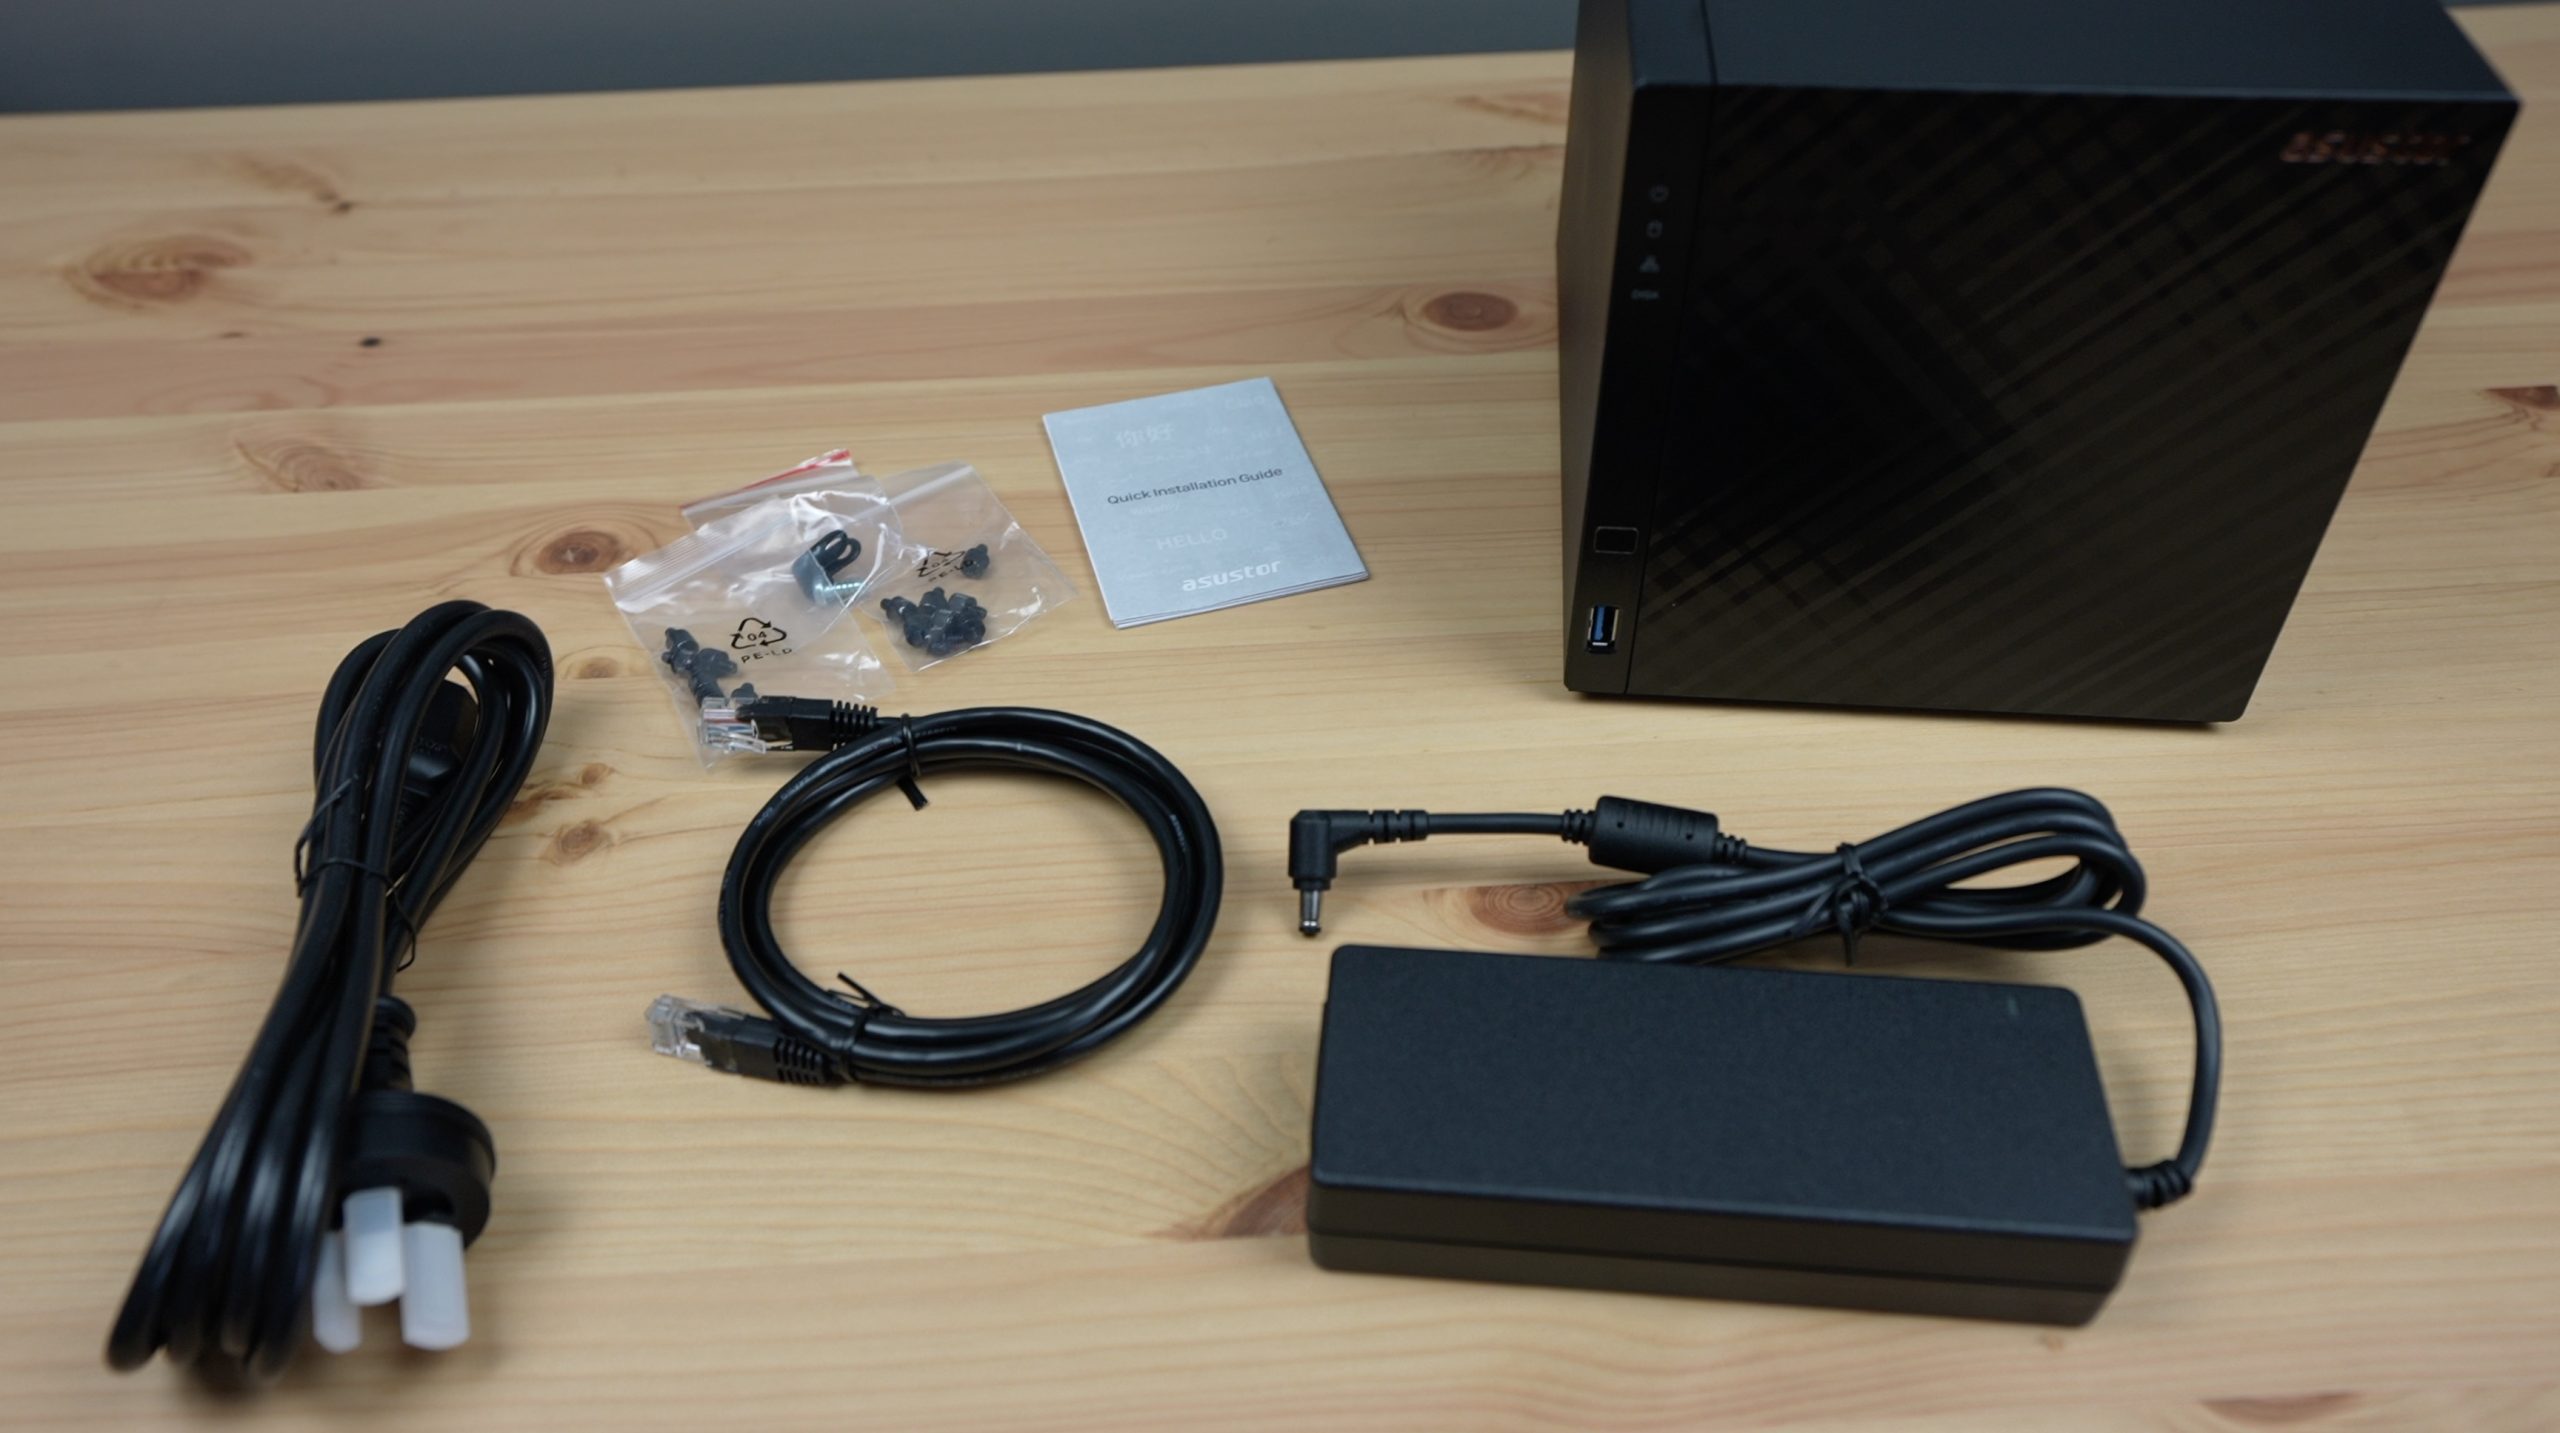
The Drivestor 4 comes as a pre-packaged solution with a 90W power supply included, so all we need to do is install the 3.5″ drives and it should then be ready to go.
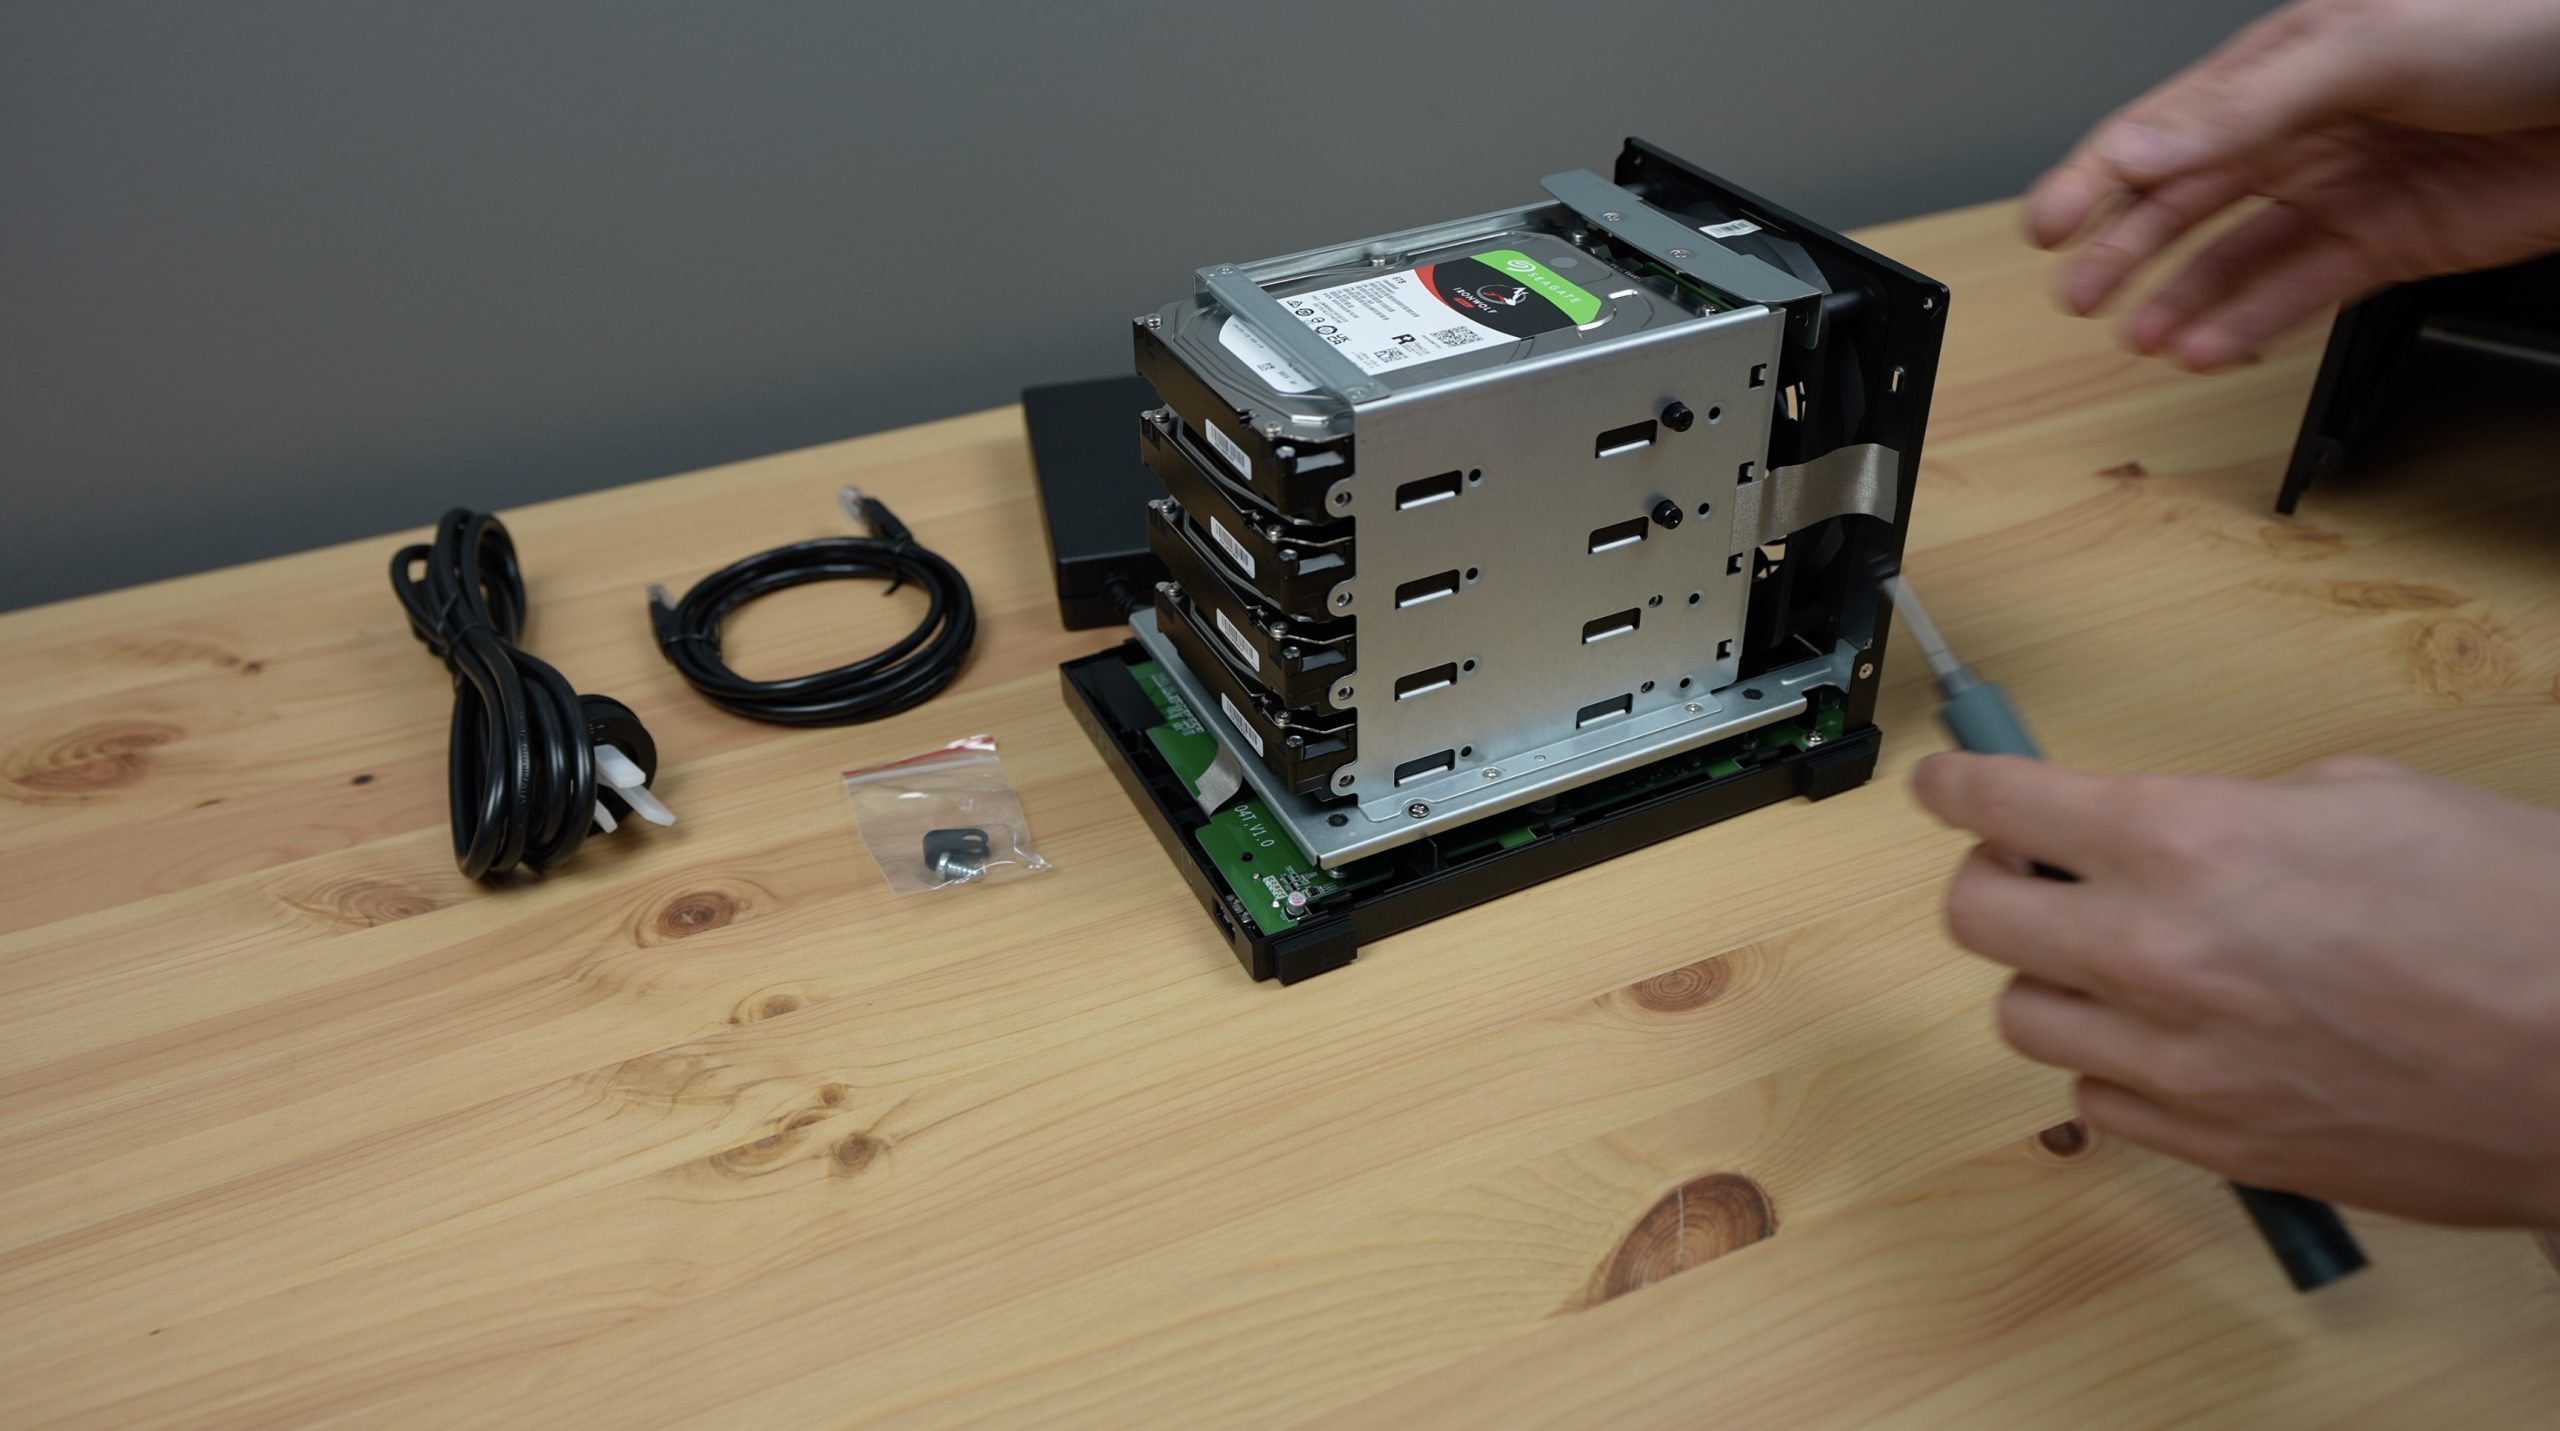
To install the drives, we need to remove the main cover.
We can then slide a drive into each drive bay. I’m using all four bays, which is the maximum capacity of the Drivestor 4, but this is expandable to 12 bays using their optional expansion unit. So there is room to expand your NAS if you need it.

We then secure the drives with four screws into each.
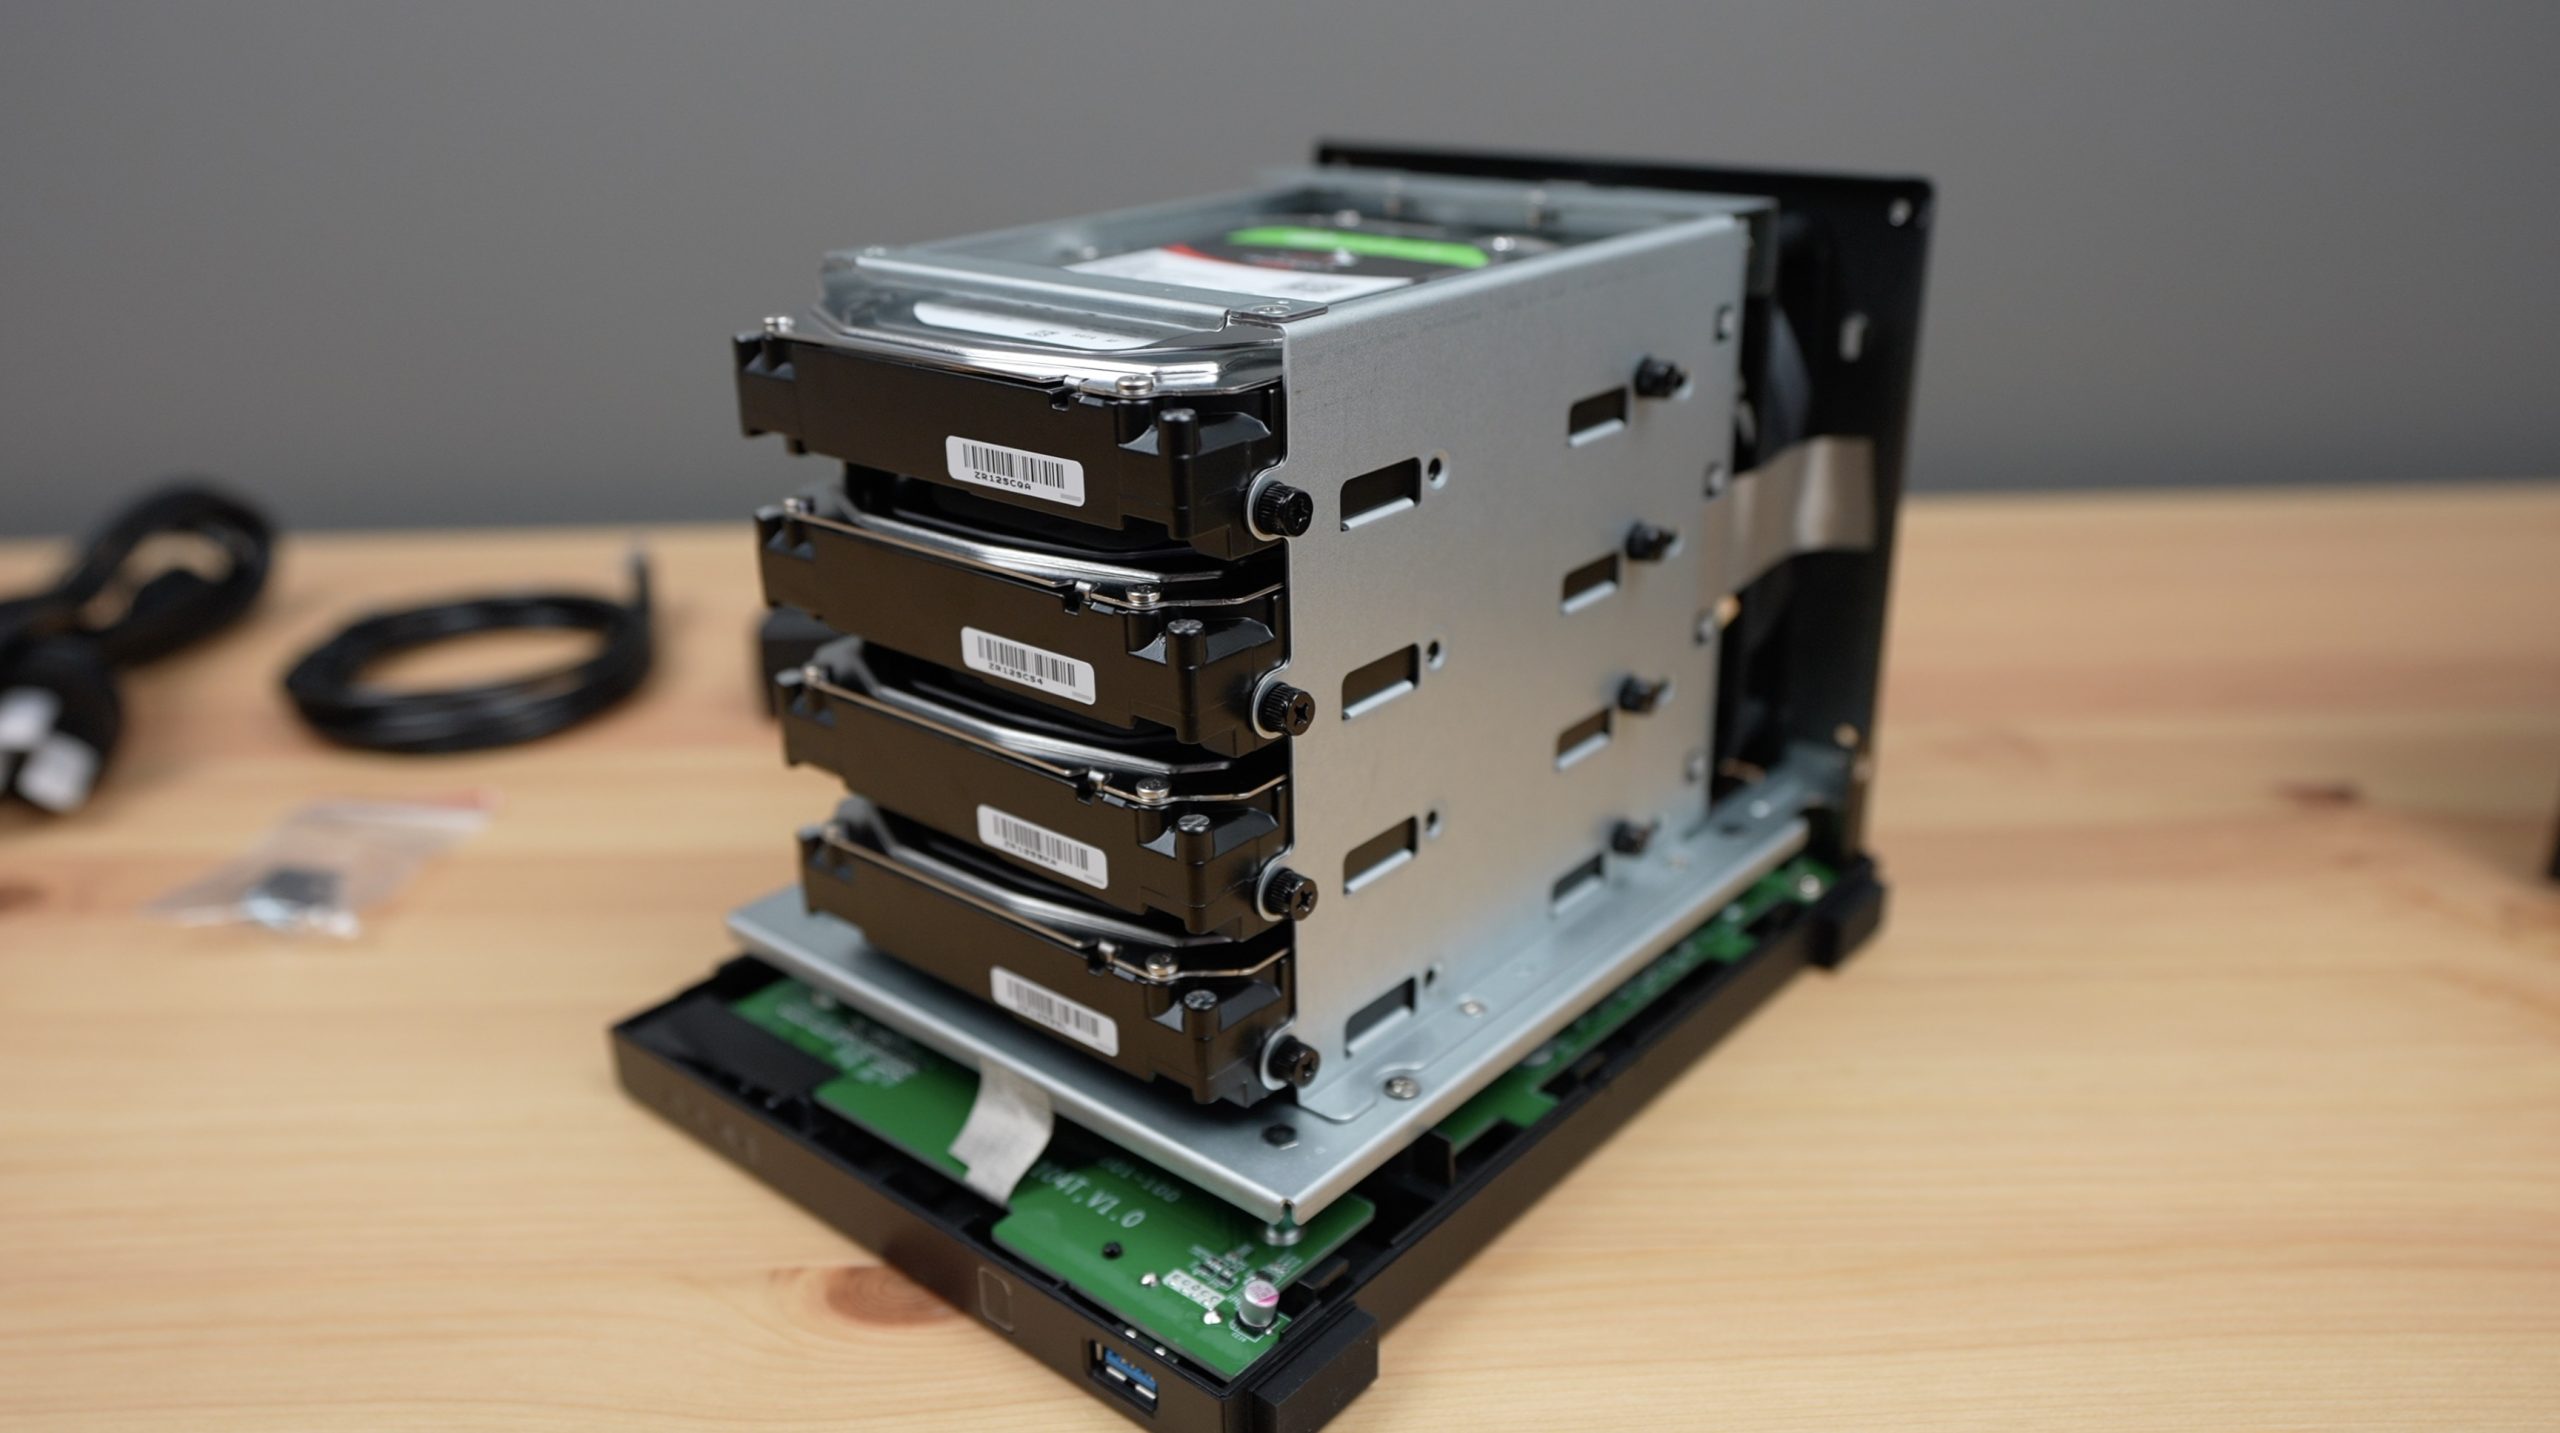
That’s it for the assembly, we can close the cover and get it set up.

One thing you’ll notice on power-up is that the Driverstor powers the drives up sequentially, it doesn’t just spin them all up at once. It does this to manage the peak power consumption, as these 3.5″ drives use substantially more power to start up than when they’re running.

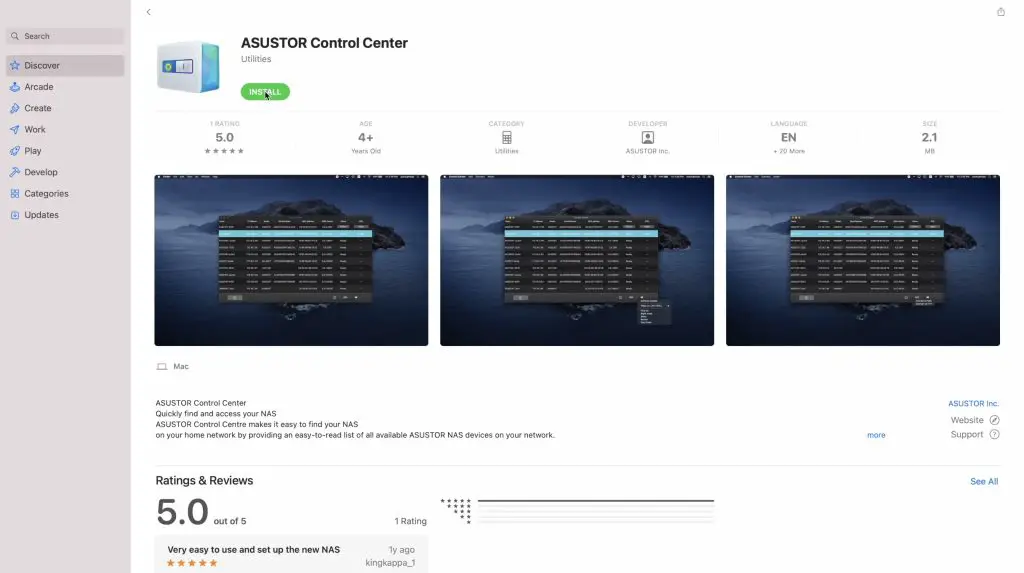
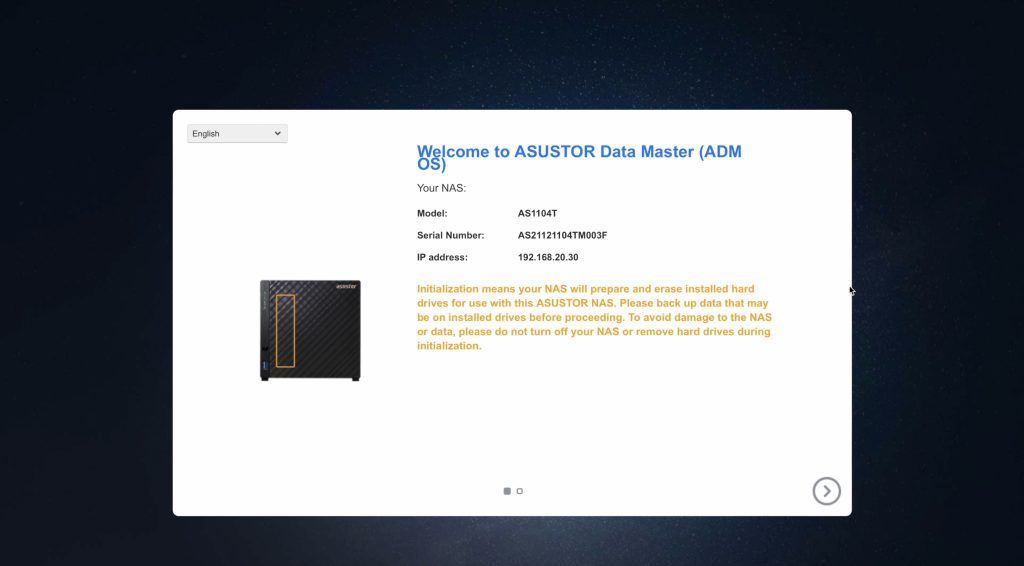
The Drivestor doesn’t have any display or HDMI output, so we need to figure out what IP address has been assigned to it by logging into our router’s DHCP table or using a tool like AngryIP Scanner. Asustor also provide a utility called Control Center which scans your network for their connected products, making it easy to set up.
With the NAS’s IP address, we can head to the web dashboard to continue setting it up.
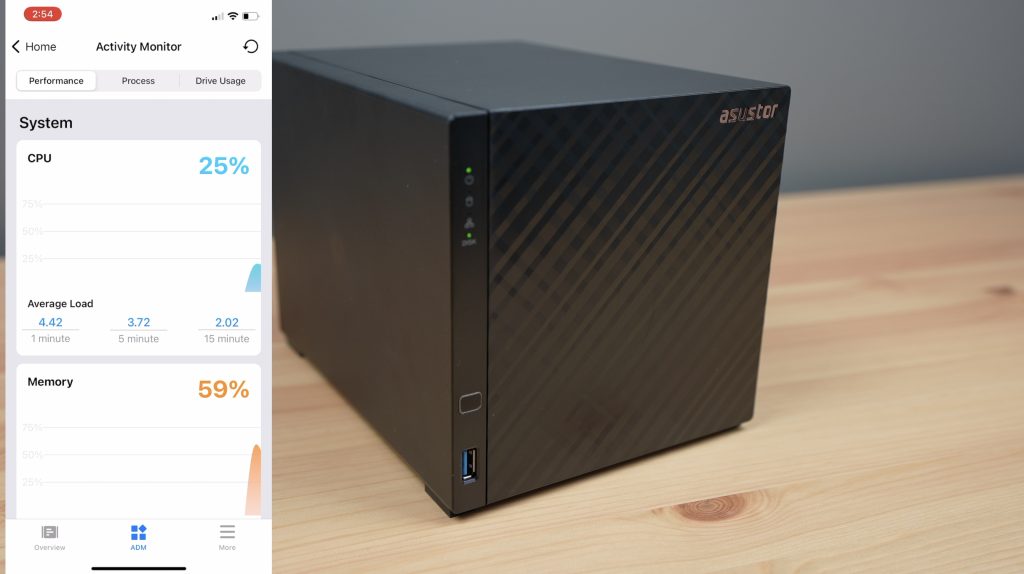
They also provide a mobile app called AiMaster which you can use to set up your NAS as well. I’m going to use the mobile app for now as it’s straightforward to use and guides you through each step.
I’m going to go with a RAID5 configuration for the NAS as this strikes a good balance of redundancy and performance. This configuration means you still get to use the capacity of three drives, with only one volume being used for parity data, allowing the system to recover from a failure of any single drive, which is perfect for a home NAS setup.
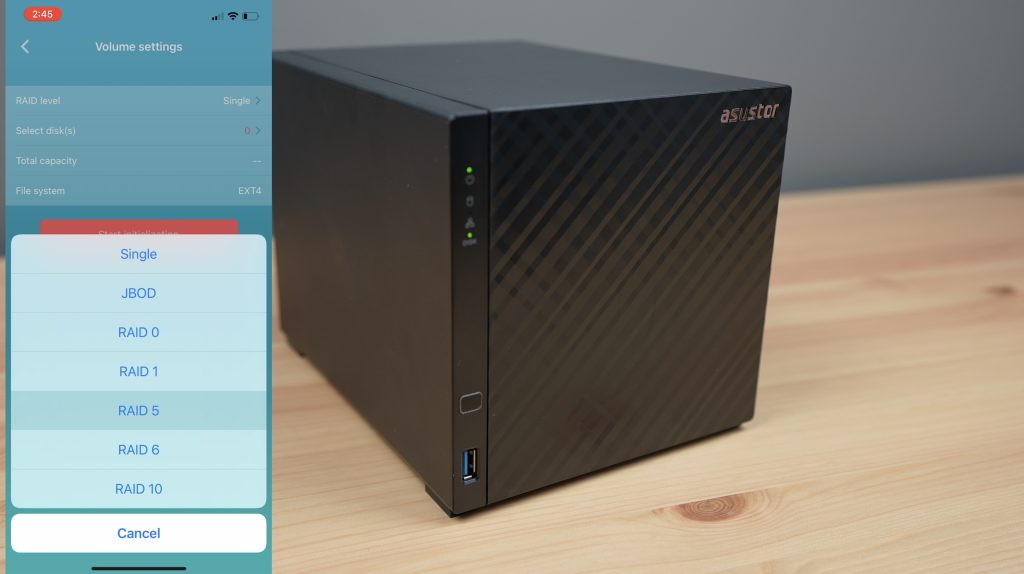
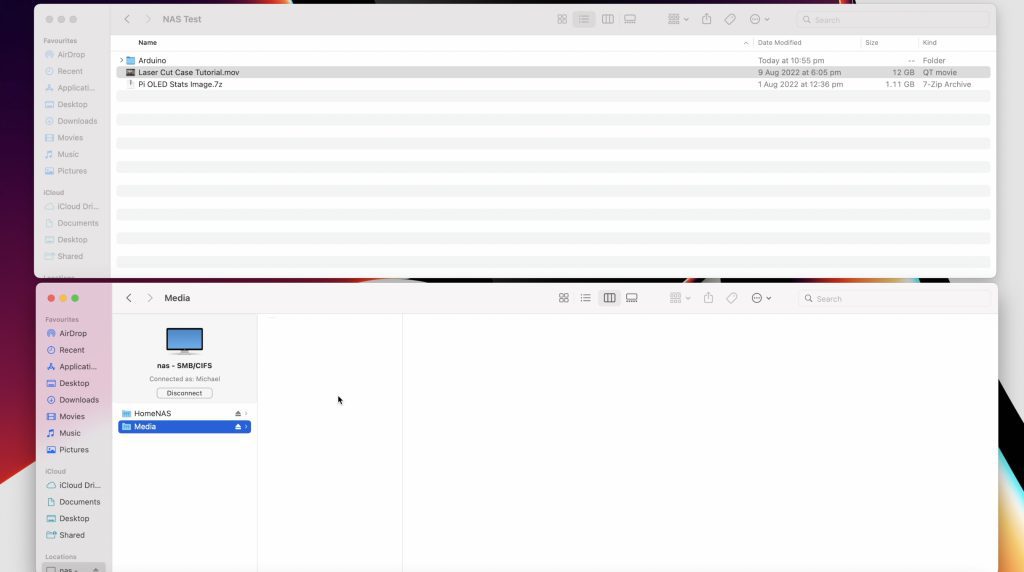
You can then also set up folders and manage access control.
This was quite a bit easier to do on the Drivestor than on OMV. The app and web interface guide you through setting up the NAS really well, with explanations for all of the settings. They also provide a good set of defaults if you aren’t really sure what you’re doing.
Testing The Drivestor 4 NAS
To test the Drivestor 4’s speed, I’m going to copy the same files that I used previously for my Raspberry Pi NAS test.
Copying the single large video file across to the NAS, I get an average write speed of 131.7MBps. Copying the same file from the NAS, I get an average read speed of 205.6MBps.
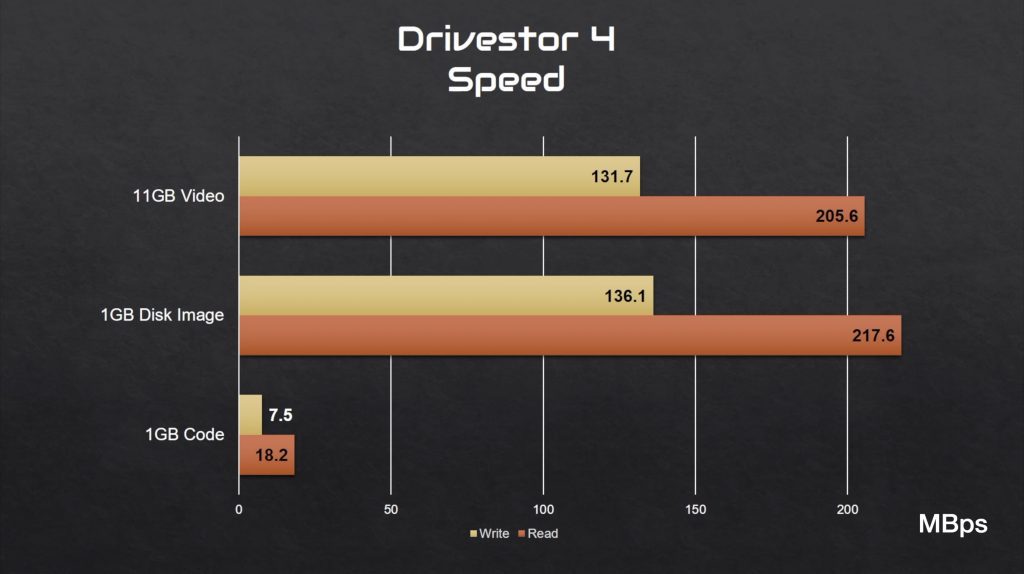
The disk image resulted in faster read and write speeds than the video, and the code was substantially slower, as with the Raspberry Pi NAS.
So the Drivestor is quite a lot faster than the Raspberry Pi NAS – around 60% faster write speeds and over double the read speed. This is largely to do with it having 2.5G Ethernet, which the Pi lacks. You could potentially improve this on the Pi by adding a 2.5G Ethernet adaptor to it, but you’d then need to either get rid of one of the drives or use a USB hub as you’ve only got the two USB 3.0 ports. If you used a hub, there would still be a limit to the amount of data that the Pi can handle through the USB ports, so you’d be sharing the bandwidth between the drives and any additional controllers.

This is one of the examples of something that is both a strength and weakness of the Raspberry Pi NAS. It’s great in that you’re starting with a blank canvas, so you can customize your NAS to your particular needs, but this can also be quite intimidating if you’re just getting started. There is a lot of information to sift through and decisions to make, all of which will have some influence on the complexity and performance of your setup.
As for power consumption by the Drivestor, I was actually quite surprised to see how similar it was to the Raspberry Pi NAS. It used a much higher 50W on boot and spin-up, but this settled at around 25W once running. With the drives spun down, power consumption goes down to 10W and after a while, it seems to go into a lower power mode that reduces consumption to the same figure as the Pi – just 6W. Keep in mind for the running figures that this NAS has two more drives than the Raspberry Pi NAS.


So Is It Better To Buy or DIY?
Now that we’ve assembled and tested the two NAS solutions, let’s see whether it is better to buy a pre-built NAS or build your own DIY solution.
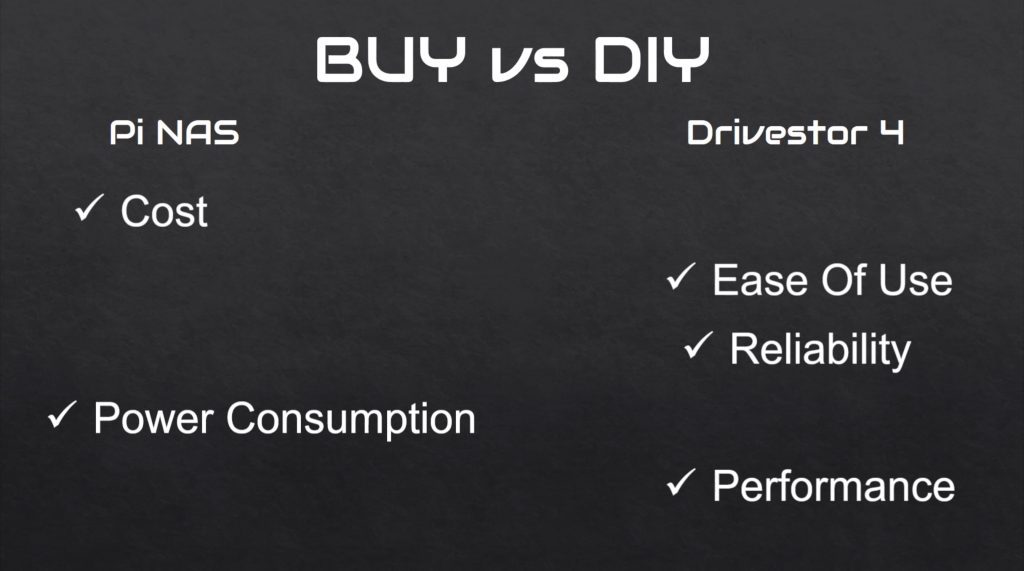
Cost
Let’s start off with cost.
The Pi NAS cost $162 for the parts to build the NAS without the drives and then the two drives cost an additional $270 for a total of $432. The Drivestor costs $290 and then the four drives cost an additional $540, for a total of $830.

I separated the drive costs to make the comparison between the actual NAS setups a bit more comparable, as the additional two drives on the Drivestor add quite substantially to the cost, and the Drivestor could run on only two drives if you wanted it to.
The Pi NAS still wins on cost for a total of $162 instead of the $290 Drivestor 4’s price tag.
Ease of Use
For Ease of Use, this hands down goes to the Drivestor 4, it’s a prepackaged solution that you just need to select drives for. Asustor even have a drive compatibility checker that you can use to check your drives before you buy them. It’s easy to assemble and configure and you’re not left looking for adaptors, power supplies or enclosures to finish it off.
Reliability
Reliability also goes to the Drivestor 4. The Raspberry Pi NAS is running off a MicroSD card, which are known to fail over time, and connecting the drives through the Pi’s USB ports means that no RAID options are available. That said the data is still being stored on the same drives, so although the Pi might need to be re-configured every so often, you shouldn’t have any data loss as long as the drives remain good.
Power Consumption
Power Consumption is much closer than I thought it would be, but goes to the Pi as a marginal win, albeit in a somewhat unfair comparison. The Drivestor uses more power when running as it’s got two additional drives, but when both NAS solutions are unused, they use basically the same.
Performance
Performance is lost to the Drivestor 4. Having 4 drive bays that support RAID and a 2.5G Ethernet port make it substantially faster than the Raspberry Pi NAS.
The Verdict
So overall the Drivestor 4 is probably the option you’d want to go for if you’re looking for an easy-to-use, reliable NAS that offers good performance for the price. If you’ve got the time to learn, or you’d like to build a NAS that is very specifically designed to your needs, then the Raspberry Pi NAS offers a bit more flexibility. You could also save a few dollars by going with the Pi option, although if your time is worth anything to you then this will probably work out to be a bit more expensive as well as you’ll no doubt have to spend a day or two assembling and setting it up.
Check out Asustor’s Amazon store for some of their other NAS solutions available, or check out their Drivestor 4 and Drivestor 4 Pro options. They’re really good products for a home or small office environment when access to your data and data integrity is important to you.
Also, let me know what you think of my Raspberry Pi NAS in the comments section below.
You should have prepared the asus in a similar 2-drive configuration and used 1Gb ethernet to be a better apples to apples test with the pi. Also, for price comparison i would have used the 2-bay version. I think the conclusion would have still been the same in the favor of the asus, but the comparison would have been more fair for the pi.
Also, the best value for someone willing to diy is an older used 2-bay nas which can be had for as little as $50. I have several of these and they are a win all around.