If you’ve seen some of my other projects, I often use my K40 laser cutter to cut and engrave acrylic and plywood sheets to make up components. I love how quickly I can make them up and having clear or semi-transparent panels on 3D printed enclosures really enhances the overall appeal. I bought my laser a couple of years ago as a tool that I thought I might use on occasion and it’s turned out to be my go-to favourite workshop tool.
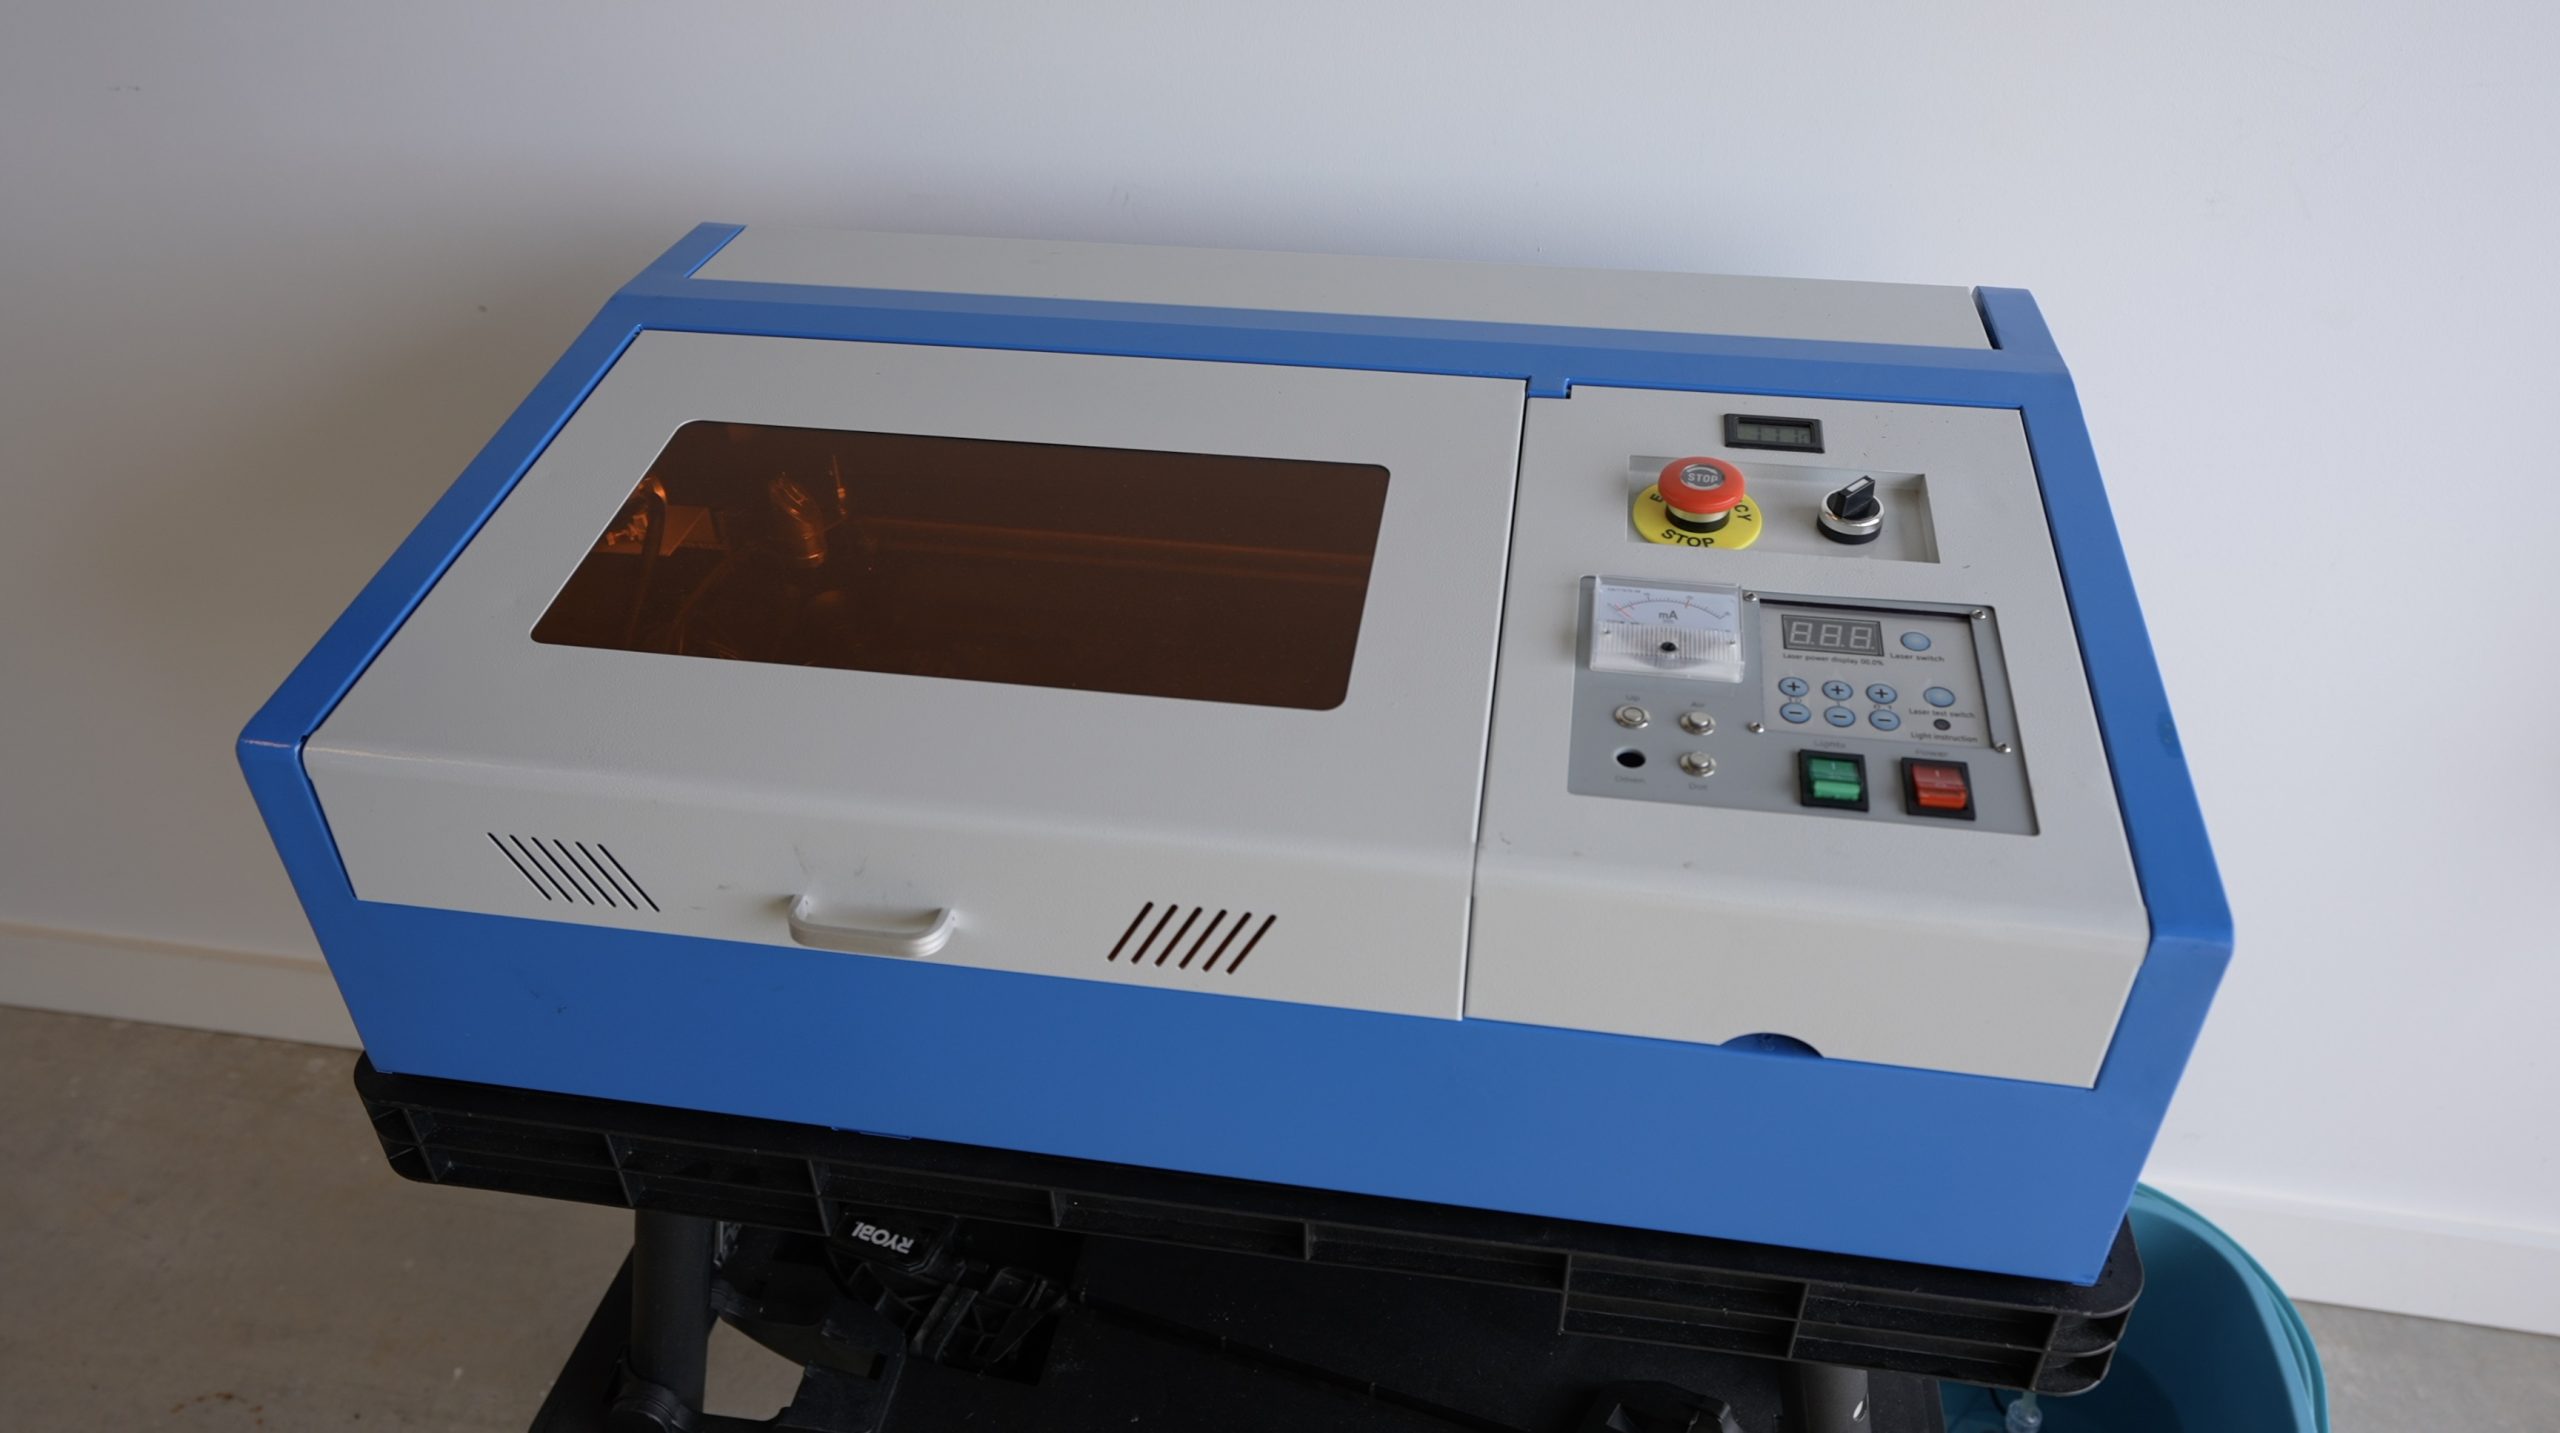
It has its limitations though, the bed area is really small, the laser head is at a fixed height, making using different materials difficult, and the ventilation and water cooling systems look like an afterthought.
But then I got this….
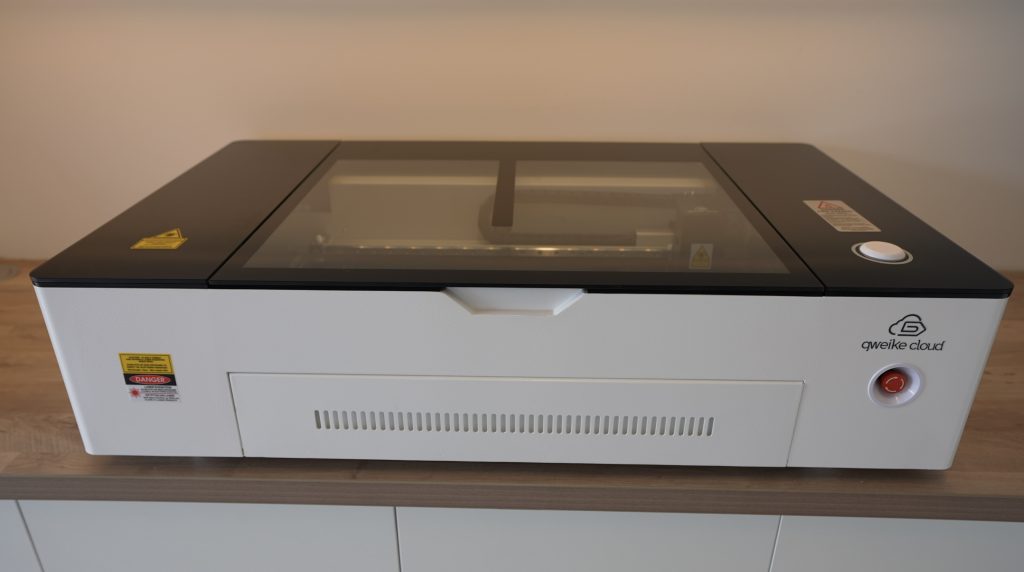
This is the new Gweike Cloud home laser cutter and engraver and, if you can’t already tell, it’s intended to compete with the Glow Forge.
So today we’re going to take a look at some of its features and see how it performs by making up some Raspberry Pi cases from acrylic sheets.
Here’s my video of the Gweike Cloud being unboxed and used to make up the Pi cases, read on for the write-up:
Where To Buy The Gweike Cloud
Get $200 off the Gweike Cloud Laser by entering MK200 on checkout
What You Need To Make Your Own Pi Case
- Raspberry Pi 4B – Buy Here
- Heatsink – Buy Here
- I2C OLED Display – Buy Here
- Display Ribbon Cable – Buy Here
- 2mm Clear Acrylic – Buy Here
- M2.5Brass Standoffs & Screws – Buy Here
- M3 Screws – Buy Here
- M2 Screws – Buy Here
First Look At The Gweike Cloud Laser Cutter
I’ll start out by saying that I’ve looked at getting a Glow Forge a couple of times, but they’ve got some really significant downsides – at least in my opinion. For starters, they aren’t available here in Australia, so I’d have to use a third party to import one. Then the most significant drawback for me is that the Glowforge has to be connected to the internet and you have to use their own online software. You can’t use the laser with any other software packages and you can’t use it offline. So you’re fully locked into their system. The last is the price, the basic unit costs around $4000 and you’re in for nearly $8500 for the pro version which has a passthrough slot, better cooling to run continuously and an air filtration system. So you really have to get a lot out of a machine to make the price tag worth it.
So when Gweike told me about their new Cloud machines, this really caught my attention.
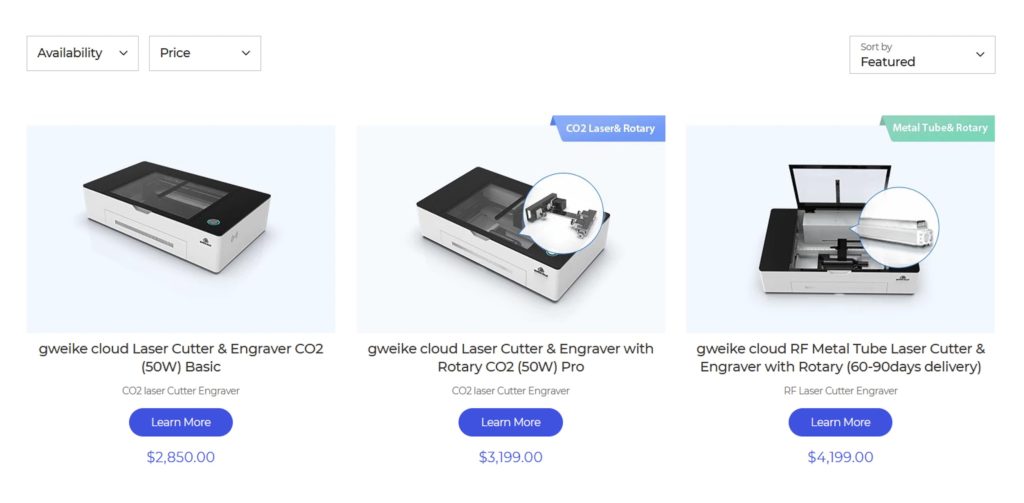
The Gweike Cloud currently sells for $2850 for the base unit, $3199 for the pro unit that includes the rotary attachment and $4199 for the RF version that has an upgraded RF metal tube laser for increased speed, better laser precision and a significantly longer laser tube life.
The Gweike Cloud is a new offering by the company, but they’re not new to the industry. Gweike are a big name in industrial laser machines and they’ve been around for 18 years now, so they know what they’re doing and they know how to build machines that are tough enough to survive in industrial environments.
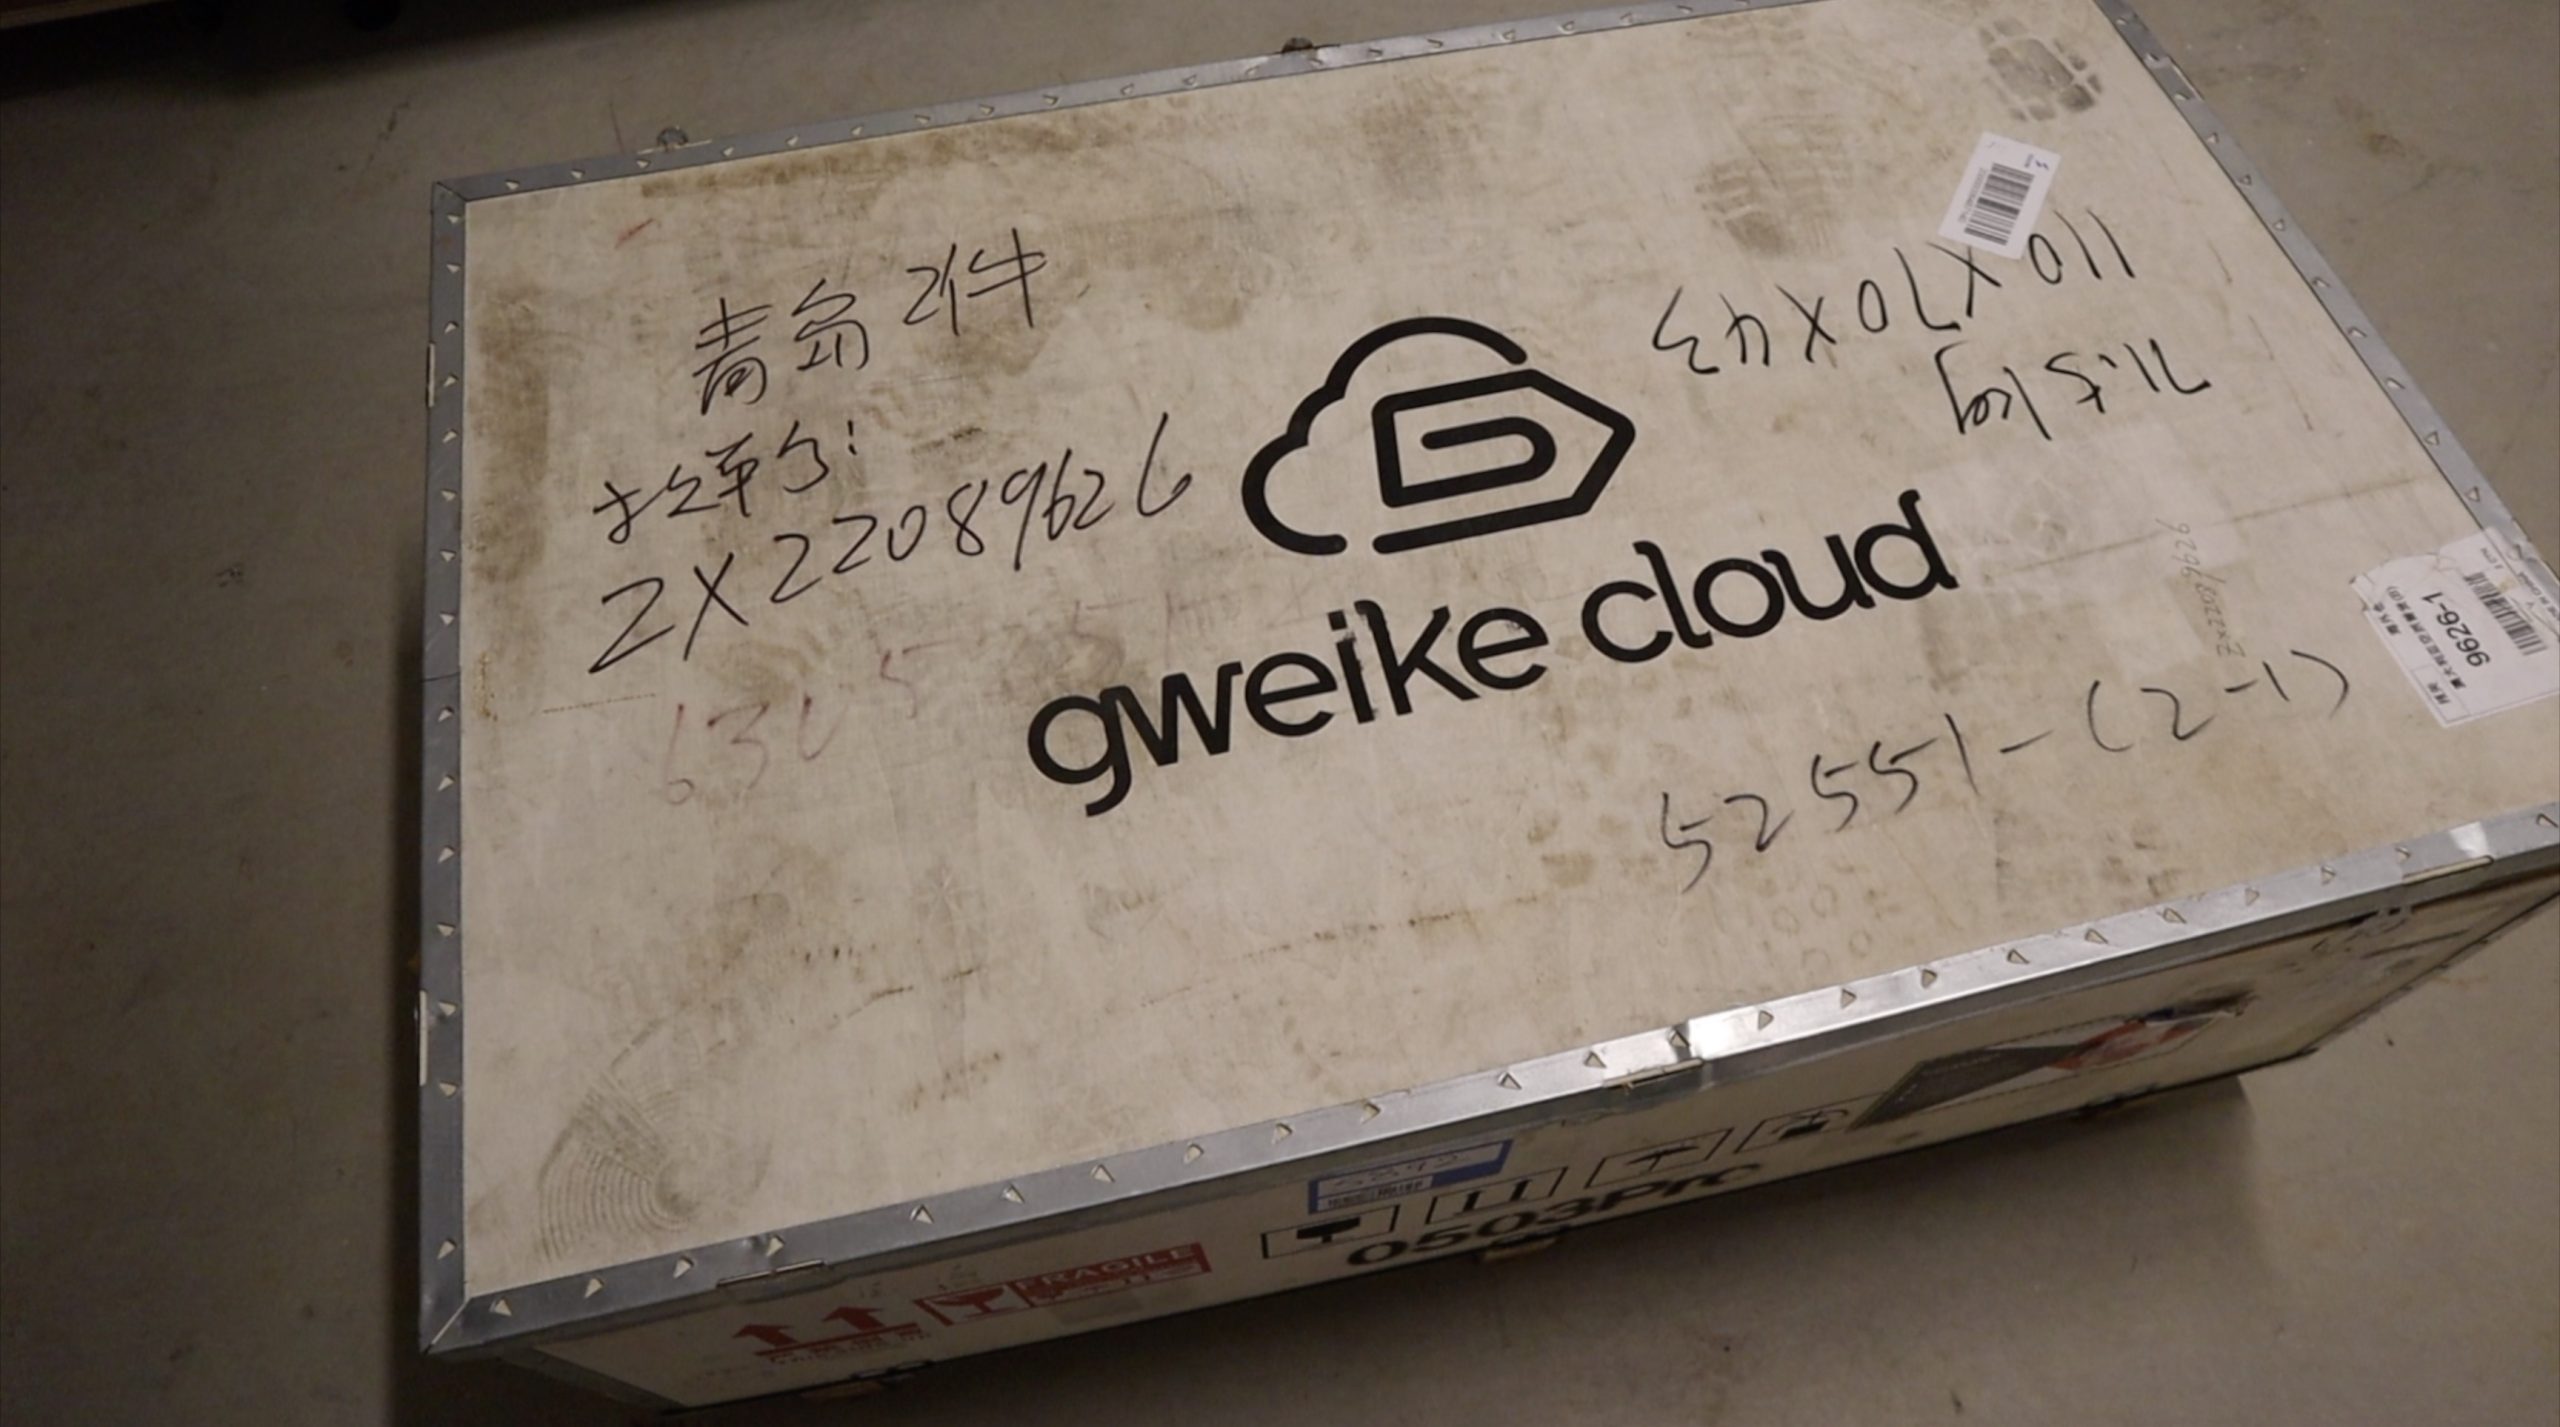
Unboxing & Setup
The machine arrives really well packaged in a large wooden crate, with evidence that it has been well tested. There is an individual quality check card and they include the samples from the test run aligning the laser.
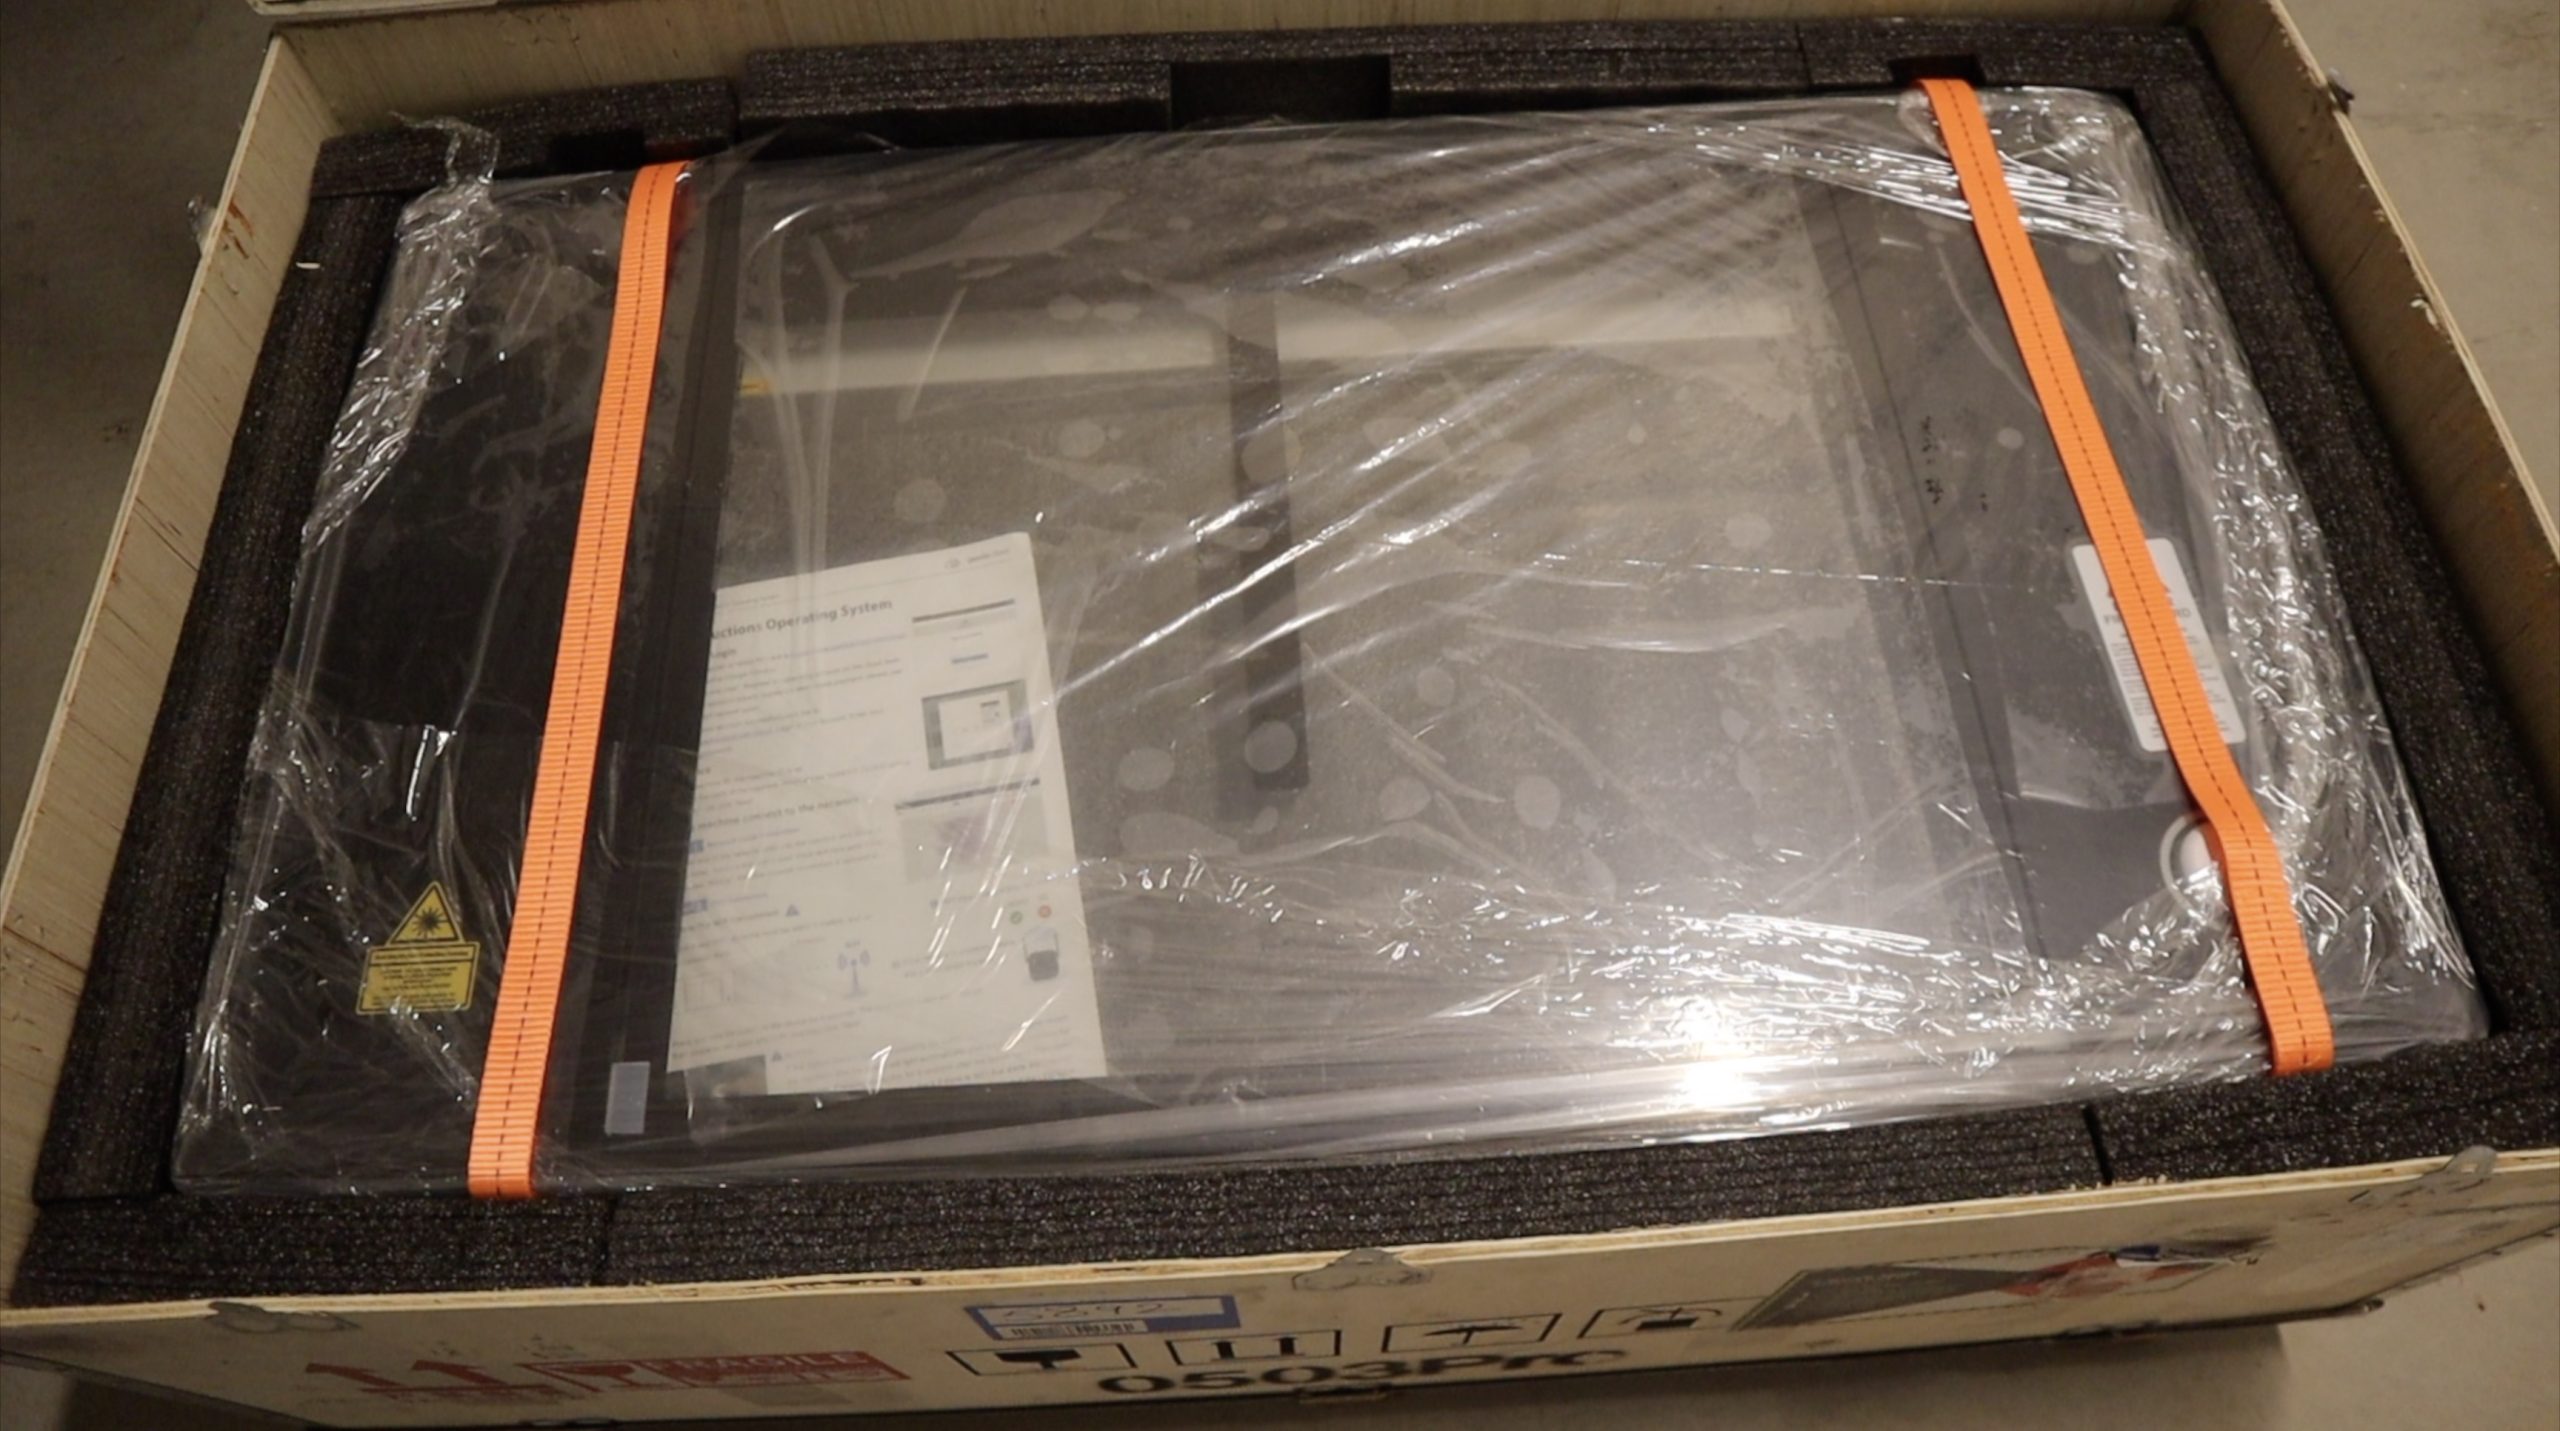
Set up is a breeze, you don’t really need to assemble anything, it all comes pre-assembled. You mainly need to remove packaging and restraints that they’ve put into place to prevent damage during shipping.
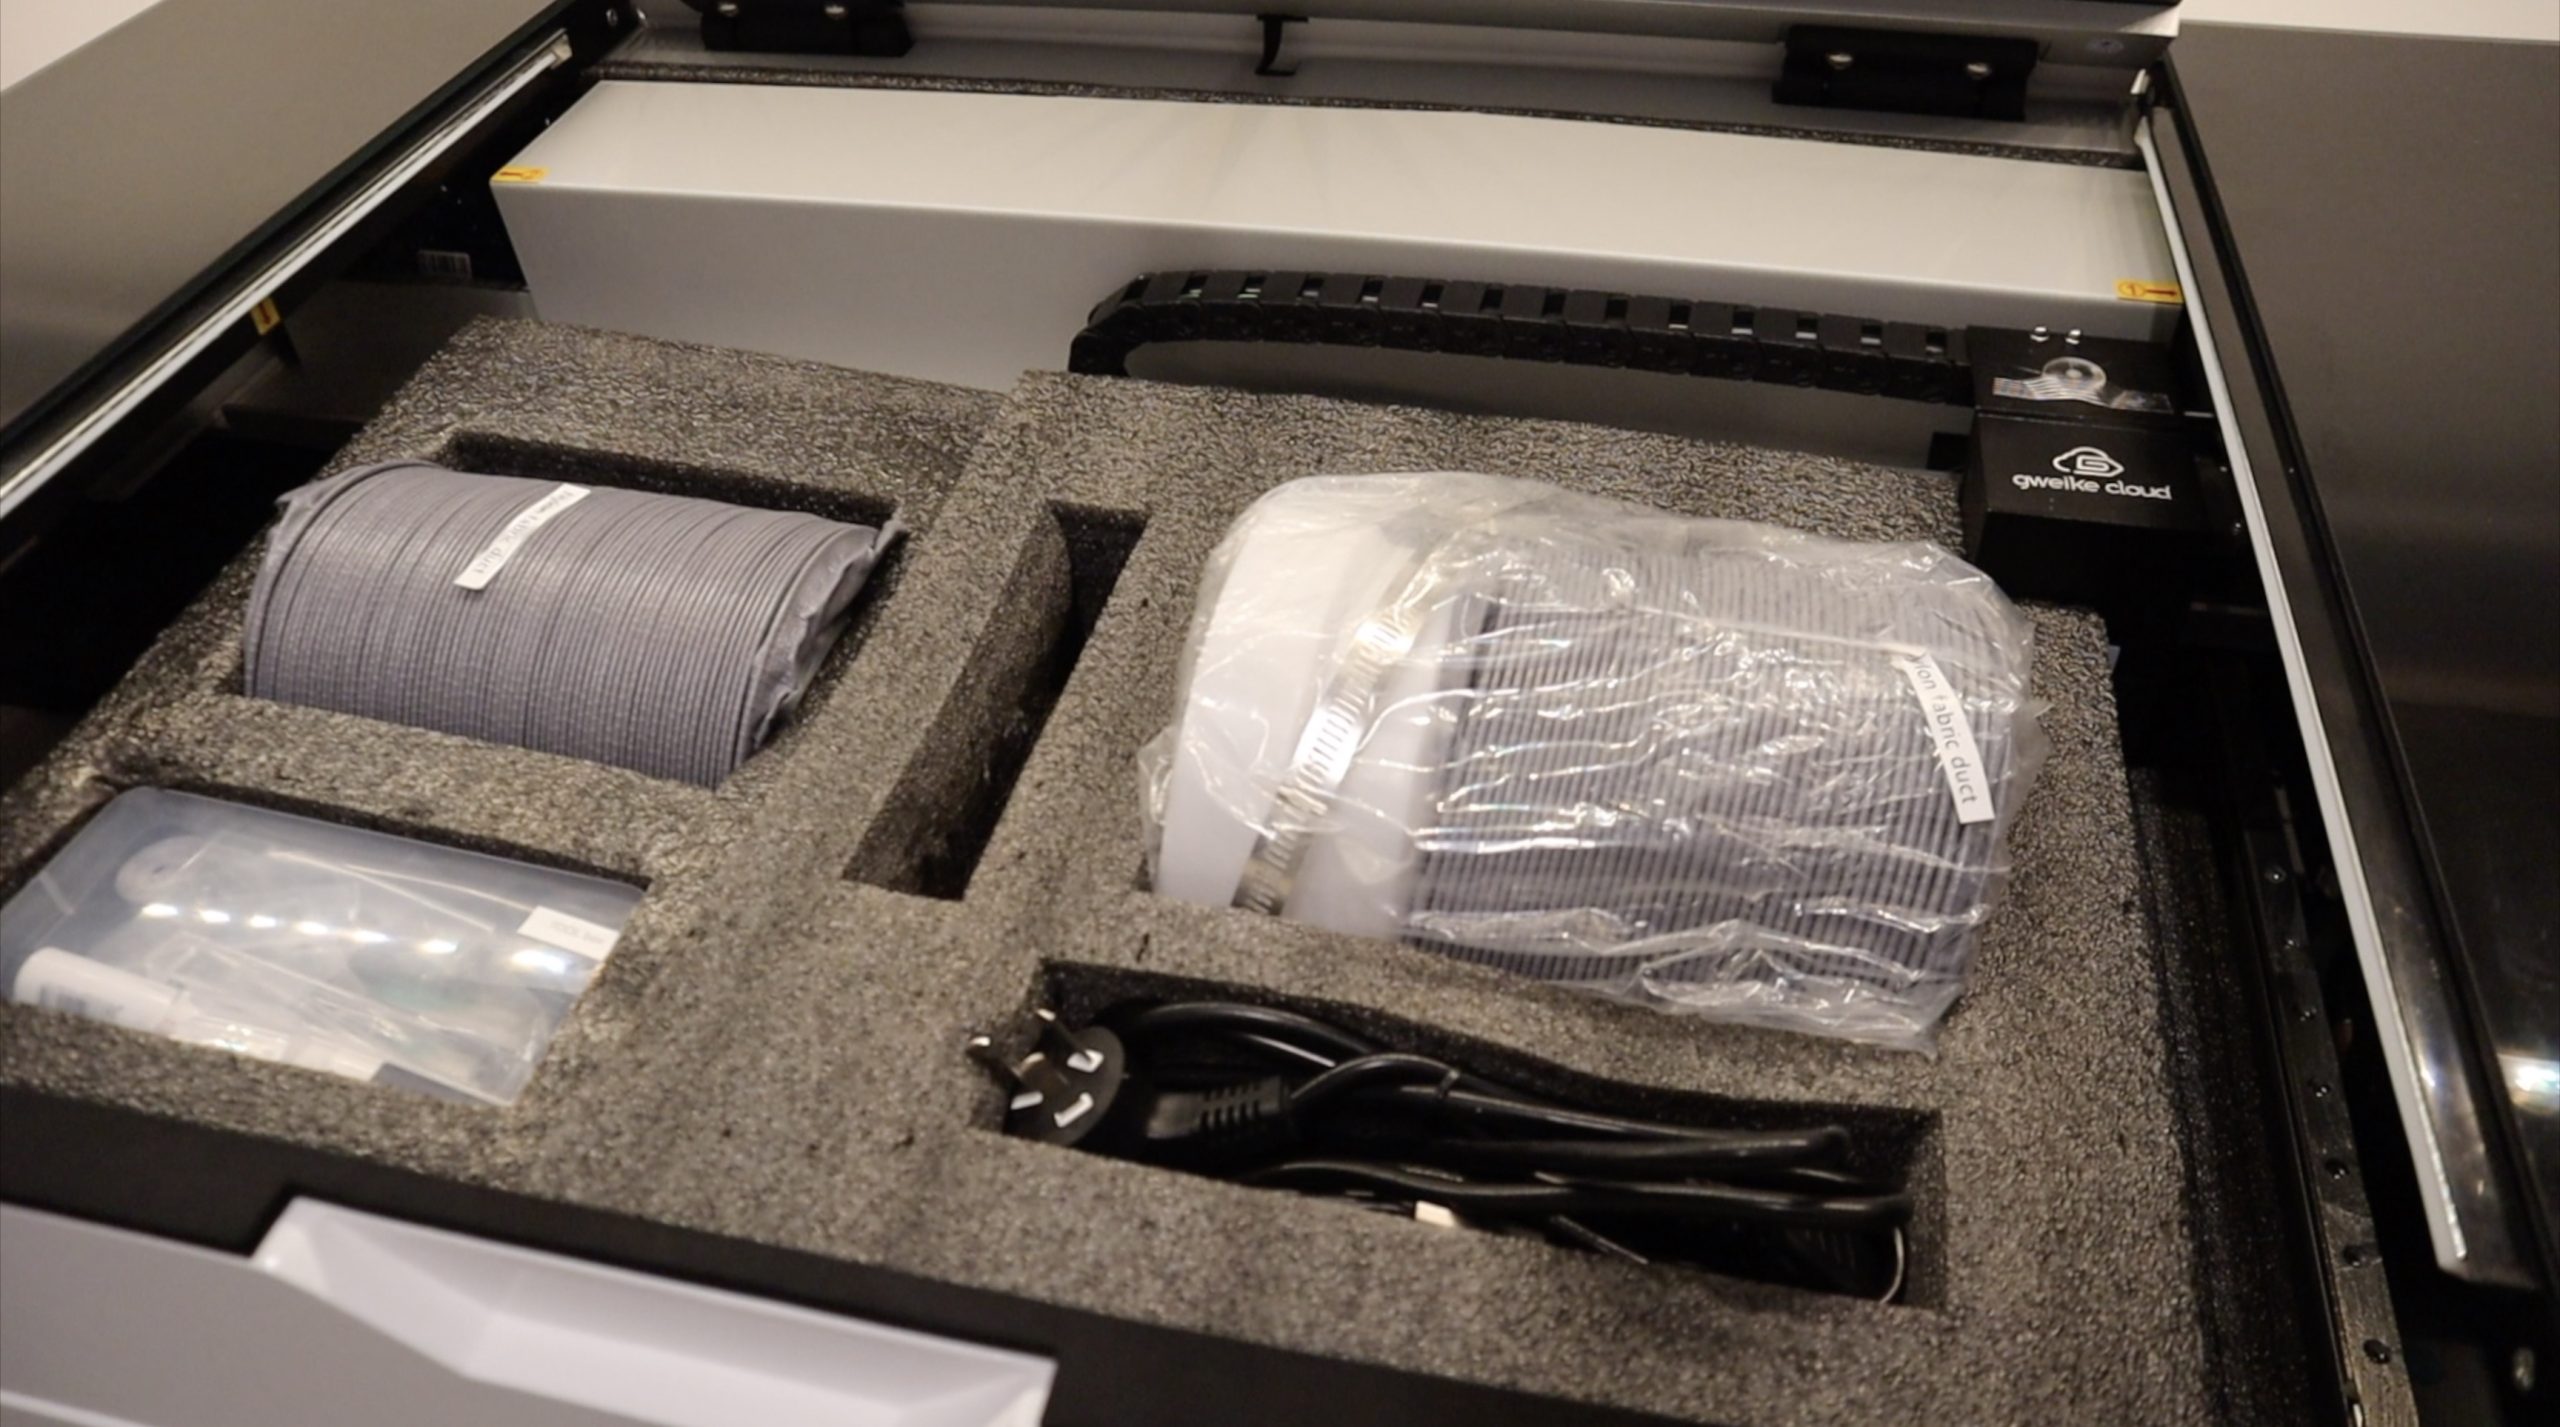
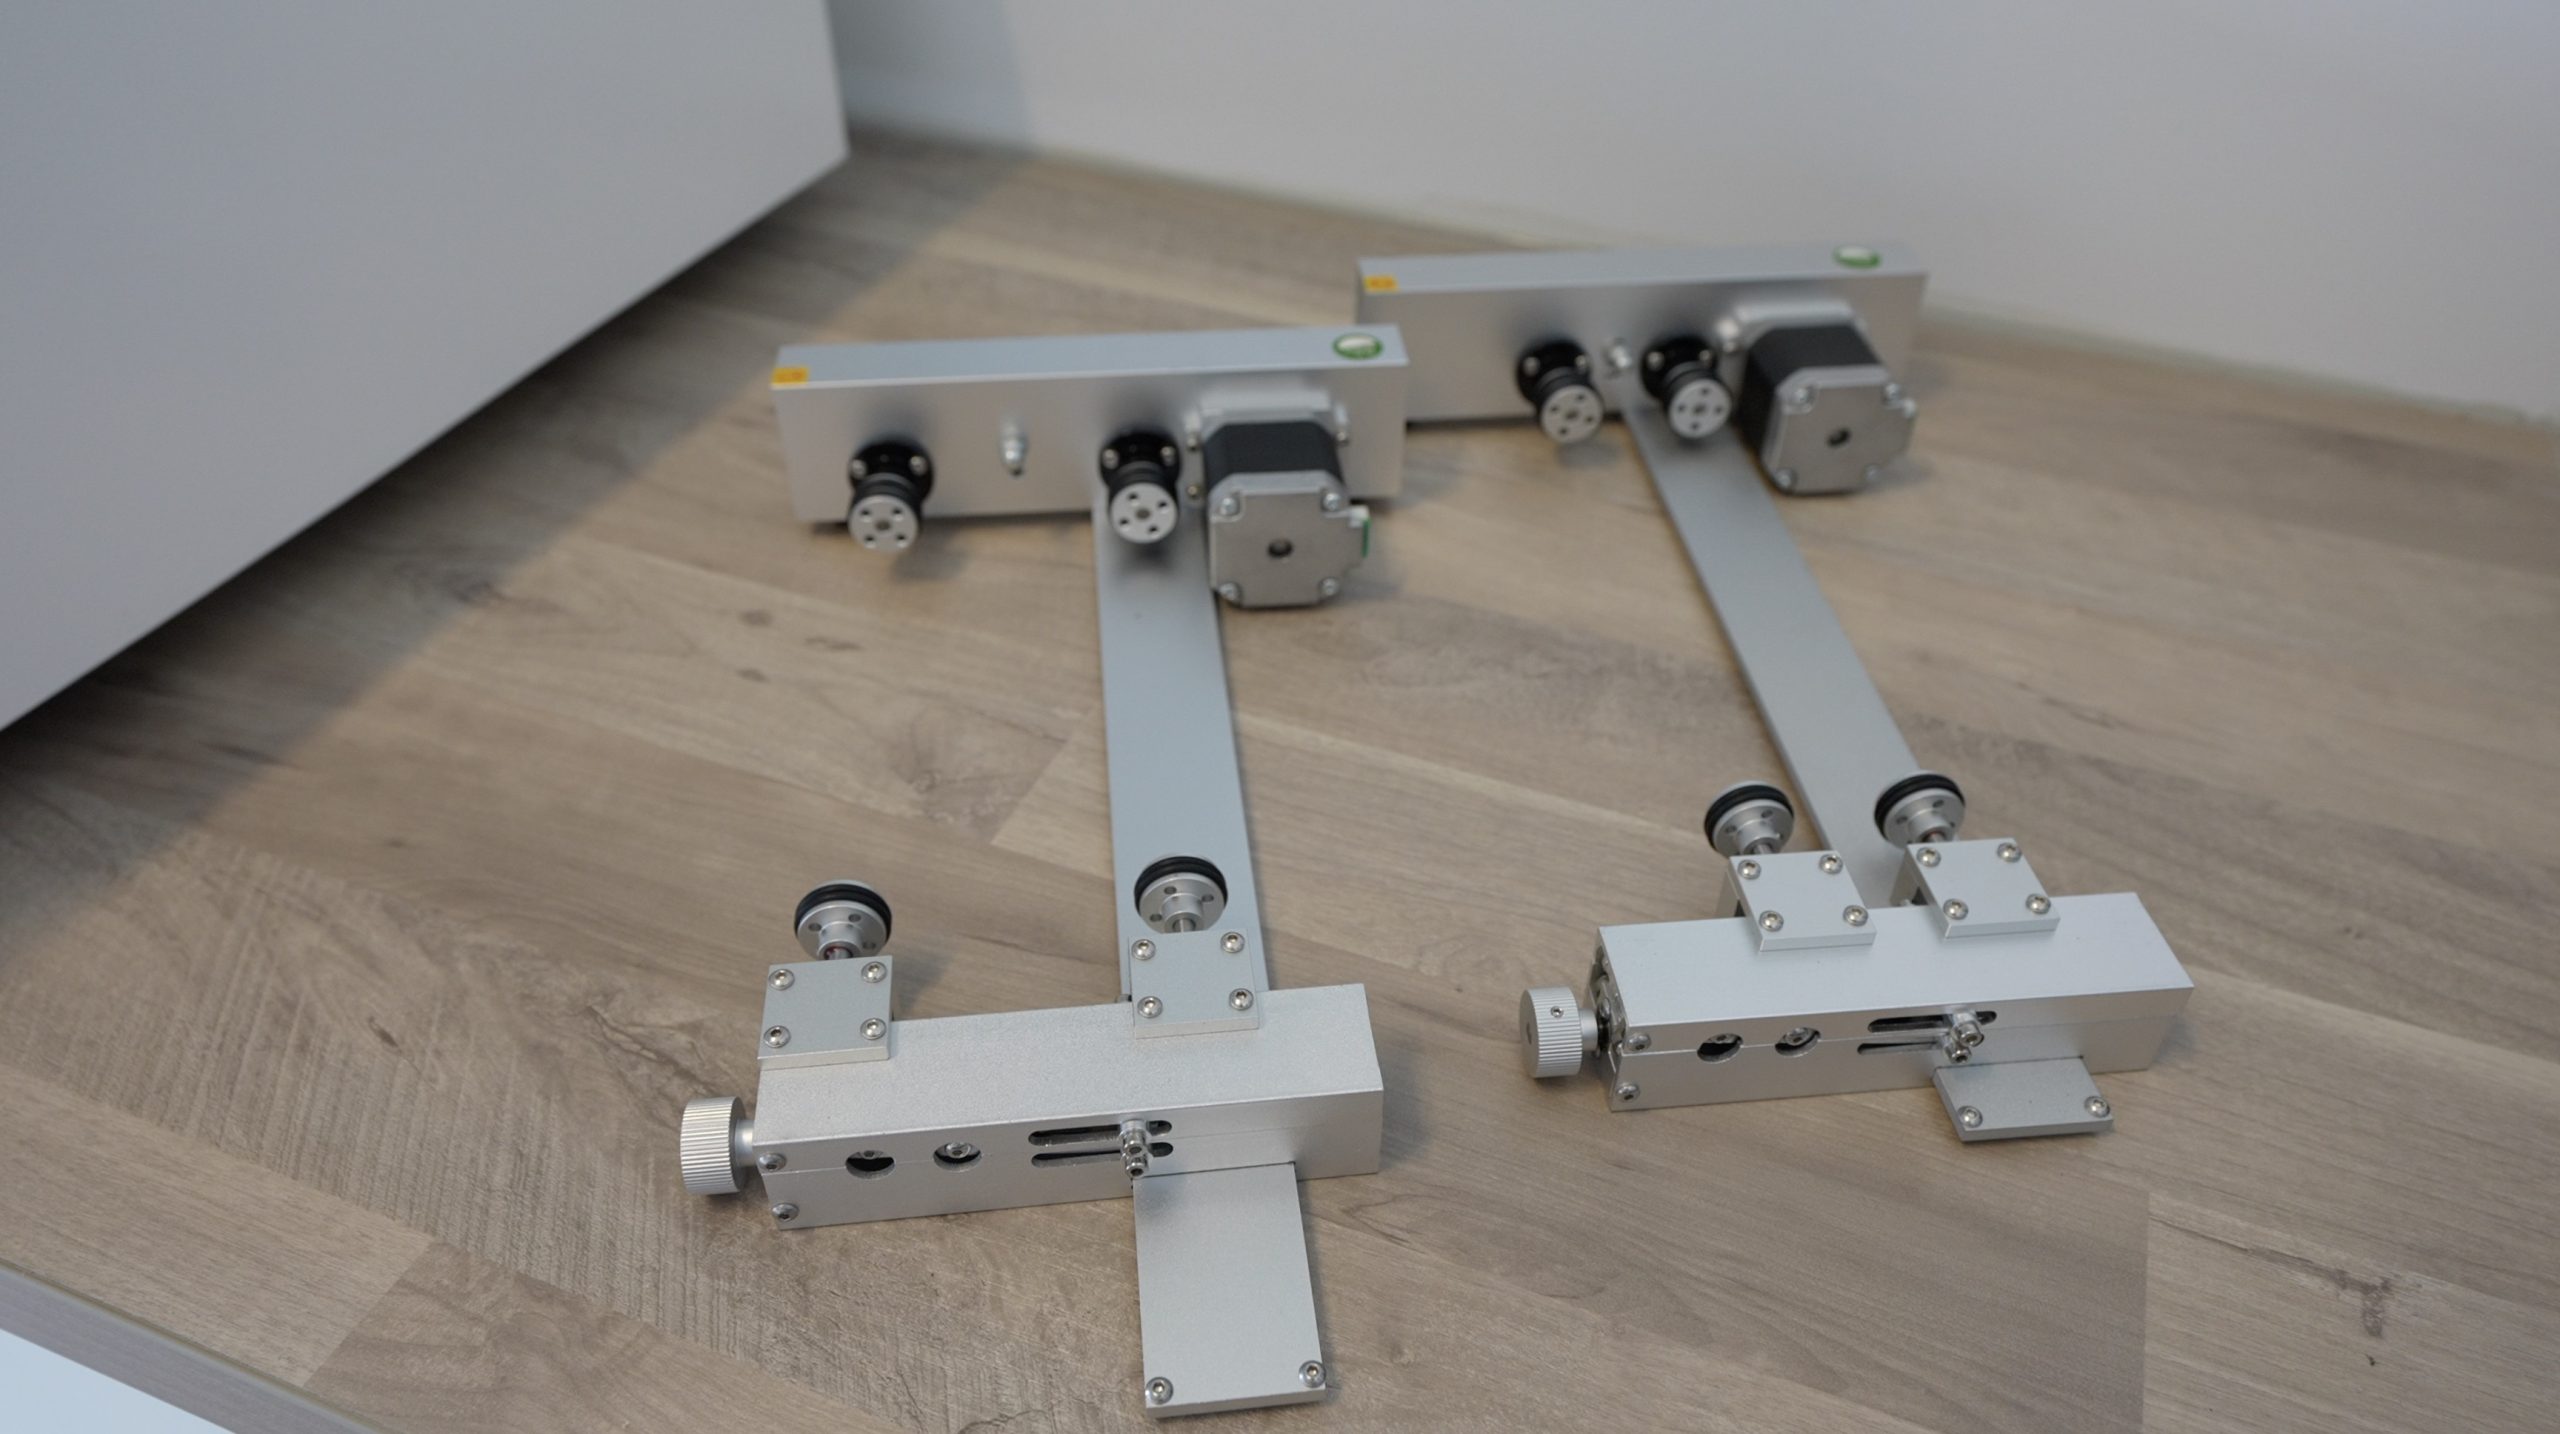
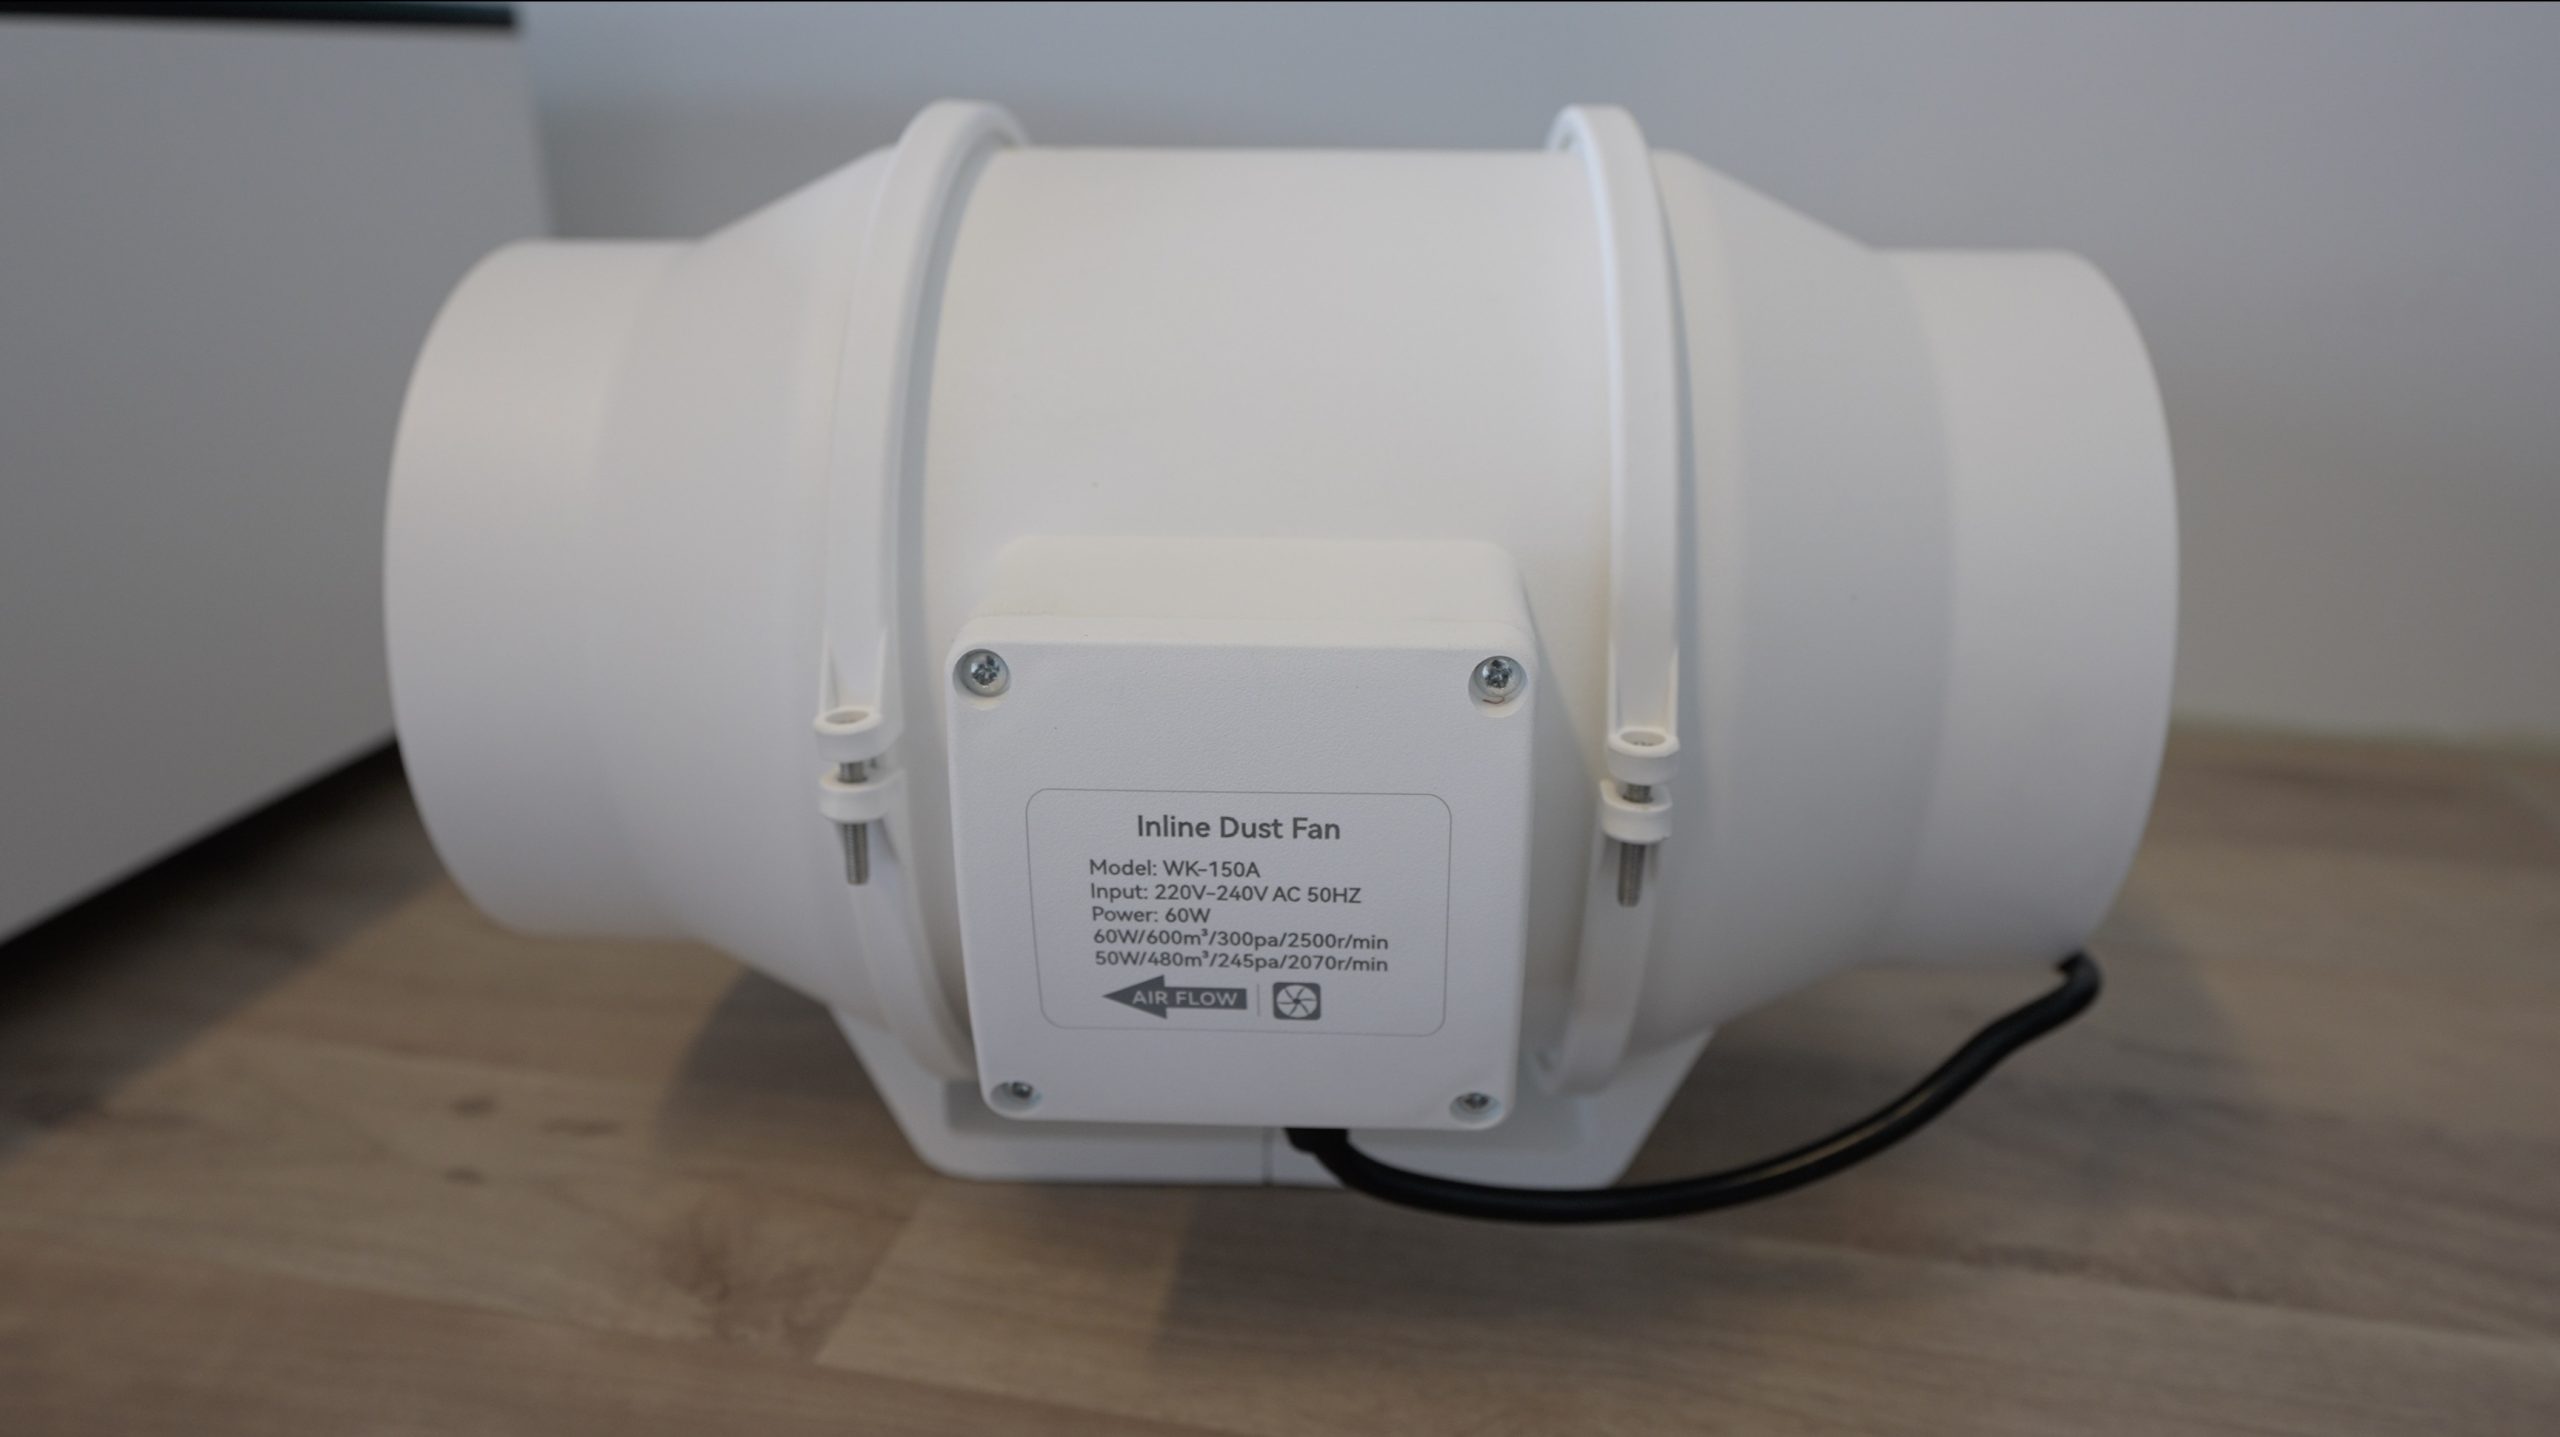
I’ve got the pro version that includes the rotary attachment and an exhaust ventilation fan.
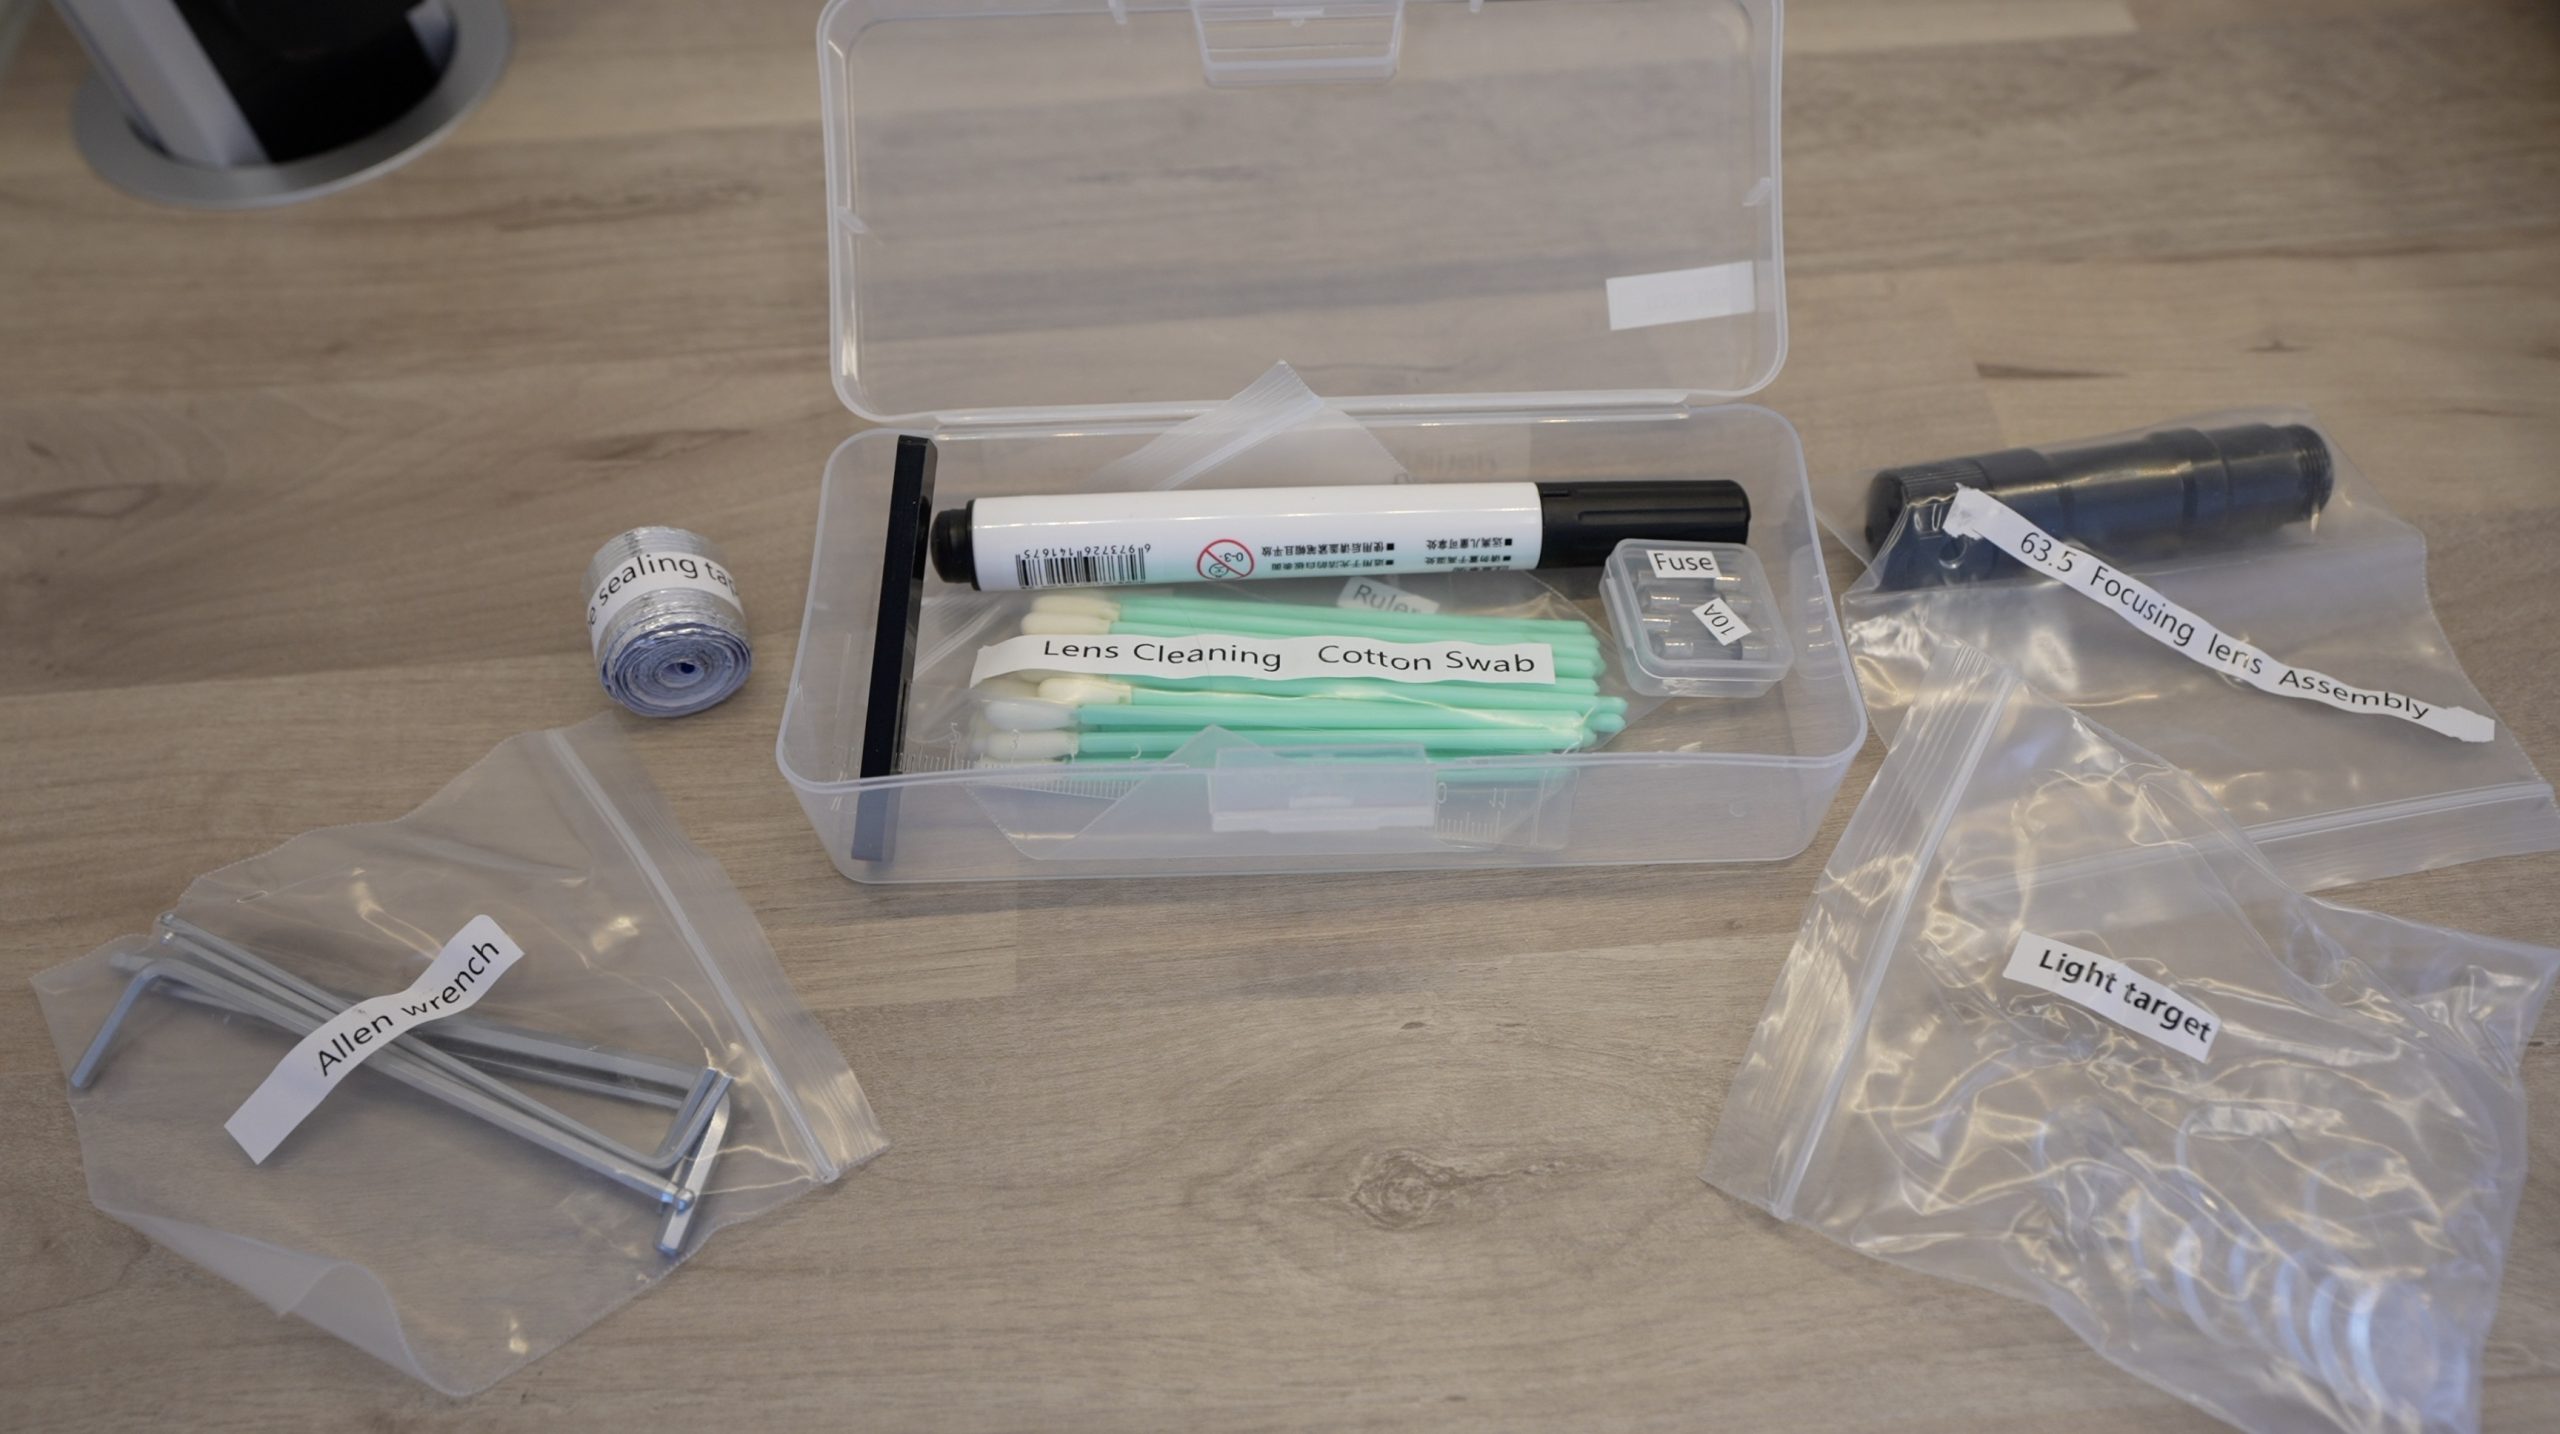
It also includes a basic toolkit as well as the USB cables, a USB camera cable adaptor to use the camera with Lightburn, and an Ethernet cable.

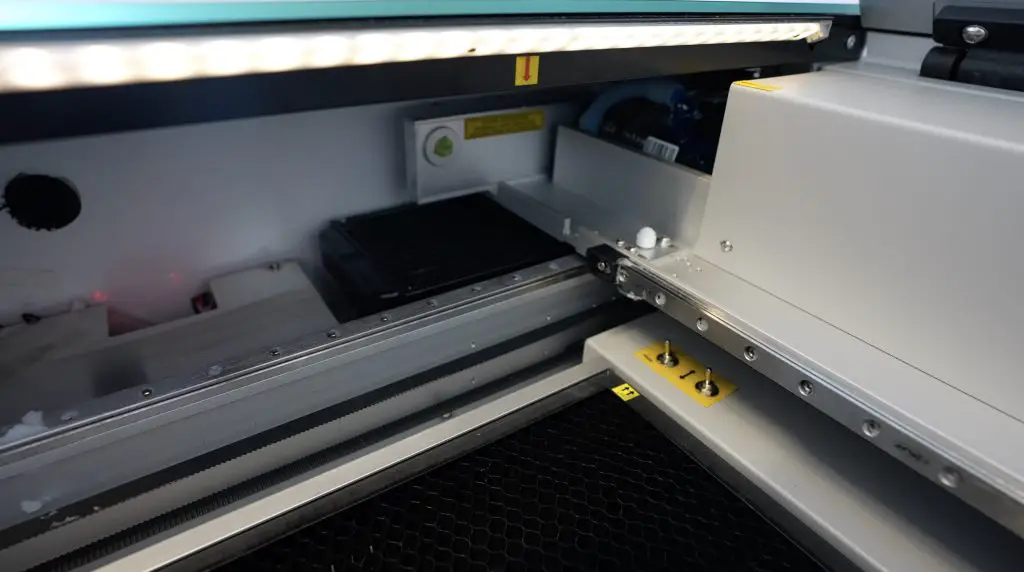
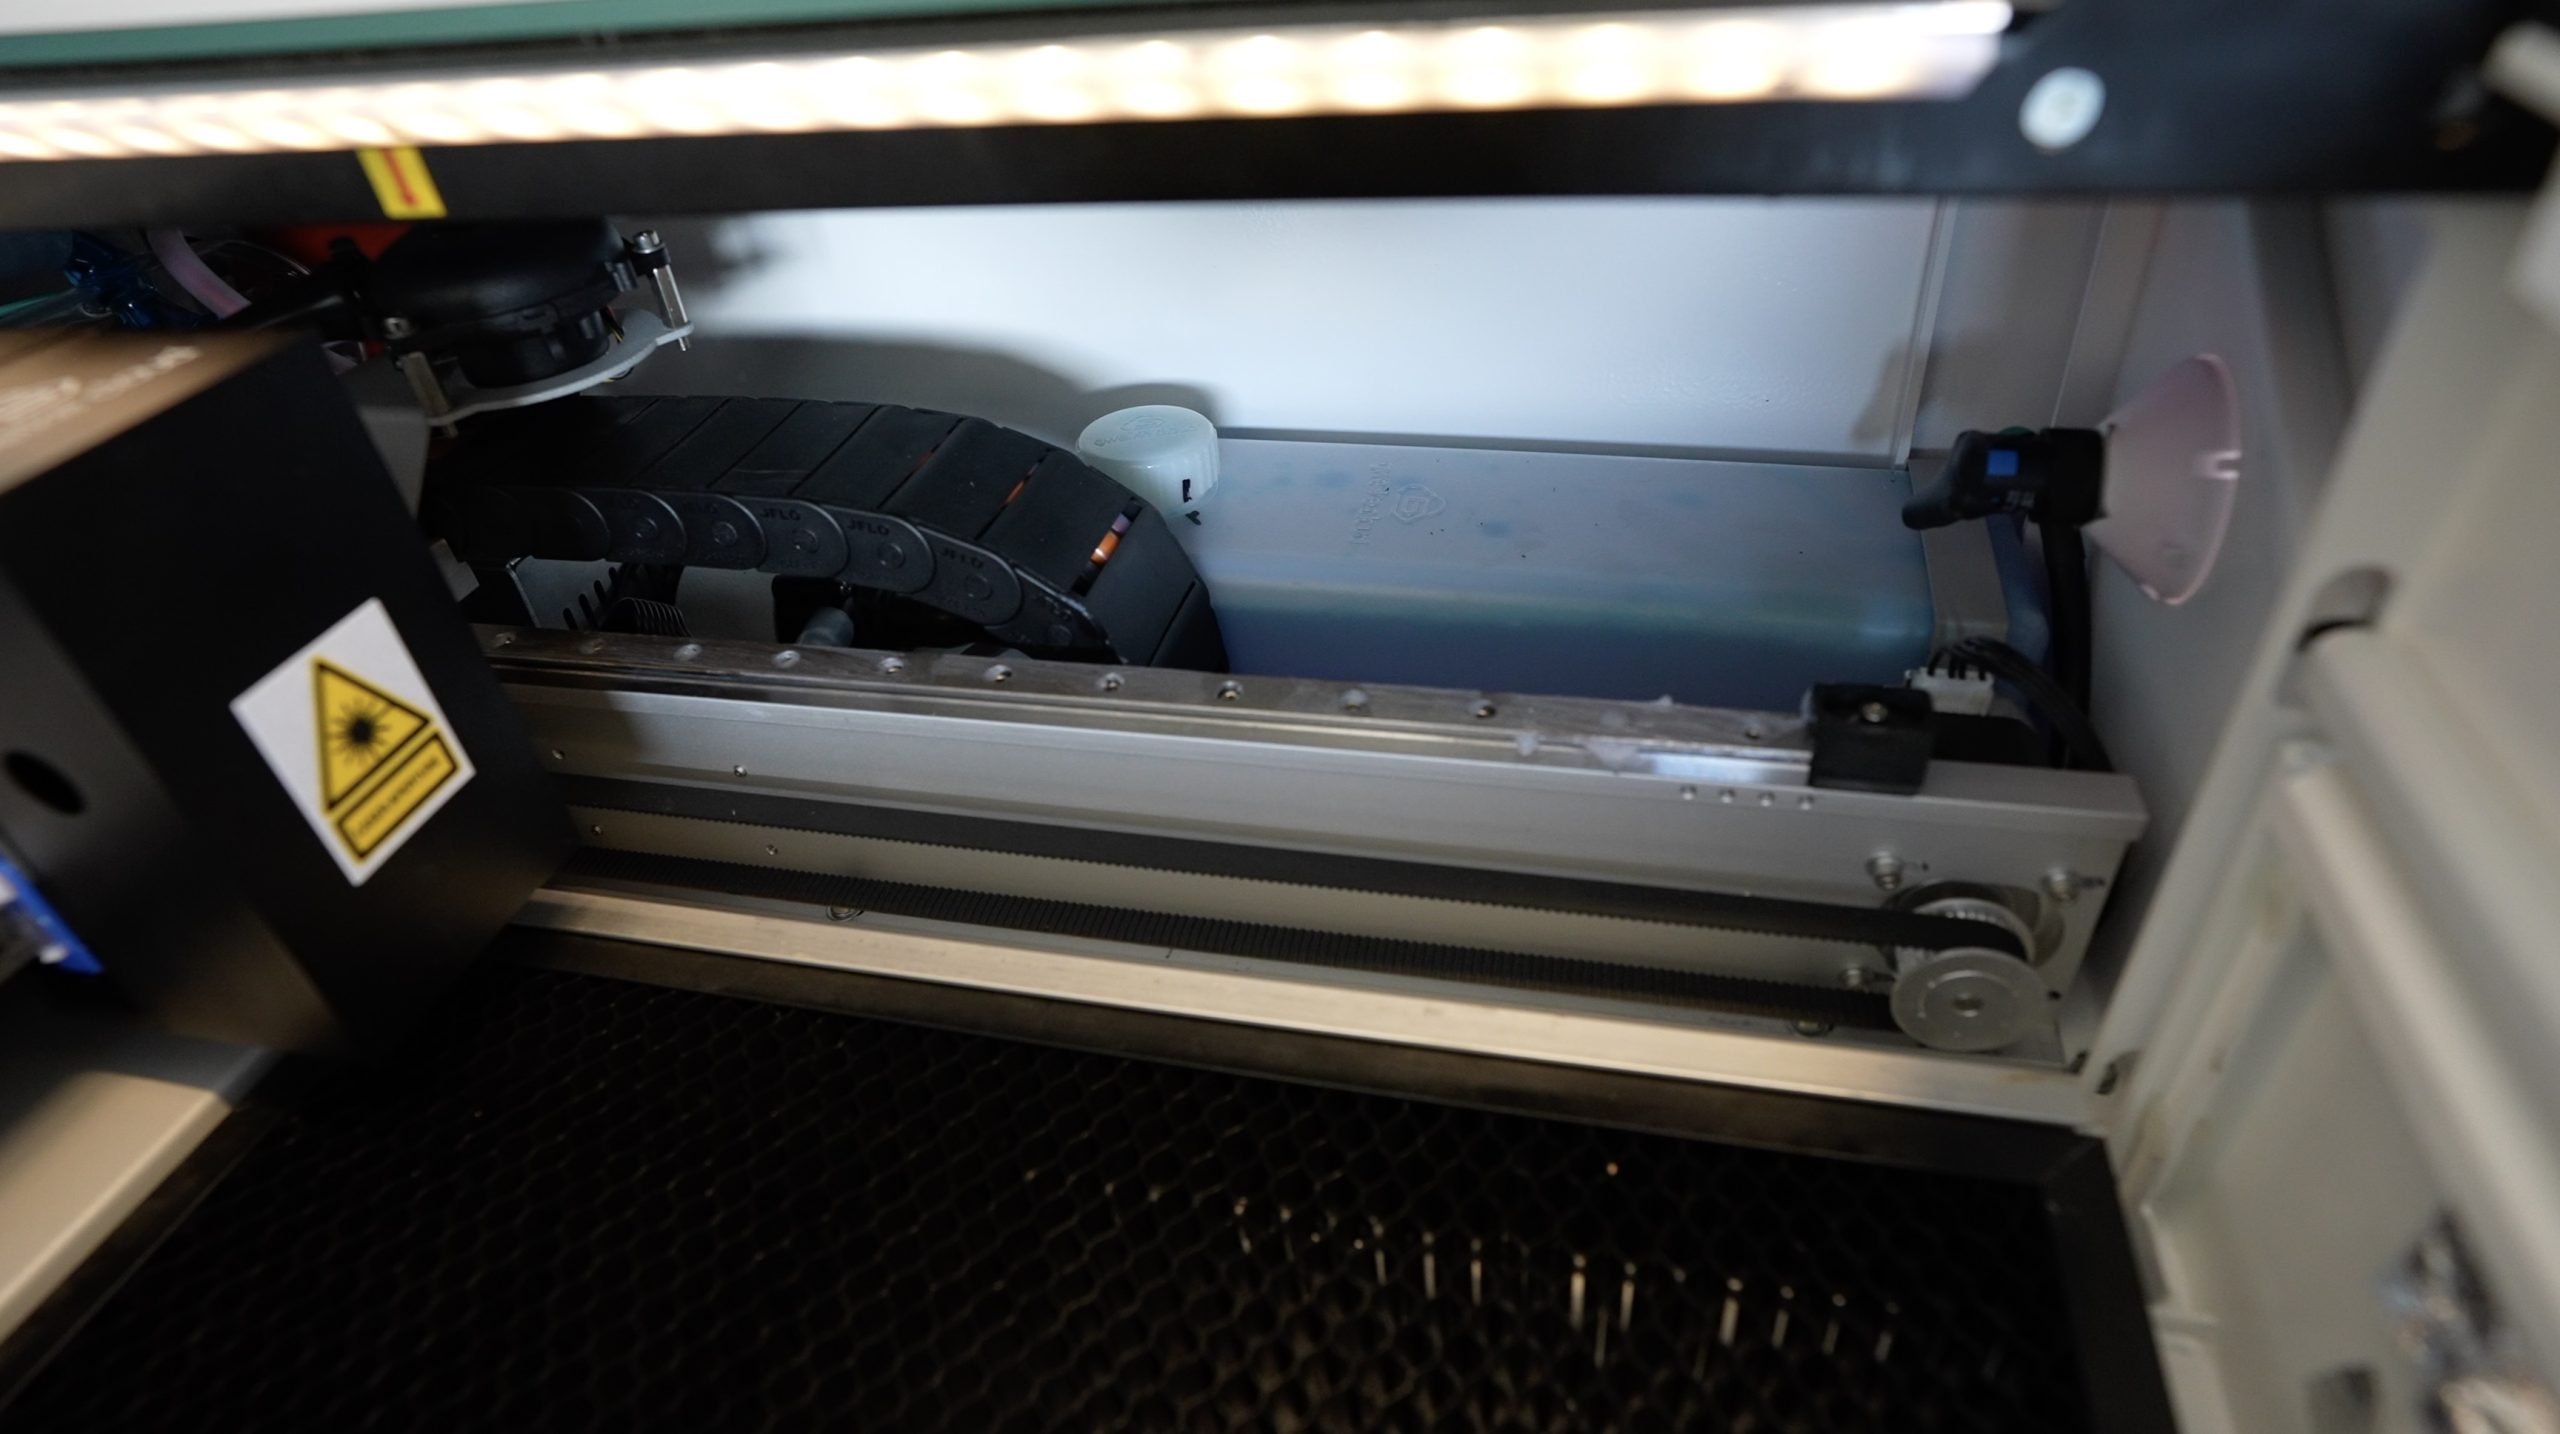
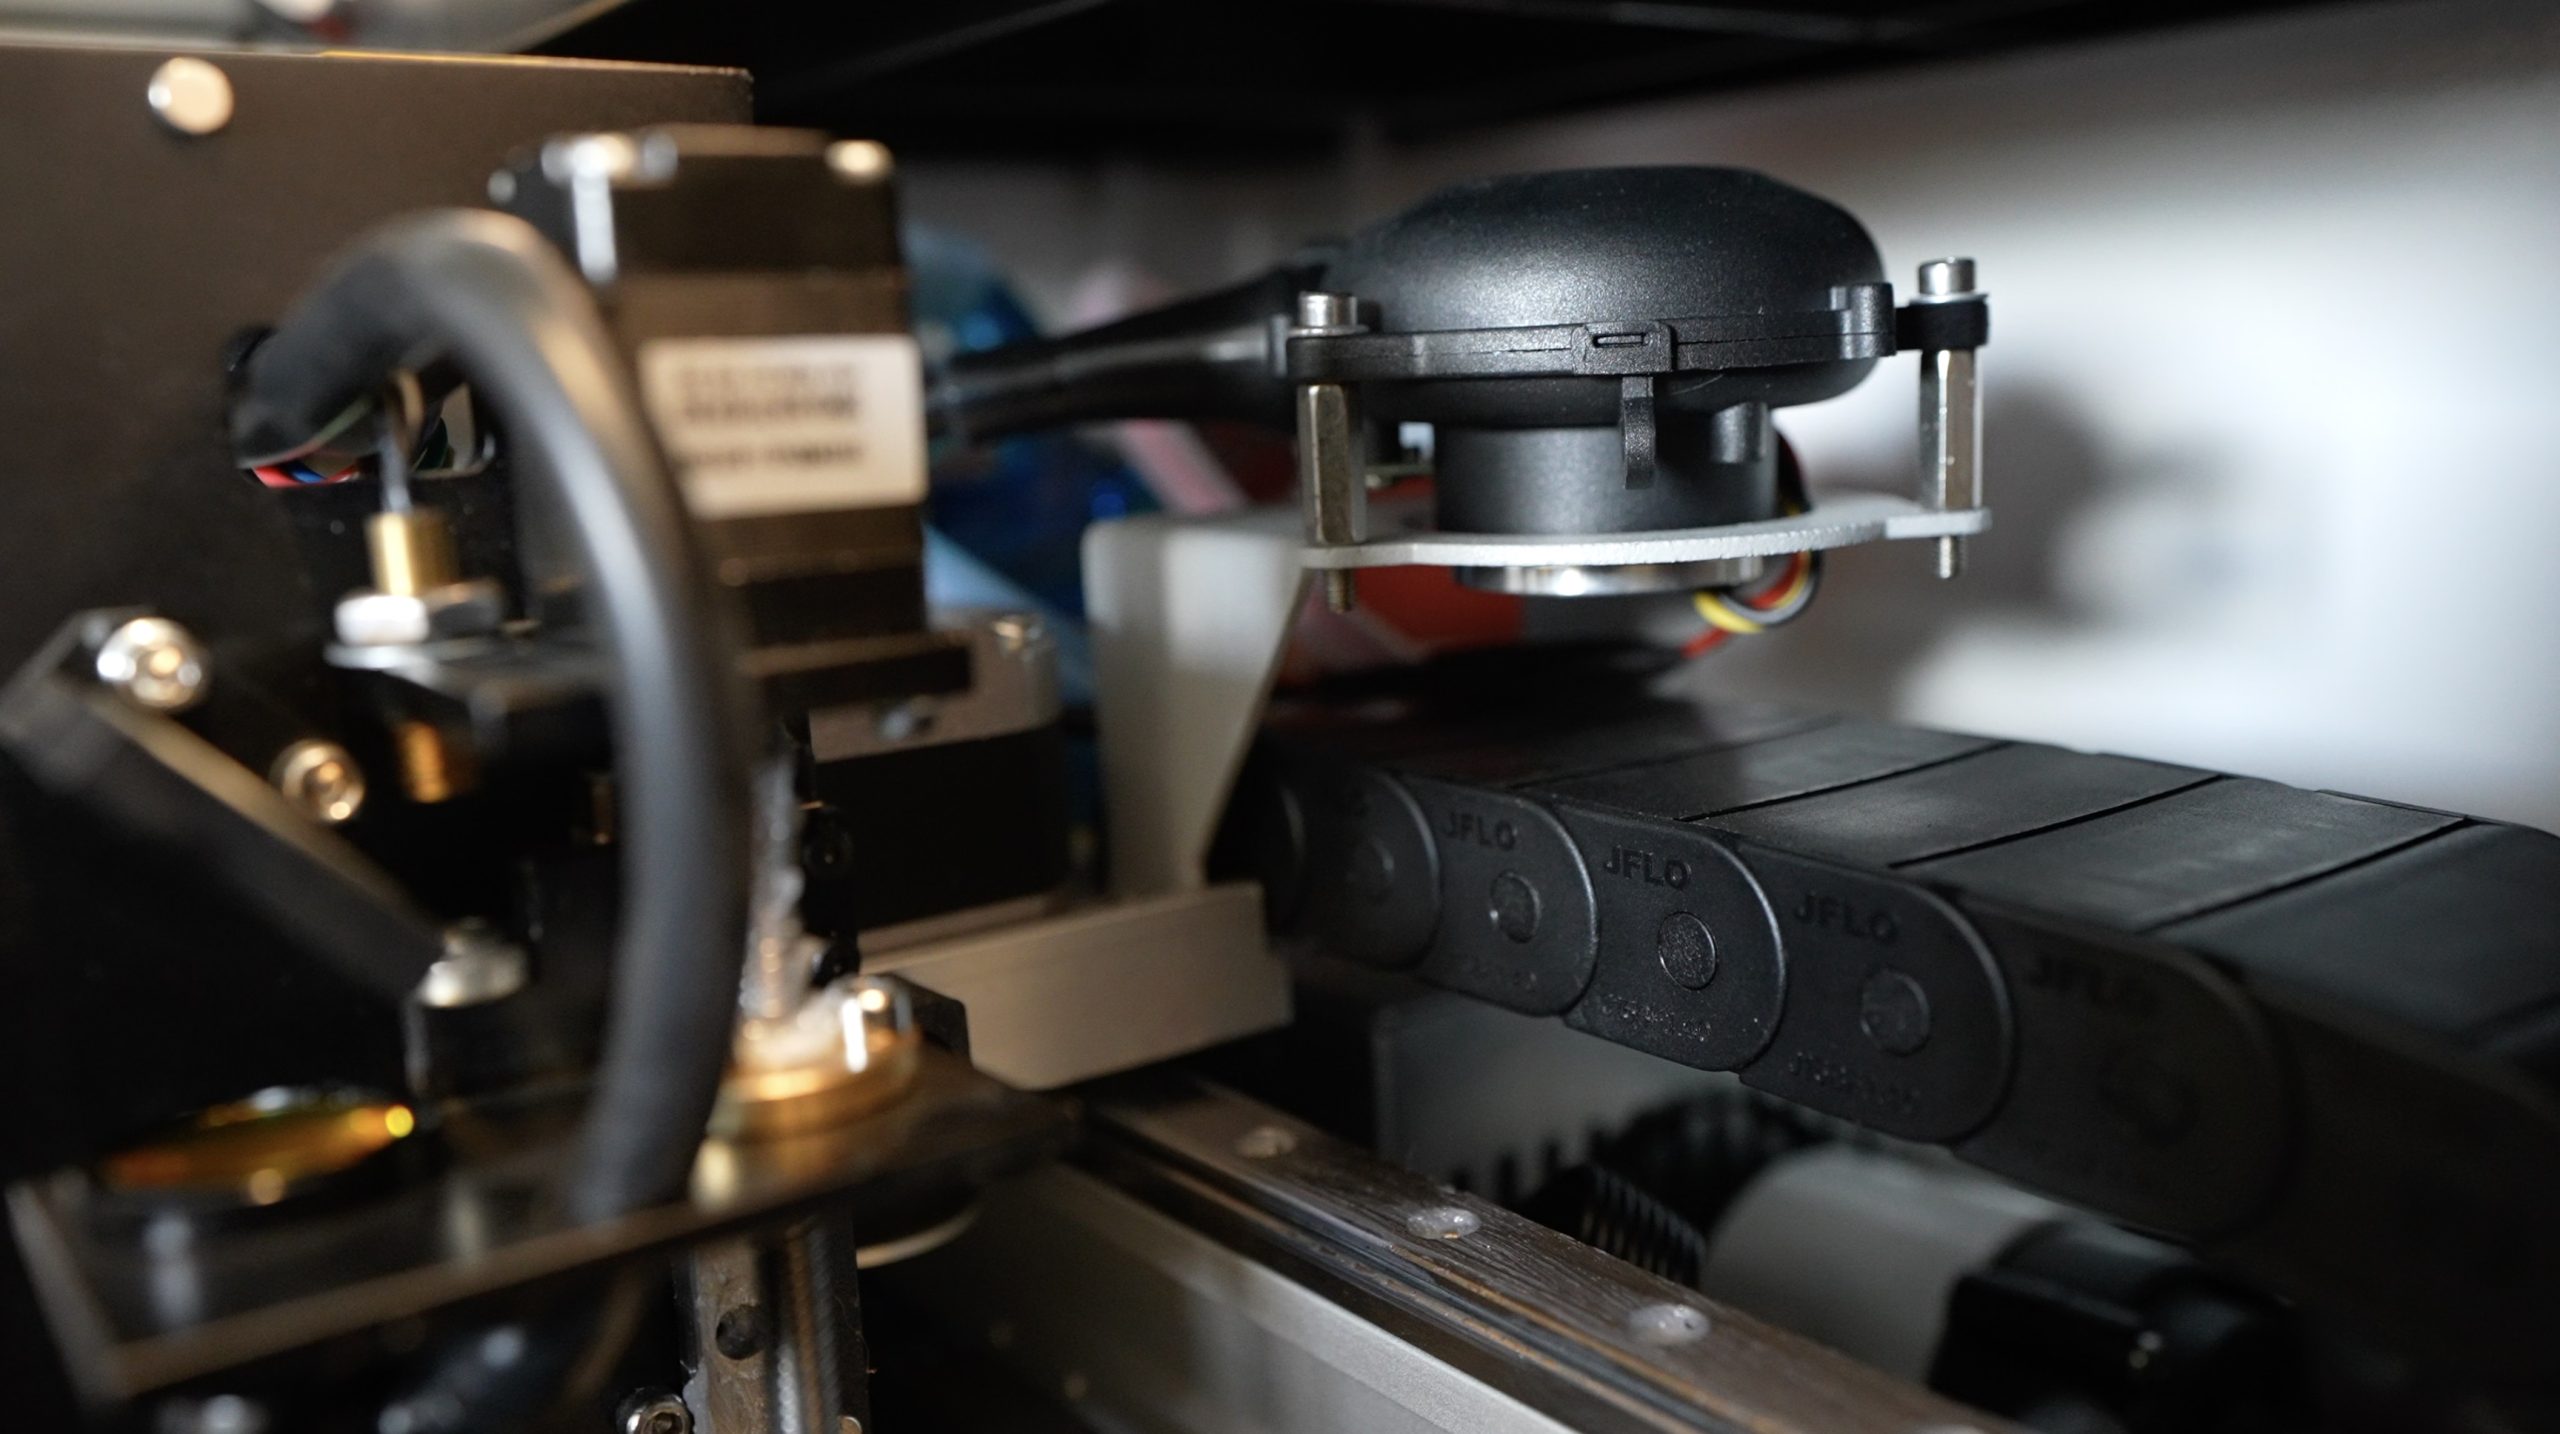
They’ve used really good quality components on the Gweike Cloud. It’s got linear rails for each axis, drag chains to support the tubing and cables and all metal covers and brackets.
The laser tube’s cooling system and air assist are also all built into the enclosure, so you don’t need any additional connections to water tanks with aquarium pumps or air compressors.
The actual enclosure is sheet metal, so it’s rigid and durable, and the top is tempered glass. All around, it feels like a premium product, and one which some thought has gone into.
Other than removing the packaging materials, you just need to connect the air filter or exhaust fan to the outlet on the back and then connect it to your network or computer.
Using Gweike Cloud’s Online Software
To use their cloud platform, you connect the laser to the internet using WiFi or a wired Ethernet connection. They suggest using a wired connection if your machine is positioned further than a couple of meters from your WiFi network – I guess the all-metal enclosure reduces the WiFi range of the controller.
You then need to register an account and input your machine’s details. You’ll then be ready to start cutting and engraving from your browser.

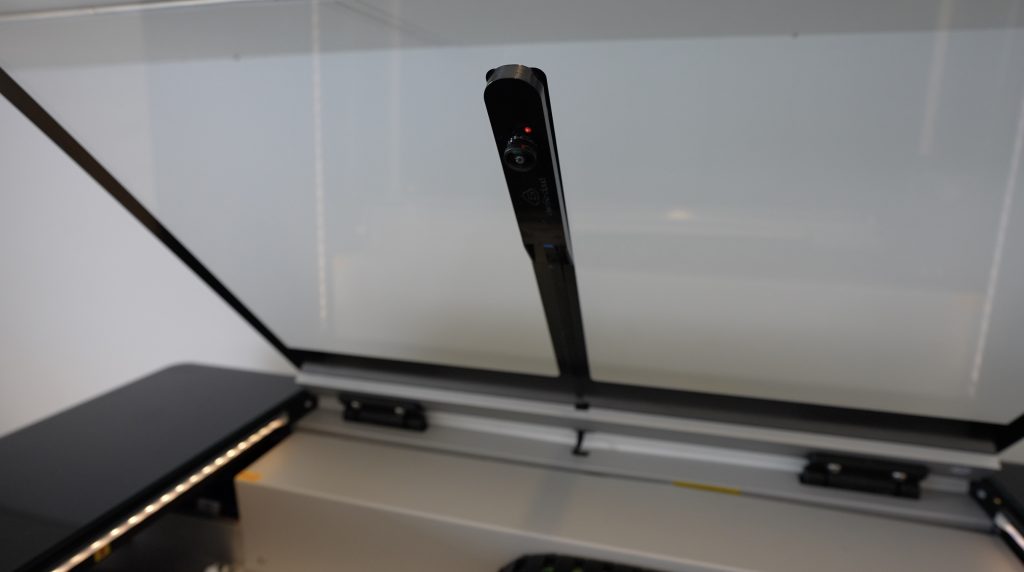
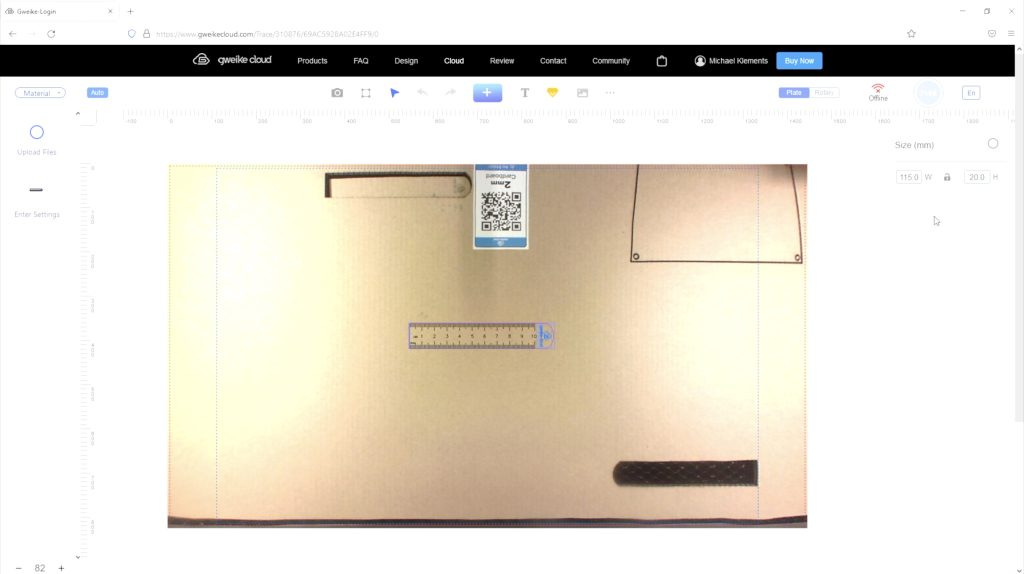
This works quite similarly to the Glowforge, you upload your file or choose from an extensive range of free online models, place the files into the print area using the built-in camera to guide the placement and then click print. The machine code is then sent to the machine and you can start your print by pressing the big button on the top, which goes green when ready.
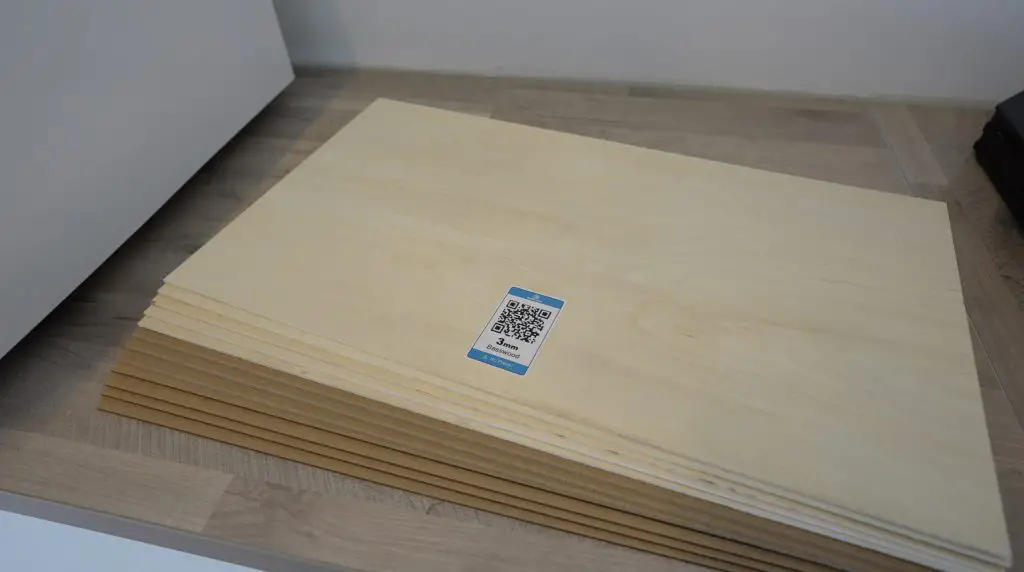
The machine also recognises their branded materials (available through their web store) using QR codes on each sheet. It’ll then automatically adjusts the focus and cutting or engraving settings to suite the material. So they’ve made it really easy to get started if you’re new to laser cutting and engraving.
I prefer using a local software package on a computer as I feel like this gives me better control over the settings. This machine works really well with Lightburn. So that’s what I’m going to use to make up the Raspberry Pi cases.
To use Lightburn, we just need to hook the laser up to a computer using the included USB cable, then install the USB driver and it’s ready to go.
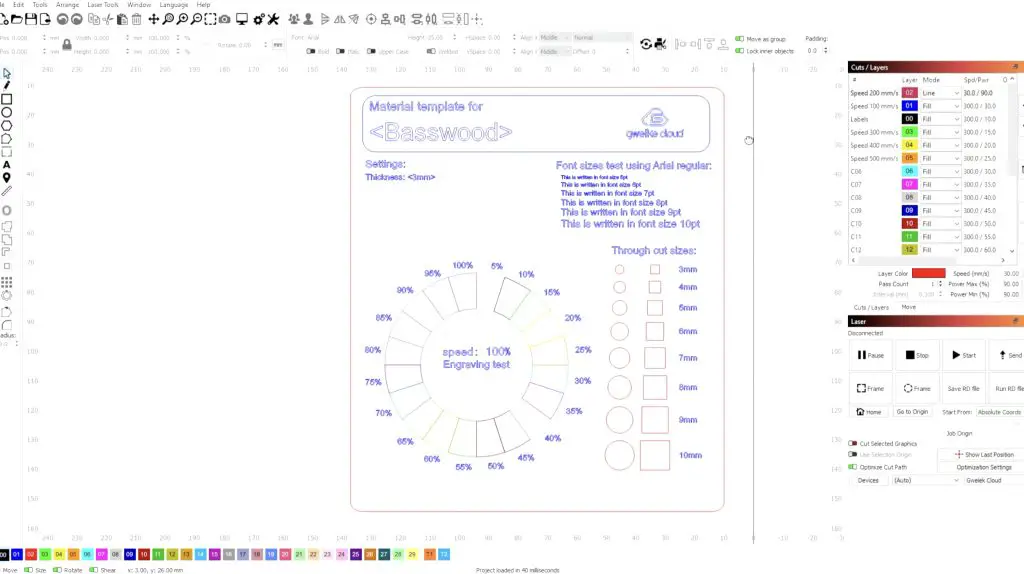
Cut And Engrave Test File
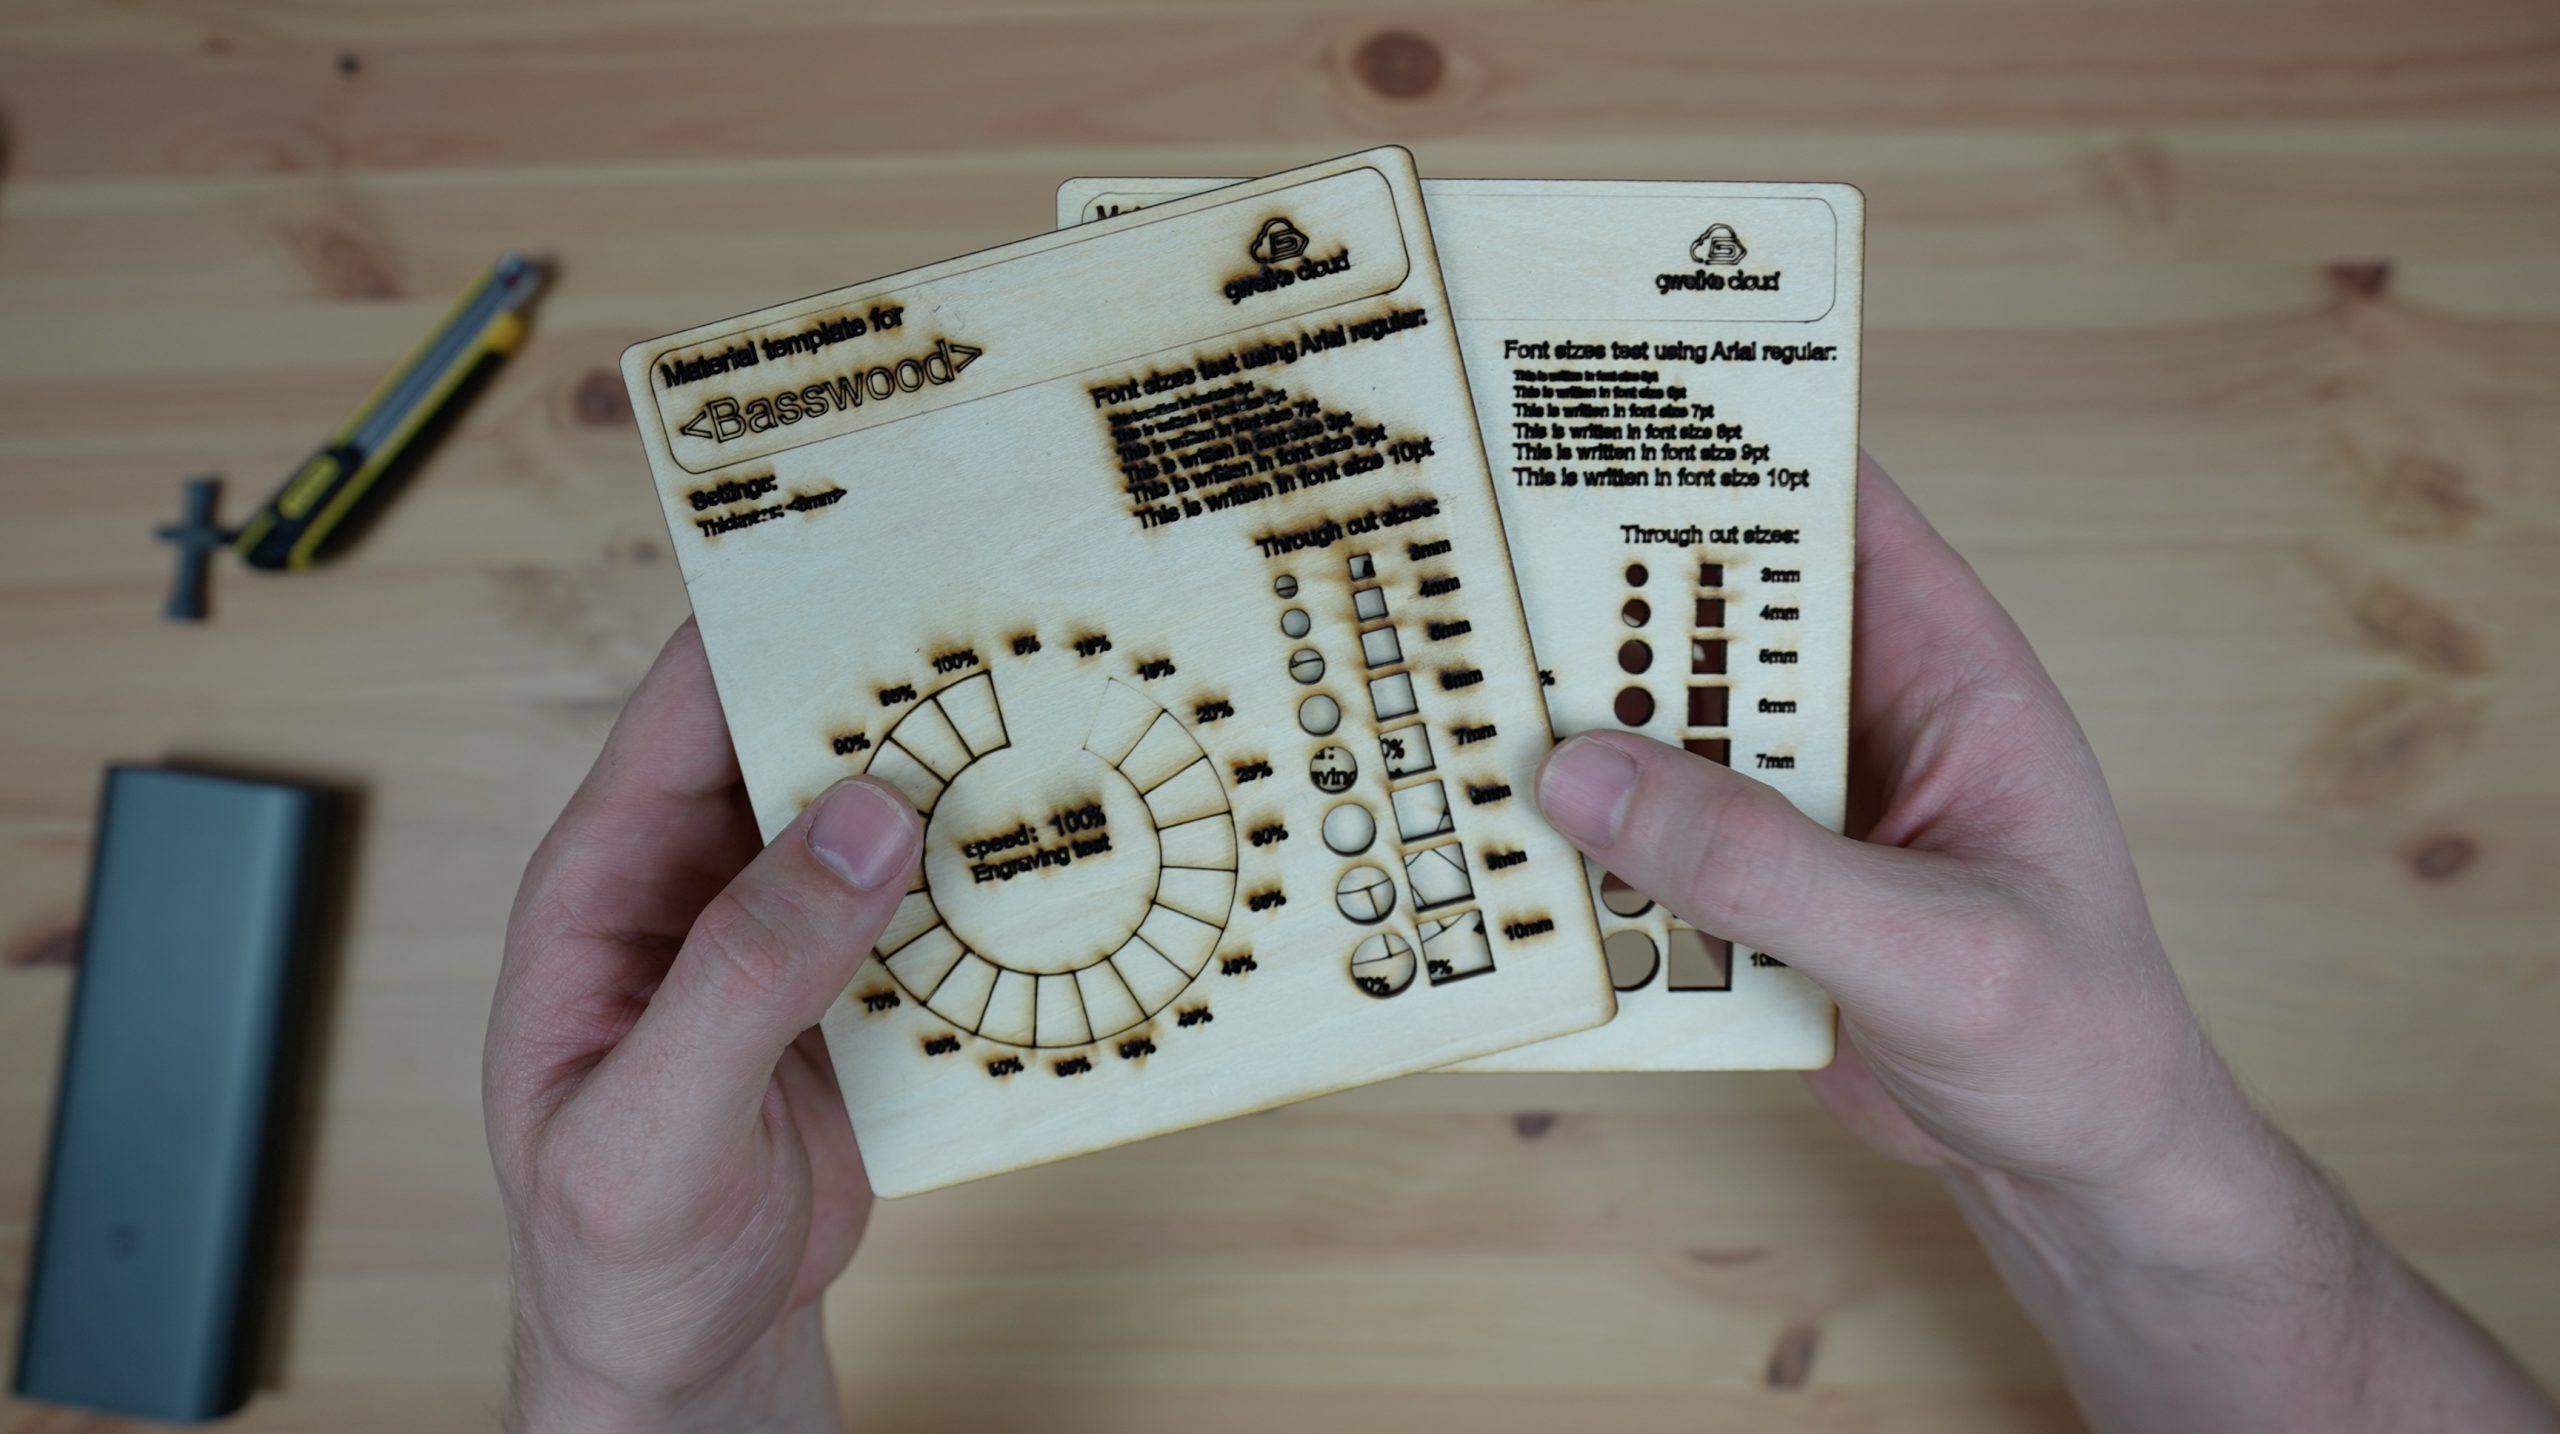
Gweike sent me a test file to try out first. This file demonstrates some of the cutting and engraving capabilities of the machine. The cutting is done at 30mm/s and 90% power and the engraving is all done at 300mm/s (this equates to 100% speed in their Cloud Software). The text is all engraved at 30% power and the engraving test ring starts at 5% power and increases to 100% power, with a 5% increase for each segment.
The speed of the Gweike Cloud is quite a lot faster than the Glowforge and my K40. The Glowforge is difficult to compare to as they only use a scale of 0-100% (they don’t use any actual metrics for speed), but articles I’ve found online suggest that the maximum speed is somewhere around 120-140mm/s. My K40 typically does 100mm/s for engraving and I use about 15mm/s for cutting plywood like this, so this machine is around three times faster at engraving and double the speed at cutting. Be careful when comparing these values with diode lasers as they typically quote their speed in mm/min, not mm/s like this. So when diode lasers say they can reach 10,000mm/min, that’s only a little over 160mm/s, so this machine is faster than most diode lasers available at the moment as well.
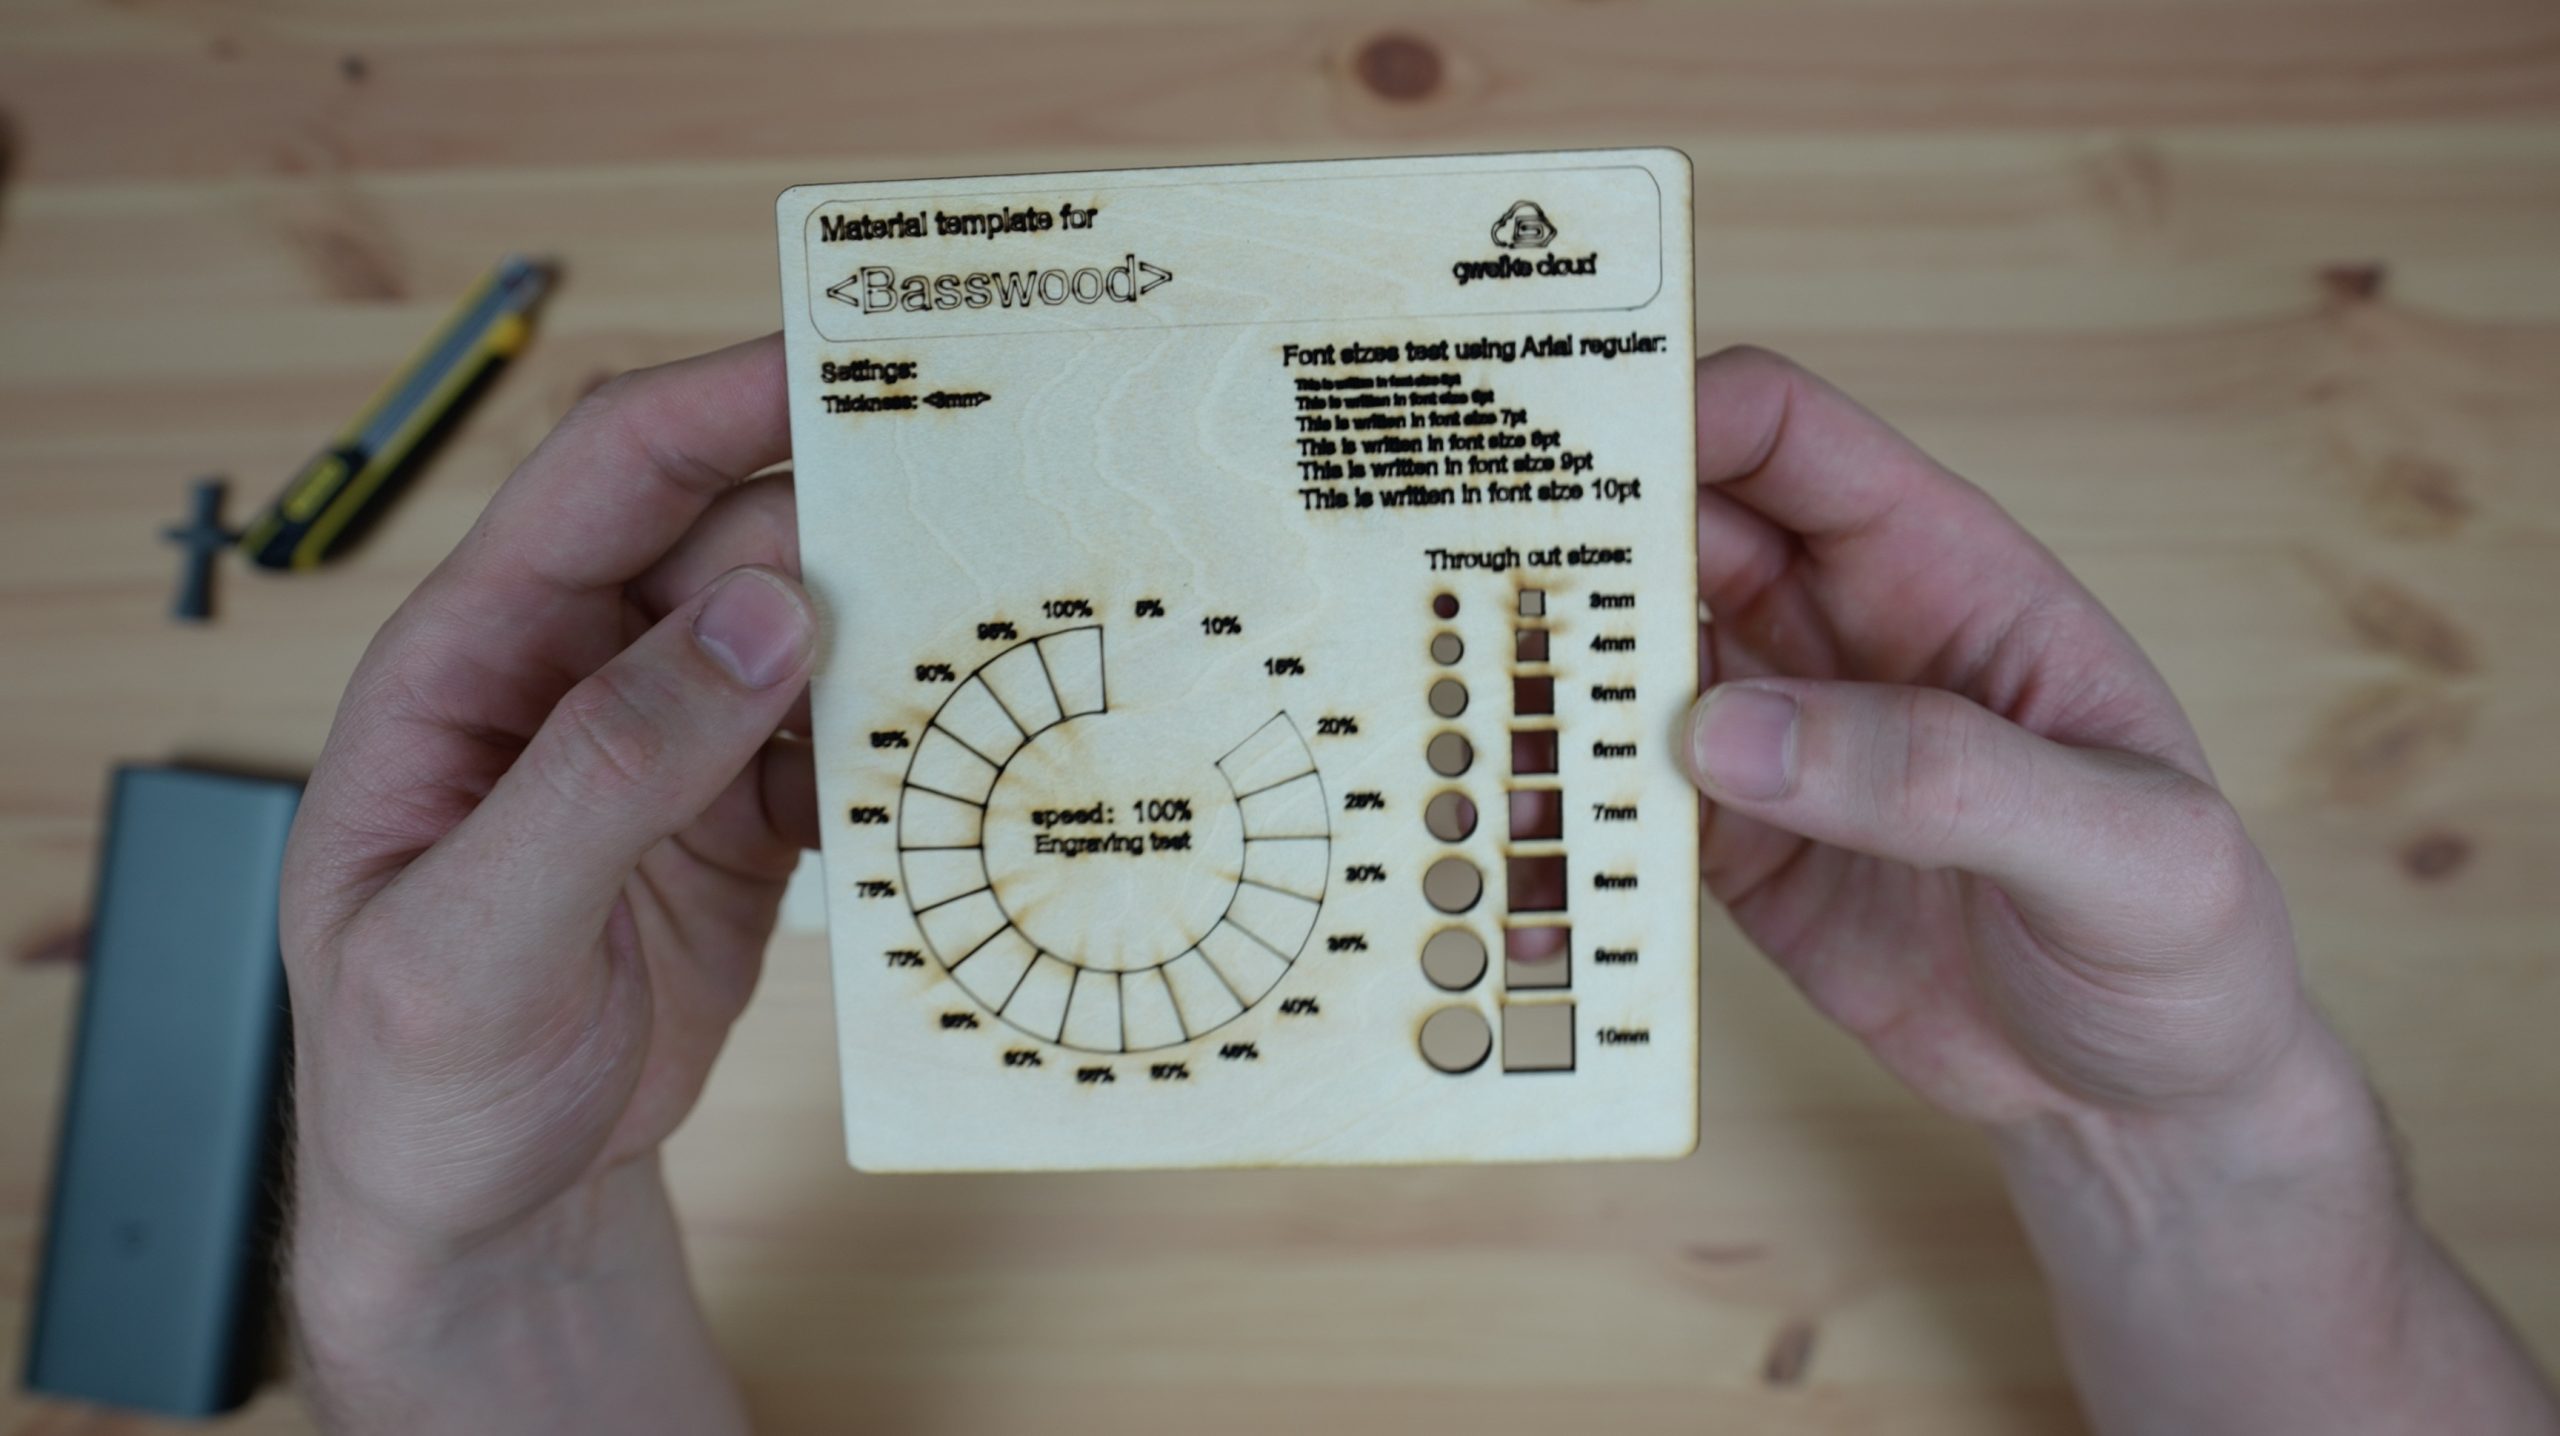
The first test using the default settings seemed to be overpowered on the text engraving, it burnt almost all the way through the wood and was virtually unreadable.

I did a second test at the same speed but with the power reduced to just 18% and I turned off the air assist to reduce the smoke marks around the engravings.
The second test file came out much better than the first.
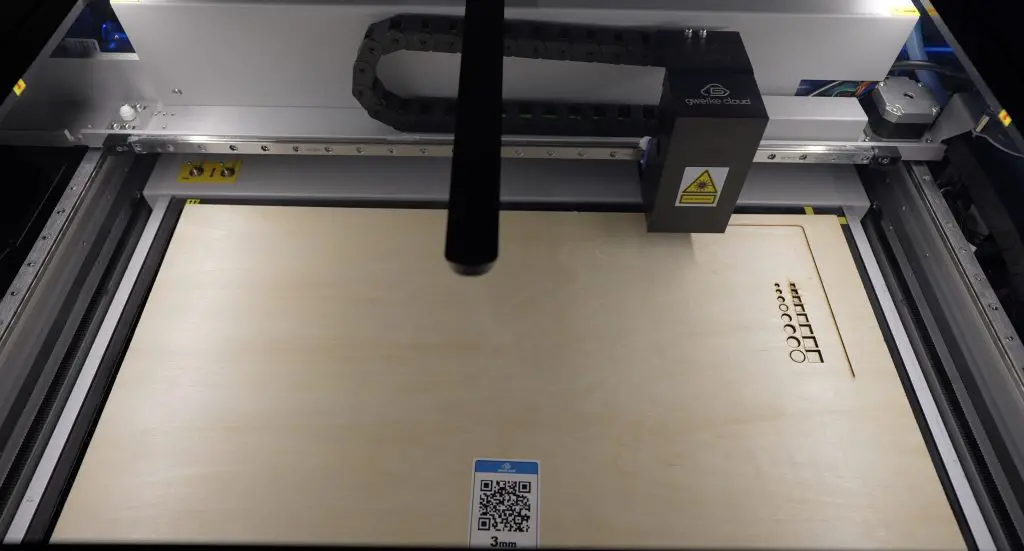
The fully enclosed cutting area and strong ventilation system work really well, There was no leakage into my workshop and no visible buildup of smoke within the machine either, even when producing quite a lot of smoke during cutting.
For me, I’m less interested in the speed and more interested in the quality and accuracy of the cuts. I’m not mass-producing anything, so I’d rather slow the machine down and get better quality work, even if that takes a few extra minutes.
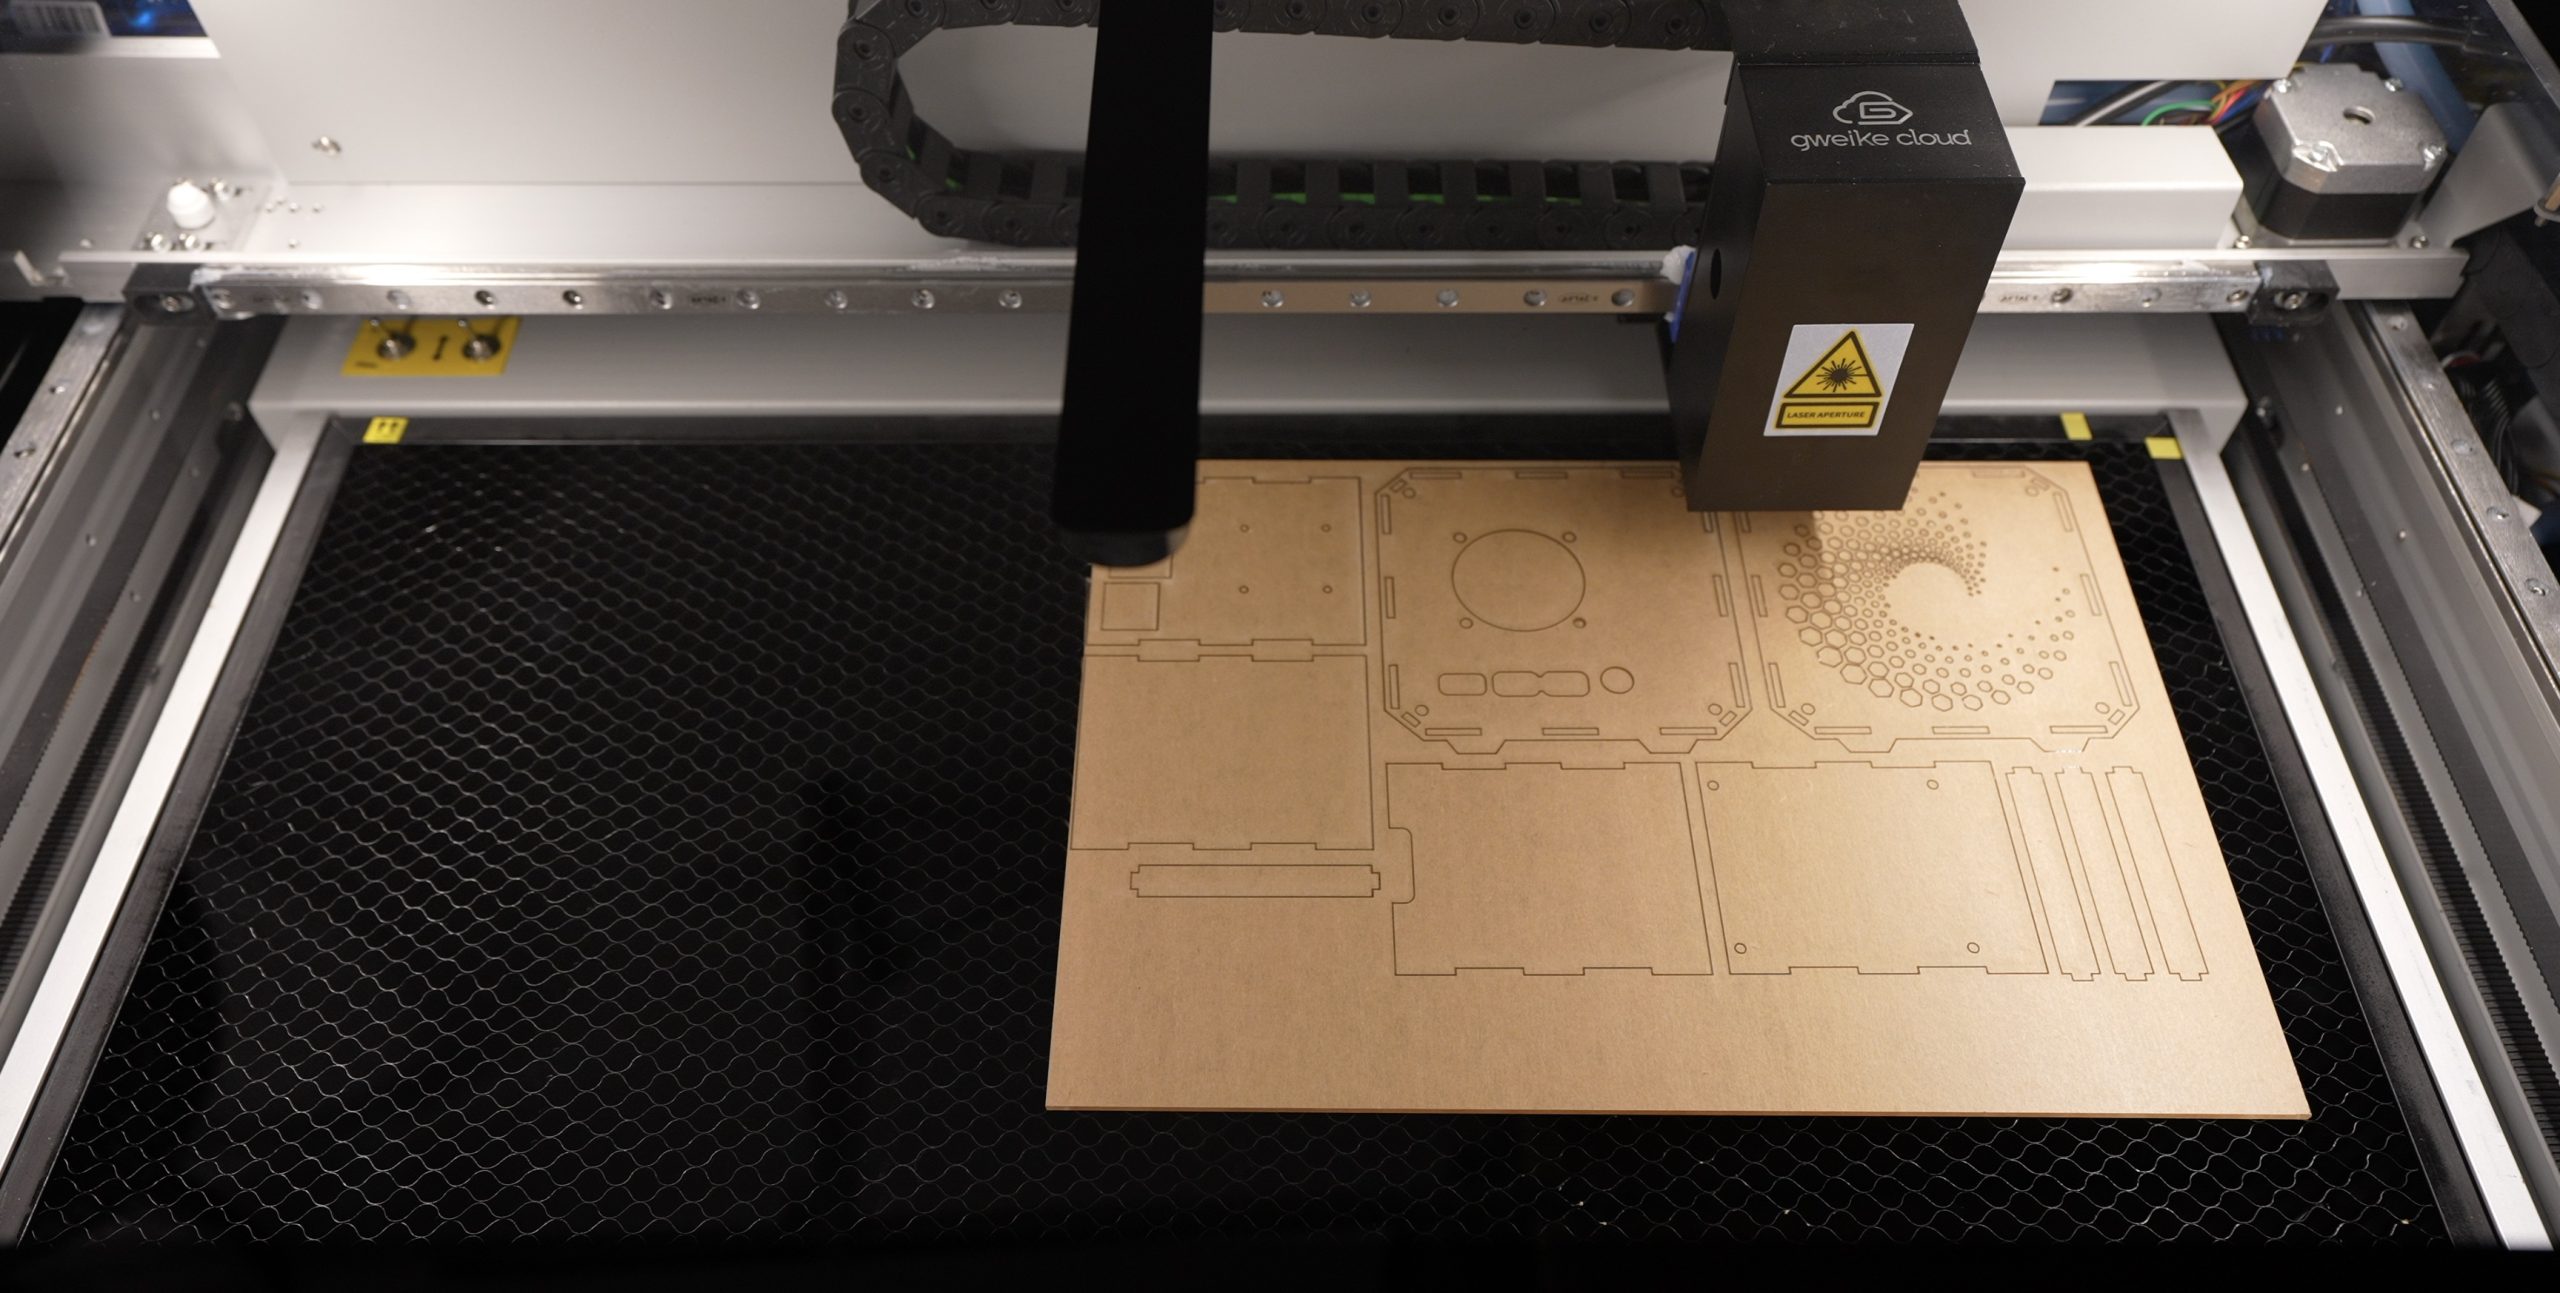
Designing & Cutting The Raspberry Pi Case Components
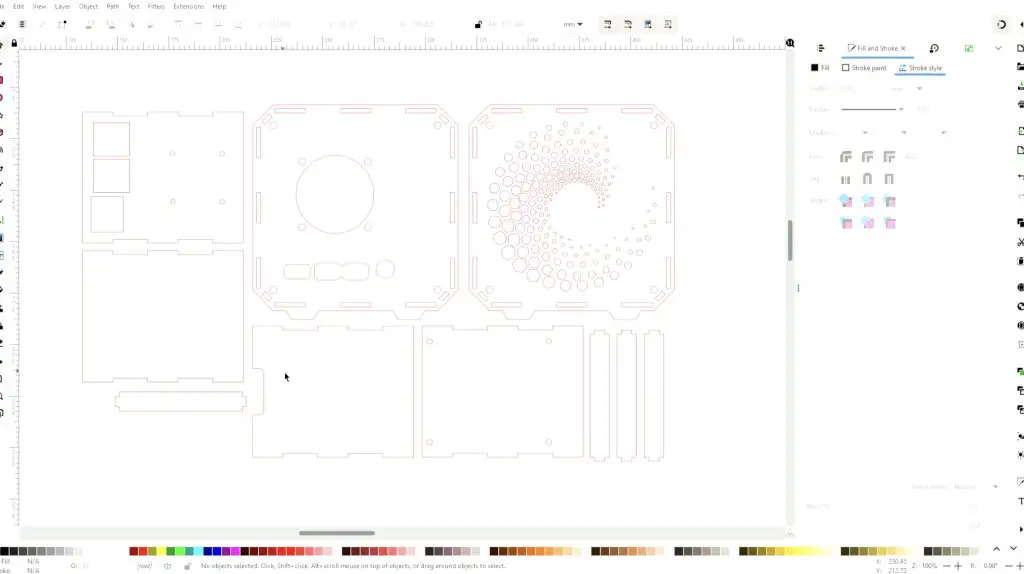
For the design of the cases, I sketched up the components in Inkscape.
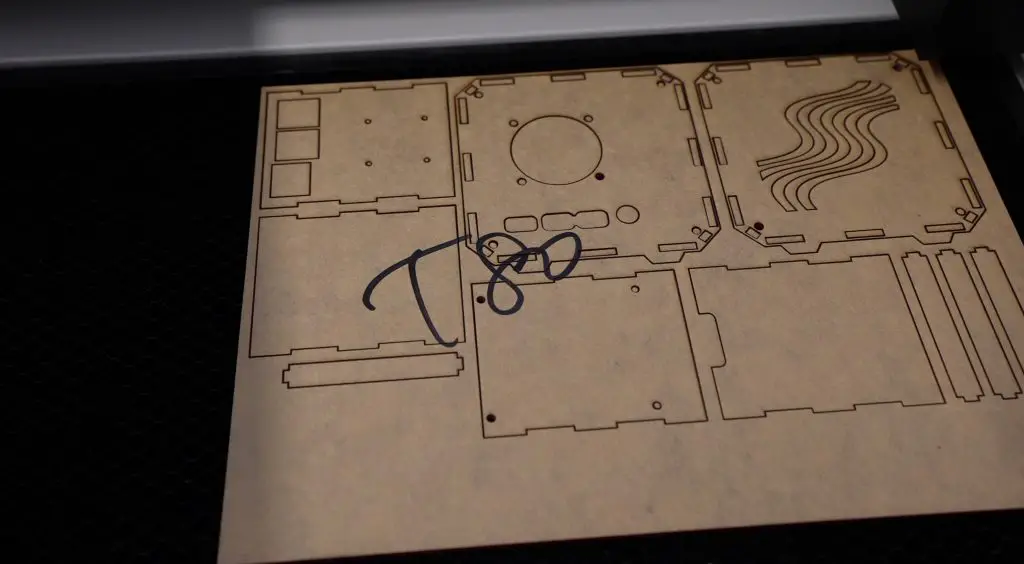
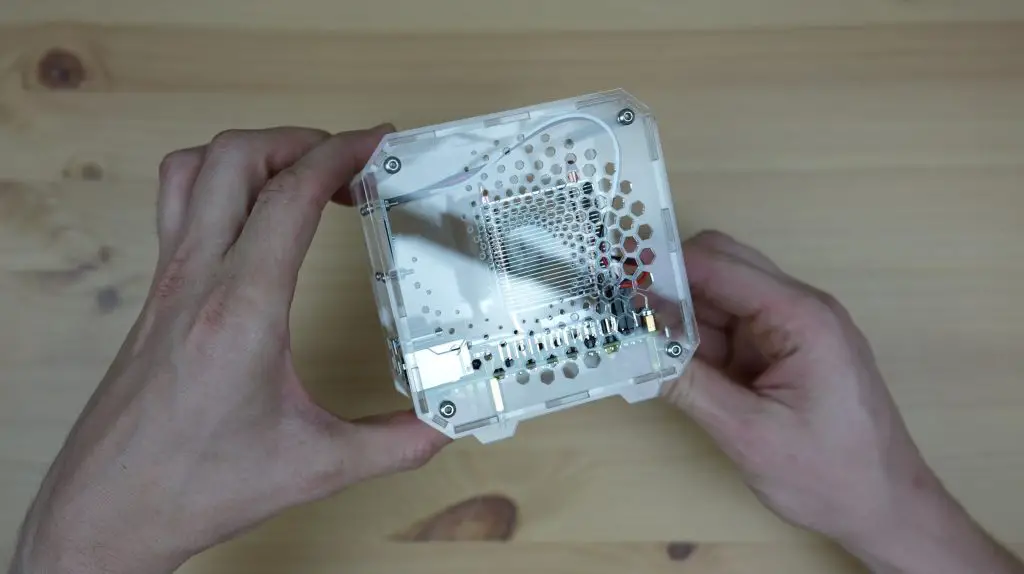
This is based on my 3D printed design but replaces the 3D printed housing with some interlocking acrylic parts. These will test the accuracy of the laser’s cuts as they fit together with 0.1 – 0.2mm tolerances and the parts need to fit the electronics that we’re going to be installing into the case as well. I also redesigned the ventilation panels for the sides opposite to the cooling fan to change things up a bit.
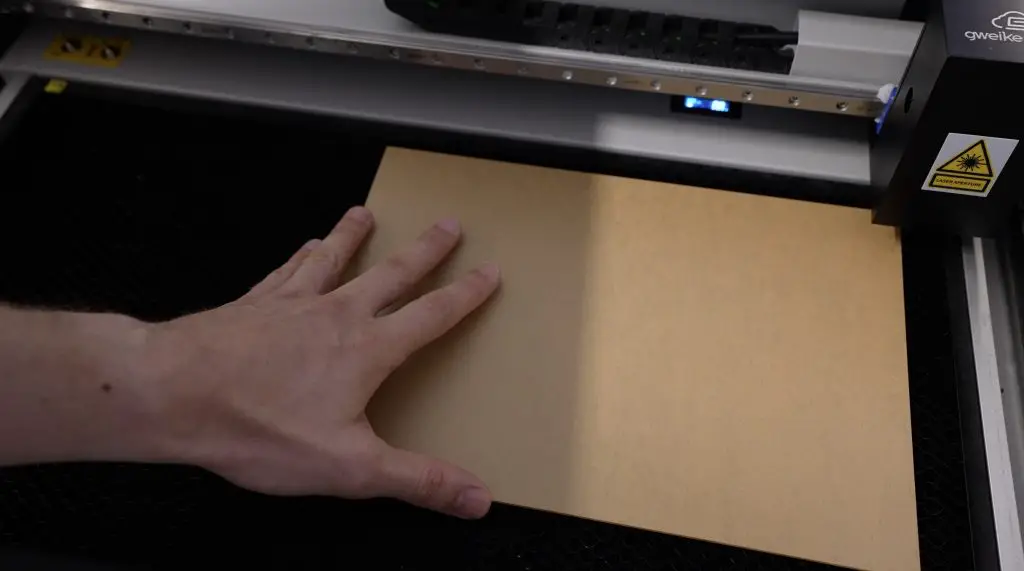
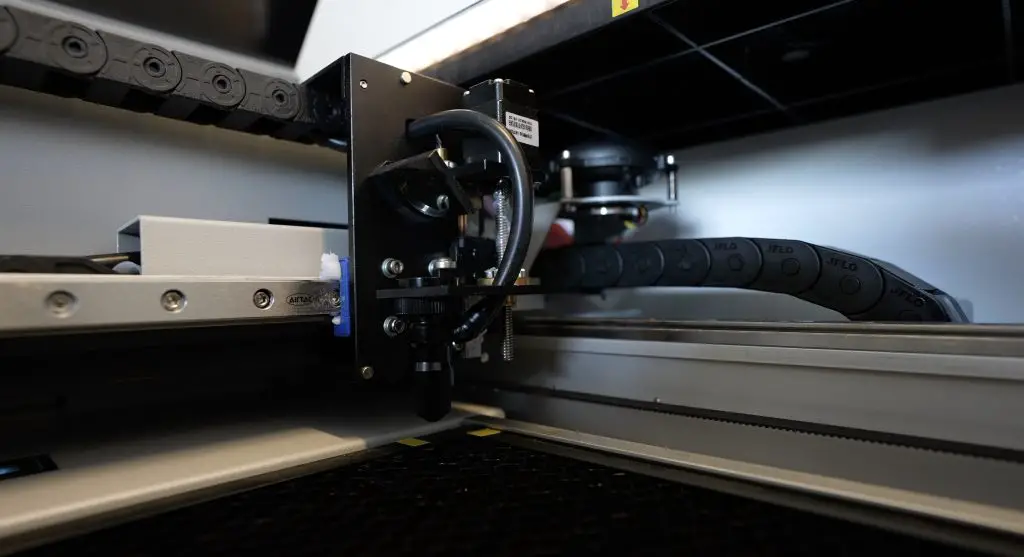
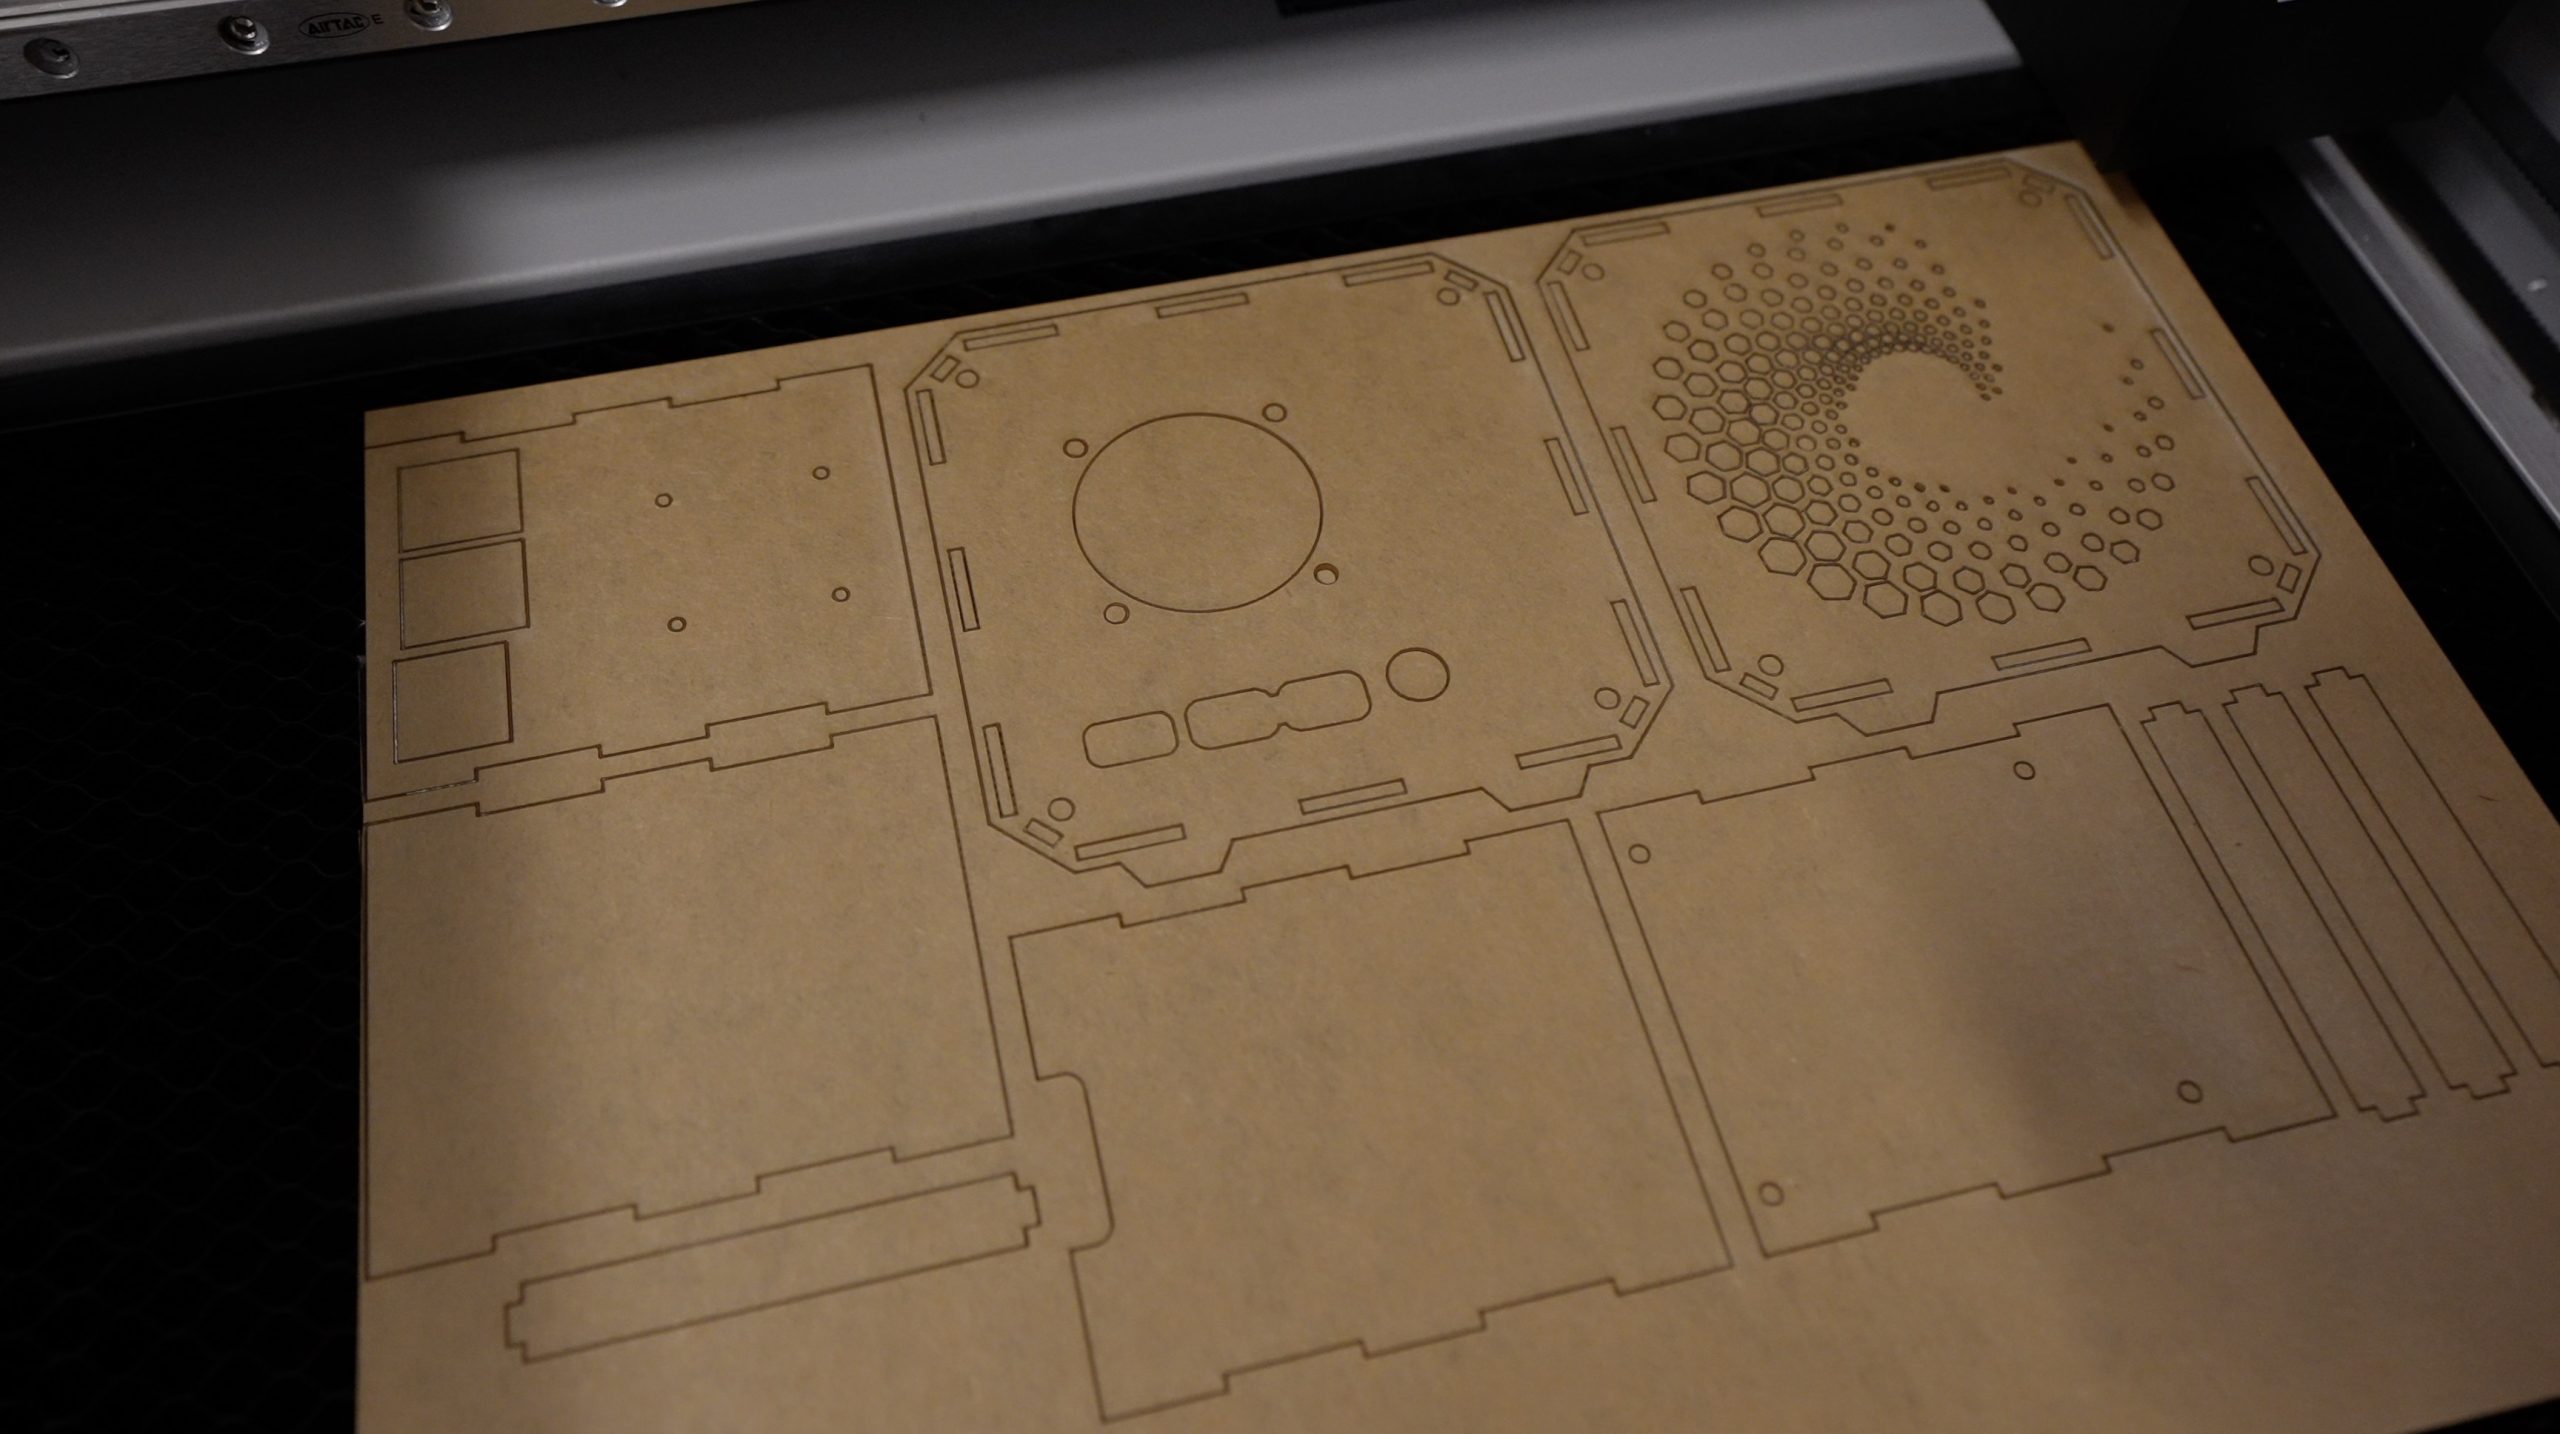
With the design done, we can load it into Lightburn and get them cut out. Each case fits onto an A4 sheet of acrylic, which easily fits into the 510mm x 290mm bed of the Gweiek Cloud. I could even use an A3 sheet and cut three cases out in one go. It’s got a 50W CO2 laser than sits within a metal housing on the Y-axis gantry. The laser is then directed through to the lens by a series of mirrors as with most CO2 laser designs.
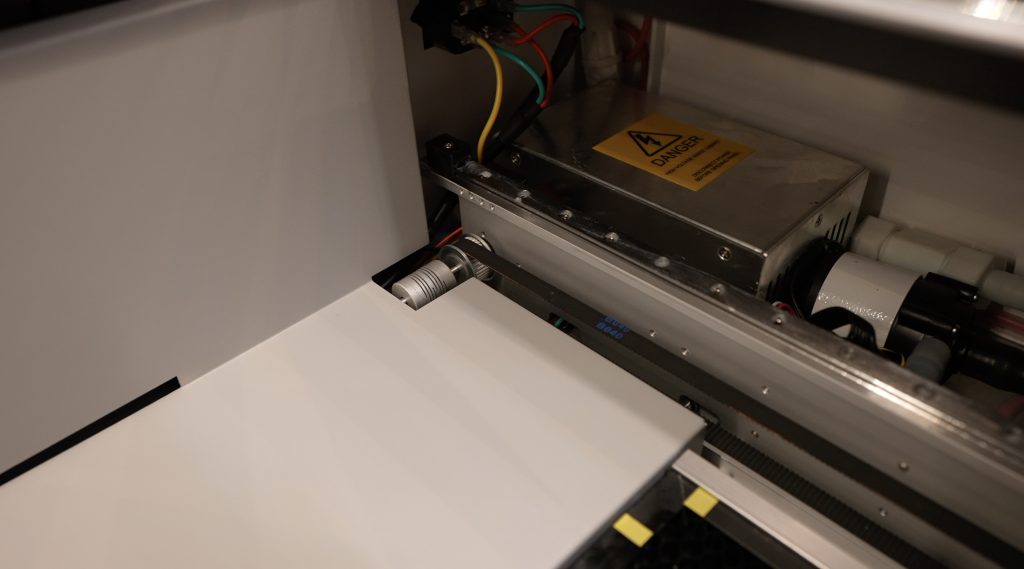
The Gweike Cloud can handle materials with a maximum height of 51mm and can handle materials that are longer than the bed of the machine through a pass-through slot in the front like the Glowforge Pro. This function is interlocked for safety, so you’ll need to actively bypass the interlock in order to use it, but it’s nice that it is an option.
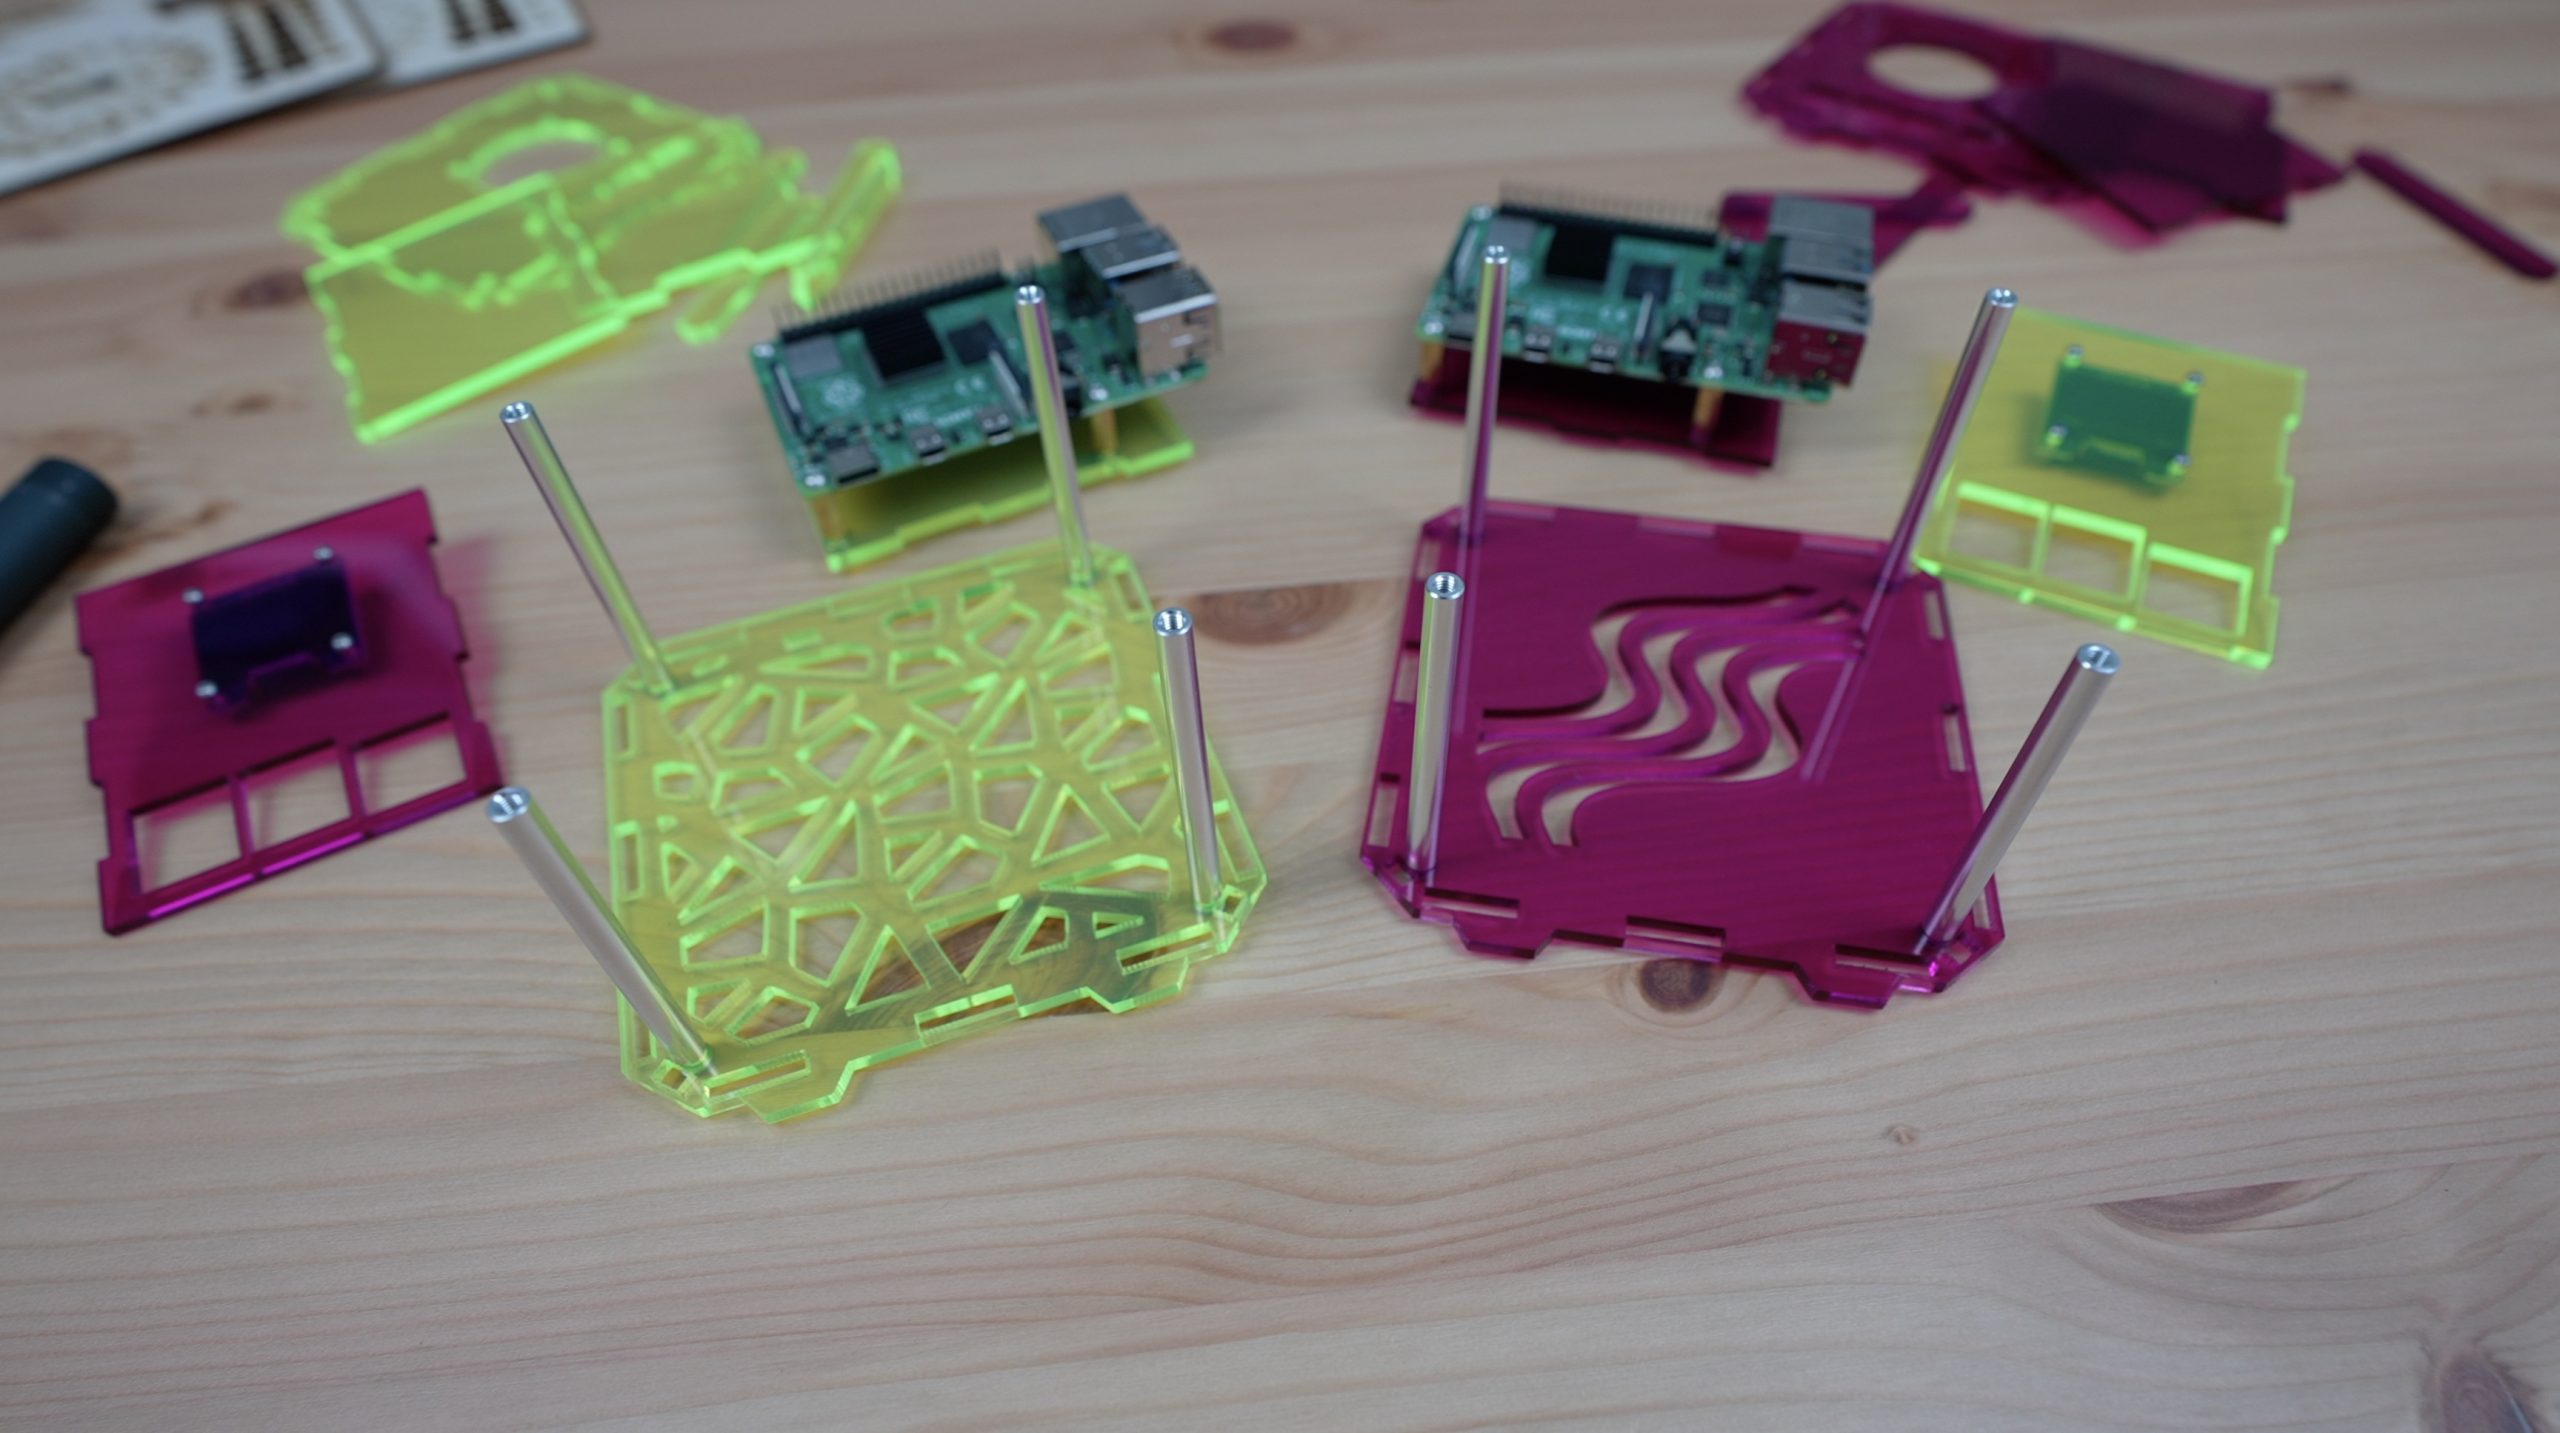
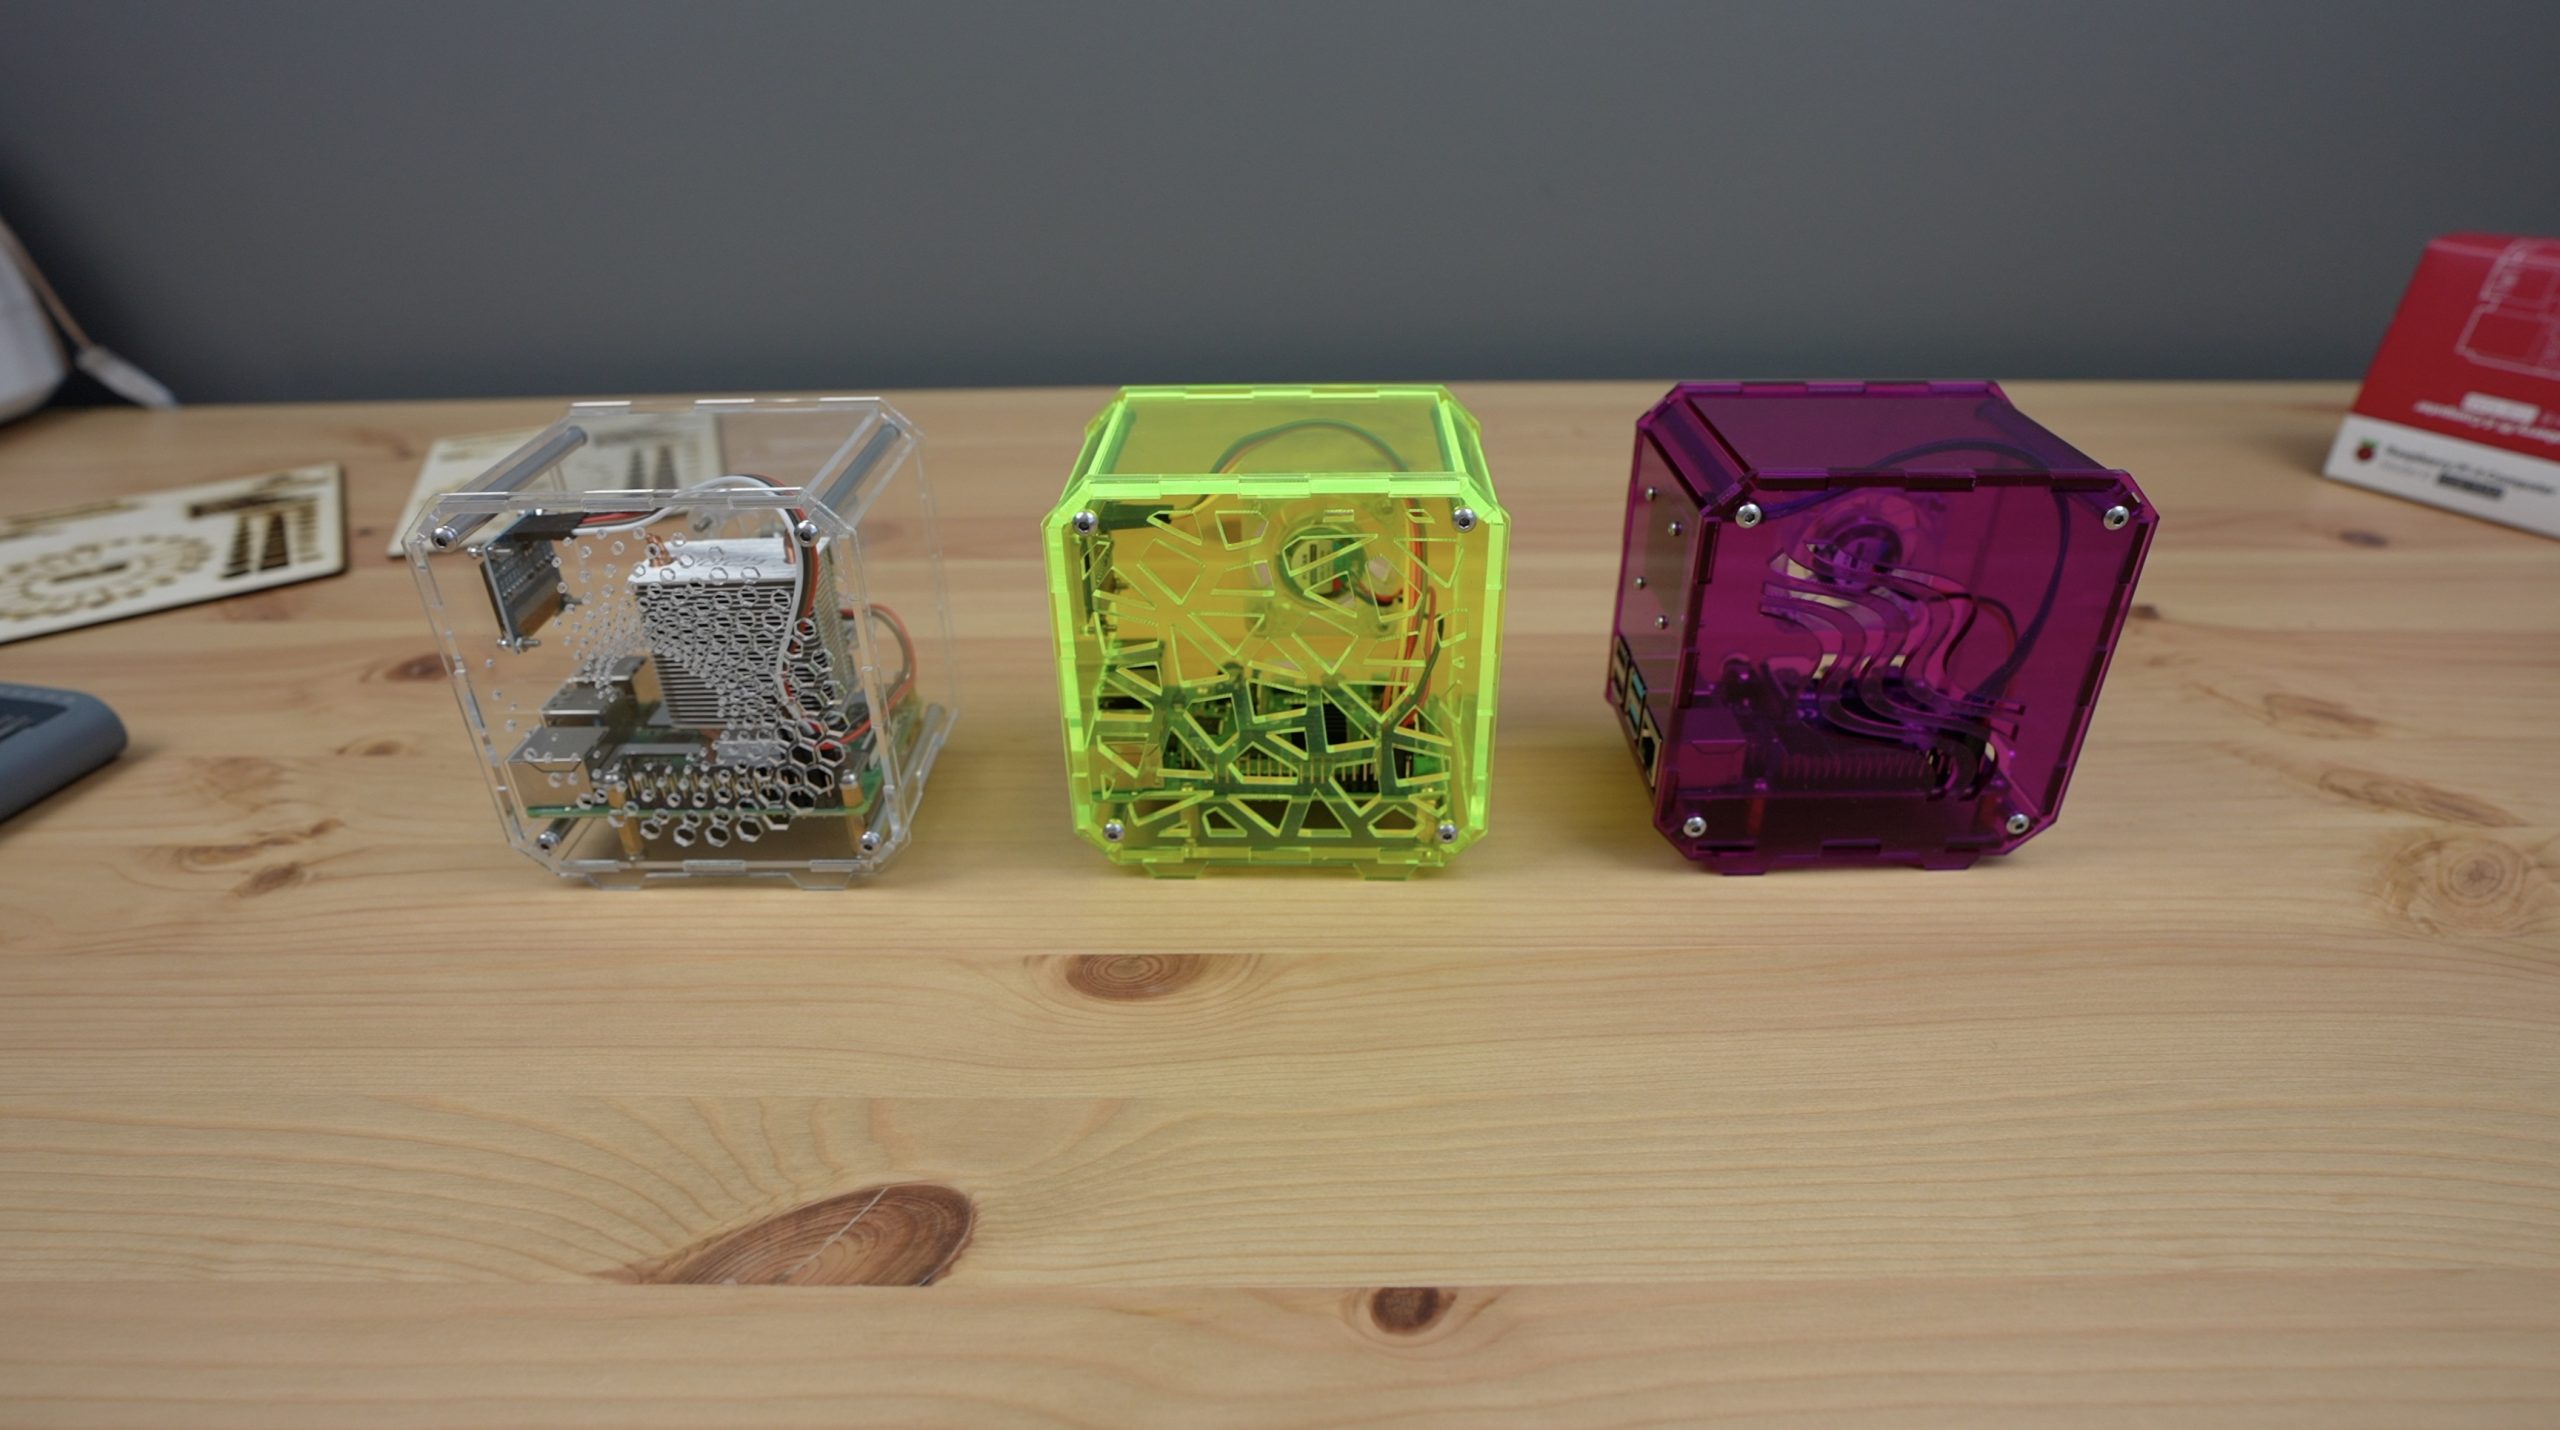
I’m going to cut the cases out of a couple of different colours.
First up I’ll cut this design from 2mm clear acrylic.
They advertise the machine as having autofocus, although this is not quite automatic. It works automatically when using their cloud software and their branded materials with QR codes. The machine automatically recognises the code on the material and then adjusts the laser height to suit. When using it offline and with your own materials, you’ll need to set the focus height manually in Lightburn. The height adjustment of the laser head is done electronically though, so you don’t have to do it by hand.
The machine breezed through the 2mm acrylic at 70% power and 30mm/s in a single pass.
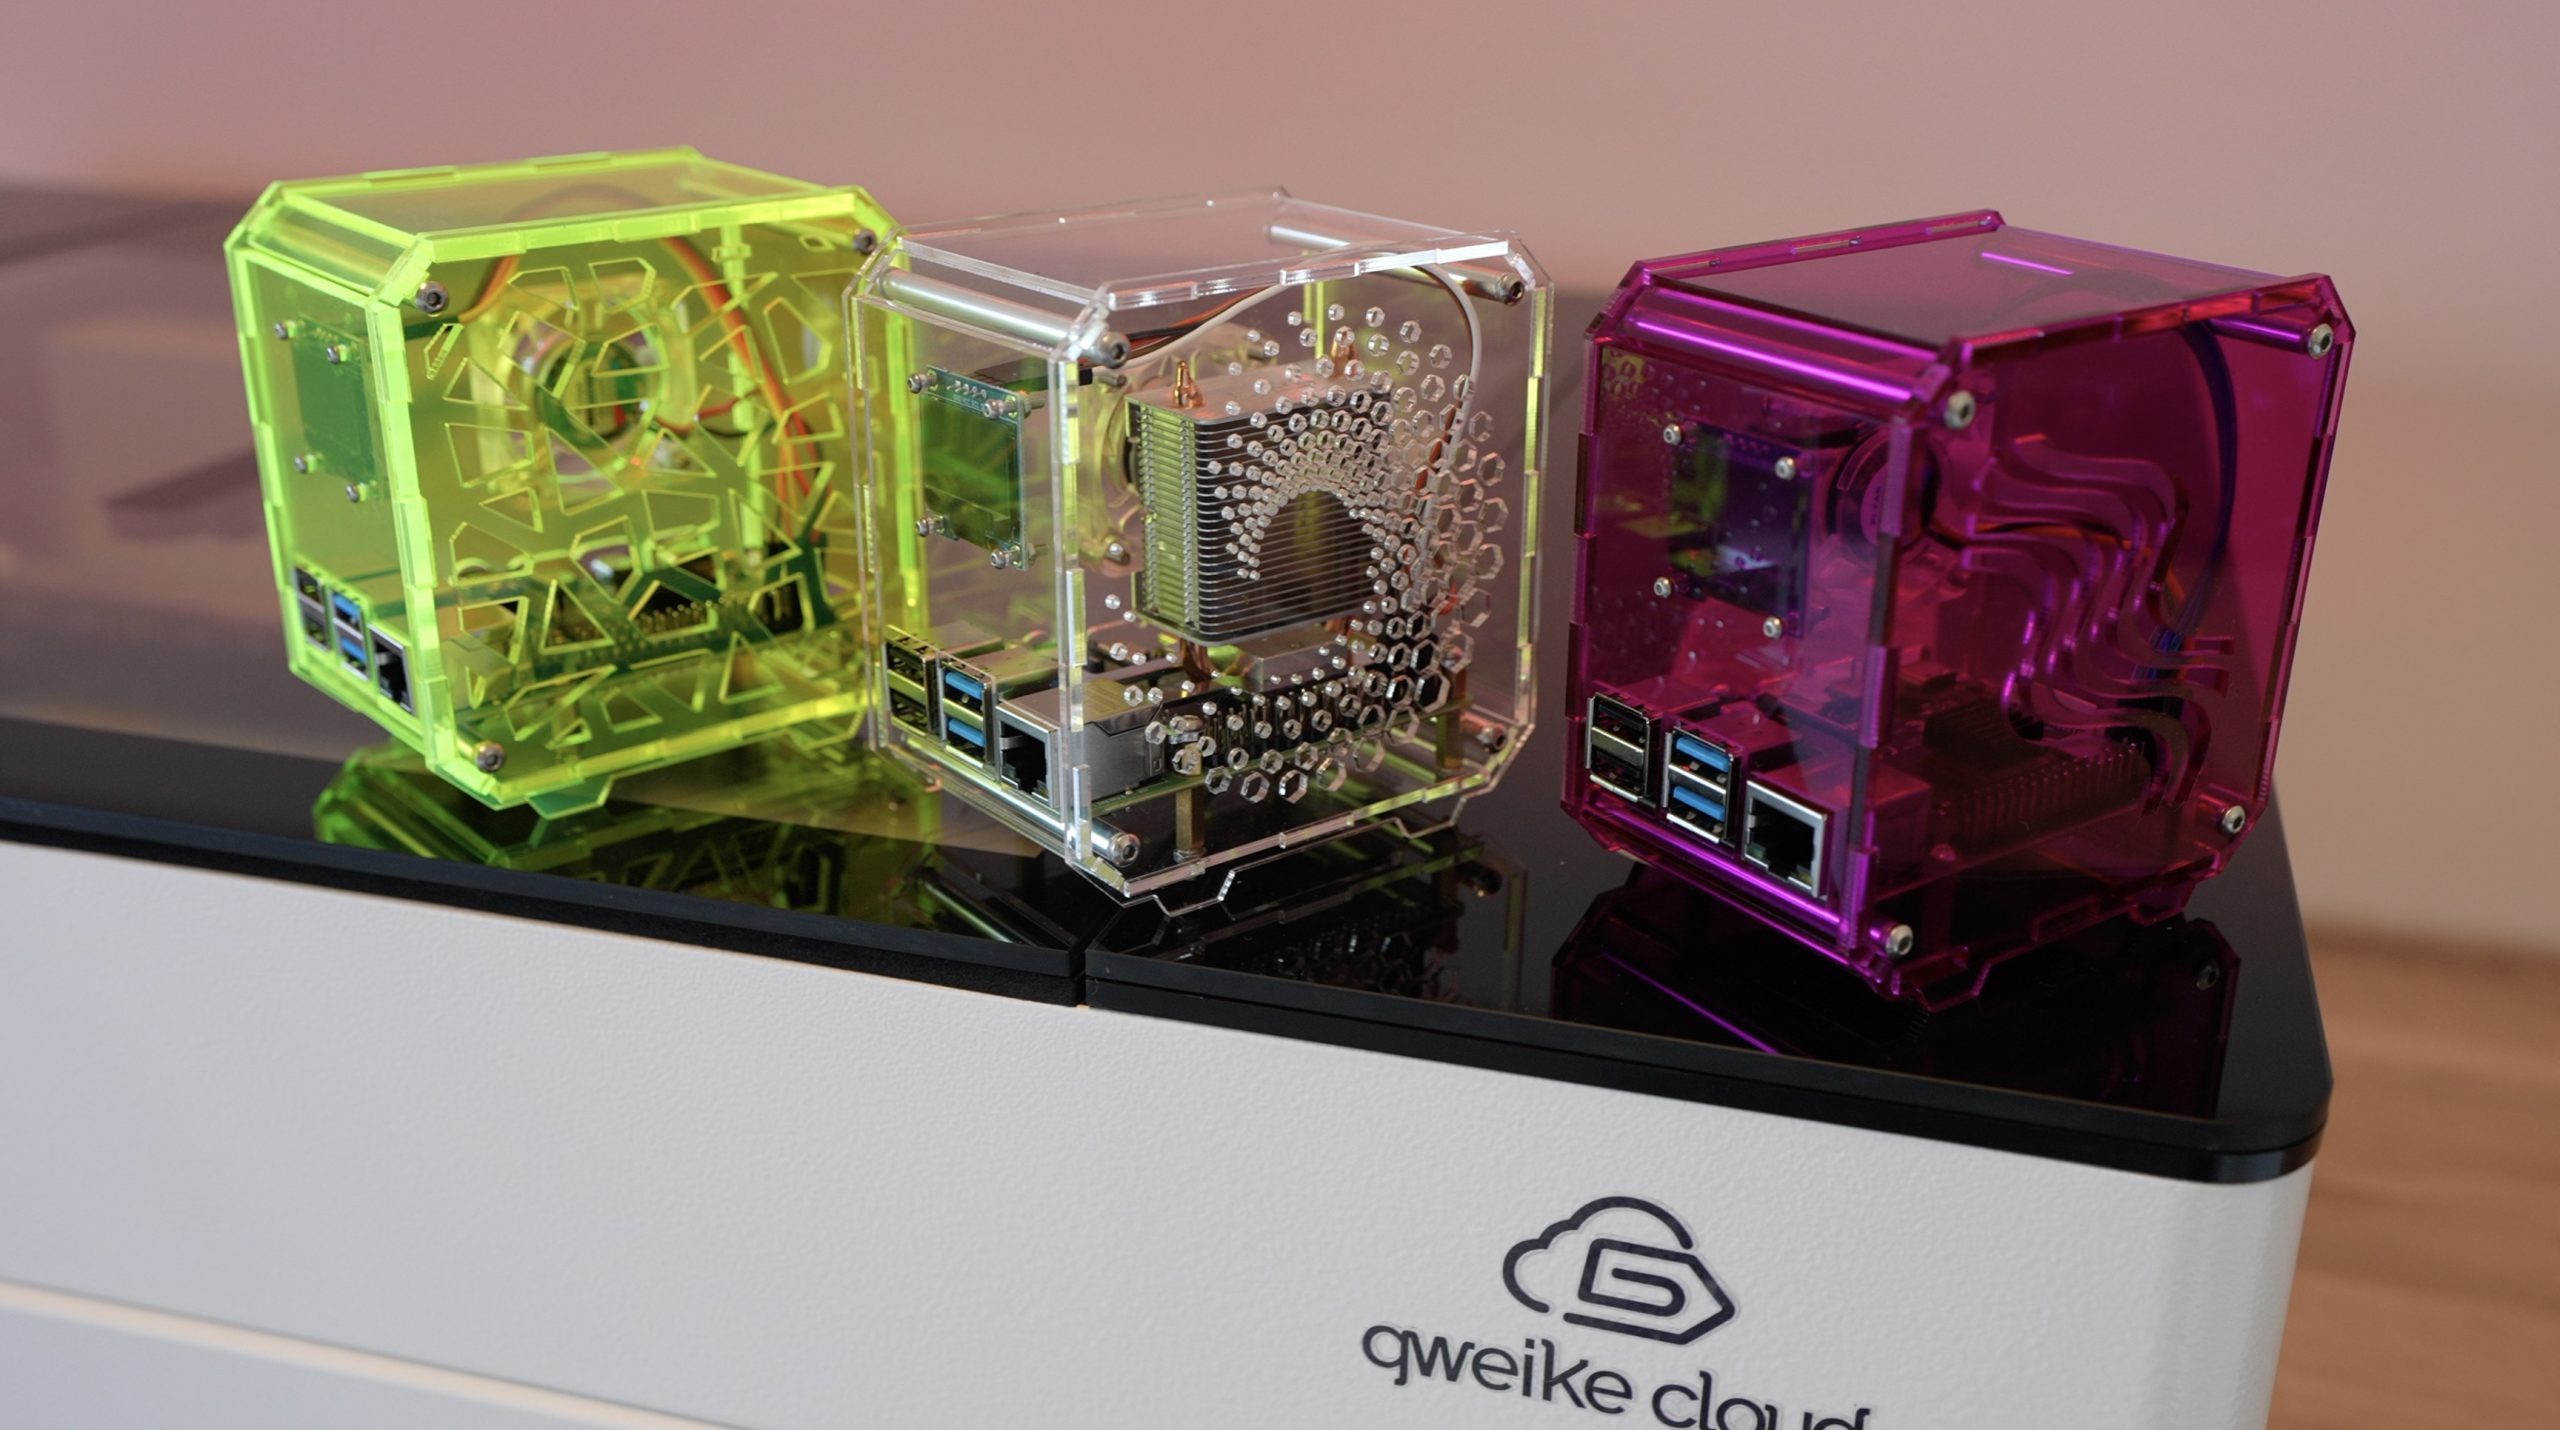
I then cut the two other designs from 3mm coloured acrylic, one from fluorescent green and one from translucent purple. The thicker acrylic required a bit more power but it still managed this at 90% power at the same speed.
You could also easily cut the same design from plywood or even cardboard, so you’ve got loads of options. The machine can handle most wood-based sheets like plywood and MDF as well as acrylics and fabrics. They also say that it will cut rubber and plastics although you need to be careful with these as some plastics produce harmful fumes when they’re cut.
I think that the acrylic panels have come out really nicely, next we’ll see if they fit together well.
Assembling The Raspberry Pi Cases
I’ll run through the assembly of the clear Pi case, but the coloured acrylic is the same process as well. The only difference between the two designs is the thickness of the slots that are cut into the main side panels.
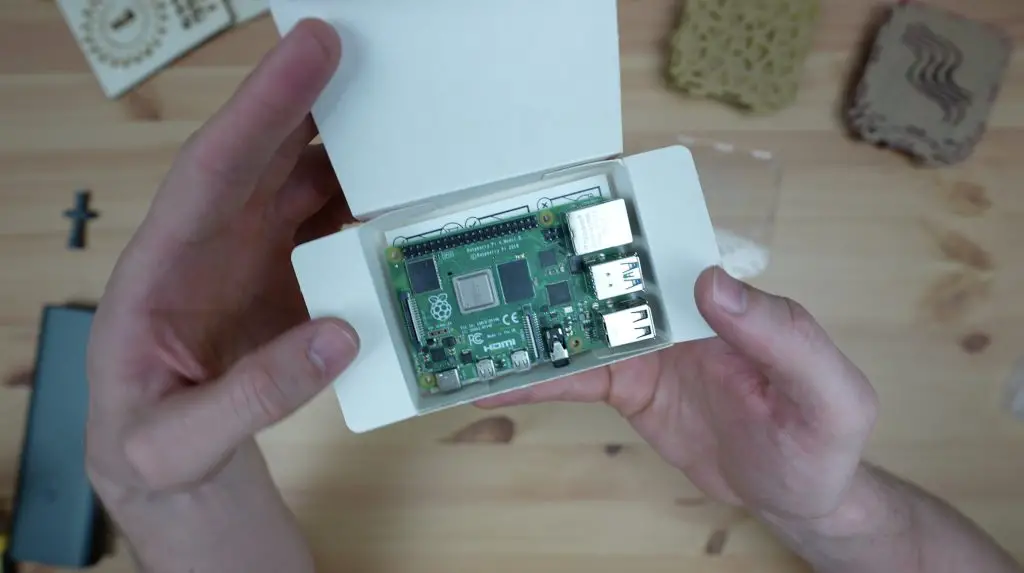
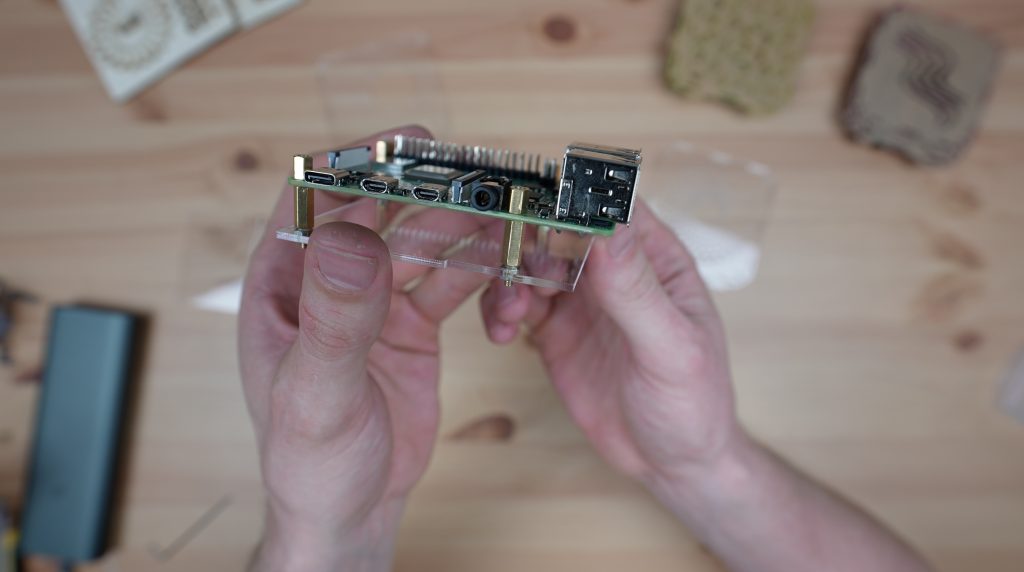
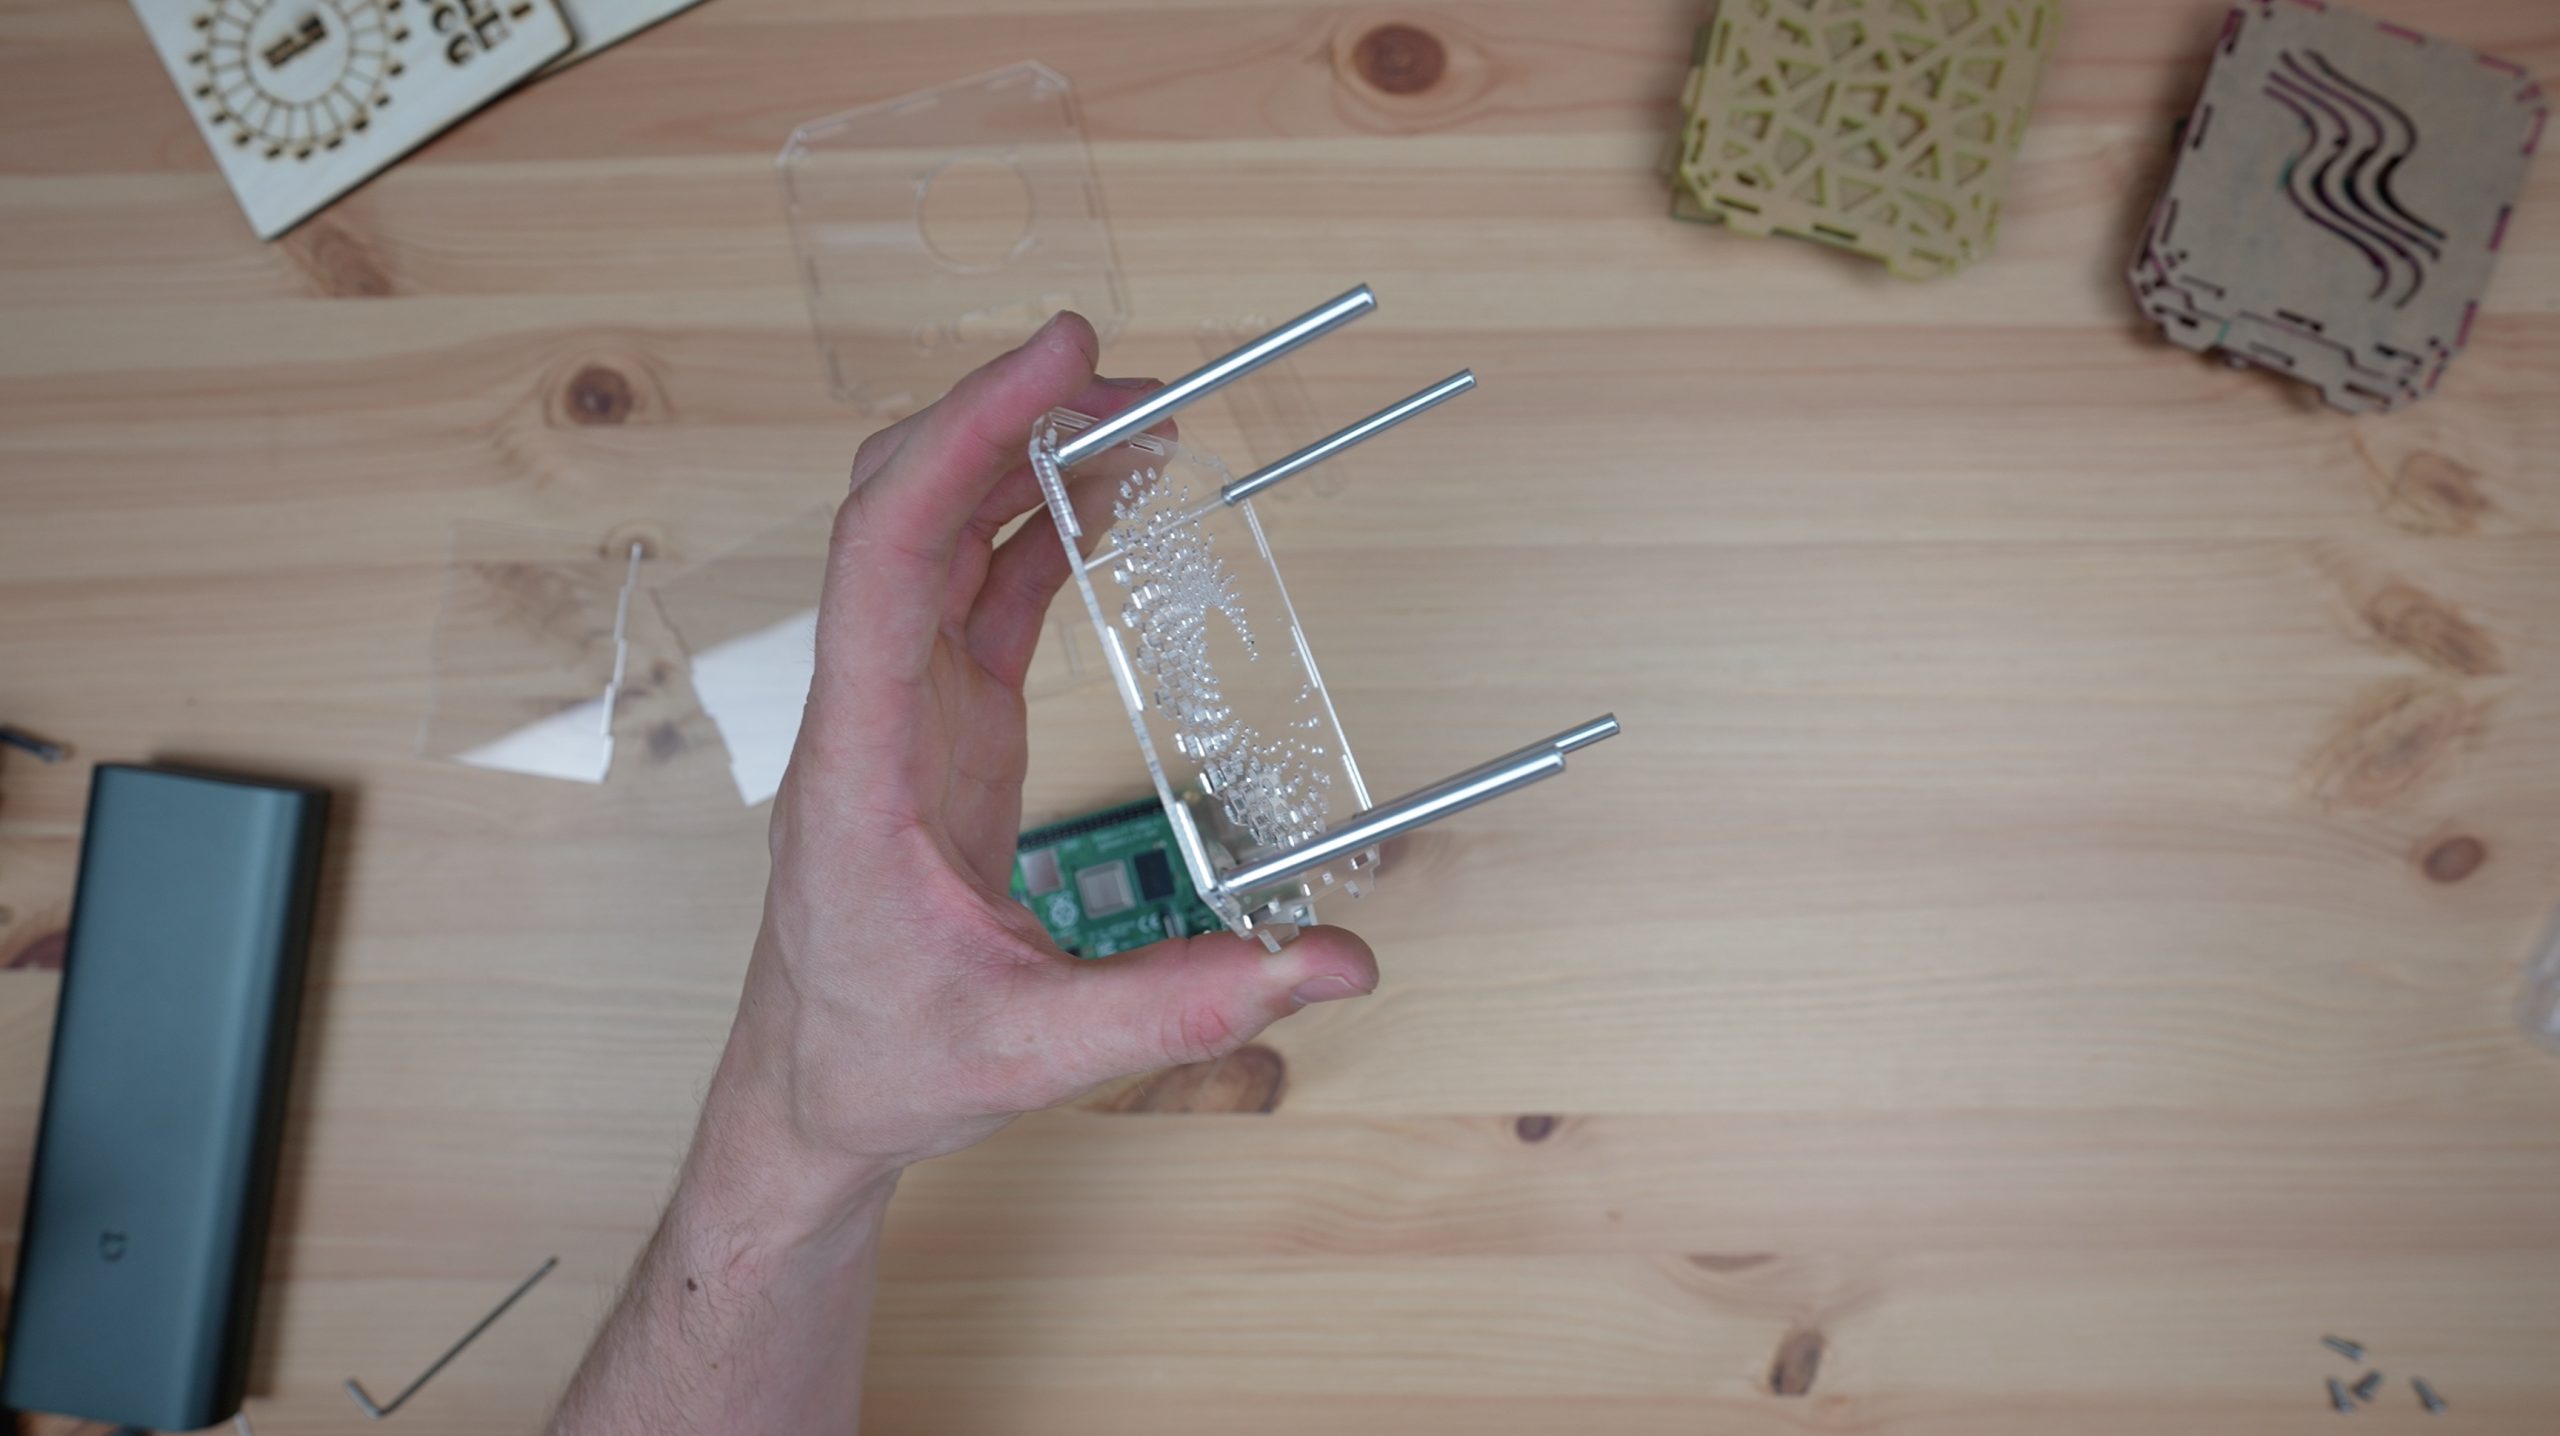
To assemble the case, let’s mount the Raspberry Pi onto the bottom panel using some M2.5x12mm brass standoffs held in place with an M2.5 nut on the bottom of each.

We’ll then hold the Pi in place with the 6mm standoffs that came with the heat sink assembly.
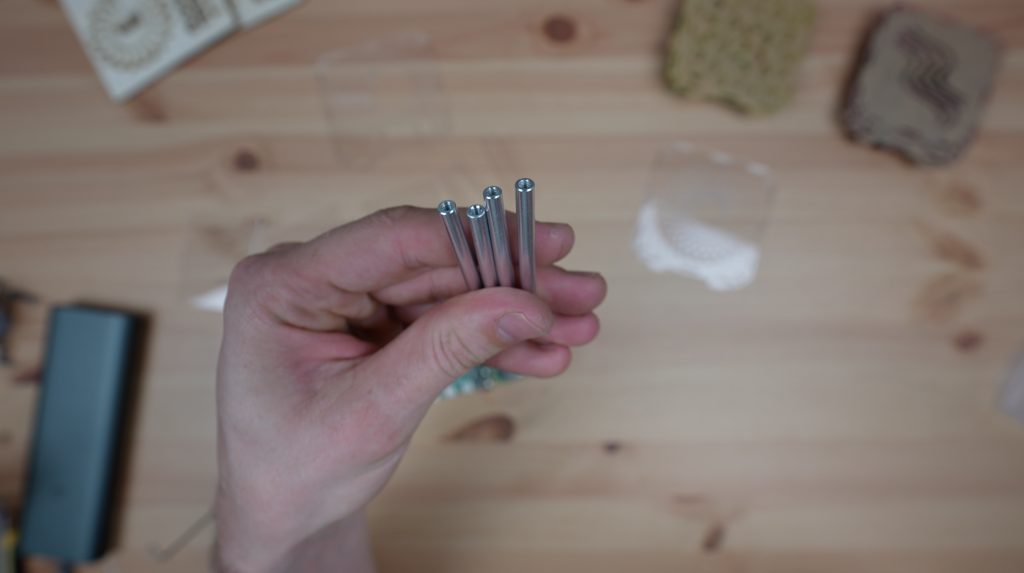
I’m going to use four 70mm standoffs to hold the two main sides together. If you don’t have 70mm standoffs, you can make them up using a combination of smaller standoffs from your kit (20mm + 20mm + 20mm + 10mm etc.). The side panels will then hold all of the other smaller sides in place.
To start, let’s screw these standoffs in place on the ventilation side panel using some M3x8mm screws. If your standoffs are all male to female then just use an M3 nut to secure them on the back of the case.
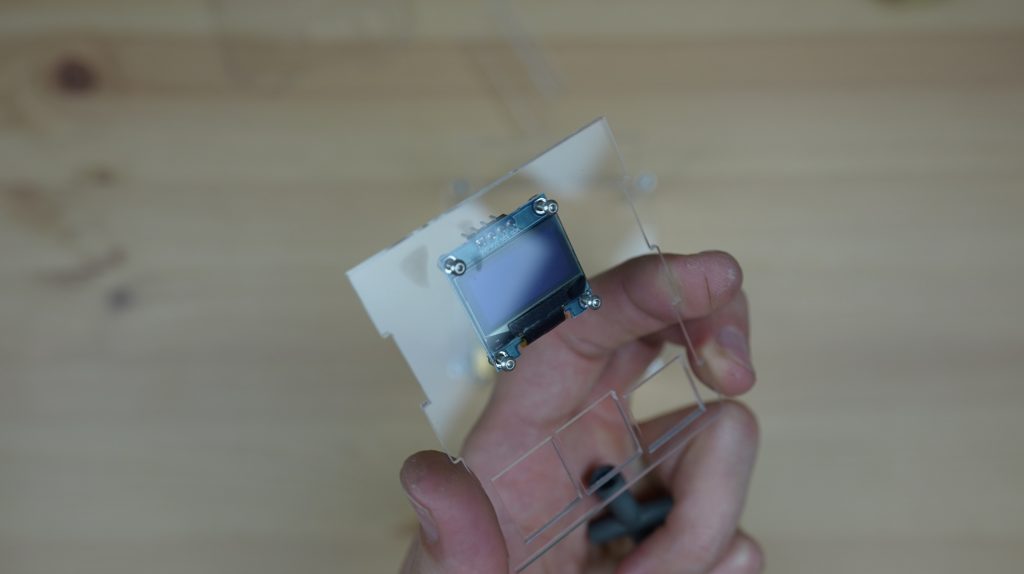
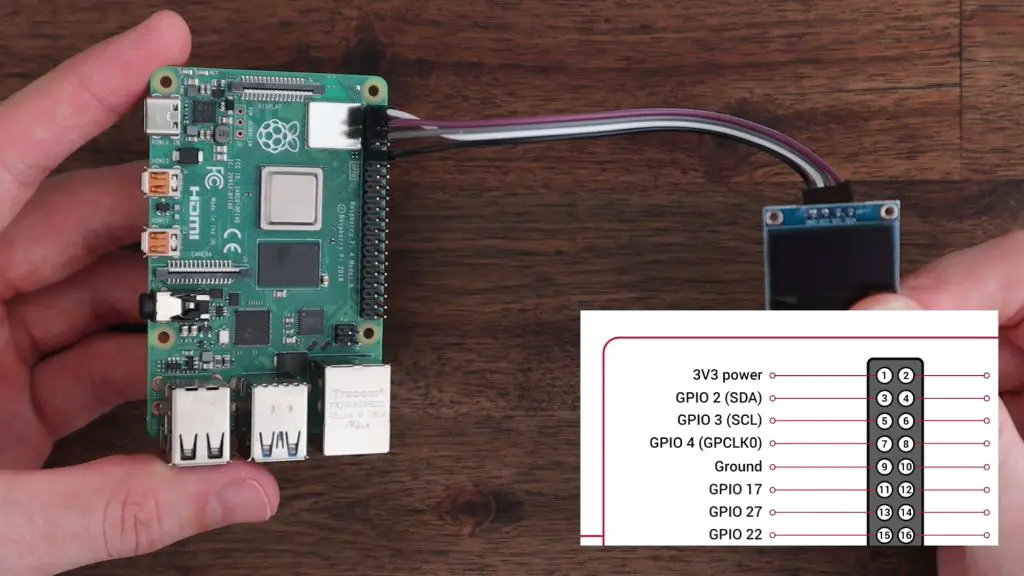
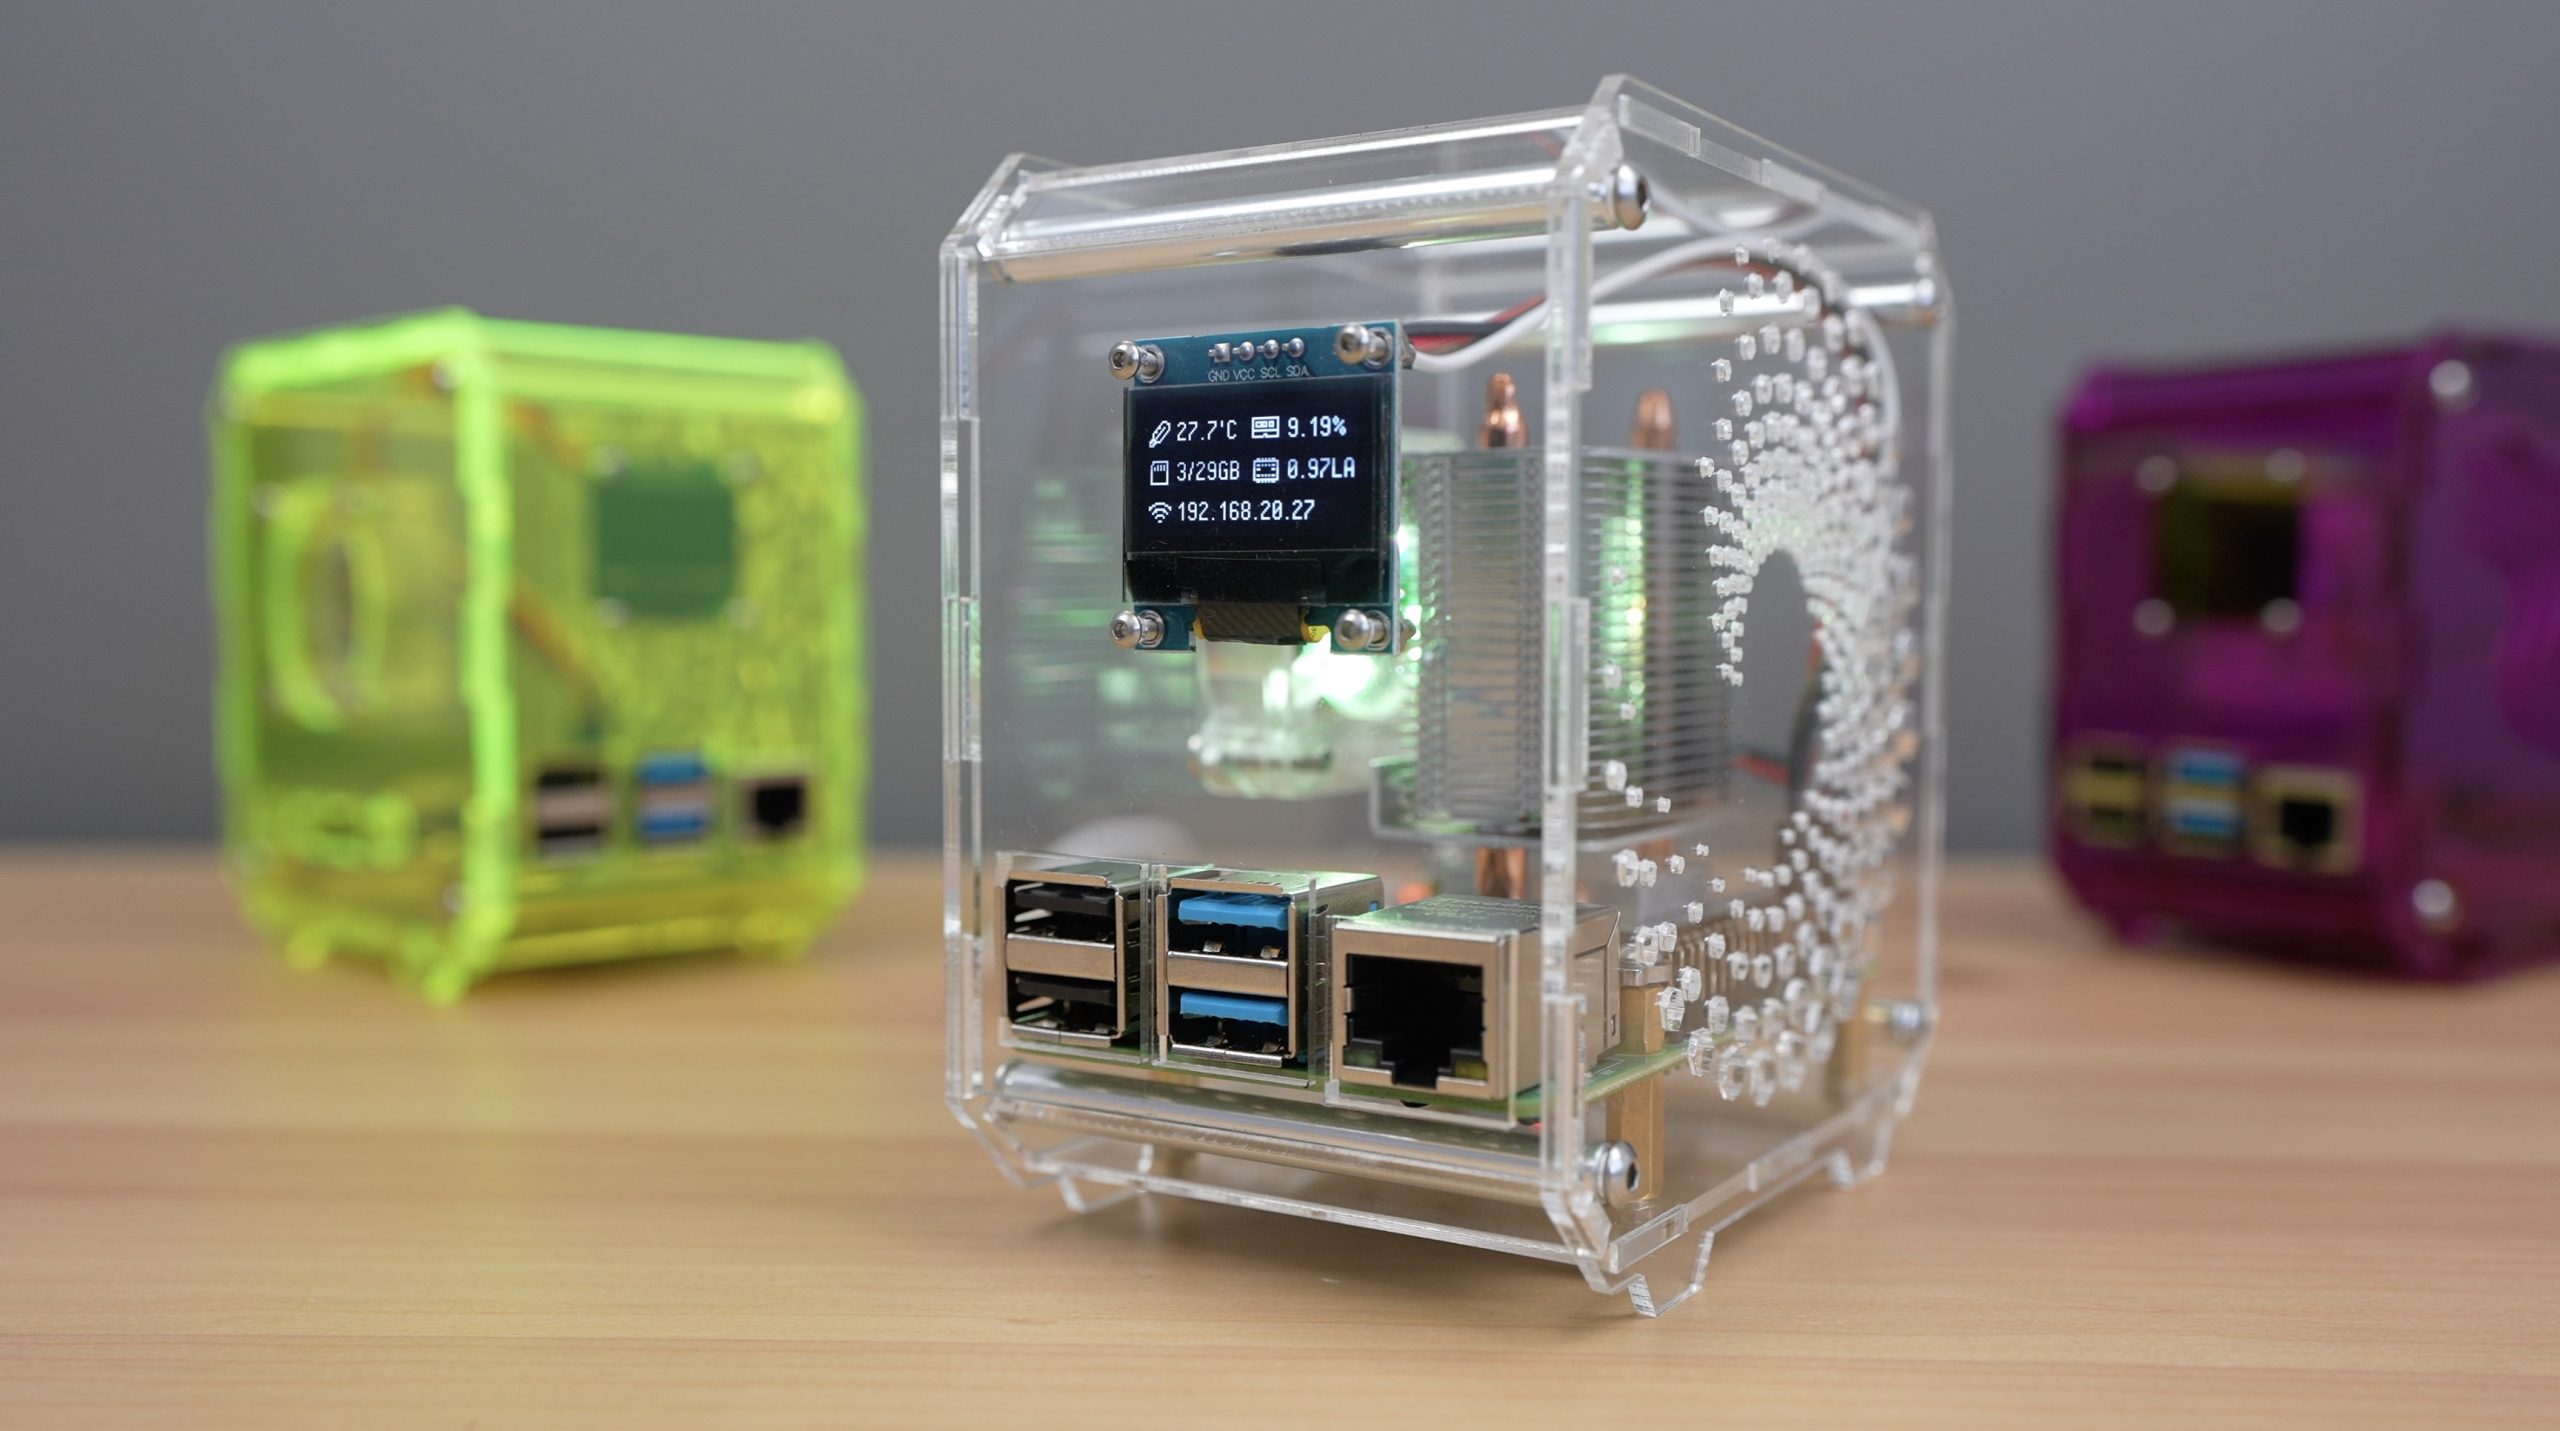
The OLED display can then be mounted onto the front panel with some M2 x10mm screws and M2 nuts. Be careful not to over-tighten these nuts or you might crack or damage the display. They should just be tight enough to hold the display in place.
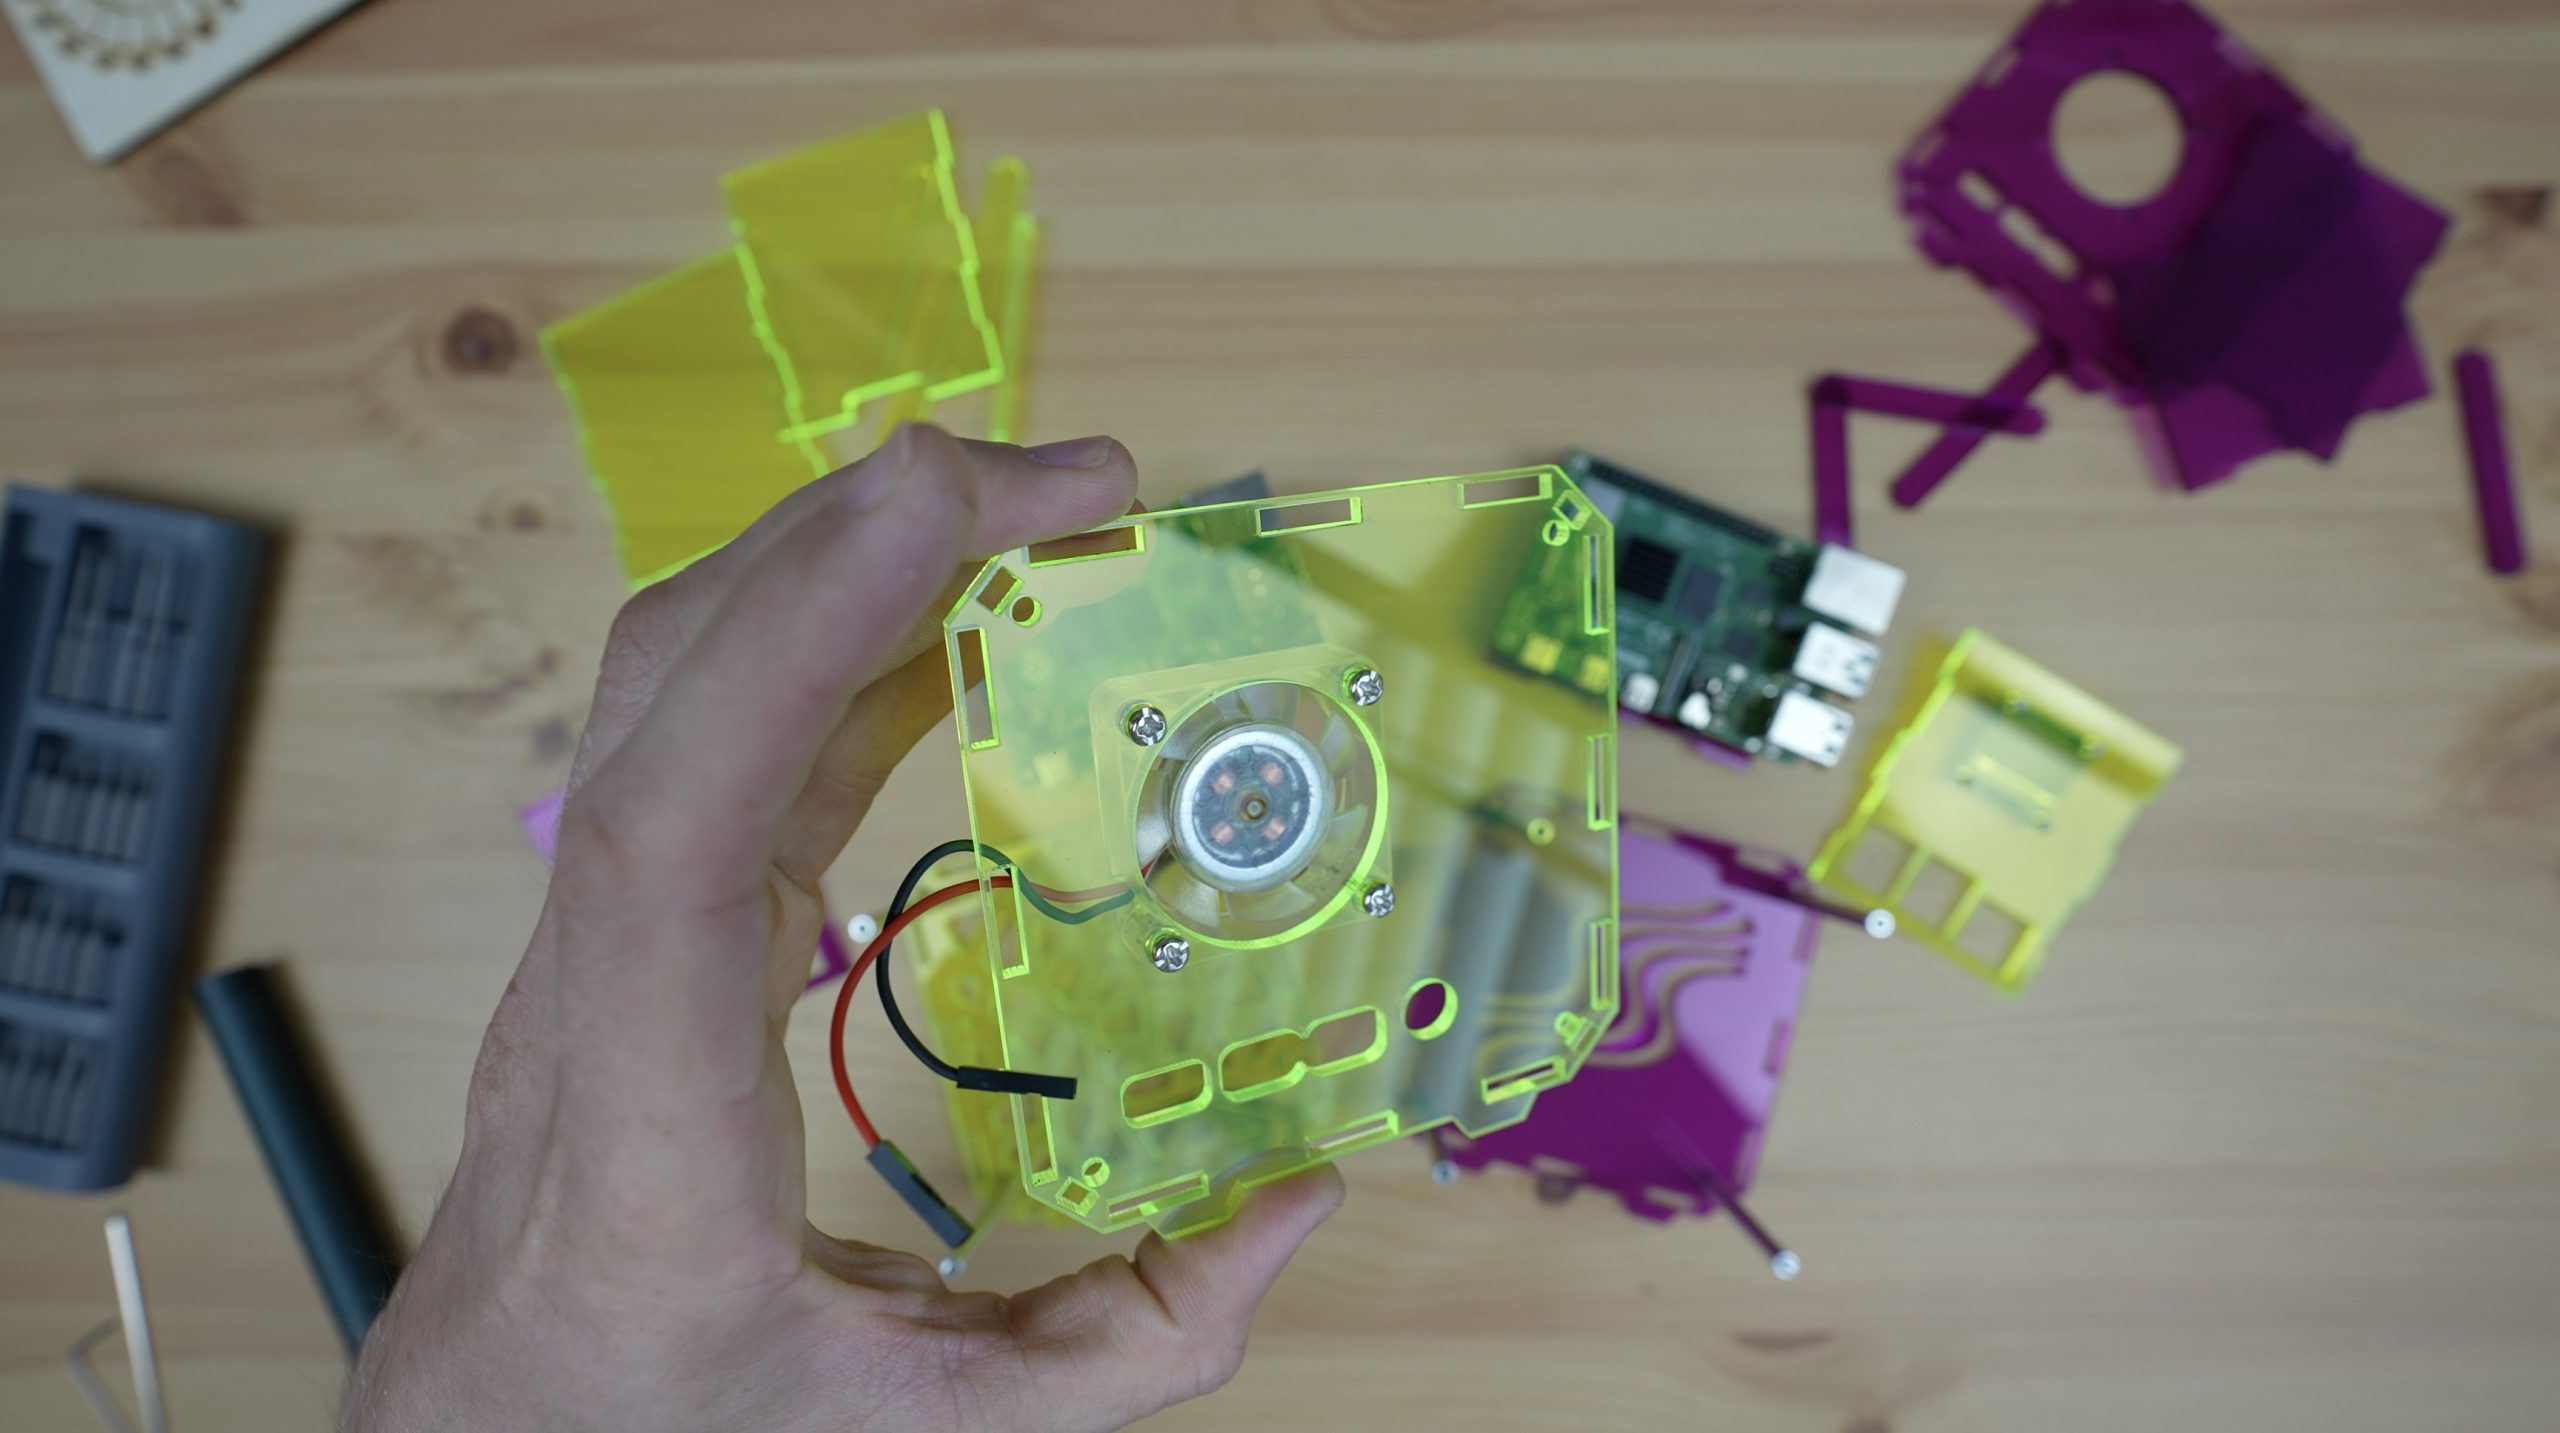
We can then mount the heat sink on our Raspberry Pi, making sure to put the cooling pad into place first.

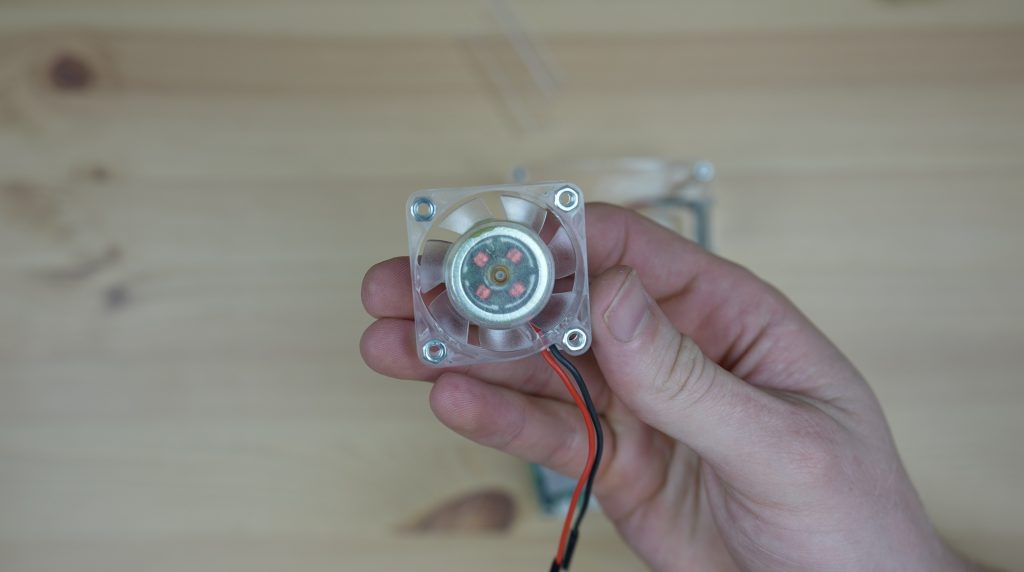
I’ve removed the fan from the side of the cooler and pressed some M3 nuts into the pockets on the face of the fan.
We can then mount the fan onto the side panel using the same M3 screws.
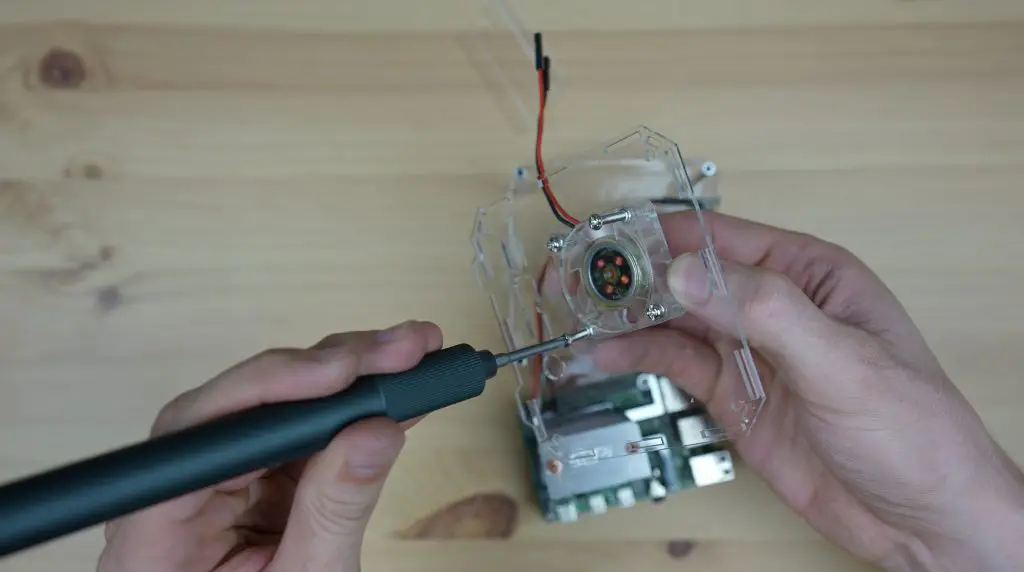
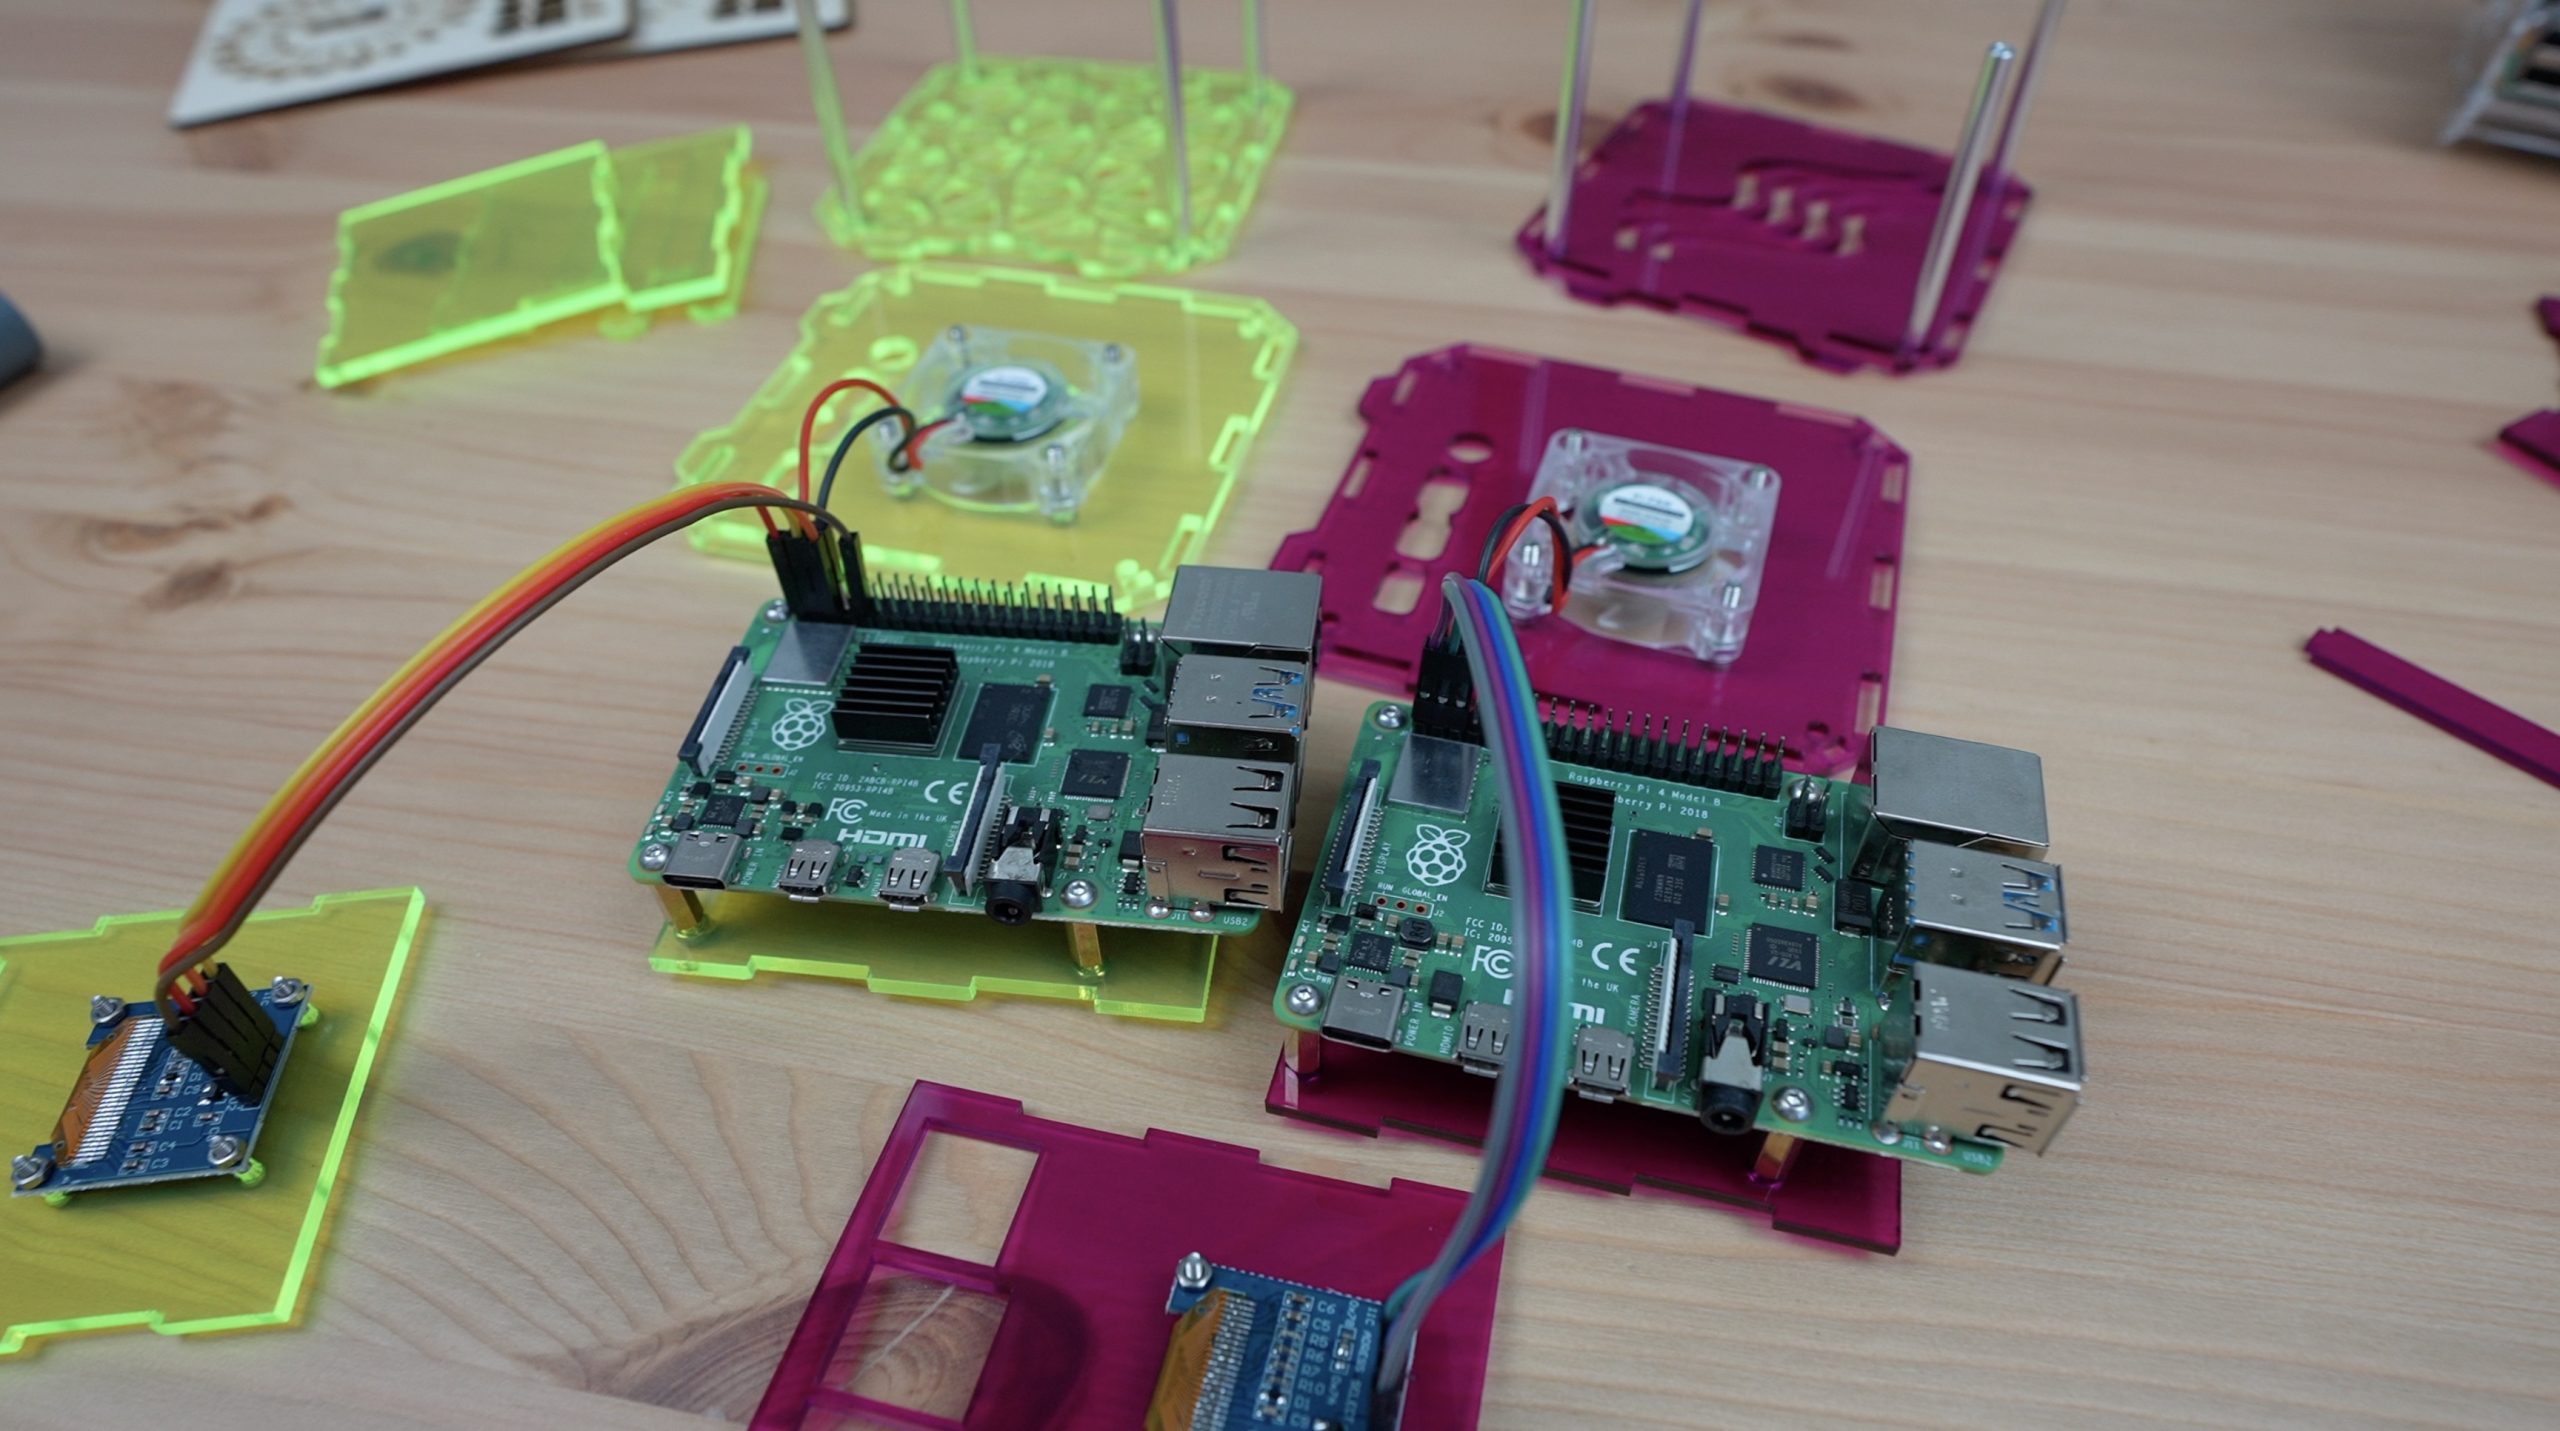
Next, let’s plug in our fan and display and put their panels into place. I’m connecting the fan to 5V and GND and I’m connecting the display to 3.3V, GND, SCL and SDA. Take a look at my guide on connecting an OLED Stats display to a Raspberry Pi for more information on this.
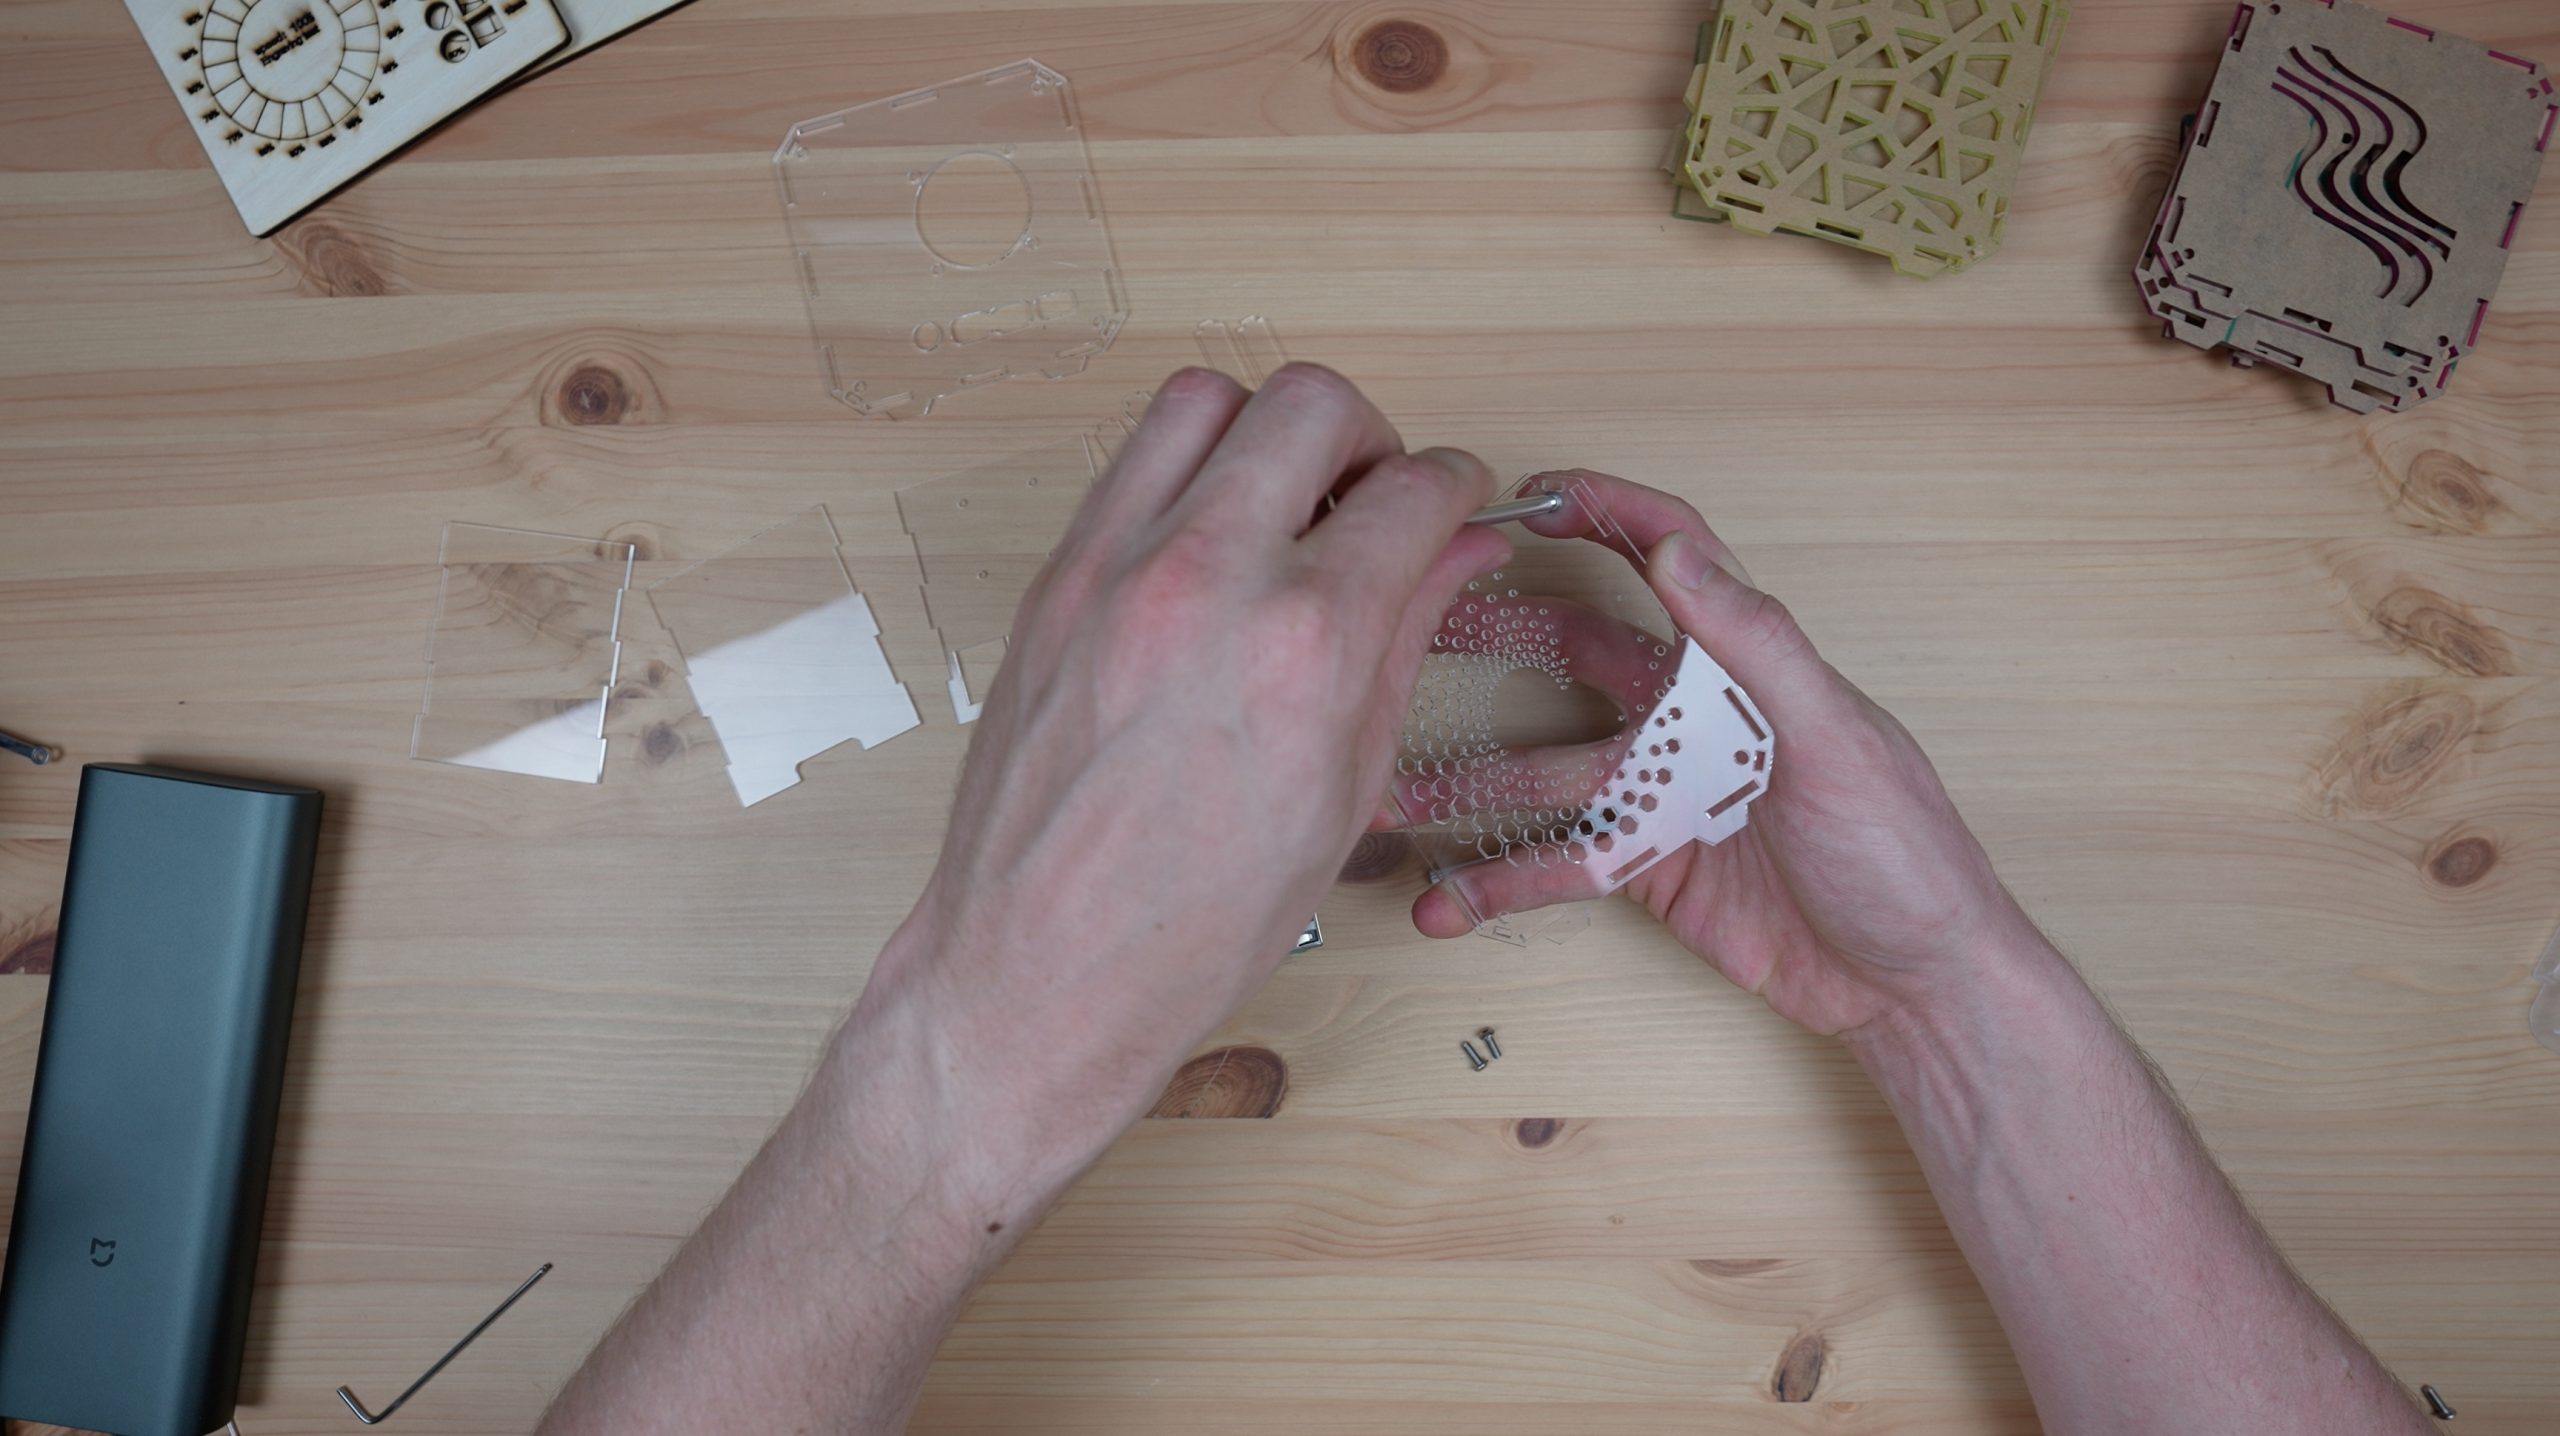
The rest of the panels can then be put into place, and we fill in the corners with the smaller pieces.
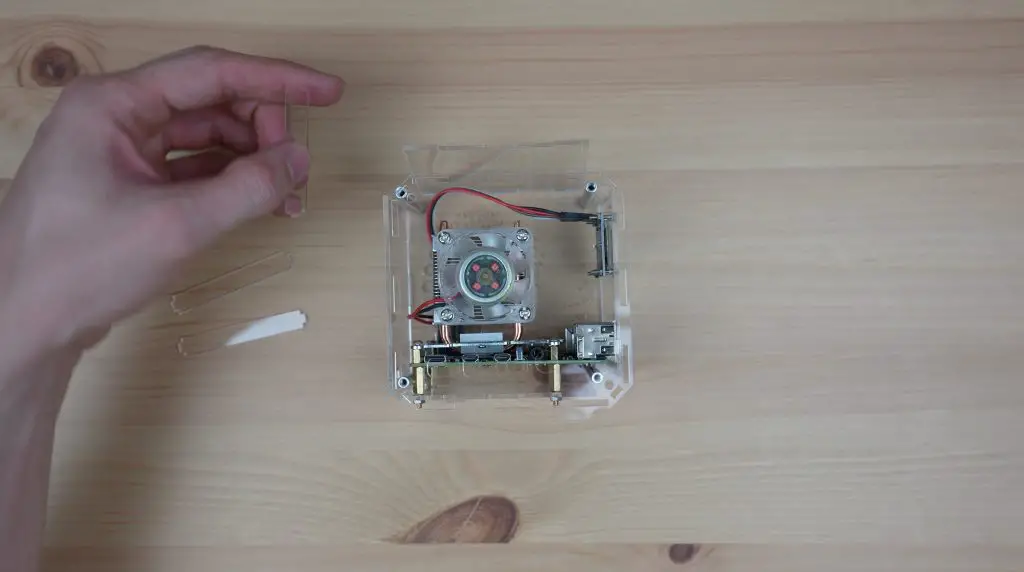
The fan panel can then be secured with some M3x8mm screws to lock the smaller sides into place. You may need to wiggle the sides around a little so that the slots all line up with the main panel. Try not to force them into place or you might crack the thin edges of the slots.
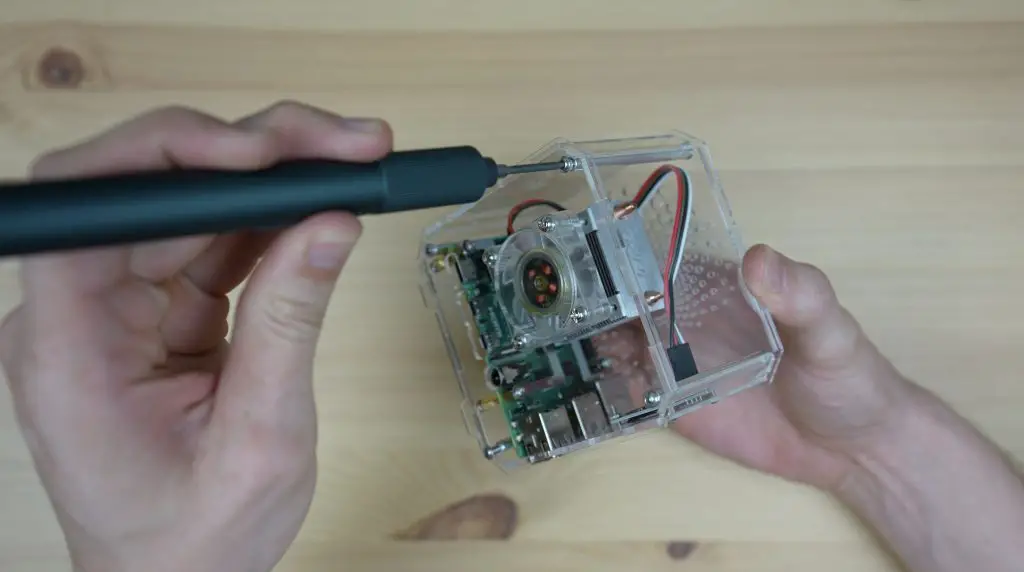
That’s the case finished up, now we just need to boot it up and load the script for the display.
I’ve put together the two coloured cases in the same way.
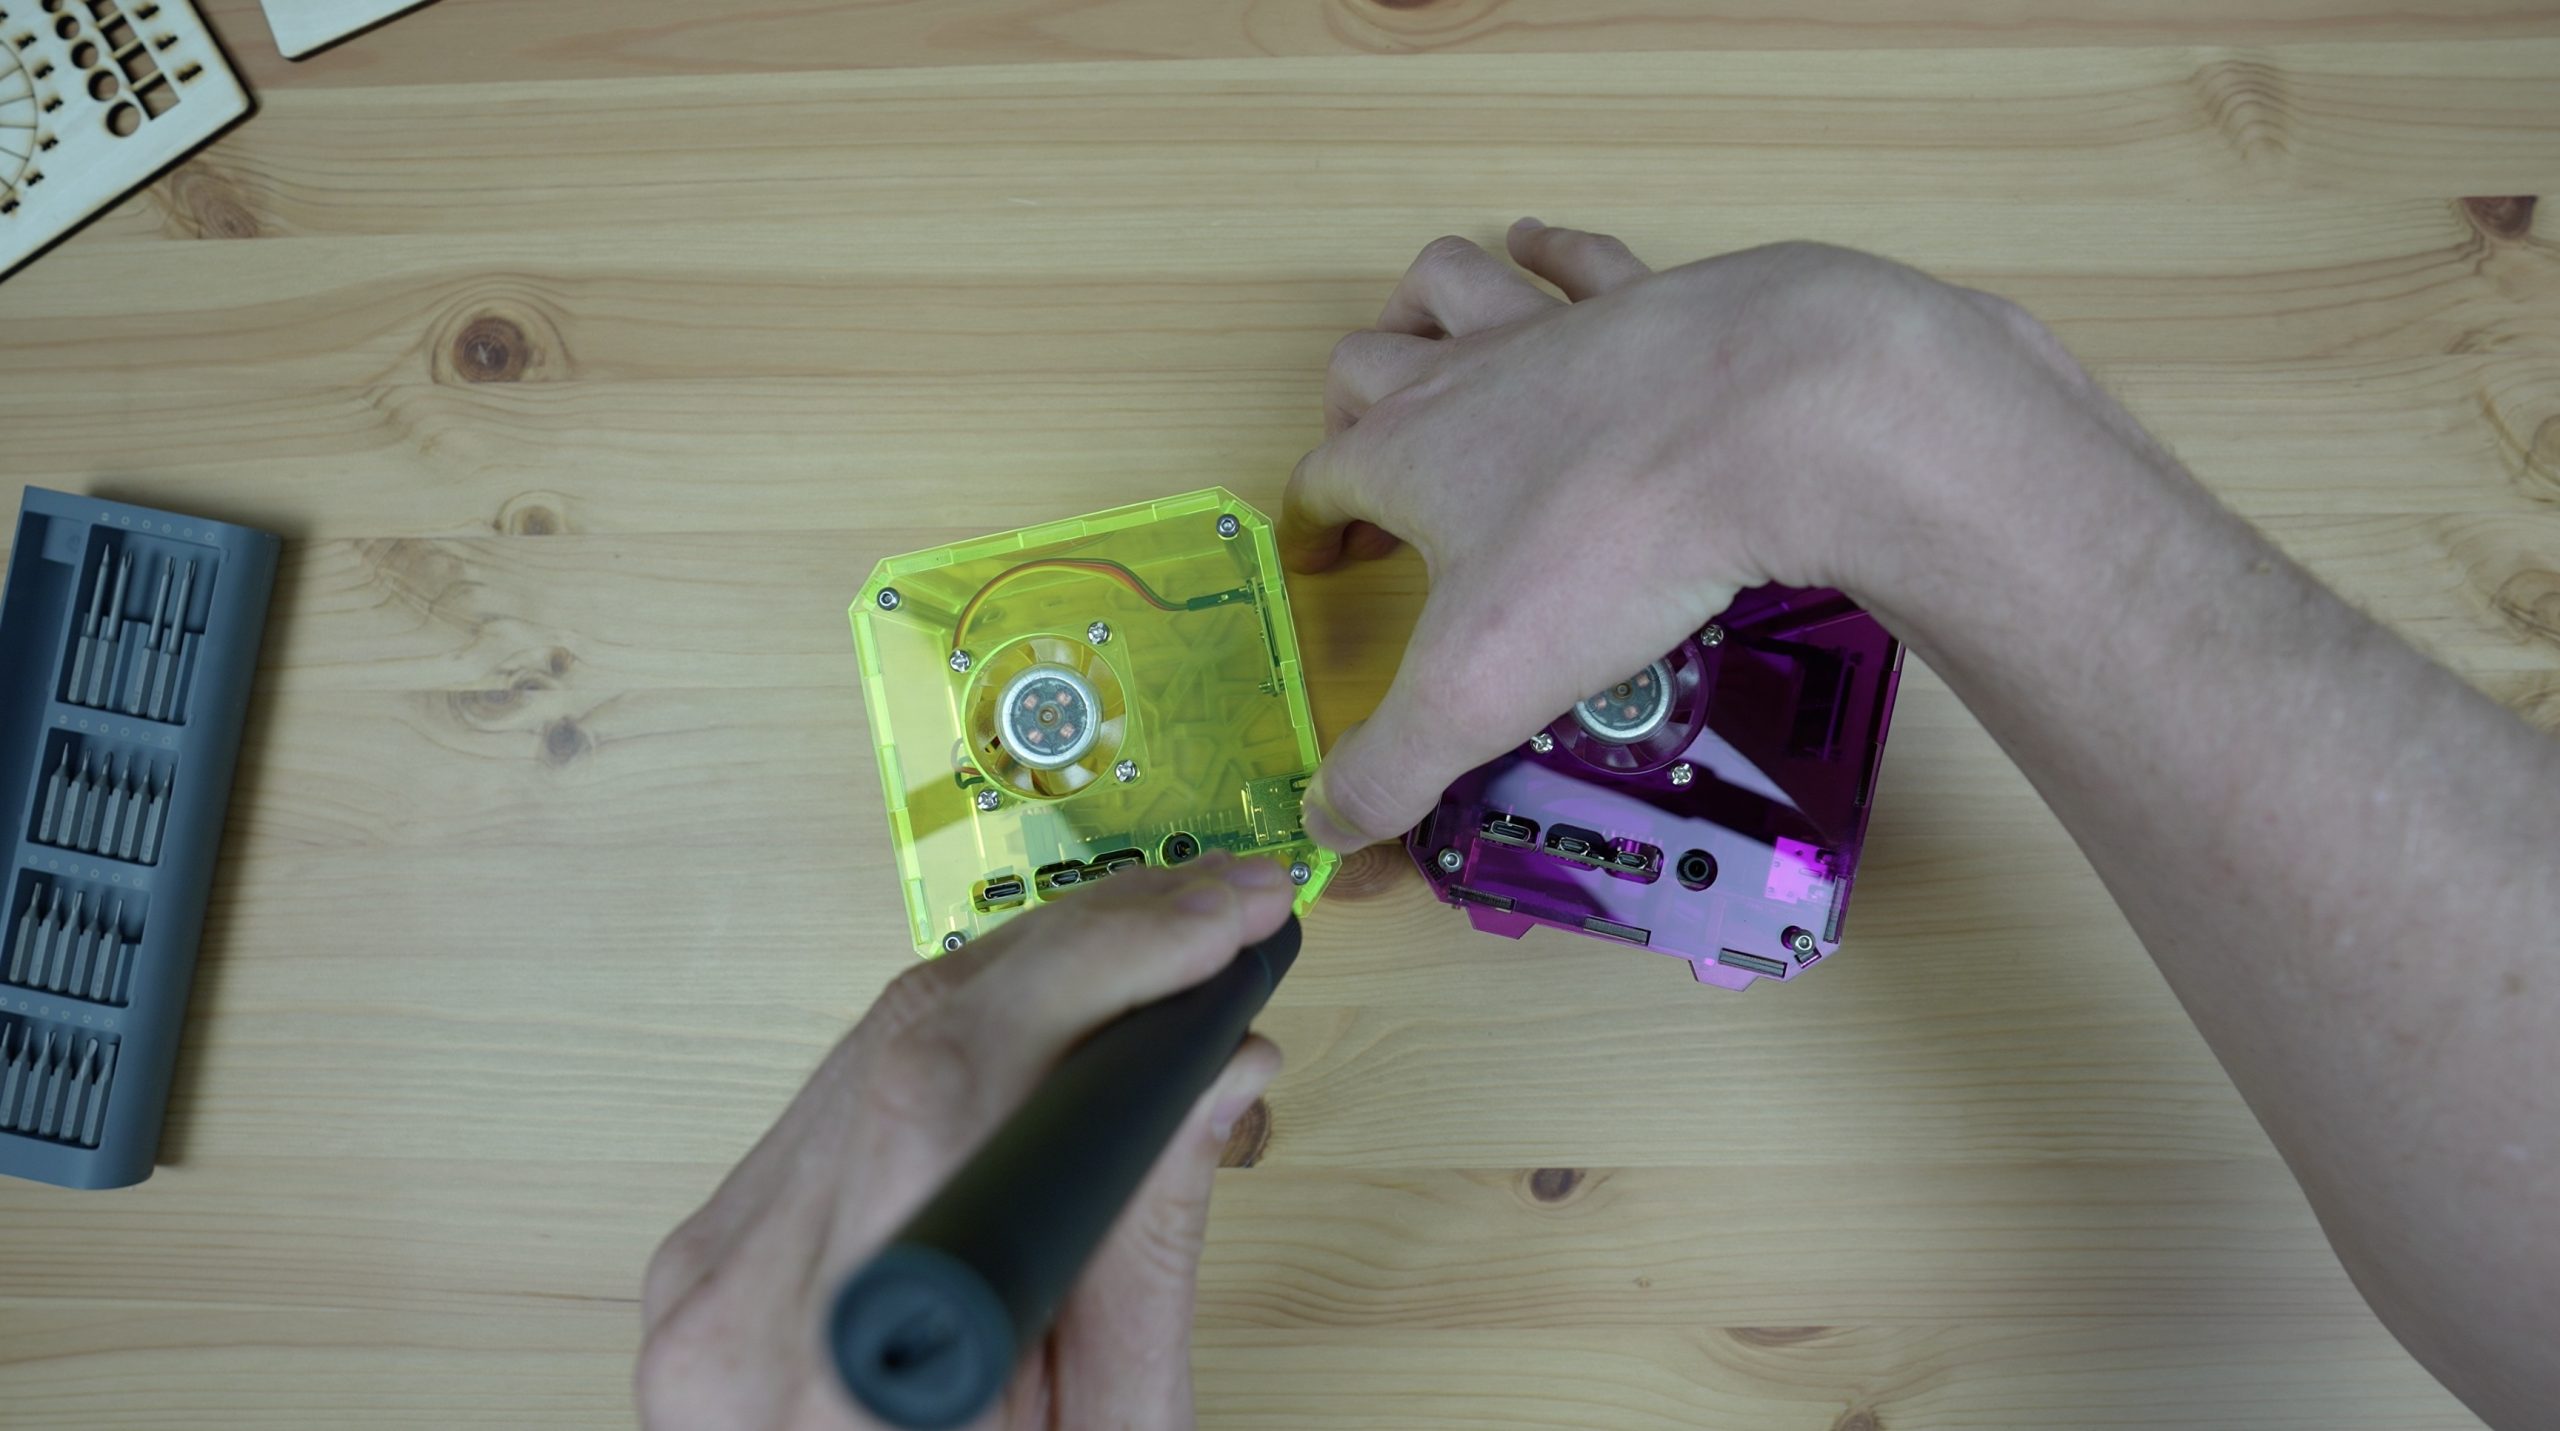
I really like the look of the clear design with the new ventilation pattern. Let me know which case is your favourite in the comments section below.

Final Thoughts On The Gweike Cloud
Through my first few weeks of using the Gweike Cloud, I’m really enjoying the larger cutting area and the ease of use of the machine. I’ve found the Cloud Software to be a little unrefined (the machine often shows up as being offline, even with a wired connection) and I don’t really like things like the speed being in percentages. The machine works flawlessly with Lightburn though, which is what I’d be using it with in any case.
As for spare parts and servicing of the machine, Gweike have a technical support and service team that they say can help with supplying spares. It looks to me like this machine is built around fairly standard components for the industry though. The enclosures and brackets etc. are obviously all custom made, but the parts that are likely to wear out or need to be replaced look quite generic, so you likely wouldn’t have trouble finding replacements for them.
So for basically half the price of the Glow Forge for a similarly spec’d machine with the ability to be used offline with Lightburn, I’d say that this is a fantastic alternative and I’m certainly looking forward to using it for my projects going forward.
Let me know what you think of the Gweike Cloud laser, or if you’ve got any questions on it in the comments section below. Take a look at their web store if you’re interested in getting one of their lasers and if you use my discount code MK200, you’ll get $200 off.
Absolutely LOVE the clear case!! Perfect! The laser cutter isn’t something I can afford but sure looks like a lot of fun!
Thanks for sharing!
Bob
Thanks Bob
Another great article/video, as always! Curious…is that a new Pi OLED display script I see? Liking the little symbols there for RAM/CPU/SD Card, etc!
Are you going to be uploading that script anywhere? 🙂