In this guide, we’re going to be looking at how to remove nails or screws from a masonry wall and how to properly touch up the hole with crack filler and touch up paint so that you can barely tell that there was a hole there to begin with.
If you need to hang pictures, decorations or mirrors, have a look at our guide to putting screws into a masonry wall.
Removing The Nails and Screws From Your Wall
What You’ll Need To Remove The Nails and Screws
- Screwdriver – Philips or Flat depending on screws to remove
- Claw Hammer – Buy Here
- Long Nose / Needle Nose Pliers & Some Newspaper – Buy Here
How To Remove Screws
Removing screws and screwed on brackets should be fairly straight forward. You’ll need to use a suitably sized Philips or flat head screw driver and unscrew the screw.
In most masonry applications, the screw would have been held in place with a plastic or wooden wall plug. If you can easily grab onto the edge with a needle nose pliers, try pulling it out of the hole after you’ve removed the screw. If it won’t come out of the hole the gently use the tip of the screw driver to bend the edges into the hole and push it deeper into the hole such that no plastic or wood protrudes from hole.
How To Remove Nails
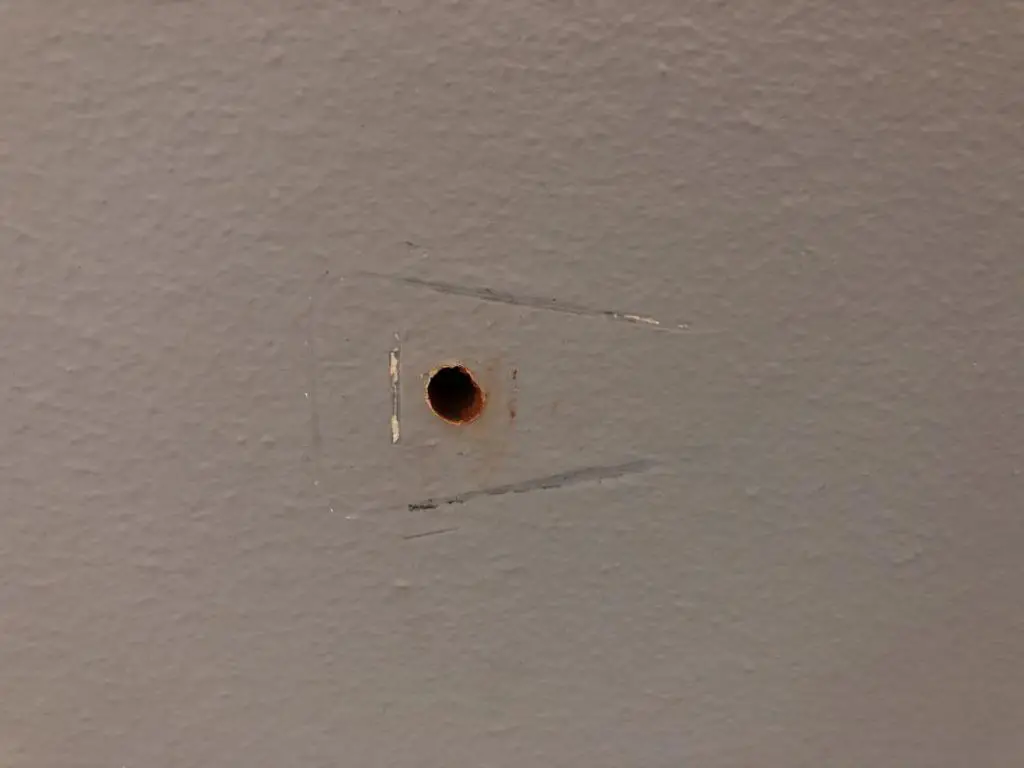
To remove nails, you’ll need to either use a claw hammer if your nail has a head or a long nose/needle nose pliers if it does not.
Place a sheet of folded over paper or newspaper beneath the head of the hammer or pliers while prying the nail out so that you don’t damage the surrounding area of the wall as well.
Use the claw of the hammer to pry up on the head of the nail to remove it.
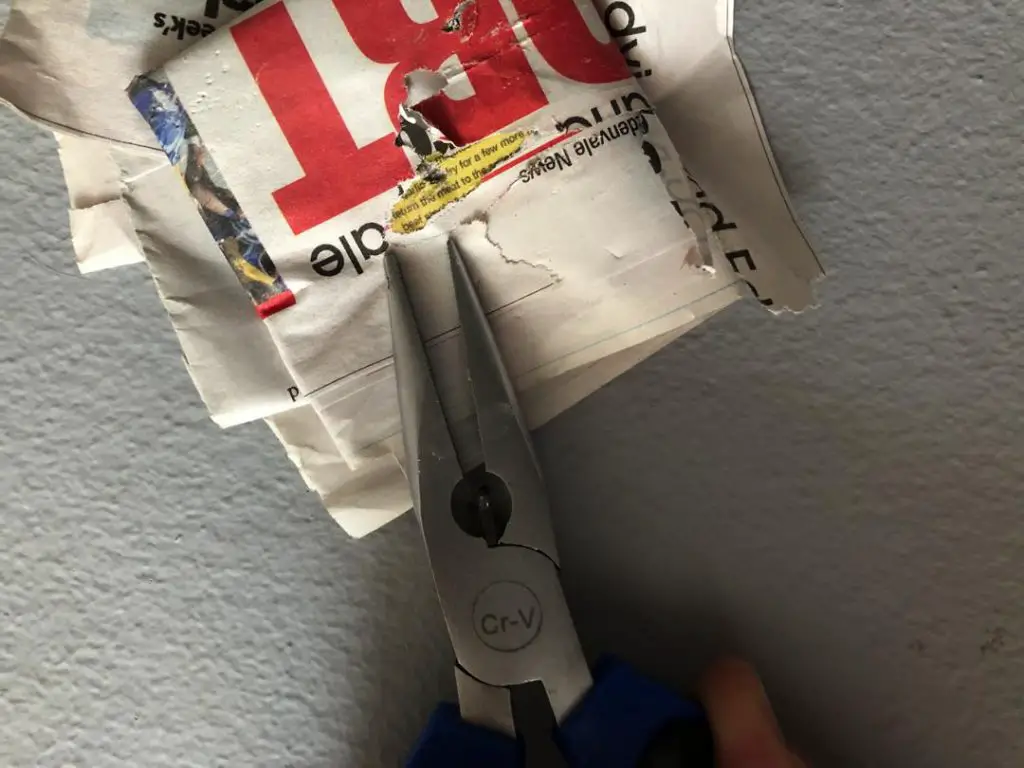
If you nail doesn’t have a head, use a needle nose pliers to grip the nail and then pry it out by pulling up on the nail and using the tip of the pliers as a lever.
Touch Up The Holes In The Wall
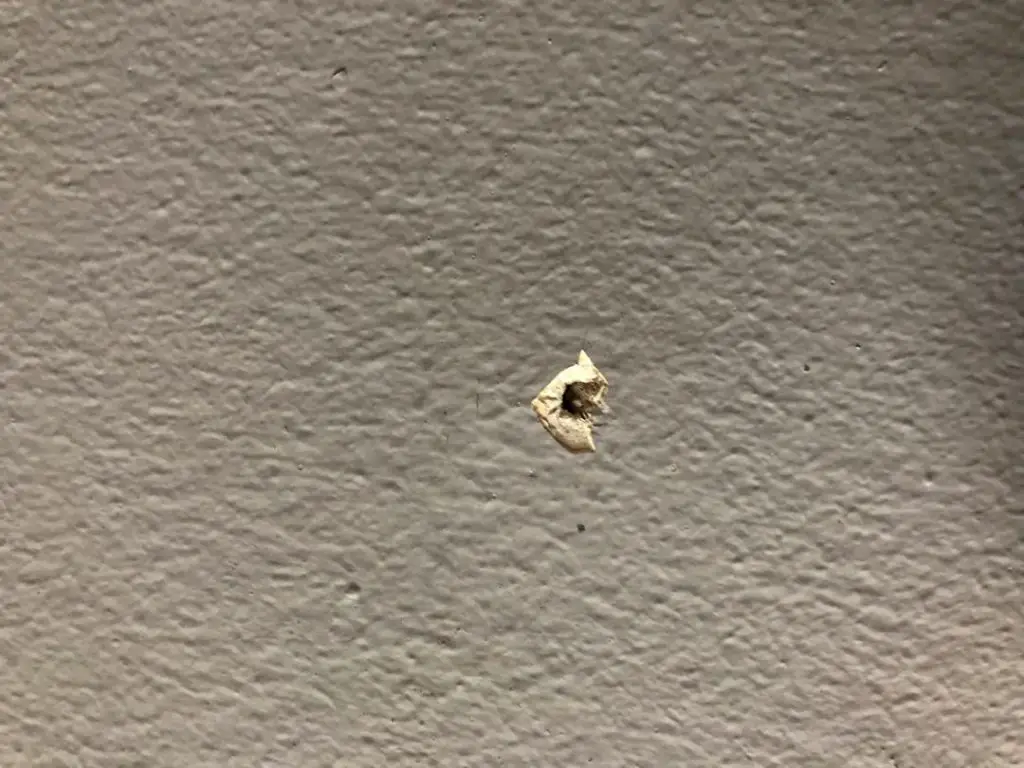
Once you’ve finished taking out the screws or nails, you’ll have an unsightly hole in your wall which you’ll need to fill and touch up with paint. The good news is that if the touch up is done properly, you won’t be able to see that there ever was a hole in the wall to begin with.
What You Need To Fill and Touch Up The Hole
- Crack Filler / Spackling – Premix or Powder – Buy Here
- Flat Scraper or Spatula – Buy Here
- Sandpaper – 180 Grit – Buy Here
- Large Paint Brush – Buy Here
- Matching Touch Up Paint
How To Fill and Touch Up The Hole
To start with, you need to fill up the hole. Start by clearing out and remaining protruding pieces of the wall plug or damaged plaster surrounding the hole. The surrounding area should either be level with the wall of part of the hole, nothing should protrude from or around the hole.
Mix up from crack filler if you’re using a powdered mix, following the directions on the packaging. You want your crack filler to be stiff and to keep its shape but not dry.
Use your spatula or scraper to push some crack filler into the hole and over the surrounding area to fill the hole to the level of the wall around the hole. Don’t worry about over filling it or any high spots and you’ll sand these down in the next step. Make sure that you don’t have any low spots. Also make sure that you fill any areas which the brackets or pliers/hammer may have pitted or dented around the hole.
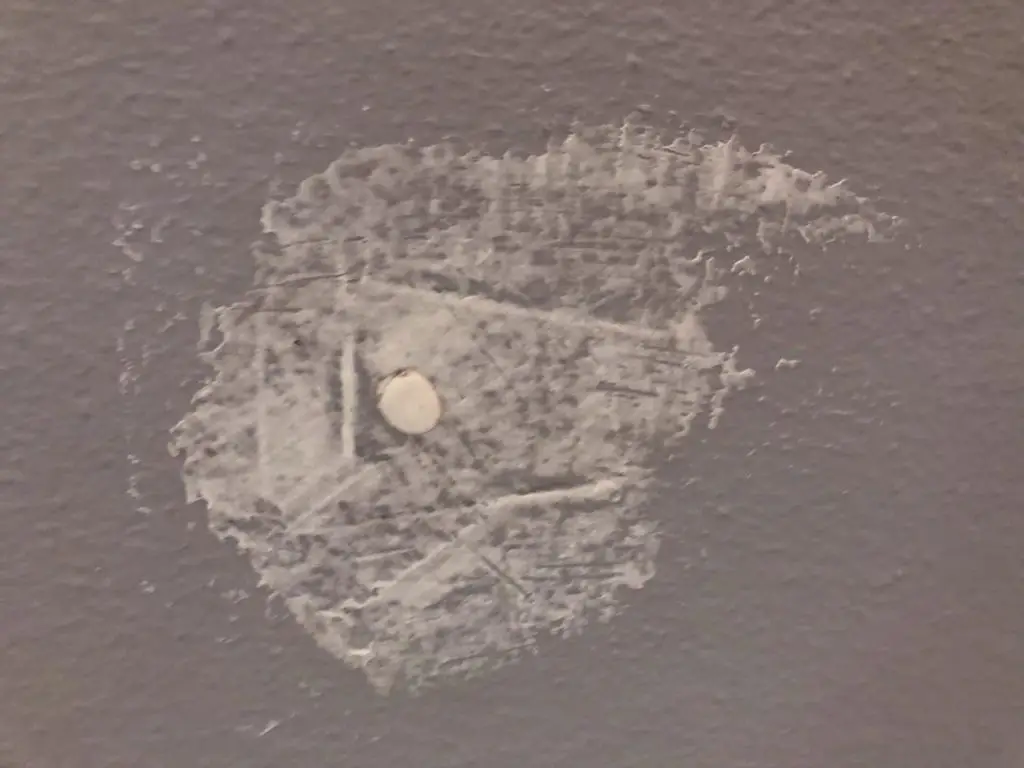
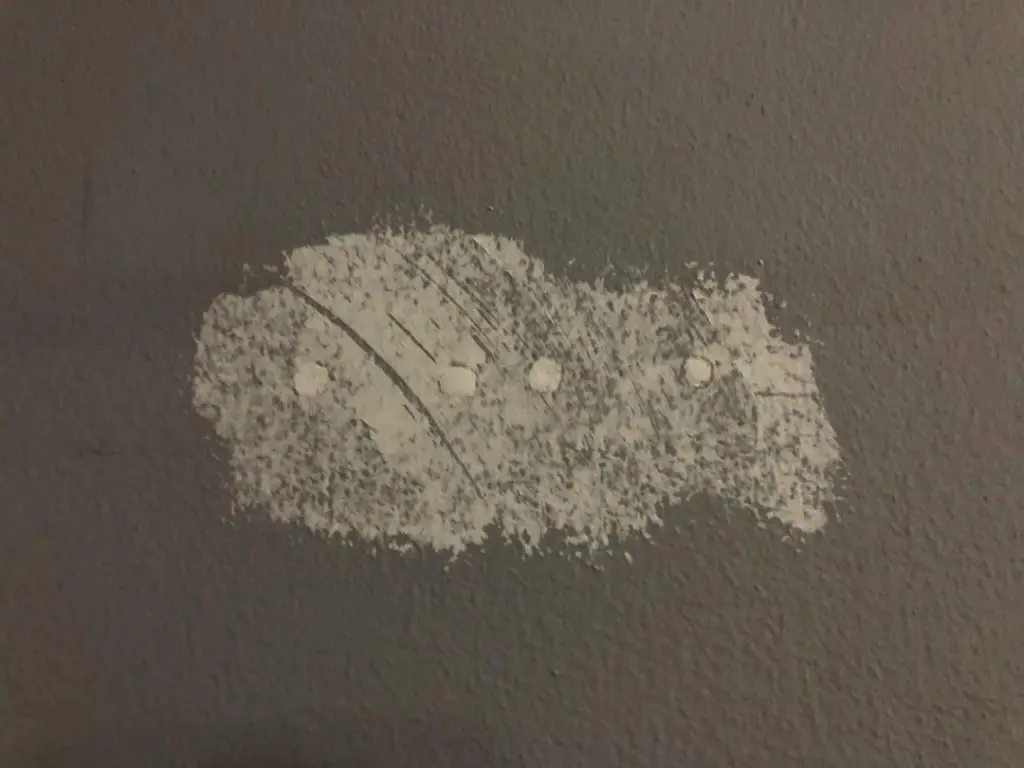
Allow the crack filler to dry completely before attempting to sand it. This usually takes around an hour or two but can take longer depending on the type of filler and the weather. The filled patch should not have any visible water marks or damp spots when it is ready to be sanded.
Now gently sand the filled in area with a larger piece of sandpaper and a sanding block, or by hand using even pressure across the surface so that the filled in area becomes smooth and level with the rest of the wall. Don’t press too hard, creating divots or low spots and don’t leave a bulge of crack filler on the wall around the hole. You can use the edge of a level or ruler to check that the area is the same level as the surrounding wall.
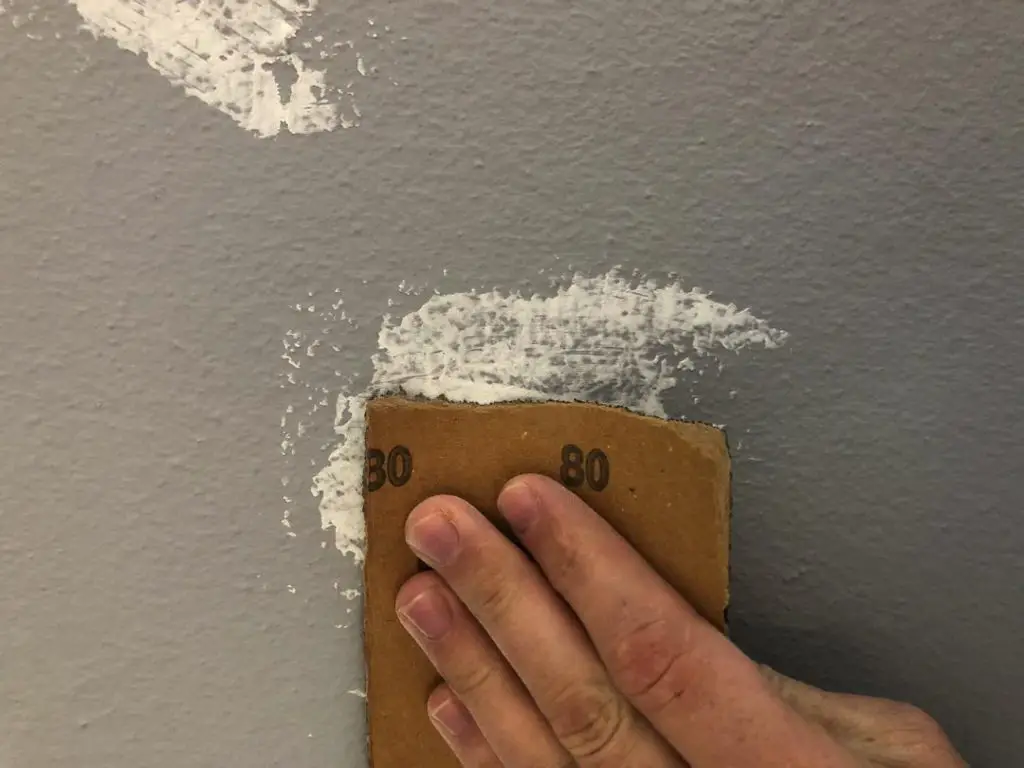
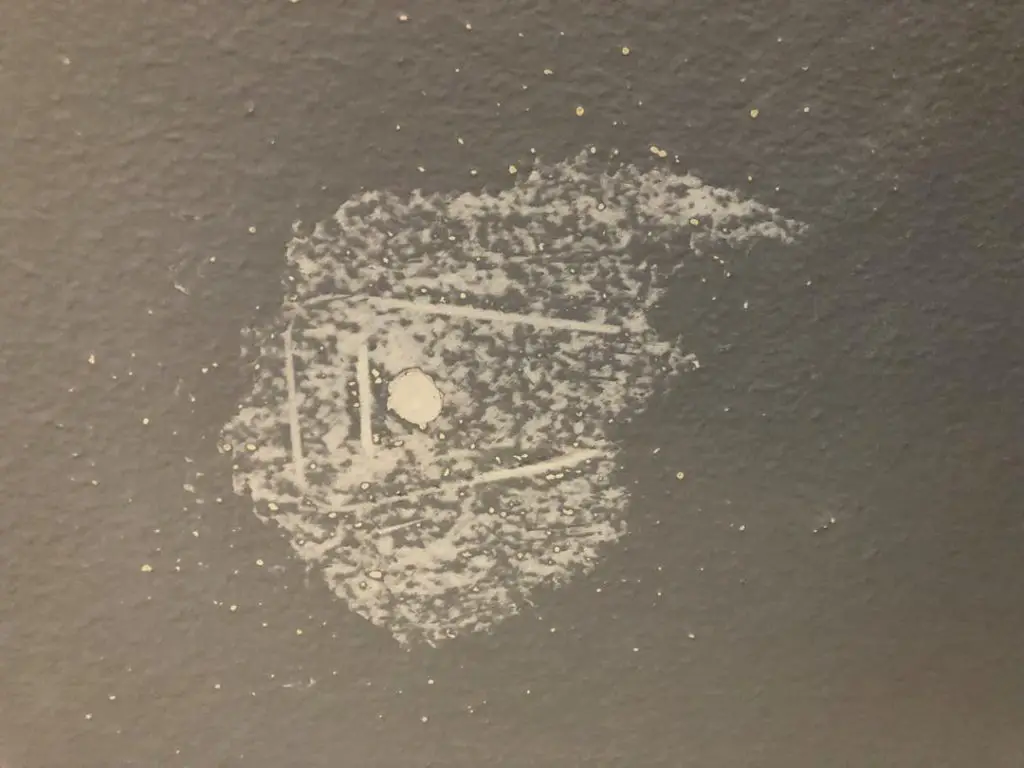
Once you’re happy with the filled in area, you’re ready to touch up paint. Getting the right colour touch up paint is critical to getting the best finish. You should always keep a pot of touch up paint handy when you finish painting your walls in case you need it in the future. It may also be worth noting the mixing quantities or batch number of the paint you’ve used in case you need to buy some in future. Keep in mind that once it is applied to your walls it will fade with time so even using the same paint which you used originally, it probably won’t match 100%. This is where using the correct paint technique will help.
Apply a generous amount of paint to your brush and then start in the centre of the filled in area, covering the area and then brush outwards with large strokes to thin out the paint and lighten your strokes. You should land up with a “wet” area three to four times the size of the filled in area with a thicker coat of paint in the centre and a very light coat on the edges to blend in with the wall.
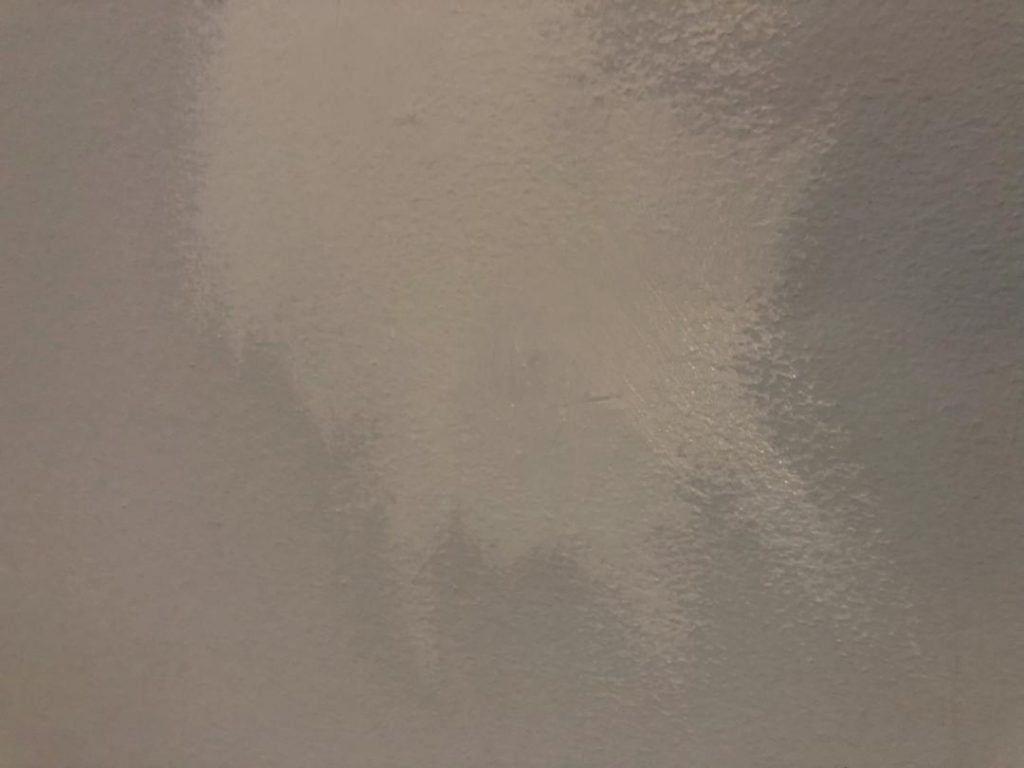
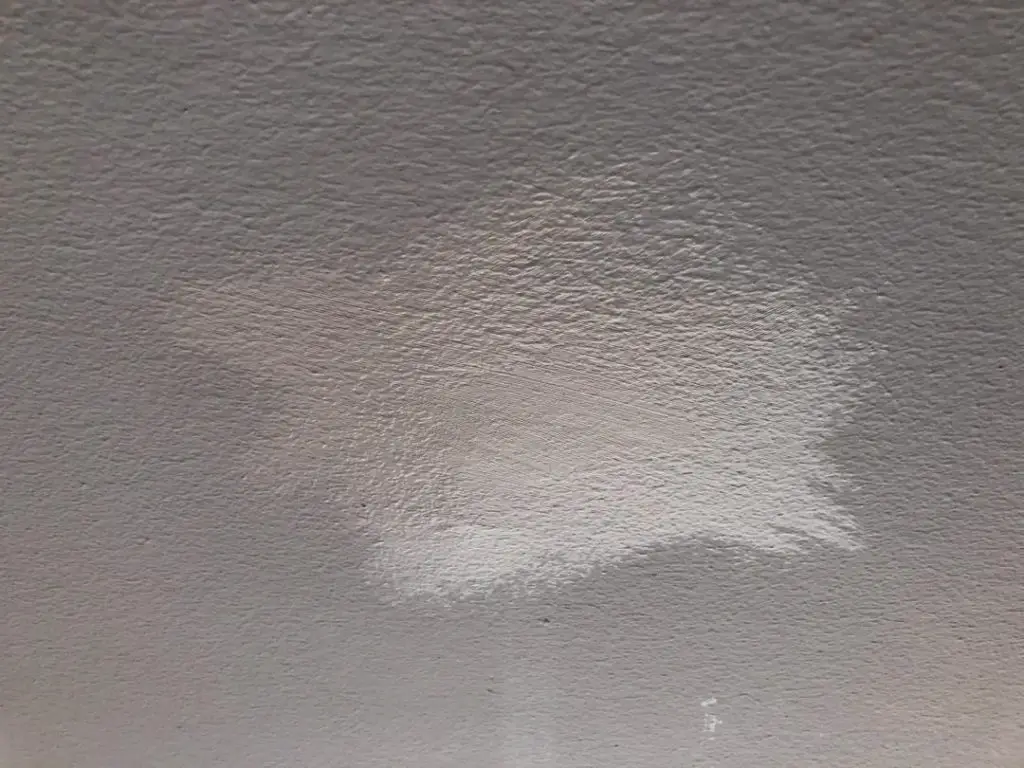
Allow the coat of paint to dry. If done properly you should only need a single coat unless you are using very dark colours. Once the paint has dried completely, you should barely be able to see that the area has been touched up.
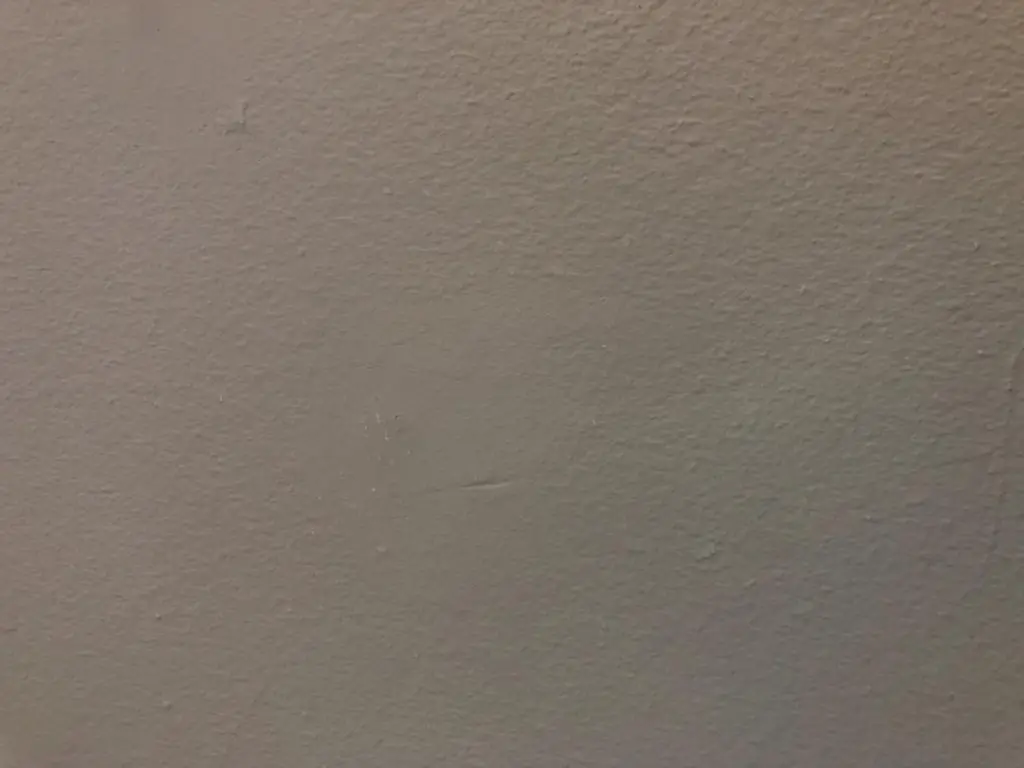
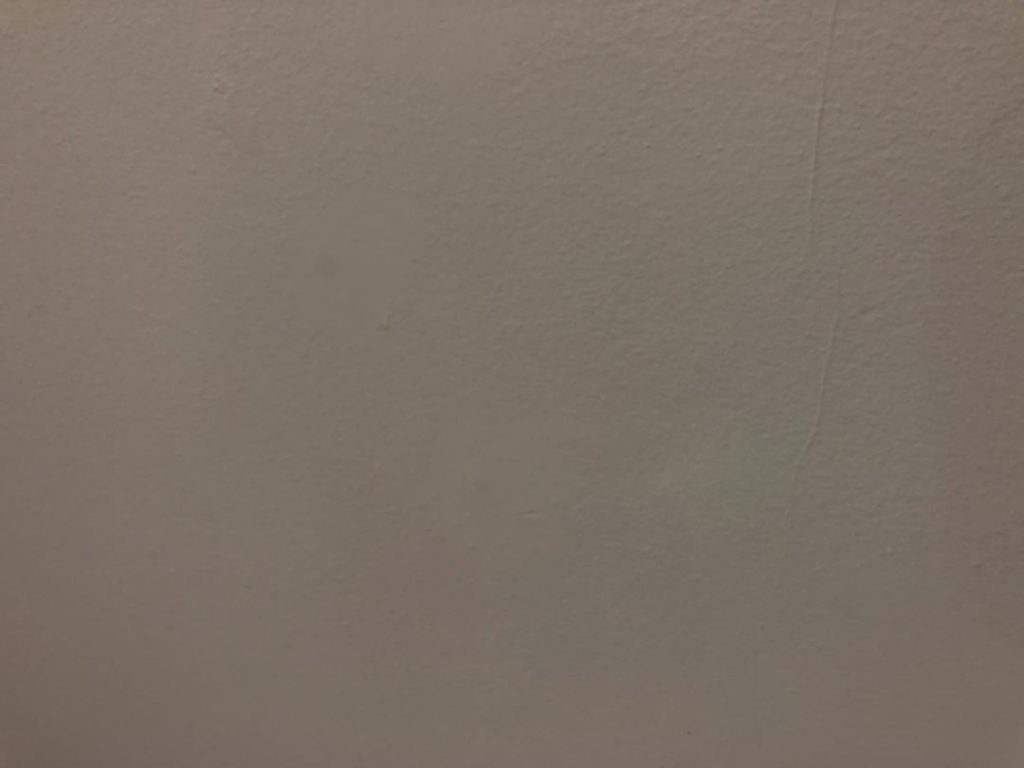
Have you tried touching up holes in your walls? Let us know your tips and tricks or how it went in the comments section below.
Share this post:
